My Nails & My Cup — Holo Gradient Nails

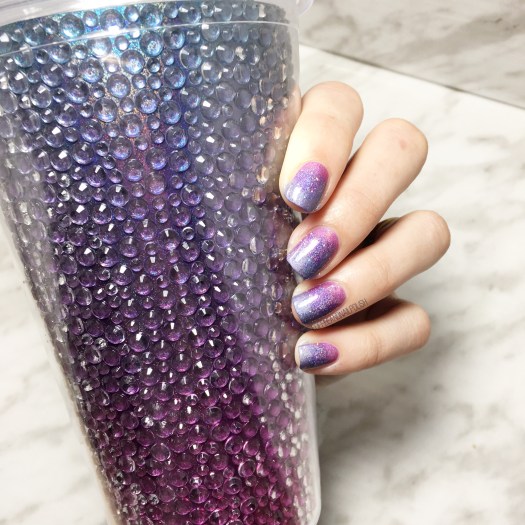
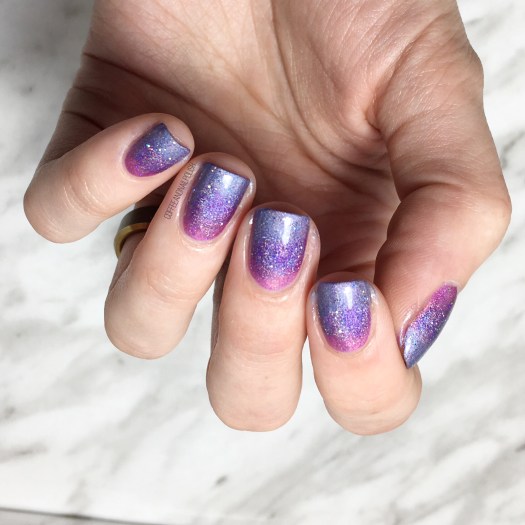
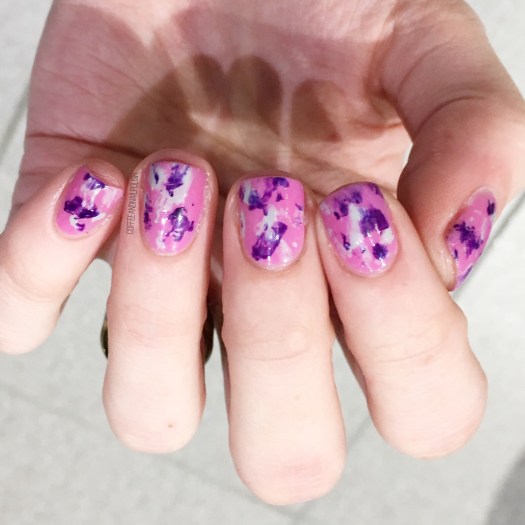
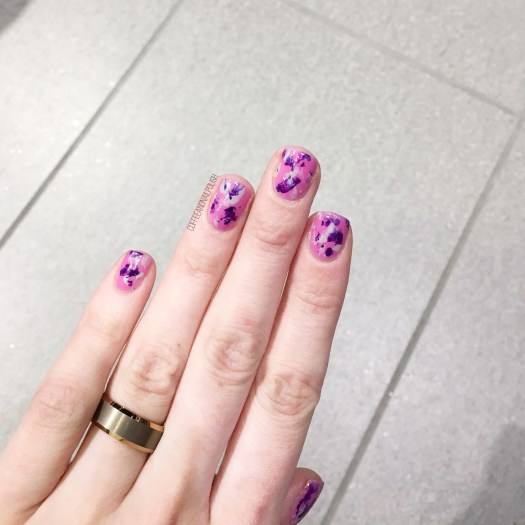
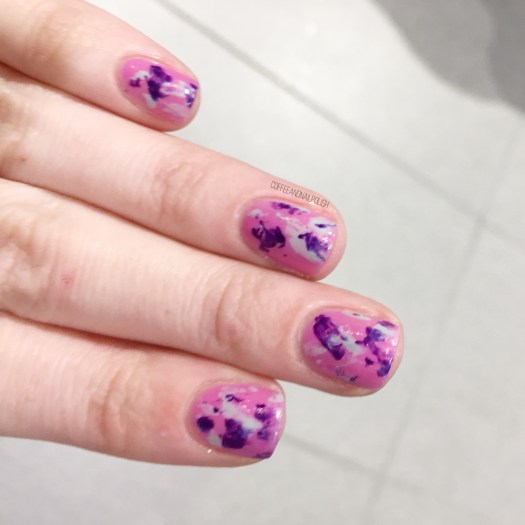
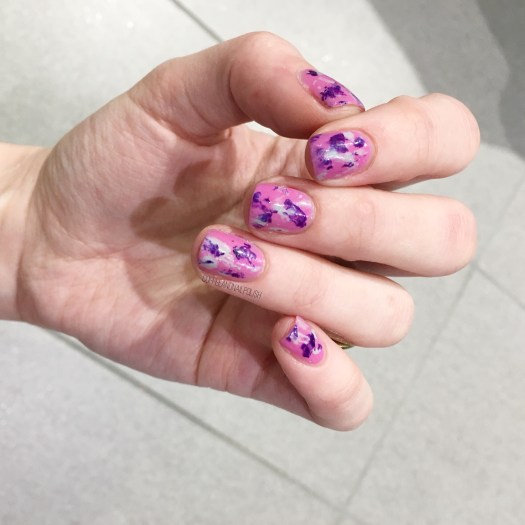
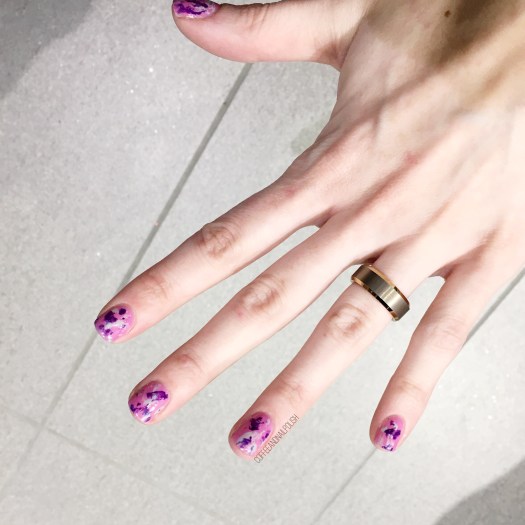
Are you guys sick of the holo yet? I certainly hope not because I have another mani to share–this time I created a Holo gradient to match my new-ish tumbler that I picked up at Claire’s on clearance for $2. It came with cute little manicure tools inside, so I had to have it!

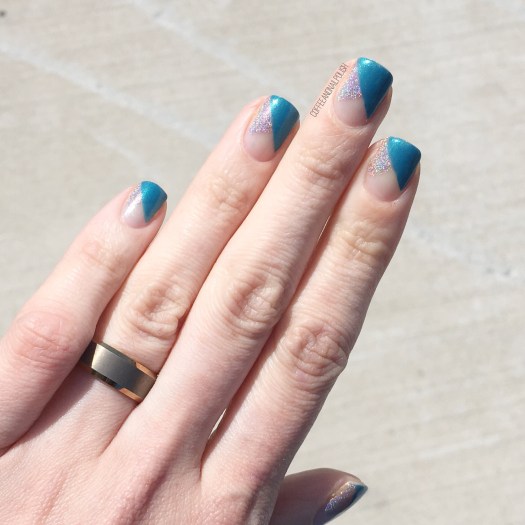
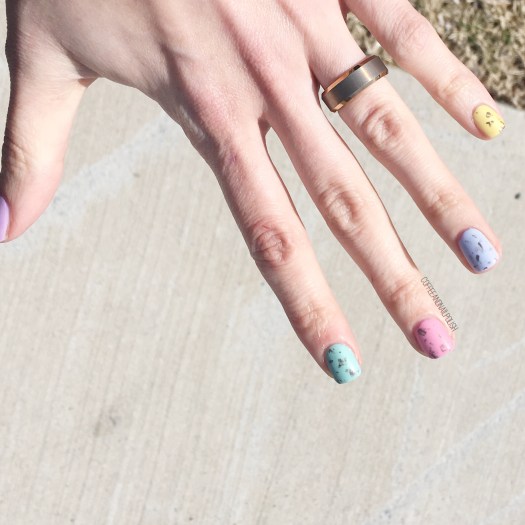
I posted on Instagram the other day what nail art I should do on my naked nails, while holding the above cup, & received an overwhelming amount of responses saying I should match my cup… so that’s what I decided to do!

For this manicure, the polishes I used were:

  • Base Coat: Sally Hansen Green Tea & Bamboo Strengthener
  • Top Coat: Seche Vive
  • China Glaze BFF
  • Color Club Eternal Beauty
  • China Glaze 2Nite
  • Quo by ORLY Falling Star
  • Latex free make up sponge
  • Creating the holo gradient may have been one of the easiest gradients I’ve ever done! I don’t know if it’s the sparkle or formula or what, but I was as to sponge on each colour separately (which kept from making a big old mess around my cuticles) & they blended together seamlessly!
  • I know the cup has a whole bunch of rhinestones, but I definitely did not have enough on hand to apply to my fingers (or enough colours that would match) so I decided a couple coats of a scattered holo top coat could give a similar look, so I grabbed Quo by Orly Falling Star because I find the glitters larger than some of my other holo toppers (like China Glaze Fairy Dust). Gave off just enough extra sparkle on the nail without being distracting!
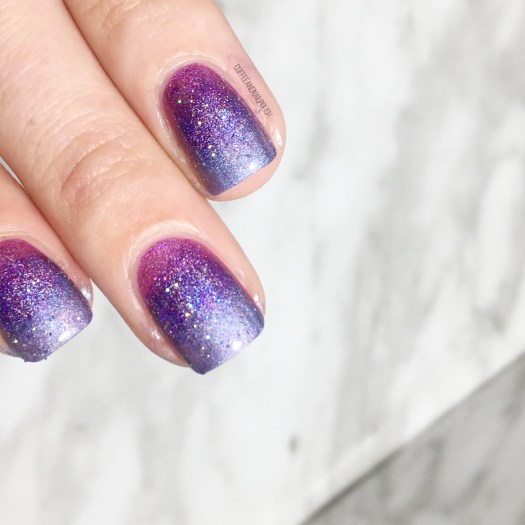
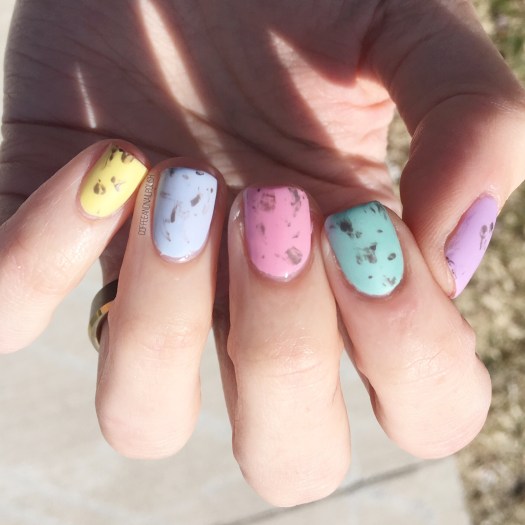
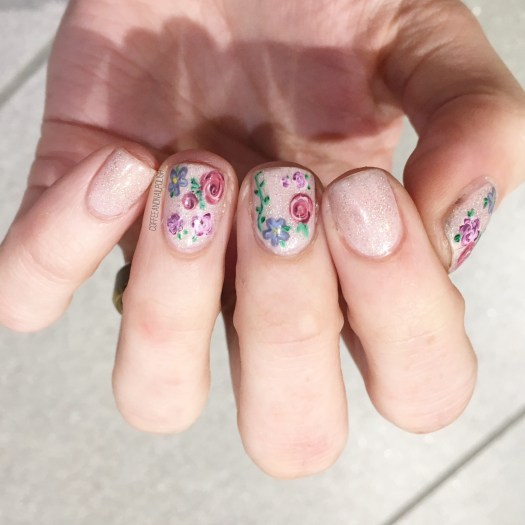
  • so what do you think of the holo gradient? Which colour combination do you think I should try out next? Share your thoughts down in the comments below!

    Blue & Holo Negative Space Colour Blocking

    Good morning lovelies & Happy Friday! The countdown to the weekend is officially on… unless you work in retail or customer service & then what is a weekend? Haha.

    Today I have another new manicure to share with you — I know, I’m on a roll. This time I’m throwing it back with some negative space colour blocking. This manicure idea popped in my head the other night when I was trying to figure out what to do on my nails including exactly the colours that I needed to use. & thankfully the sun decided to come around so I could show you this manicure in the light it deserves.

    For this manicure, the polishes I used were:

    It’s been so long, too long, since I pulled out my bottle of A Pirate’s Life from Wrenn Polish & I thought it would look so pretty with a holo accent so I grabbed Happy Thoughts too. In regular light the holo kind of hides a bit, but as soon as you hit bright light BAM! 💥 There it is! You can’t miss those gorgeous rainbows. & I just love how this design turned out, especially since the whole manicure took me less than 20 minutes & didn’t need any tools or tape — just a steady hand.

    what are you wearing on your nails for the weekend? I’m going to (hopefully) redo my nails tonight so leave any nail art suggestions down in the comments below!

    Mini Egg inspired Easter Nails (yep… again!)

    Good morning lovelies, & happy Friday. Today I’m prepping for Easter festivities with a brand new Easter design… & showing off this Mini Egg inspired look. This is definitely not the first time I’ve created this design, & I seem to return to it every couple of years because it’s a fairly easy “design” to create but it gets the point across!

    Also who doesn’t love chocolate?

    This look is super simple to do–all you need are your egg colours, the spots (I used a brown polish & Saran Wrap–I’ve seen others create this look using a black & white glitter topper which was awesome) & some matte top coat.

    Easy Peasy. & awesome nails to rock for your Easter festivities which won’t cut into any family (or chocolate) time.

    For this design, the polishes I used were:

    • Base Coat: OPI Nail Envy
    • Top Coat: Seche Vive
    • Matte Top Coat: Sally Hansen Miracle Gel Matte Top Coat -{PR sample}
    • China Glaze Sun Upon My Skin
    • Claire’s Matte Sorbet Blue
    • Claire’s Matte Sorbet Pink
    • Claire’s Matte Sorbet Mint
    • Claire’s Matte Sorbet Purple
    • OPI How Great is Your Dane?

    Is the trick for me to get the spots right in the eggs is a light touch & minimal polish on the Saran Wrap. I crinkle it up extra & then don’t apply too much polish to the plastic so when I dab it down, you don’t apply too much polish to the area. You want just a few dots as opposed to a big splat.

    Every time I do & redo this look, I think I love it even more. It’s just such an easy way to do festive nails, & the only downside is you have to fight the urge to eat your nails!

    So what are you planning on wearing on your nails this weeekend? Share down below!

    Purple Saran Wrap Splatter Nails

    Good morning & happy Saturday! & happy March as well (how crazy is that?) Today I have another fun nail art look to share & it’s a super easy design that I just love: Saran Wrap splatter nails.

    I think this is one of my favourite easy nail art looks, mostly because I literally takes no talent at all. Or tools for that matter! You just need polish, & some crinkled up Saran Wrap/plastic wrap, or even an old plastic shopping bag.

    For this manicure, the polishes I used were:

    • Base Coat: OPI Nail Envy
    • Top Coat: Essie Speed Setter
    • Essie Splash of Grenadine
    • Color Club Disco Dress
    • Quo by ORLY Color Amp’d City of Angels
    • Crinkled up plastic bag

    This technique honestly is one of my favourites & return to designs as it’s just so easy & relatively mess free. One of these days, maybe I’ll manage to do a video tutorial to show the just of it, but in the mean time you can check out my previous Saran Wrap designs for a run through of how to do them!

    What do you think of this design? Have you tried the technique yet? Let me know what you think down in the comments below!

    (Also guys… sorry about the picture quality… work lighting is not nail art friendly!)

    {Yet Another} Spring Floral

    Good morning lovelies & happy Wednesday. Hopefully wherever you are right now it’s feeling like Spring is around the corner. Here in Halifax, sadly, it seems like Winter has finally hit & it’s been bitterly cold. So naturally that means it’s time for floral! Seriously, anytime I remember that it’s still winter, I just have to create some floral nails again.

    Today’s nail art look was done while watching the Oscars on Sunday night & inspired by the Valentino dress worn by Keira Knightley in 2015. I remember wanting to create Nails inspired by that gorgeous dress 4 years ago… but you know, I always get distracted haha. So I decided while watching this year’s show that it was finally time.

    For this manicure, the polishes I used were:

    • Base Coat: OPI Nail Envy
    • Top Coat: Essie Speed Setter
    • Sally Hansen Miracle Gel In the Sheer
    • Sally Hansen MG Make It N-Ice
    • China Glaze Life Is Rosy
    • Sally Hansen MG Orchid-ing Around
    • Essie Play Date
    • Sally Hansen Complete Salon Manicure Trouble Maker
    • Sally Hansen MG Sugar Rush
    • Sally Hansen MG Just Maui’d
    • China Glaze Metro Pollen-tin
    • Sally Hansen I ♥️ Nail Art pen in green
    • Essie Off Tropic

    I’ll be honest–I used so many polishes, that I probably forgot some. But that’s the gist of what I used. I always use a ton of polishes when feeehanding my floral & I never think to write all of them down. Maybe someday I’ll remember.

    I really love how this turned out, especially over the light almost nude base (with hint of holo.) A little pop of colour.

    what do you think of this design? Who else is craving Spring weather hardcore? Ooooooh dreaming of maxi dresses & jean jackets & counting down the days (weeks… months…)

    💗