Neon Colour Blocking (Featuring Sally Hansen Miracle Gel 90s collection)

•contains pr/gifted product•

Good morning lovelies & happy Monday! Sorry for the lack of a post yesterday — it was a very busy week last week! I decided instead of rushing to get a Swatch Sunday post done, to use my Saturday night for some fun self care & I did something I’ve been wanting to do forever: I re-dyed my hair purple! It was a bit of a lengthy process (we needed to bleach!) so I knew I couldn’t get both done. So I picked my hair.

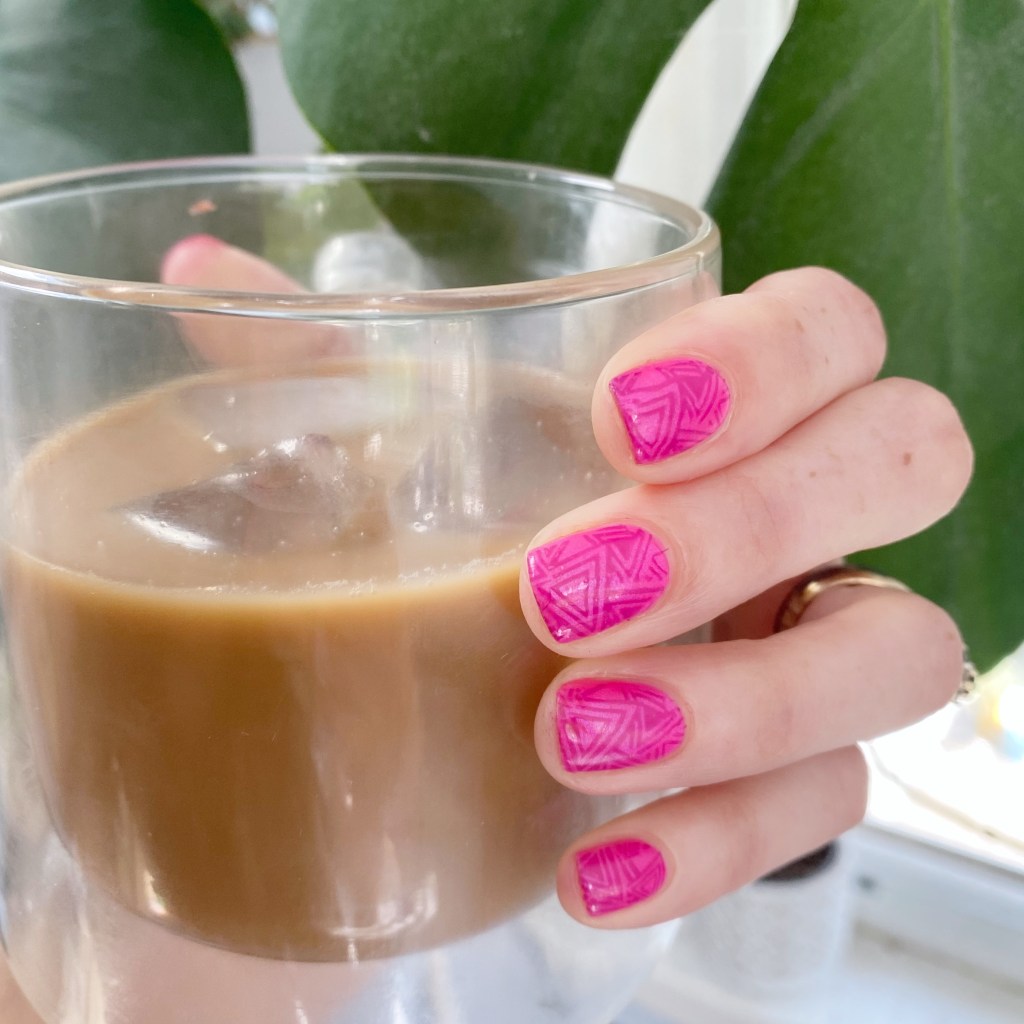
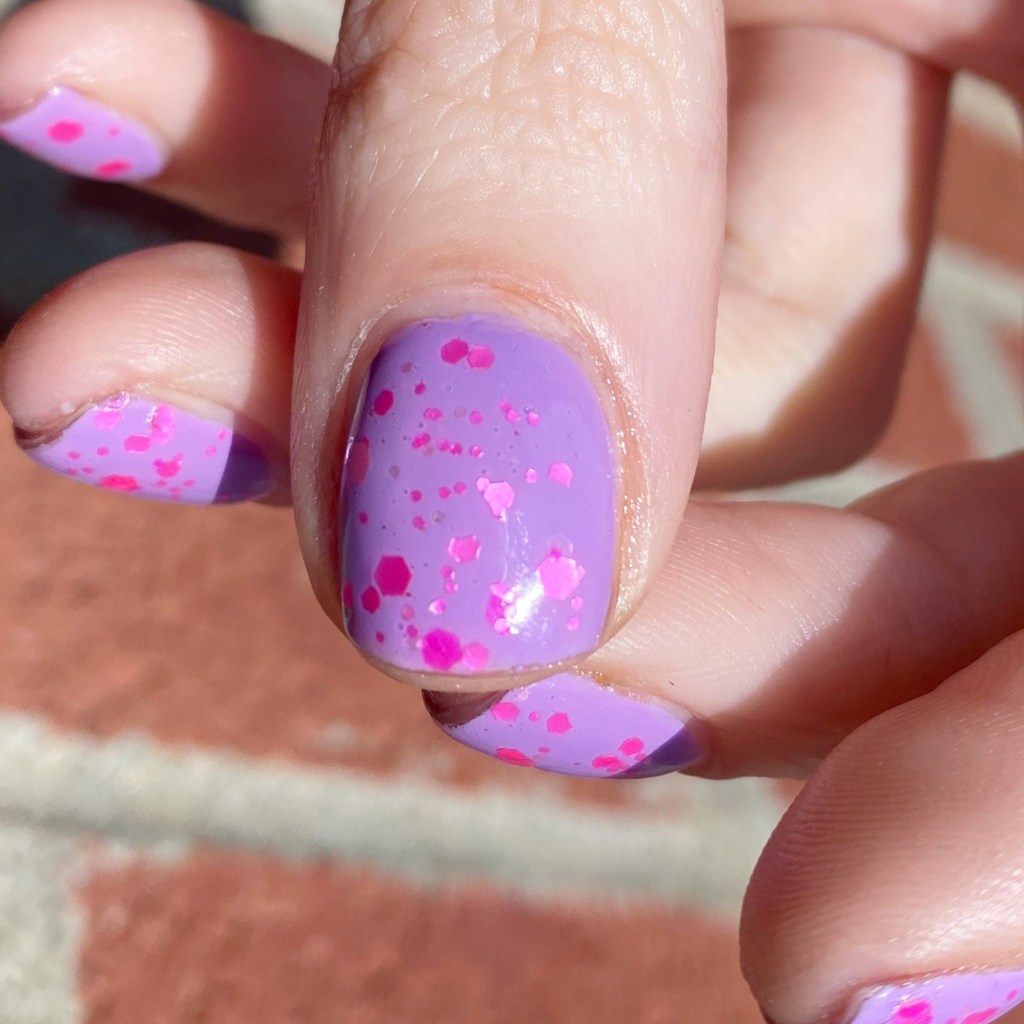
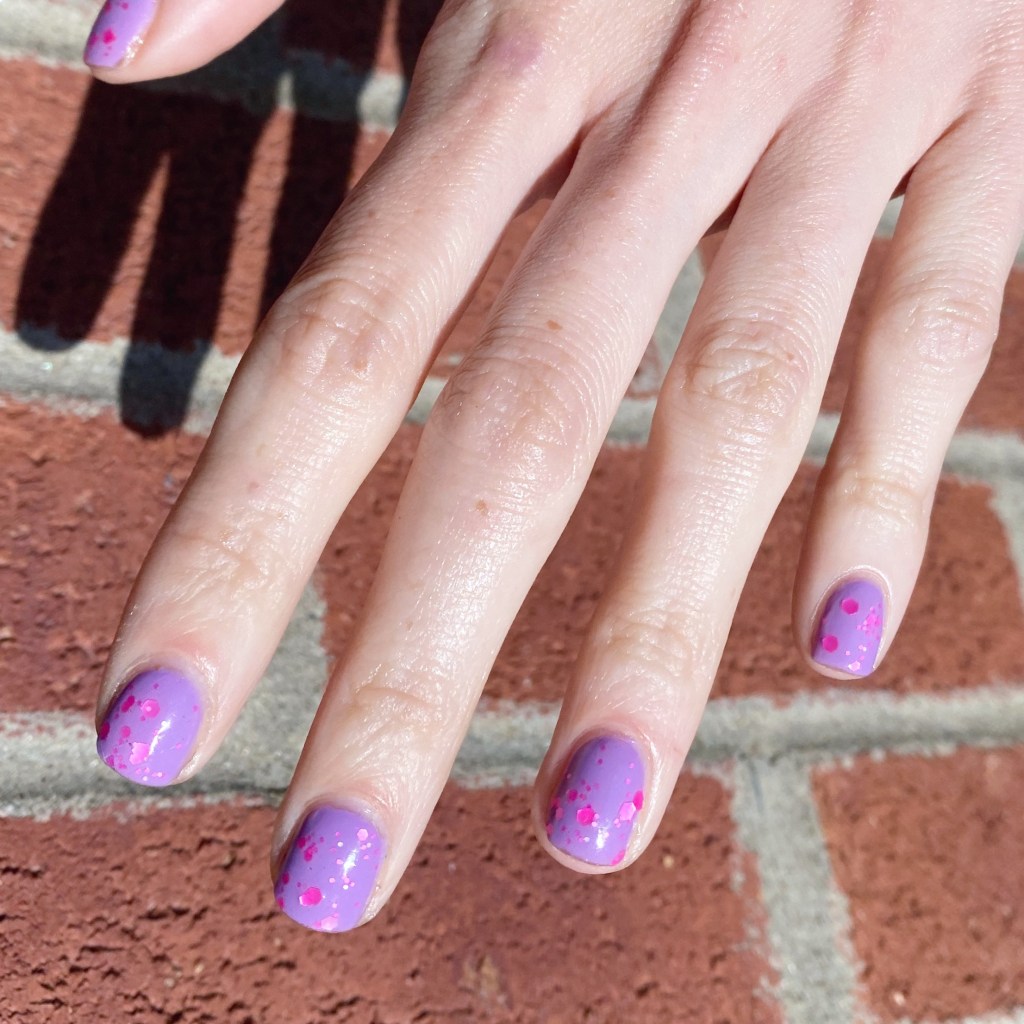
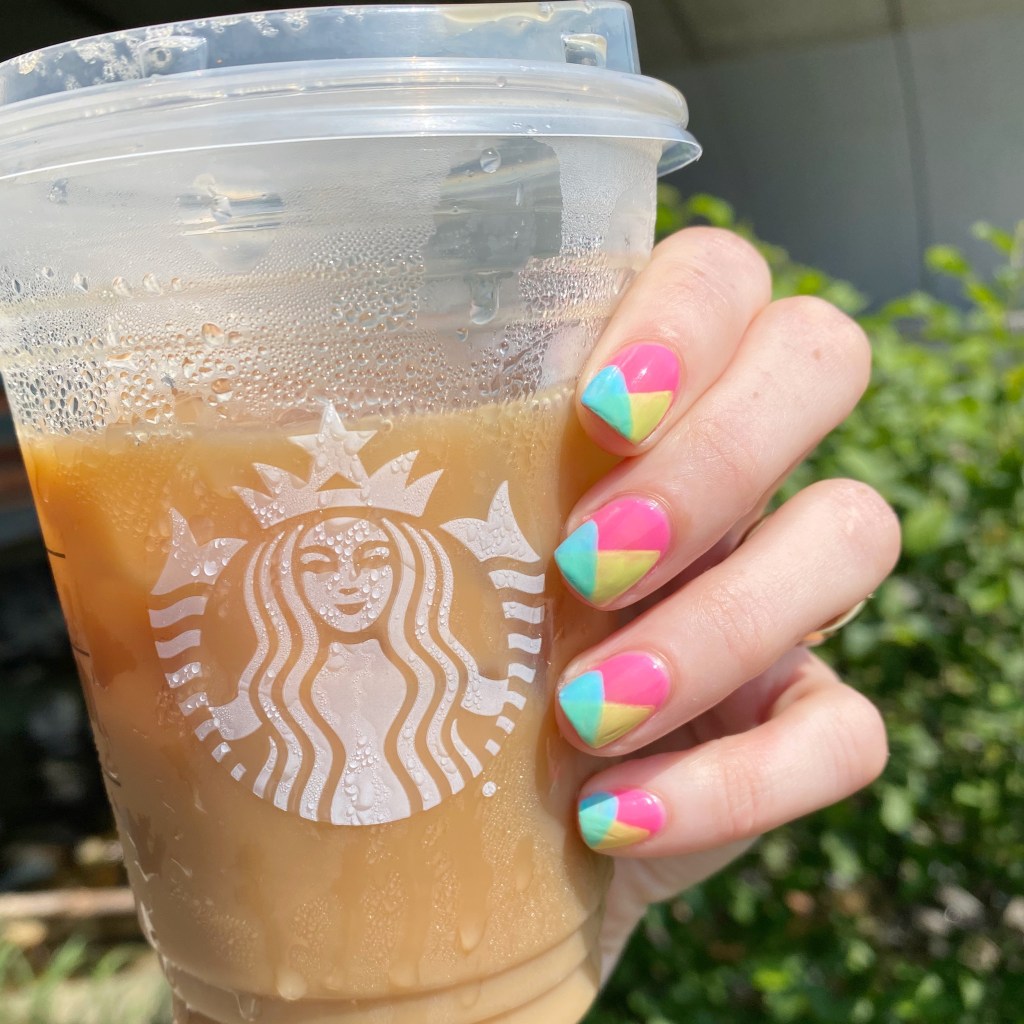
I’m back today, though, & sharing a design using some of the Sally Hansen Miracle Gel 90s shades I received last week.

The polishes I used for this manicure are: 

  • Base Coat: Sally Hansen Miracle Gel Colour Grip Primer Base Coat
  • Top Coat: Sally Hansen Miracle Gel Glossy Top Coat
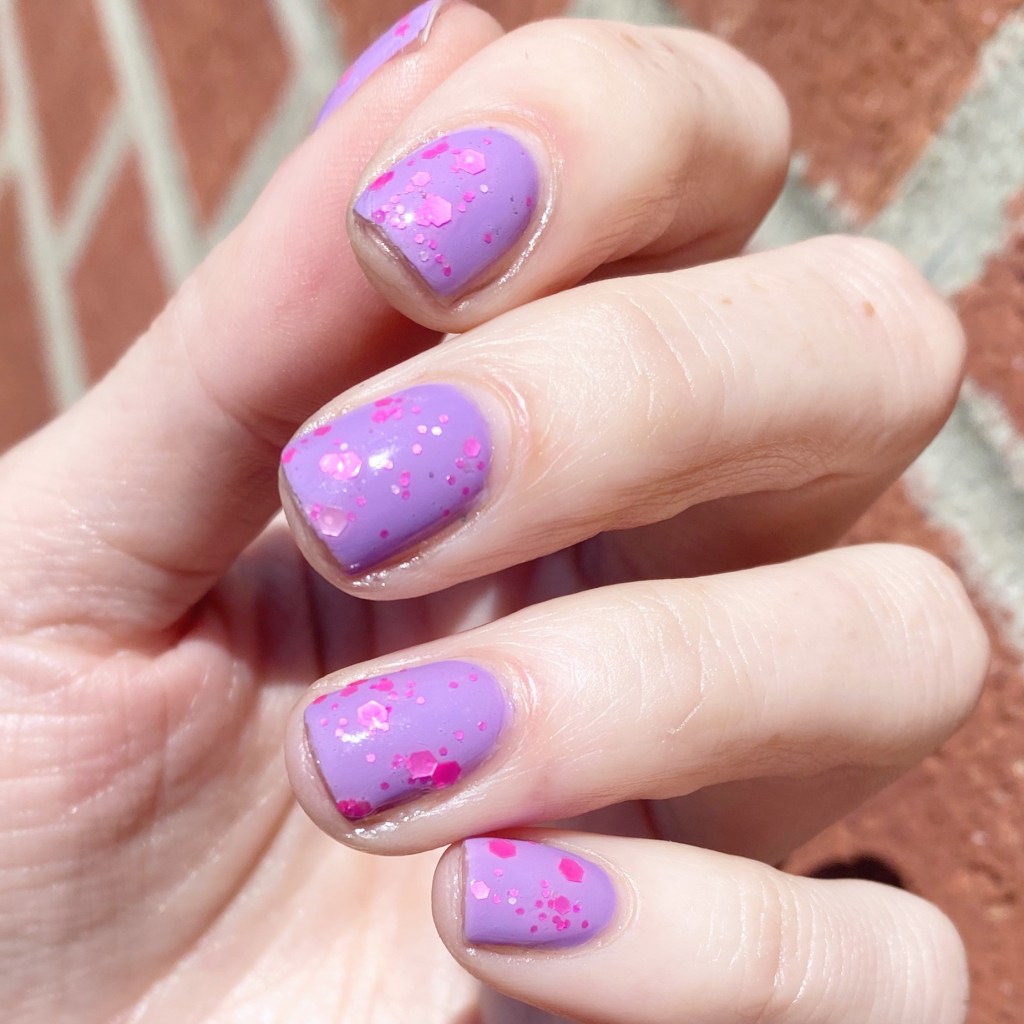
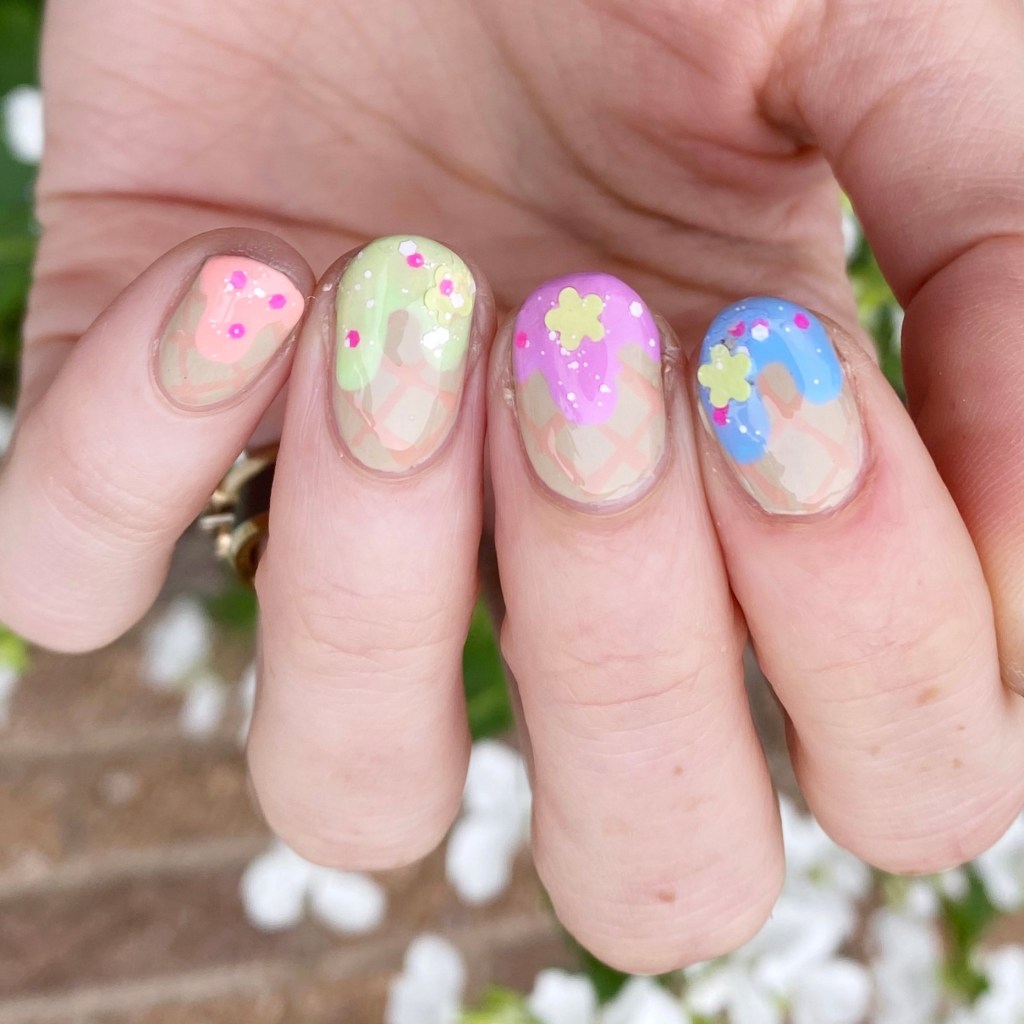
  • Sally Hansen MG 90s Did I Blue That?
  • Sally Hansen MG 90s Nostalchick
  • Sally Hansen MG 90s Toadally Buggin’

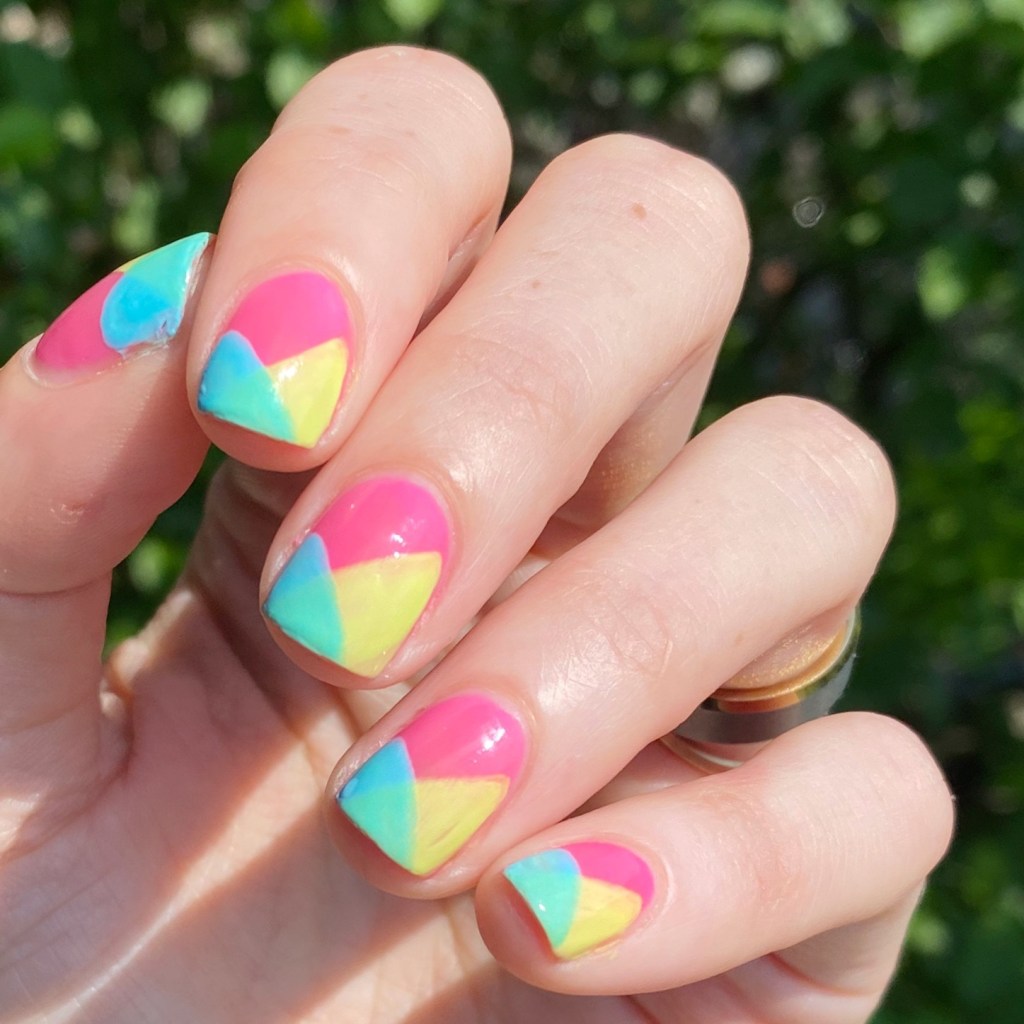
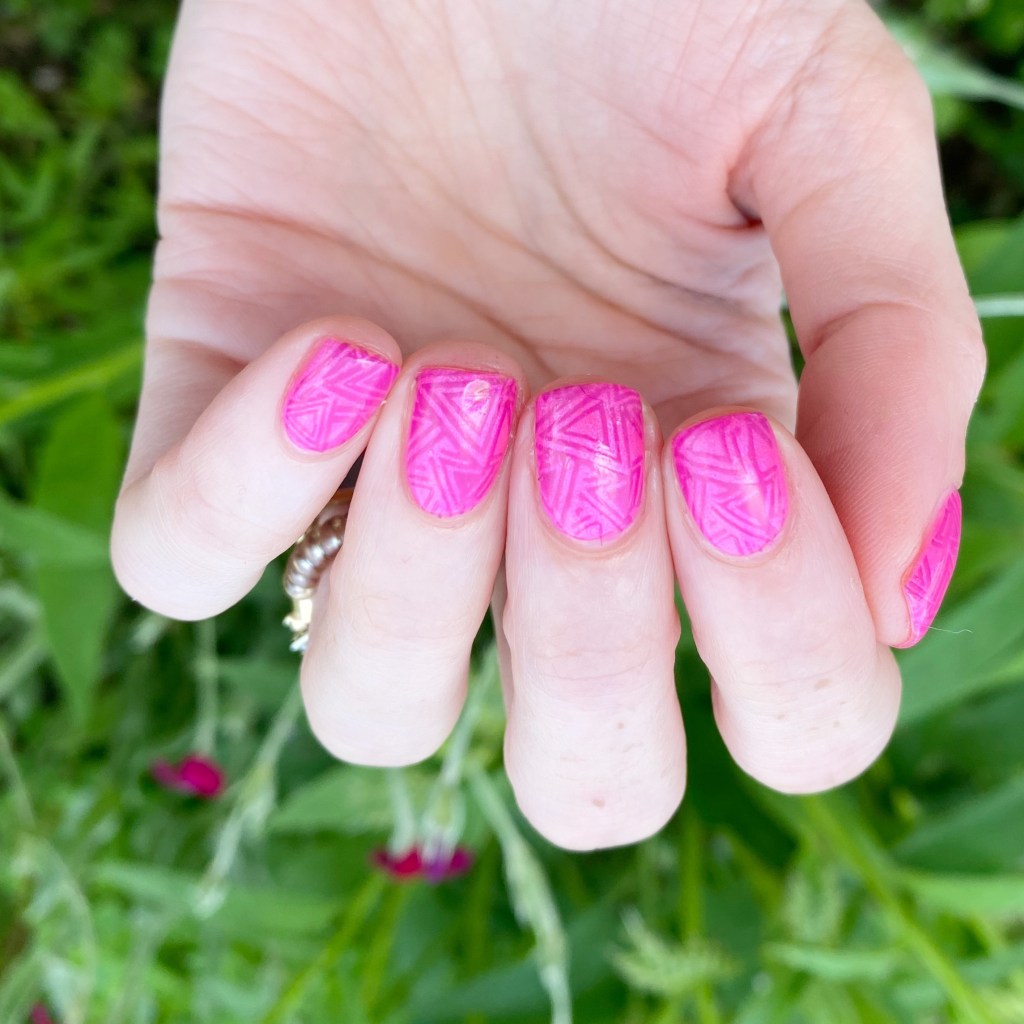
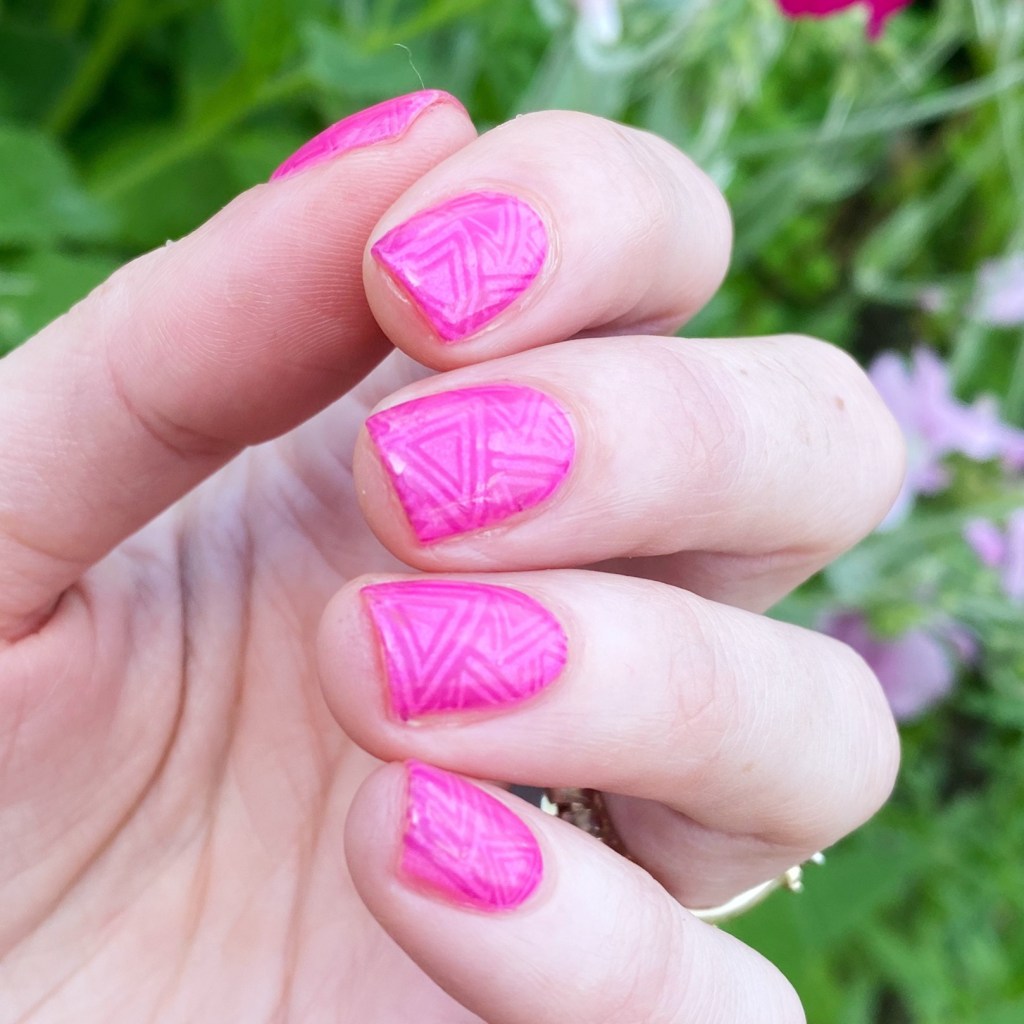
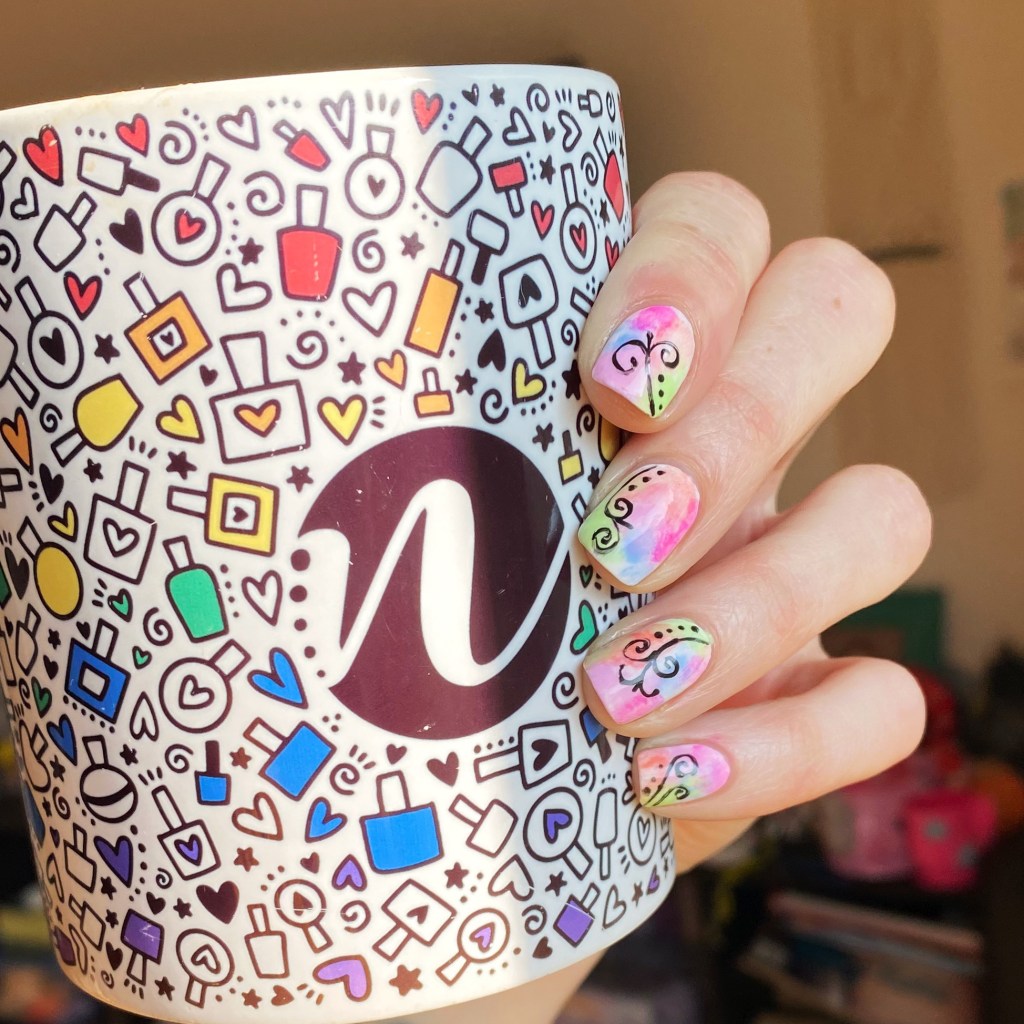
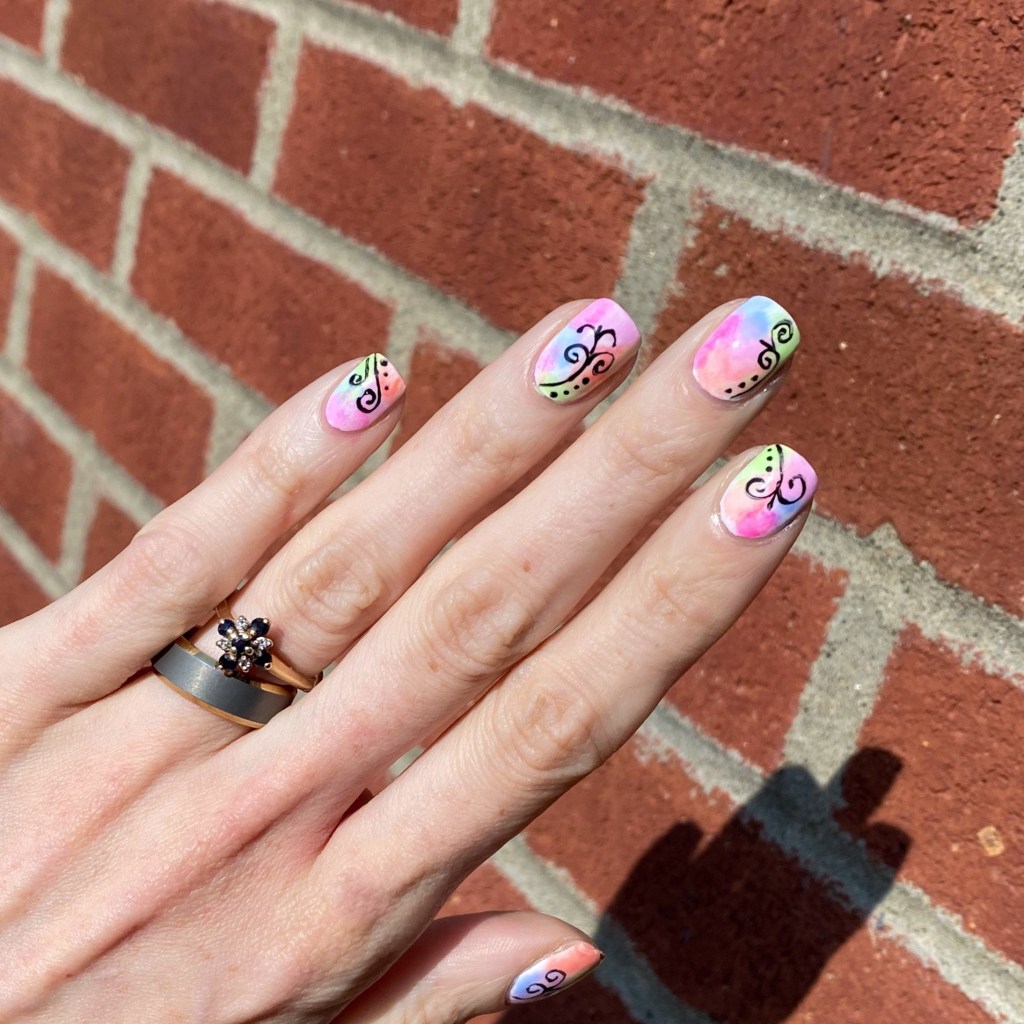
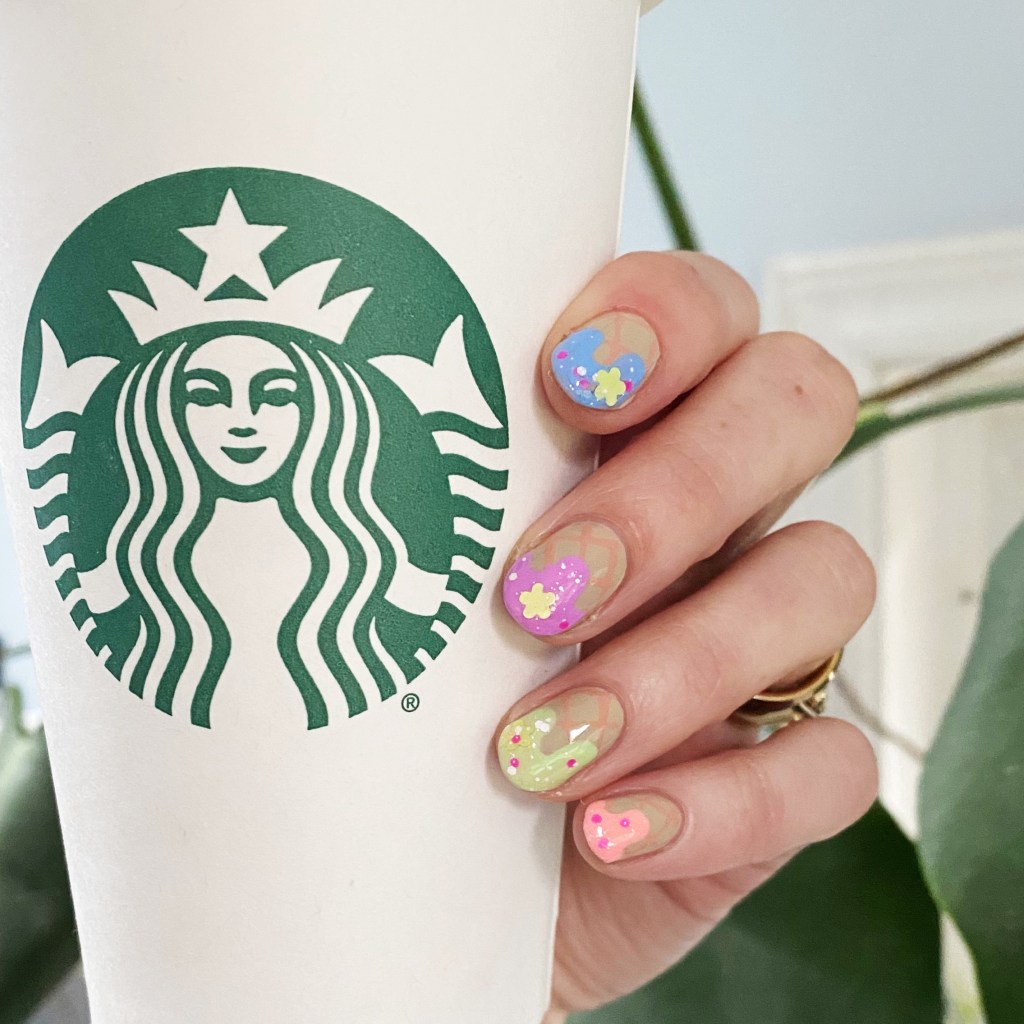
Does the colour combination & colour blocking on this look remind anyone else of those 90s colour block bathing suits — the ones with the big zipper down the front? I definitely had one or two I wore as a kid.

I just thought this design would be so fun to wear, & the bright colours would look so good together, & I’m glad I was right! Give me all the Summer shades. I’m very much about the Summer vibes right now.

What do you think about this bright neon colour block look? Do you like these Sally Hansen Miracle Gel 90s inspired polishes. I have a bunch of free time this week so I should be able to get Swatches done of these new shades for this coming Sunday!

Have a fantastic start to your week lovelies! & enjoy the sunshine if it’s shining where you are. ☀️

Products featured in this post were provided in exchanged for content.

All thoughts are honest & my own.

Barbiecore Nails 💗

Hello lovelies & happy Friday! I hope everyone’s week went went. It’s been a busy one for us. I feel like this whole month is speeding by quickly! It feels like Summer is almost half over; just crazy.

Today I’m pumped to show off a fun new design, just in time for the Barbie movie being released next week. Barbiecore nails have been all over my Instagram & Pinterest, so I needed to try out the theme for myself. I don’t wear all pink nails on their own too, too often, but maybe I should. These nails were very, very fun to wear!

The polishes I used for this manicure are: 

  • Base Coat: Londontown KUR Nail Hardener & Base Coat 
  • Top Coat: Olive & June Long Lasting Top Coat
  • Sally Hansen Miracle Gel Neons Fuchsia Fever
  • Sally Hansen MG Neons Floresc-pink
  • Sally Hansen MG Lilac Insomniac
  • Born Pretty Stamping Plate — no longer available
  • NailStuff.ca Clear Stamper 

This pattern is reminding me of the dress Totally Hair Barbie wears, which was definitely inspired by Margot Robie’s look on the Barbie promotion tour. I thought the pattern would definitely give off 90s Barbie vibes, which was the look I wanted to portray with this manicure. I wanted you to look at it & your mind just immediately go to Barbie… which I think I managed to accomplish!

Plus it gave me an excuse to pull out some older Sally Hansen Miracle Gel Neons which was great timing because I just received a PR package featuring the Sally Hansen Miracle Gel 90s collection! & I can’t wear to play around with those asap.

What do you think of this Barbiecore nail design? Are you a fan of the current Barbiecore trend? Are you looking forward to seeing the new movie?

Let me know all your thoughts down in the comments below.

Happy Friday loves!

Barbie Glitter Nails 💗

Hello lovelies & happy Friday!

It’s a beautiful sunny Summer day here, & I feel like these nails are perfect for a Summer day. I actually wore this look most of the week, which is very unusual for me, so I figured I had to share! It’s a simple look, but also is a little extra fancy compared to just a plain design. & it’s giving me serious Barbie vibes.

The polishes I used for this manicure are: 

  • Base Coat: Londontown KUR Nail Hardener & Base Coat 
  • Top Coat: Seche Vive Fast Dry
  • Essie Worth the Tassel
  • ACO by Ardene Pop To It

I was actually debating which glitter I should apply over Worth the Tassel, as I have a few neon glitters from Ardene. But as soon as I applied this pink, I knew I made the right decision. & come on, you can totally picture Malibu Barbie wearing this manicure!

What do you think of this glitter look? Would you rock a Barbie-esque manicure like this? Let me know your thoughts down in the comments below.

& enjoy the weekend vibes!

Neon Squiggles ➰

Hello lovelies & happy Friday! I know, I skipped a day of posting this week — sometimes you just need a day to take a break & relax. But I’m back today & I have a manicure I’m really obsessed with. It has all the Summer vibes that I’ve been looking for.

I really loved a sponged neon base, & I just found my make up sponges the other day, so I knew it was time for another version of one of my favourite looks! & I couldn’t be happier with how it turned out.

The polishes I used for this manicure are: 

  • Base Coat: Londontown KUR Nail Hardener & Base Coat 
  • Top Coat: Seche Vive Fast Dry
  • Essie Blanc
  • Sally Hansen Miracle Gel Peach Please
  • Sally Hansen MG Sugar Crush
  • Sally Hansen MG Violet Voltage
  • Sally Hansen MG Electri-Lime
  • Sally Hansen MG Fuchsia Fever
  • OPI Who You Callin’ Bossy?!
  • NailStuff.ca 4mm Micro Detail Brush

Love this vibrant base, but obviously I needed to draw some kind of pattern overtop. It’s been a while since I tried one of these swirly looks, but I think it turned out really fun. I have no set plan going into it, I just tried to create something that looked unique… & I think I was successful! My ring finger is probably my least favourite of all my nails, but over all I love love love how it looks. I’m very happy with it!

What do you think about this neon swirl look? Are you busting out the neon now that the days are getting warmer? Let me know all your thoughts down in the comments below, & share what your favourite neon nail polish is down in the comments below!

Instagram Summer Treats Nail Art Collab 🍦

Hello lovelies — happy Friday. We have a weekend of rain in the forecast, which I’m so happy for because my entire province has basically been on fire this week, & we’re in desperate need of a reprieve from the heat. So everyone send rain vibes. 🌧️

Today, though, I’m sharing a look I did a week or so back for a nail art collab I joined! You might remember I did another one last month, & it was so much fun I thought I’d do it again! This time the theme was Summer Treats. & my favourite treat of the Summer: ICE CREAM!

The polishes I used for this manicure are: 

  • Base Coat: Londontown KUR Nail Hardener & Base Coat 
  • Top Coat: Seche Vive Fast Dry Top
  • Sally Hansen Good. Kind. Pure. Almond Tan
  • Sally Hansen G.K.P. Rock Steady
  • Sally Hansen Miracle Gel Neons Peach Please
  • Sally Hansen MG Neons Electri-Lime
  • Sally Hansen MG Neons Violet Voltage
  • Sally Hansen MG Neons Lemon Chillo
  • Sally Hansen MG Sugar Fix
  • Claire’s Melon Mania
  • NailStuff.ca 16mm Striper Brush
  • Large Dotting Tool (NailStuff.ca Dotting Tool Trio)

This is actually a recreation of a design I did all the way back in June 2016. I loved it so much the first time, I thought it would be perfect for this nail art collar — with some updates! I love the neon ice cream, I love my glitter “sprinkles”. I just think this whole look turned out too, too cute!

Don’t forget to check out all the beautiful designs on Instagram by checking out the hashtag #summertreatsnailartmanicollab2023 & see all the other beautiful designs that my fellow nail artist created! There are so many cute one!

Have a fantastic Friday! ♥︎