Negative Space Purple Gold Shatter Accent Nails

Hello lovelies & happy Wednesday. It’s a rainy one here on the East Coast.

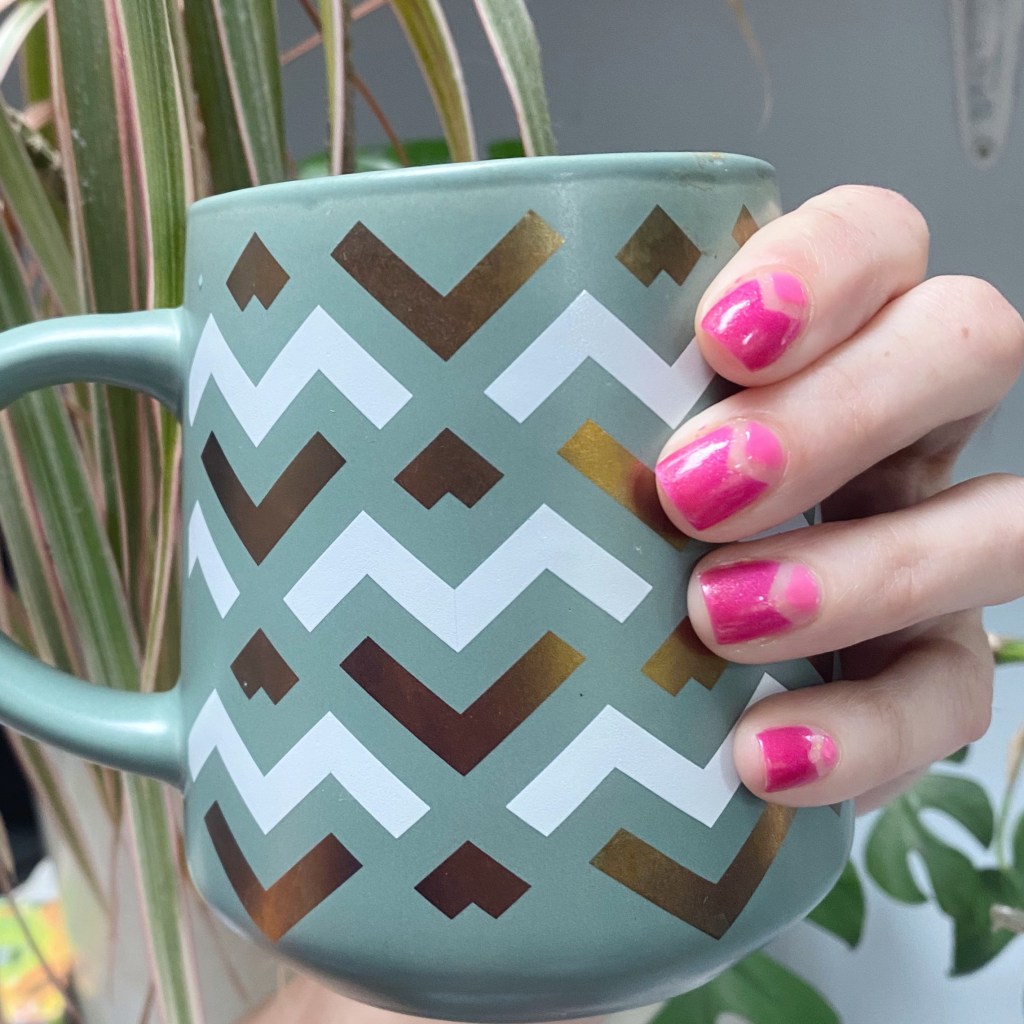
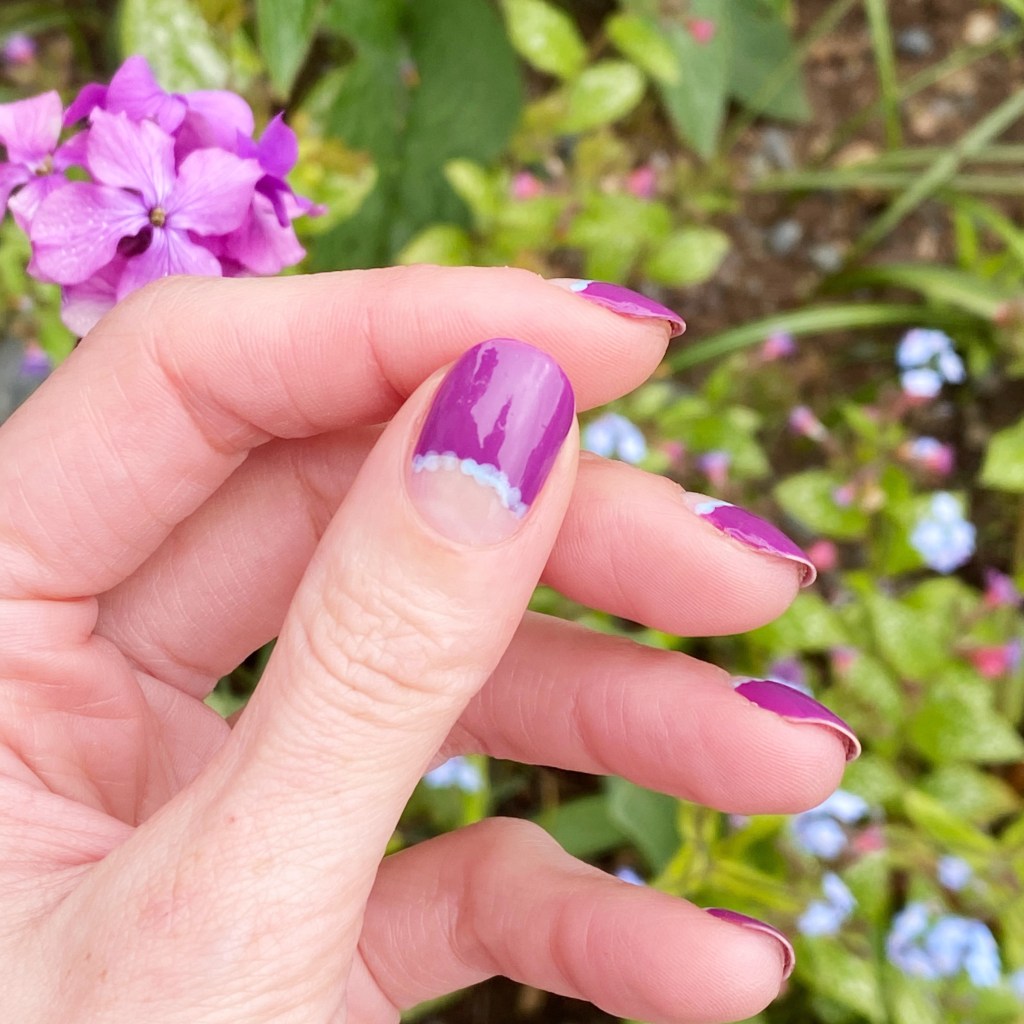
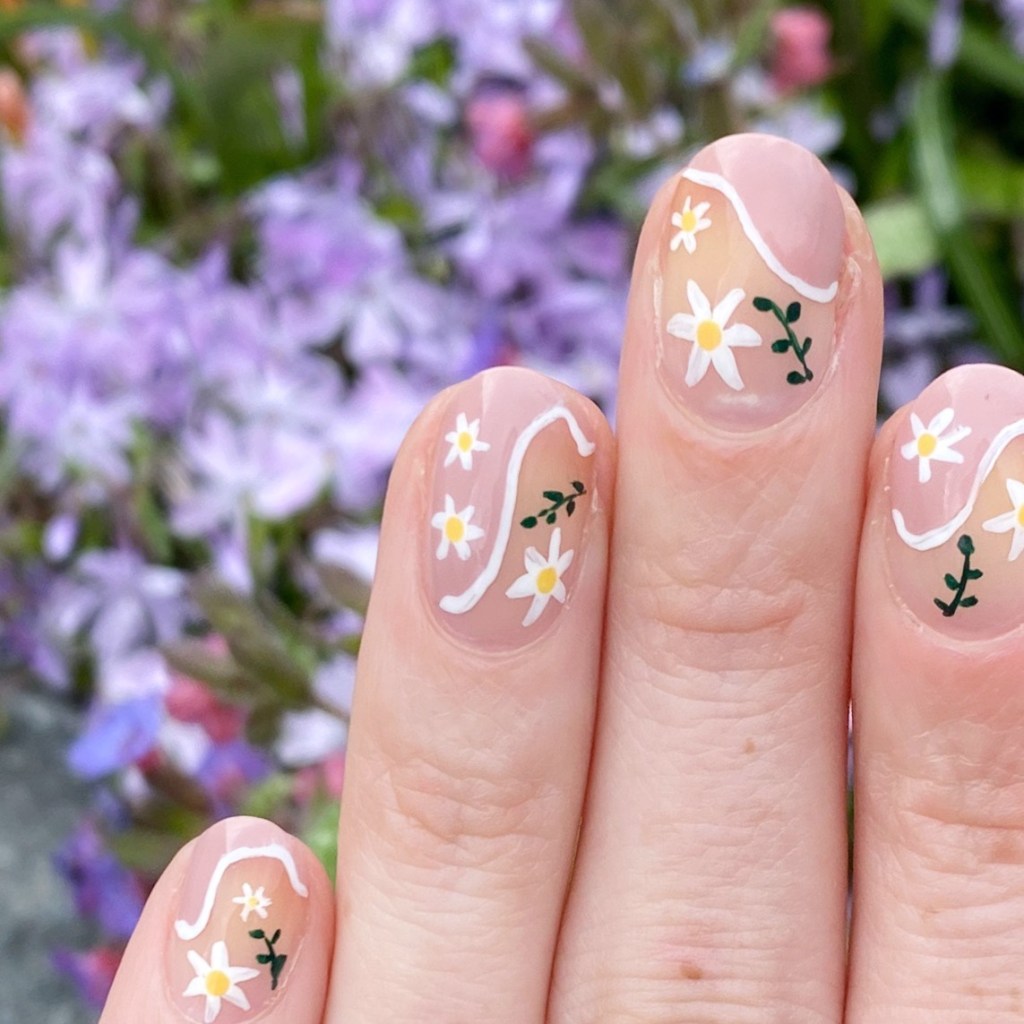
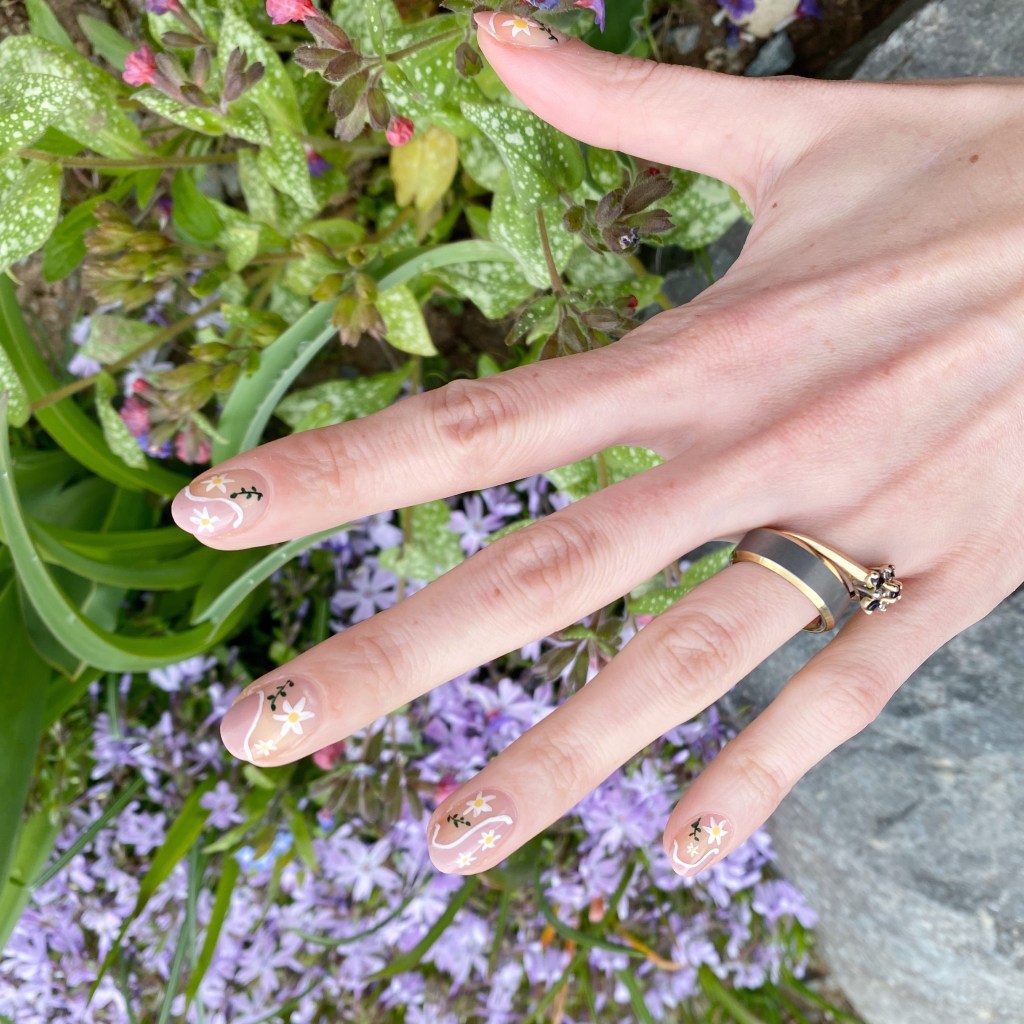
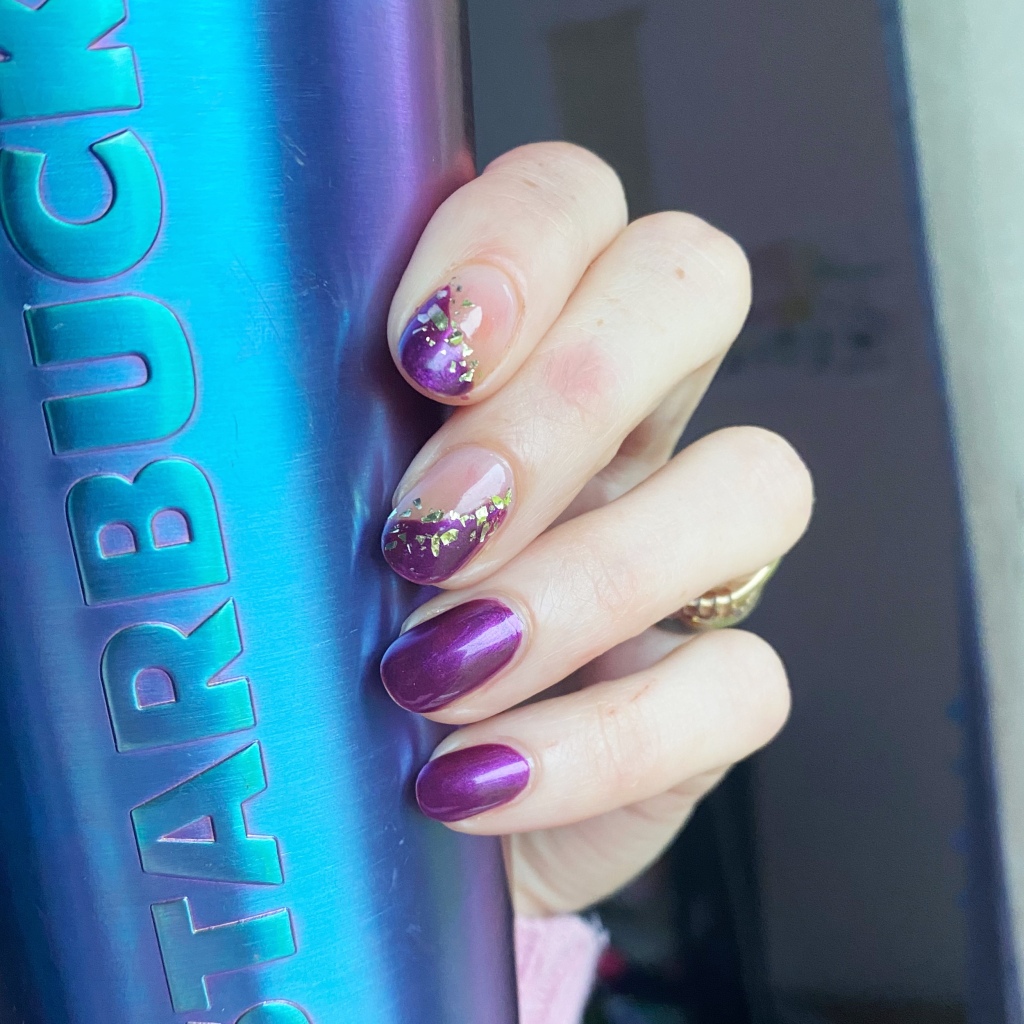
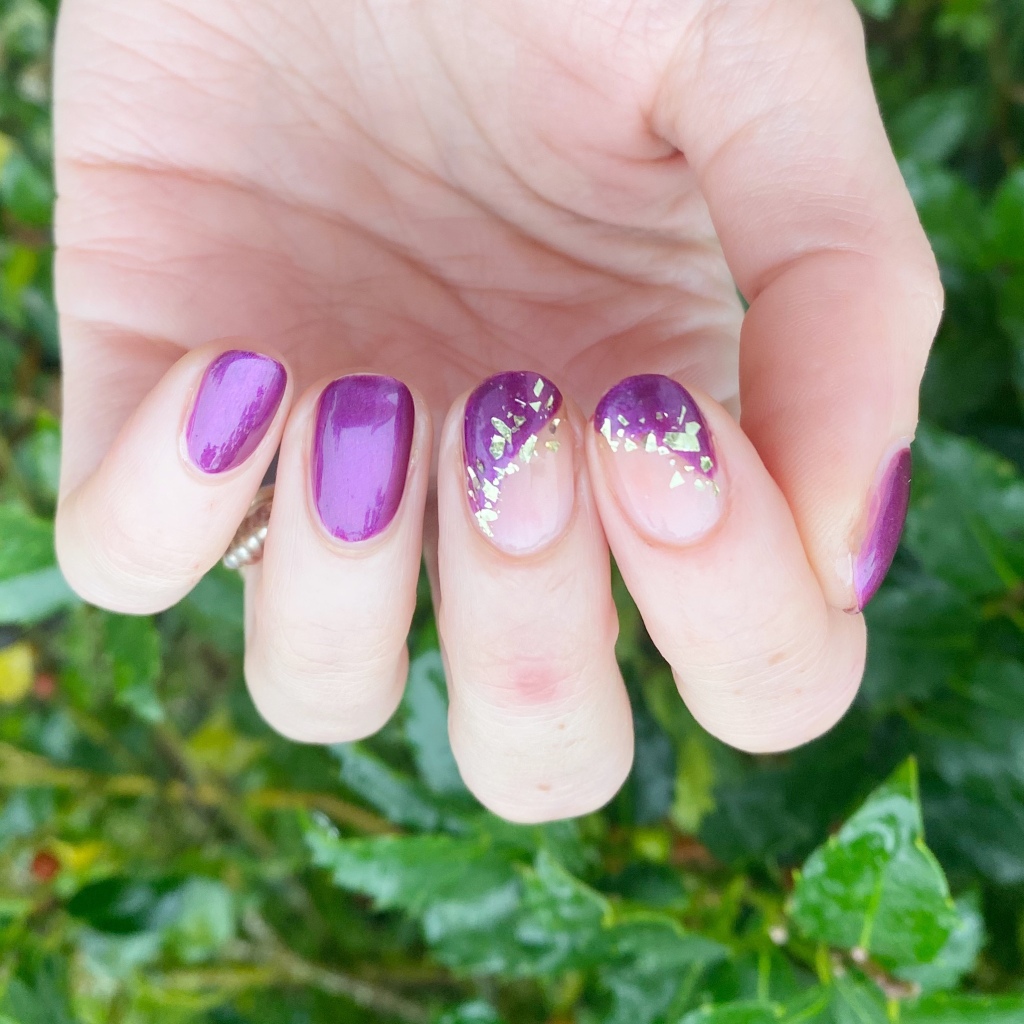
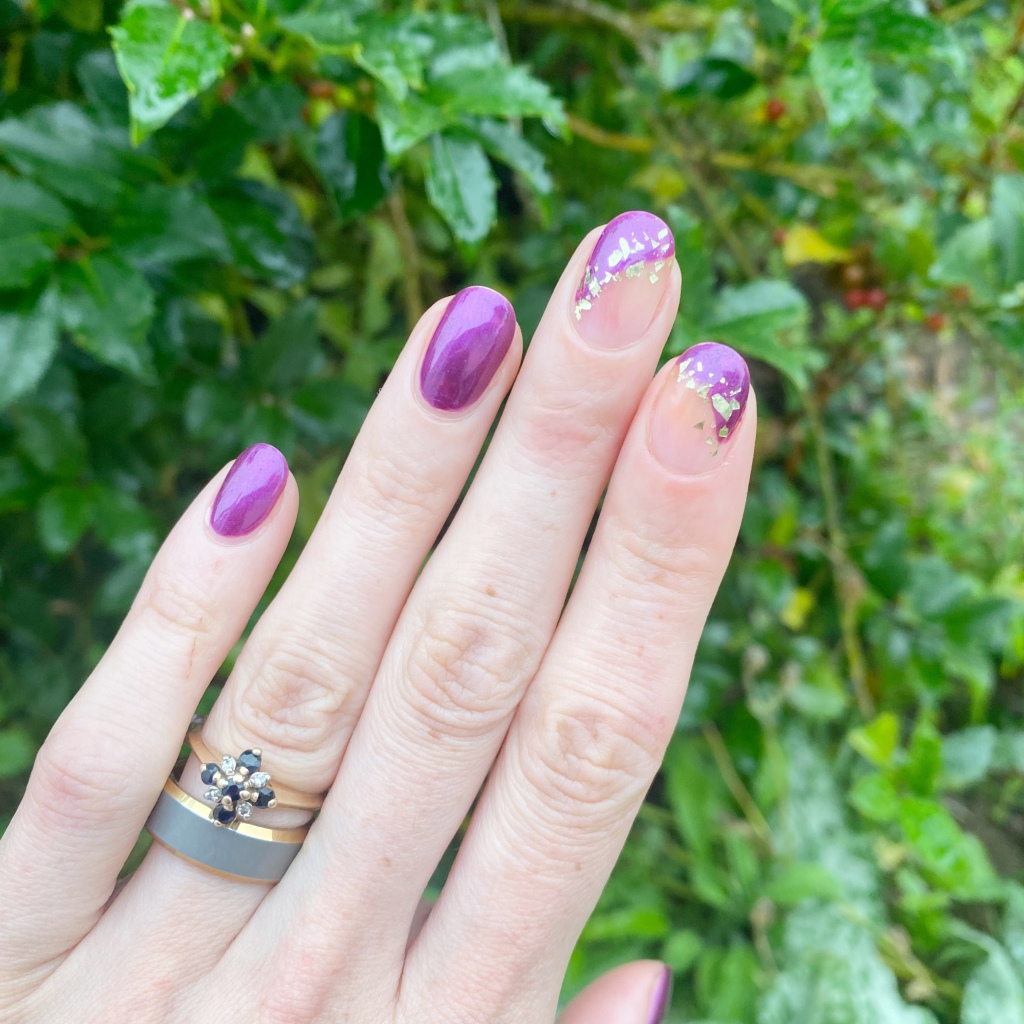
Today I’ve got some brand new nail art to share with you, that was inspired by a design my coworker showed me from Pinterest! I loved the negative space with gold foil, so I decided I recreate it with a more me colour — purple!

The polishes I used for this manicure are: 

  • Base Coat: Sally Hansen Miracle Gel Colour Grip Primer Base Coat 
  • Top Coat: Sally Hansen Miracle Gel Glossy Top Coat
  • OPI Suzi and the 7 Dusseldorfs
  • Essence Steel-ing the Scene
  • Dotting tool (NailStuff.ca Dotting Tool Trio)

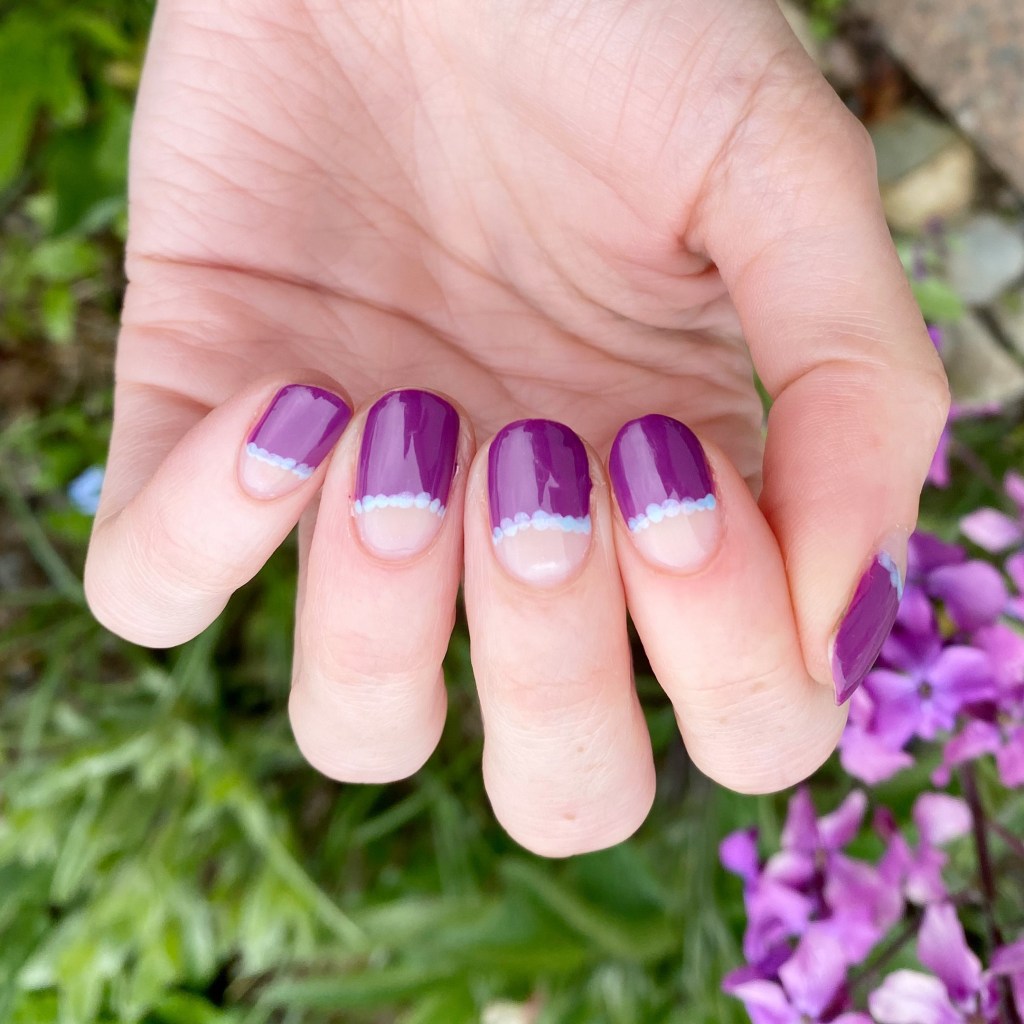
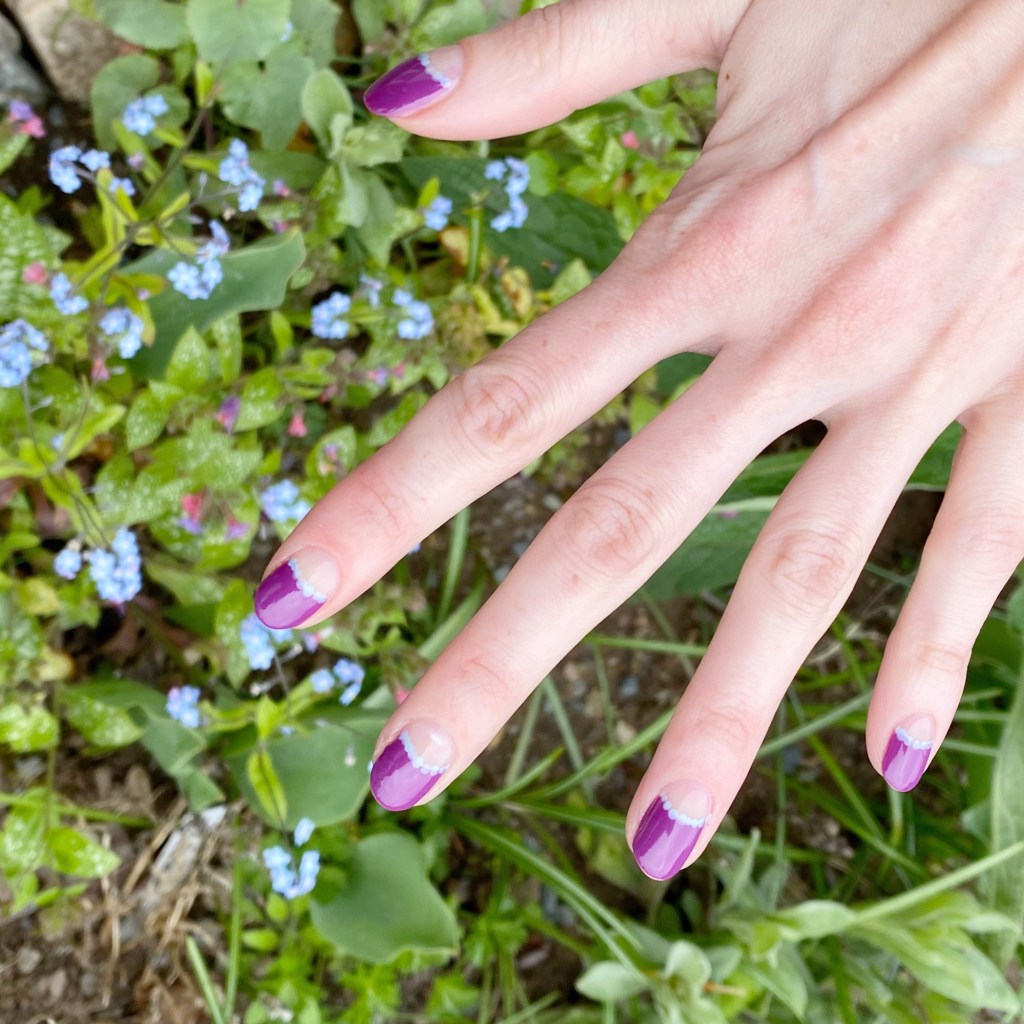
How fun is this look?

It was actually super easy to do, which make me happy. I decided to go with a gold shard glitter, instead of gold foil, but I think the overall look hits the same! & I was excited to pull out this purple shade, because it’s been a really, really long time since I last wore it. I forgot how pretty it was!

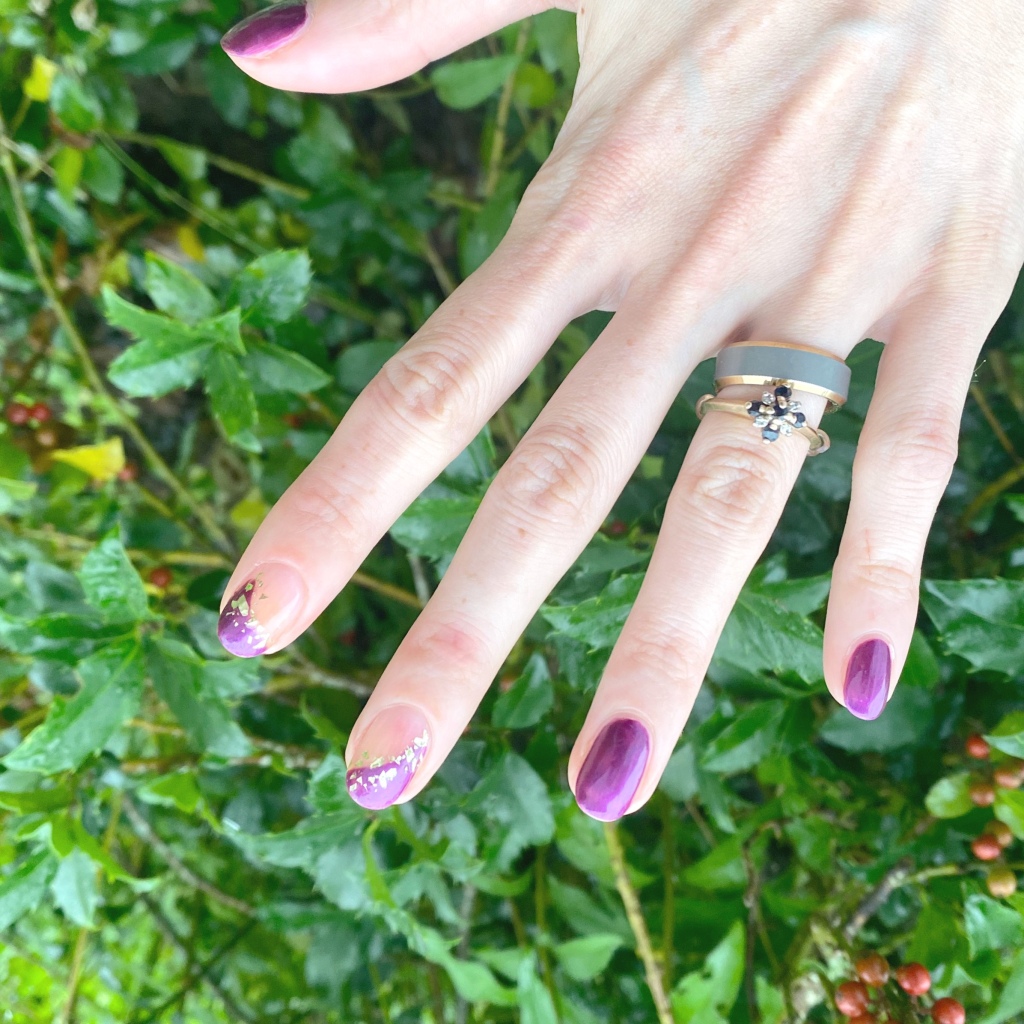
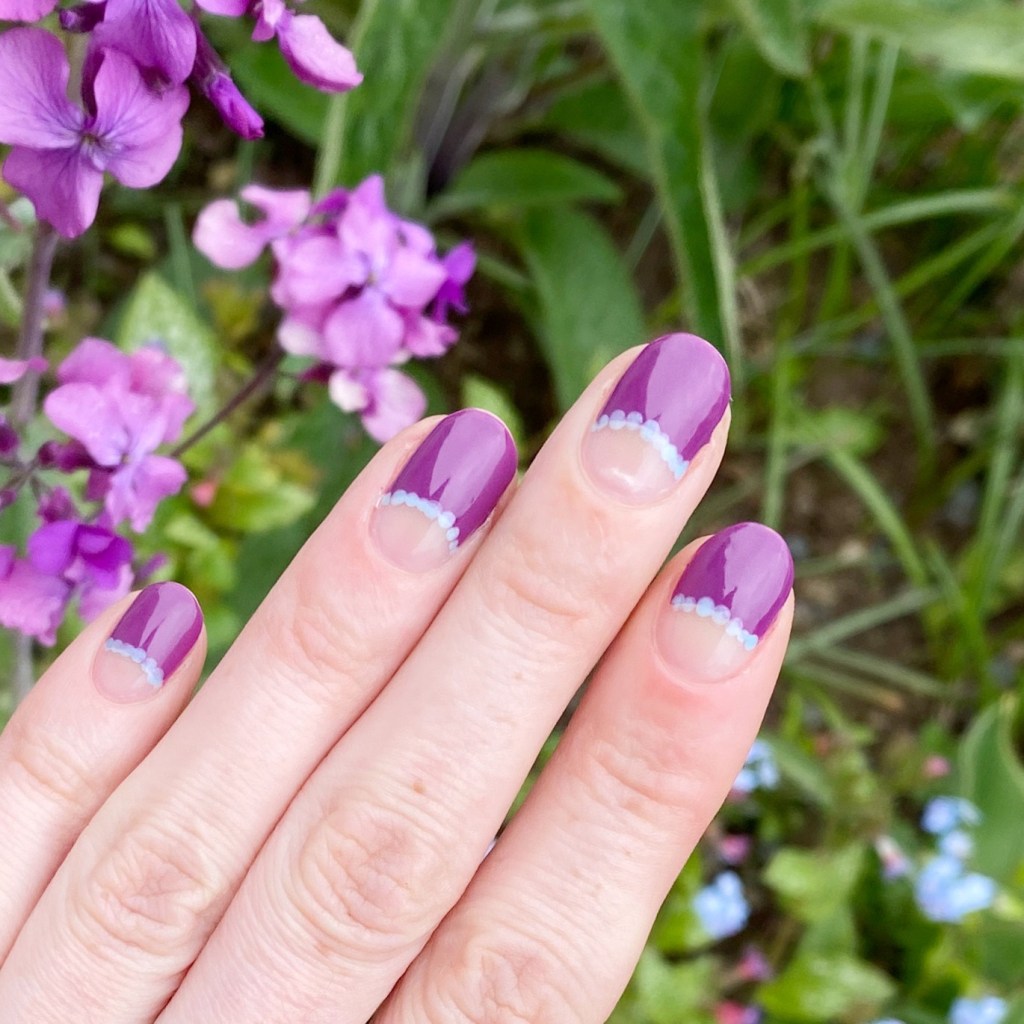
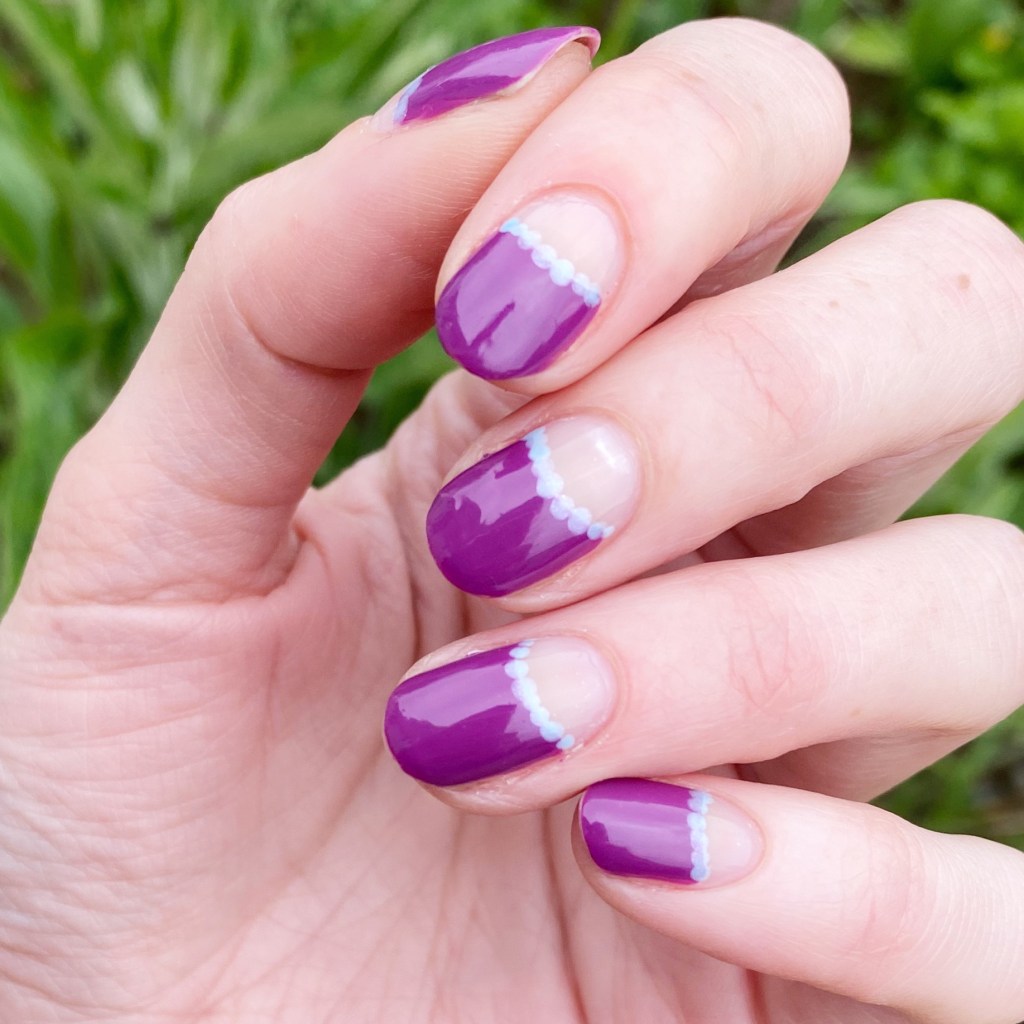
What do you think about this fun negative space accent look? Where do you get your nail art inspiration from? Let me know all your thoughts down in the comments below!

Barbiecore Chevron Moons 💗🌙

•contains pr/gifted product•

Hello lovelies & happy Friday! I hope everyone has had a lovely week. It’s (almost) the weekend!

I’m super pumped because I am going to see Barbie tonight for a Bachelorette thing — my first time to the movies since I was pregnant with my now six year old! I’m so excited for this movie, so naturally I had to do some Barbie pink nails for the occasion. & I knew that the new pink shades in the Sally Hansen Miracle Gel 90s collection were the perfect choices for my vibrant Barbie look!

The polishes I used for this manicure are: 

  • Base Coat: Sally Hansen Miracle Gel Colour Grip Primer Base Coat 
  • Top Coat: Sally Hansen Miracle Gel Glossy Top Coat
  • Sally Hansen Miracle Gel Glazed Top Coat (over my base coat)
  • Sally Hansen Miracle Gel Nostalchick
  • Sally Hansen Miracle Gel Beet Me At The Mall
  • TheBaseCoat Stacked Chevron vinyls

I truly think that chevron moon designs (like this) still remain one of my all time favourite nail art looks! & it’s been so long since I did one, which is kind of crazy.

But if there was ever a perfect Barbie nail art look, this one might be it. & I’m very excited to show off this nail art look when sipping my Diet Coke at the movies tonight!

What do you think of my Barbiecore chevron moons? Are you excited for the Barbie movie? Will you be painting your nails special to see it in theatres? Let me know in the comments below!

💗

Negative Space Purple Moons

Hello lovelies & happy freaking Friday! The weekend is upon us, & the end of the month is quickly approaching. I feel like May just started, & now it’s almost June? Crazy!

Today I’m showing off another fun Spring/Summer look that’s actually super easy to do. I’ve kind of been leaning back into my easier nail art, mostly because sometimes (or, a lot of the time) I’m quite tired at the end of the night when I go to do my nails. So I’ve been leaning back on go to easy nail art looks. It’s a combination of easy to do, but also super cute! The best kind of nail art.

The polishes I used for this manicure are: 

  • Base Coat: Londontown KUR Nail Hardener & Base Coat 
  • Top Coat: Seche Vive Fast Dry Top
  • Sally Hansen InstaDri VaVa Violet**
  • Sally Hansen InstaDri Glos-Sea**
  • NailStuff.ca Dotting Tool Trio
  • Paper Hole Reinforcements

**Both purchased at Shoppers Drug Mart & currently in stock

How cute are these two colours together? My original plan had been to use Glos-Sea as the moon, topped with Va Va Violet but it was already pretty late at night, & I was feeling sleepy, so I decided a negative space moon would look great… & I was right! I think I like it even more than if I had used the blue for my moon.

What do you think about these negative space moons? Do you like this colour combination? What is your favourite colour combination together for a look like this? Let me know all your thoughts down in the comments below!

Have a happy Friday ♥︎

Dainty Negative Space Floral 🌿🌸

Hello lovelies & happy Monday!

Today I’m starting off this week with another floral look. At this point, you can pretty much expect that I’ll be posting a floral design at least once a week for the foreseeable future. I’m kind of obsessed. Today’s look was another one of those random designs I kind of came up with in my head, & was beyond happy to bring to life on the nail. I really just wanted something dainty, & I think was successful in creating that.

The polishes I used for this manicure are: 

  • Base Coat: Londontown KUR Nail Hardener & Base Coat 
  • Top Coat: Seche Vive Fast Dry Top
  • Essie Gel Couture Princess Charming
  • Essie Blanc
  • Essie Check Your Baggage
  • Essie Off Tropic
  • NailStuff.ca Mermaid Tail Brush Trio
  • NailStuff.ca Dotting Tool Trio

I’m kind of obsessed with how this turned out. I decided to go minimal on my floral — I usually use multiple polishes for each flower & my leaves — & I love how it looks. It’s clean & simple, which is exactly the look I was craving. A nice palate cleanser for the nail. I also really like that Princess Charming is quite neutral, so it doesn’t stand out too much on the nail & keeps that naked look I was going for.

What do you think about this dainty negative space floral design? Do you like simpler cleaner looks like this, or more bright & colourful nail art designs? Let me know all your thoughts in the comments below!

You know you can count on me to do a nice mix of both.

Have a super amazing Monday. ♥︎

Teal & Blue Colour Block French Manicure

Good morning loves & happy Thursday. It’s almost the weekend!

I hope everyone’s week is not too crazy. I’ve just been wistfully sitting here, wishing for Spring. Every time I look at the dresses in my closet, I can’t help but wonder… how much longer? So I decided another bright & colourful manicure was in order. But… I’ll be honest. I’ve been very wrapped up in all the Vanderpump Rules drama going on, so I also needed something not too involved.

So naturally I decided a bright & colourful colour block French design would be perfect. Quick, easy, & gorgeous!

The polishes I used for this manicure are: 

  • Base Coat: Essie Hard To Resist Glow & Shine 
  • Top Coat: Seche Vite Fast Dry Top Coat
  • Sally Hansen Miracle Gel X FRIENDS The One With The Teal (PR/gifted)
  • Sally Hansen Miracle Gel Beatnik

Okay, so I did this look completely 100% freehand, & even I can’t believe how clean & straight I managed these lines. Also, I really like the kind of asymmetrical look of this design, as opposed to my usual (similar) colour block looks. But the colours — the colours are definitely my favourite part. This pop of colour is exactly what I needed, & I didn’t even realize it. I’m obsessed.

It’s just a really fun, easy look with an endless possibility of colour combinations. I’m so happy with how they turned out.

What do you think about this colour block French manicure look? Do you think this is a great design & pop of colour for Spring? I’d love to know what colour combination you would choose for this look, so let me know down in the comments below!

Have a lovely Thursday! ♥︎