Hello lovelies! & happy Monday. This month I’ve decided to try something different & dedicate myself to a nail art challenge. This is not the first time I’ve attempted a nail art challenge, but when I saw the prompts for the Glams Nail Challenge for August, it seemed a little less daunting than those I’ve attempted in the past… while still sparking some creative new designs!
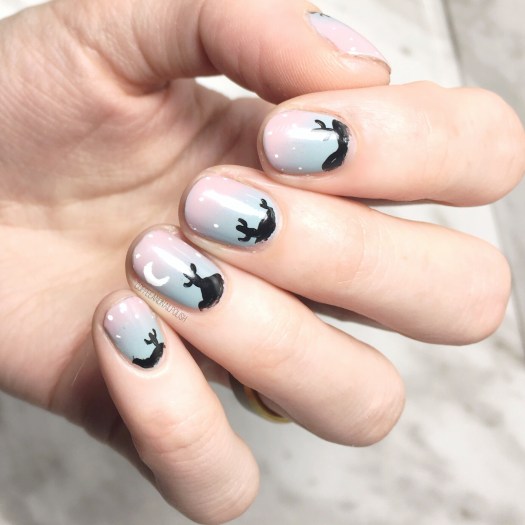
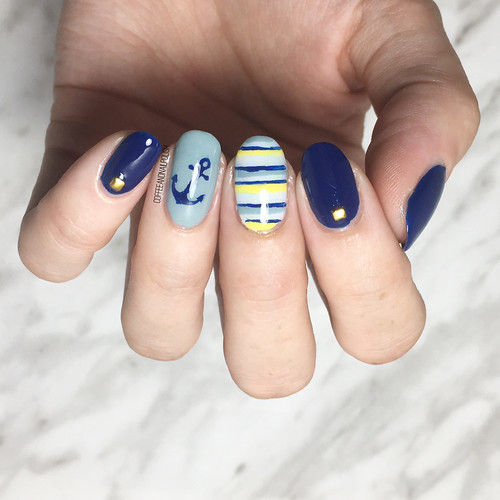
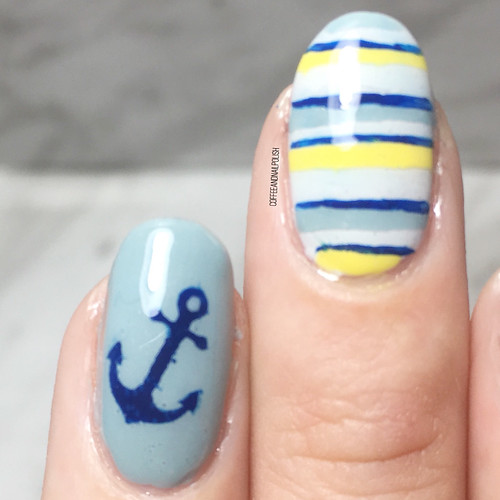
There are 8 prompts for the month of August, starting with Nautical Nails! It’s been quite a while since I attempted any kind of nautical design, so I was very excited for the opportunity. Plus it gave me a chance to test out a colour combination I’ve really wanted to do for a while.


For this manicure, the polishes I used were:
- Base Coat: OPI Nail Eny
- Base Coat: Quo by ORLY Bonder
- Top Coat: Essie Gel Couture
- Morgan Taylor Baby It’s Bold Outside
- Essie Parka Perfect
- OPI I Cannoli Wear OPI
- OPI I Just Can’t Cope-acabana
- What’s Up Nails Anchor Vinyls
- Skinny & Wide Striping Tape
- NailStuff.ca Mermaid detail brushes
- NailStuff.ca small gold studs from Gold Mixed Decoration Wheel

I honestly can’t remember the last time I did any nautical themed nails, so I was excited for the inspiration to give it a fresh go!
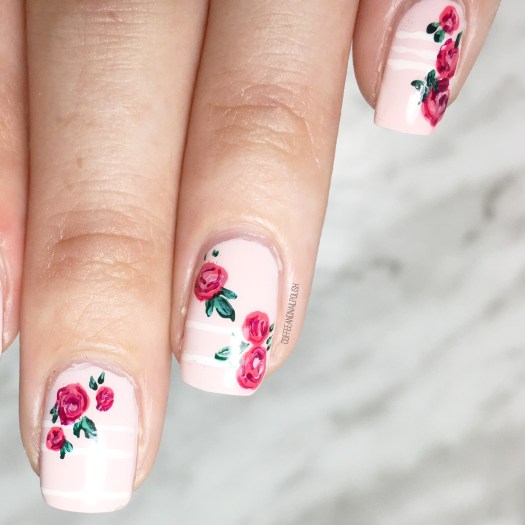
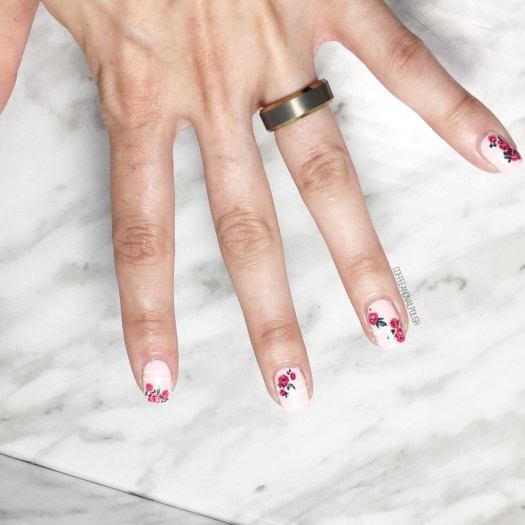
I’m absolutely smitten with how this look turned out. The colours go really well together & I like how it’s not your typical colour scheme for this kind the yellow has that nice pop of colour, & is a little bit different. It’s so funny, because a few years ago my best friend got married in a nautical themed wedding, & these nails would have been perfect for us bridesmaids to wear — matches her colour scheme she had used too! For reference, these were the nails I wore to her bridal shower in the Wedding colours.

What do you think about these nautical nails? What colour scheme would you use to recreate this design? Let me know down in the comments below & stay tuned this month for more fun new designs thanks to the Glam Nails Challenge!