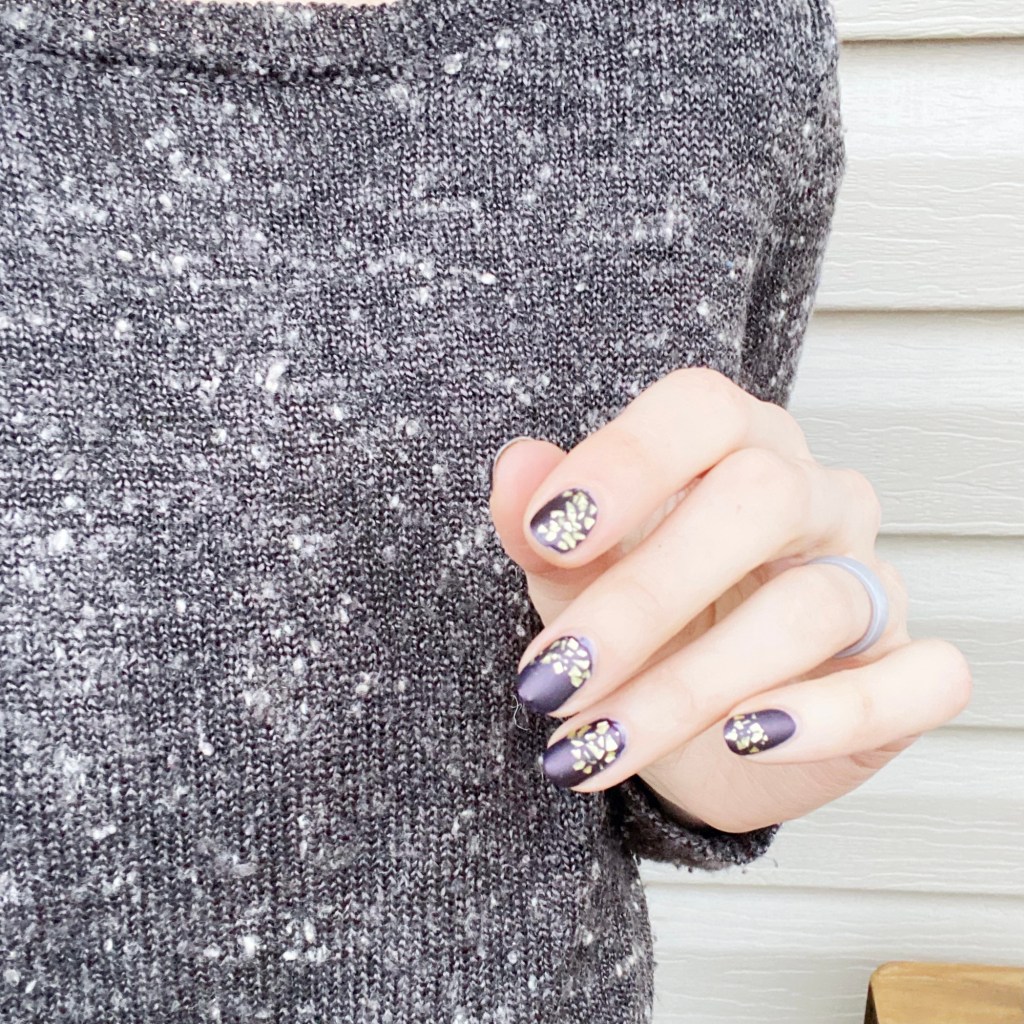
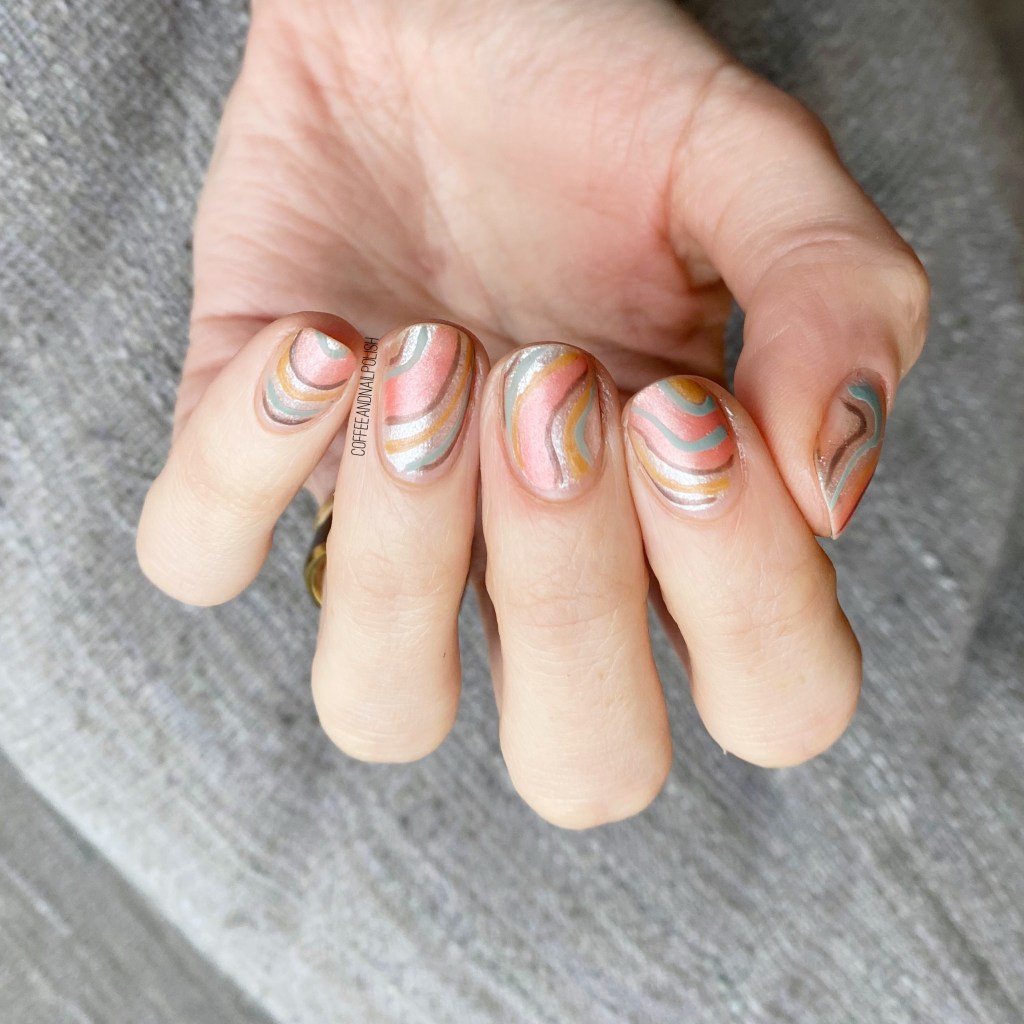
Good morning lovelies & happy February! It’s officially the month of love. 💗 But before I jump headfirst into all pink, all the time, I thought I would share a look a I created a week or so ago, when I was feeling the grey January blahs.
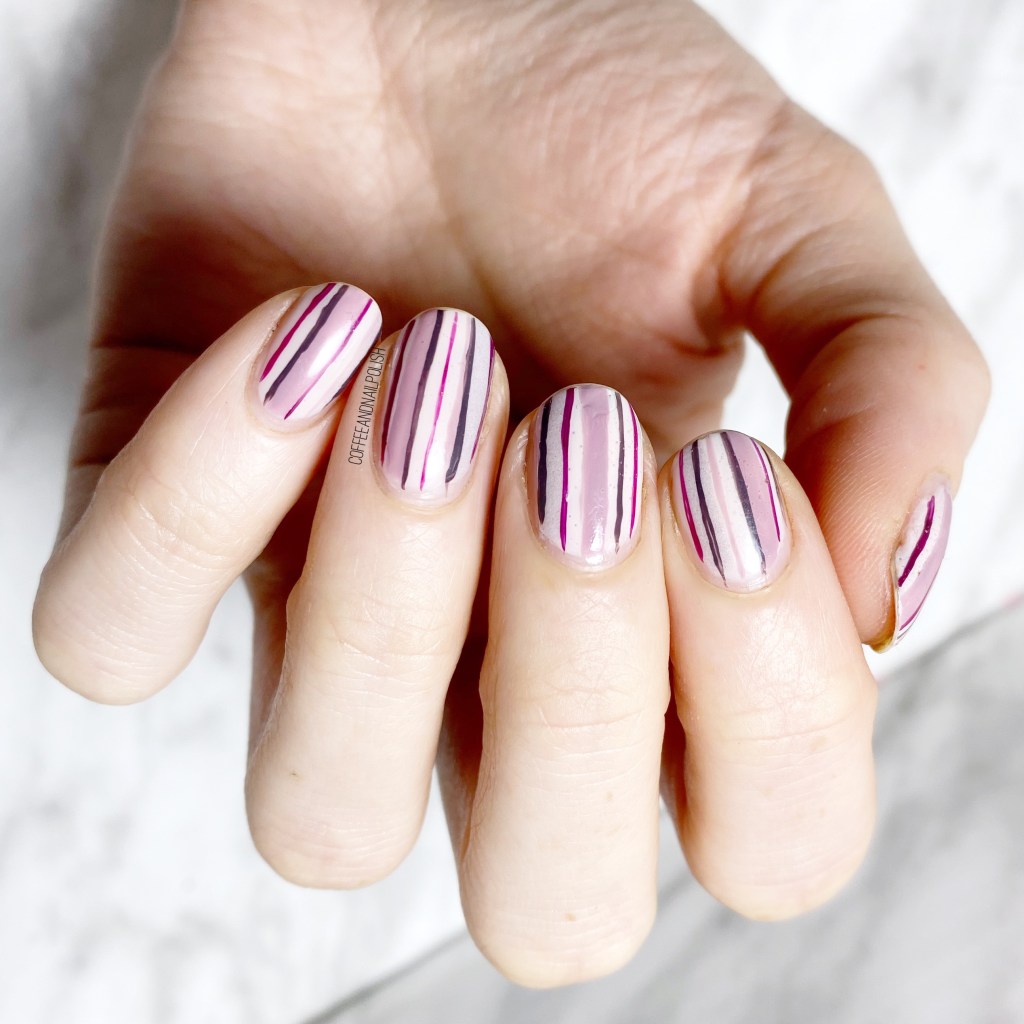
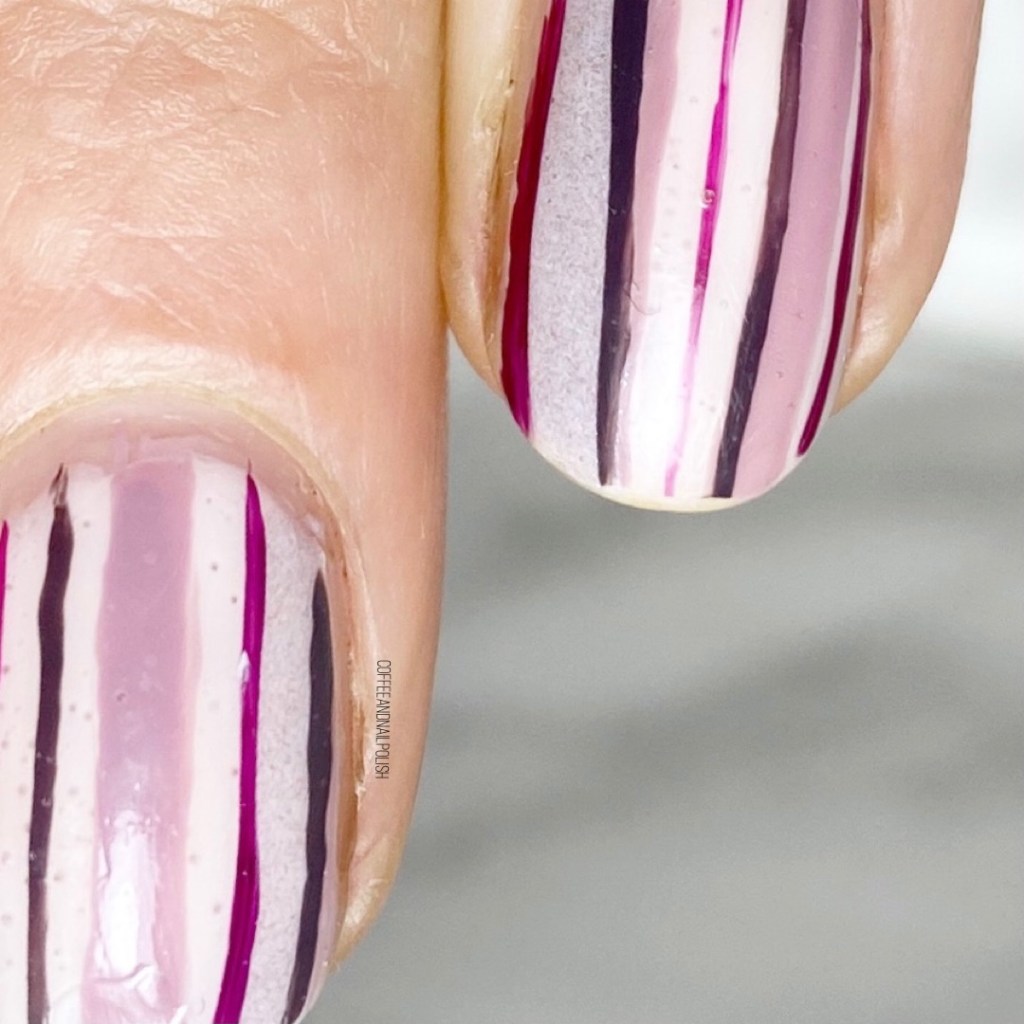
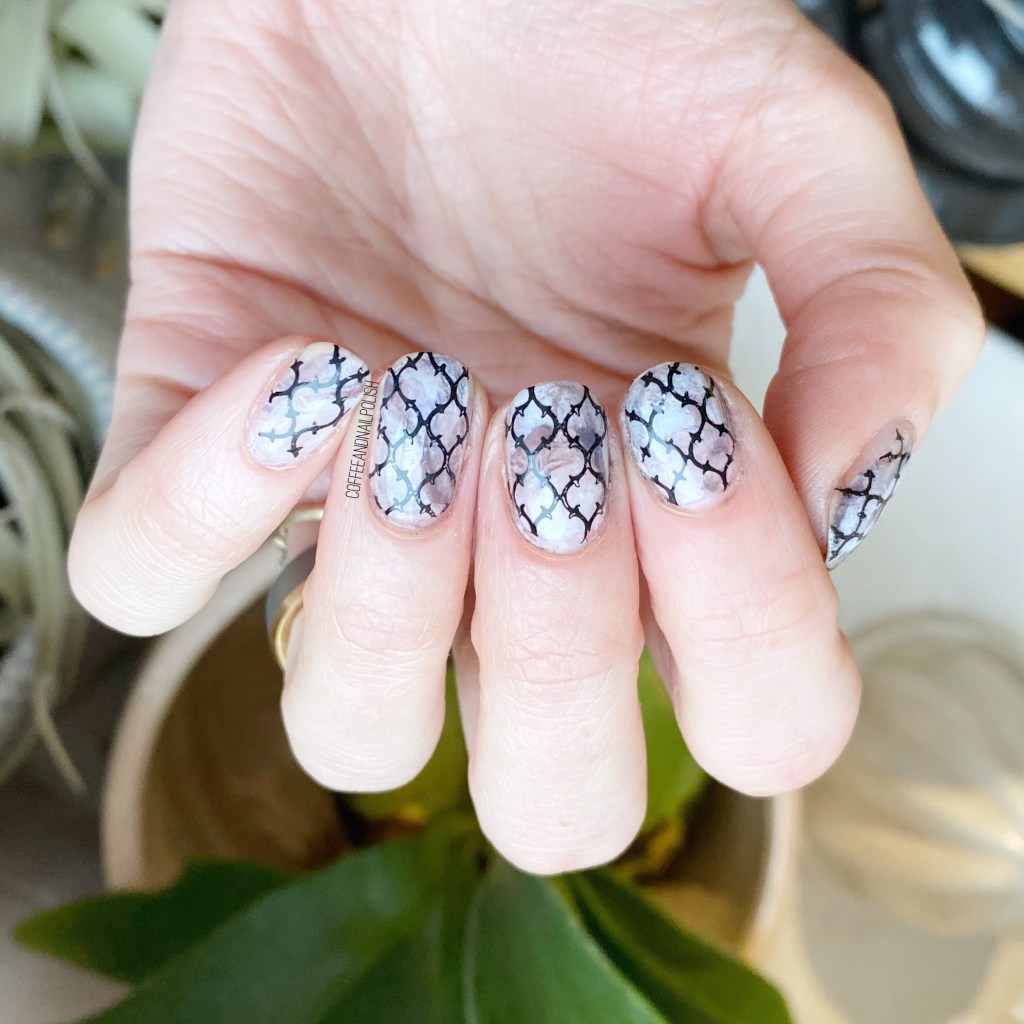
Today’s look started out as just a grey smooshy design, which was lovely, but looked like the perfect base from some tile inspired nails! So I pulled out one of my many stamping plates I don’t use nearly enough, & switched things up!

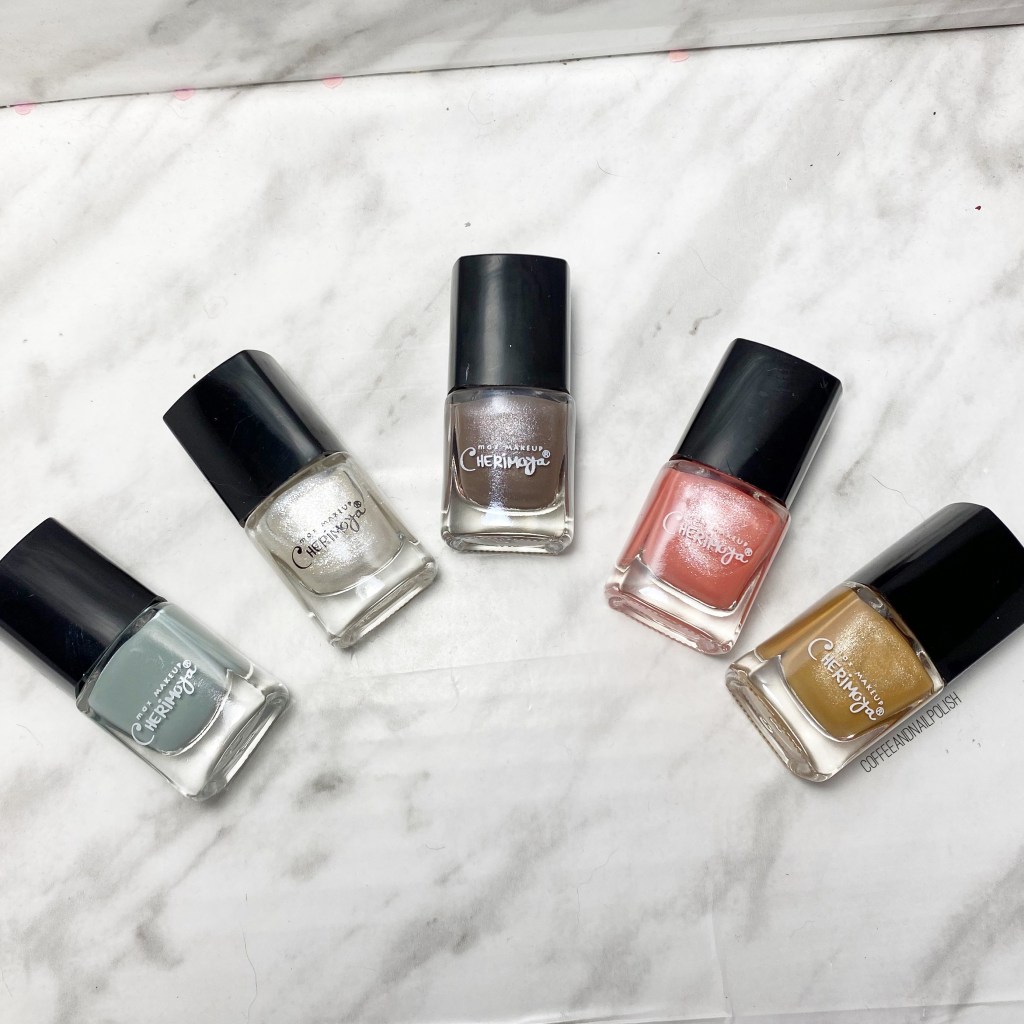
For this manicure, the polishes I used were:
- Base Coat: Essie Strong Start
- Top Coat: Sally Hansen Miracle Gel Top Coat
- Sally Hansen Miracle Gel Get Mod
- Sally Hansen Xtreme Wear Grey Area
- Essence Rock My World!
- Starrily Vantablack
- NailStuff.ca Clear Stamper (COFFEE10 saves you 10%)
- Born Pretty Store stamping plate BP-L003 (item #17921) — quatrafoil image (no longer available)

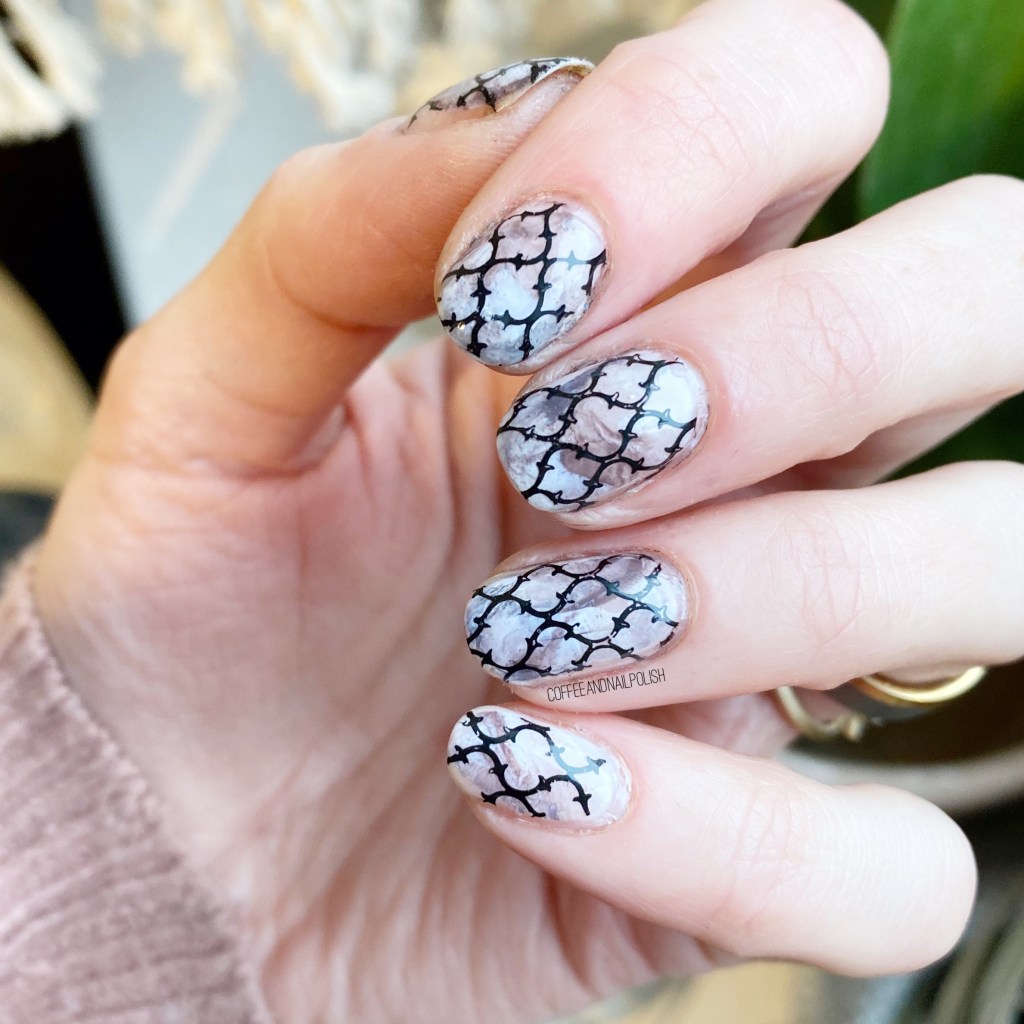
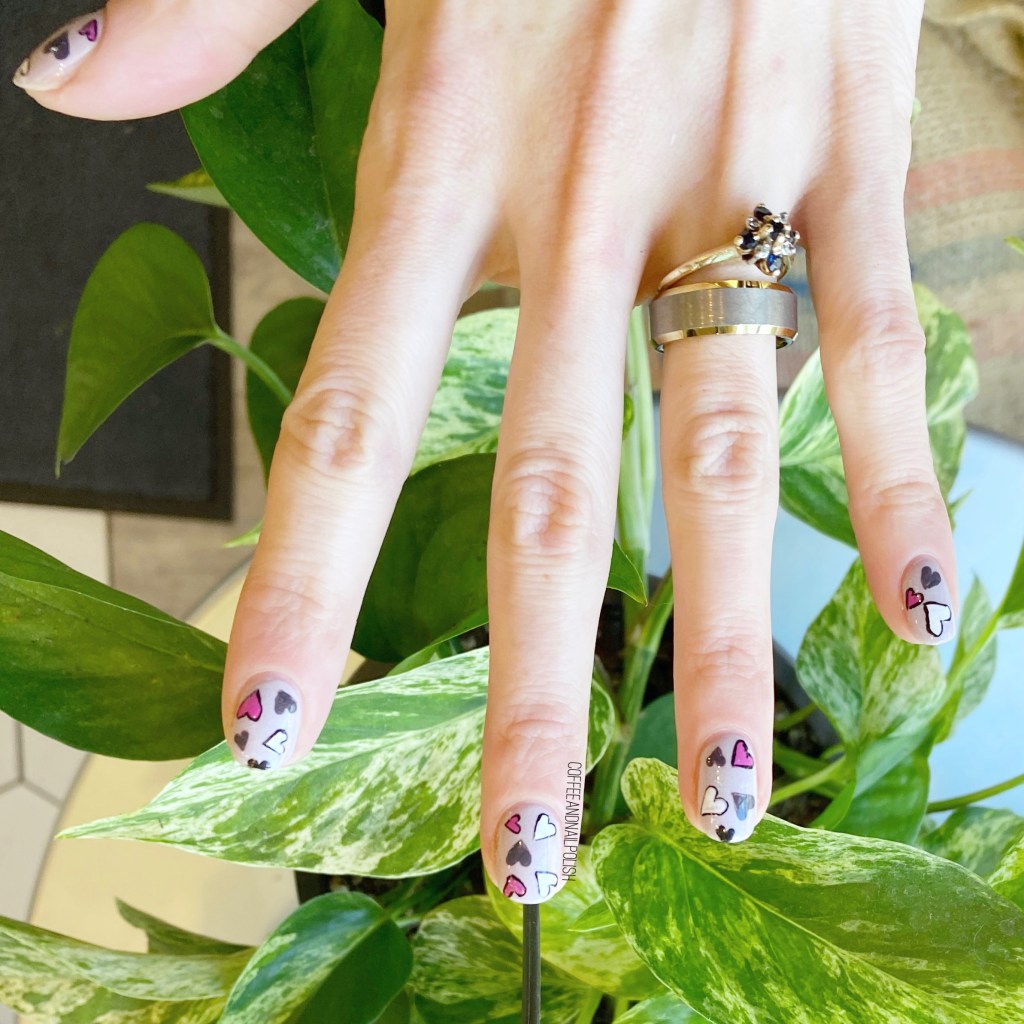
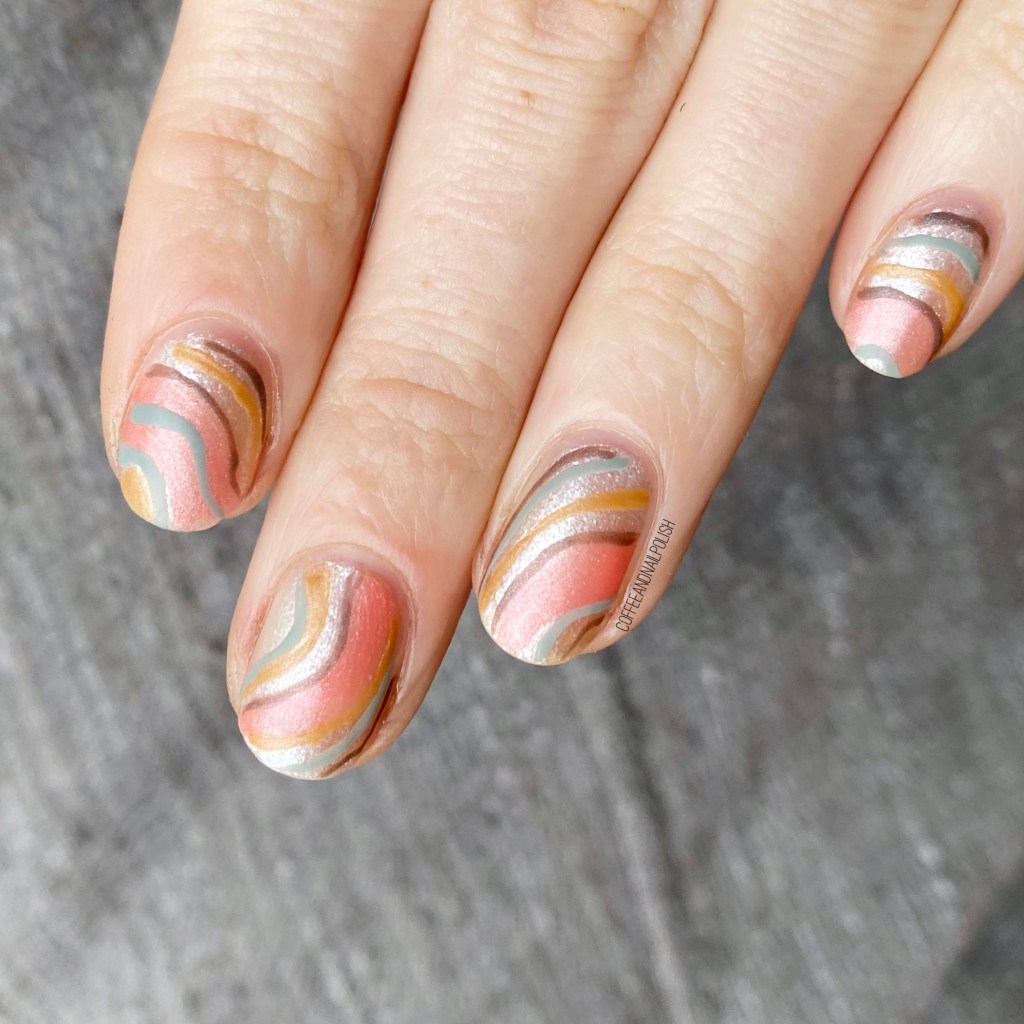
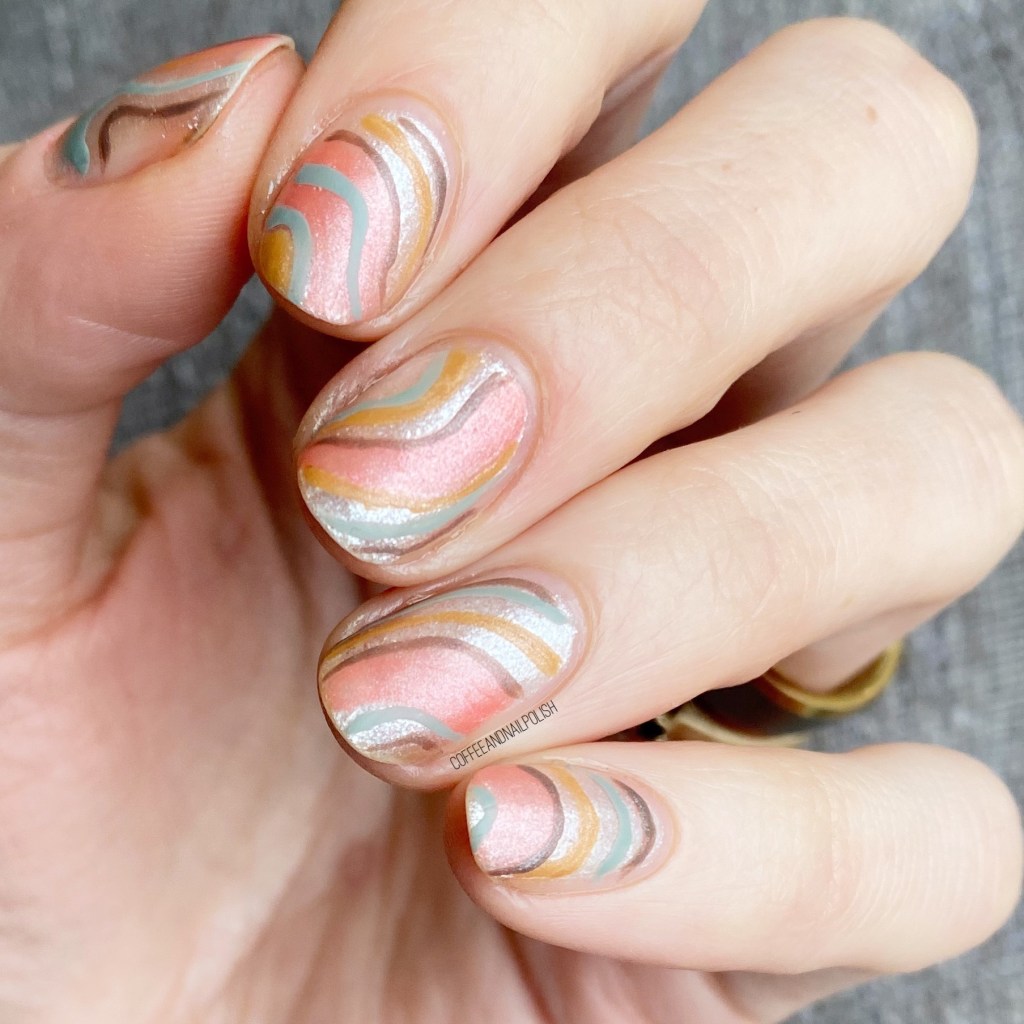
Seriously, how pretty is this greyscale look? I love how the base isn’t super in your face, & then the black really pops against it. Completely achieves the look I was trying to accomplish, & who wouldn’t want tile like this in their house? I know I certainly would! Plus it looks gorgeous posed against the greenery in my background (a plant shelf at work, right beside the window — the perfect nail art background!)

What do you think about this greyscale quatrefoil design? Would you wear something like this?