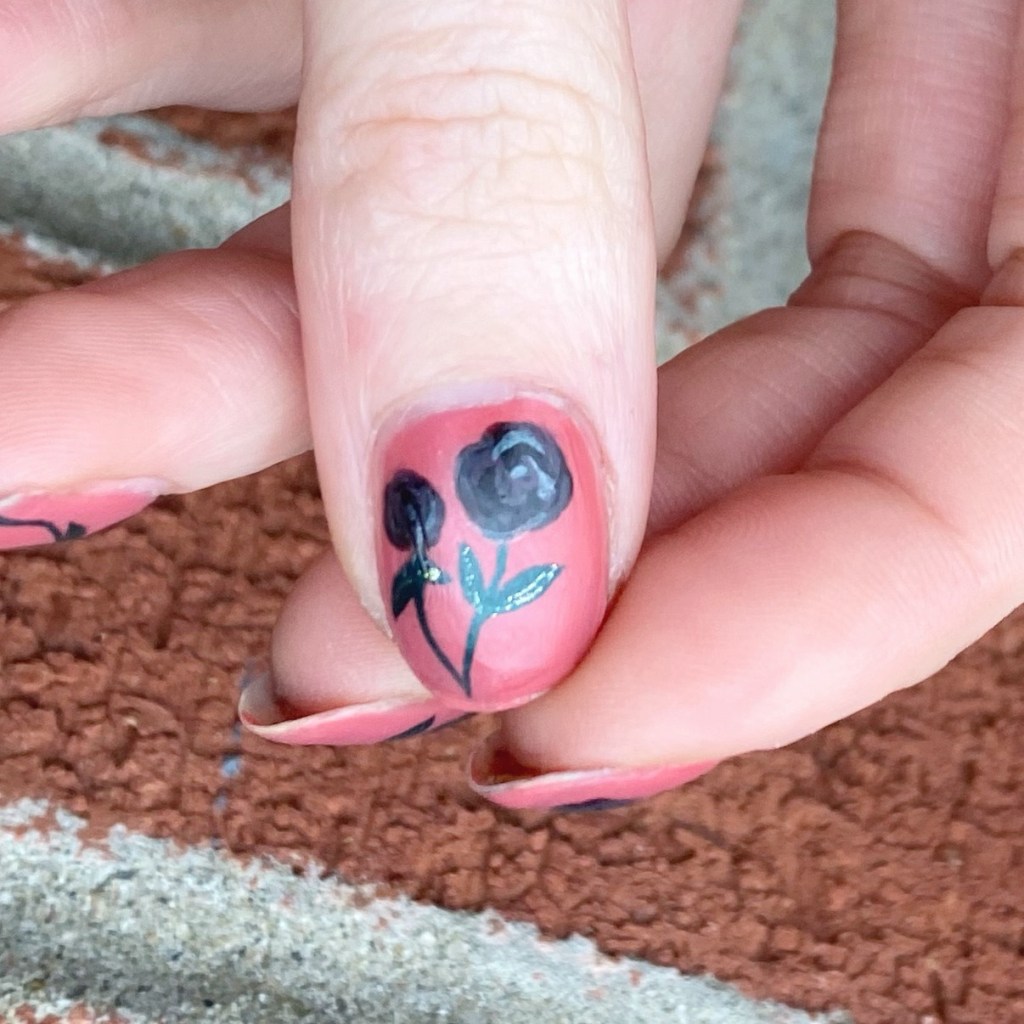
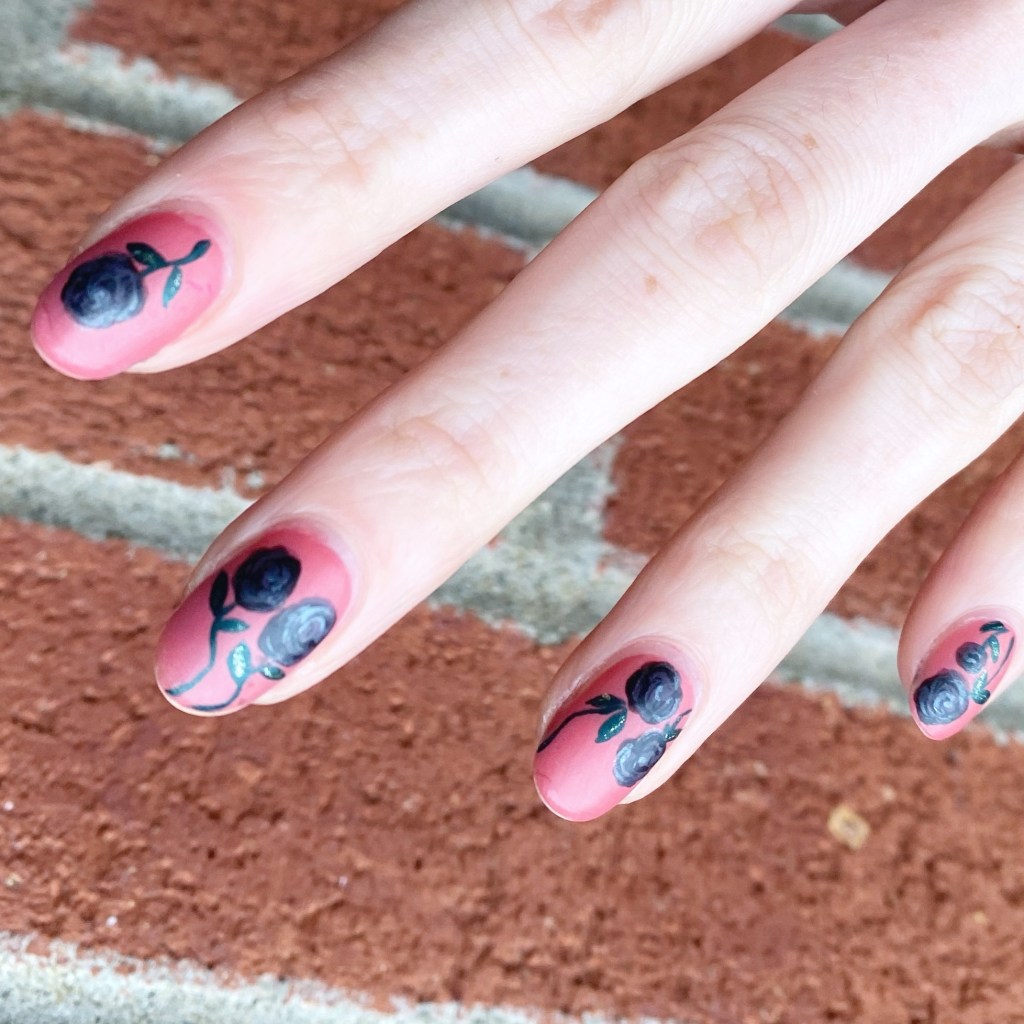
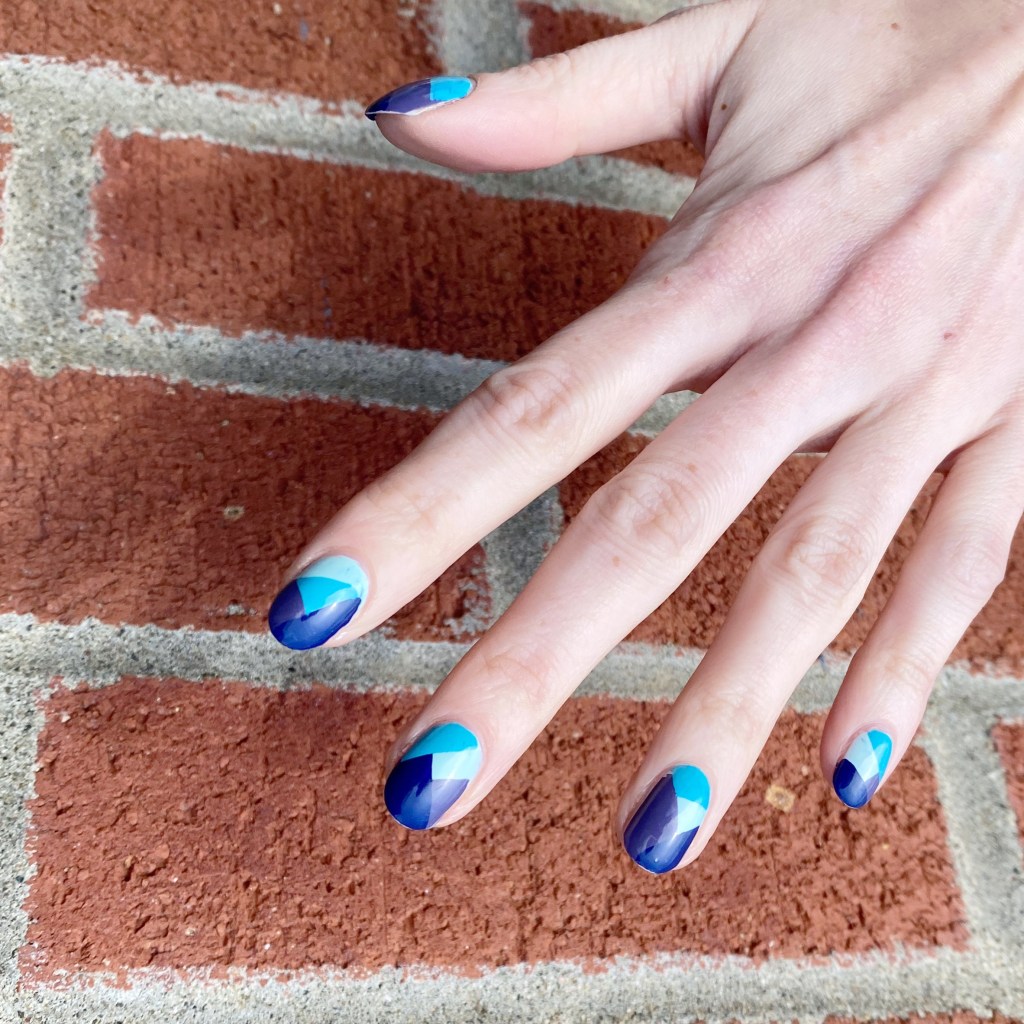
Hello lovelies & happy Wednesday! Sorry for my absence on Monday — this has been a rough month, creatively speaking. I’ve really had to push myself to want to do nail art, which isn’t like me at all. But today I have a fun nail art look I did on the weekend. This was actually the last nail art look I did before an epic nail break, so expect super short nails in upcoming posts!

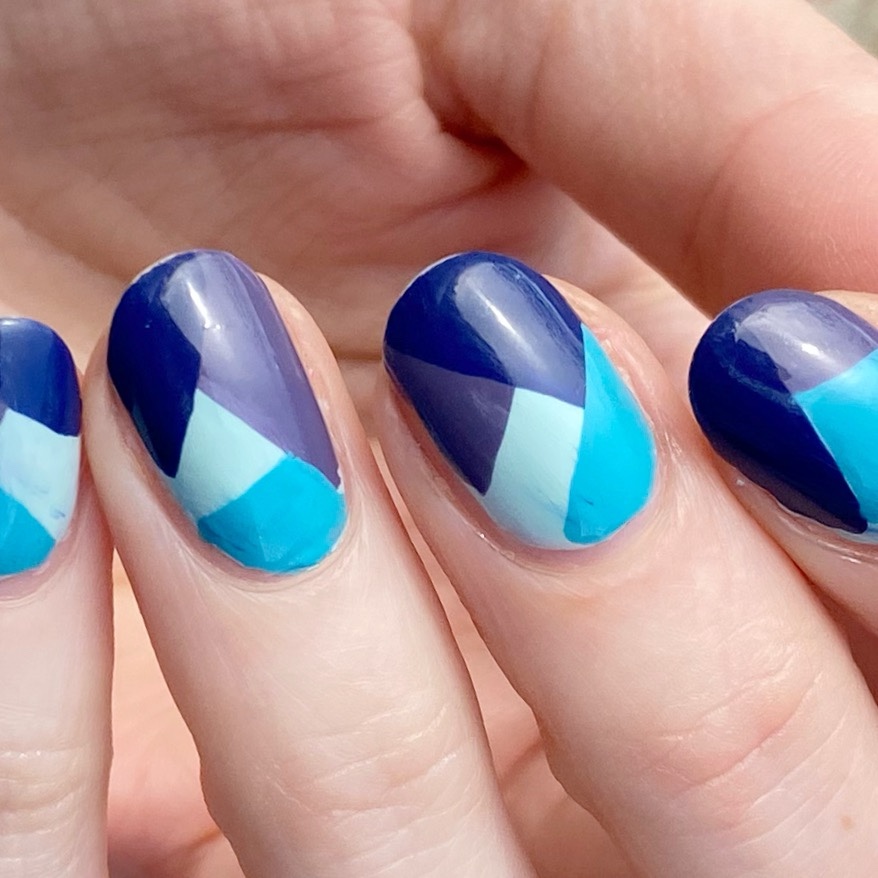
The polishes I used for this manicure are:
- Base Coat: China Glaze Calcium Gel Fortifer
- Top Coat: China Glaze Fast Forward Top
- Essie Mint Candy Apple
- Essie In My Cab-ana
- Essie License to Thrill
- Essie No Ex-pectations
- Nailstuff.ca Mermaid Tail 7mm liner brush

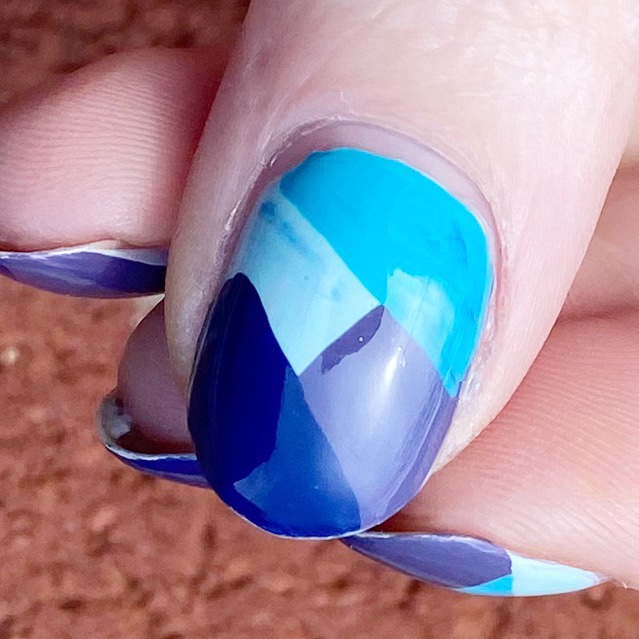
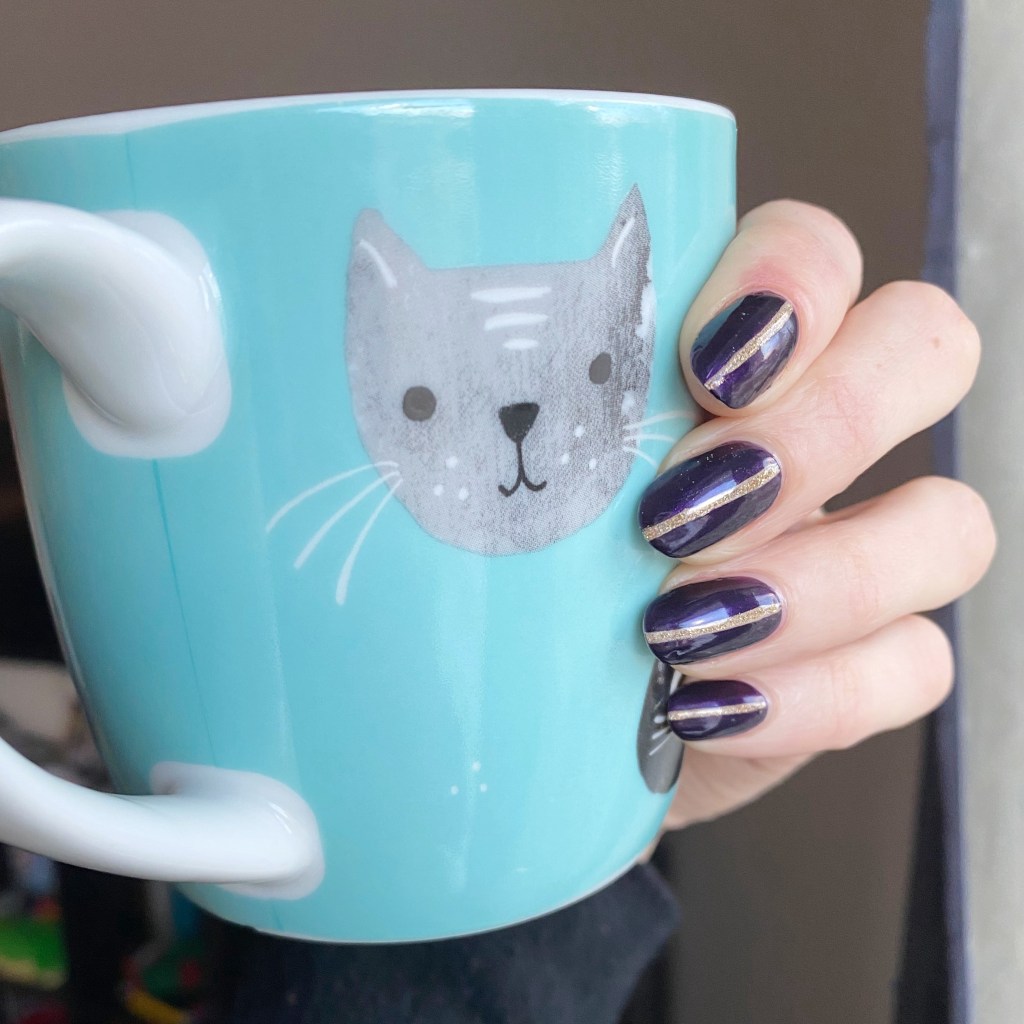
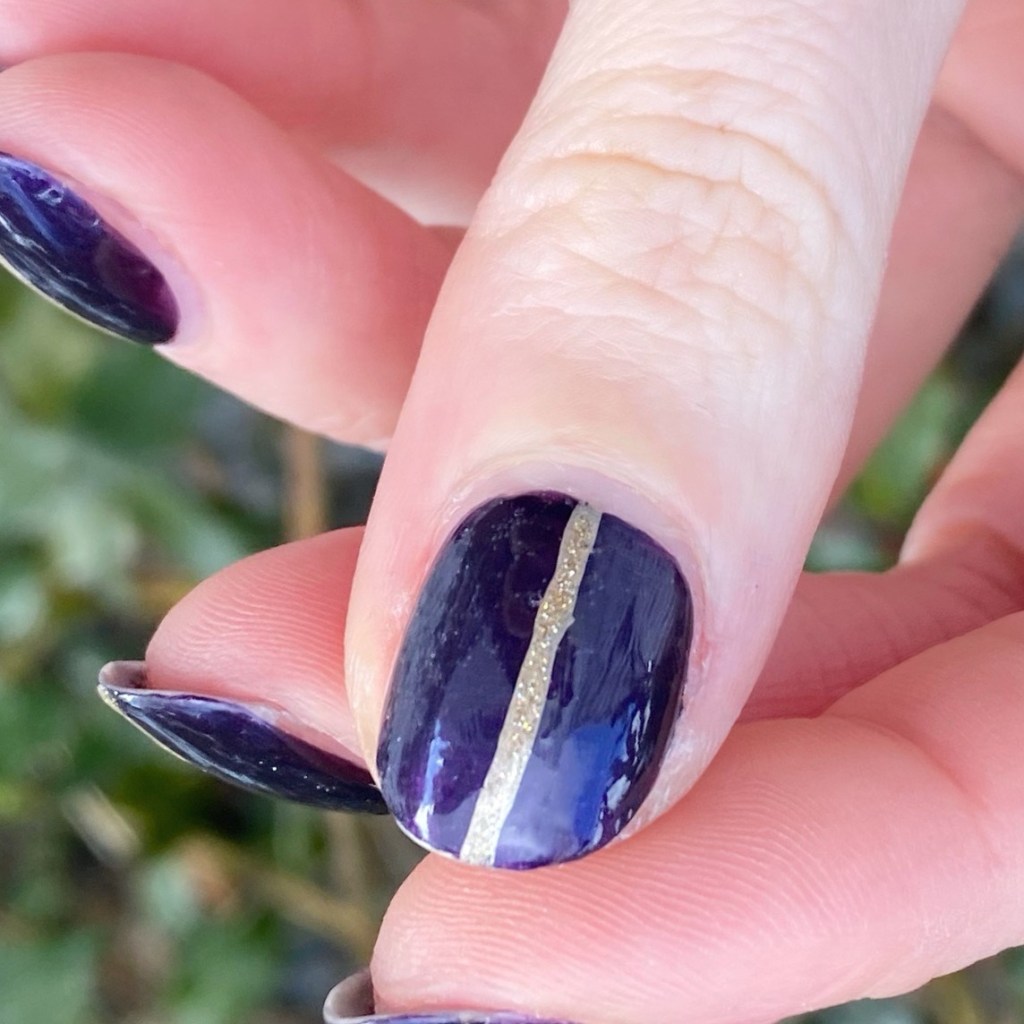
This is such a fun look, & it was so easy to do. Like I said, I’ve been dealing with a lack of creativity when it comes to my nails, but a colour block look never disappoints. Usually I only stick to 3 colours, but I decided to do four for this one & I think it looks awesome!
What do you think about this colour block look? Are you a fan of this design? What is your favourite go to nail art look when you’re packing in inspiration— let me know in the comments below!
Enjoy your Wednesday loves!
🖤