Valentine’s Day Chevron Accent Nails

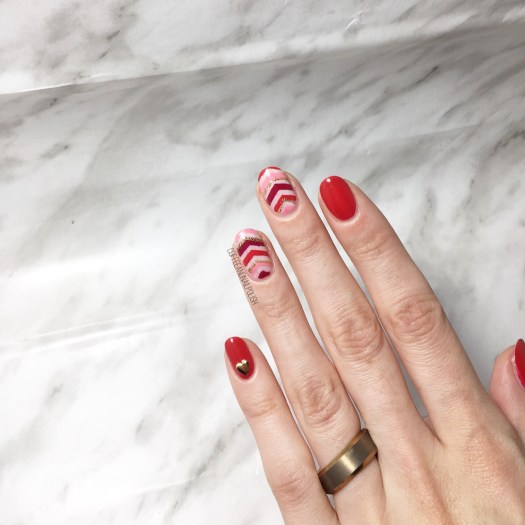
Another day, another fun Valentine’s Day appropriate design to share with you! The day is quickly approaching, so I’ve been trying to get creative while I have time. Last year with having a newborn (& spending extra days in the hospital) I wasn’t able to do anything Valentine’s Day related on my nails, so I’m definitely making up for it this year!

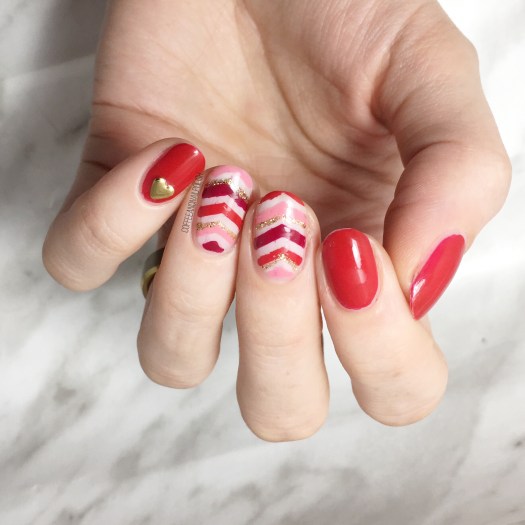
For this design, I decided to grab a few of the colours I picked from my “6 Polishes I’m Loving for Valentine’s Day” post on Sunday. To pair all these shades together, I decided on son stacked chevrons to show off all these pretty shades! This is definitely a design that is all about Valentine’s Day–it might be too flashy of a design to wear, for example, to the office (depending on where you work) but would be awesome for date night, or a Valentine’s Day themed party!

For this design, the polishes I used were:

  • Base Coat: Quo by ORLY Kiss Me, I’m Kind
  • Top Coat: Seche Vive
  • Christian Louboutin Beauty Rouge Louboutin
  • China Glaze Seduce Me
  • L’Oreal Jardin Des Roses
  • ACO by Ardene Ice Mist
  • Quo by ORLY Nail Art Striper in Gold
  • NailStuff.ca Heart Stud — Gold Mixed Decoration Nail wheel
  • UR SUGAR Stacked Chevron Nail Stencils item #AUB39877 — click to buy
  • Dotting Tool

I think these turned out so cute with the mix of colours together!  Next time I might use the stacked chevron vinyls upside down so it matches the V-shade of the heart. But I’m really happy with how these turned out, & the addition of the little heart stud just makes it even more perfect! ♥

Do you like these Valentine’s Day themed nails? Have you figured out what you’re doing on the day yet? My hubby & I usually stay in–because trying to make reservations is hell on Earth–& make heart shaped gluten free pizza or something else delicious. & of course, cupcakes! It’s become holiday tradition for me to make him cupcakes for special occasions.


Let me know your thoughts on this design in the comments below!
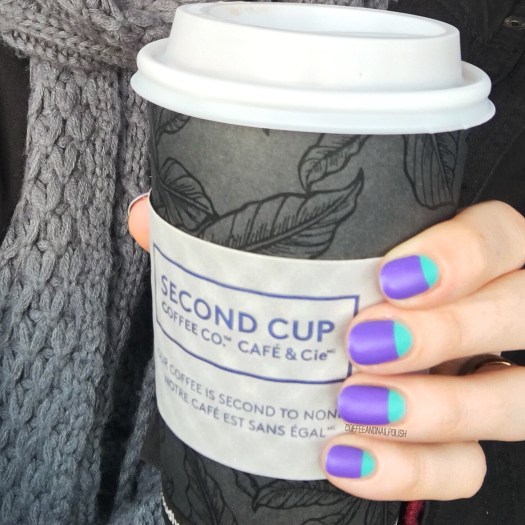
Matte Neon Moon Manicure 🌙

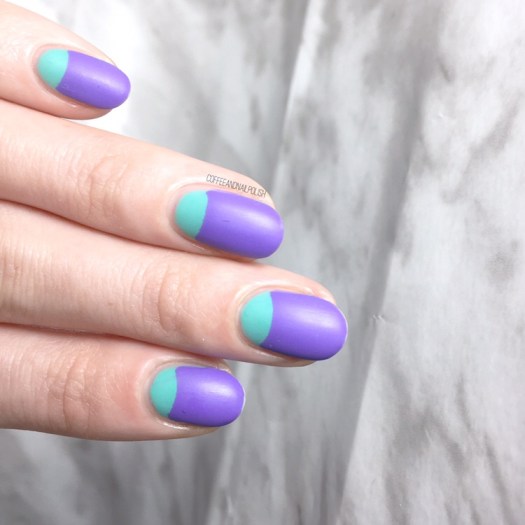
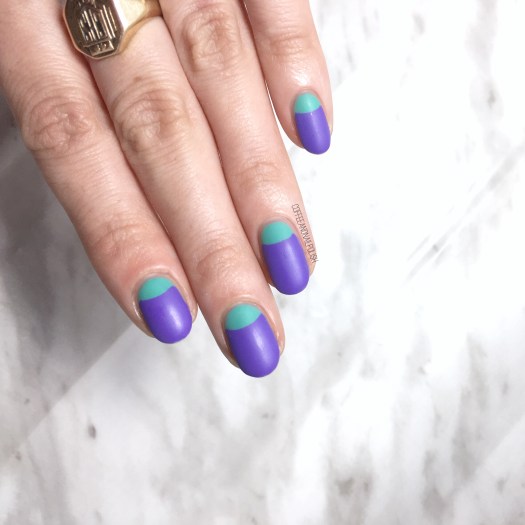
Happy Friday lovelies! Today I’m blasting you with a little neon to cheer up the Winter blues. It’s currently -11 degrees here in Halifax, so I need anything I can get that feels even a little Spring-like. Also this colour combination might actually be perfect. 💜

For this manicure, the polishes I used were:

  • Base Coat: Nailtek 2
  • Top Coat: Seche Vive
  • Matte Top Coat: Butter London
  • Quo by ORLY Culture Classic
  • Color Club Pucci-licious
  • White Paper White Reinforcement stickers.

I’m so one of those people who can only stand Winter until Christmas is over, & then I want Spring already. If I didn’t love Halifax so much, I would move somewhere where it was warm all year & I could drive to the snow. Instead, I guess neon nails to cheer myself is in order! (& all the hot drinks I can handle to keep myself from freezing)

I guess I should probably start planning my Valentine’s Day designs soon! I missed out on a lot of Valentine’s designs last year, you know with having a baby haha, so I want to make up with it this year!

What do you think of this design? Let me know your thoughts in the comments below!

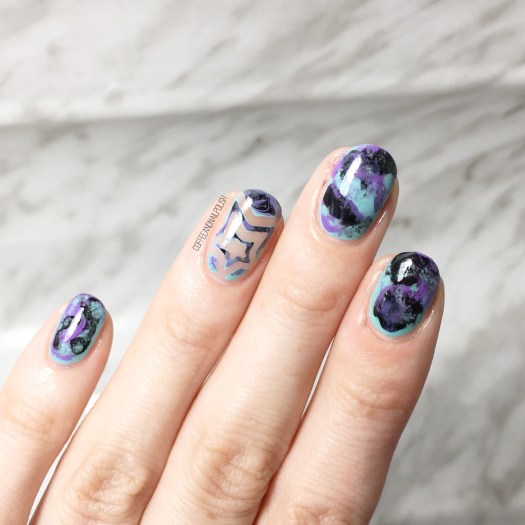
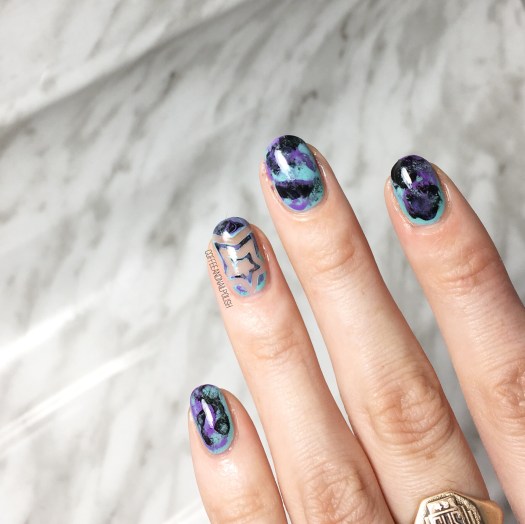
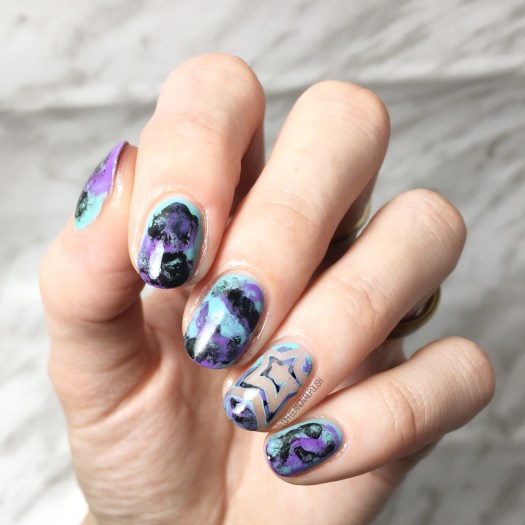
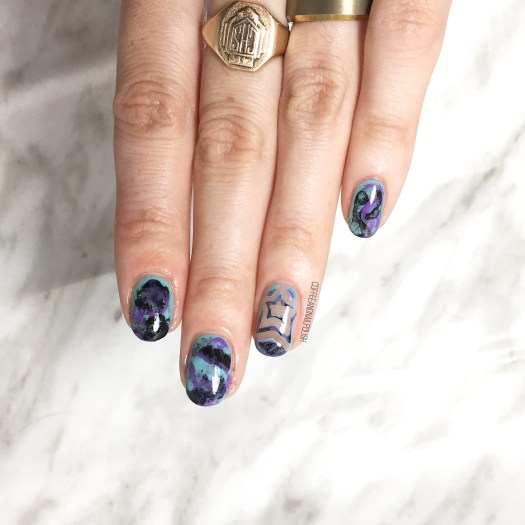
Marbled Nails Using Acetone

Good Morning Lovelies! & happy Monday.

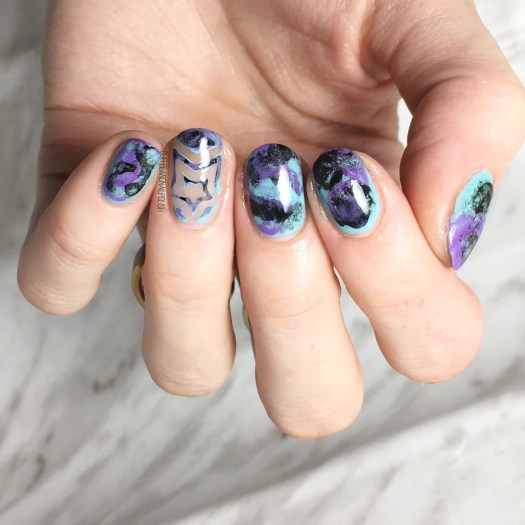
Today I have a have nail art design to share with you. I’ve written before how I love playing around with different techniques, & lately I’ve been really into marbled nails & the many ways to create them. For today’s design, I created a marble design using polish & acetone–a technique that I’ve shown off before.

For this manicure, the polishes I used were:

  • Base Coat: Nailtek 2
  • Top Coat: Seche Vive
  • China Glaze For Audrey
  • Quo by ORLY Feeling Free
  • Sally Hansen Hard As Nails Black Heart
  • Xroma Polish & Vinyls Spiral Star
  • Acetone
  • Q-tip

Obviously the easiest way to show you how to create this design was with a tutorial, so check out below!

I just really, really love this colour combination. There is something about turquoise & purple that goes so well together. Also why don’t I grab China Glaze For Audrey more often? It was my very first ever China Glaze shade, & now I remember why I fell in love with it. Just so pretty!

So what do you think of this marble design? Let me know your thoughts in the comments below!

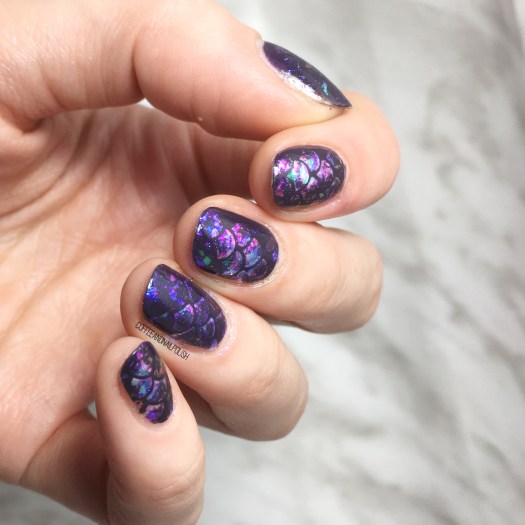
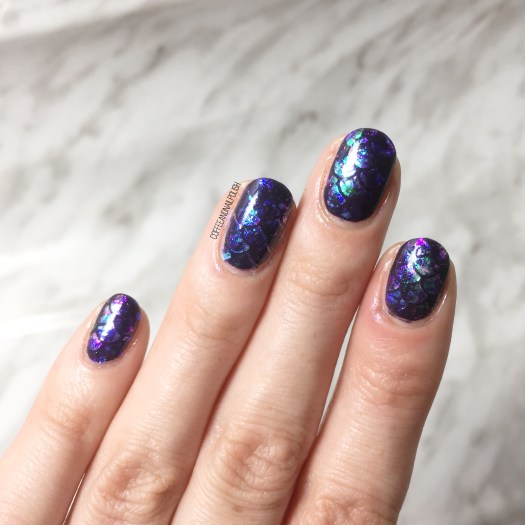
Mermaid Nails using NailStuff.ca Aqua Collection Flakies

Happy Saturday! Today I’m sharing one of the prettiest designs I think I’ve ever done–a mermaid design using the Aqua Collection flakies from NailStuff.ca. It felt like ages since I created mermaid nails, & those flakies were just sitting there staring at me, waiting to be used. I couldn’t decide which colour to use so I decided why not use all three! & the end result is pretty much the prettiest nails I’ve ever worn!

For this manicure, the products I used were:

  • Base Coat: Nailtek 2
  • Top Coat: Seche Vive
  • Essie After School Boy Blazer
  • Fingerprints Peel Off Base Coat
  • Nailstuff.ca Aqua Collections flakies (Mermaid, Lagoon & Abyss)
  • What’s Up Nails Scale Vinyls
  • Edge Perfection Cuticle Barrier

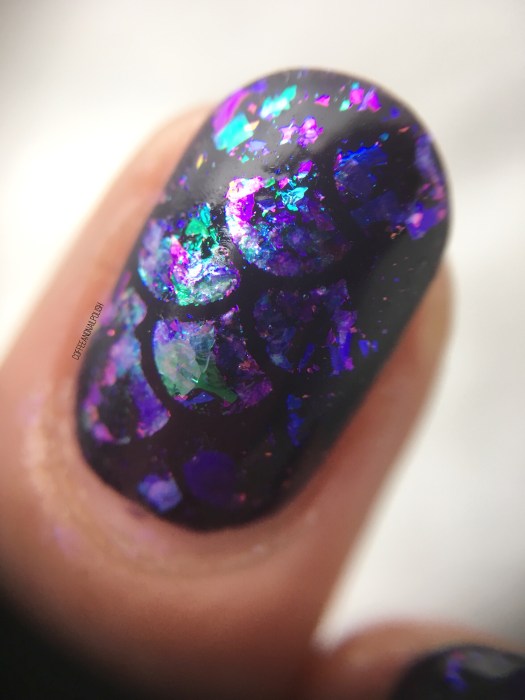
These were surprisingly easy to do–I applied my base colour (Essie Under the Twilight) & my top coat & let it dry completely. When my base was completely dry, I applied my vinyls to each nail & then went over top with Fingerpaints Peel Off Base Coat. I’ve found that using it helps adhere the flakies best. Without waiting, I then dipped my sponge (that comes with the flakies) into each pot & rubbed the flakies over top in certain spots. I then repeated it again using the other two pots of flakies. When I felt like I had filled in the vinyls enough, I removed them immediately, & finished off the design with top coat.

Just look at that macro! It looks like jewels on the nail. I’m seriously in love. My only regret is that I didn’t think to top it with matte top coat before I removed them. Can you imagine how pretty they would have looked matte?

what do you think of this design? Do you see mermaid nails or dragon nails? Let me know your thoughts in the comments below!
*PR SAMPLE* Some of these items were sent to me for review. However, all opinions are my own.

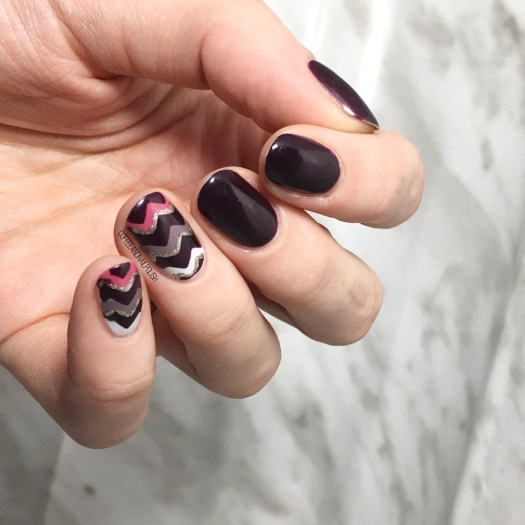
Multicoloured Chevron Accent Nails

Good Morning! We’re half way through the week & in Halifax it’s actually snowing. I seriously thought we would never see actual Winter, so it’s pretty exciting! Although I’m sure it will lose its novelty in about a day & a half.

Today I’m sharing a chevron accent nail design with you. I’ve really been into darker shades right now (& grey, always) so I decided to combine a whole lot of shades together. & I even made you another tutorial to show you the technique I used.

Music: bensound.com

For this design, the polishes I used were:

  • Base Coat: Nailtek 2
  • Top Coat: Seche Vive
  • Sally Hansen Complete Salon Manicure Pat on the Black
  • Essie Merino Cool
  • Color Club Silver Lake
  • OPI Aurora Berry-alis
  • L’Oréal Feeling Kilty
  • Kiss Products Nail Art Chevron Vinyls
  • Small detail brush (from Born Pretty Store)

You can see in the video above, I was originally going to use Essie Merino Cool (such a good grey) as my main colour, but switched it to Sally Hansen CSM Pat on the Black because it just went better with the accent nails. Also next time I want to try filling in each chevron with a different colour for even more coloured stripes.

This is such a great design for a beginner because it looks complicated, but it’s really not. The hardest part honestly is just placing your vinyls (as you can see from the above video!) You could also use straight vinyls to make your stripes, but that would involve extra wait time for drying. Your stripes don’t have to be perfect because you’re covering them up anyways, so freehanding them usually is just easiest!

What do you think of this design? Would you try it out? Let me know your thoughts below! & if you do try it out, don’t forget to tag me on social media & use the tag #lookcoffeeandnailpolish! 💜 Happy Wednesday everyone!