SWATCH SUNDAY — OPI Two Timing the Zones

Hello lovelies & happy Sunday!

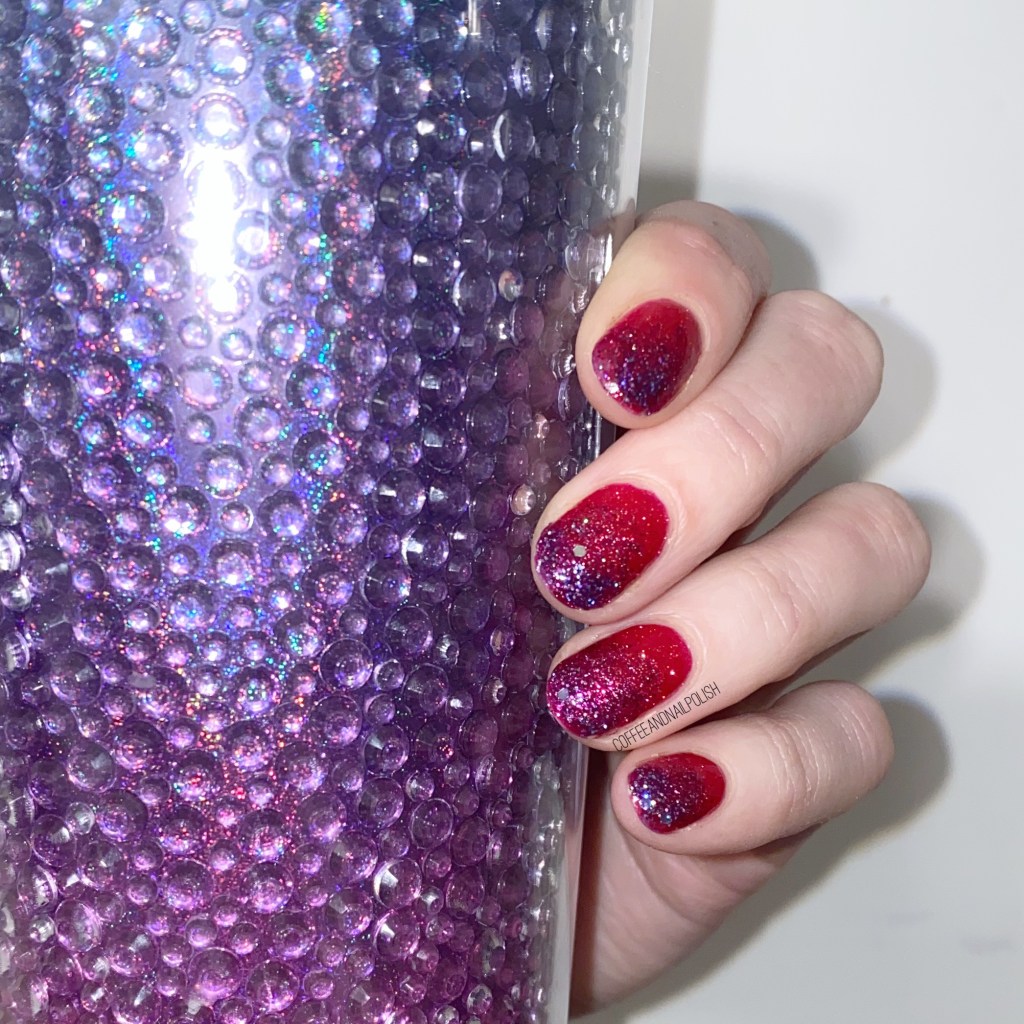
Another stormy, snowy Sunday is on its way here… because Winter just isn’t getting the message that it needs to go. So I thought I’d brighten things up a bit with a Spring/Summer polish pick from a few years ago: OPI Two Timing the Zones.

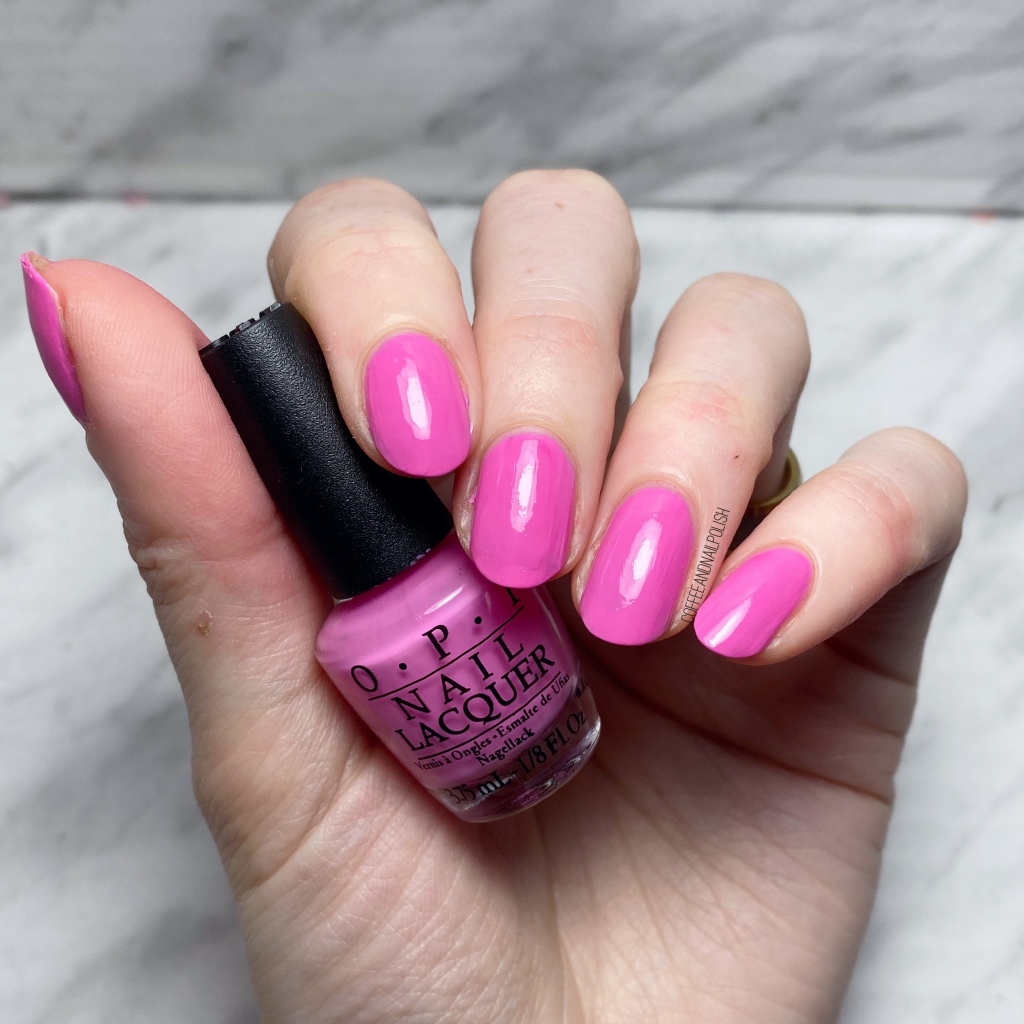
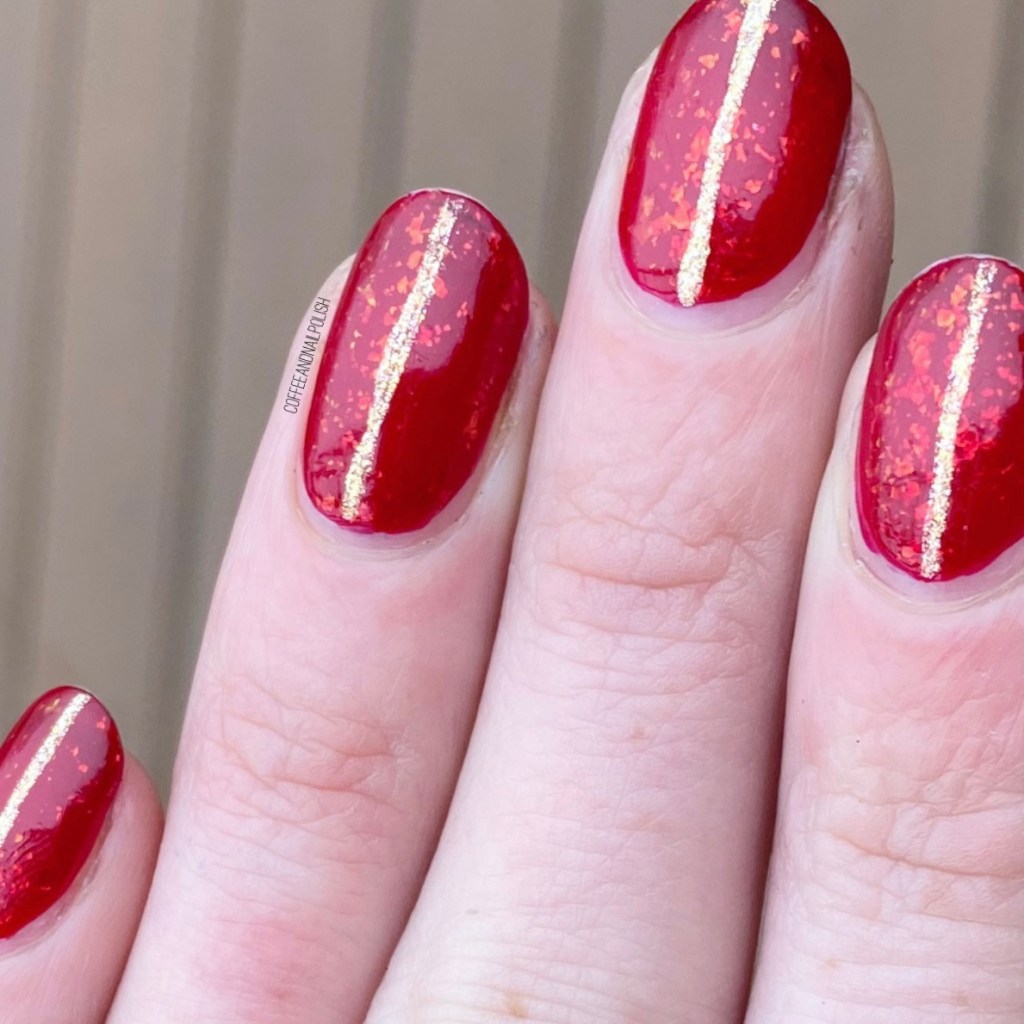
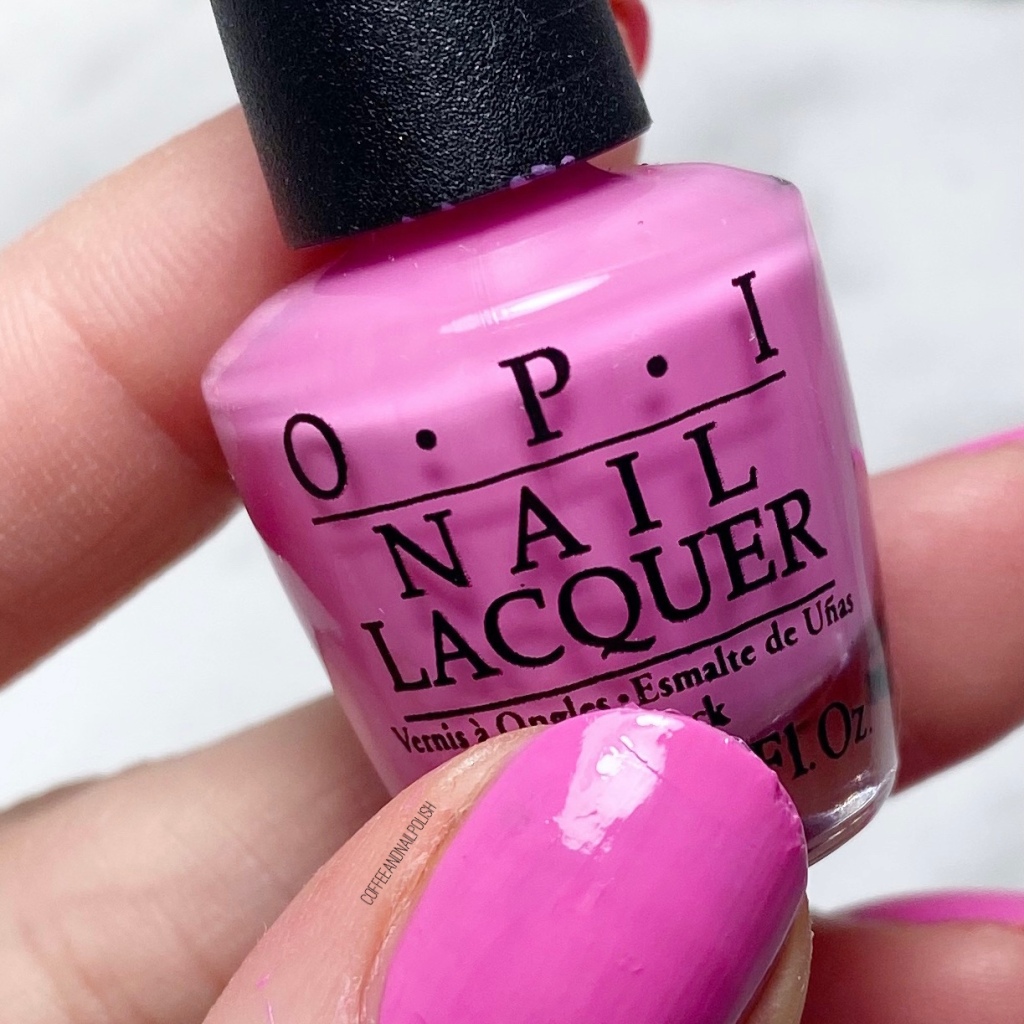
2 coats, no top coat

Two Timing the Zones was originally released in 2017 as part of the Spring/Summer Fiji collection. I picked up this beauty, along with a few others, in a pack of 4 mini polishes that I actually won thanks to an Instagram contest.

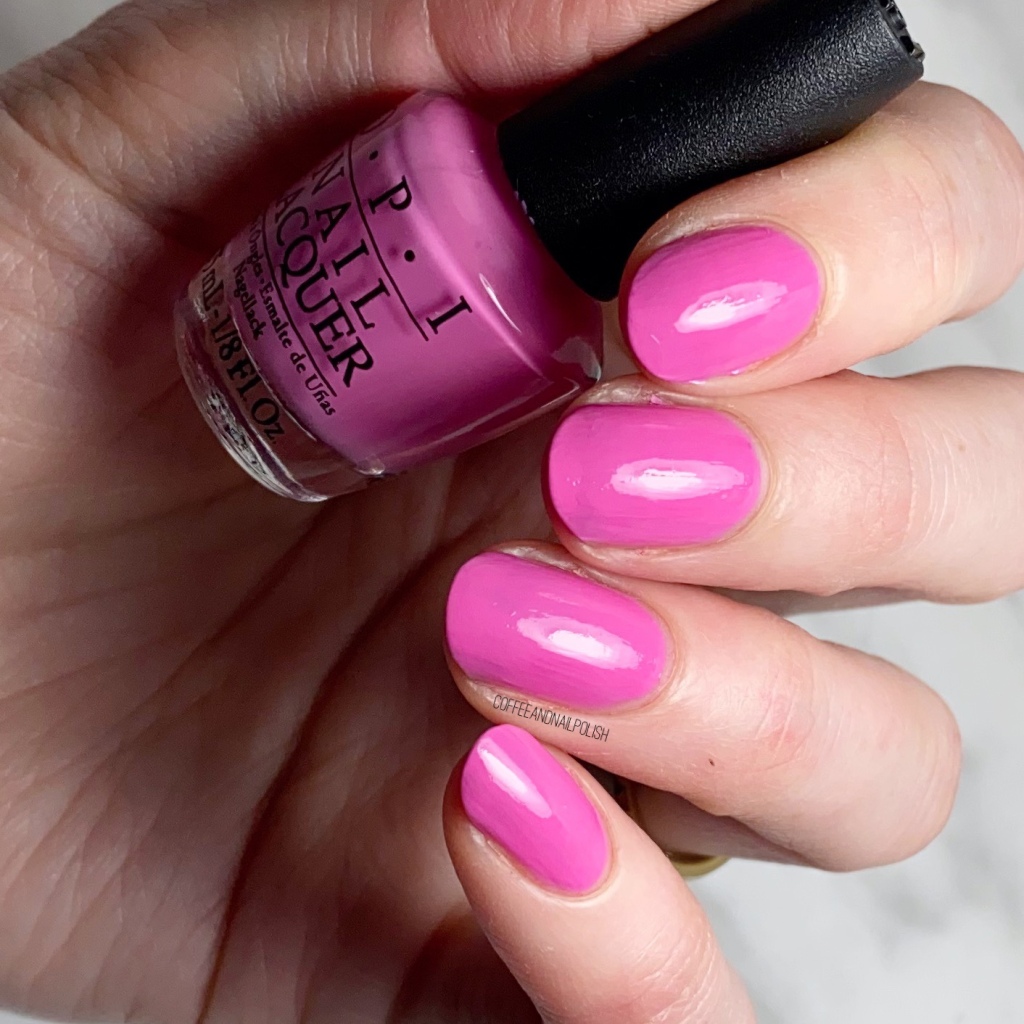
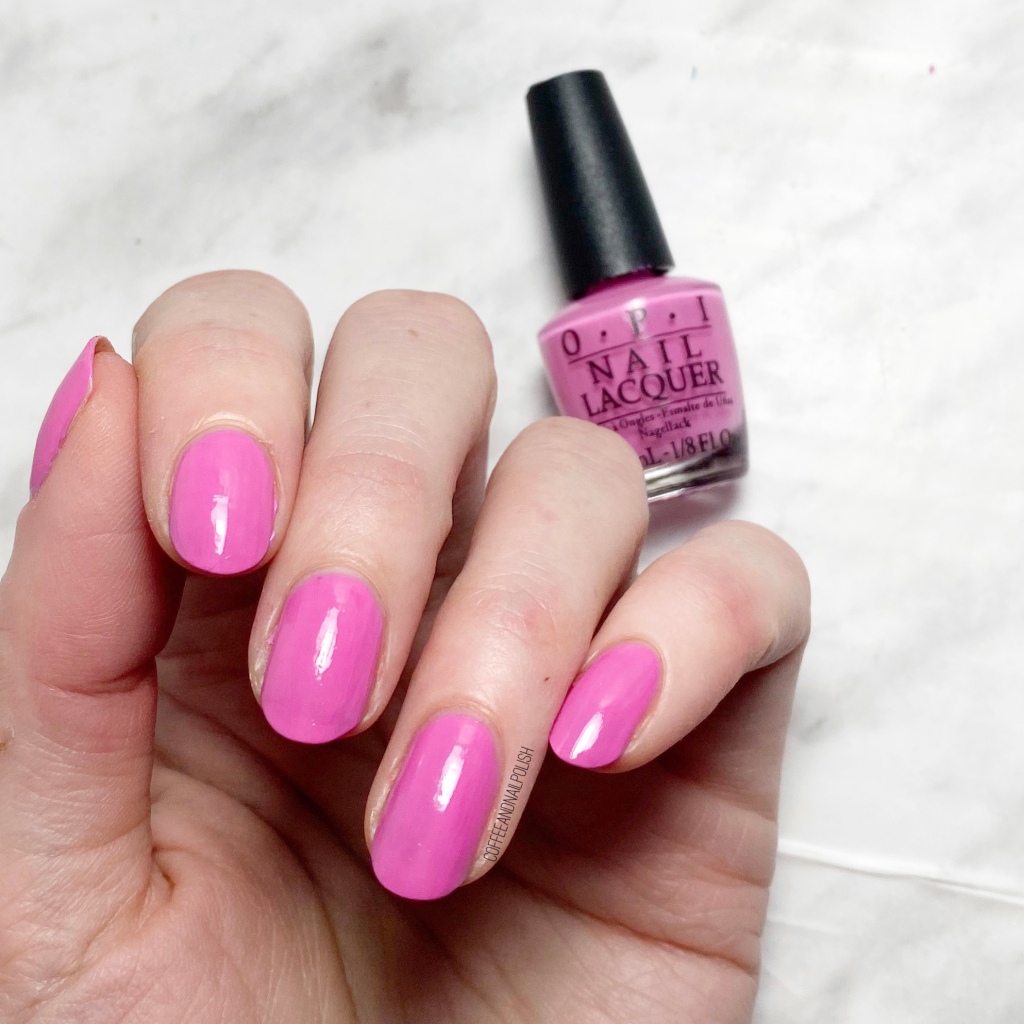
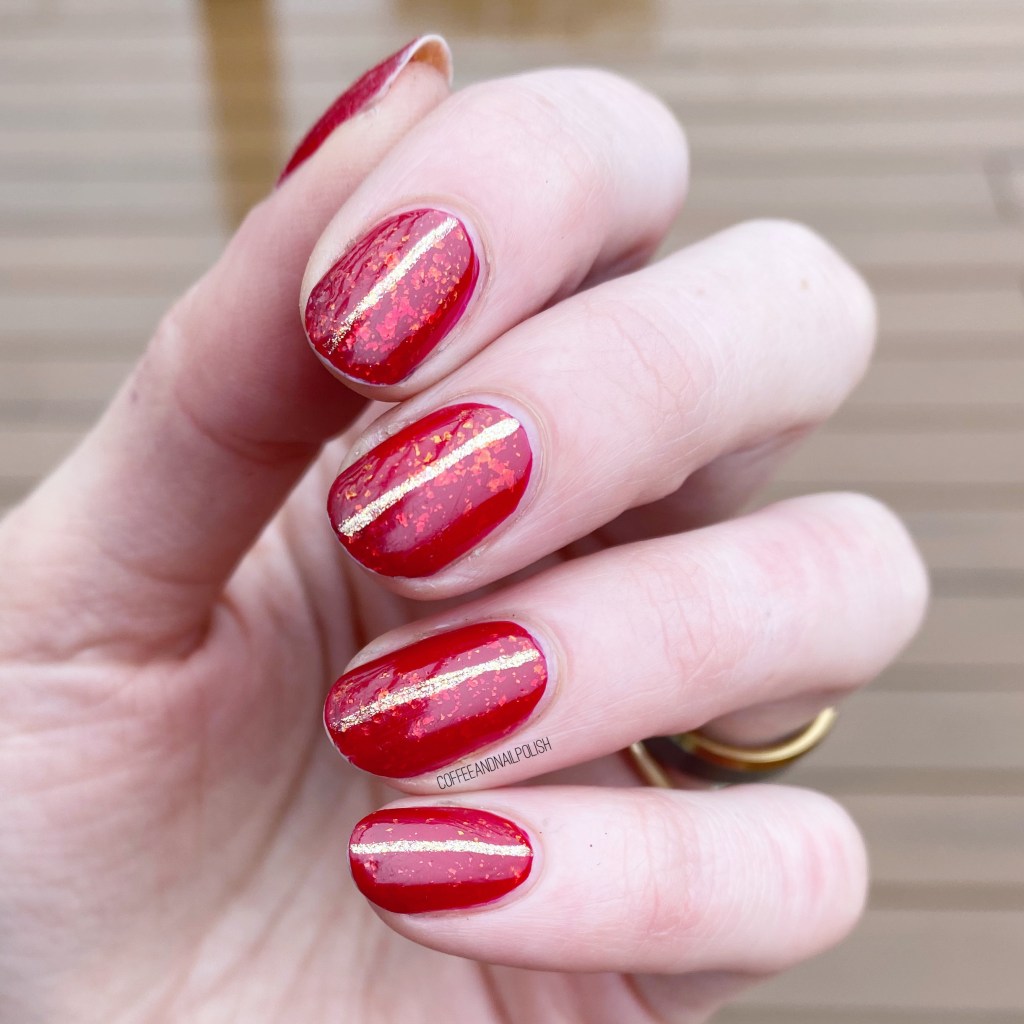
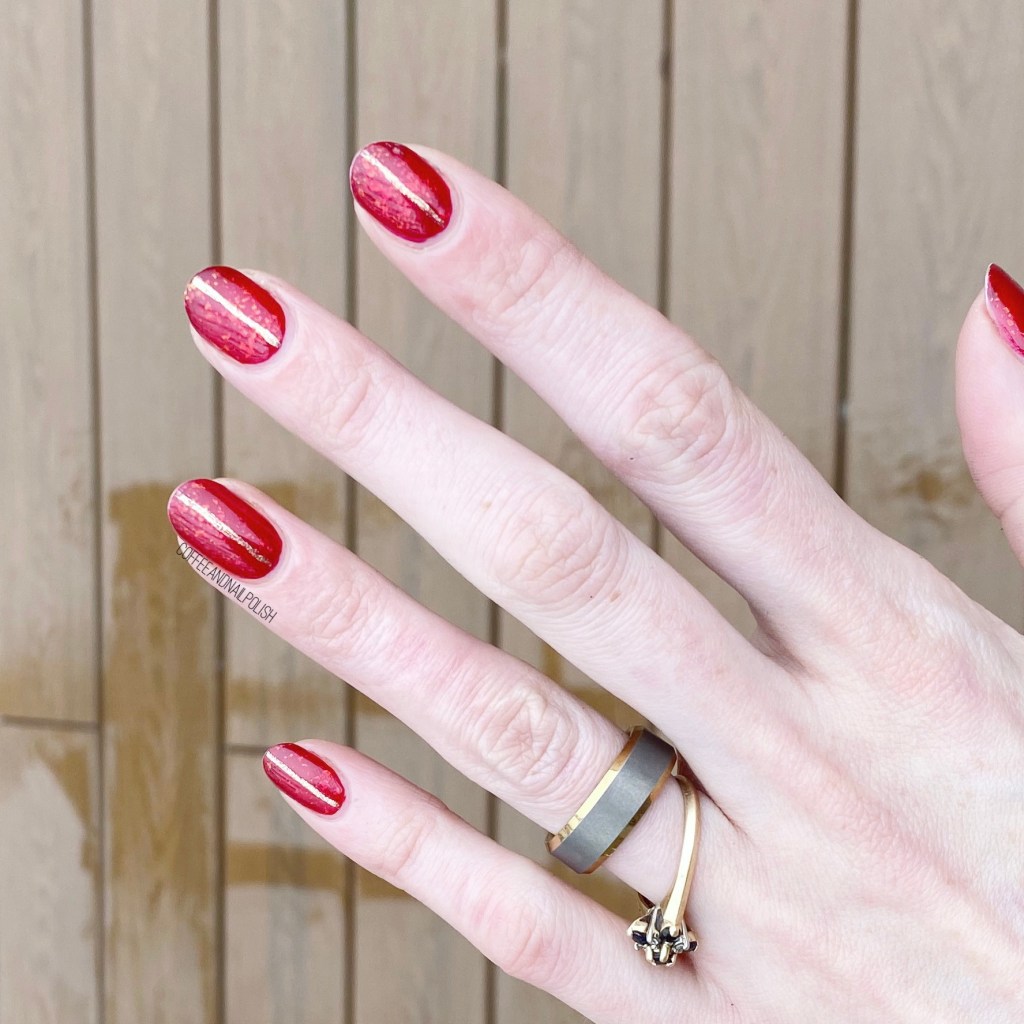
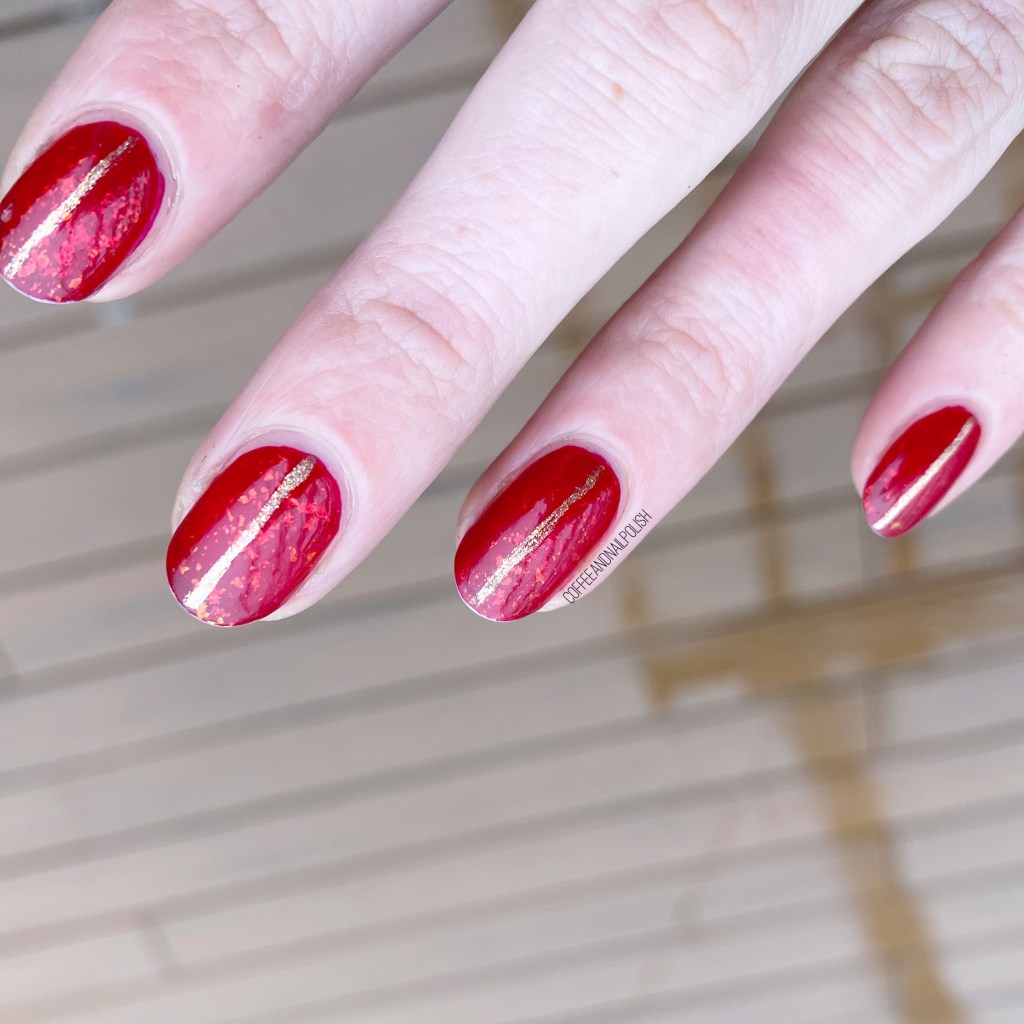
This is such a fun, summery shade. The formula on this guy is pretty easy to work with, & has full coverage in 2 coats. My swatches were without base or top coat, to see the colour all on its own. I definitely thinking adding a layer of top coat, especially a thicker glossier one, would definitely give it some extra punch.

The shade is really pretty. It kind of reminds me of flamingos, which reminds me of all things Summer, so I’m here for it! & I just want warmer weather, & sunny days, & sandal weather already. This would be such a cute pedicure colour.

So like I said, this shade was originally released as part of the 2017 Fiji collection. But, apparently Beyond Polish still has the collection available in regular, Infinite Shine & Gel, so if you need this shade, you can definitely still add it to your collection!

What shades are you wearing to try & conjure Spring (if you live in a barren Winter-land like myself)? Let me know down in the comments below.

Not-so-Simple Red & Gold

Good morning lovelies & happy Friday! & happy almost weekend. Today I’m sharing a manicure I did recently which was quick & easy, & got a lot of compliments!

Originally I was just planning on wearing the base, but decided I needed more than just simple red nails, so I added the stripe & gold. & I love it! Plus this whole look was completed in under 30 minutes from base coat to dry.

The polishes I used for this manicure are: 

  • Base Coat: Sally Hansen Good. Kind. Pure Hardener
  • Top Coat: Seche Vive
  • Sally Hansen Complete Salon Manicure Cherry Delightful
  • Layla Cosmetics Ceramic Effect in Shade 53
  • Essie Mosaic On Down
  • NailStuff.ca 16mm Striper Brush

Again, these were so simple to do! The hardest part was trying to make sure that I had my lines in the middle of my nails & they were straight. I know I could have used nail vinyls, but lately I feel like I’m more inclined to hand paint my nails over vinyls (or even stamping) because there is less waiting around for my base to dry.

What do you think about this design? Do you like this not-so-simple red & gold look. I think this would look awesome in a variety of different colour schemes. I’m already picturing a pastel/spring coloured look in my head as I write this!

Let me know what you would like to see down in the comments below!

SWATCH SUNDAY — Dimension Nails Hooded Seal & Snowy Owl (from The Arctic Collection)

•pr sample/gifted•

Hello lovelies & happy Sunday! It’s another chilly, snowy Sunday here. I feel like I just keep repeating that over & over… but Spring has to come eventually, right?

Today I’m sharing some beautiful Dimension Nail swatches from their Arctic Collection. They’re kind of snowy, wintery shades, which I feel is perfect for this snowy Sunday. These beauties were recently gifted to me courtesy of NailStuff.ca, so I’m excited to show them off! I don’t think I’ve ever had a Dimension Nails polish that hasn’t been absolutely beautiful, & these shades are no exception.

For those who aren’t familiar with the brand, Dimension Nails is an indie nail polish brand that is 10+ chemical free, as well as being vegan & cruelty free.

Dimension Nails — Hooded Seal (The Arctic Collection)

2 coats, no Top Coat

First up, we have Hooded Seal, which is a beautiful & shimmery baby blue liner holo. The formula was smooth, & easy to apply. The first coat was a bit sparse, but the second coat built to great opacity.

The holo was really pretty on this. I have deeper, darker blues, but I don’t think I have any which are this pretty pale blue. I also like that it has this beautiful darker blue shimmer that you can capture in the right lighting.

Dimension Nails — Snowy Owl (The Arctic Collection)

2 coats, no Top Coat

Next up from the Dimension Nails Arctic Collection is another beautiful blue: Snowy Owl. This beautiful shimmery blue has a lovely shimmer of micro glitter which gives it a frosty finish. The formula on this one was a bit more sheer than Hooded Seal — I also applied 2 coats for coverage, but I feel like this one needed one more for complete opacity.

It’s definitely gorgeous on it’s own, but I could see it being equally lovely with one layer over another polish — white, grey, dark blue. I feel like you could definitely have some beautiful combinations.

What do you think about these two beauties from the Dimension Nails Arctic Collection? Do you have a favourite? Let me know in the comments below!

Both these shades were gifted to me c/o: NailStuff.ca! You can find the entire Arctic Collection available on her site (shipping available to both Canada & the USA) as well as other many of the other Dimension Nail collections!

SWATCH SUNDAY — Maybelline Color Show Blue Marks The Spot

Hello lovelies & happy Sunday!

It’s another snowy Sunday here, which is not what I was hoping for. But it matches well with the nail polish I picked for this week’s Swatch Sunday pick: Maybelline Color Show Blue Marks The Spot. This shade is actually a super oldie, going back to (I think) 2013! I picked my bottle up on Clearance a few years ago, after Maybelline had stopped making the Color Show brand.

3 coats, no Top Coat.

The first thing about Blue Marks The Spot is that it is very, very thin. This is 3 coats of polish, & you can still see the nail below. I’m not sure how many coats you would actually need for full opacity, but I’m going to guess it’s more than I would want to do haha. You could definitely do a white or blue base, though, if you wanted to the sheerness.

The formula is sheer, like I said, but other than that it’s not too hard to work with. The coats dry quickly, & the glitters are very well dispersed so you don’t have to worry about digging around trying to find them.

Obligatory macro shot.

I used to be so, so scared of glitter nail polishes & never want to wear them because removal would be impossible. Obviously, taking off glitter polish isn’t my favourite thing, but I’m not quite so scared of wearing my glitters like I used to be. Which, is good, because I love, love, love these spotted polishes & have quite a few in my stash from different brands.

What do you think about this fun spotty nail polish? Do you remember the Maybelline Color Show line, & these spotted polishes in particular. I also have the green one, Drops of Jade, I’m kind of sad I didn’t get the whole range of these shades were they were out, but maybe some day I’ll discover more in the bottom of a clearance bin to complete my collection haha.

Have a lovely Sunday!

Red Pink & Purple Sparkly Glitter Gradient ✨

Hello lovelies & happy Tuesday! It was feeling like Spring here this weekend, but now we’re officially back in Winter mode with about 30cm of snow that fell yesterday. I’m just so over Winter. It’s cold, & slushy, & I miss wearing cute dresses. I can’t wait for us to officially defrost.

But in the meantime, I guess I’ll distract myself with some pretty nails.

It’s been a long while since I did a gradient on my nails that wasn’t just some glitter. Honestly, I find the clean up–even with liquid latex!–a pain, & I don’t have time for it. But I was really, really feeling a sparkly gradient after putting on my Swatch Sunday pick Essence Me & My Lover, so I decided to give it a try.

The polishes I used for this manicure are: 

  • Base Coat: Essie Millionails
  • Top Coat: Seche Vive
  • Essence Me & My Lover
  • Aco by Ardene Boudoir
  • Aco by Ardene Wish
  • Latex free make up sponge

Check out those layers of glitter! It’s been a long time since my last gradient like this with lots of glittery shades, but I’m obsessed with how it turned out.

Instead of doing the classic gradient sponging where you apply all three colours onto the sponge & then apply it to the nail, I sponged each layer of glitter on the nail instead… which still gave me the same effect without having to worry about the clean up! I find it’s easier to do that with glittery shades like these, because they blend into each other easier, & you don’t have those unblended lines you might get with a cream polish. & of course, sealing it all in with top coat also helps blend things.

What do you think of these glittery gradient nails? Would you wear a super glittery gradient like this on your nails? Let me know what you think down in the comments below, & what colour combination you would wear!