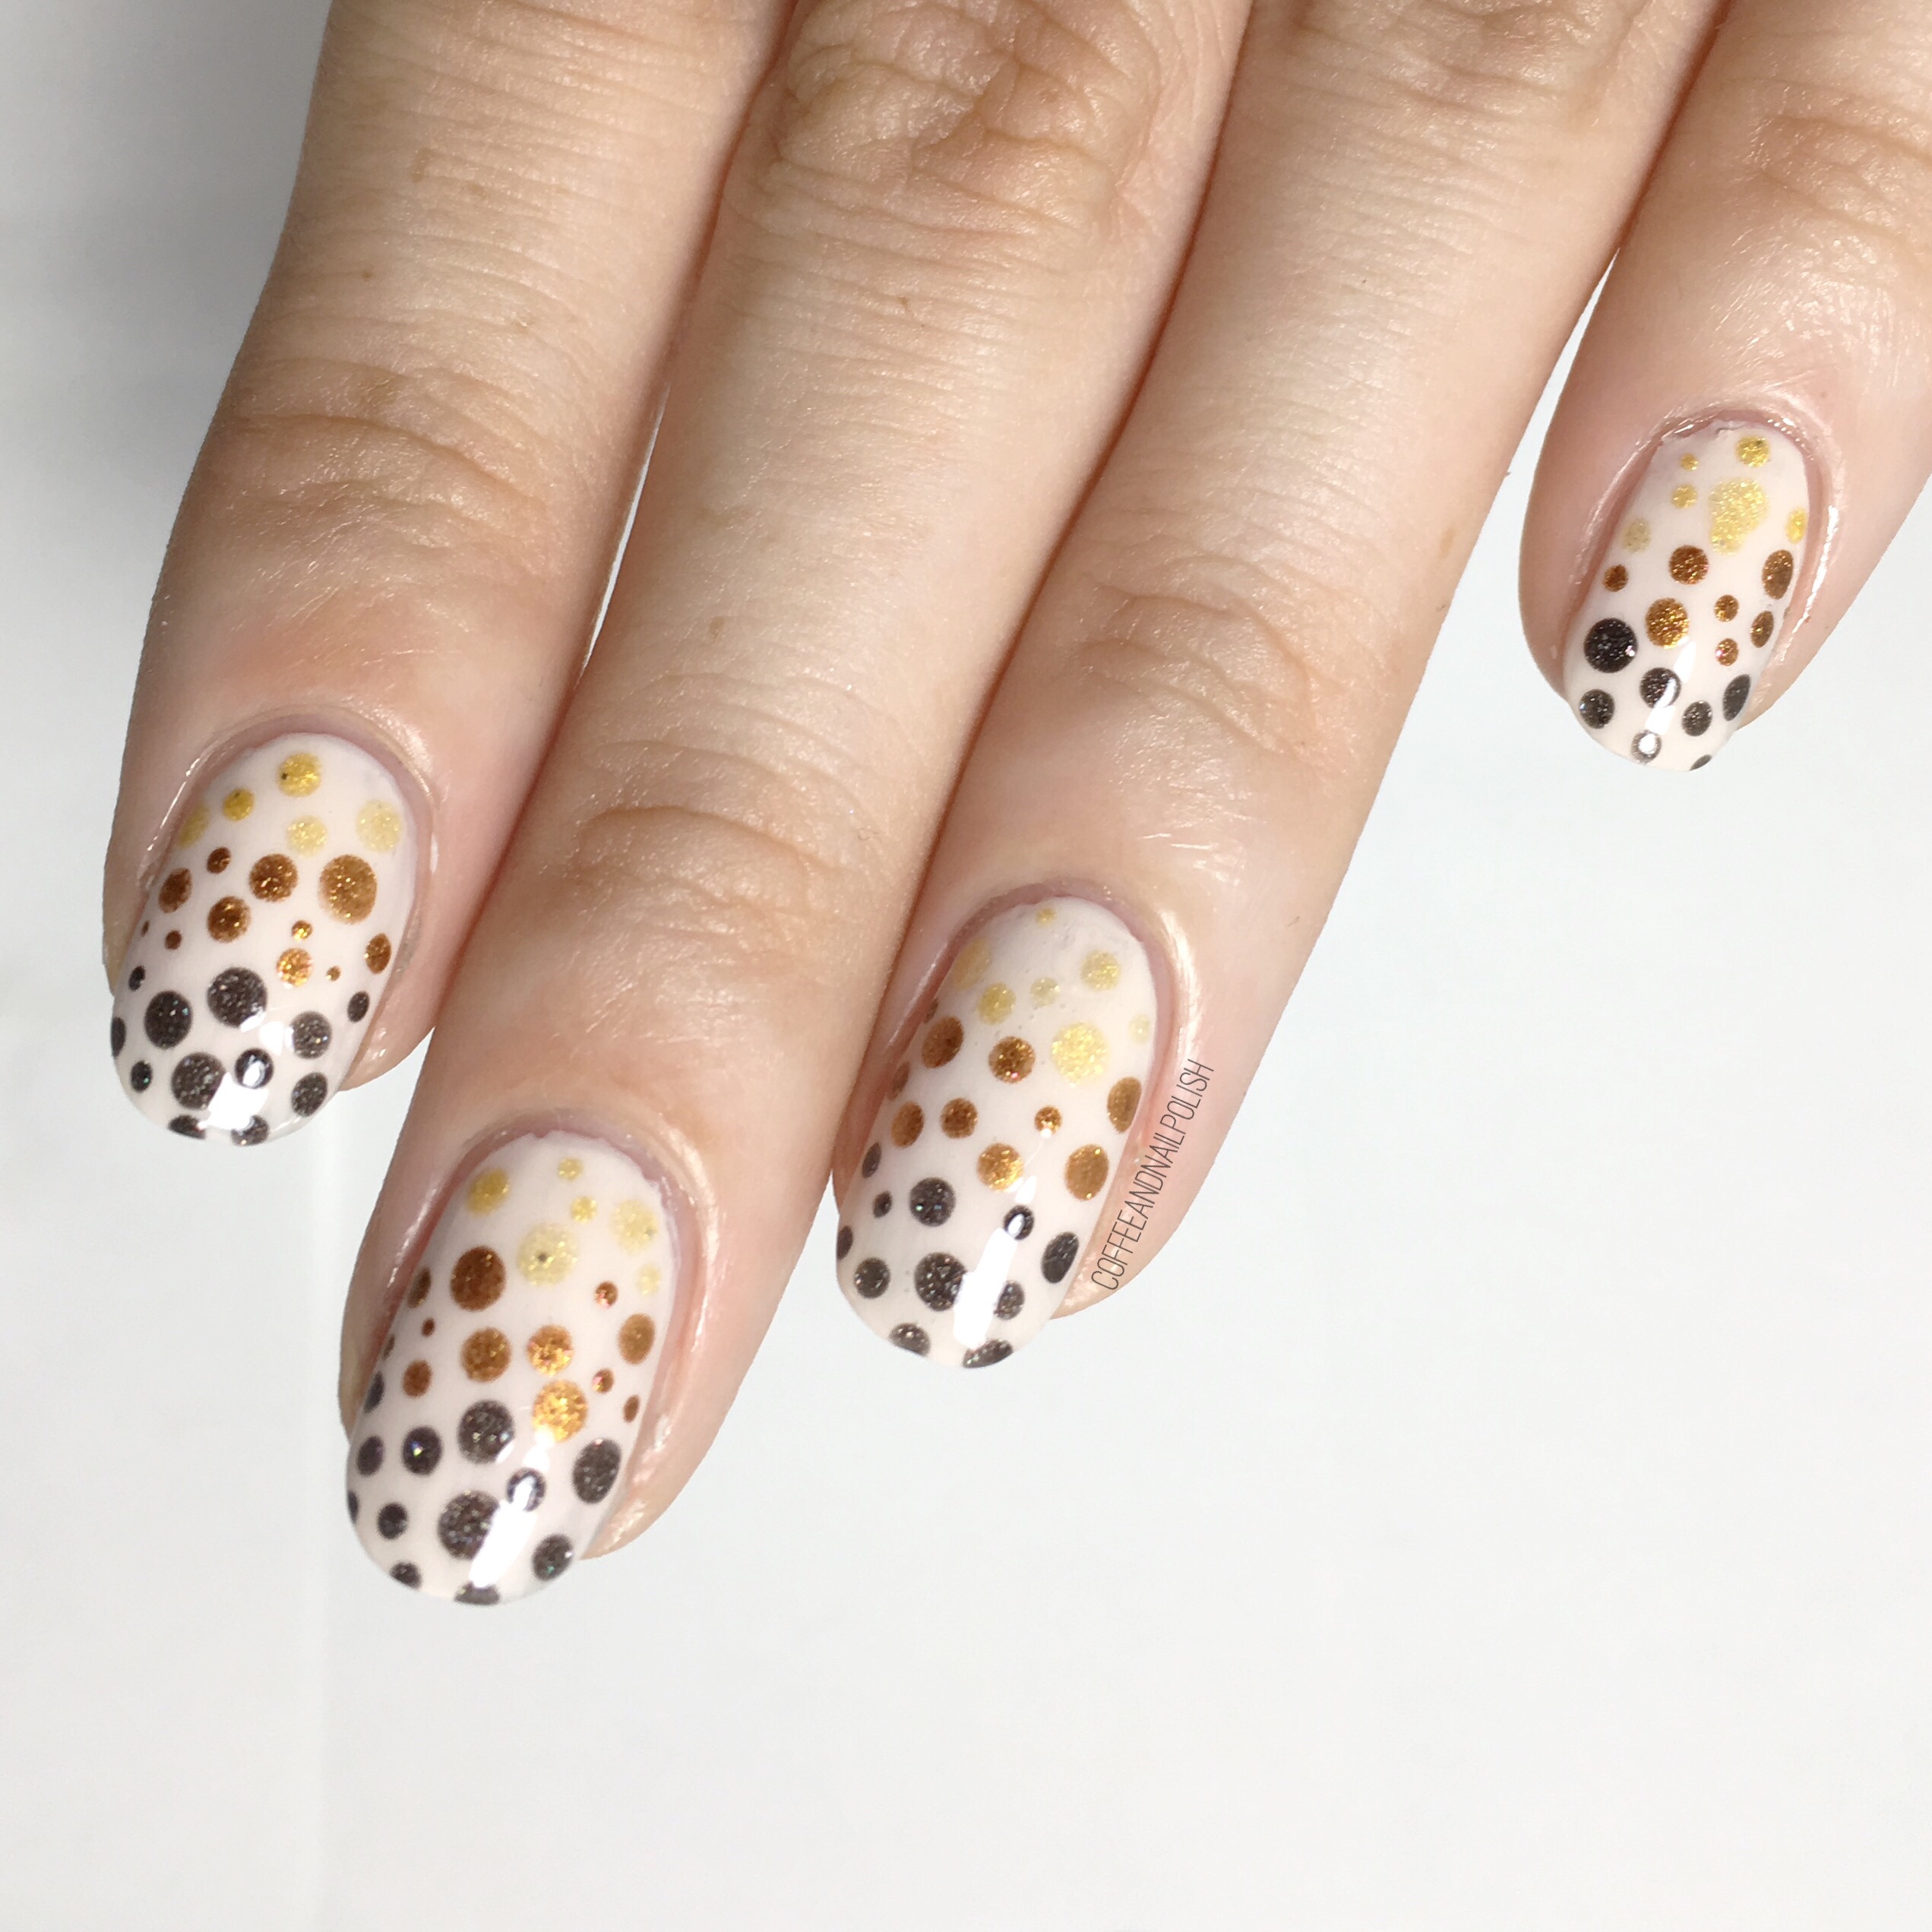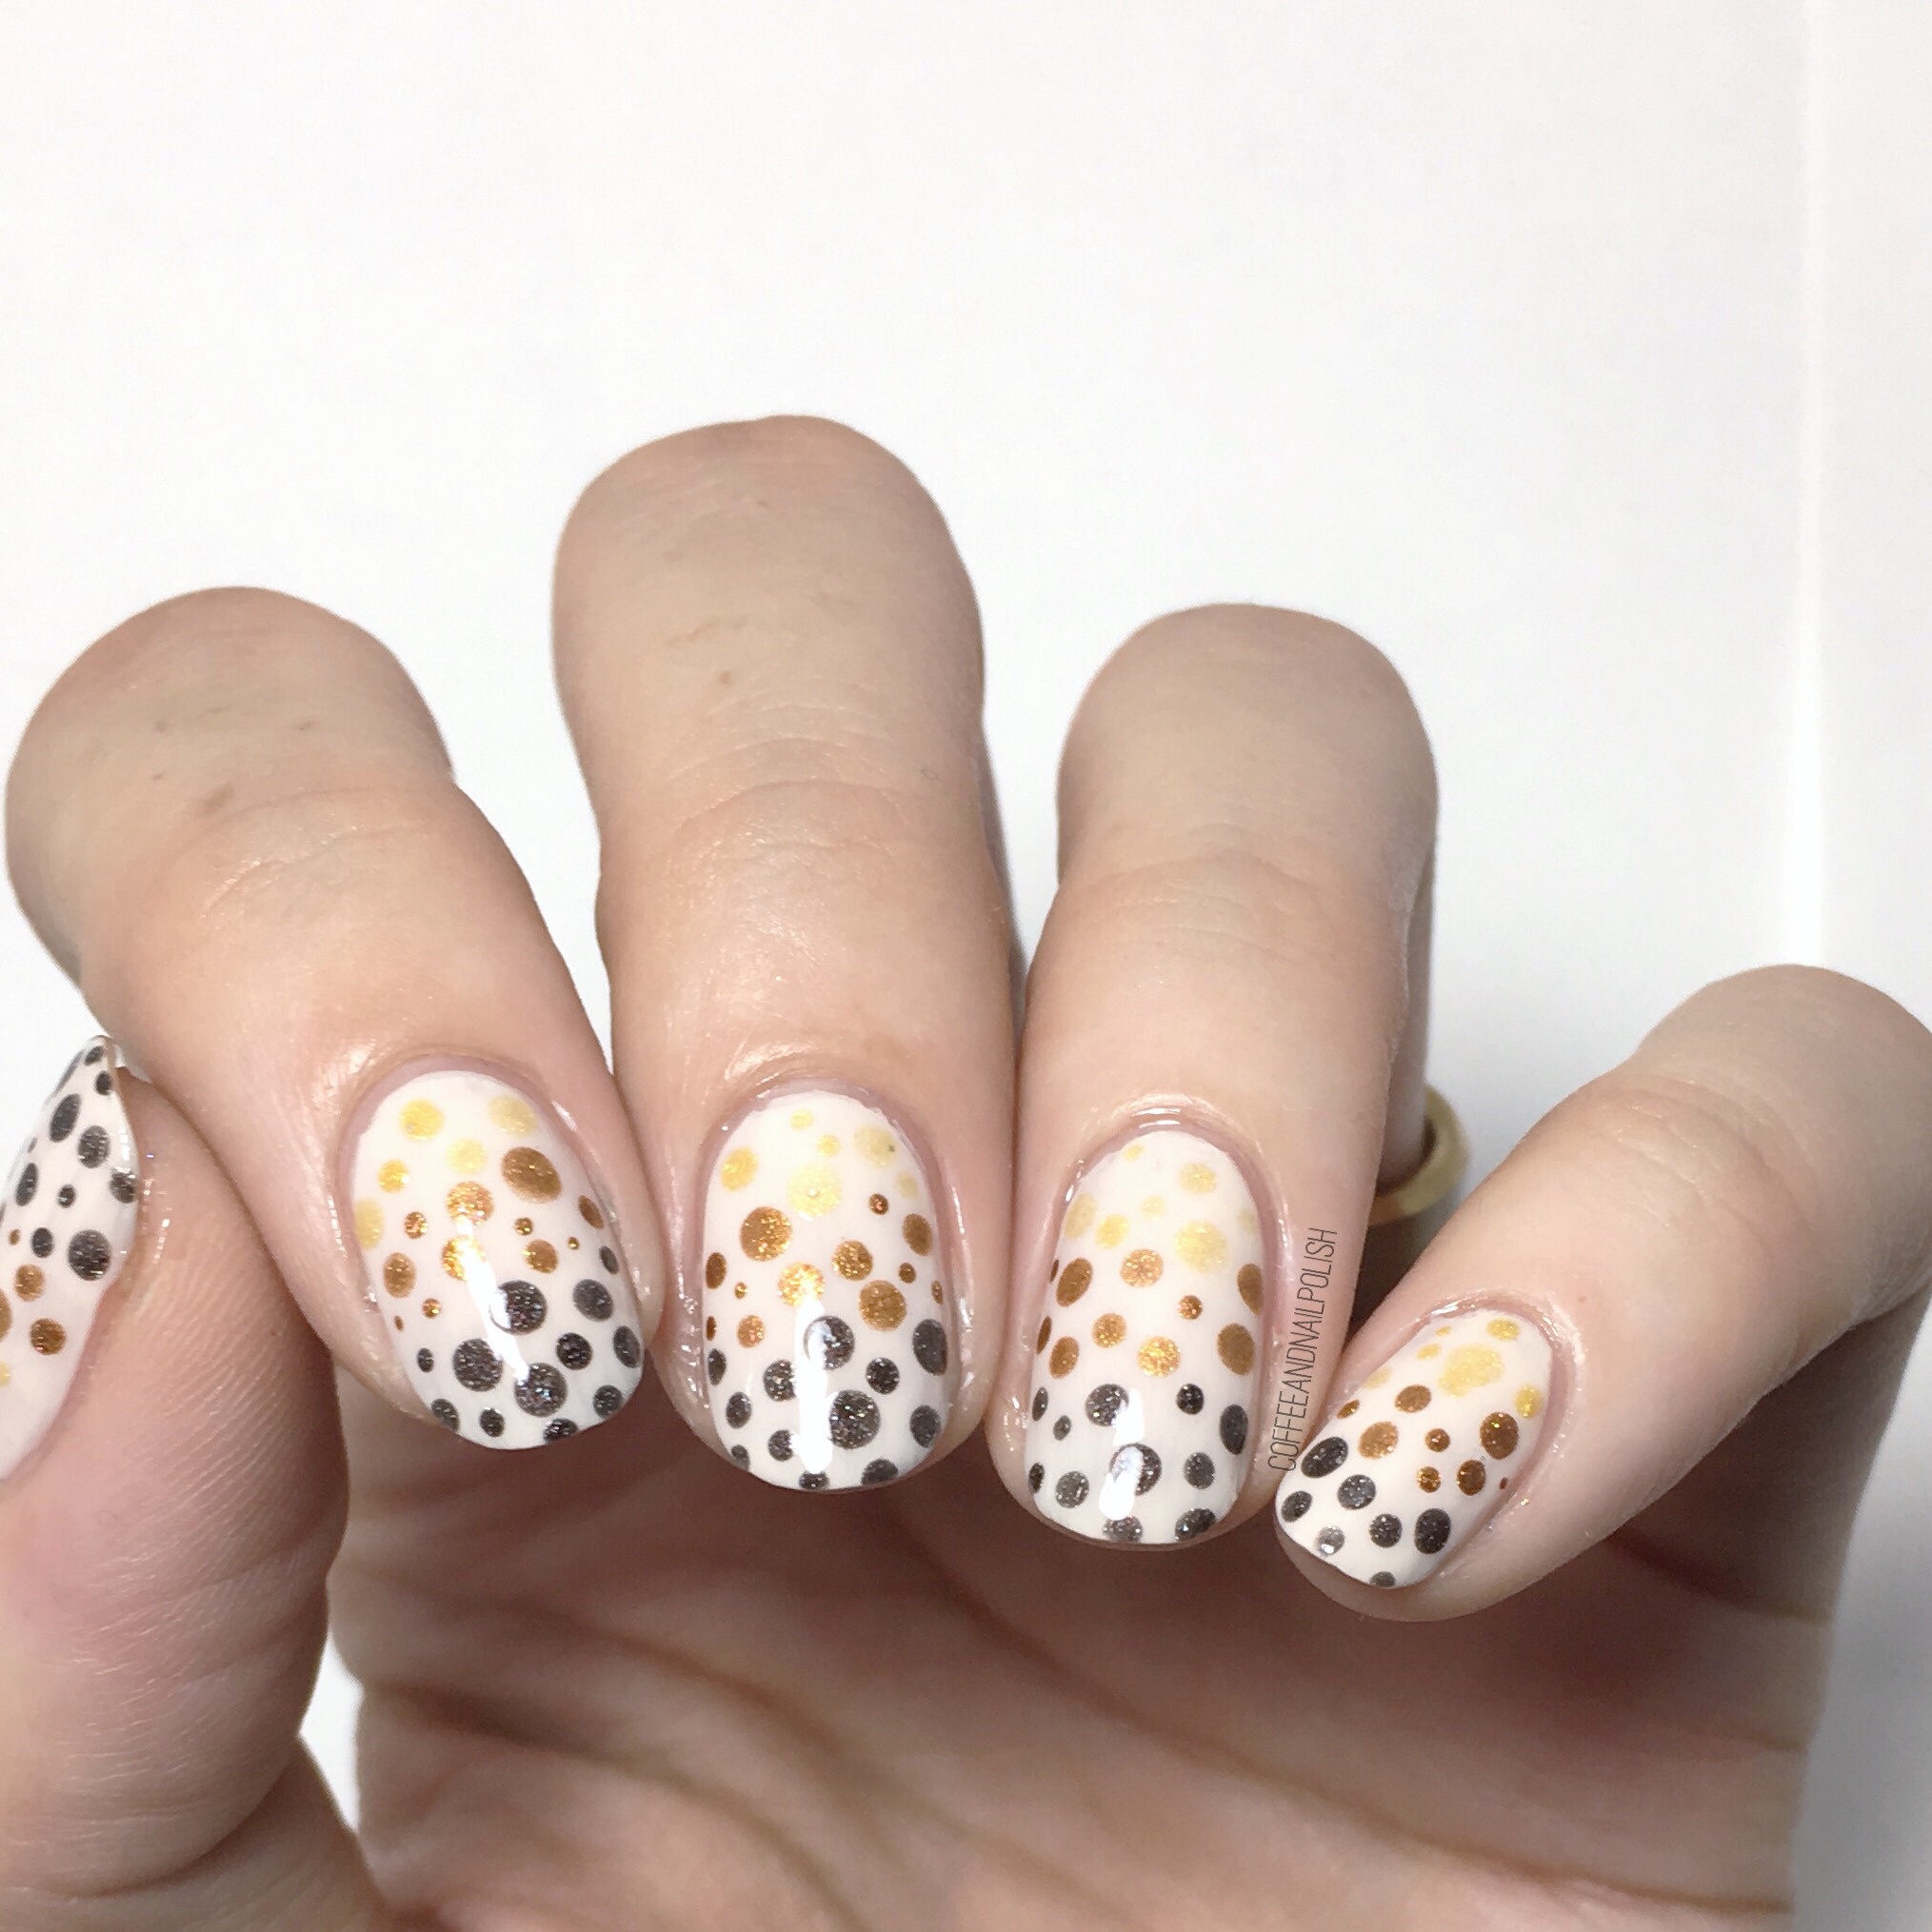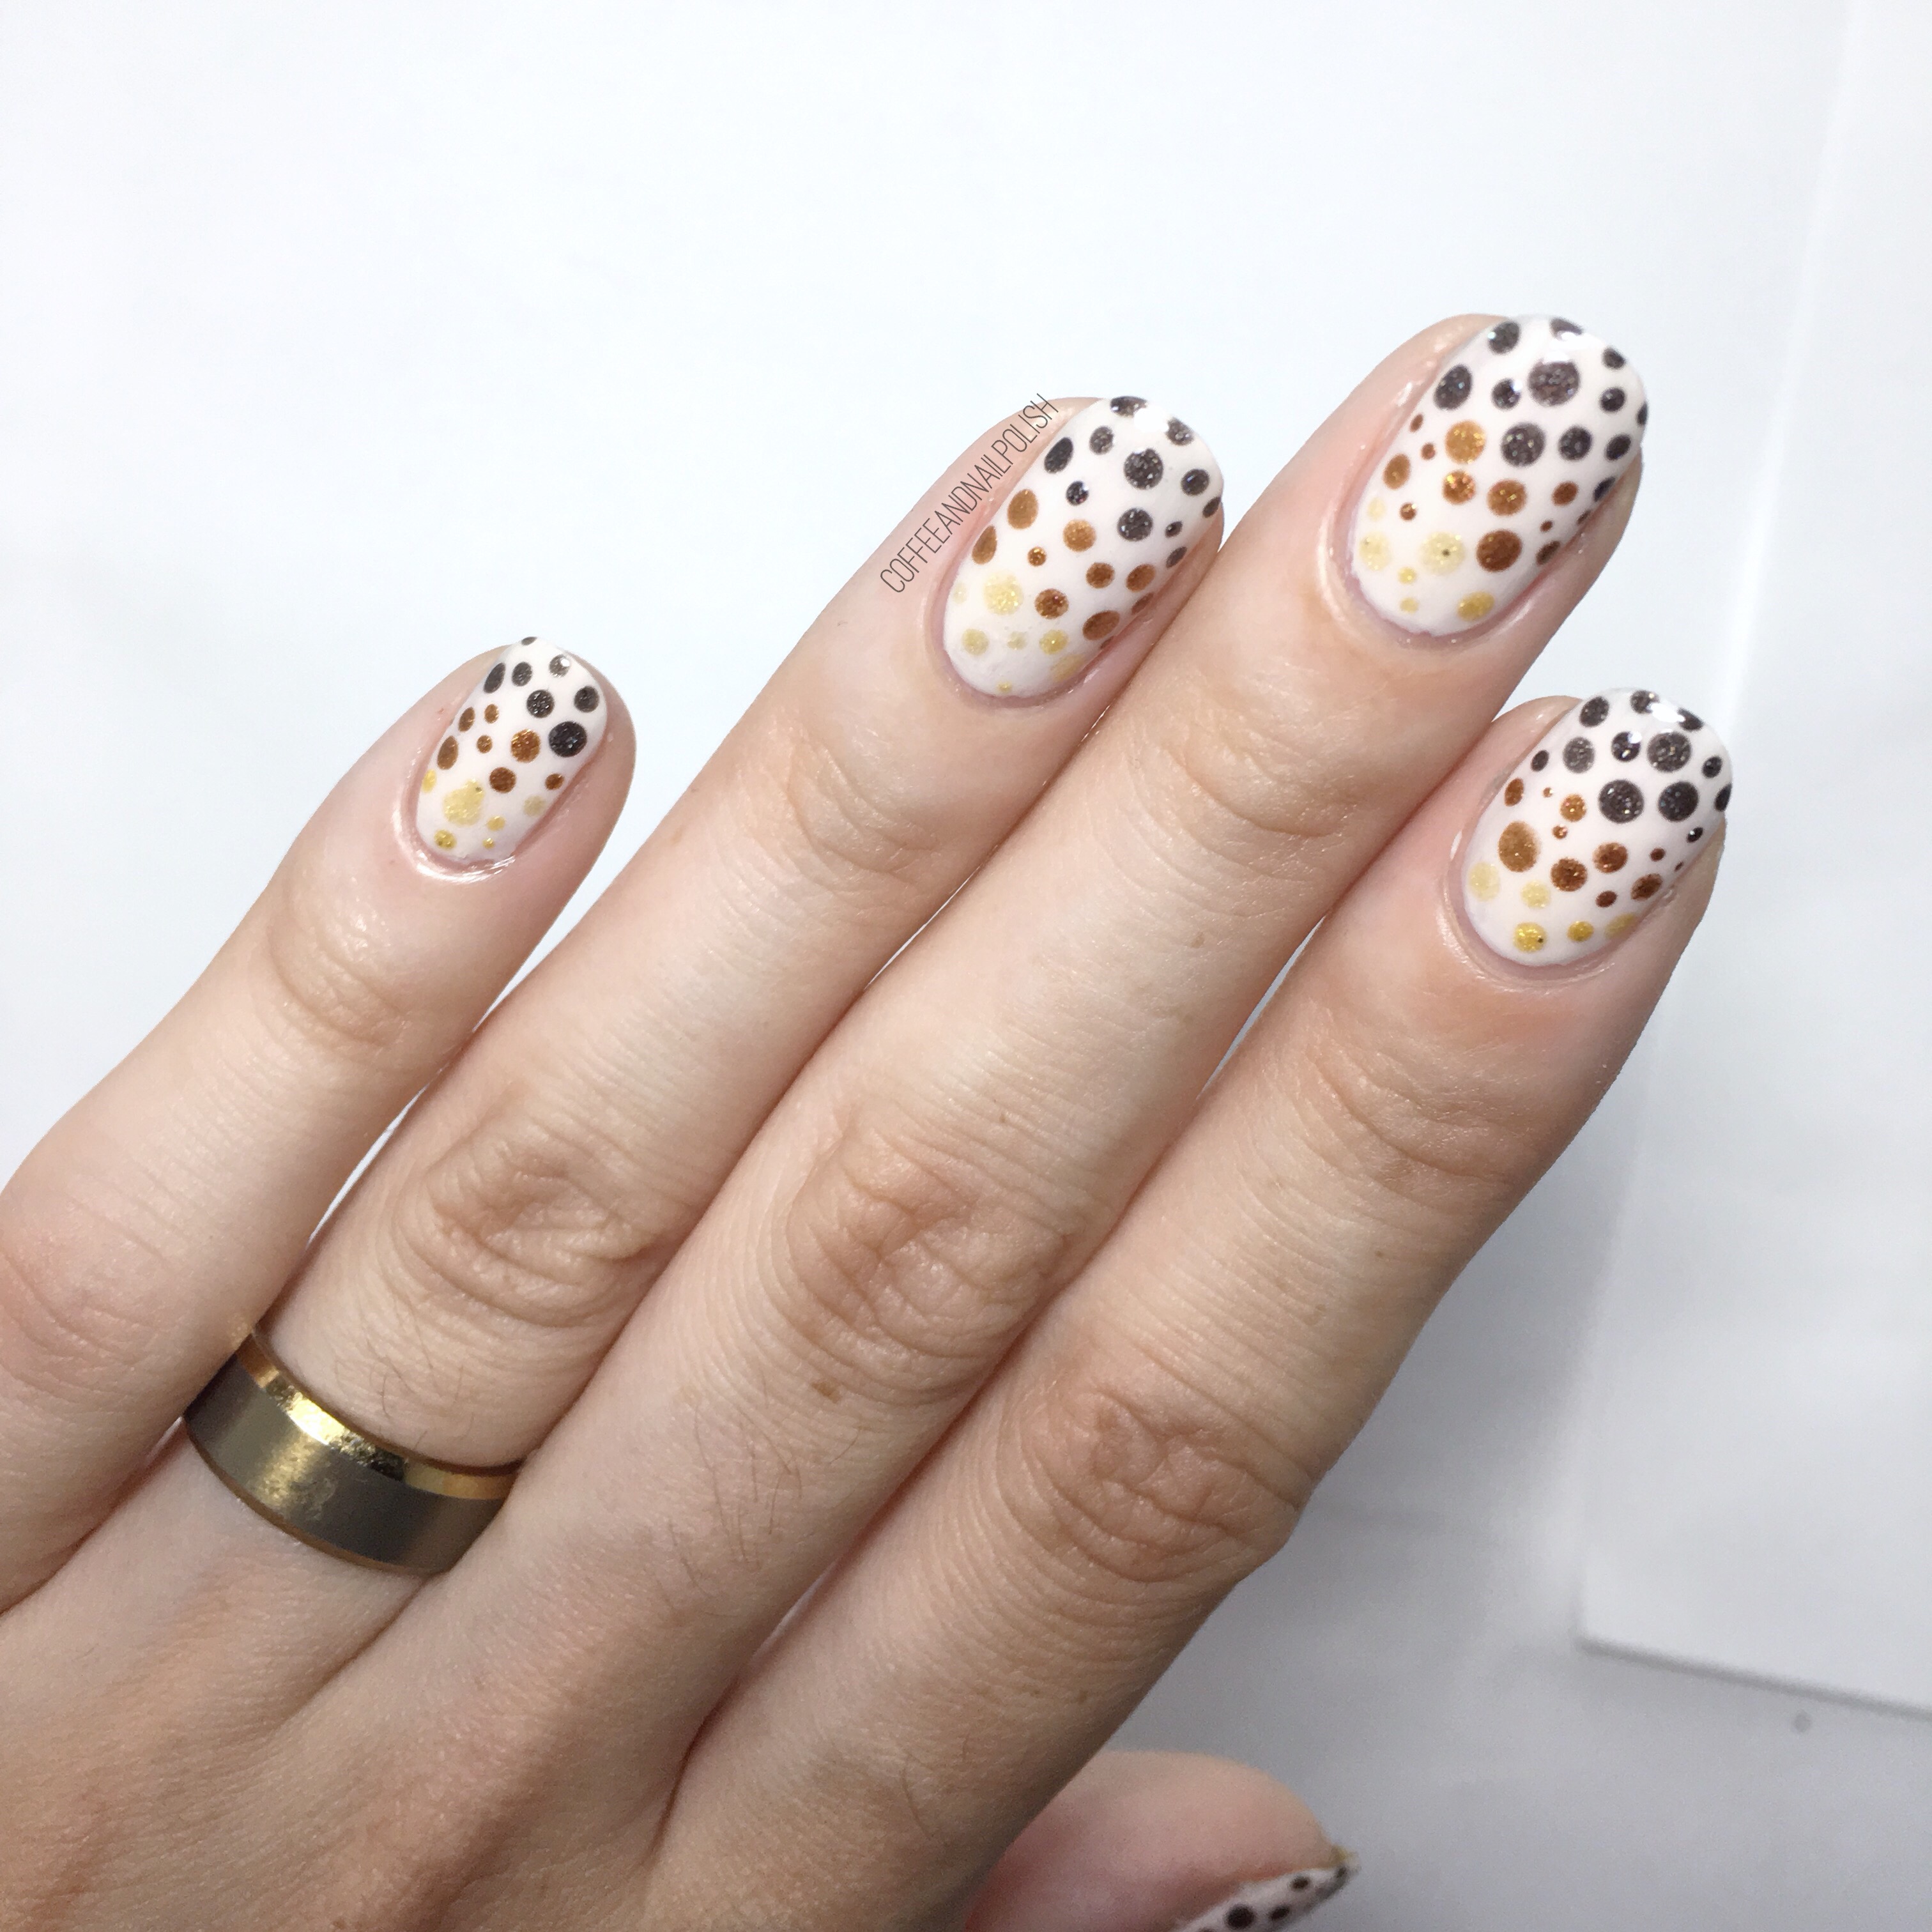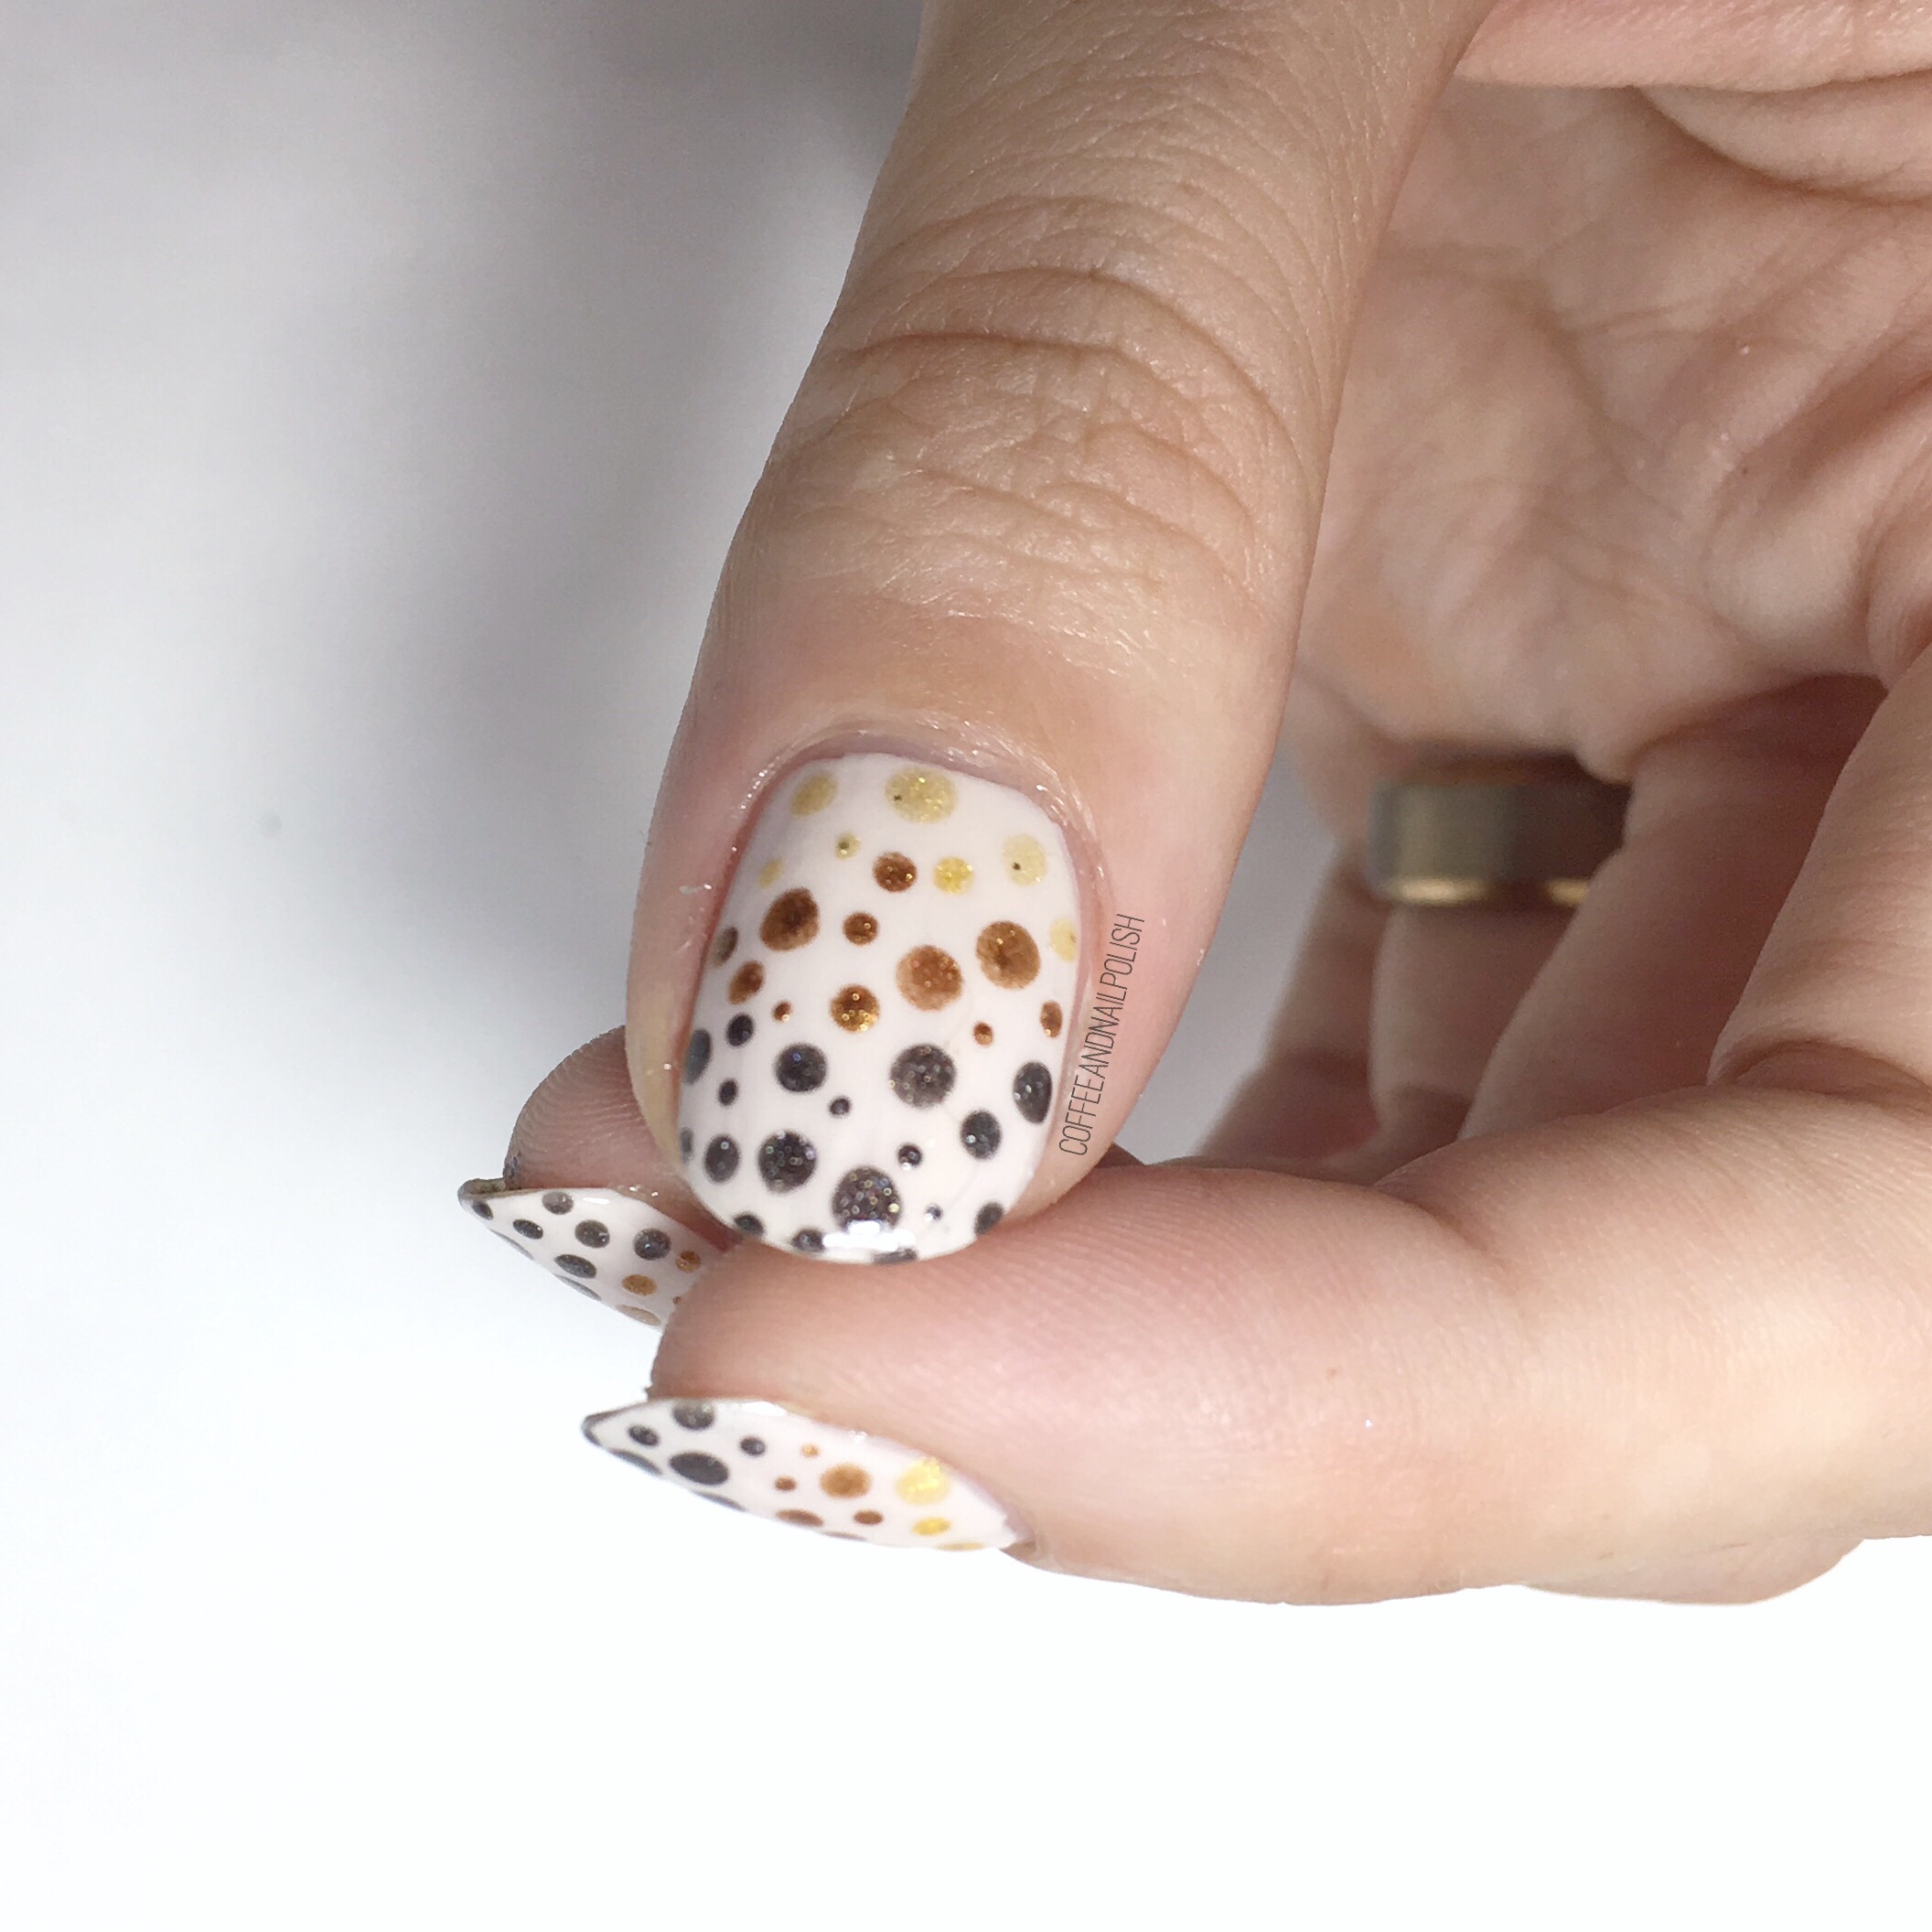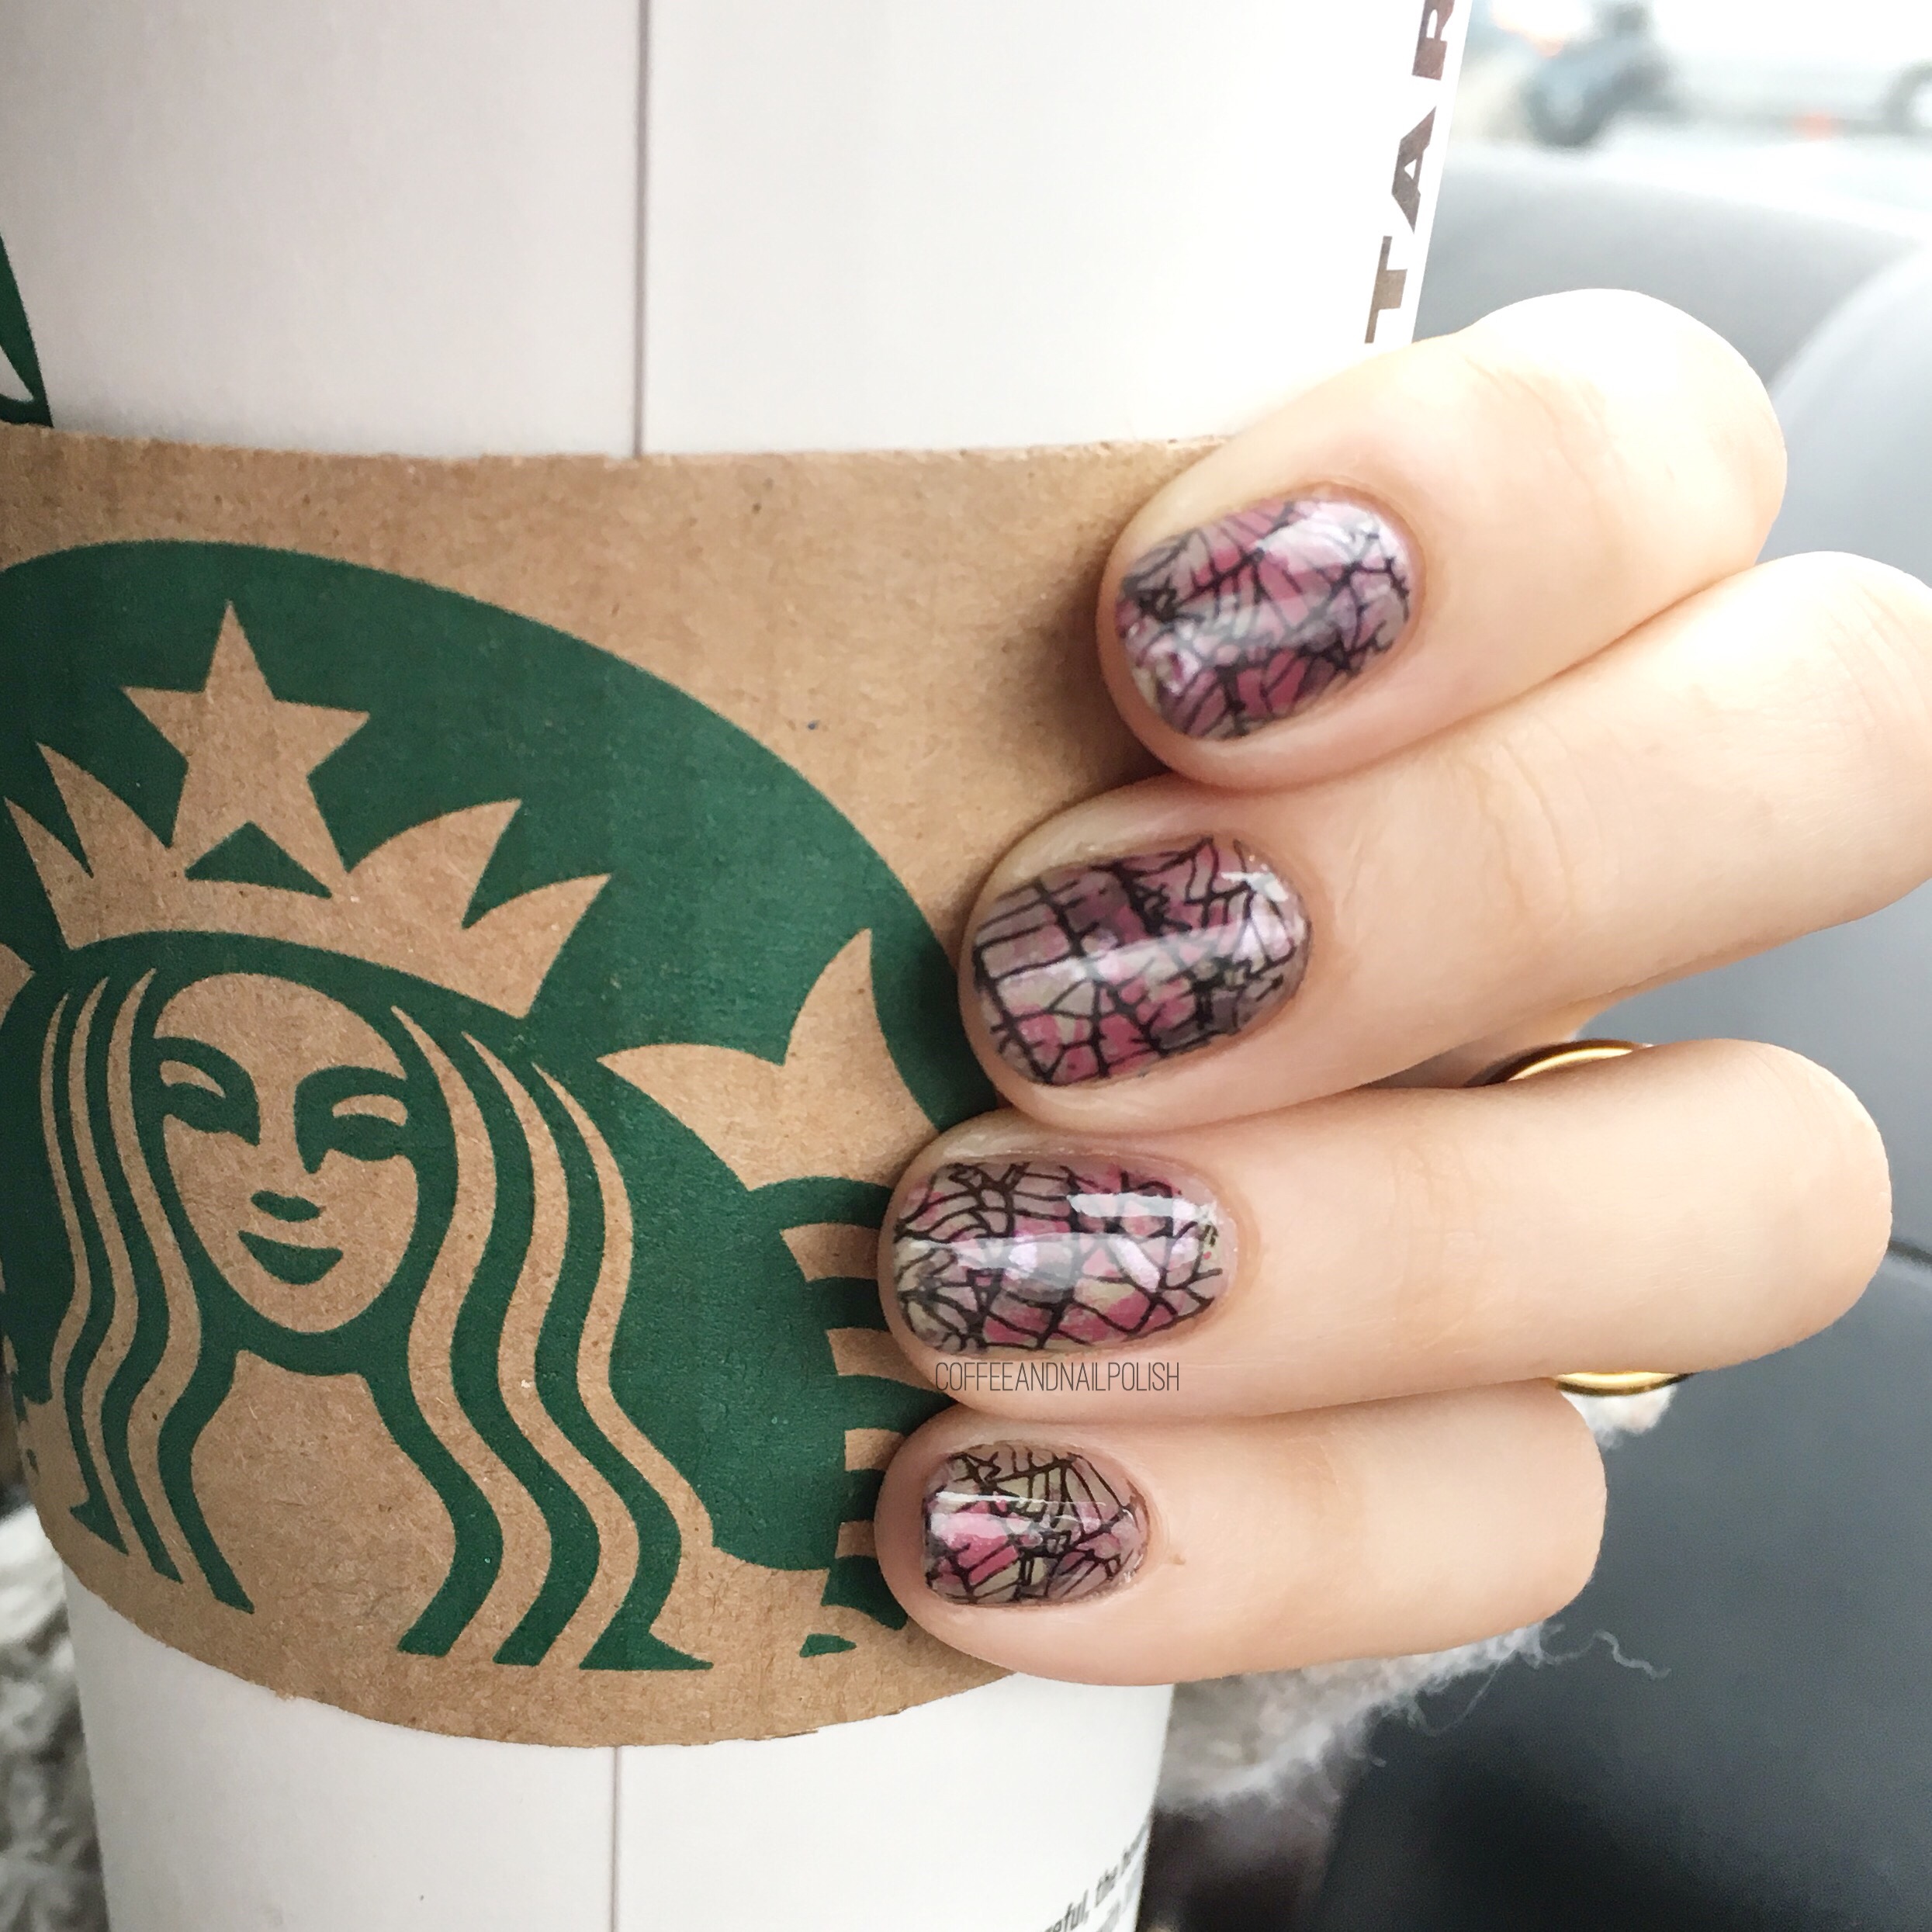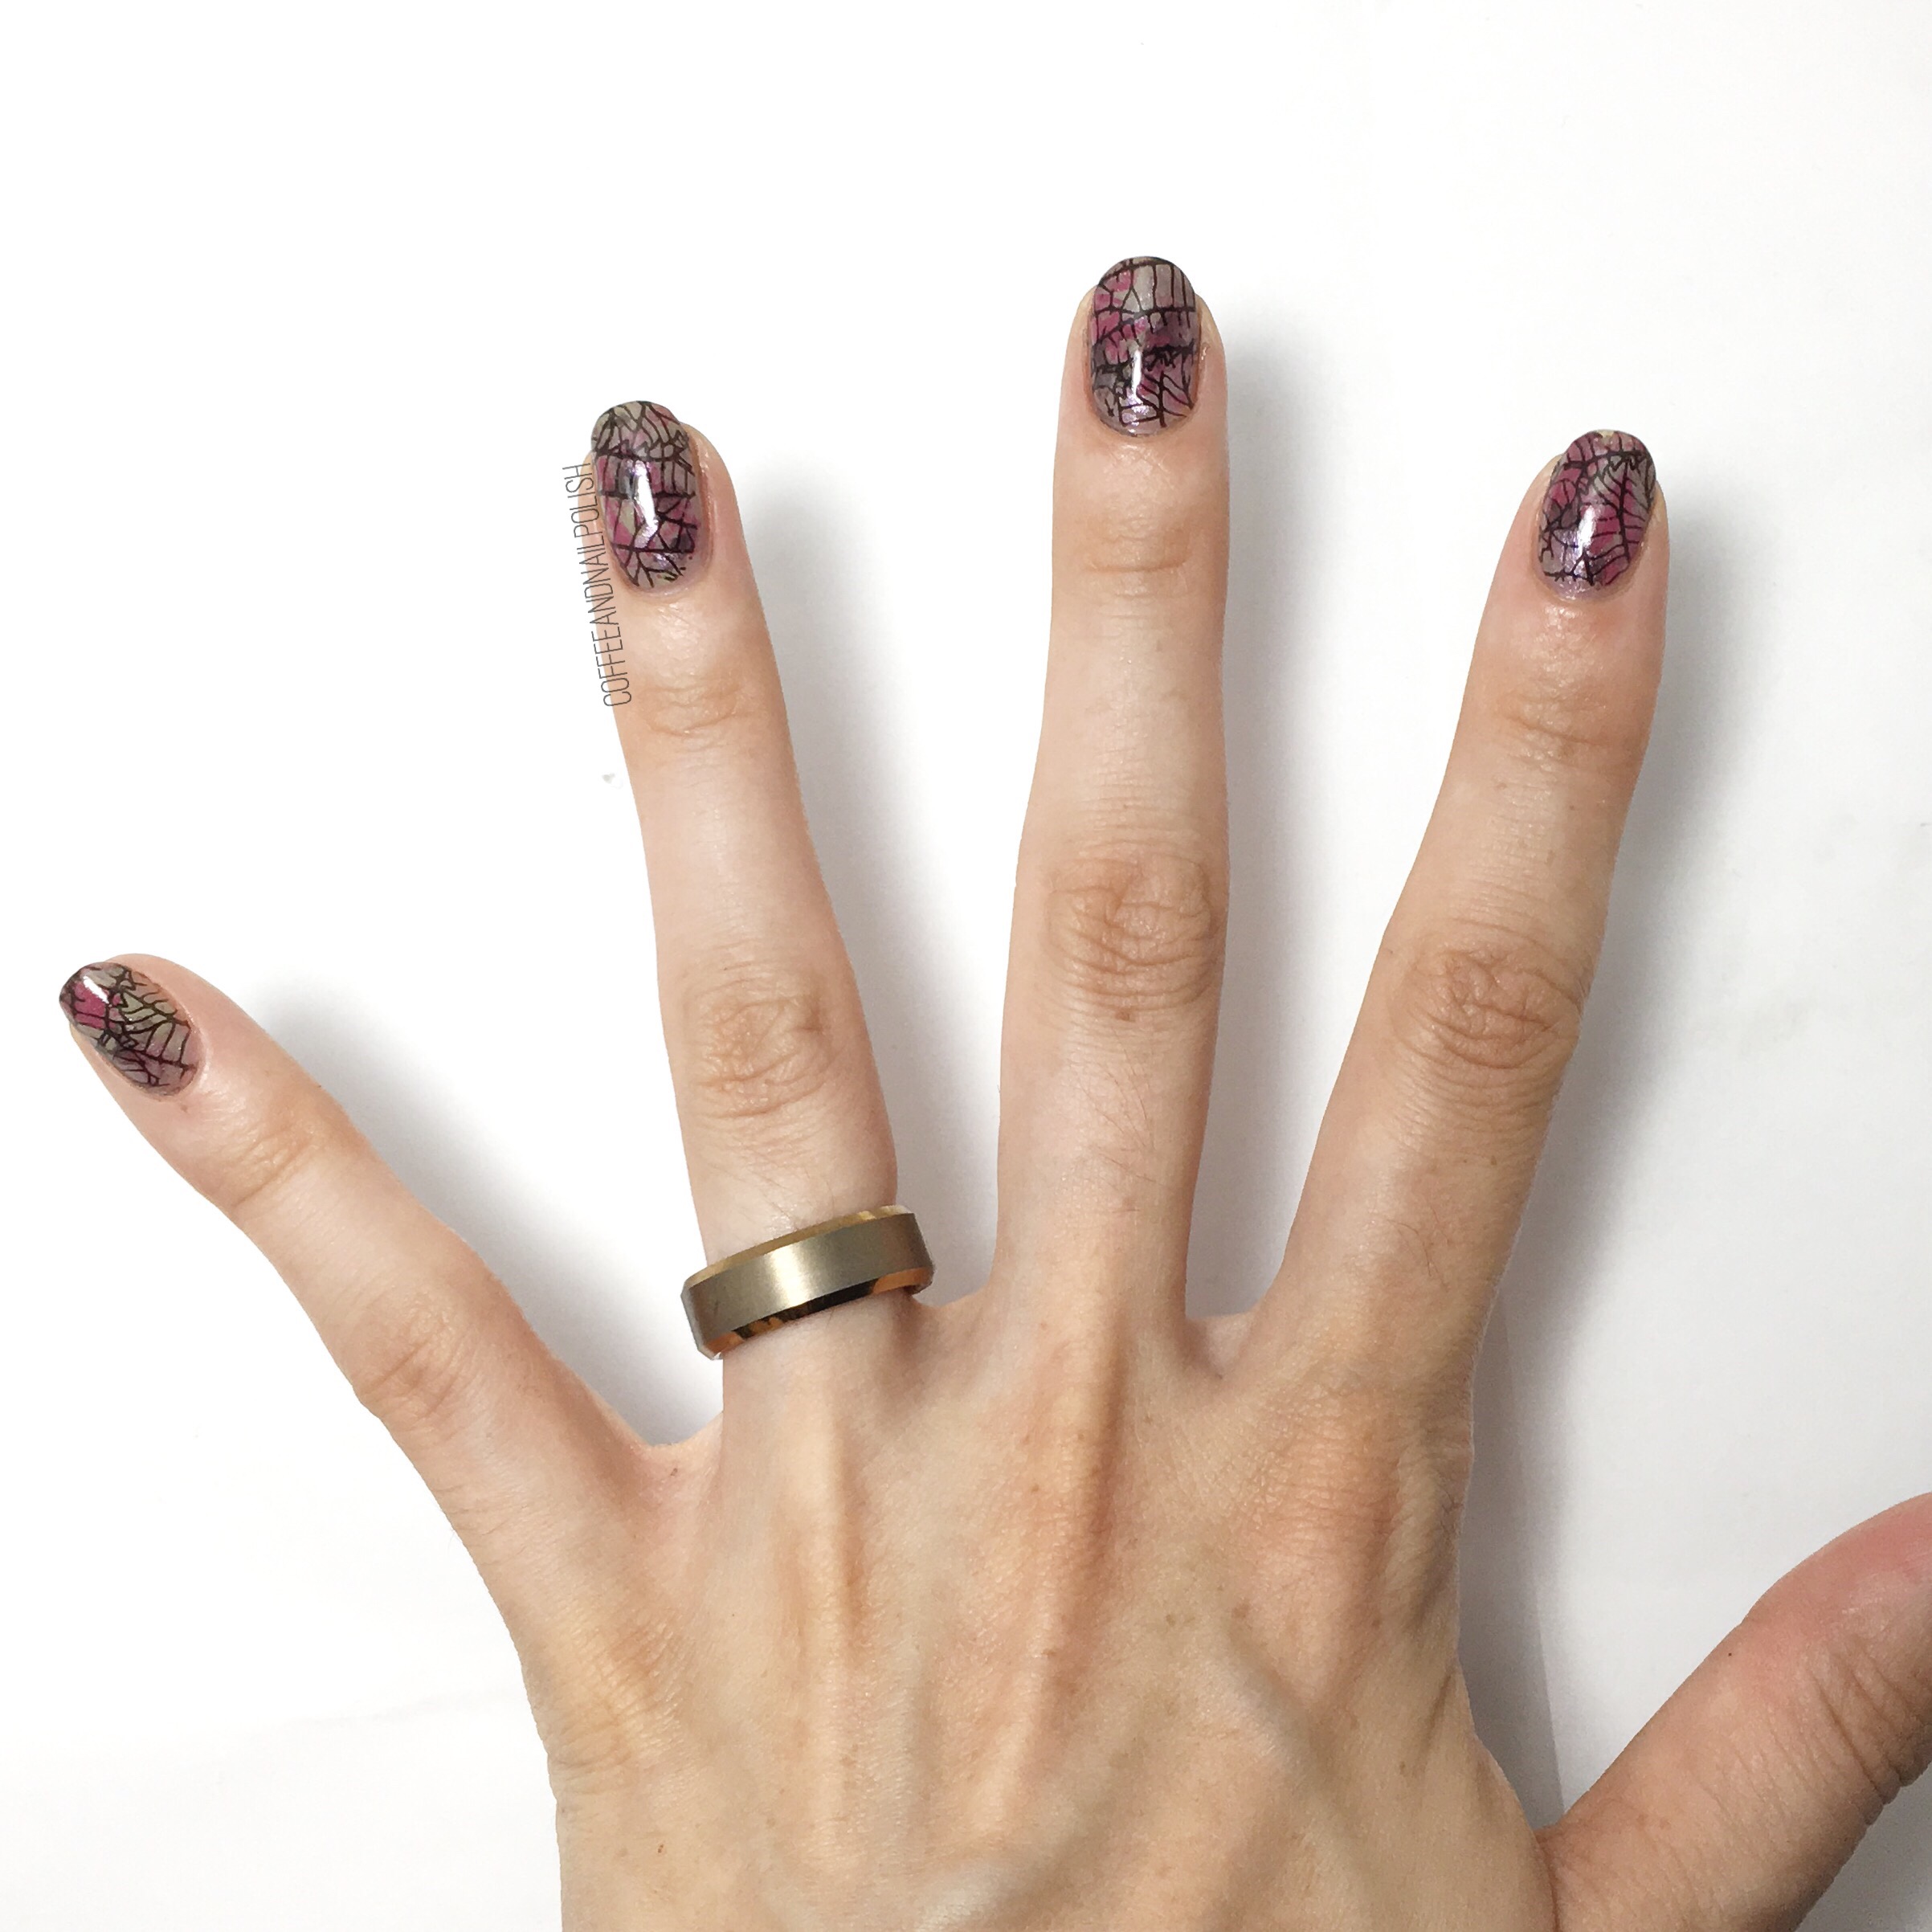
Patterned Watercolour Nails Inspired by @thesammersaurus

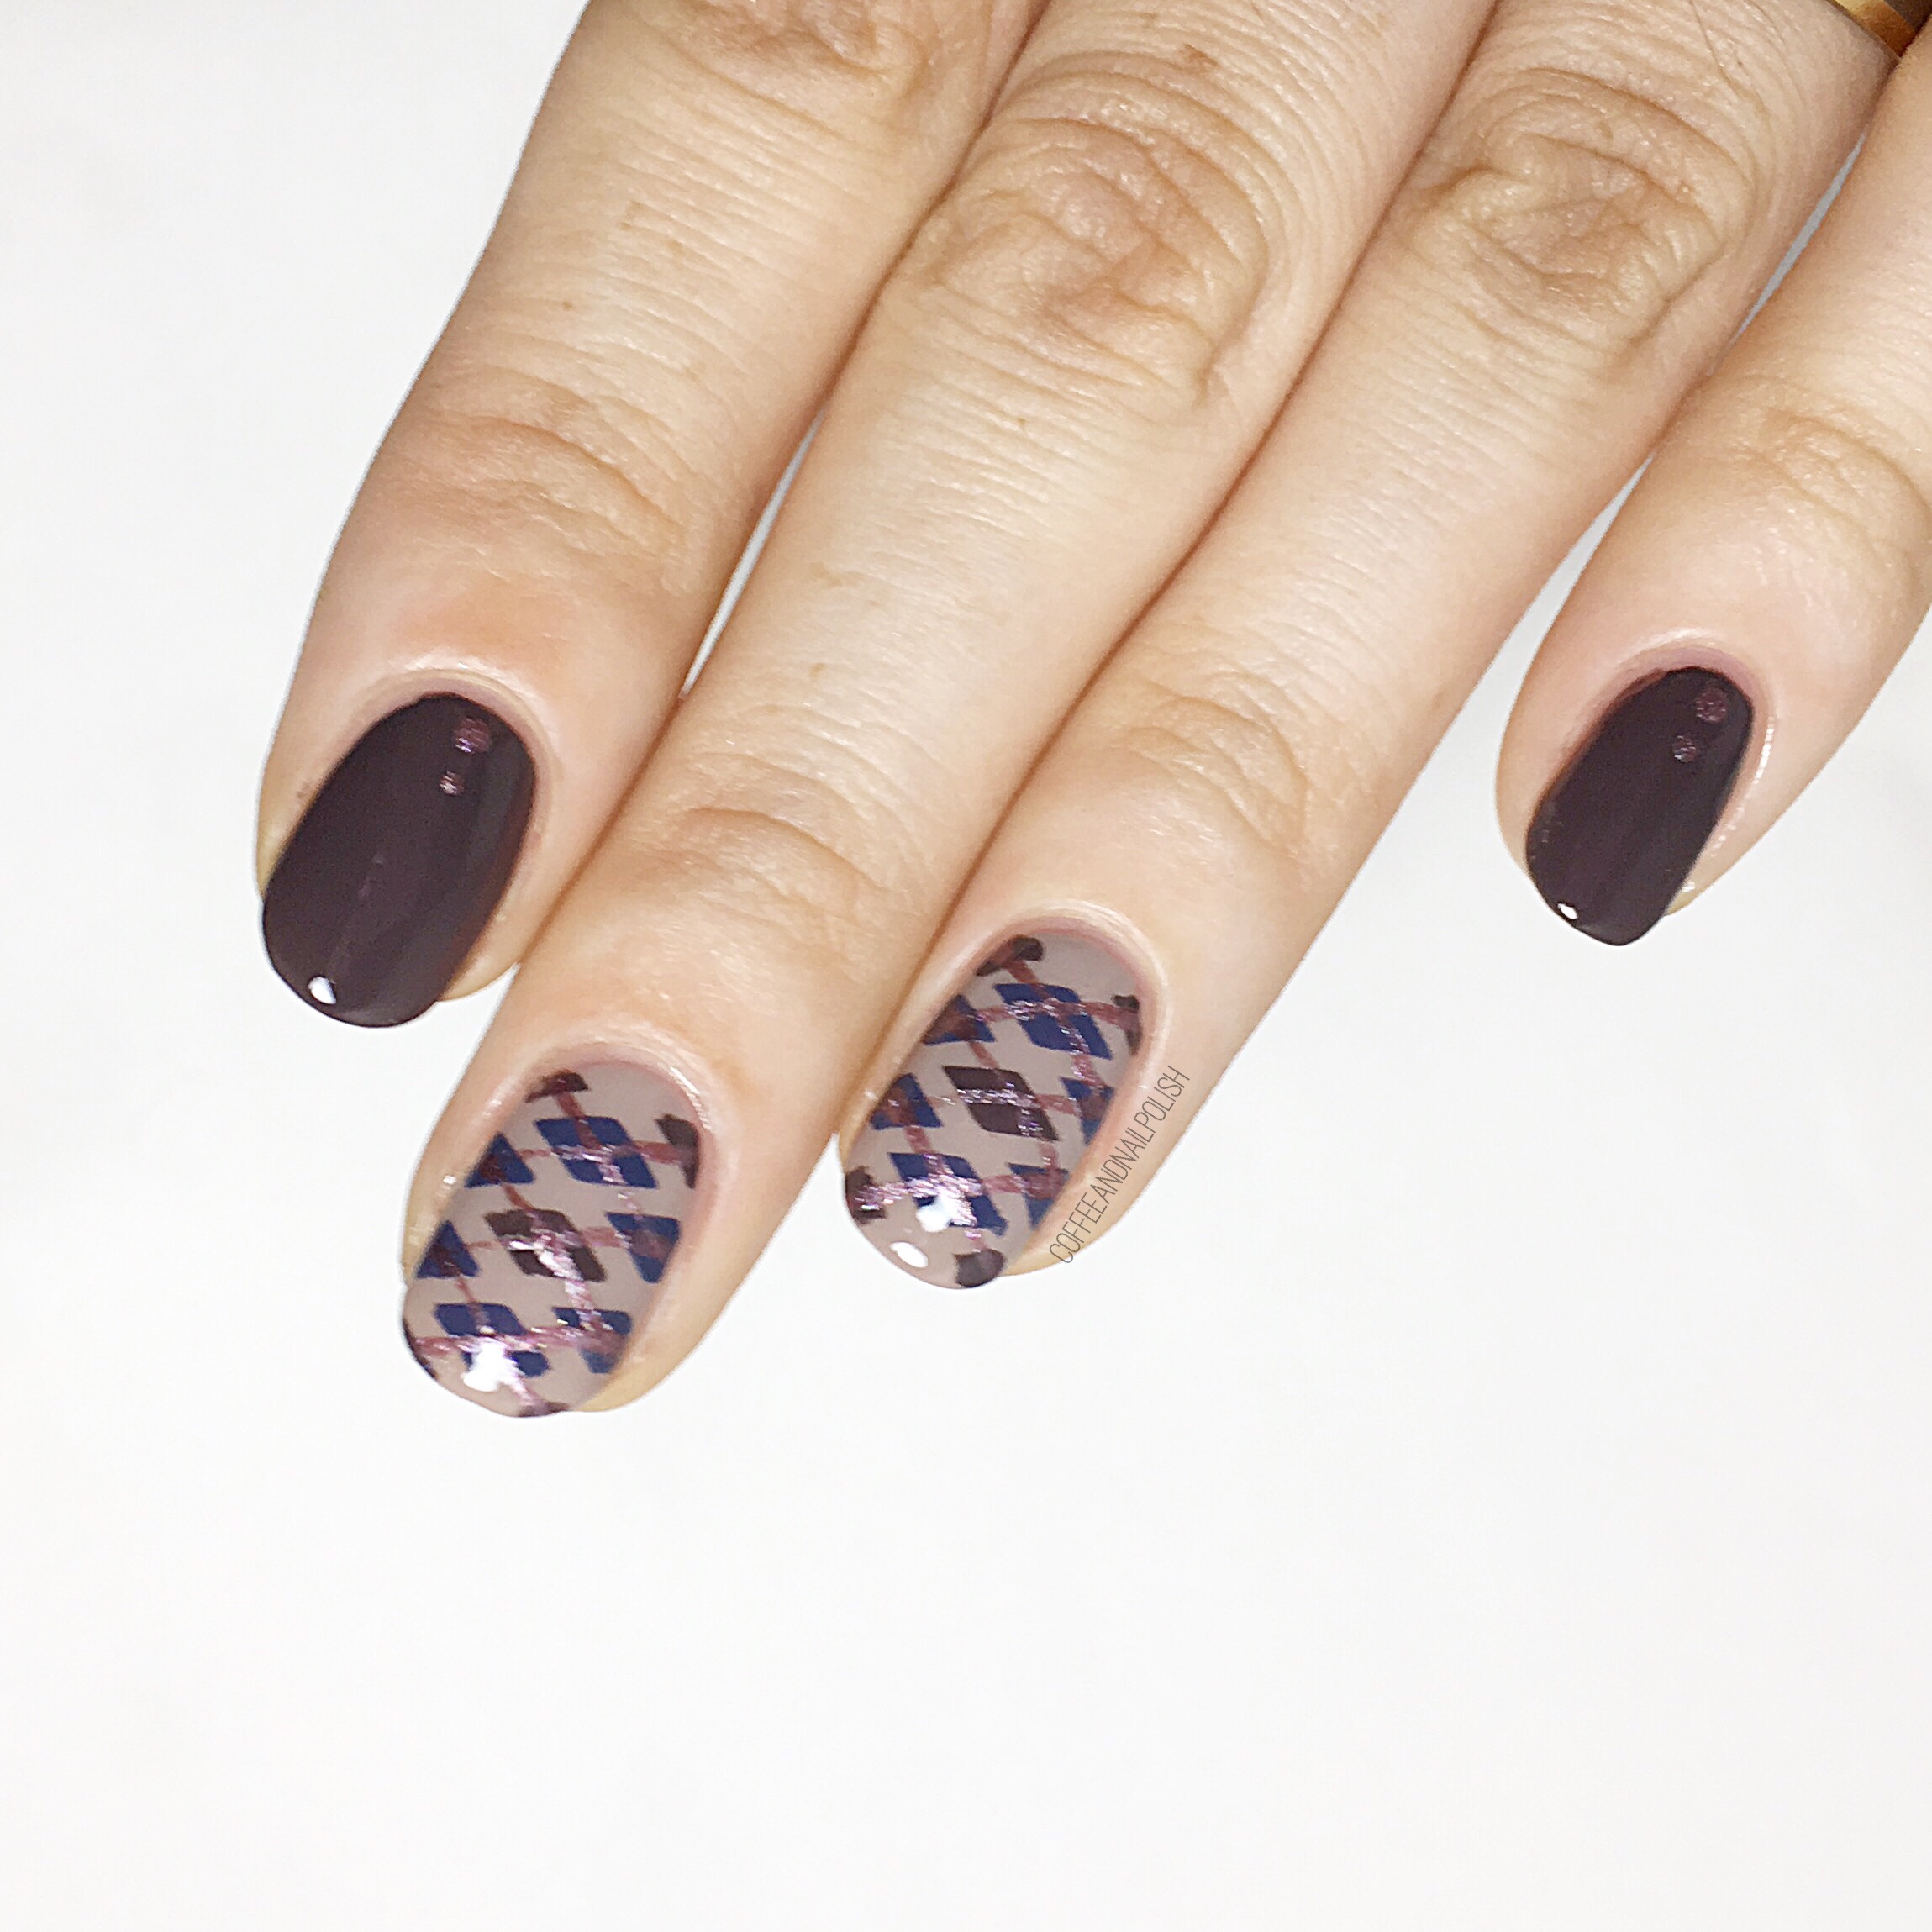
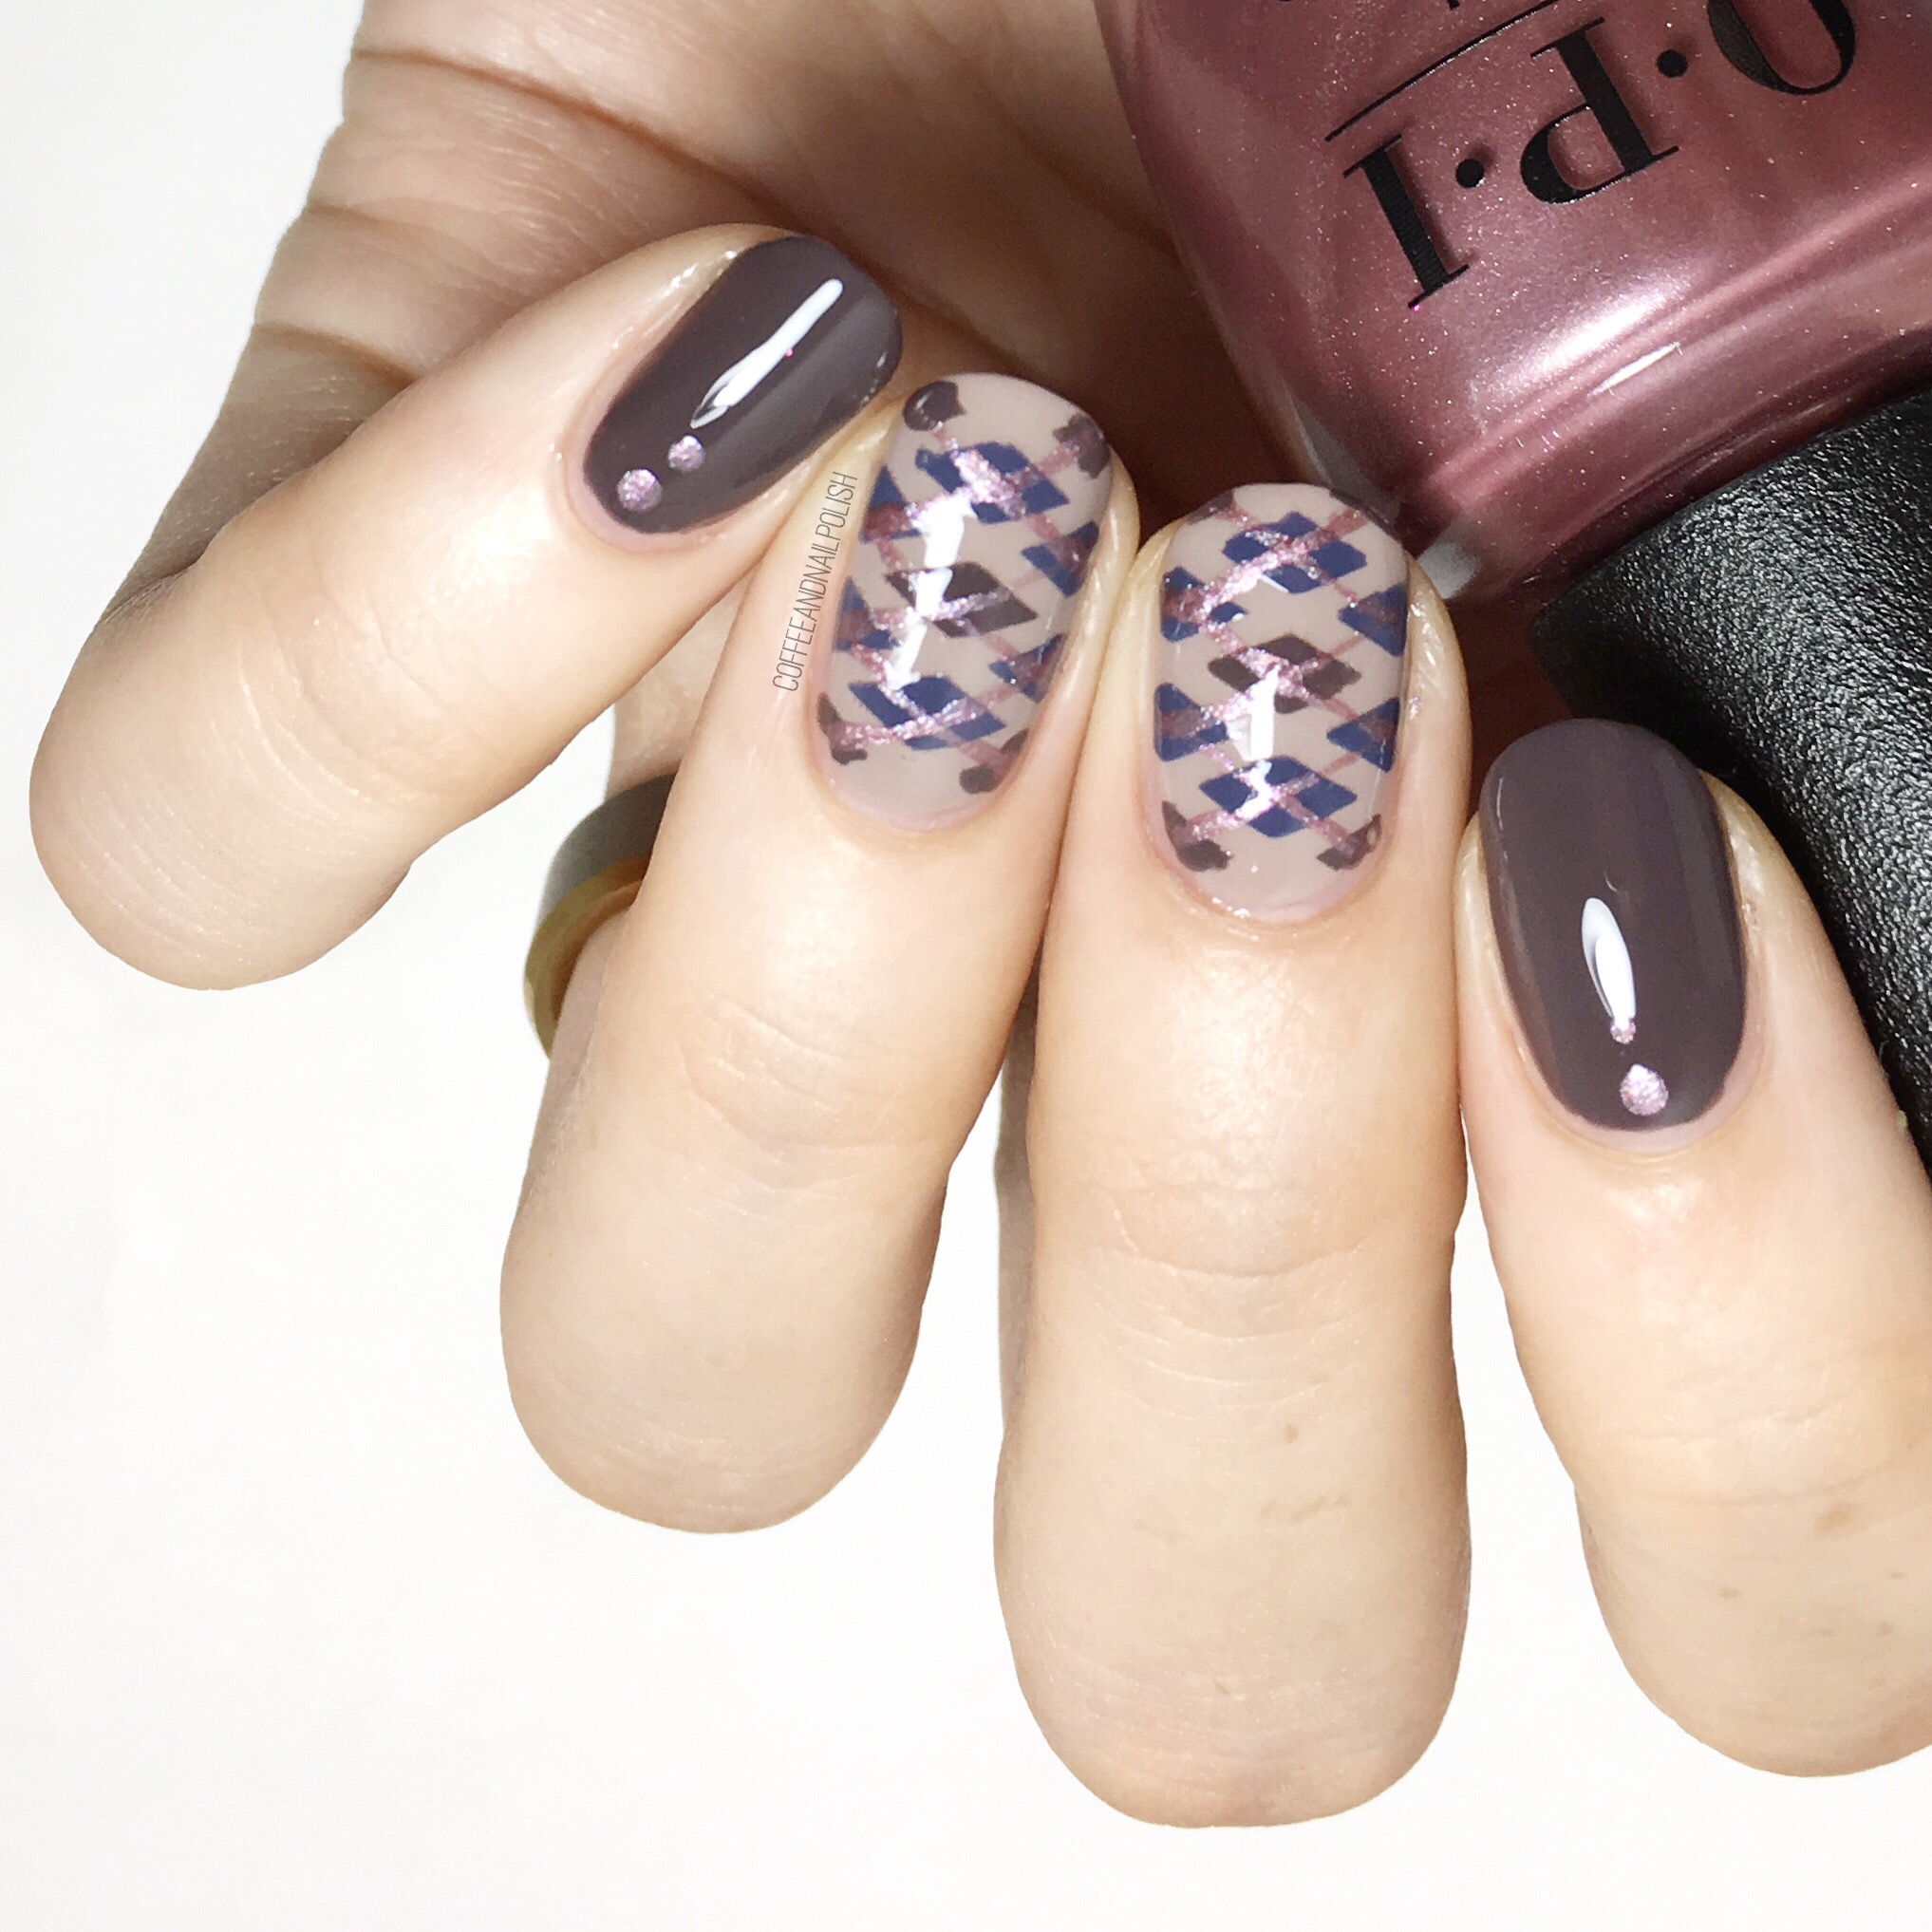
So I’ve been feeling a little stuck, inspiration wise, & when I feel lost for ideas I love browsing through the feeds of my favourite nail artists to see what catches my eye. I was scrolling through @thesammersaurus‘s instagram feed & came across a gorgeous geometric design from 3ish years ago. I’ve been a massive fan of Sammy’s for a long time–she was one of the first nail art blogs I discovered–& I love how she comes up with awesome, creative designs & rocks those shorter nails!  It gives hope to those out there who don’t have crazy long nails. So when I discovered this gorgeous design I loved, I popped over to her blog & found all the details of her design to make painting my recreation way easier! 

For the manicure, the products used were:

  • Base Coat: Cutex Brittle Nail Fix
  • Top Coat: Cutex Quick Dry Top Coat
  • Essie Go Ginza 
  • Essie Play Date
  • Sally Hansen Xtreme Wear Royal Hue
  • Sally Hansen Hard As Nails Hard To Get
  • OPI My Favourite Ornament 
  • Xroma Polish & Vinyls X Stencil (I cut off the bottom) 
  • The Base Coat Triangle Pattern Stencil
  • Latex Free Make Up Sponge 

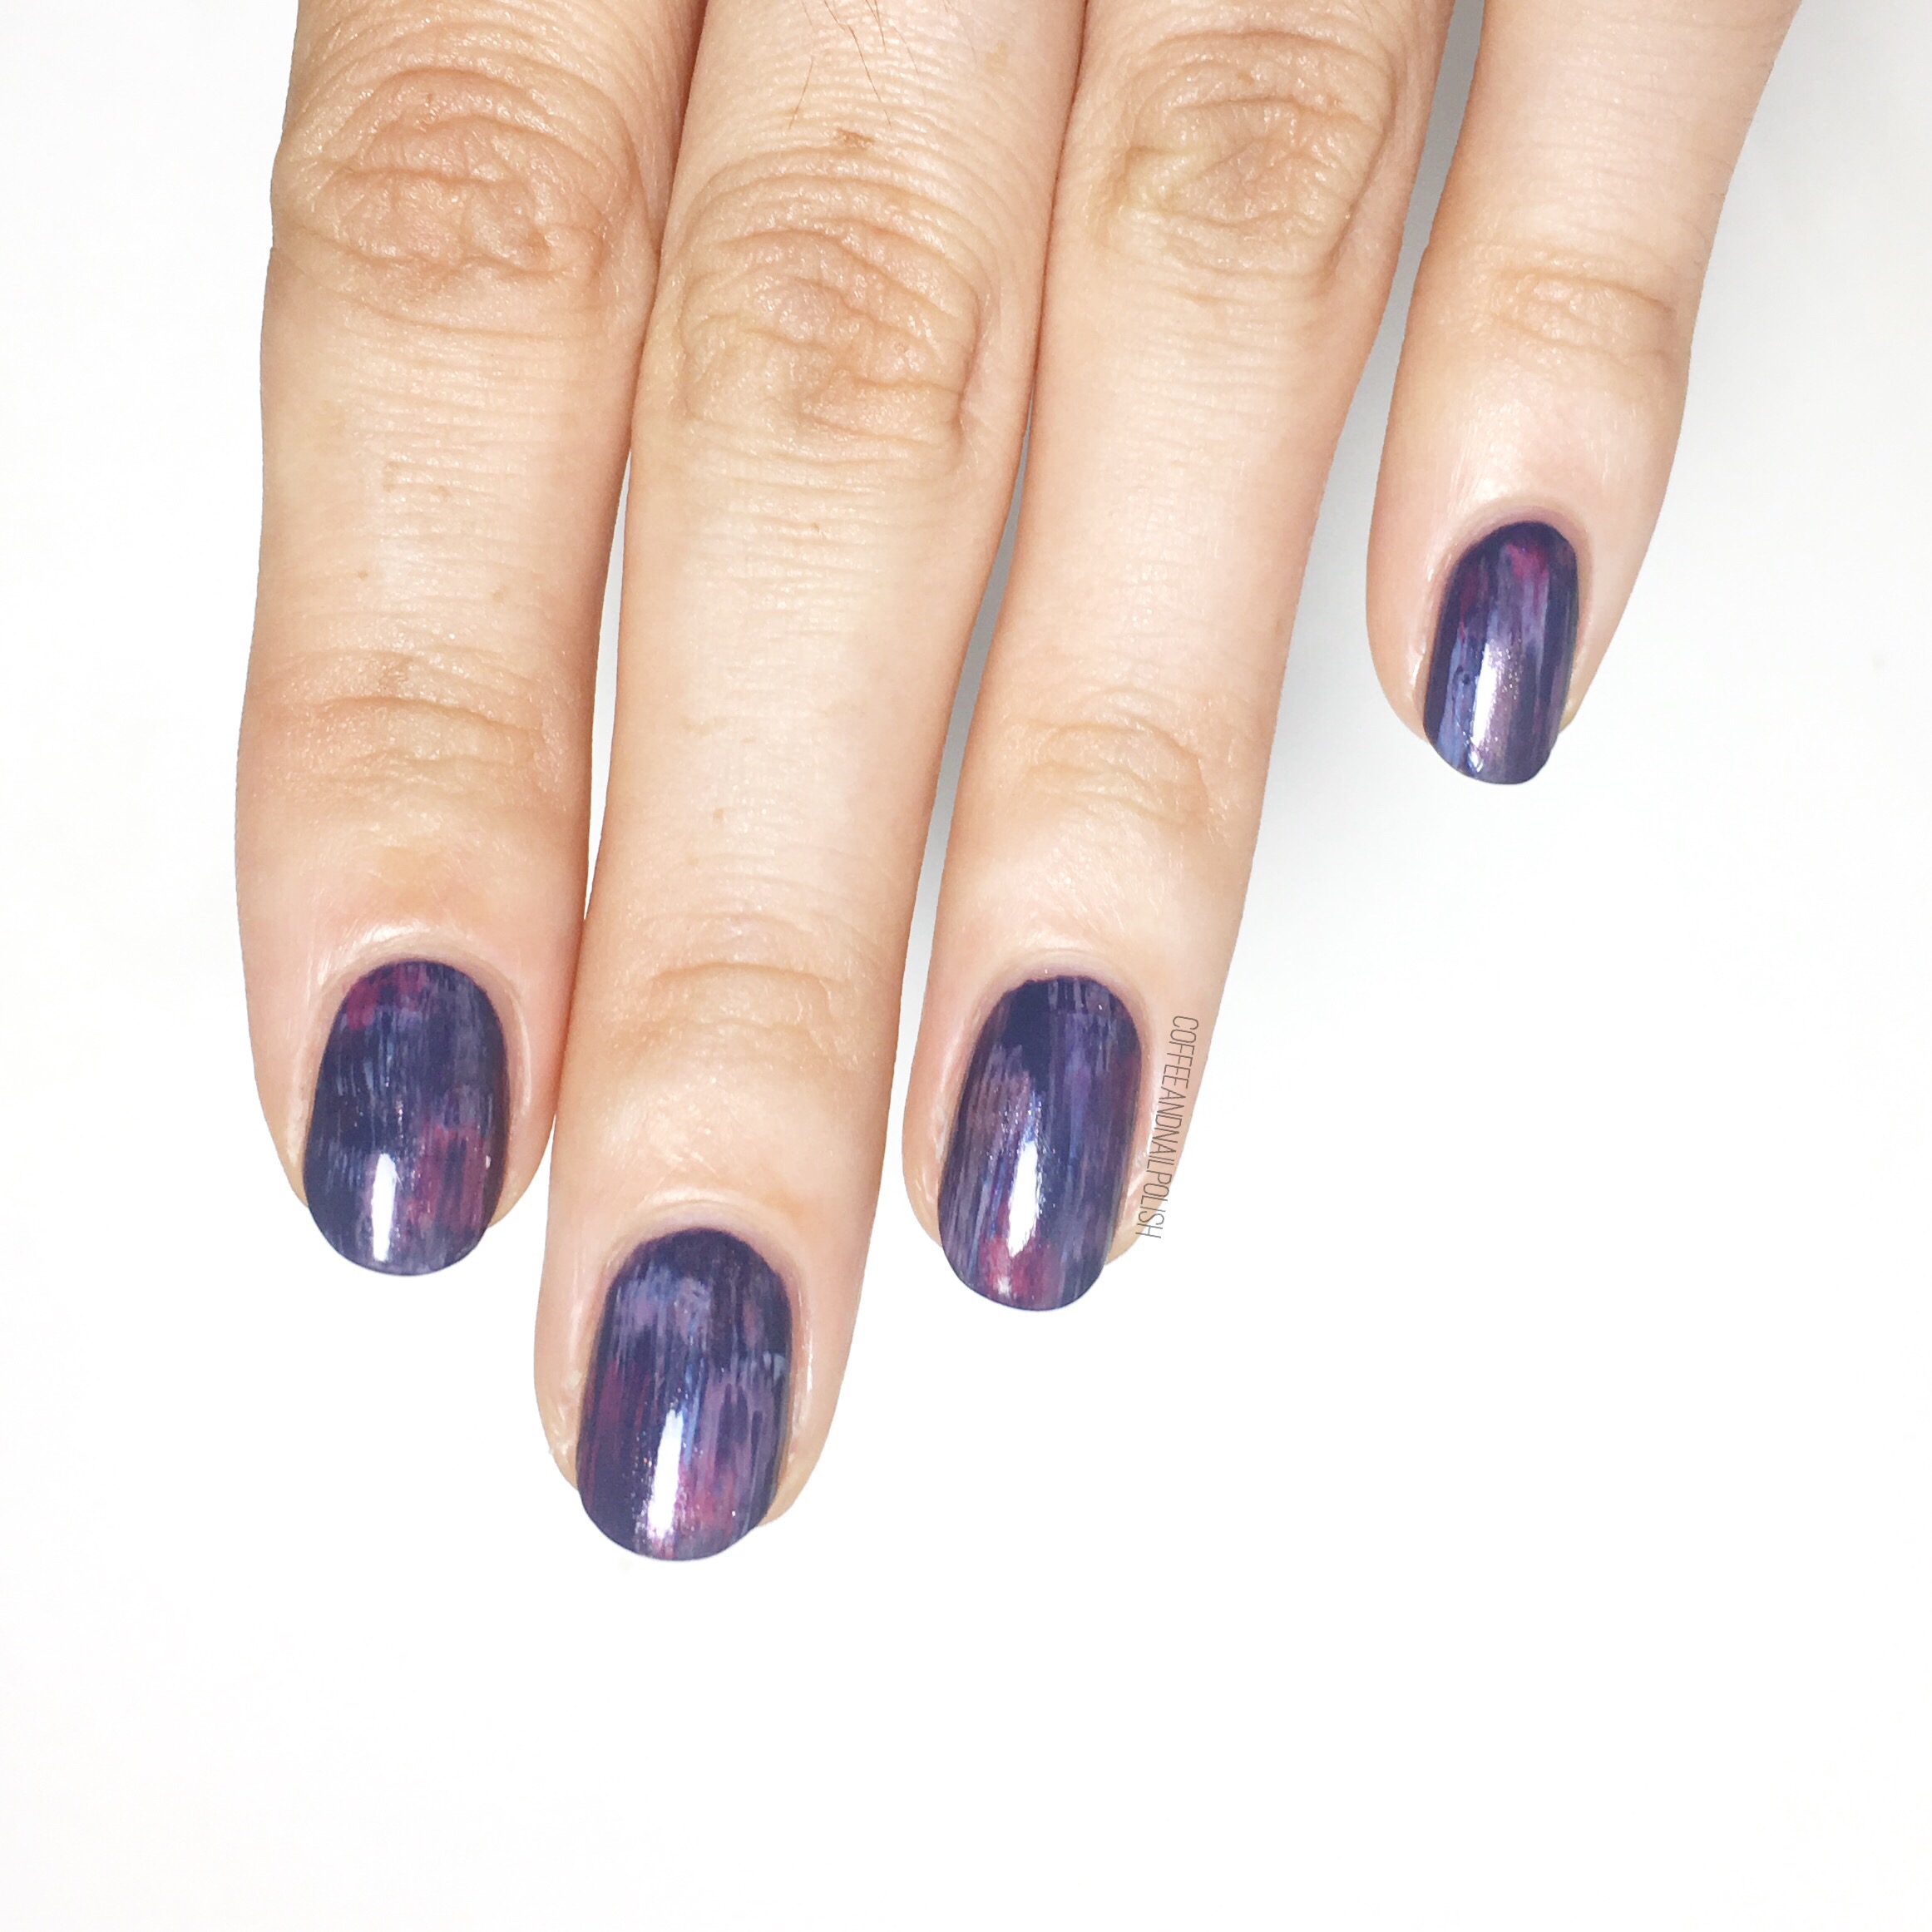
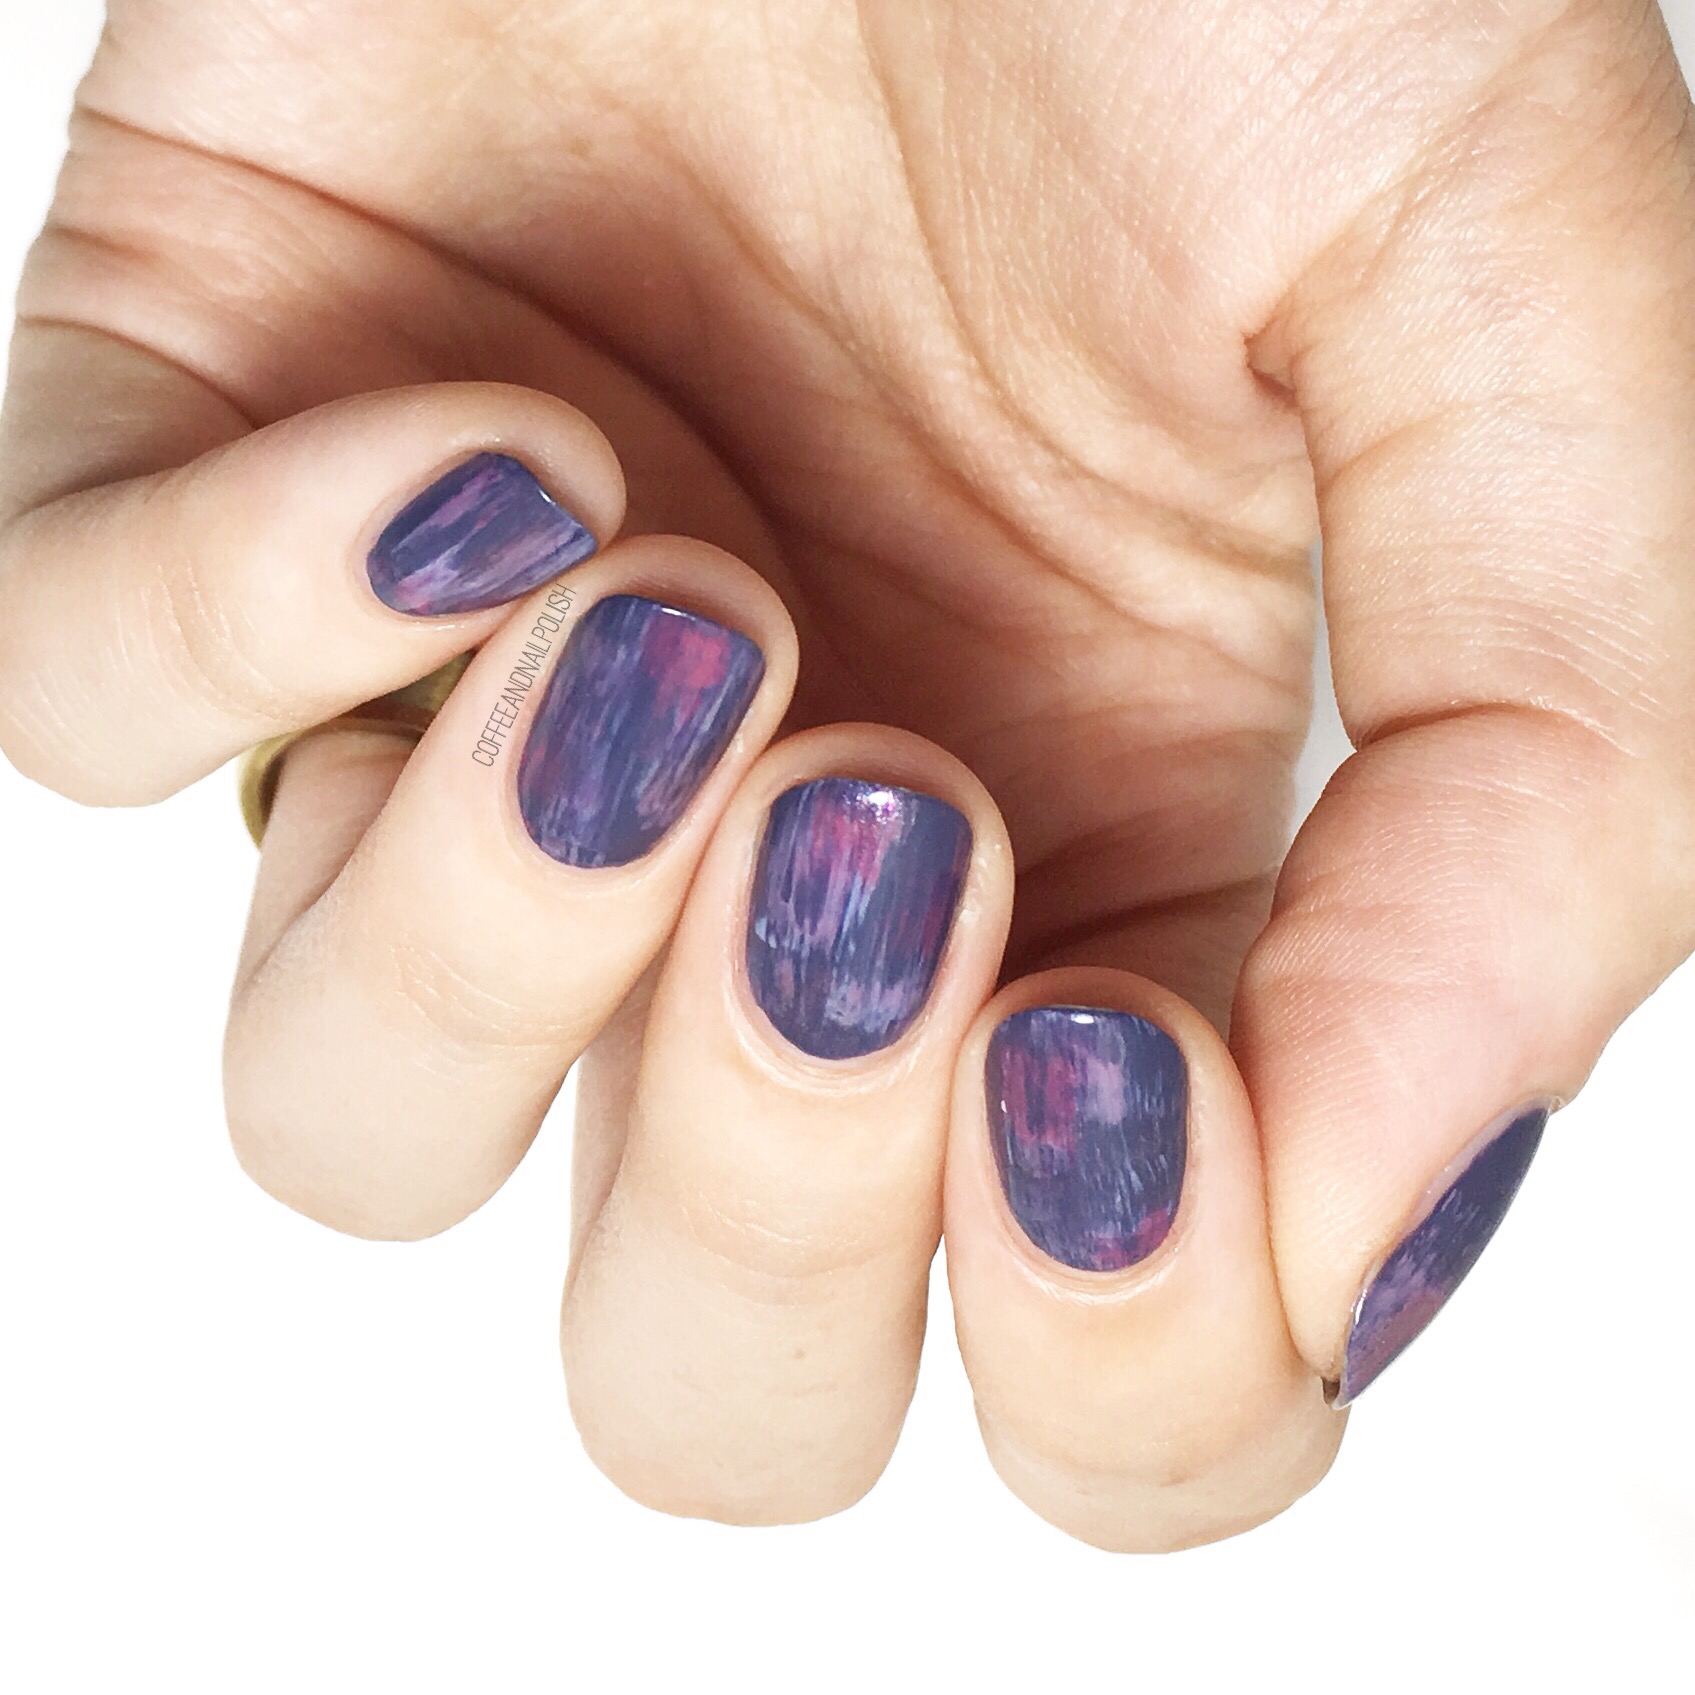
Thanks to my vast collection of vinyls, I was able to cheat & skip having to place striping tape/skinny vinyls individually for a relatively easy to do manicure! (Thank god for that!) I also used a make up sponge instead of the Saran Wrap technique for my colour blending on the accent nails. But even though I didn’t follow her exactly, I feel like this recreation turned out Pretty on point. Just please ignore the shrinkage on my middle finger nail. 😂


Do you have a favourite nail art you love to turn to for nail art inspiration? Where is your favourite place to get nail art inspiration from? Let me know in the comments below! 💜

Graphic Lines Over Watercolour 

I teased these geometric freehand nails this weekend, which you may have seen on Instagram, so I’m excited to finally share the whole look! I just needed to do some really poppy Summer nails to counter act the fact I’m craving Fall colours so bad. I also feel like I haven’t been practicing my freehand lines enough, so I wanted to play around with my black striper. This design isn’t perfect but I do quite enjoy how they turned out. 

The polishes used for this design are:

  • Base Coat: Cutex Brittle Nail Fix
  • Top Coat: Cutex Quick Dry Top Coat
  • Sally Hansen Hard As Nails Hard to Get
  • Color Club Evolution 
  • Sally Hansen Miracle Gel Wet My Thistle
  • ACO by Ardene Road to No Where 
  • Essie Cute As A Button
  • China Glaze Sun Upon my Skin
  • Art Club Nail Art Striper in Black
  • Latex Free Make Up sponge 

Bright & colourful & fun was what I was going through with these nails & I feel like I was pretty successful. Of all my nails, my thumb was my absolutely favourite (& I feel like it turned out the best of all 10 nails). I think it had something to do with my striper polish. The more I use it though, the more I’m realizing I need to try out aryclic paint. I know I keep saying that, but the more I use my stripers, the more frustrated I get with how easily they thicken up. So hopefully the next time I show off a freehand line design, I’ll be sharing my expirences with acrylic paint! 


What do you think of this design? Have you ever used acrylic paint for nail designs? Let me know your thoughts in the comments below! 

Diamond Pattern Accent Nails

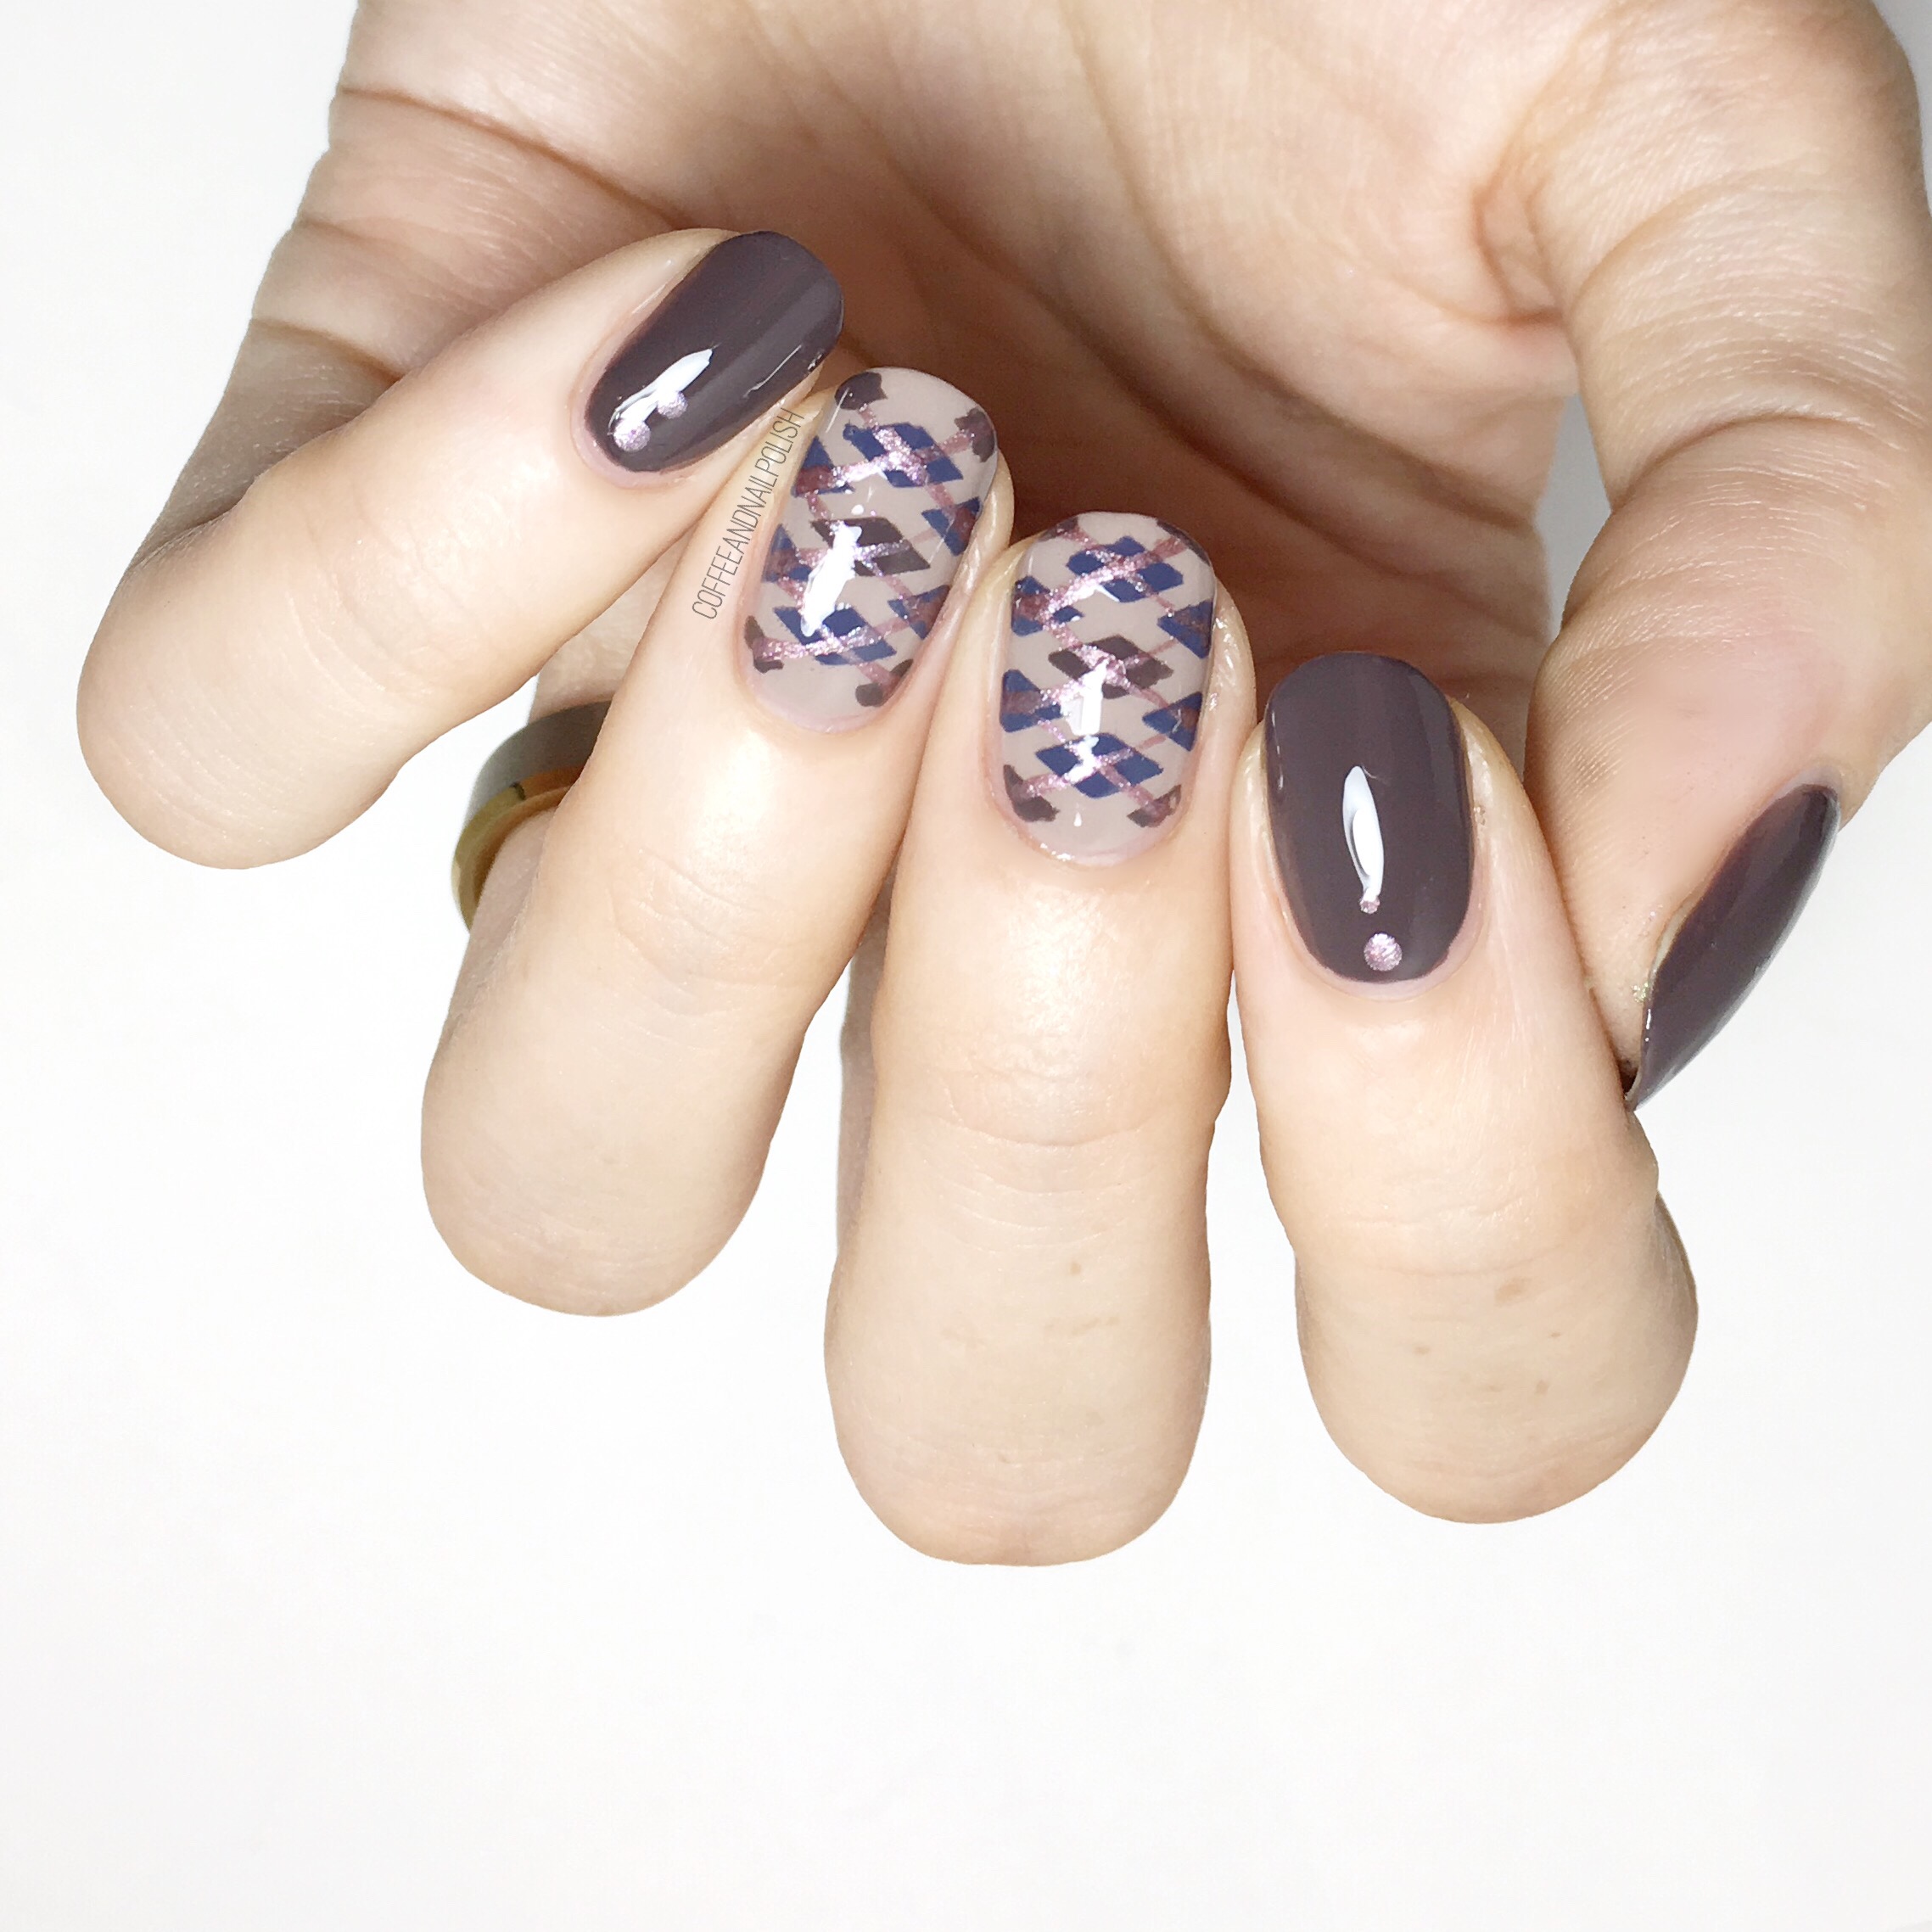
I keep telling myself “It’s Summer! Wear Summer colours!” & then immediately reach for some questionably Fall tones. That’s what August does to me–the calendar flips to August & I start thinking about Fall, & pumpkin spice & sweater weather & it’s always reflected in my polish choices. 

For this mani, I tried to go Summery… but they ended up feeling Fall-like anyways. For this mani I grabbed a bunch of shades that I won from Essie Canada thanks to their Suddenly Summer contest! (I won 10 Essie shades & a very cool InstaMax 9 Camera!) These nails remind me a lot of argyle… I used the diamond pattern vinyls & if you added a couple thin lines overtop I think it would make for some great argyle pattern nails. Going to keep that in mind for some future Fall nails. 

For this mani, the polishes I used are:

  • Base Coat: Cutex Brittle Nail Fix
  • Top Coat: Cutex Quick Dry Top Coat
  • Essie Flowerista
  • Essie Wrap Me Up
  • Essie Bikini So Teeny
  • Essie Pool Side Service
  • Essie Splash of Grenadine
  • Xroma Polish & Vinyls Diamond Stencils (applied sideways) 


When do you start feeling a craving for Fall? I’m used to retail life so it’s usually end of July, early August when all the back to school shopping starts popping up in store (& when all the Fall polish collections start coming out). 

Let me know what you think of this mani by leaving a comment below & let me know what Fall polish shade (or collection) you’re looking forward to the most! 

Easy Geode Marble nails using Born Pretty Store Clear Jelly Silicone Stamper item #38611

Happy Wednesday! Today I have a two in one for you–a review of this clear silicone jellly stamper (item # 38611) sent to me for review & a new technique for creating quick & easy geode nails using it! 

I used this stamping head for a few stamped manicures (including this design) but I found it was a bit too squishy for my likes for capturing the image & I prefer this Born Pretty stamper. I still wanted to see what I could do with it because it is a great product, so I decided to play around with it using a silicone mat & discovered it was great for creating these geode style nails. The size of this stamping head is especially perfect for achieveing this look. The size of means you can stamp down in one go (which is very important for getting your design to look like this). 

For this manicure, this polishes I used are:

  • Base Coat: Cutex Brittle Nail Fix
  • Top Coat: Quick Dry Top Coat 
  • Essie Bikini So Teeny
  • Essie Mint Candy Apple
  • Essie Pool Side Service
  • Essie Peach Side Babe 
  • Essie Leggy Legend 
  • Born Pretty Store 3.9cm Clear Jelly Silicone Stamper
  • Silicone craft mat (or another nail art mat… Born Pretty Store also makes a great affordable one! )
  • Small dotting tool or water marble tool. 
  • Small nail art brush. 

I tried to make a video of how to do this, but I’m still working on figuring out the best angle/set up but this video was farther away than I would have liked. Hopefully I’ll figure how to film a video where you can really see what I’m doing. But here is a rough example of how I created this design using a stamper. 

  1. Paint your nails your base shade of choice (I used Bikini So Teeny for mine)
  2. Gather all your shades around your silicone mat & make sure to pre open the bottles. I forgot to do this, & it slows down the process some. 
  3. Going colour by colour, drop the polish down on your silicone mat. Try and overlap the shades together. There is no amount of polish to put down but try & make sure you can see a little bit of each other. 
  4. Using a dotting tool, drag you polish through each other. 
  5. Using your stamper, press down on the polish. Next press down again your prepainted nail. The clear stamper is great for this because you can see through & decide which part of the pattern you want to apply. 
  6. Using a small nail art brush, go in & apply small lines of metallic shade (I used Leggy Legend). This is a great way to hide any mistakes. 
  7. Finish off with top coat to seal in design. 


You definitely want to move quickly & carefully when applying it to your nails. When pressing down, don’t move your nail because it will smudge the design which will ruin the geode look of the design. 

This Born Pretty stamper is so perfect for achieving this look. I tried it using a small stamper & it didn’t work well at all. You need that large squishy space for the polish to spread out. I do have a warning–be careful while cleaning this stamper. I used pure acetone to try & clean mine up (I was not thinking) & it caused some clouding of the plastic. So be very careful! 

If you’re looking for a versatile stamper, I would definitely recommend this stamper. Like I said, I had some difficulties using it for actually stamping but that could have something to do with my personal learning curve. However I will always gush about clear stampers because I feel like the options for nail art are endless! & this stamper in particular with its pink shell is just so pretty. 

If you’re interested in ordering this stamper (or something else) from Born Pretty Store feel free to use my discount code COFFK31 to save 10% off any regular price items! I’ve been ordering from them for years, & I love the wide variety of products you can find for all your nail polish addict needs! 

Gradient Psychedelic Pattern Nails

Am I the only one who does their nails & immediately dubs them “my new favourite nails”? I do it a lot, but in my defence most manicures I do are my favourite. Maybe it’s in part to the fact my nail art skills used to consist of occasionally being able to create semi-straight dots. Either way, these sideways gradient nails featuring the psychedelic pattern vinyls from Xroma Polish & Nails are definitely my new favourite! I don’t think I’ve ever created a gradient so flawless. 

For this manicure, I used: 

  • Base Coat: L’Oréal All In One
  • Top Coat: Essie Gel Setter
  • Hard Candy Sky
  • Nicole by OPI Love Son
  • Deborah Lippmann Groove Is In the Heat
  • Essie Under the Twilight
  • Latex Free Make Up Sponge 
  • Xroma Polish & Vinyls Psychedelic Stencils

This gradient just makes me so happy… the colours & the blending just turned out so perfect! & the use of the pattern over top just brings the whole design together (I think at least). Trying to wear as many Summer-y designs as I can before I start feeling the call of Fall, which thanks to my years in retail usually starts around early-mid August. Haha. But in the mean time, I’ll try to stick to a purely Summer pallet. 

What do you think of this gradient/nail vinyls combo? Let me know in the comments below! I have to say, these psychedelic vinyls are definitely my new favourite pattern.