Christmas Ribbon Candy Swirls

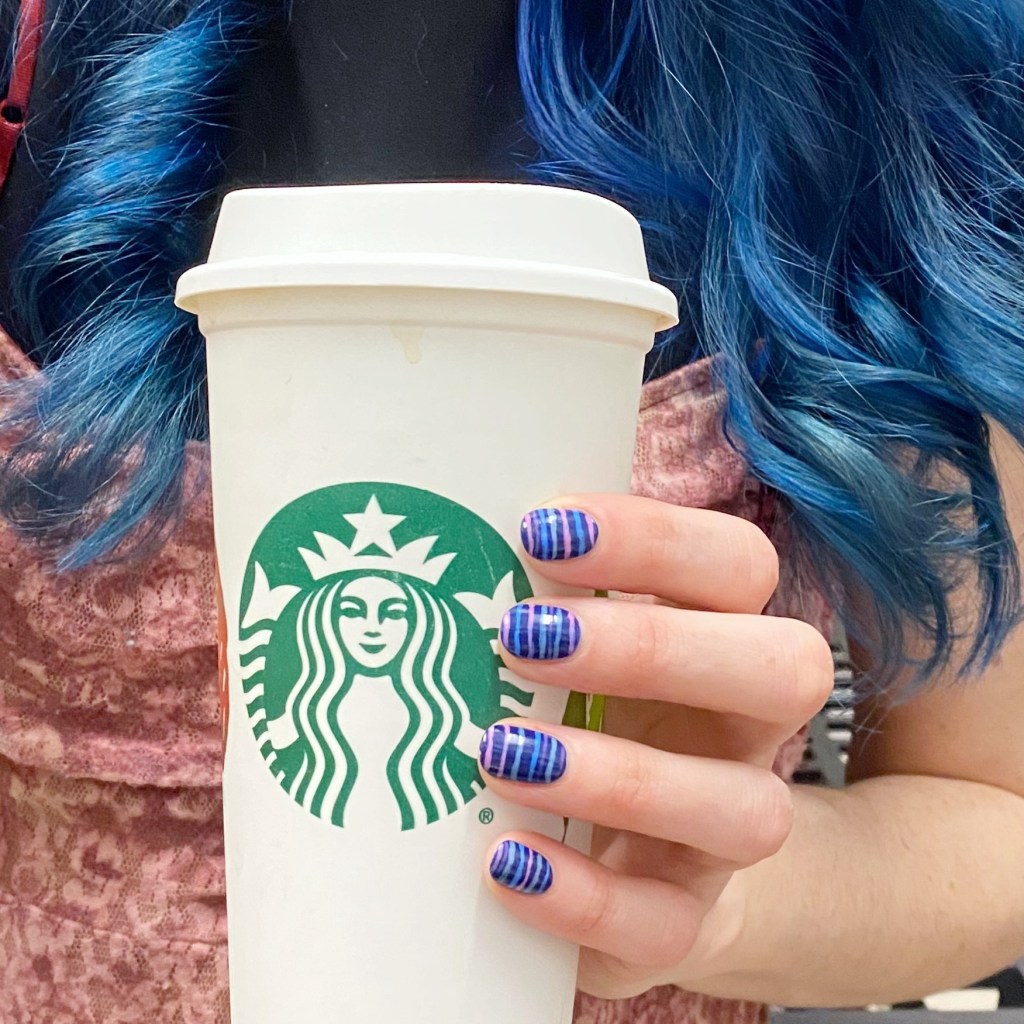
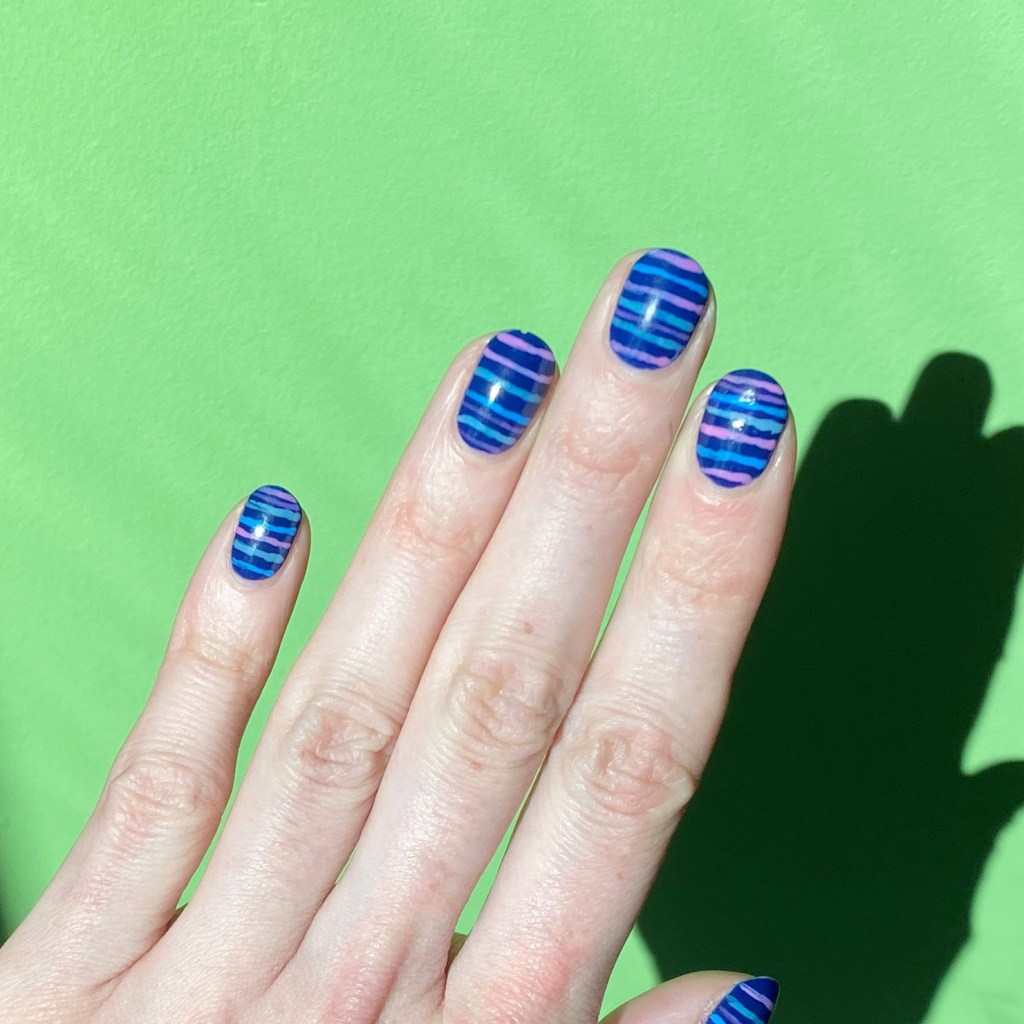
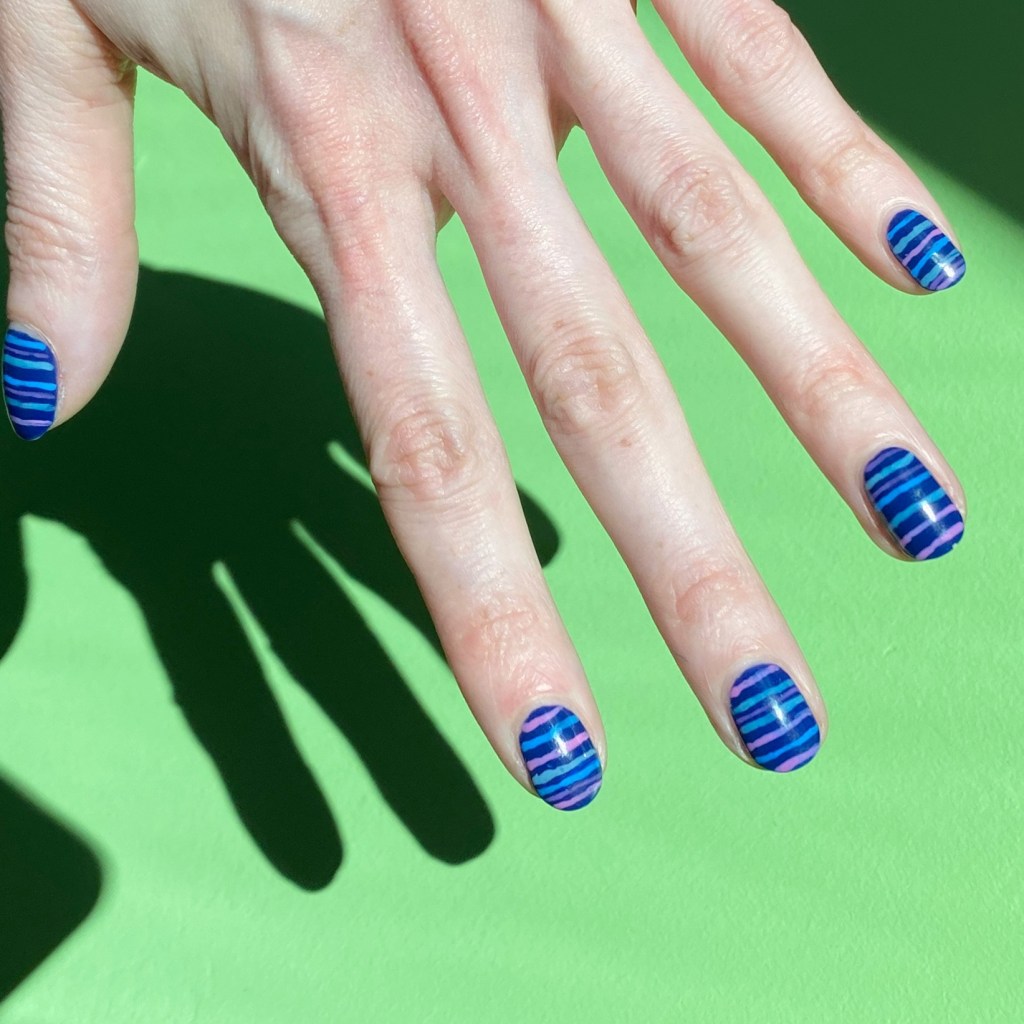
Hello beauties & happy Friday! It’s almost the weekend, & not just any weekend, but Christmas weekend! That’s insane but exciting. I had to keep my holiday inspired nail art going with some more abstract nail art.

The first thing this design made me think of after I did it was the Ribbon Hard Candy you get around Christmas. I’m sure you know the stuff, but if not it’s this stuff.

The polishes I used for this manicure are: 

  • Base Coat: China Glaze Calcium Gel Fortifer
  • Top Coat: Essie Speed Setter
  • OPI I Cannoli Wear OPI
  • OPI Unfrost My Heart
  • Sally Hansen Miracle Gel 5 Golden Blings
  • Red & Green Acrylic Paint
  • 16mm Striper Brush from Nailstuff.ca

I decided to use a combination of acrylic paint & nail polish for this design to make it a bit easier for me. Sometimes, I find when I’m doing bigger stripes, my polish starts drying a bit too quickly, but you don’t have the same issue with acrylic paint.

I really, really like how these stripes turned out. I know, I know — I say this every time. But I don’t think there is anything wrong with being proud about your nail art! For a long time, I was extra critical of my work, so I’m glad to enjoy what I do. & it is a little bit different from typical Christmas nail art.

What do you think about these ribbon candy inspired abstract swirls? Do you like the holiday vibes they are giving off? Would you wear these for any Christmas celebrations you’re partaking in this weekend? Let me know all your thoughts down in the comments below!

Happy Friday 🎄

Holly Jolly Dotticure 🎄

Hello lovelies & happy Wednesday! I hope your week is off to a lovely start so far — & if it’s not, well we’re halfway to the weekend!

Today I’m officially kickstarting the Christmas & holiday nails with this Christmas inspired dotticure. I wanted red & green, & festive, & I think I captured that look idea perfectly.

The polishes I used for this manicure are: 

  • Base Coat: Sally Hansen Miracle Gel Colour Grip Primer Base Coat 
  • Top Coat: Seche Vive
  • Sally Hansen Miracle Gel has Central Pink
  • Sally Hansen MG A Moo Point
  • Sally Hansen MG Me, My Elf & I
  • Sally Hansen MG Red It Twice
  • NailStuff.ca Dotting Tool Trio

This look was super, super easy to achieve. I started with my semi-sheer base of Central Pink, & then one by one added dots of each colour to my nails, trying my best to make it not look too crowded. Then after I gave the dots a few minutes to dry down, I finished off everything with a thick coat of top coat.

It’s important to wait a few minutes between dotting & adding top coat, just so your dots don’t get smeared. There is nothing worse than a beautiful clean dotticure, & you mess it all up by smearing the polka dots with your top coat.

What do you think of this festive dotticure? Do you like the simplicity of the small polka dots over the sheer base? Let me know all your thoughts in the comments below, & what nail art looks you’re exciting to see upcoming over the next few weeks!

Enjoy your Wednesday loves. 🖤

Jewel Toned Stained Glass Nails 💎

Hello my loves! I hope everyone is having a fantastic week so far. It has been absolutely freezing here on the East Coast of Canada. I’ve been wearing legging under my jeans & over the knee socks just to keep warm — crazy! Winter is definitely just around the corner, & I’m never ready for it when it comes.

Today though, I have a beautiful jewel toned design to share with you. I used to do stained glass nails a lot when this blog first started, but it’s been a while since the last time. After finding a few beautiful China Glaze polishes I haven’t worn in a while, I knew I wanted to pair them together in a stained glass look.

The polishes I used for this manicure are: 

  • Base Coat: Sally Hansen Miracle Gel Colour Grip Primer Base Coat 
  • Top Coat: Seche Vive
  • China Glaze OMG
  • China Glaze Fairy Dust
  • China Glaze First Class Ticket
  • China Glaze Don’t Get Elf’d Up
  • China Glaze Pull Me Close
  • Sally Hansen Ghouls Night Out
  • NailStuff.ca 9mm Mermaid Tail Liner Brush

How freaking pretty is this! These shades juts compliment each other so well… it makes me so happy! Originally I had just started with a simple colour block, but it really felt like I was lacking in something, so I decided to add on another colour (Pull Me Close) & the black outlining, & it just brought everything together perfectly.

Even though I’ve been wearing a lot of red nails just on their own, I’m trying really hard to not go too hard on the Christmas nail art\ quite yet. A little sprinkling here & there, but I know that December will be Christmas nail art heavy (I’m doing Glam Nails Challenge December again!), so I’m trying my best to get in everything else in the meantime.

What do you think of this beautiful jewel toned stained glass design? Do you think this is a fun look or do you prefer more simple nail art? Let me know all your thoughts down in the comments below.

&, to all my American followers, Happy Early Thanksgiving!

Enjoy your Wednesday lovelies ♥︎

Autumn Abstract Stripes

Hello lovelies & happy Friday! I hope everyone has had a lovely week so far. I’ve been busy with work, but I did managed to get some cute new short nail art done this week. I found a set of Color Club shades I bought at Marshals last year (no names on them) & really wanted to combine the colours into a pretty nail art look.

The polishes I used for this manicure are: 

  • Base Coat: Sally Hansen Miracle Gel Colour Grip Primer Base Coat 
  • Top Coat: Seche Vive
  • Color Club blue-ish grey
  • Color Club grey
  • Color Club dusty rose
  • Color Club wine
  • Color Club dark rose
  • 16mm Striper (from NailStuff.ca)

I did a previous skittlette design using these back in August, but I really wanted to combine them in another look. Originally I had wanted to do something with nail vinyls, but after mucking that up, I decided on this cute look. Abstract stripes never do me wrong.

What do you think about this Autumn inspired abstract stripes. I think the grey base gives that frosty feeling, so it works for a November design. I’m still feeling a bit of lack of inspiration lately, being between holiday seasons, but I feel like I’ll be back into my groove in no time!

Have a fantastic Friday loves! 🖤

Instagram Leaves Nail Art Collab 🍁🍂

Hello loves & happy Friday! & Happy Thanksgiving to my fellow Canadians! Today we’re taking the day off from Glam Nails Challenge for another fun Instagram nail art collab. I’ve enjoyed jumping into this collab a every month — hosted by @essieyall & @petitenailslover.

I’m very excited because this month’s prompt is leaves & I do love a good Fall leaves design.

The polishes I used for this manicure are: 

  • Base Coat: Sally Hansen Miracle Gel Colour Grip Primer Base Coat 
  • Top Coat: Sally Hansen Insta-Dri Top Coat
  • Essie Lady Like
  • Revlon Spidey Sense
  • Sally Hansen InstaDri SCRAM!
  • Essie Mosaic On Down
  • Finger Paints Surreal Sunset
  • NailStuff.ca Clear Stamper
  • Born Pretty Store Stamping Plate BP-L026

I really wanted to created a layered leaves look, to mimic like a pile of leaves on the ground. Think I went with too light of a base though — a darker one probably would have allowed for the stamped leaves to pop more! But I do still love how it looks, & I think it’s such a pretty look.

Down below, you can see all the beautiful designs collaged together. You can check out #leavesnailartmanicollab2023 on Instagram to see all the participants & they’re beautiful designs.

What do you think about my fun leaves design? Let me know all your thoughts down in the comments below. & if you’re celebrating Thanksgiving this weekend, enjoy! 🍁🖤