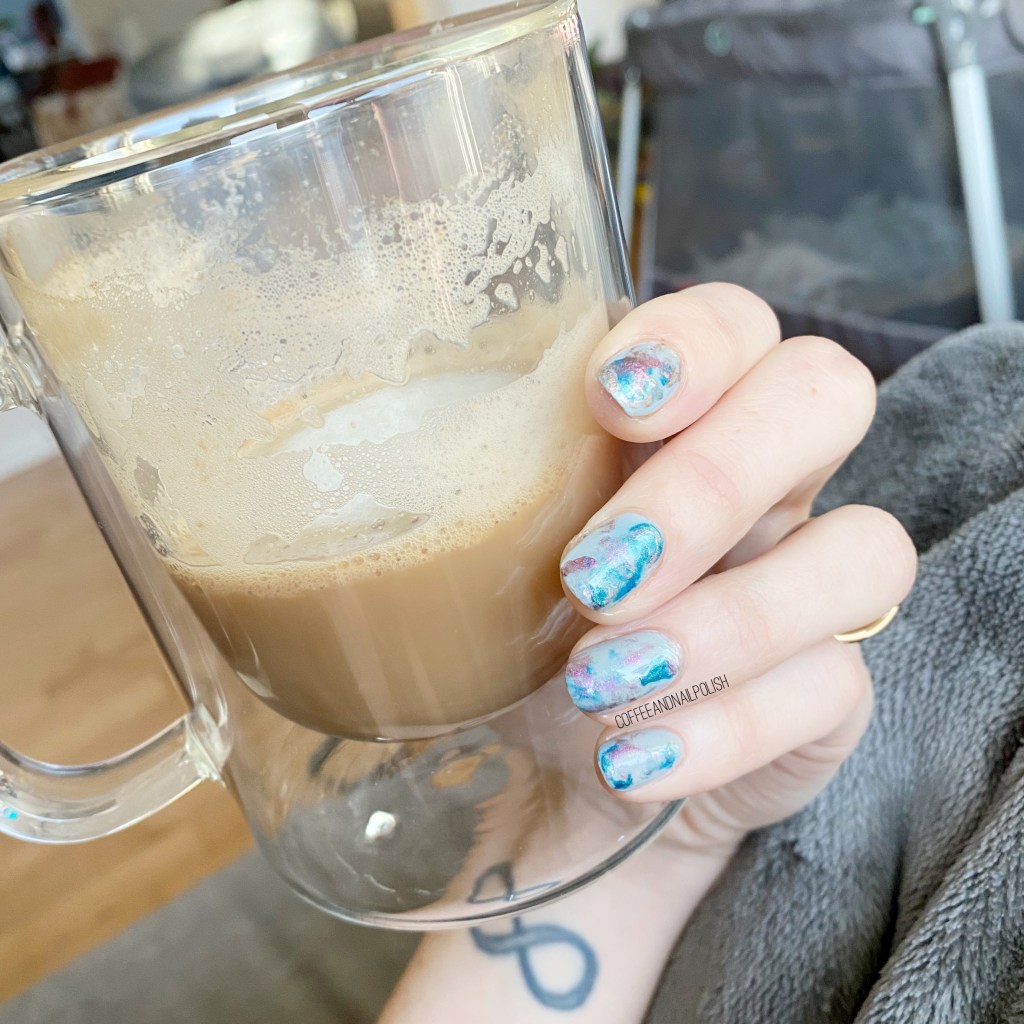
Metallic Smooshy Nails

Hello lovelies & happy Thursday!

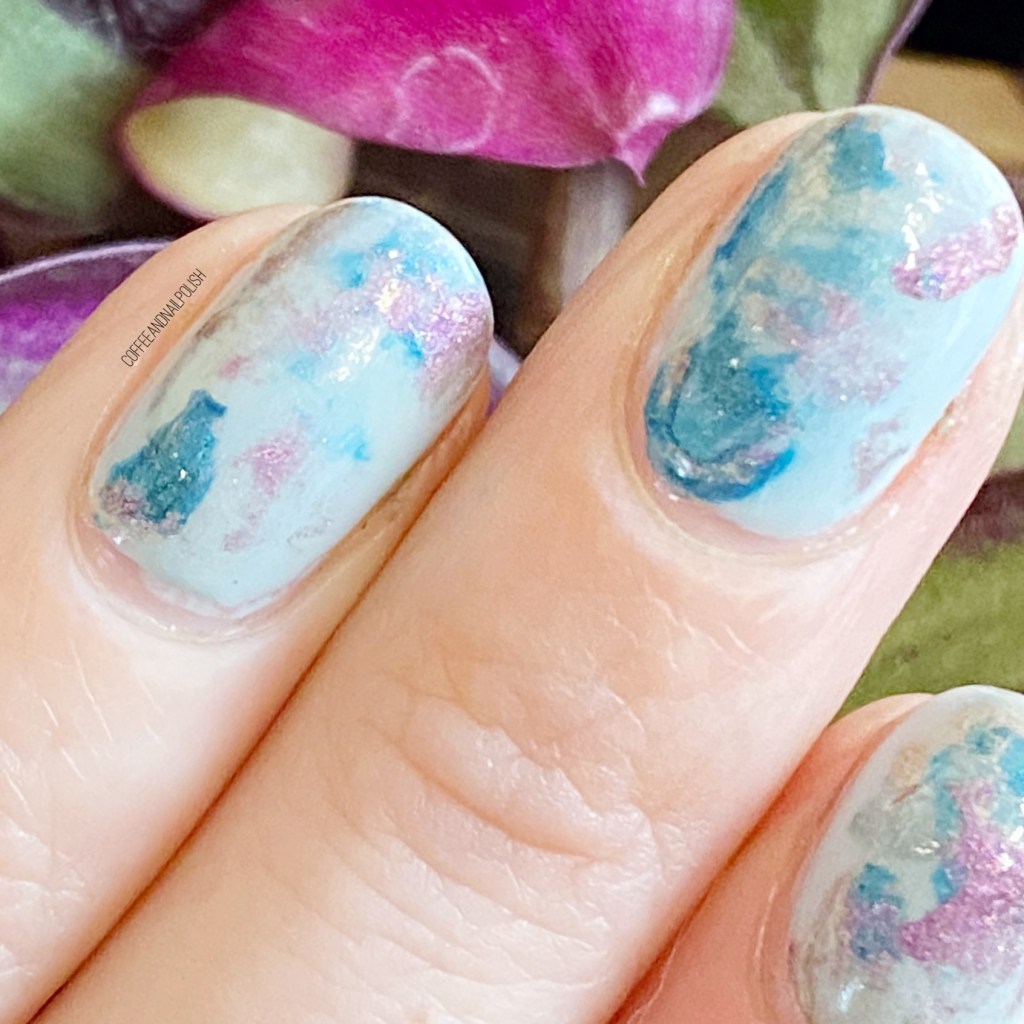
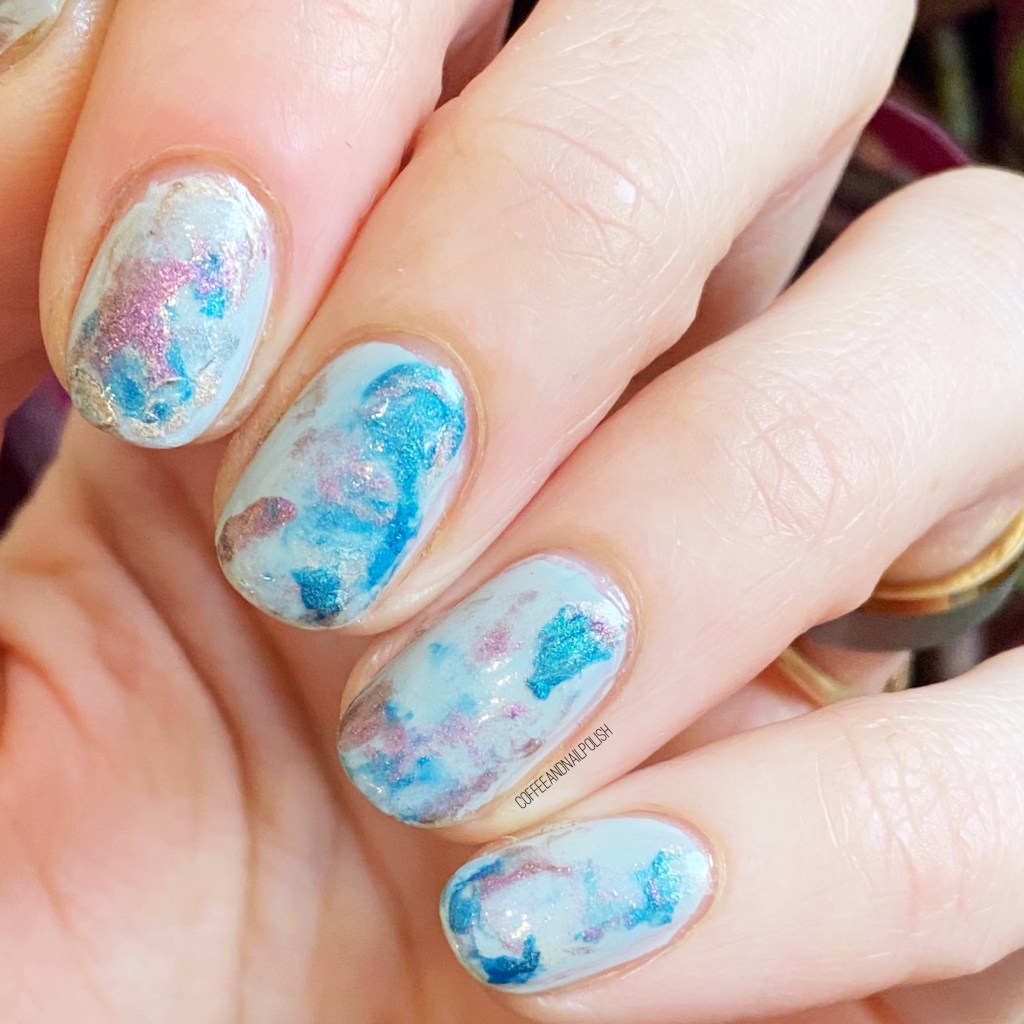
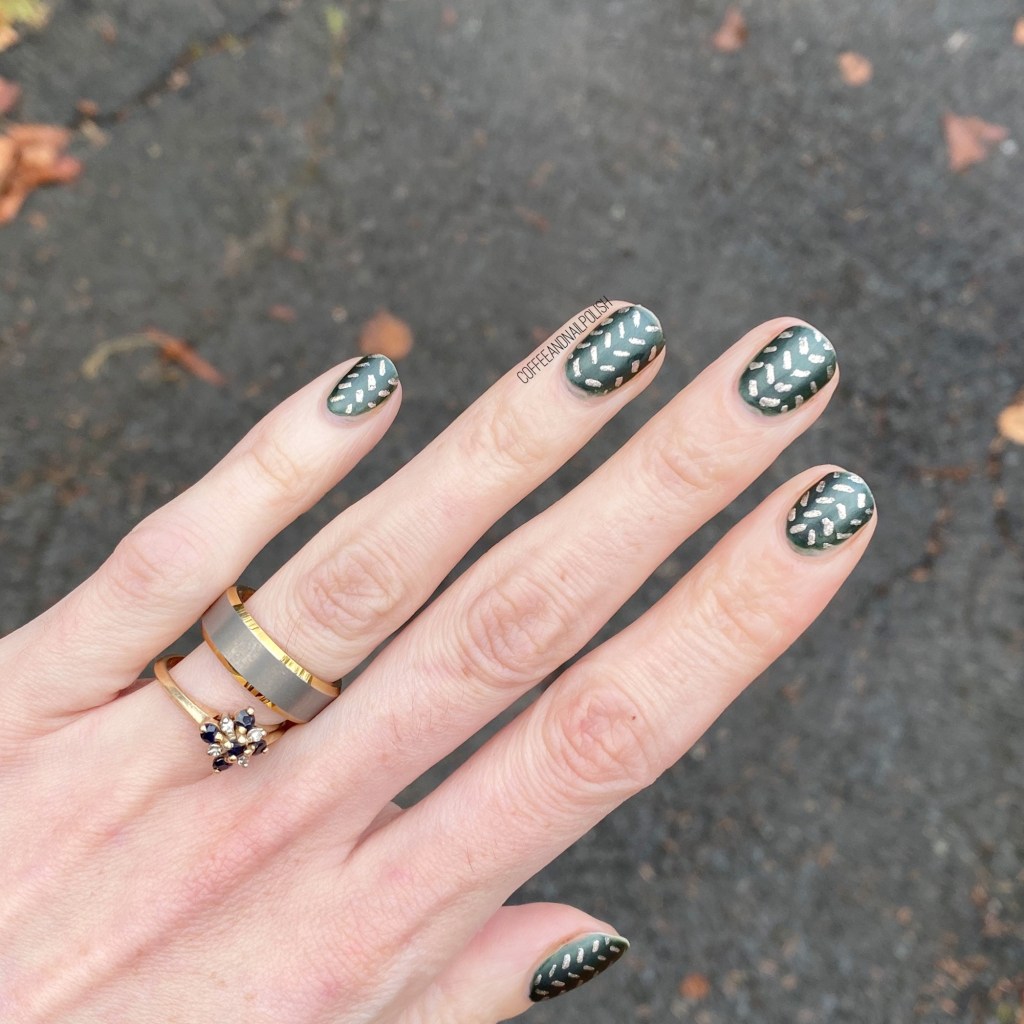
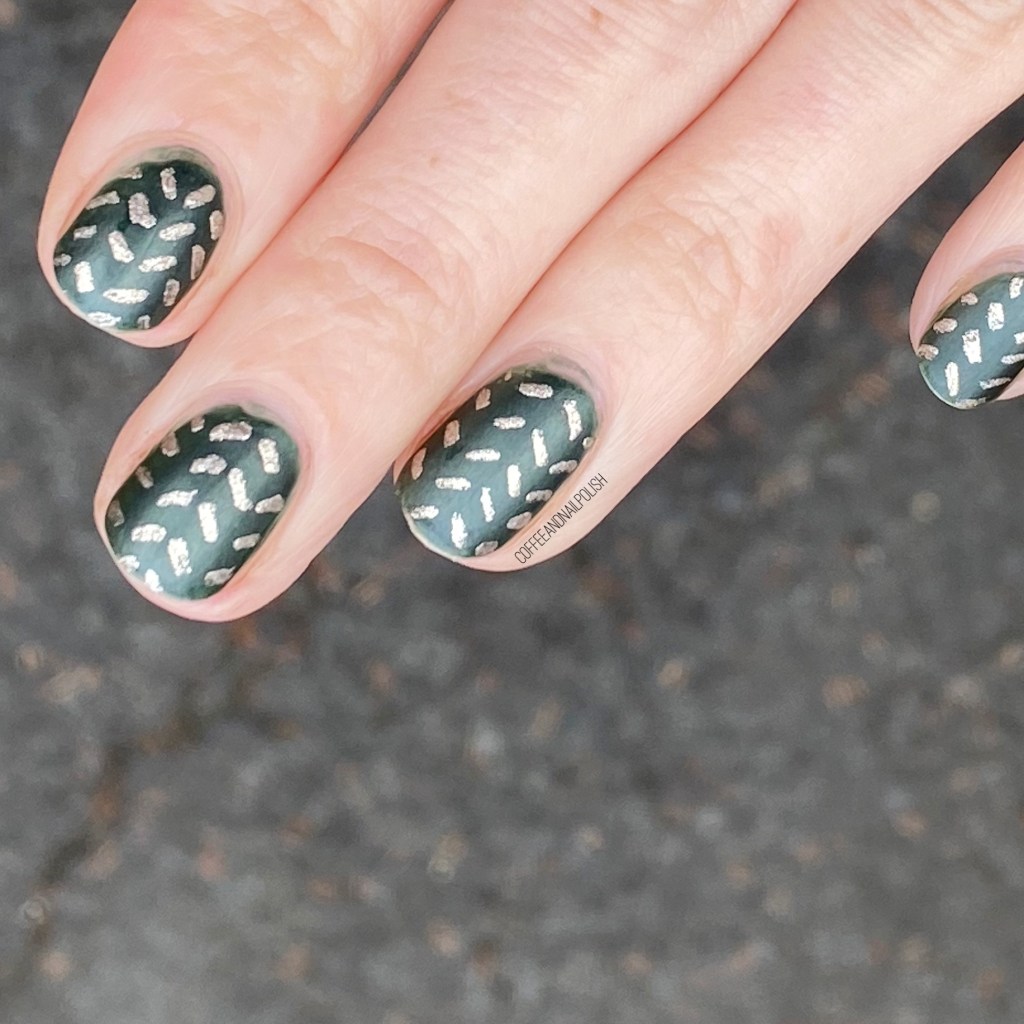
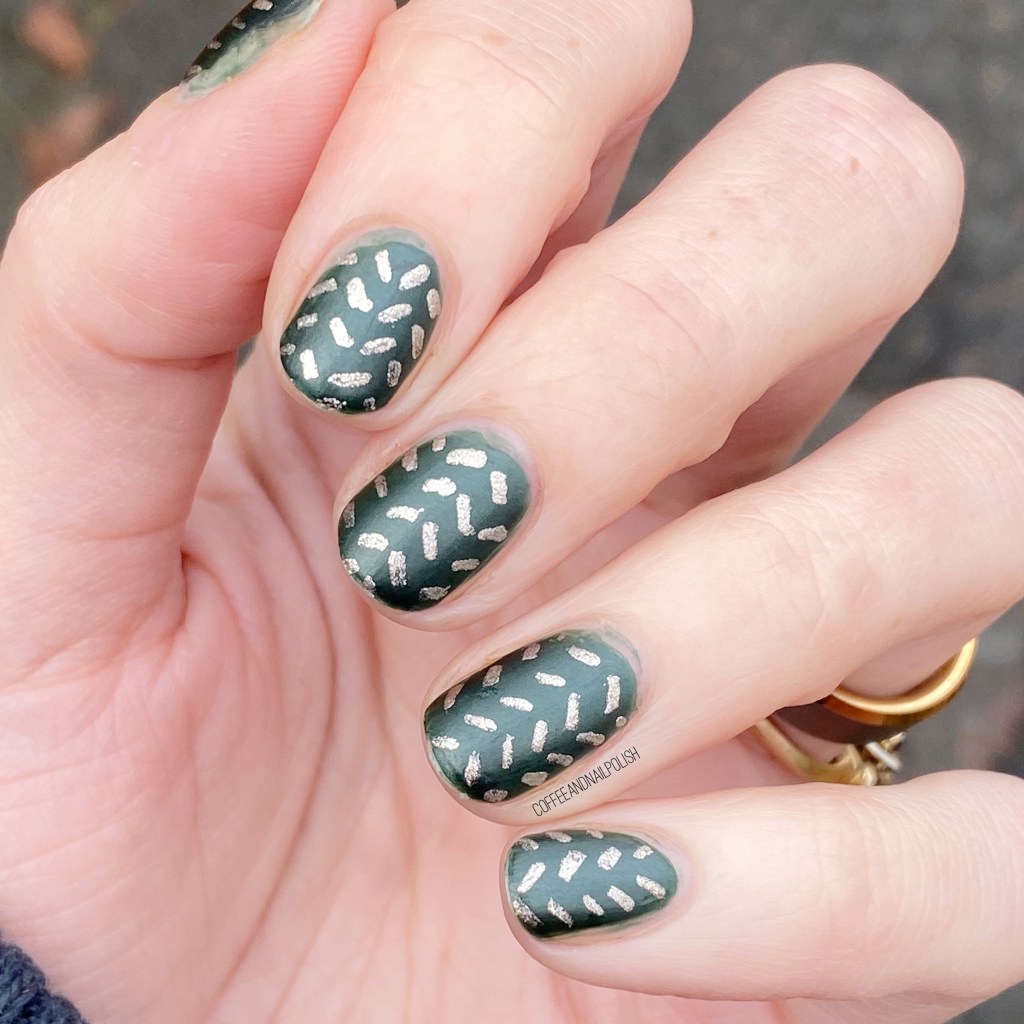
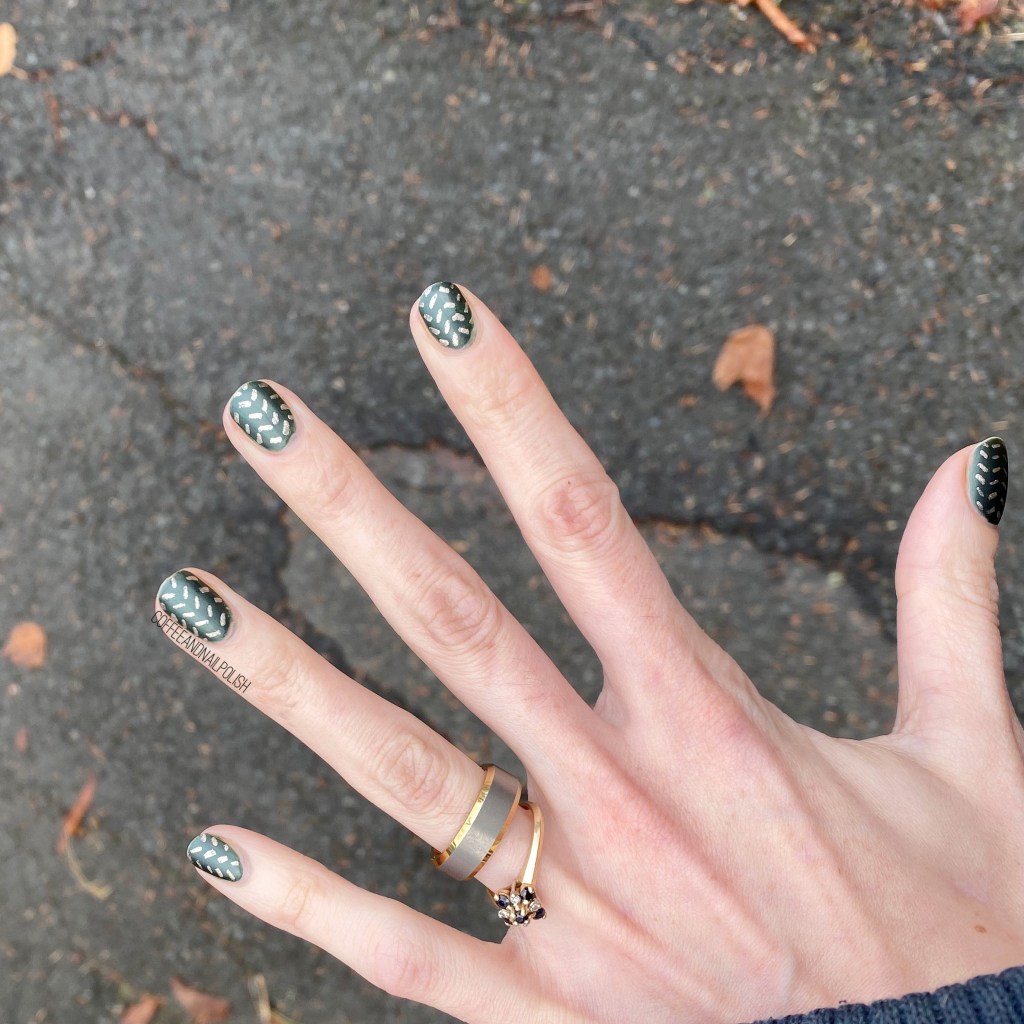
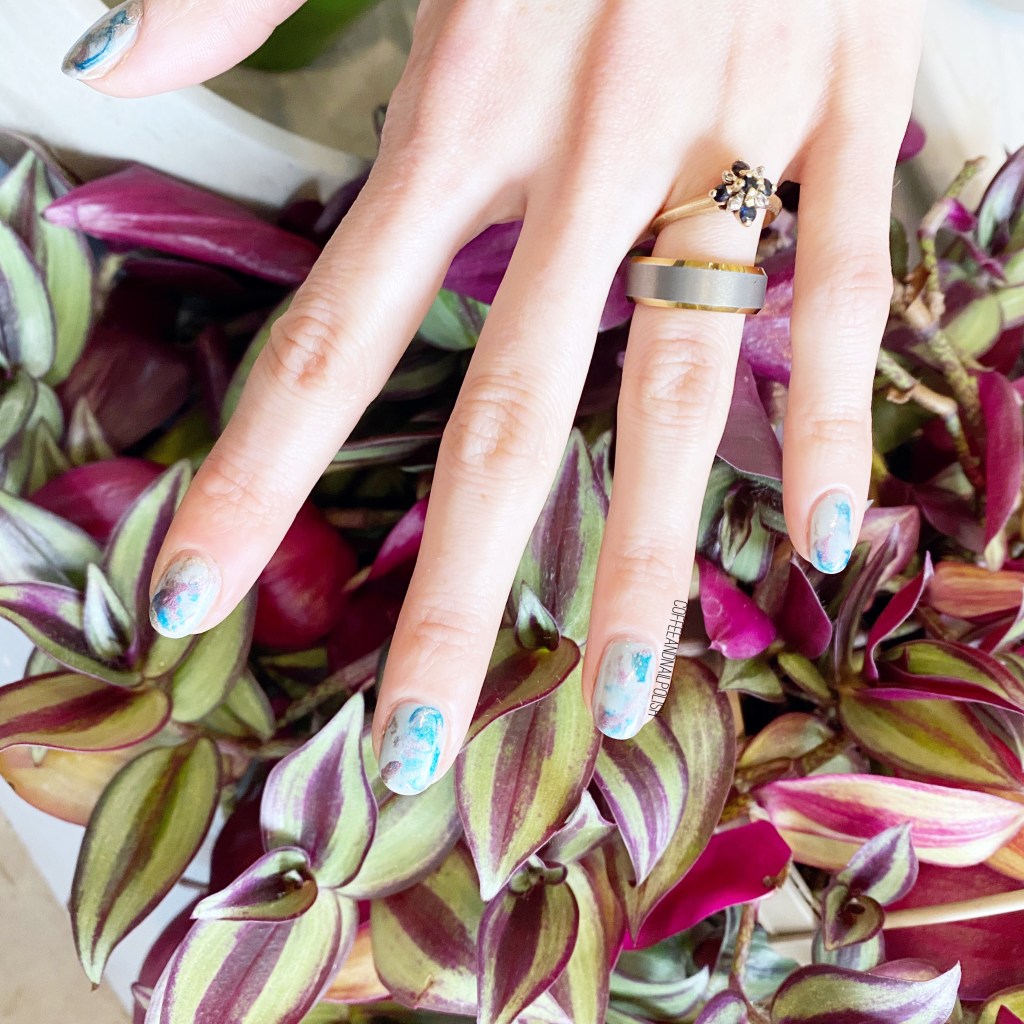
I hope everyone is having a lovely week so far. Today I have some more nail art to share with you that I recently did. I’ve been experimenting with different nail art techniques that I either haven’t done in a long time, or never tried. Today’s look is inspired by a technique by @grapefizznails — smooshy nails using a stamper!

For this manicure, the polishes I used were:

  • Base Coat: Sally Hansen Hard As Nails
  • Top Coat: Sally Hansen Miracle Gel Shiny Top Coat
  • Sally Hansen Nail Primer
  • Color Club Silver Lake
  • Color Club You’re My Soul-Matte
  • Color Club Matte About You
  • Color Club Put A Ring On It
  • Bodico small clear stamper
  • Silicone nail art mat

So I definitely love how these turned out, but I don’t think trying to do a marble look like this is easiest with matte shades, which I decided to use. They tend to try faster than non-matte shades, so you get more blob-ish smooshes instead of the delicate effect that I see in a lot of others smoosh looks. I’m going to try it out again for sure, with a different variety of polish formulas. I

t was definitely an easy look to do, which I always appreciate, & I always love seeing other people’s smooshy nails, so I’m dedicated to nailing this technique! I’m already imagining one using a Valentine’s Day inspired colour scheme.
What do you think about this nail art look? Do you enjoy smooshy nail art looks? Let me know all your thoughts in the comments below, & share any other nail art techniques you would like to see me try out!

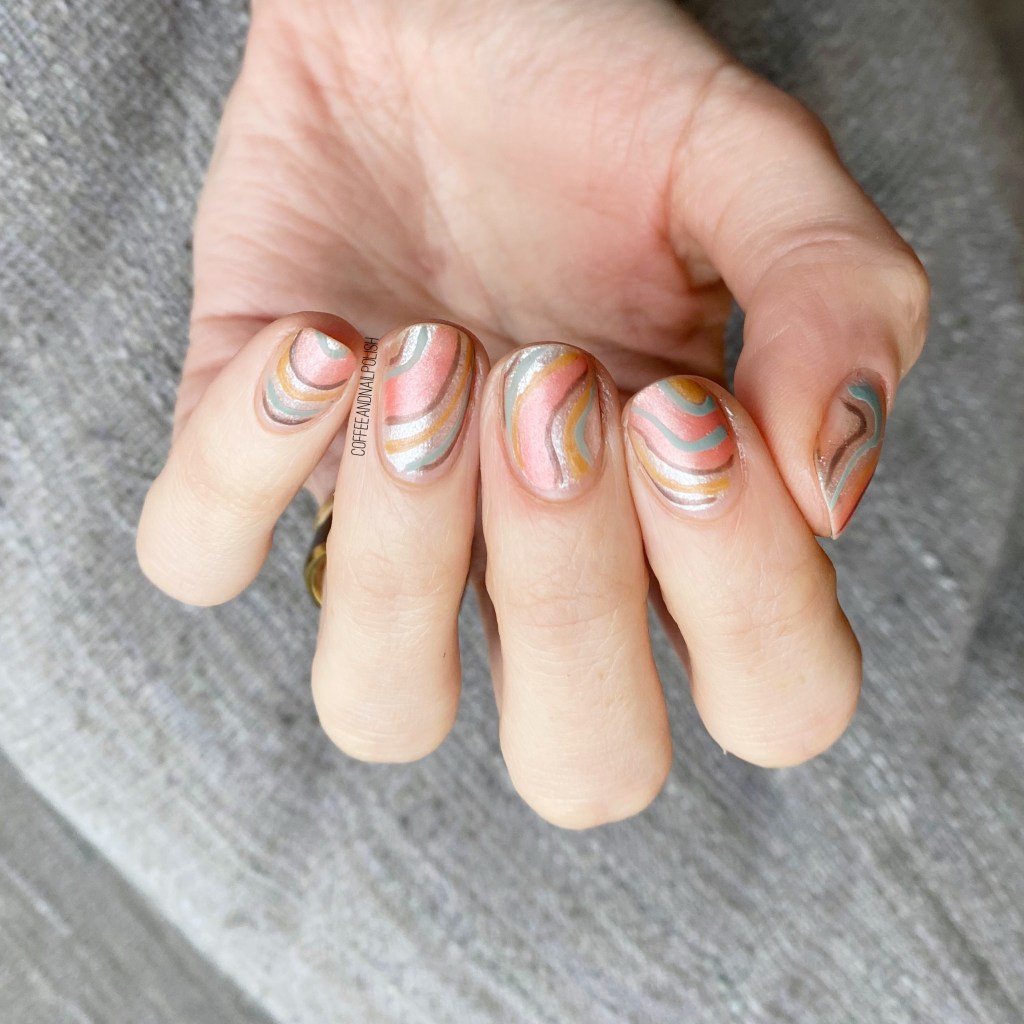
70s Inspired Swirls

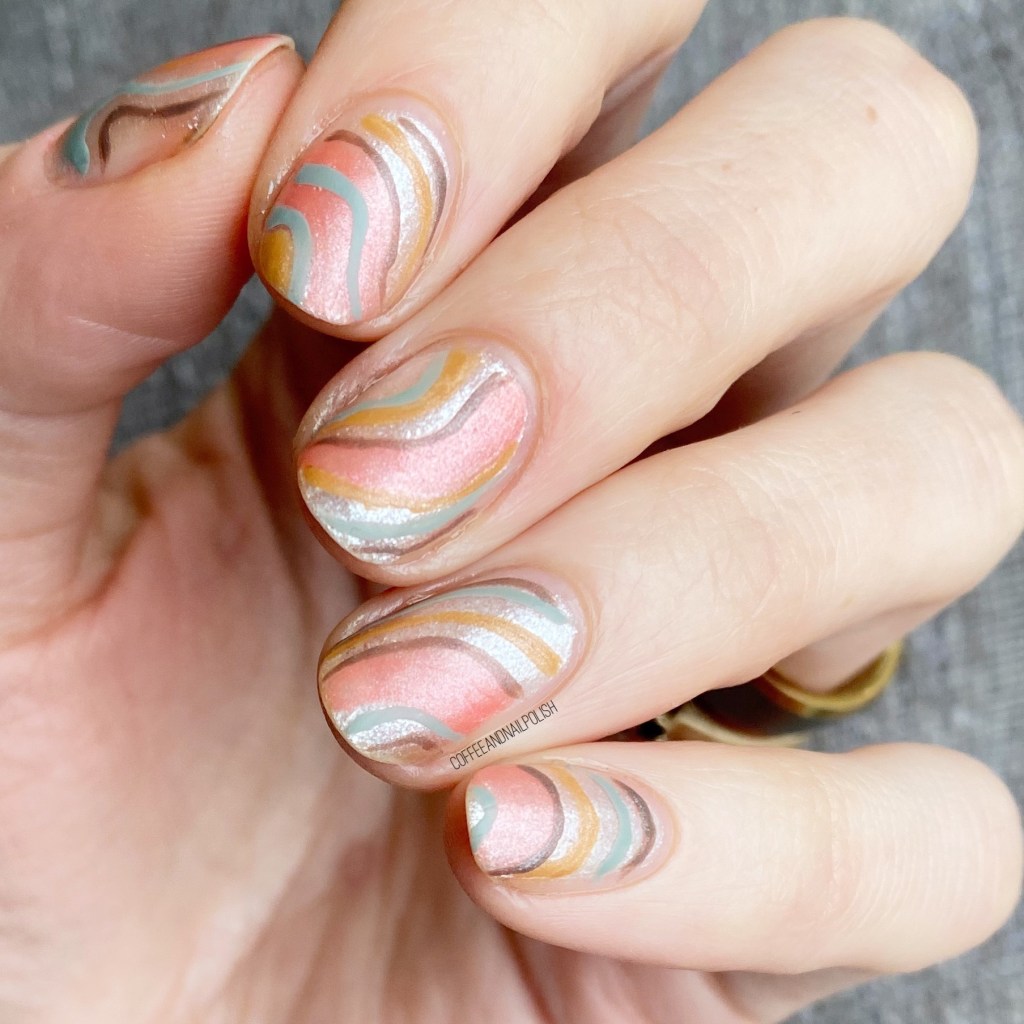
Hello lovelies & happy Tuesday! Today I’ve gone some fun nail art to share with you, inspired by some brand new polishes I found at my local Winners. My mum gave me a gift card for Christmas, so I decided to venture out to see if I could find any fun polish goodies.

& I did!

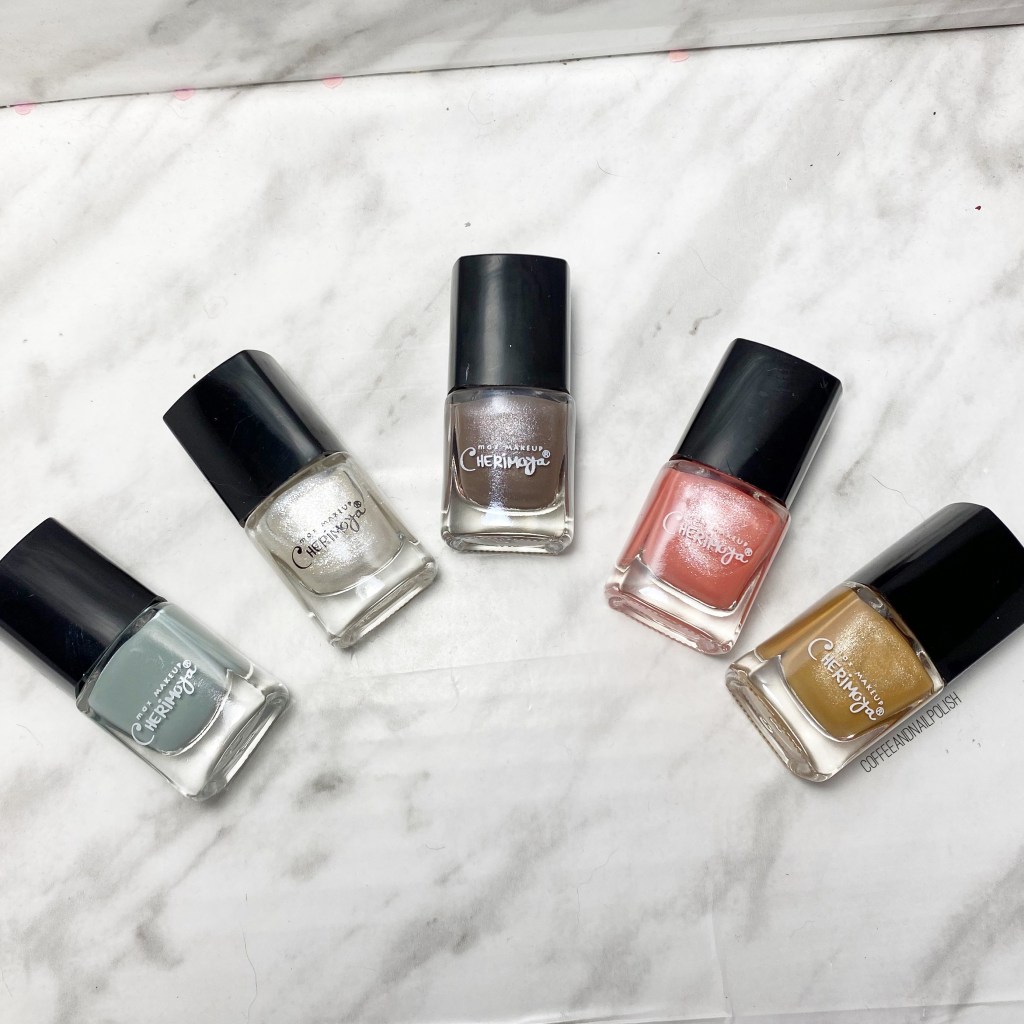
So naturally I needed to do some nail art. I decided to use a cute set from the brand Cherimoya called Hide & Go Chic. The internet has no picture of this set, or info, & the bottles are lacking names sadly. I ended up using 5 of the 6 shades that came in the collection.

For this manicure, the polishes I used were:

  • Base Coat: Sally Hansen Hard As Nails
  • Top Coat: Sally Hansen Miracle Gel Shiny Top Coat
  • Matte Top Coat: L’Oréal The Matte Velvet Top Coat
  • Cherimoya shimmery dusty blue
  • Cherimoya shimmery white
  • Cherimoya shimmery brownish grey
  • Cherimoya shimmery coral
  • Cherimoya shimmery golden rod
  • NailStuff.ca 11mm Mermaid Tail liner brush (COFFEE10 saves 10% off your purchase!)

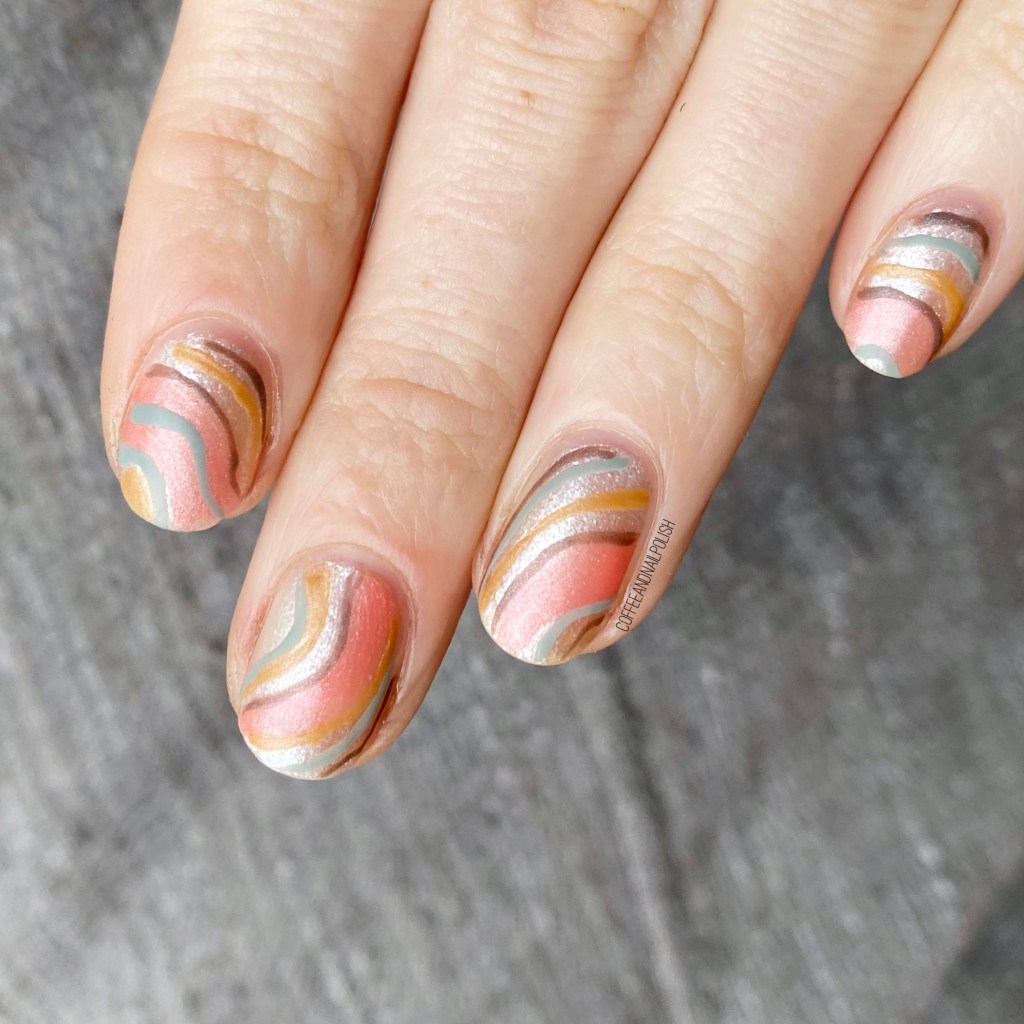
I’ve been seeing a lot of these swirly stripes designs all over Instagram, so I thought I needed to do another version of this fun design. I really liked these dusty, muted shades in this collection, & thought they would be perfect for a 70s inspired sort of swirly pattern.

At first, I had these shimmery stripes with glossy top coat, but after I added the matte top coat I feel like it completed the look. & I totally wish I had a dress or peasant blouse in this pattern. How pretty would that be?

Also for a polish set that was only $5, I’m really in love with the shades. They’re probably more something I’ll use more for nail art versus wearing them on they’re own, but overall, all the shades are super cute. Especially the dusty blue & golden rod! Love those shades (especially for Spring… anyone else dreaming of Spring yet?)

What do you think about this design? Are you digging these shades as much as I am? Let me know what you think down in the comments below!

Christmas-y Snowflake Sweater Nails

Good morning lovelies & Happy Friday! It’s a snowy Friday here on the East Coast, which is giving me serious holiday feels for the first time all month! ❄️ There is something about a blanket of freshly fallen snow that can make the biggest Grinch feel holly & holly. (Unless of course, you have to shovel it. Haha)

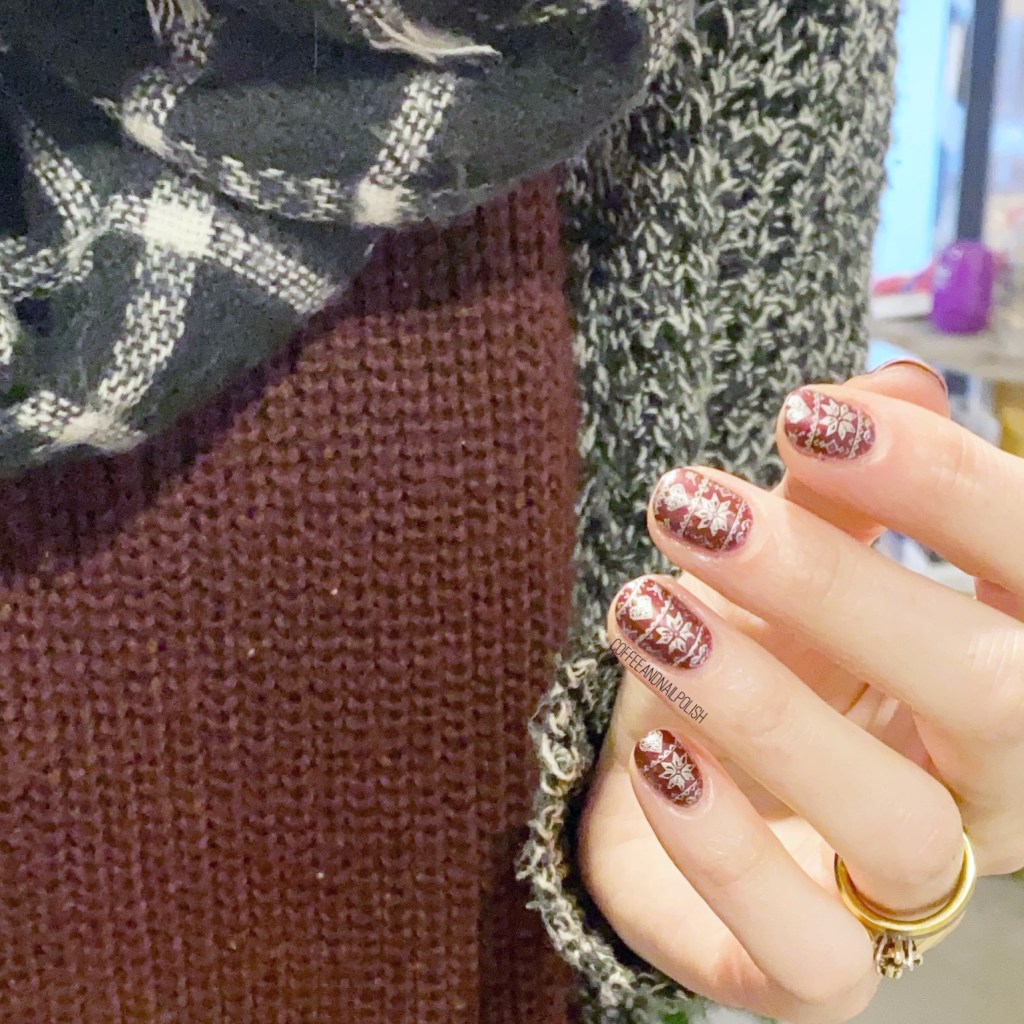
Today I thought I’d share some more pretty Christmas/Winter/Holiday nails. & yep, more stamping. A large majority of my stamping plates are Christmas related, hence why I tend to stamp more this time of year (also, it’s fast too, which I need when working 10 hour days haha.)

For this manicure, the polishes I used were:

  • Base Coat: Sally Hansen Hard As Nails
  • Top Coat: Sally Hansen Miracle Gel Glossy Top Coat
  • Matte Top Coat: Sally Hansen Miracle Gel Matte Top Coat
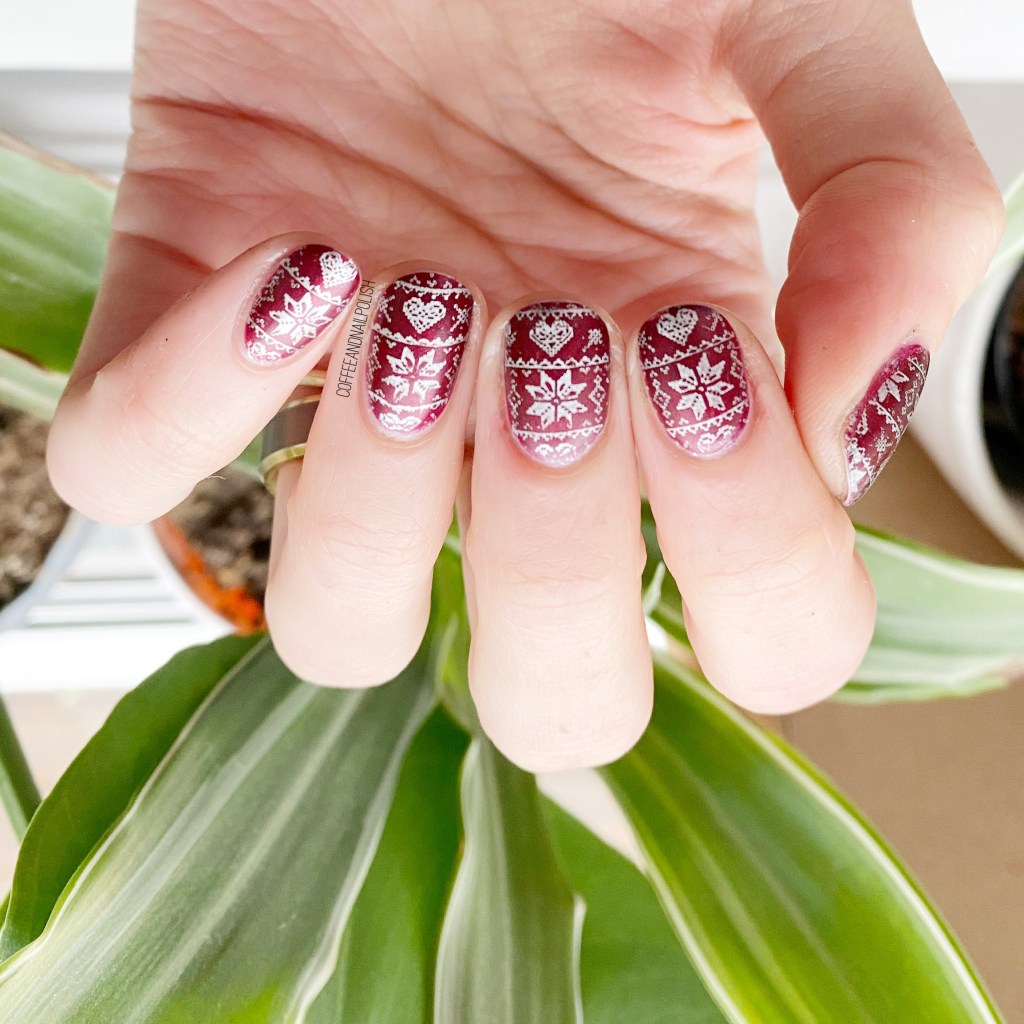
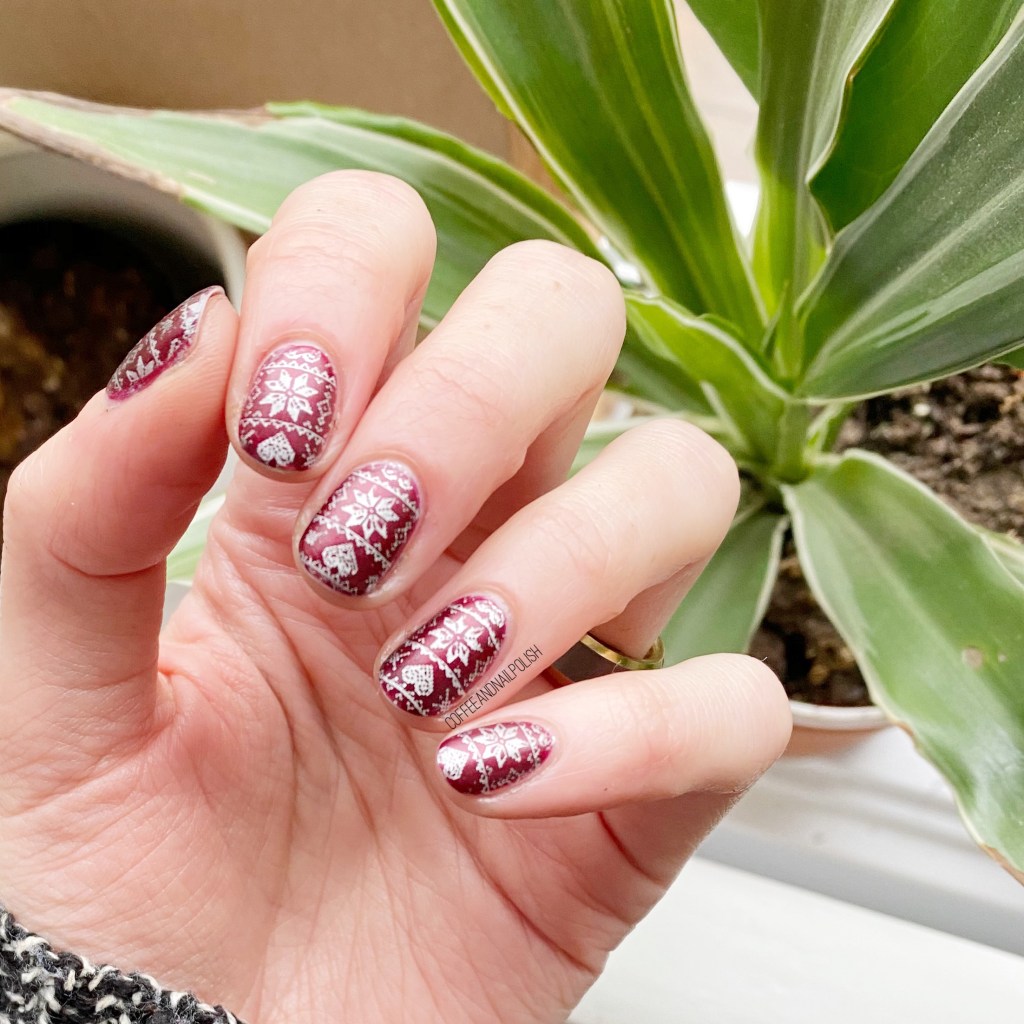
  • Deborah Lippmann Through the Fire
  • Essie No Place Like Chrome
  • Born Pretty Store Stamping Plate (no longer available)
  • NailStuff.ca Clear Stamper

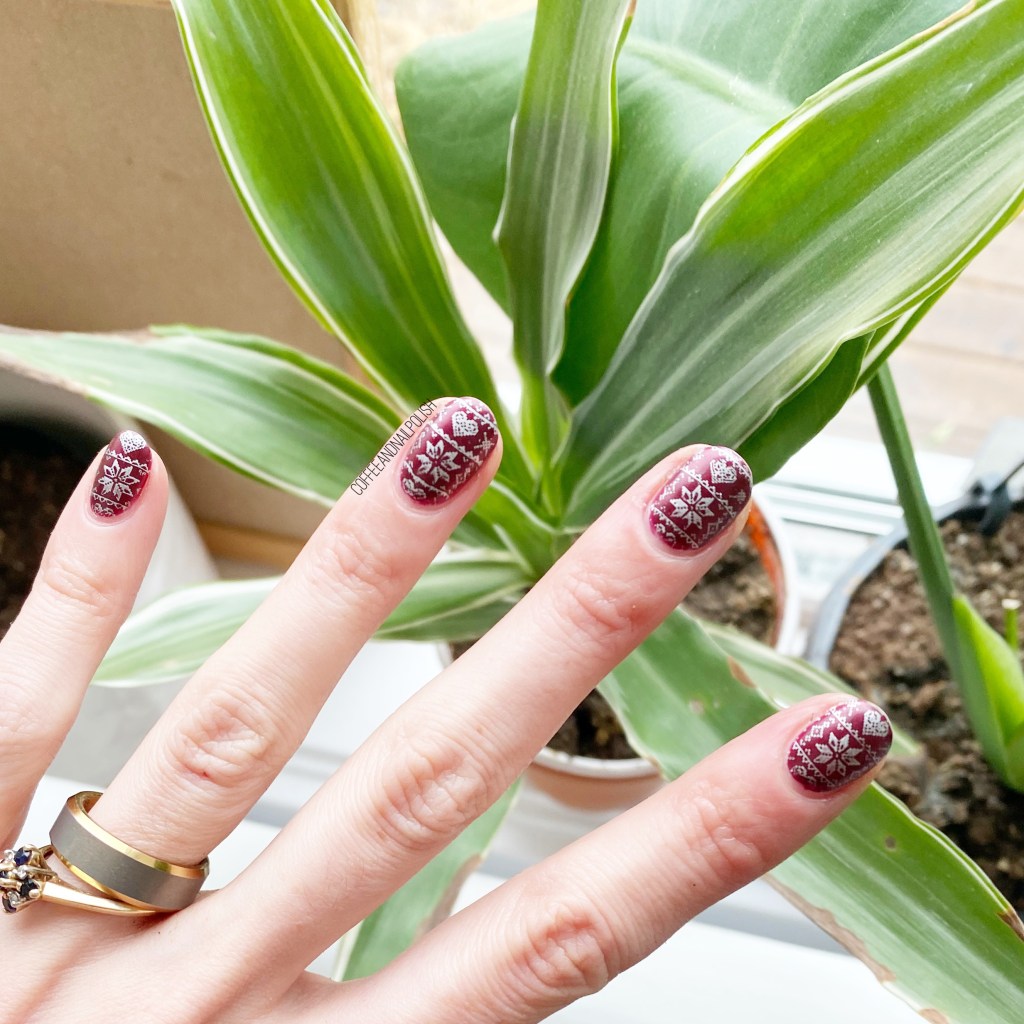
Such a cute look for Christmas, or Winter in general. & a sweater inspired look is definitely a go-to design for me during this time of year. I’m just sad this particular stamping plate is no longer available, although I’m sure there are 1000 similar ones you can definitely find online. I just adore the little hearts in this pattern! 💗❄️ & of course, have to finish everything with a swipe of matte top coat, because it just completes the whole look!

What do you think about these cozy nails? Are you more of a fan of stamping, freehand, or nail vinyls? Let me know in the comments below!

SWATCH SUNDAY — China Glaze Santa’s Side Chick

Hello lovelies & happy Sunday. December is in full swing, & the Christmas vibes are… starting. Haha. Truthfully, I’m still not 100% feeling Christmas yet this year, especially because the weather outside is warm & not December-y at all. But all the more reason to pull out my Christmas polishes from years past.

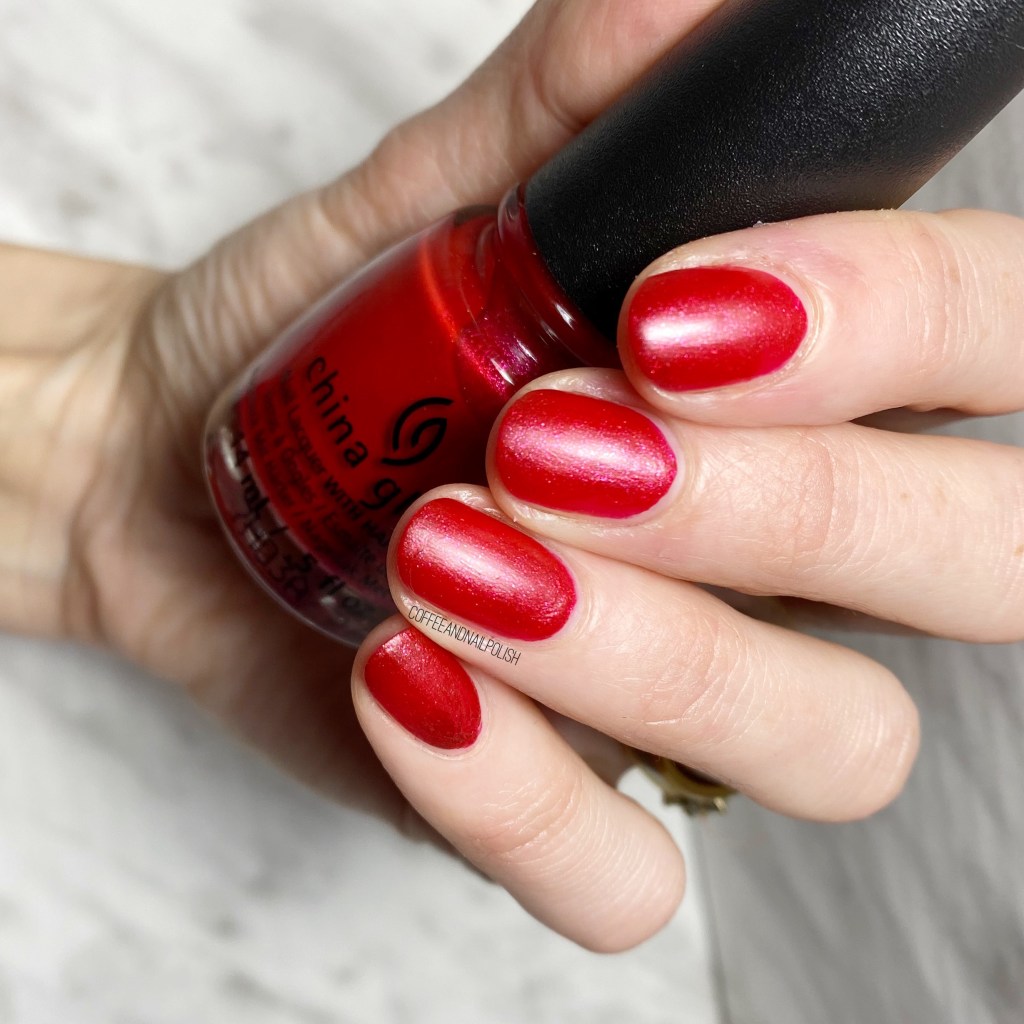
Today’s Swatch Sunday pick is a oldie from China Glaze The Glam Finale Holiday 2017 collection: Santa’s Side Chick.

I originally picked this shade up at Winners, in a two pack with Slay Bells Ring, post holidays. I think it was something crazy silly like $5 for the whole thing, which was an awesome deal! But I’ve never actually worn this shade before, so I was excited to pull it out this year!

2 coats.

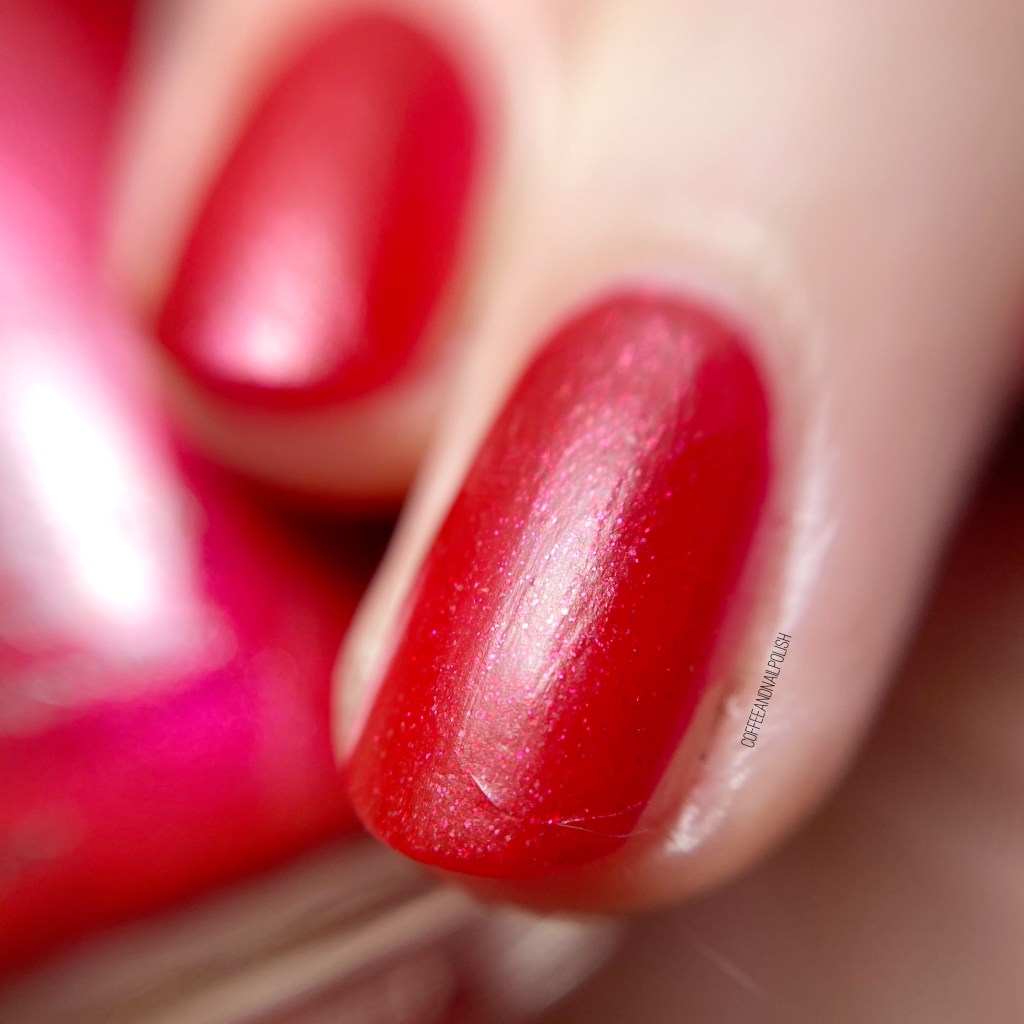
First thing I noticed about this shade was that it dries down to a beautiful satin matte. Seriously, I love a good matte nail polish. The polish itself is a beautiful bright berry, with this stunning underlying shimmer.

The formula was pretty easy, only needing two coats for full coverage. Like I find most reds, it’s a bit more jelly, but still had great coverage on the nail. It also dried really quick, which is always nice! & it dries really evenly, which I always appreciate in a matte polish.

Check out that close up (minus the cat hair, haha 🙈) — such a pretty shade, & finish. I

’ve actually been wearing this shade for the last three days — both matte, & with glossy top coat. You know how much I love a good red nail polish, so I’m glad I finally put this one out! Plus the name just makes me laugh so much. Best nail polish name ever!

What do you think about this beautiful Christmas red? 🎄 When do you pull out your holiday collection shades — just around their intended holidays, or anytime of the year?

Let me know in the comments below.

Matte Knit Pattern (inspired by xglitzandpolishx)

Hello lovelies & happy Wednesday! We are quickly approaching the end of November, if you can believe it — Christmas is officially one month away!

Today I’m sharing another nail art look inspired by one of my favourites on Instagram — @xglitzandpolishx! I was inspired by one of her old designs, & decided it was perfect for this time of year. & it would look amazing over my base of Zoya Ray from Sunday’s Swatch Sunday post.

For this manicure, the polishes I used were:

  • Base Coat: Sally Hansen Hard As Nails
  • Top Coat: Essie Gel Setter
  • Matte Top Coat: Sally Hansen Miracle Gel Matte Top Coat
  • Zoya Ray
  • L’Oréal Feeling Kilty
  • NailStuff.ca Mermaid Tail Nail Brush Trio — I used the 9mm size. (COFFEE10 saves 10%)

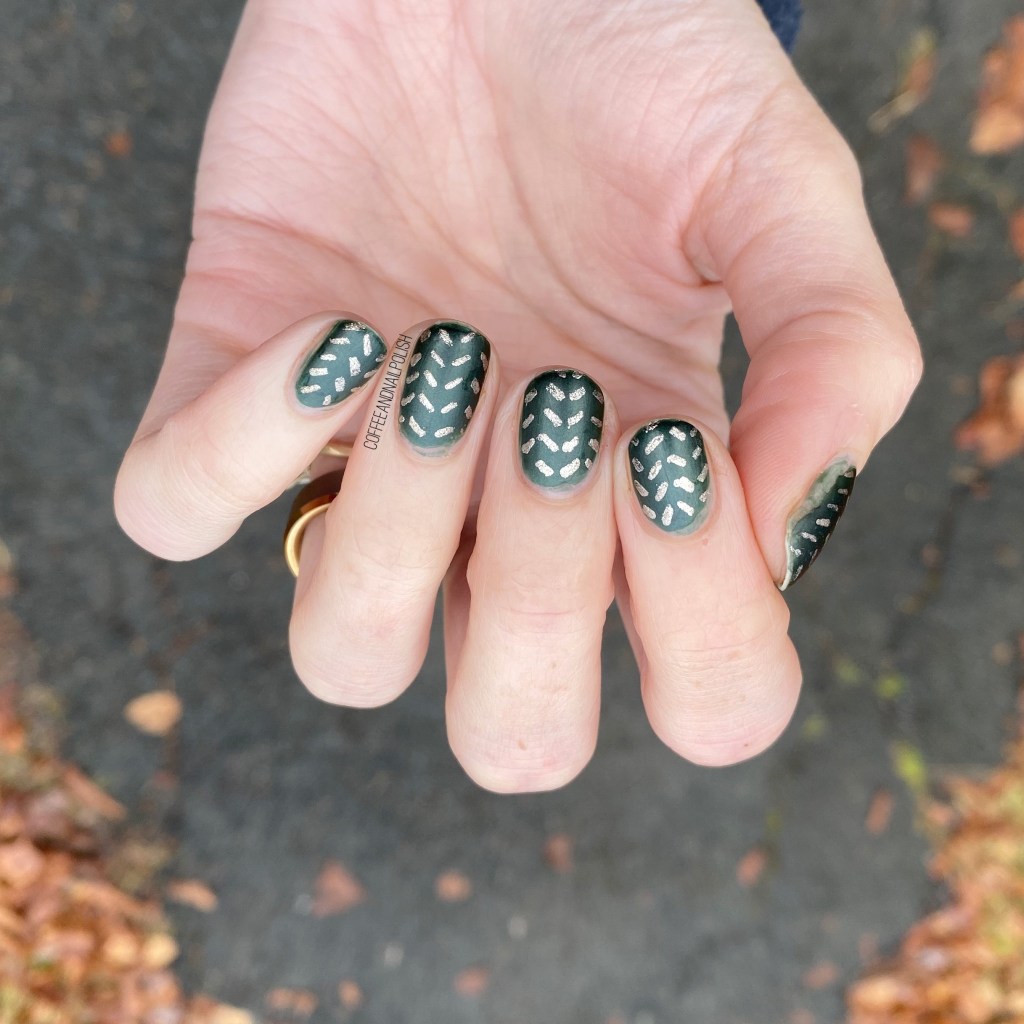
This design took a bit of patience, but was actually super easy to paint! It kind of reminded me of a doing a dotticure, but instead of polka dots, you’re doing dashes instead. The end result just looks like knit, & I’m totally obsessed with it. I’ve actually been meaning to recreate this look for a long time, so I’m glad that I finally did! & I’m totally going to do it again with some more colour combinations.

What do you think about this look? Would you wear this knit pattern on your nails? Was nail art look have you been meaning to recreate lately? Let me know in the comments below!