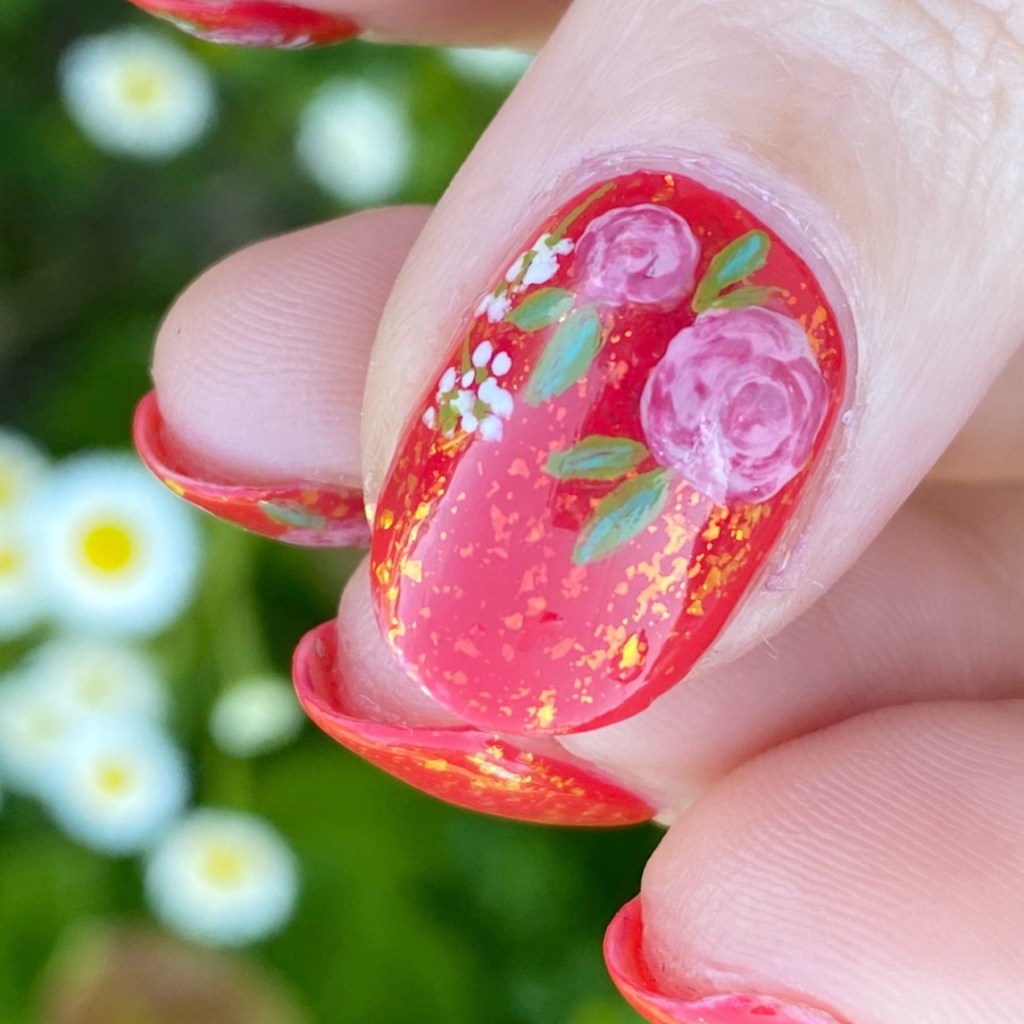
Pink Roses & Baby’s Breath Bouquet Manicure

Hello loves & happy Friday! I hope everyone is enjoying their week so far. It’s been a beautiful week here so far, but honestly I won’t like — the nights have been giving Autumn. It’s been cool, & nice, & has me craving pumpkin everything. I’m just such a basic girl, & I’m okay with that.

But, I won’t jump into the Autumn vibe nails quite yet — I’ll wait until Starbucks releases their PSL at least. So I have some pretty floral nails to share with you.
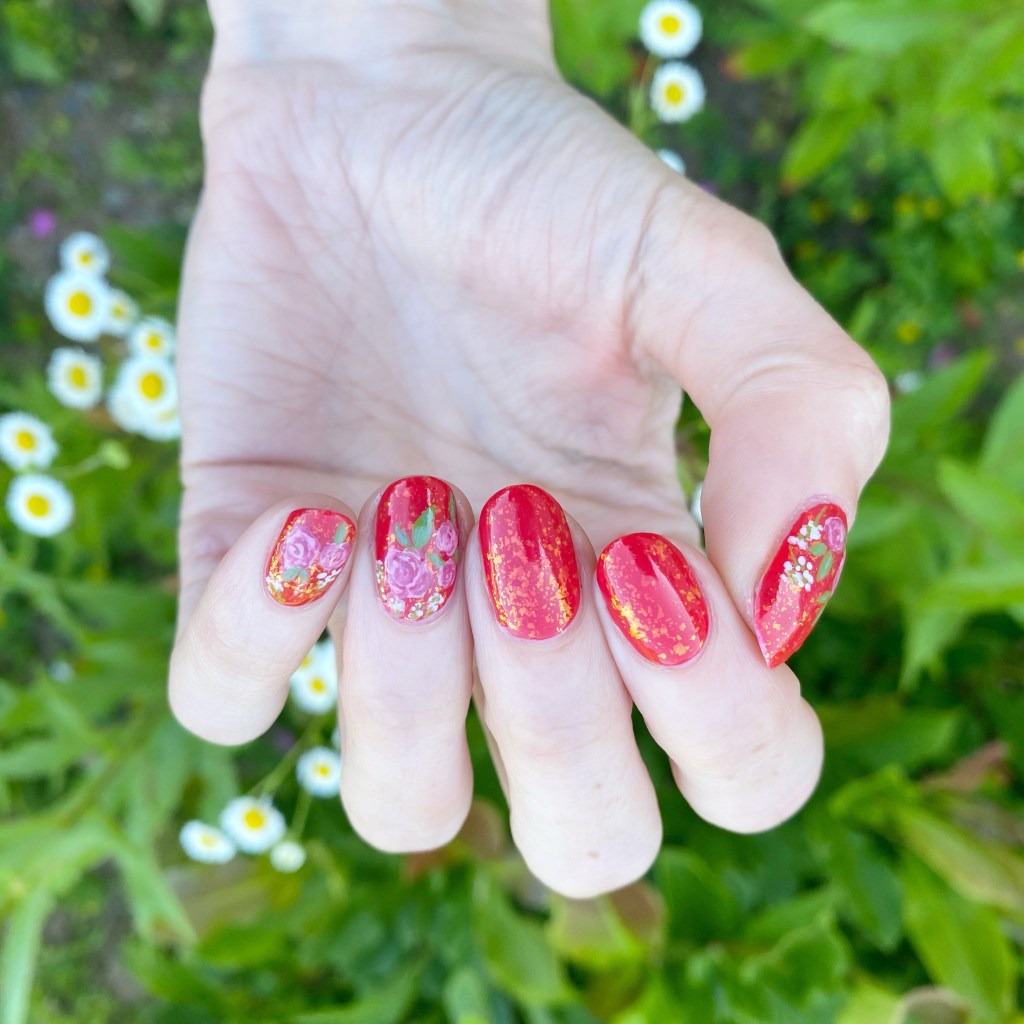
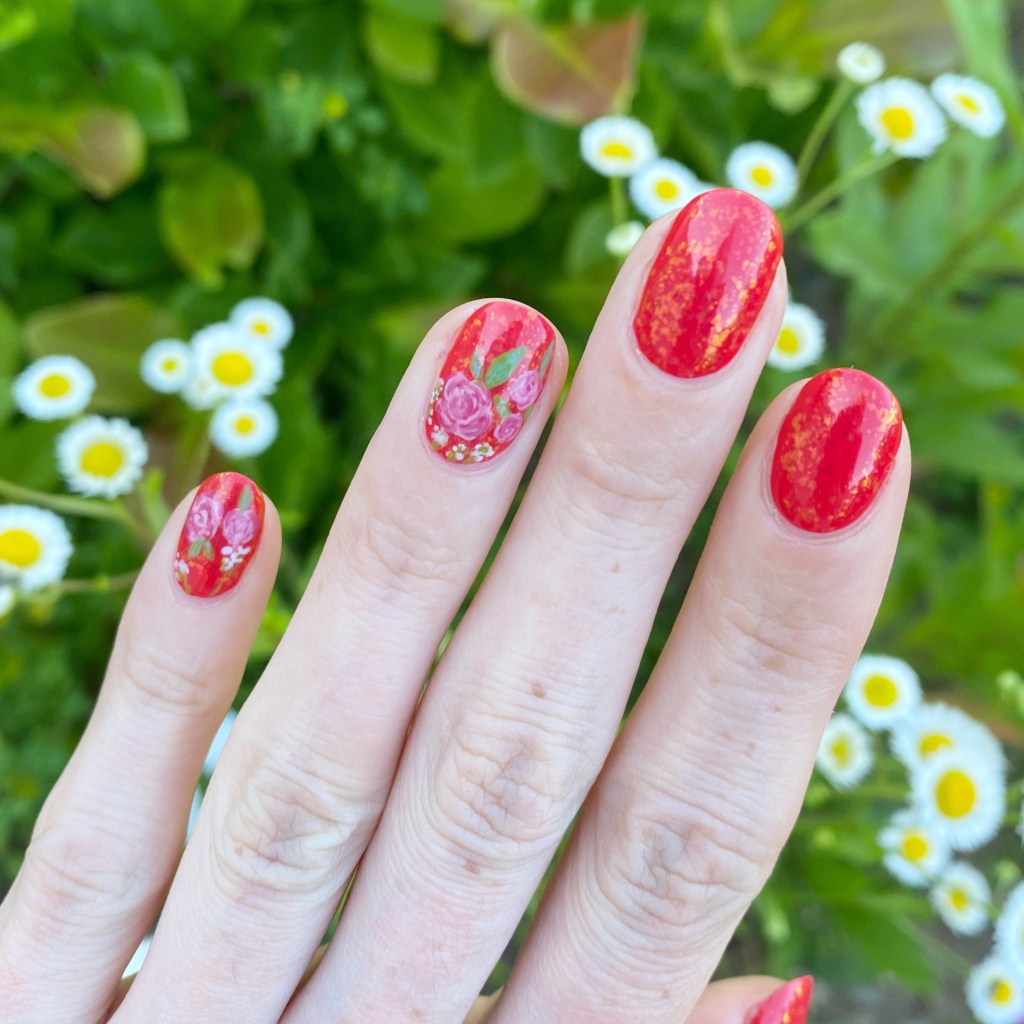
The polishes I used for this manicure are: 

  • Top Coat: Essie Gel Setter Top Coat 
  • Base Coat: China Glaze Calcium Gel Fortifier
  • Essie Gel Couture Electric Geometric *pr
  • Essie Shine of the Times
  • Essie Princess Charming
  • Essie Mrs. Always Right
  • Essie Gel Couture Gossamer Garments *pr
  • Essie Wind in the Willow *pr
  • Essie Bustling Bazaar
  • OPI I Cannoli Wear OPI
  • Nailstuff.ca Mermaid Tail 7mm liner brush
  • NailStuff.ca Dotting Tool 

I absolutely love these. I love the base with the glitter. I love how my roses turned out. I love the little bit of babies breath. I just think the whole design came together beautifully, & I truly adore them.

Also, my 10 year wedding anniversary is coming up this September, & I think I’m going to recreate my wedding nails (again) 10 years later. I did it back in 2018 so I thought it would be fun to do now… what do you think? Would you like to see me do another recreation of my original wedding nails, or maybe what I would do now if I were to paint my nails to get married?

Let me know what you think!

Do you love these romantic roses? Let me know all your thoughts down in the comments below. Happy Friday!

♥︎
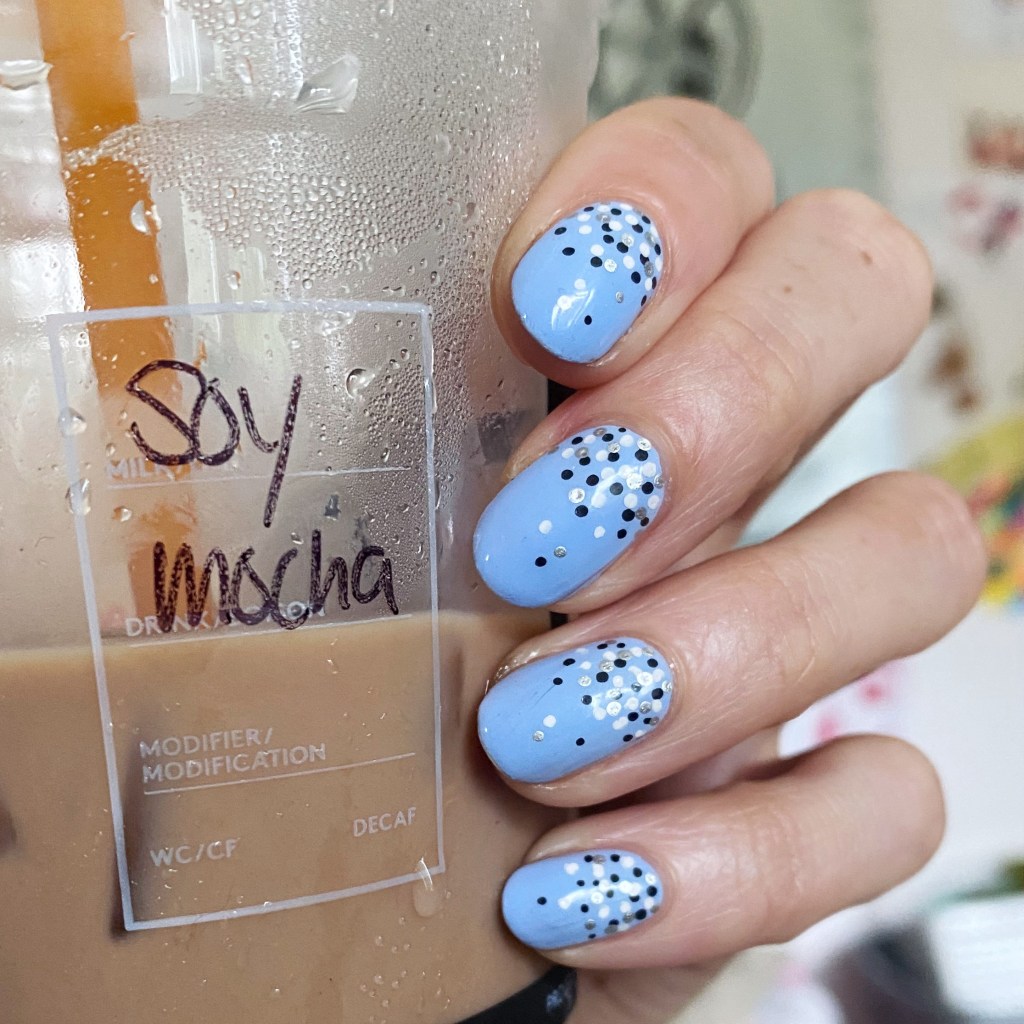
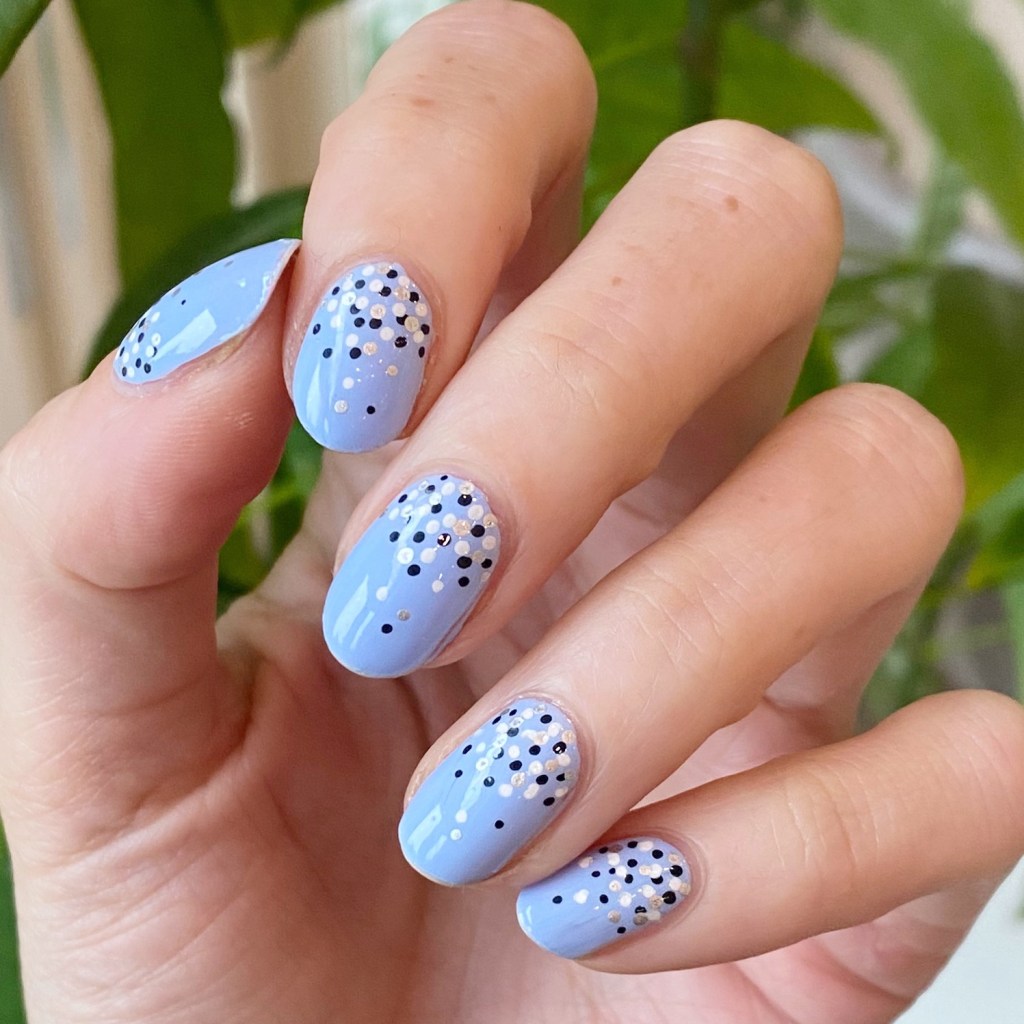
Throwback Blue Dotticure

Good morning lovelies & happy Wednesday. I feel like it’s been a while since I did a Wednesday post. The last couple months have thrown my usual posting schedule all out of whack, but I’m really trying to get back to regular programming. (That includes regularly painting nail art on my nails instead of just wearing a single colour.)

Today’s look is another throw back to the early days of my blog, when I didn’t know much about nail art (or how to do it) but I did love polka dots. You can never go wrong with a polka dot design, so that’s what we’re rocking today!

The polishes I used for this manicure are: 

  • Top Coat: Essie Gel Setter Top Coat 
  • Base Coat: China Glaze Calcium Gel Fortifier
  • Essie Bikini So Teeny
  • Madam Glam Nail Art Pen Black *pr
  • Madam Glam Nail Art Pen White *pr
  • Madam Glam Nail Art Pen Silver *pr

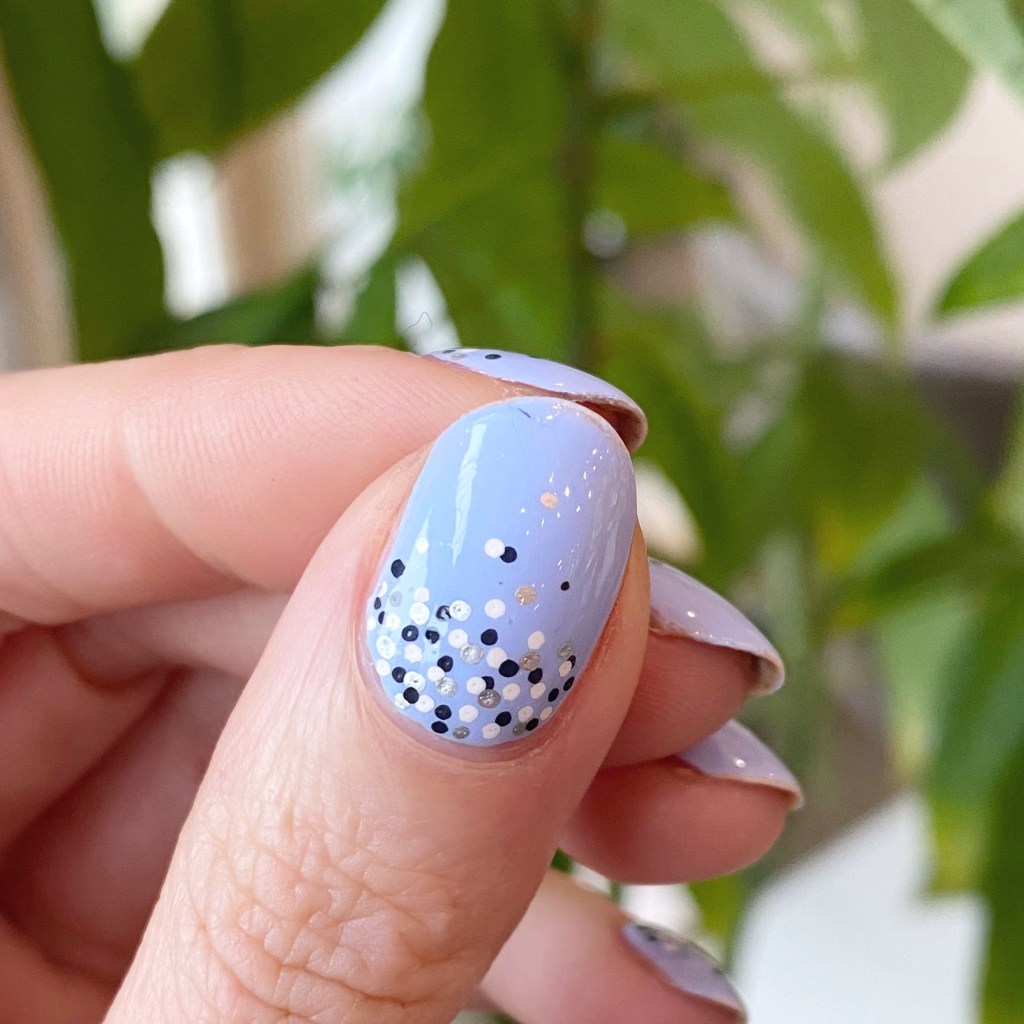
Look how cute these perfect little polka dots turned out! It’s been a few months since Madam Glam so graciously sent me their nail art pens, & I just adore how easy they make polka dots nails. I’m still trying to perfect other nail art with them, but I can’t recommend them enough for creating perfect little polka dots like for this gradient dotticure. Plus — you don’t have to worry about cleaning off your dotting tool between colours.

What do you think of my gradient dotticure look? Do you love the throwback as much as I do? Do you remember when polka dot designs were the most popular look I would show off on my blog? Let me know all your thoughts down in the comments below!

♥︎

Pastel Geometric Lines

Contains PR

Hello loves & happy Thursday!

I hope everyone’s week has been going well. It’s be hot hot hot here on the East Coast, which I will never complain about! I love me a hot Summer day. Today it’s definitely cooler & just kind of muggy.

But you’re here for nails, not weather reports — & I have been busy trying to come up with fun nails to share! I’ll admit, after 11 years it can be hard to come up with brand new nail art designs for you. So, instead, I guess I’ll keep reinventing my old favourites.

The polishes I used for this manicure are: 

  • Top Coat: Essie Gel Setter Top Coat 
  • Base Coat: China Glaze Calcium Gel Fortifier
  • Madam Glam Mimi Pink *
  • Madam Glam Minty Greek *
  • Madam Glam Birds Fairy *
  • Madam Glam Warm Up *
  • Quo by Orly Black Nail Art Striper

**pr/gifted

You can never go wrong with a dry brush geometric design!

These were so easy to do. Started off with the dry brush as my base using my 4 Madam Glam pastels–which blended together so well–& then used my striper to create the geometric design. The hardest part is probably drawing the black lines & making sure they don’t end up too thick (always my struggle, at least), but no matter what I think this is a striking design to do & wear!

What do you think about these pastel geometric design? She’s an oldie but a goodie!

I’m still on the hunt for new nail art designs to try, so feel free to share any designs you’d love to see me attempt! I’m trying not to go straight into craving Autumn designs (my favourite season for nail art) so help a girl out! I would be eternally grateful.

Happy Thursday!

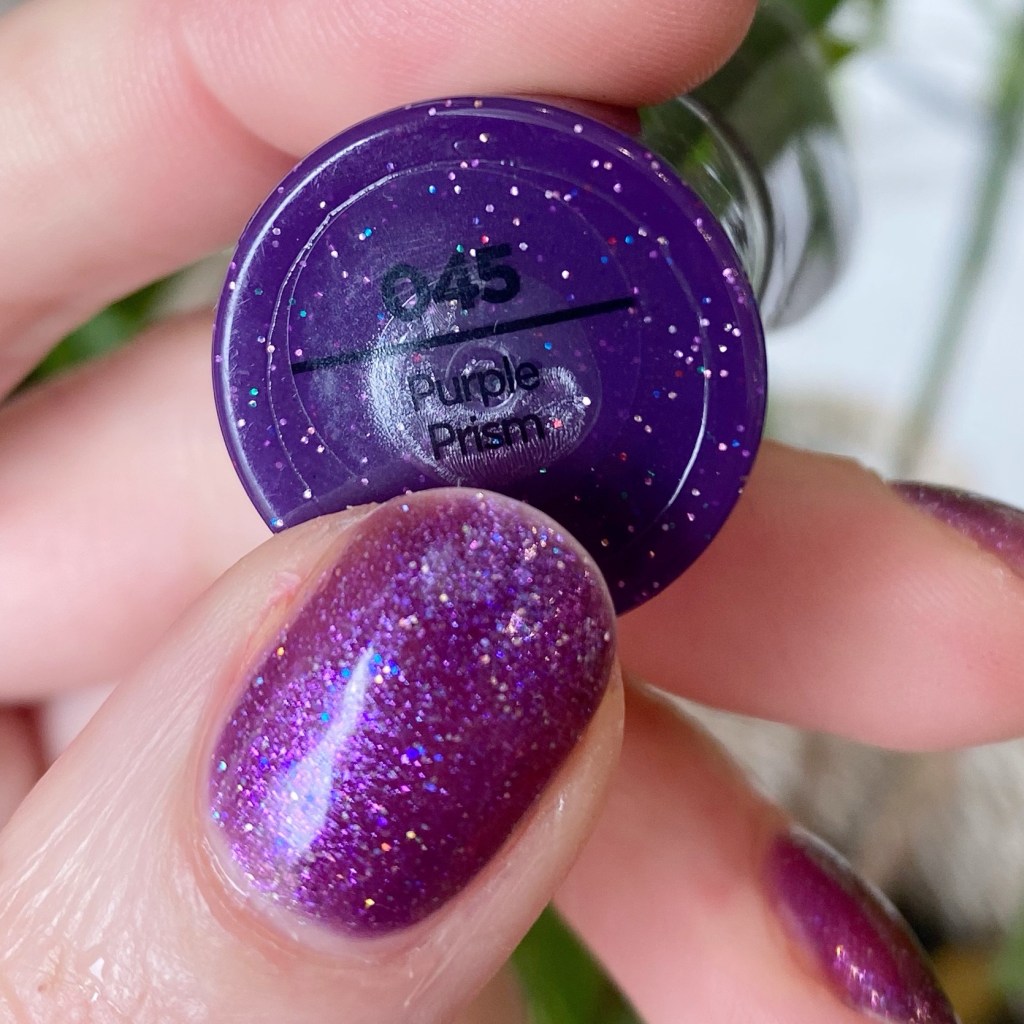
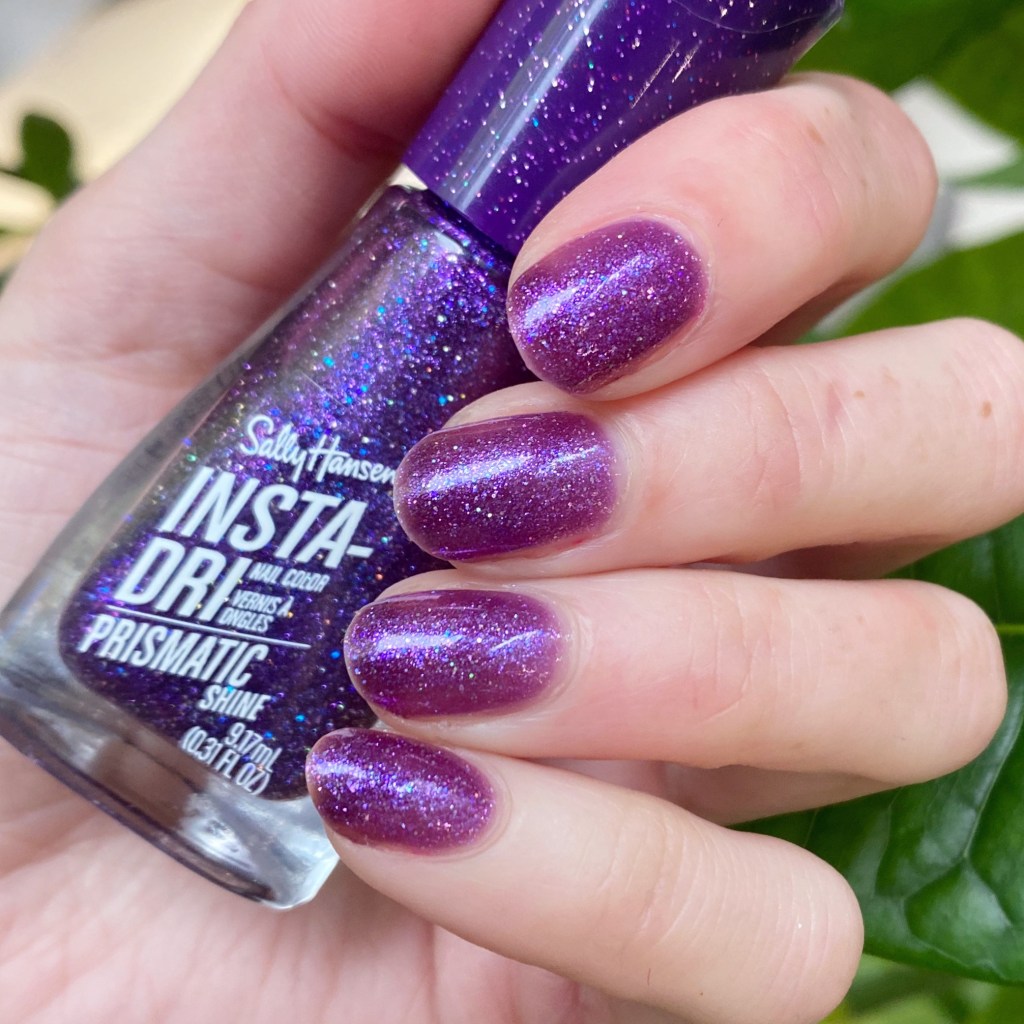
SWATCH SUNDAY — Sally Hansen InstaDri Prismatic Shine Purple Prism 💜✨

Hello lovelies & happy Sunday! The Summer weather is officially back in full swing — after some rainy chilly days — & I’ll be truthful, I’m loving it. I’m a hot hot hot Summer kind of girl always. Give me the sunshine!

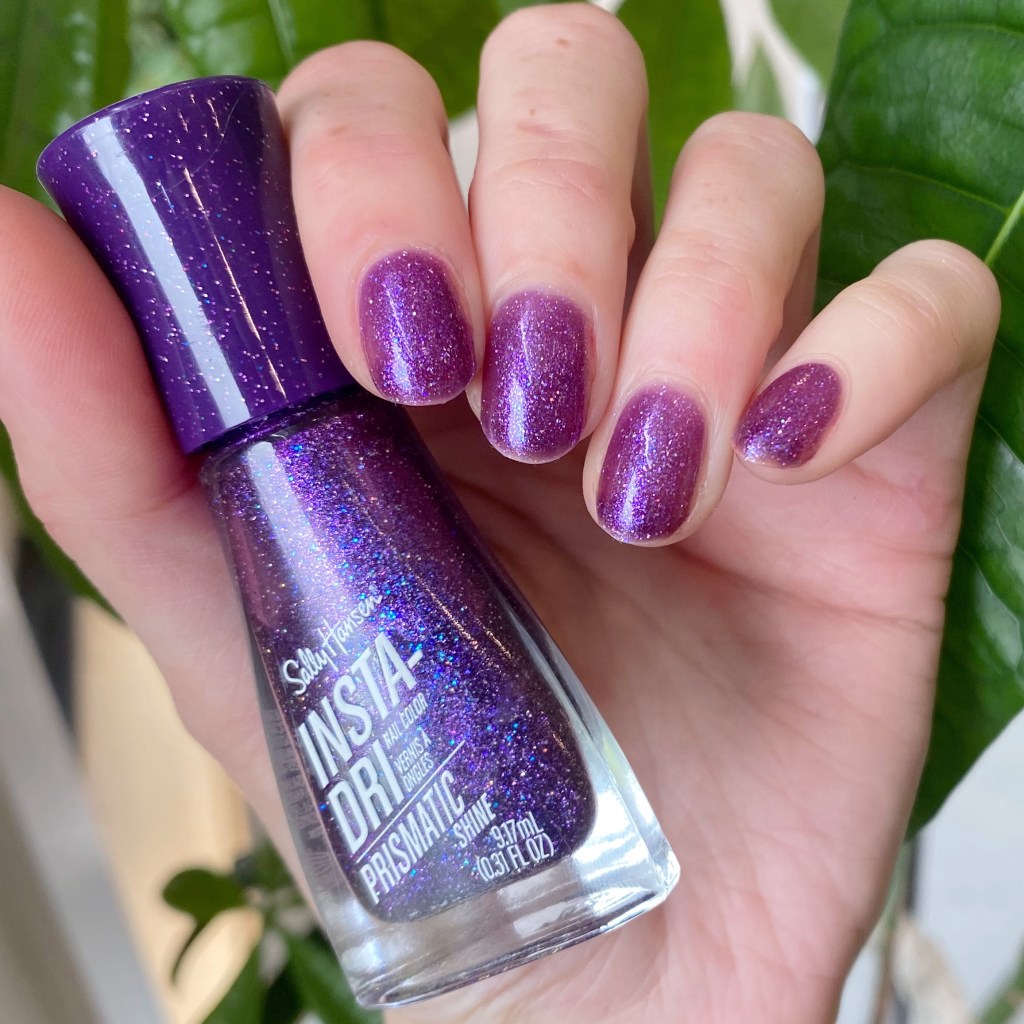
& you know what looks awesome in sunshine — glitter. & today’s Swatch Sunday pick is a glitter bomb. This is Sally Hansen InstaDri Prismatic Shine Purple Prisim.

3 coats + top coat

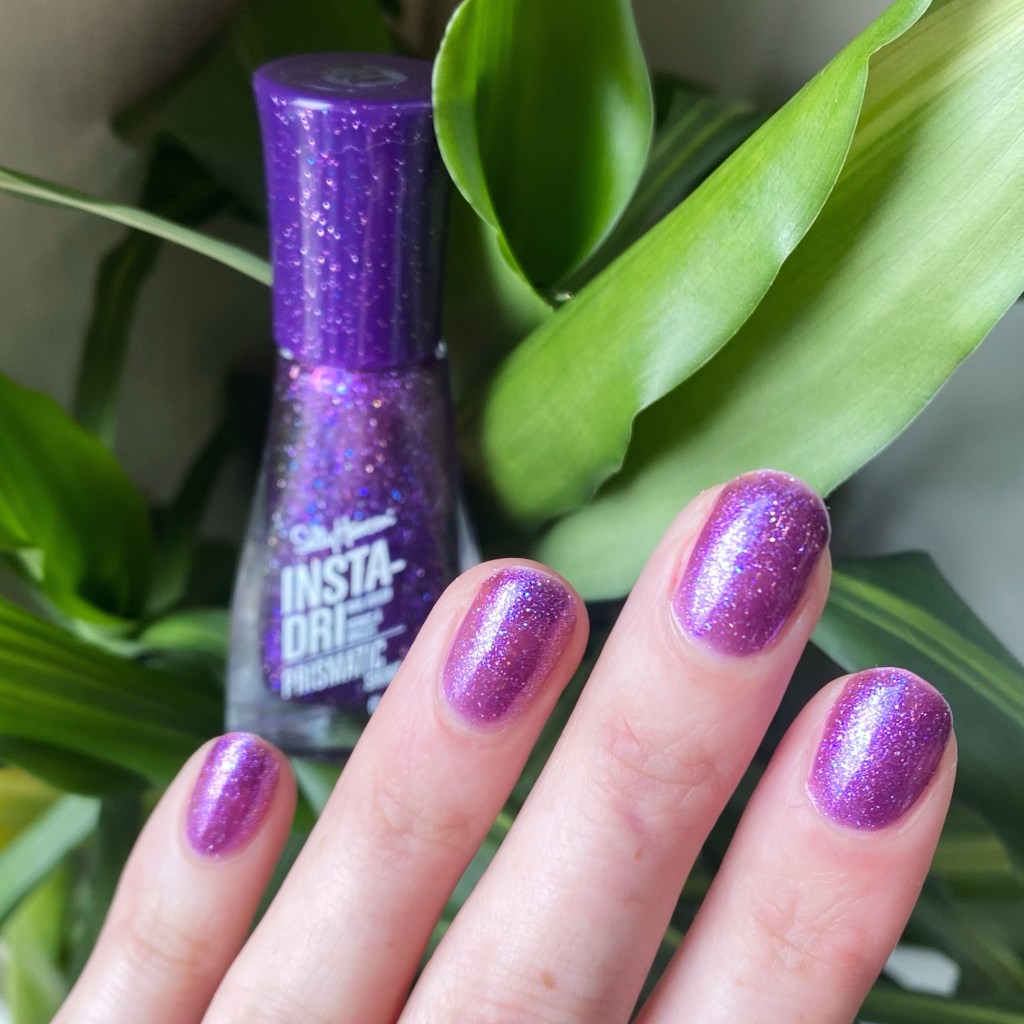
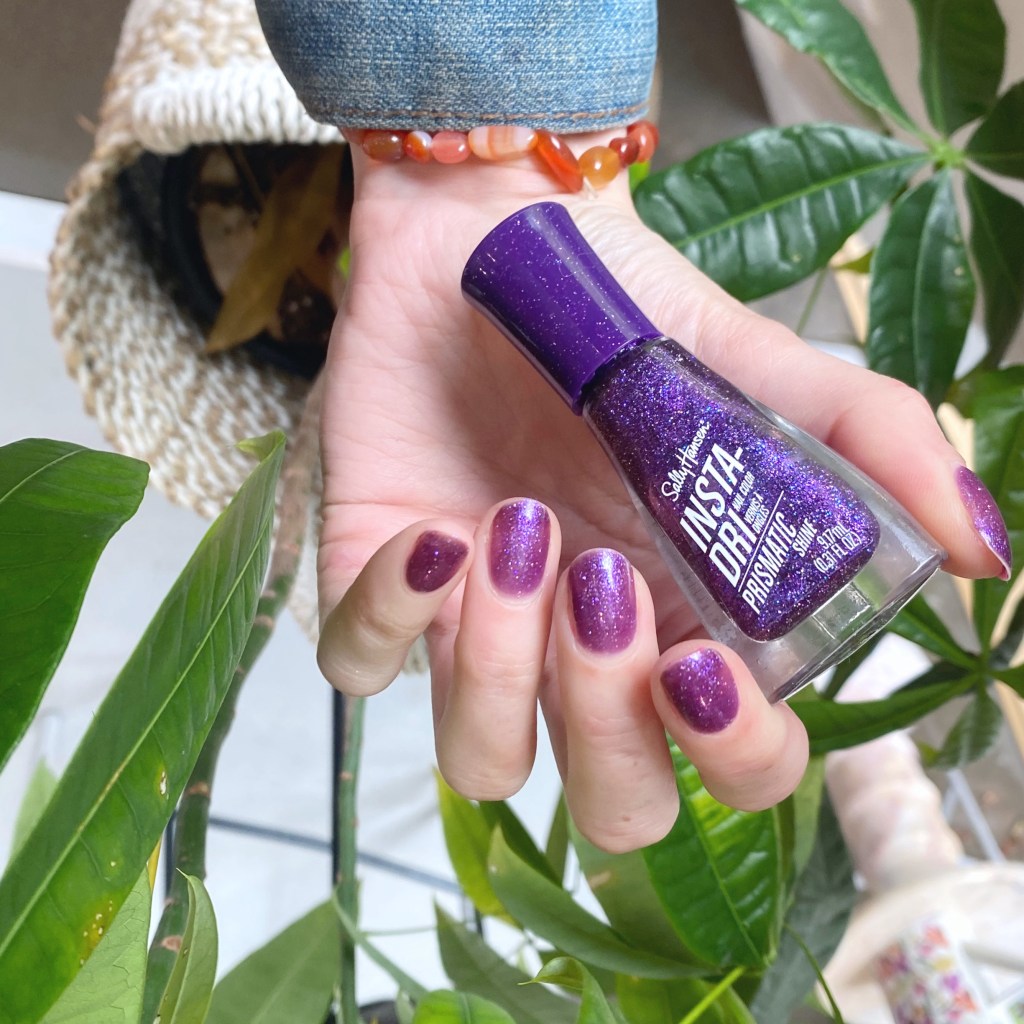
I love a good purple, & I’ve really been loving glitter lately, so Purple Prism really brings the two worlds together. The base is a sheer purple jelly, which is packed full of multicoloured glitters, including holographic ones.

The base is very, very sheer so you need multiple coats. This is 3 not too thick coats — to achieve the bottle colour I would need at least one more thin coat, or to apply it thicker on the nail.

I do love the jelly like formula, with the exception of how it always seems to dry for me. There is always shrinkage at the tip, no matter how hard I try to cap my edges properly. I’m thinking it’s the fault of my quick dry top coat.

Look at all those glitters! Perfect to show off on a sunny day!

With how sheet the jelly formula, you could definitely get away with using it as a topper over another purple polish, & skip needing so many applications. The glitter might not be as dense on the nail, but it would definitely be beautiful!

How fun is this shade! Do you own any of the Sally Hansen InstaDri Prismatic Shine shades in your collection? Sadly my Shoppers Drug Mart has cleared out its stock of these shades, but I’m still hoping to find a few more of these beauties in my favourite clearance sections someday.

Happy Sunday!

🖤

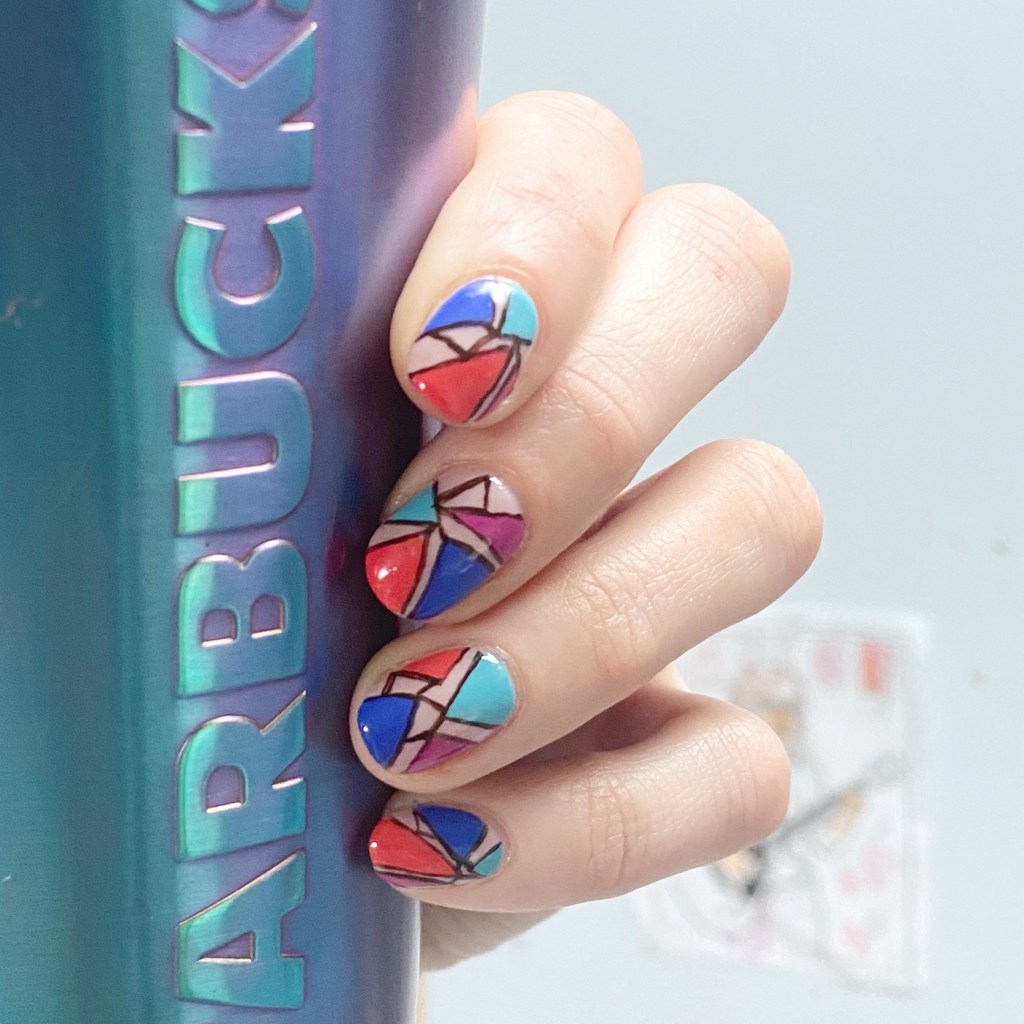
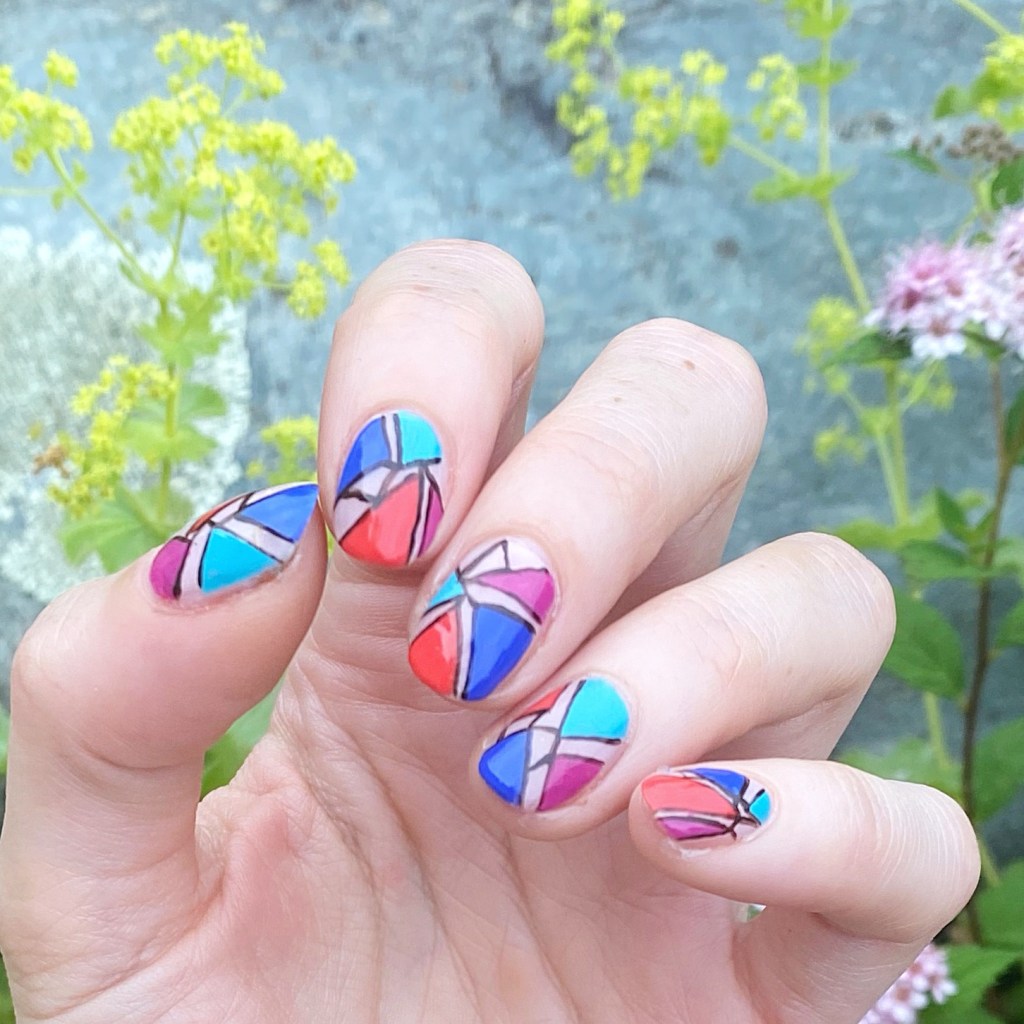
Cool Colour Block Stained Glass

Hello loves & happy Wednesday.

I hope everyone’s week has been peaceful so far. Summer is in full swing, & the weather has been… up & down. But I’m trying to enjoy the Summer none-the-less.

Today I have some actual nail art to show with you. I know — who is she? It feels like a while since I’ve been fully inspired in my nail art endeavours, so I was happy when I started this design & ended up loving it. That doesn’t always happen lately, so I was in love with this look when it just came together so perfectly.

Also, my nails are finally growing out after that bad break on my ring finger. Thank goodness!

The polishes I used for this manicure are: 

  • Top Coat: Essie Gel Setter Top Coat 
  • Base Coat: China Glaze Calcium Gel Fortifier
  • Essie Gel Setter Sheer Fantasy *
  • Essie Handmade With Love *
  • Essie Butler Please
  • Essie Swoon in the Lagoon *
  • Essie In My Cab-Ana
  • Essie Expressie Take The Espresso *
  • Nailstuff.ca Mermaid Tail 7mm liner brush

**pr/gifted product

I cannot begin to explain how much I love how these turned out. I started off with the block of colour, but it just felt like it needed something a little more to make it pop. & outlining it with the dark brown of Take the Espresso was definitely the right choice. I am very pleased with how these turned out.

&, if we’re being honest (always), it truly didn’t take as long as you would think it would take. No more than an hour from start to finish.

What do you think about these fun colour block, stain glass looking nails? Do you think this look turned out as good as I think it turned out? I’d love to know your option, or if you would wear it too! Let me know all your thoughts down in the comments below.

Happy Wednesday!

♥︎