Magnetic Autumn Leaves 🍂

Hello loves & happy Friday! The weekend is (almost) upon us.

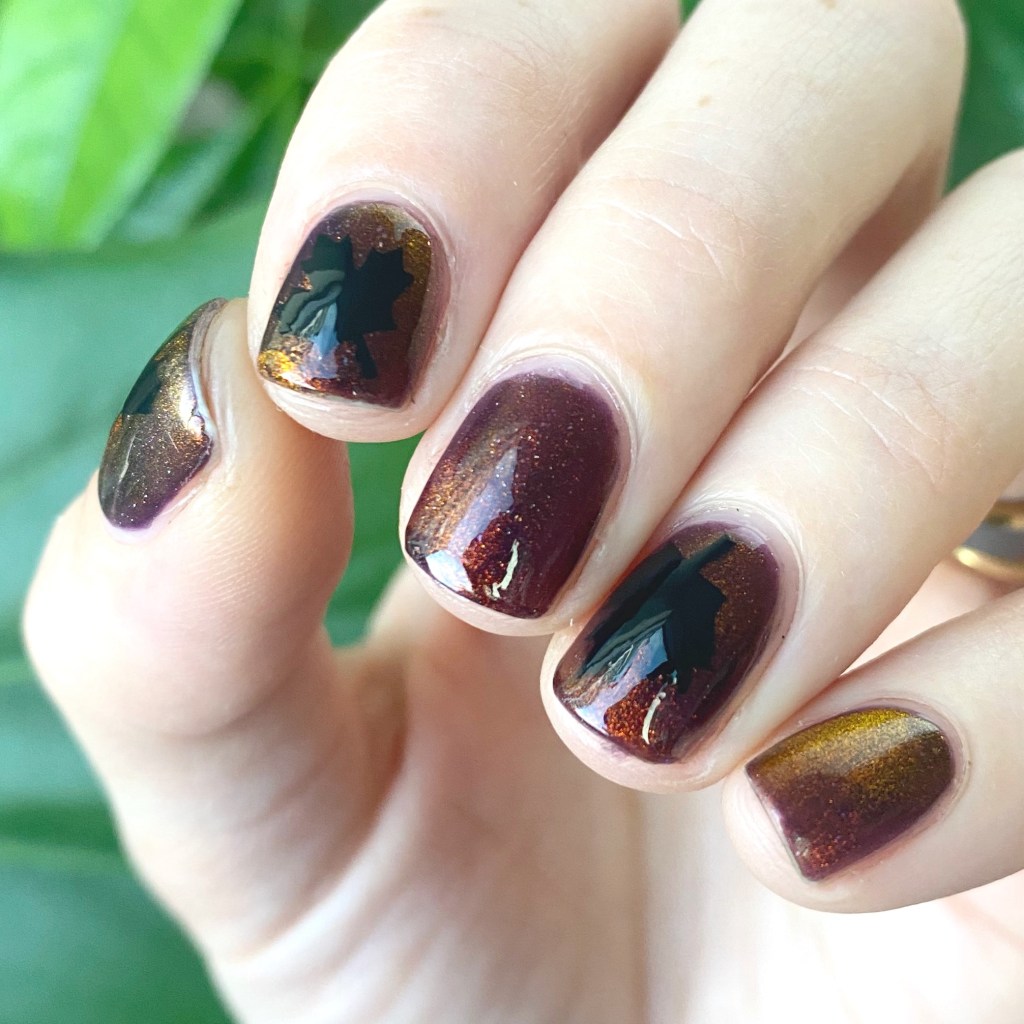
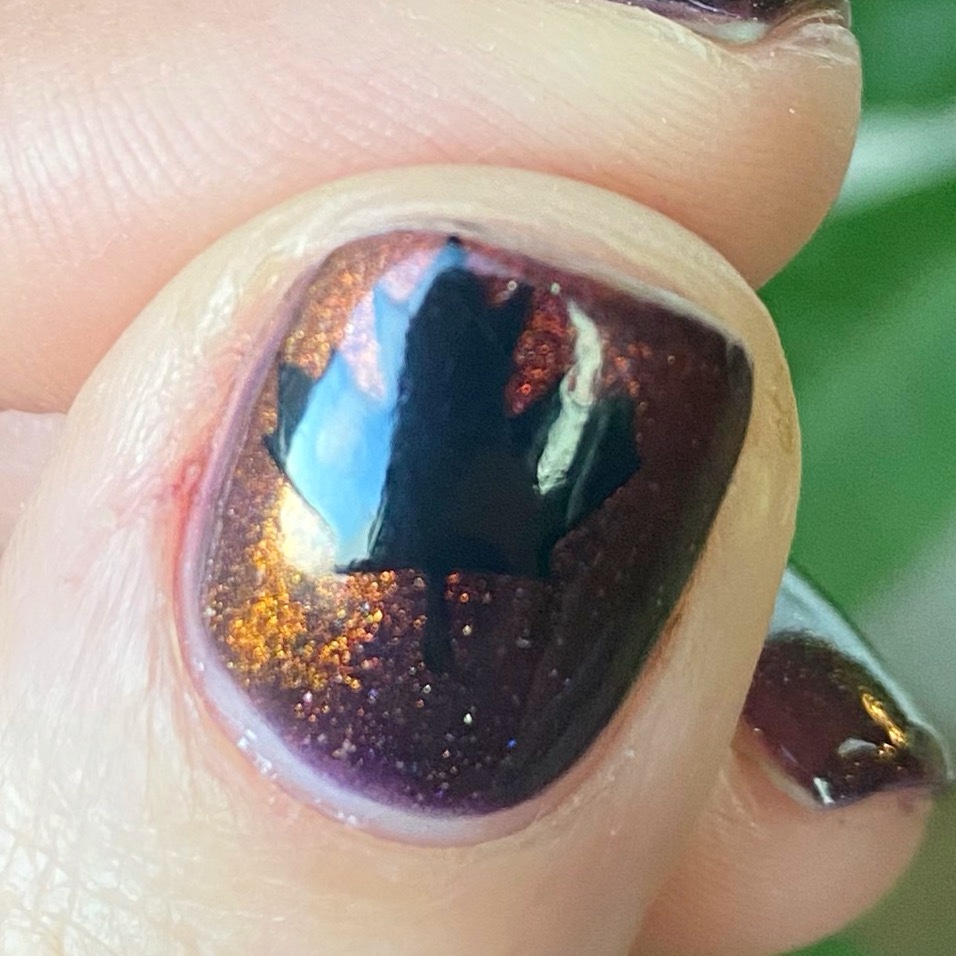
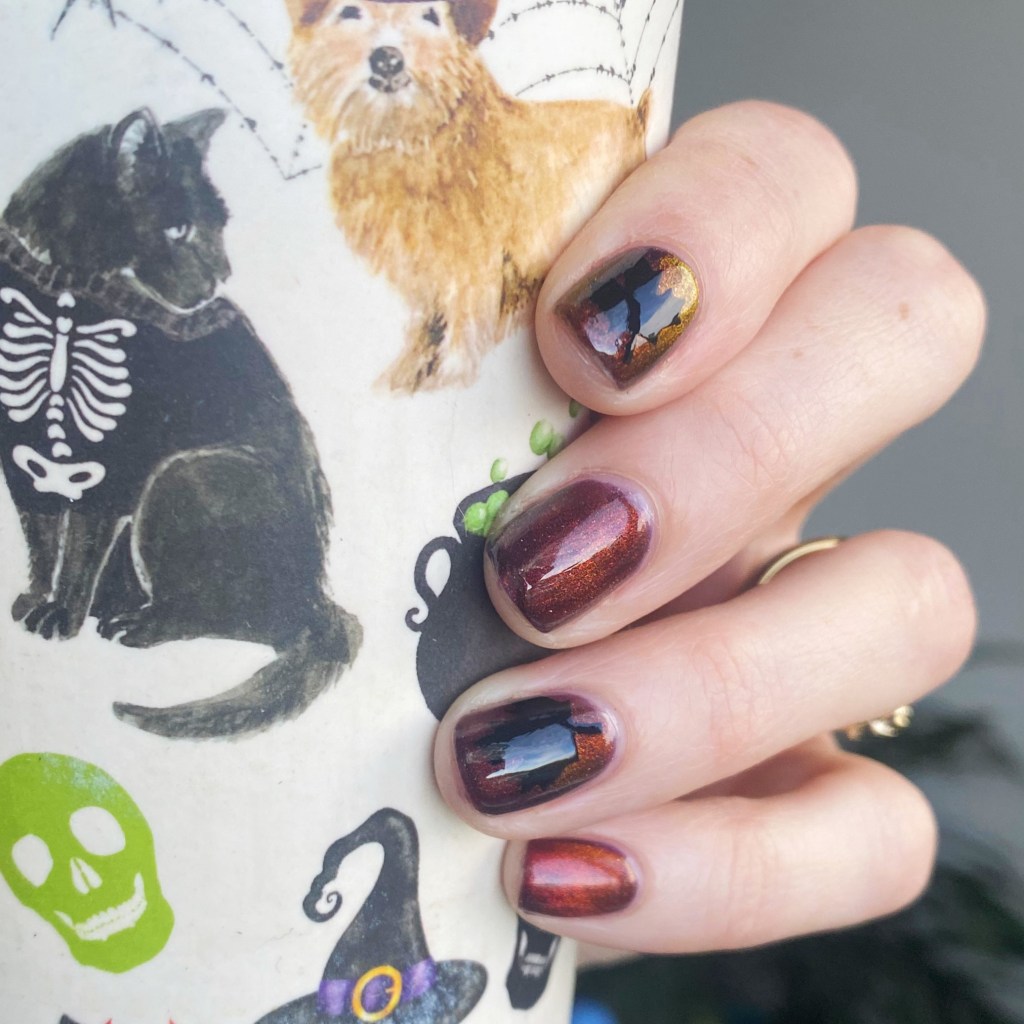
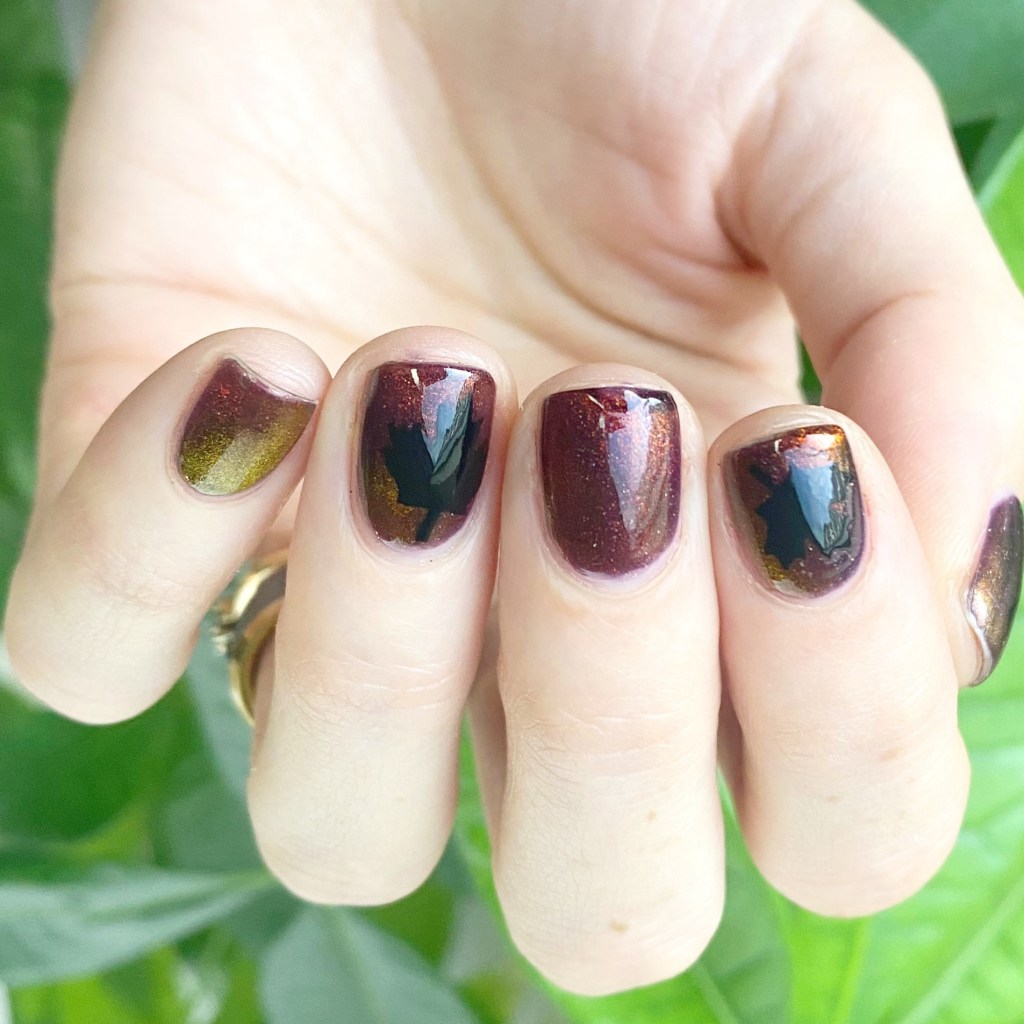
Today I’m sharing a fun, & easy, Autumn look using magnetic nail polish & nail vinyls. Sometimes, I don’t want a crazy nail art look, but I still want something eye catching. This look was exactly what I was looking for.
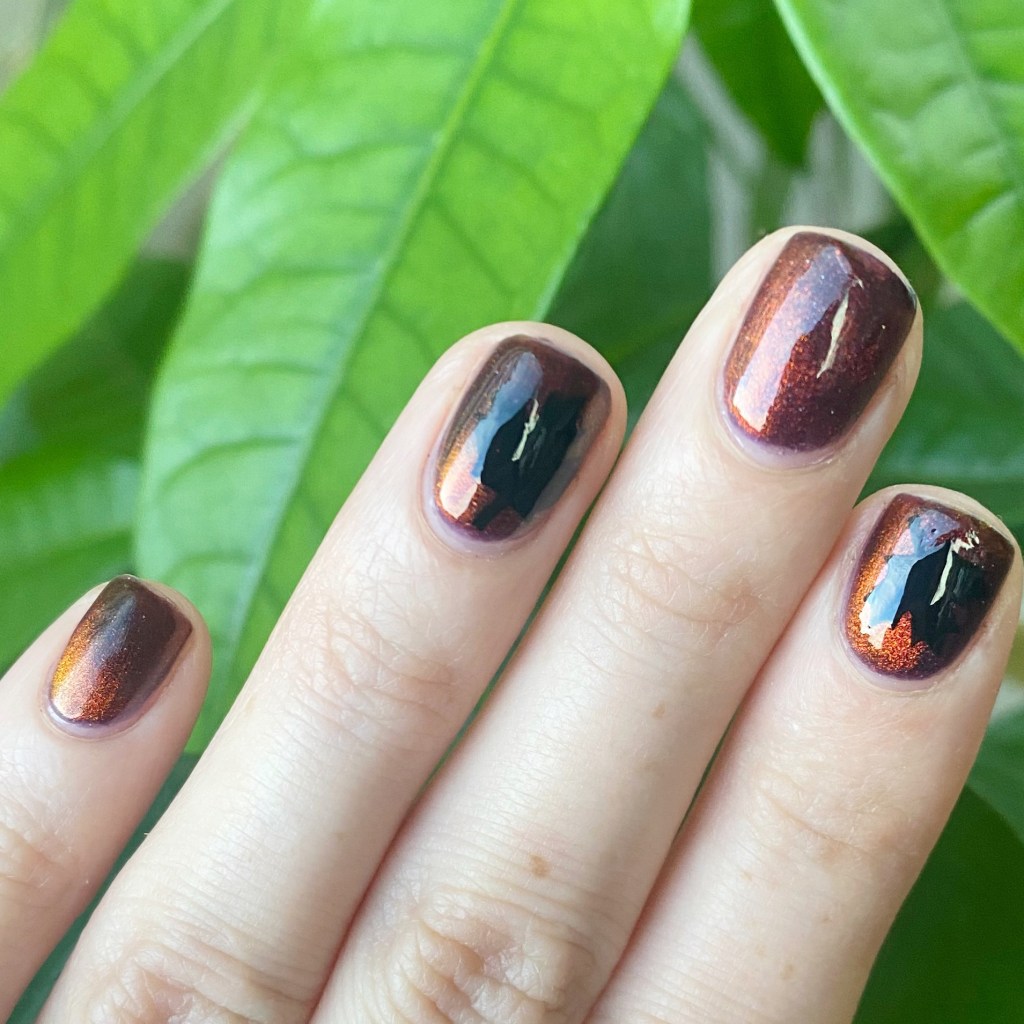
The polishes I used for this manicure are: 

  • Base Coat: Sally Hansen Maximum Growth Base Coat
  • Top Coat: Sinful Colors Power Paint Top Coat + Sally Hansen Insta-Dri Top Coat
  • China Glaze Private Side Eyes *PR
  • Starrily Magma *PR
  • NailStuff Essentials Raven *PR
  • Starrily Magnet
  • What’s Up Beauty Canada Flag Vinyls

I liked adding Magma over Private Side Eyes because the scattered holo show through in some light which is fun. It’s subtle, but it’s definitely there. The leaves are also definitely a subtle addition, but that was what I was going for — I wanted them to be a surprise you notice depending on how you move your nail.

It also inspired me to try the opposite way — using a black base colour, & then using the magnetic for the leaves. I’ll definitely be trying that one next.
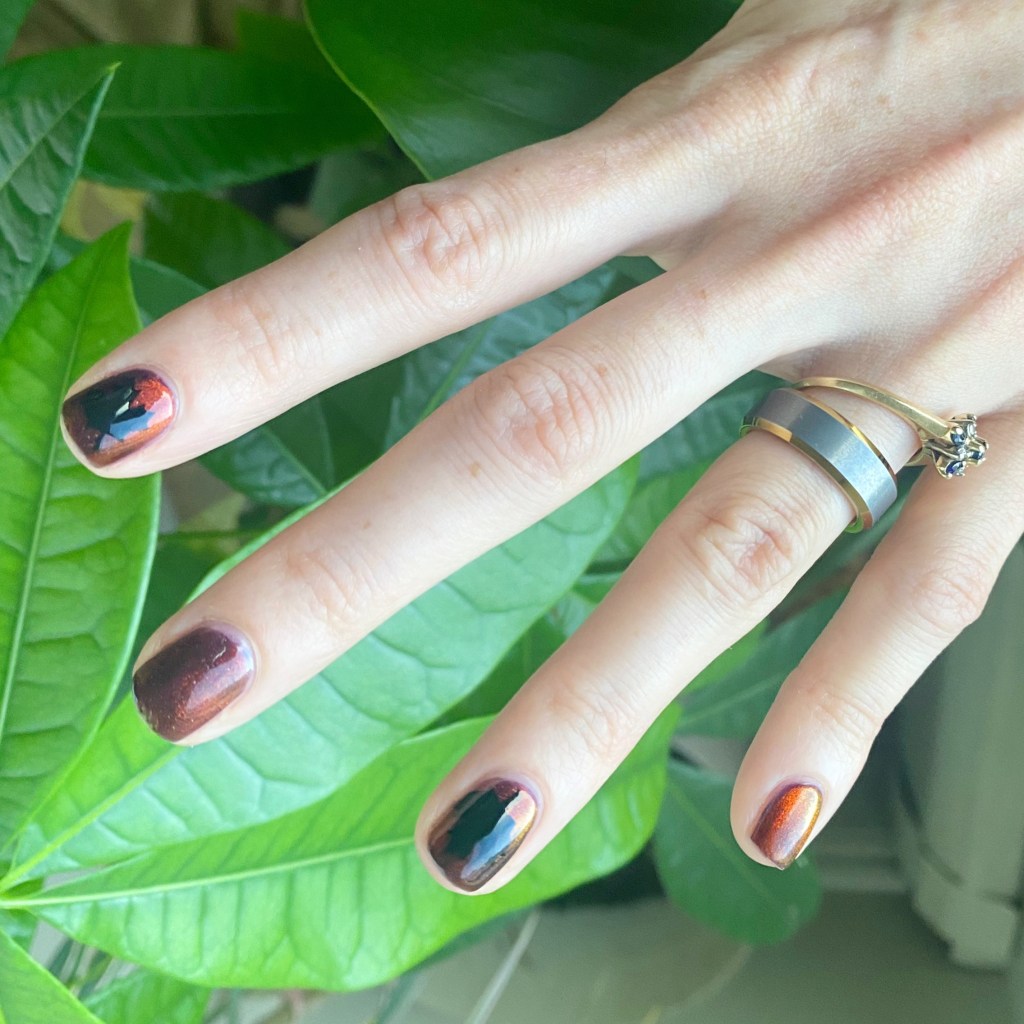
What do you think of my magnetic maple leaf nails? Do you like the subtle effect this design has?

It’s been too long since I pulled out nail vinyls, so I think I need to do it more often — & maybe even buy myself some new ones for Halloween/Christmas! I don’t think I’ve purchased any in at least 5 years which is kind of crazy. So obviously I need to go shopping!

Happy Friday!

GLAM NAILS CHALLENGE DECEMBER (2024) — Christmas Plaid

Hello loves & happy Monday! It’s a sunny albeit chilly Monday here. Definitely feeling like December — although a sprinkling of snow might have been nice. But today is the next prompt for Glam Nails Challenge December, & it is Christmas plaid.

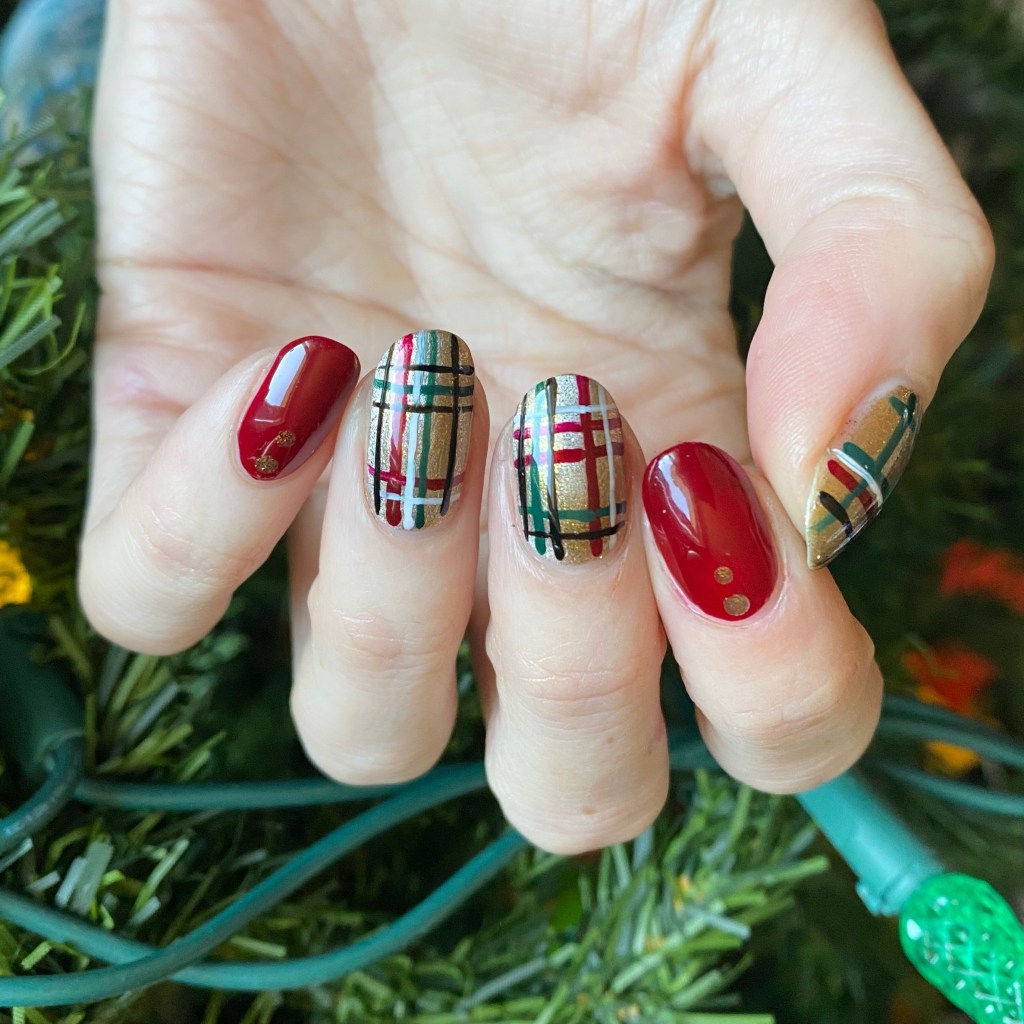
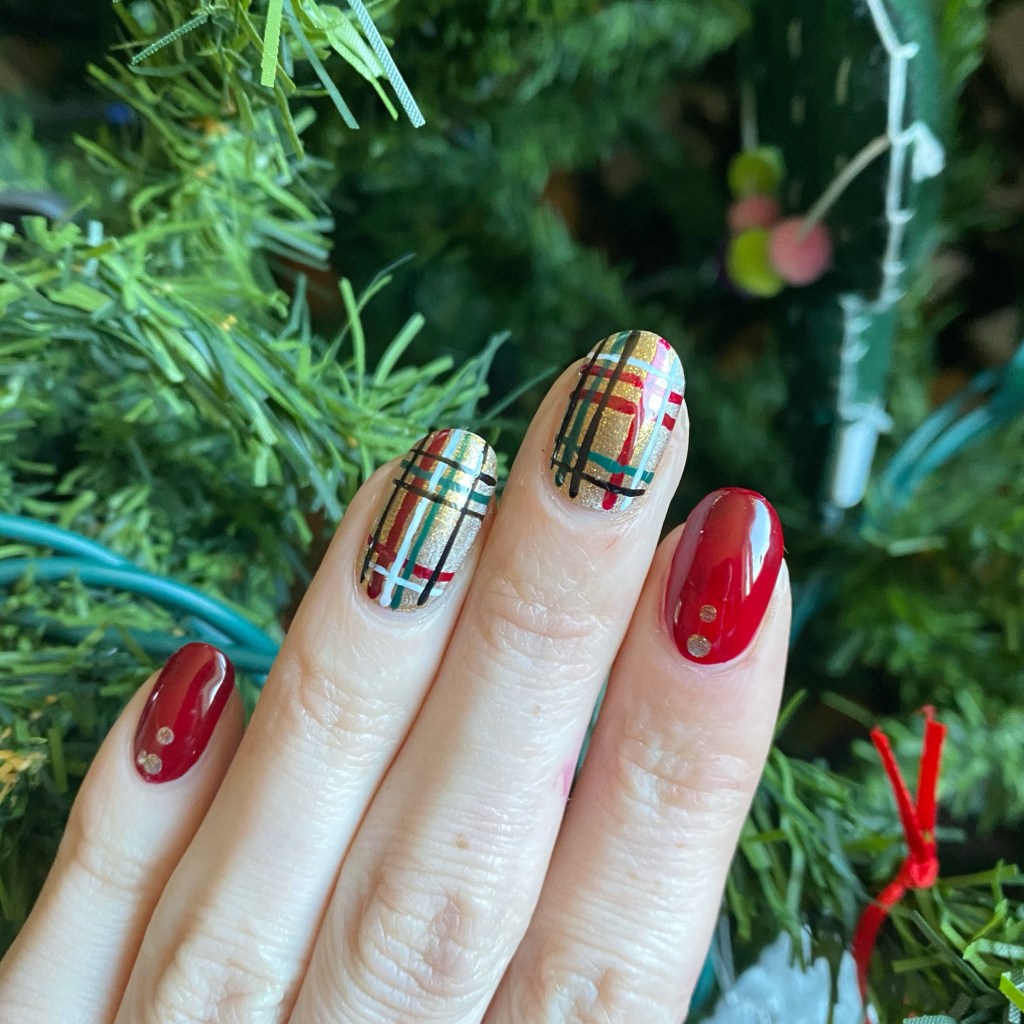
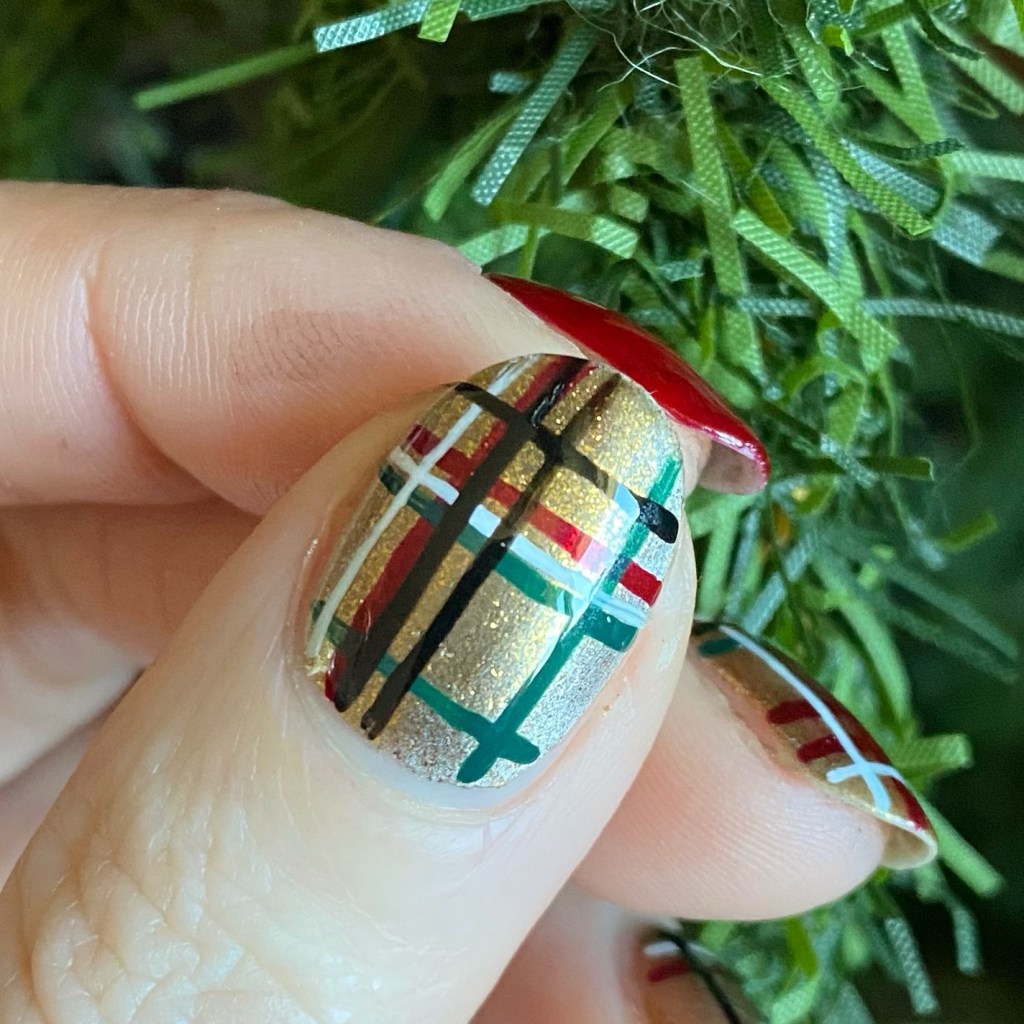
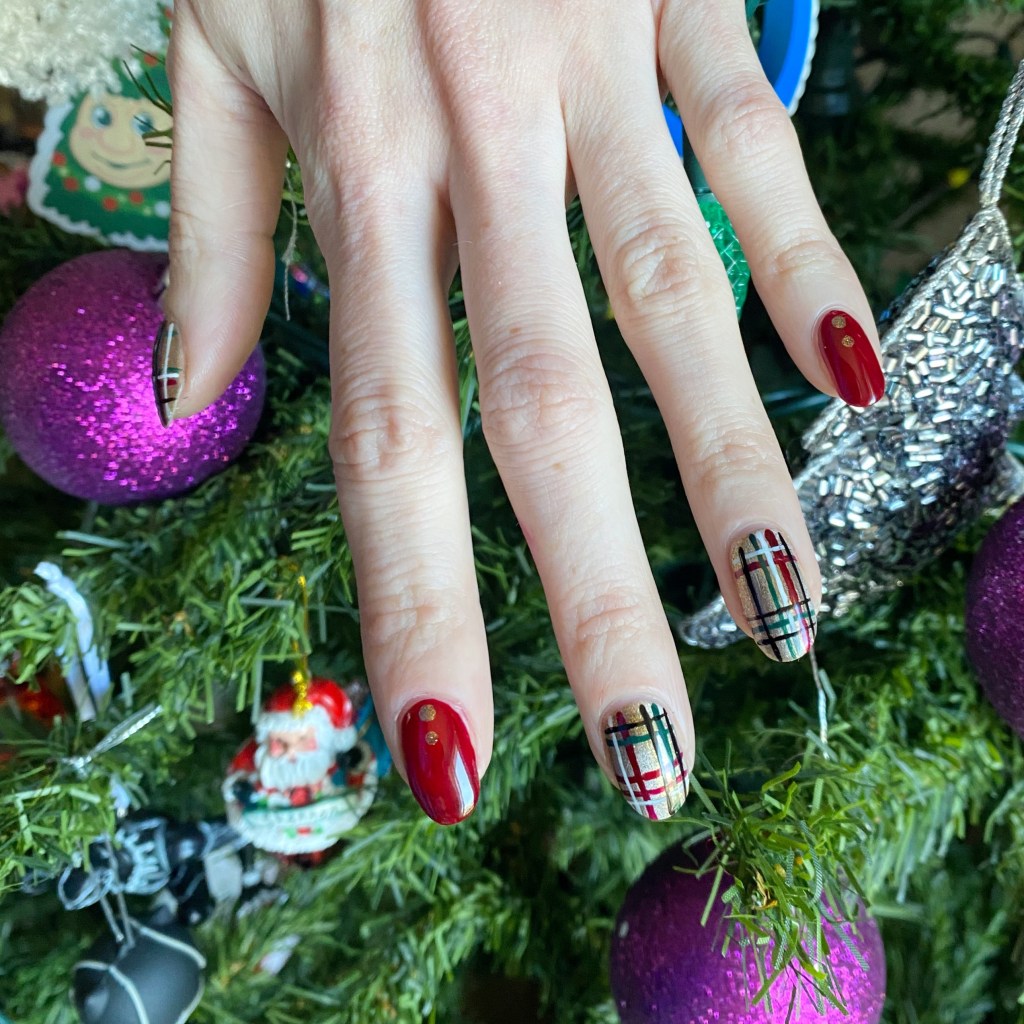
I’m not 100% sure what a Christmas plaid is, though I would assume one done in your typical Christmas colours would make sense. So that’s what I did for today’s look! & they are certainly feeling Christmas-y.

The polishes I used for this manicure are: 

  • Base Coat: NailStuff Essentials Base Coat *
  • Top Coat: Nail Stuff Essentials Quick Dry Top Coat *
  • Santee Magnetic Nail Polish Sandburst
  • Essie Bordeaux*
  • Essie Off Tropic *
  • NailStuff Essentials White Dove *
  • Quo by Orly Black Striper
  • Nailstuff.ca Mermaid Tail 7mm liner brush
  • Largest size from NailStuff.ca Dotting Tool Trio 

*PR/gifted

Ooooh I love how these look. I tried to give this magnetic shade a velvet finish. Honestly think I might have to invest in one of those fancy U-shaped magnets in the new year if I’m going to be playing with my magnet shades more frequently.

I love the hold with the plaid pattern over top, as opposed to using the gold as an accent.

What do you think about my Christmas plaid nails? Are you a fan of this look? Let me know all your thoughts on this look, & if it feels Christmas-y to you.

Don’t forget to pop on over to Instagram & follow all the amazing designs using #glamnailschallengedec24.

🖤

SWATCH SUNDAY — Color Club Magnet Forces Midnight

Good morning loves & happy Sunday. I hope everyone’s week was good, & if not… I hope the week ahead is better. It’s Sunday, so you know what that means — it’s Swatch Sunday!

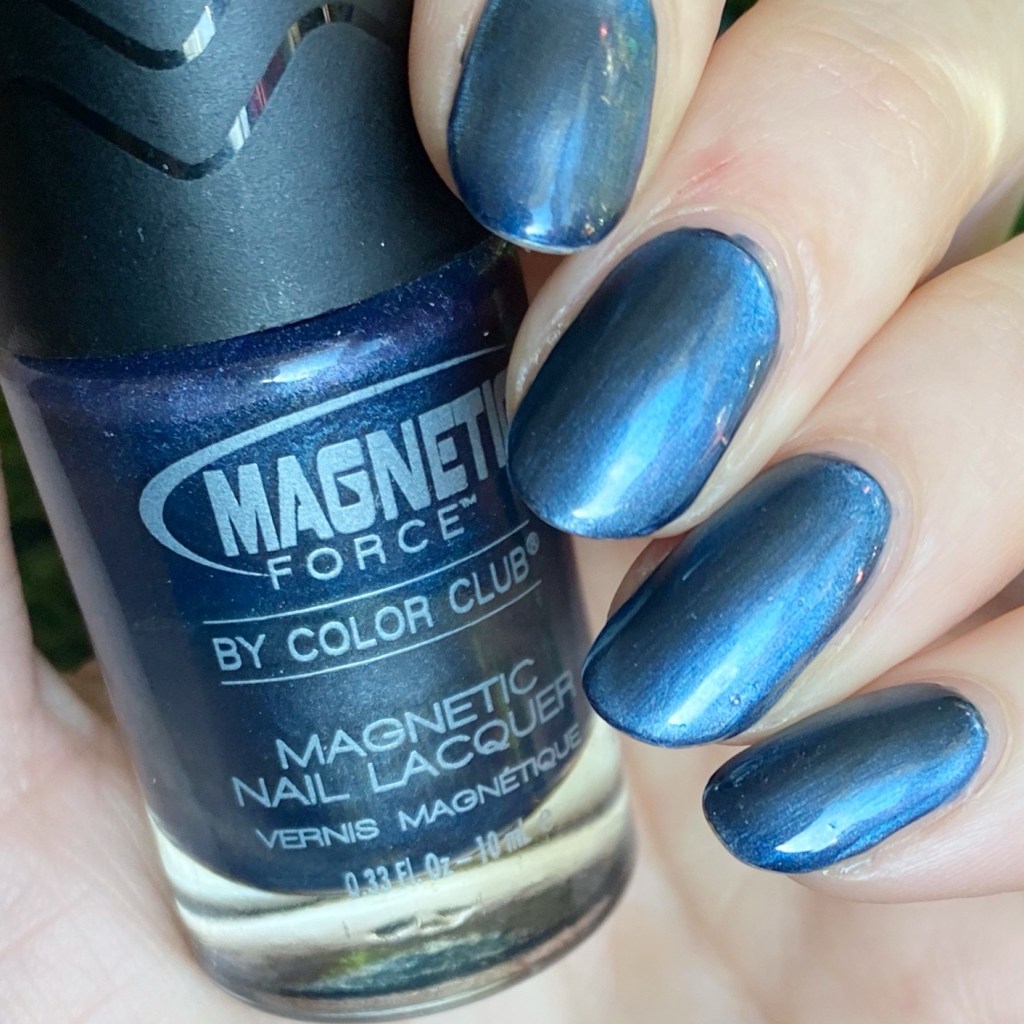
I was searching through my stash, trying to find a fun polish to wear & ended up stumbling across some of the Color Club magnetics in my stash. I’ve been seeing so many beautiful magnetic polishes done in the velvet style, so I decided I wanted to see if I could make one of my older magnetic polishes do the same.

2 coats + top coat

First off, let’s start with the general facts on this shade. Color Club released these magnetic shades back in early 2012. The original collection came with 6 shades, & each one had their own magnetic which would create a fun pattern on the nail. You can see swatches of the collection from back then here on Scrangie.

The formula is smooth, metallic & easy to apply. I’ve worn this shade on its own, unmagnetized before, & I find the effect really strong compared to some other shades released back then. Which was why I was excited to try out creating a velvet effect!

I don’t have one of those fancy horseshoe magnets that have gone viral, so I used my wand magnet that I have from Starrily, & moved it around the perimeter of my nail to get the effect you see above, including after I applied my top coat.

They’re not perfect—& definitely look better in motion—but they’ve given new life to this polish. It has gotten me excited to try this with my other magnets so I may do a whole series of swatching these old polishes — if only to alleviate a little bit of my FOMA when seeing those beautiful Mooncat Star Wars magnetic polishes.

Do you remember these Color Club Magnetic Force polishes from 2012? Do you have any in your stash? What was your favourite magnetic polish release of the early 2010s?

If you have any old magnetic polishes kicking around, I definitely recommend pulling them out again! Grab a magnetic, & see what kind of fun things you can make them do!

Happy Sunday

🖤

GLAM NAILS CHALLENGE SEPTEMBER (2024) — Sunflower 🌻

Good morning lovelies & happy Wednesday! It’s a beautiful & slightly chilly day here on the the East Coast — very Fall-like. Makes you want to snuggle up in your favourite cardigan & sip on pumpkin spice!

Today we have another Glam Nails September look to share, for the prompt Sunflower. This one I’m very excited about because I feel like it turned out so beautifully, & it’s embodies Autumn vibes to a tee!

The polishes I used for this manicure are: 

  • Base Coat: Essie First Base 
  • Base Coat: LA Colors Mega Grow Treatment 
  • Top Coat: Essie Speed Setter
  • Dimension Nails Amazonian Manatee (c/o: NailStuff.ca)
  • Starrily Nails Magma (c/o: NailStuff.ca)
  • Essie Fall for NYC
  • China Glaze Autumn’s Up
  • Essie Expressie Cold Brew Crew
  • China Glaze The Snuggle Is Real
  • Essie Willow in the Wind
  • China Glaze Loves ‘Em & Leaves ‘Em
  • Nailstuff.ca Mermaid Tail 7mm liner brush

Okay, how perfect is this colour combination? I’ve been wanting to apply Starrily Magma over a dark green for a while now, & I think it turned out so beautifully. It really reminds me of a leaf, mid change in the Fall. I’m obsessed.

Secondly, I just love these little sunflowers turned out. The colours compliment the base so perfectly, & they just look so perfect. 🌻 I couldn’t have asked for it to turn out more perfectly, & I honestly never wanted to take them off. I could have worn them for weeks… if I didn’t have other manicures to complete this month!

What do you think about my cute little sunflowers? Do you love this look as much as I do? Oh man, I always forget about floral for Fall, but it is beautiful! 🧡

Are you following along with the other nail art designs for this month’s Glam Nails Challenge September? Don’t forget, you can check out #glamnailschallengesept24 on Instagram, & see all the other beautiful designs being shared!

Happy Wednesday!

🖤

Dark & Gloomy Hand Painted Floral

Hello loves & happy Monday! I hope everyone had a lovely weekend. After some gross winter weather on Saturday evening, we actually had a beautiful (almost Spring-like) Sunday.

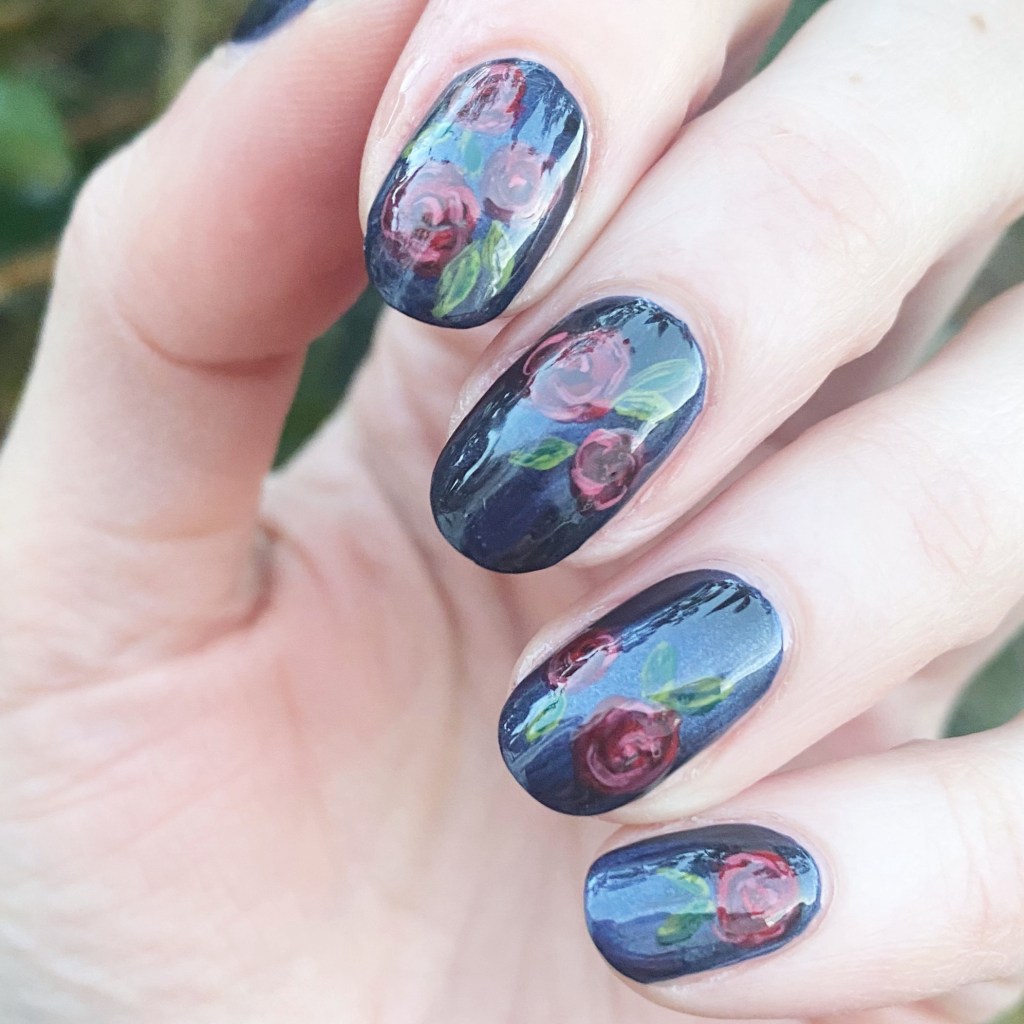
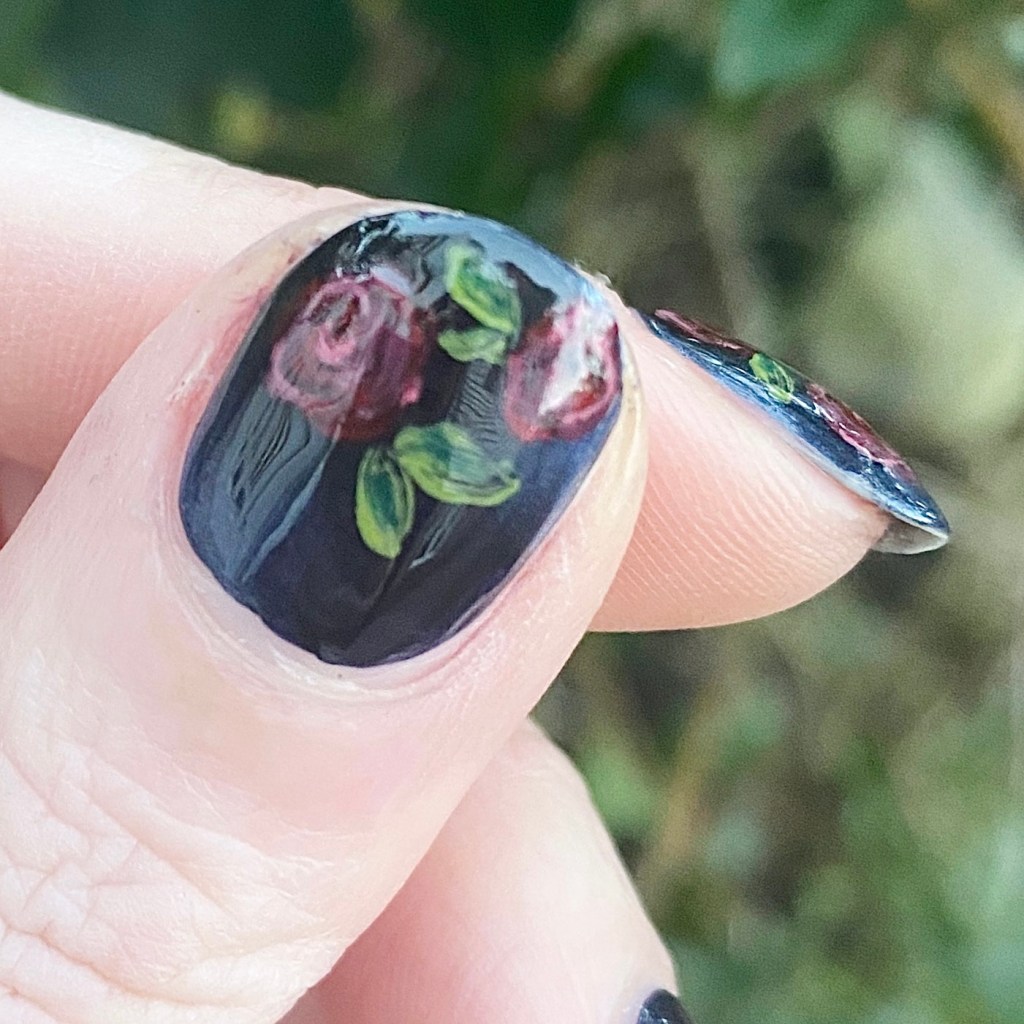
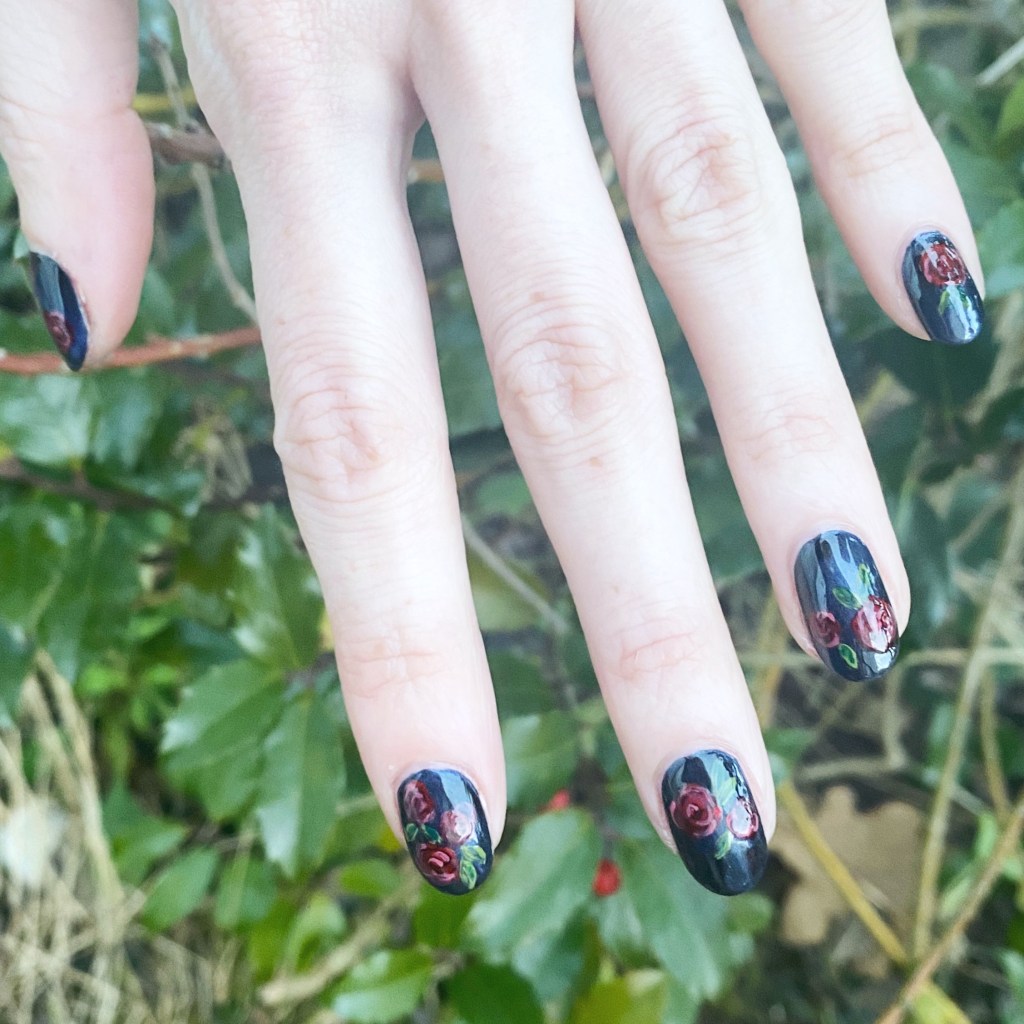
Today I’m sharing some dark & gloomy floral which I feel like are perfect for the darkest & gloomiest month. It’s been so long, too long, since I hand painted any roses on my nails & these turned out better than I could have hoped. With the dark base, I feel like they have a bit of a gothic feel to them as well.

The polishes I used for this manicure are: 

  • Base Coat: China Glaze Calcium Gel Fortifer
  • Top Coat: Essie Speed Setter
  • Essie Snake It Up + Starrily Magnet
  • Sally Hansen Miracle Gel Can’t Beet Royalty
  • Sally Hansen MG Good Cheer-y
  • Sally Hansen Complete Salon Manicure Society Ruler
  • Sally Hansen CSM Berry Fancy
  • Sally Hansen Good. Kind. Pure. Eco-Rose
  • Essie Willow in the Wind
  • Essie Off Tropic
  • NailStuff.ca Dotting Tool Trio
  • Nailstuff.ca Mermaid Tail 7mm liner brush

I used a lot of red polishes to achieve these roses, but I think they turned out so beautiful. These are probably my favourites florals to paint; I love how beautiful they look on the nail.

Also I’ve never actually used this Essie magnetic shade before, but I tried it with my Starrily magnet & it worked really well. My bottle was purchased at Dollarama & did not have the snake skin magnet with it—probably the reason I’ve never used it— so I was happy to have something to use with it! & I love it, even if it didn’t show up well in these photos.

What do you think about these fun floral nails? Are you getting dark & gloomy from them? Let me know all your thoughts down in the comments below!

🖤