Gradient Psychedelic Pattern Nails

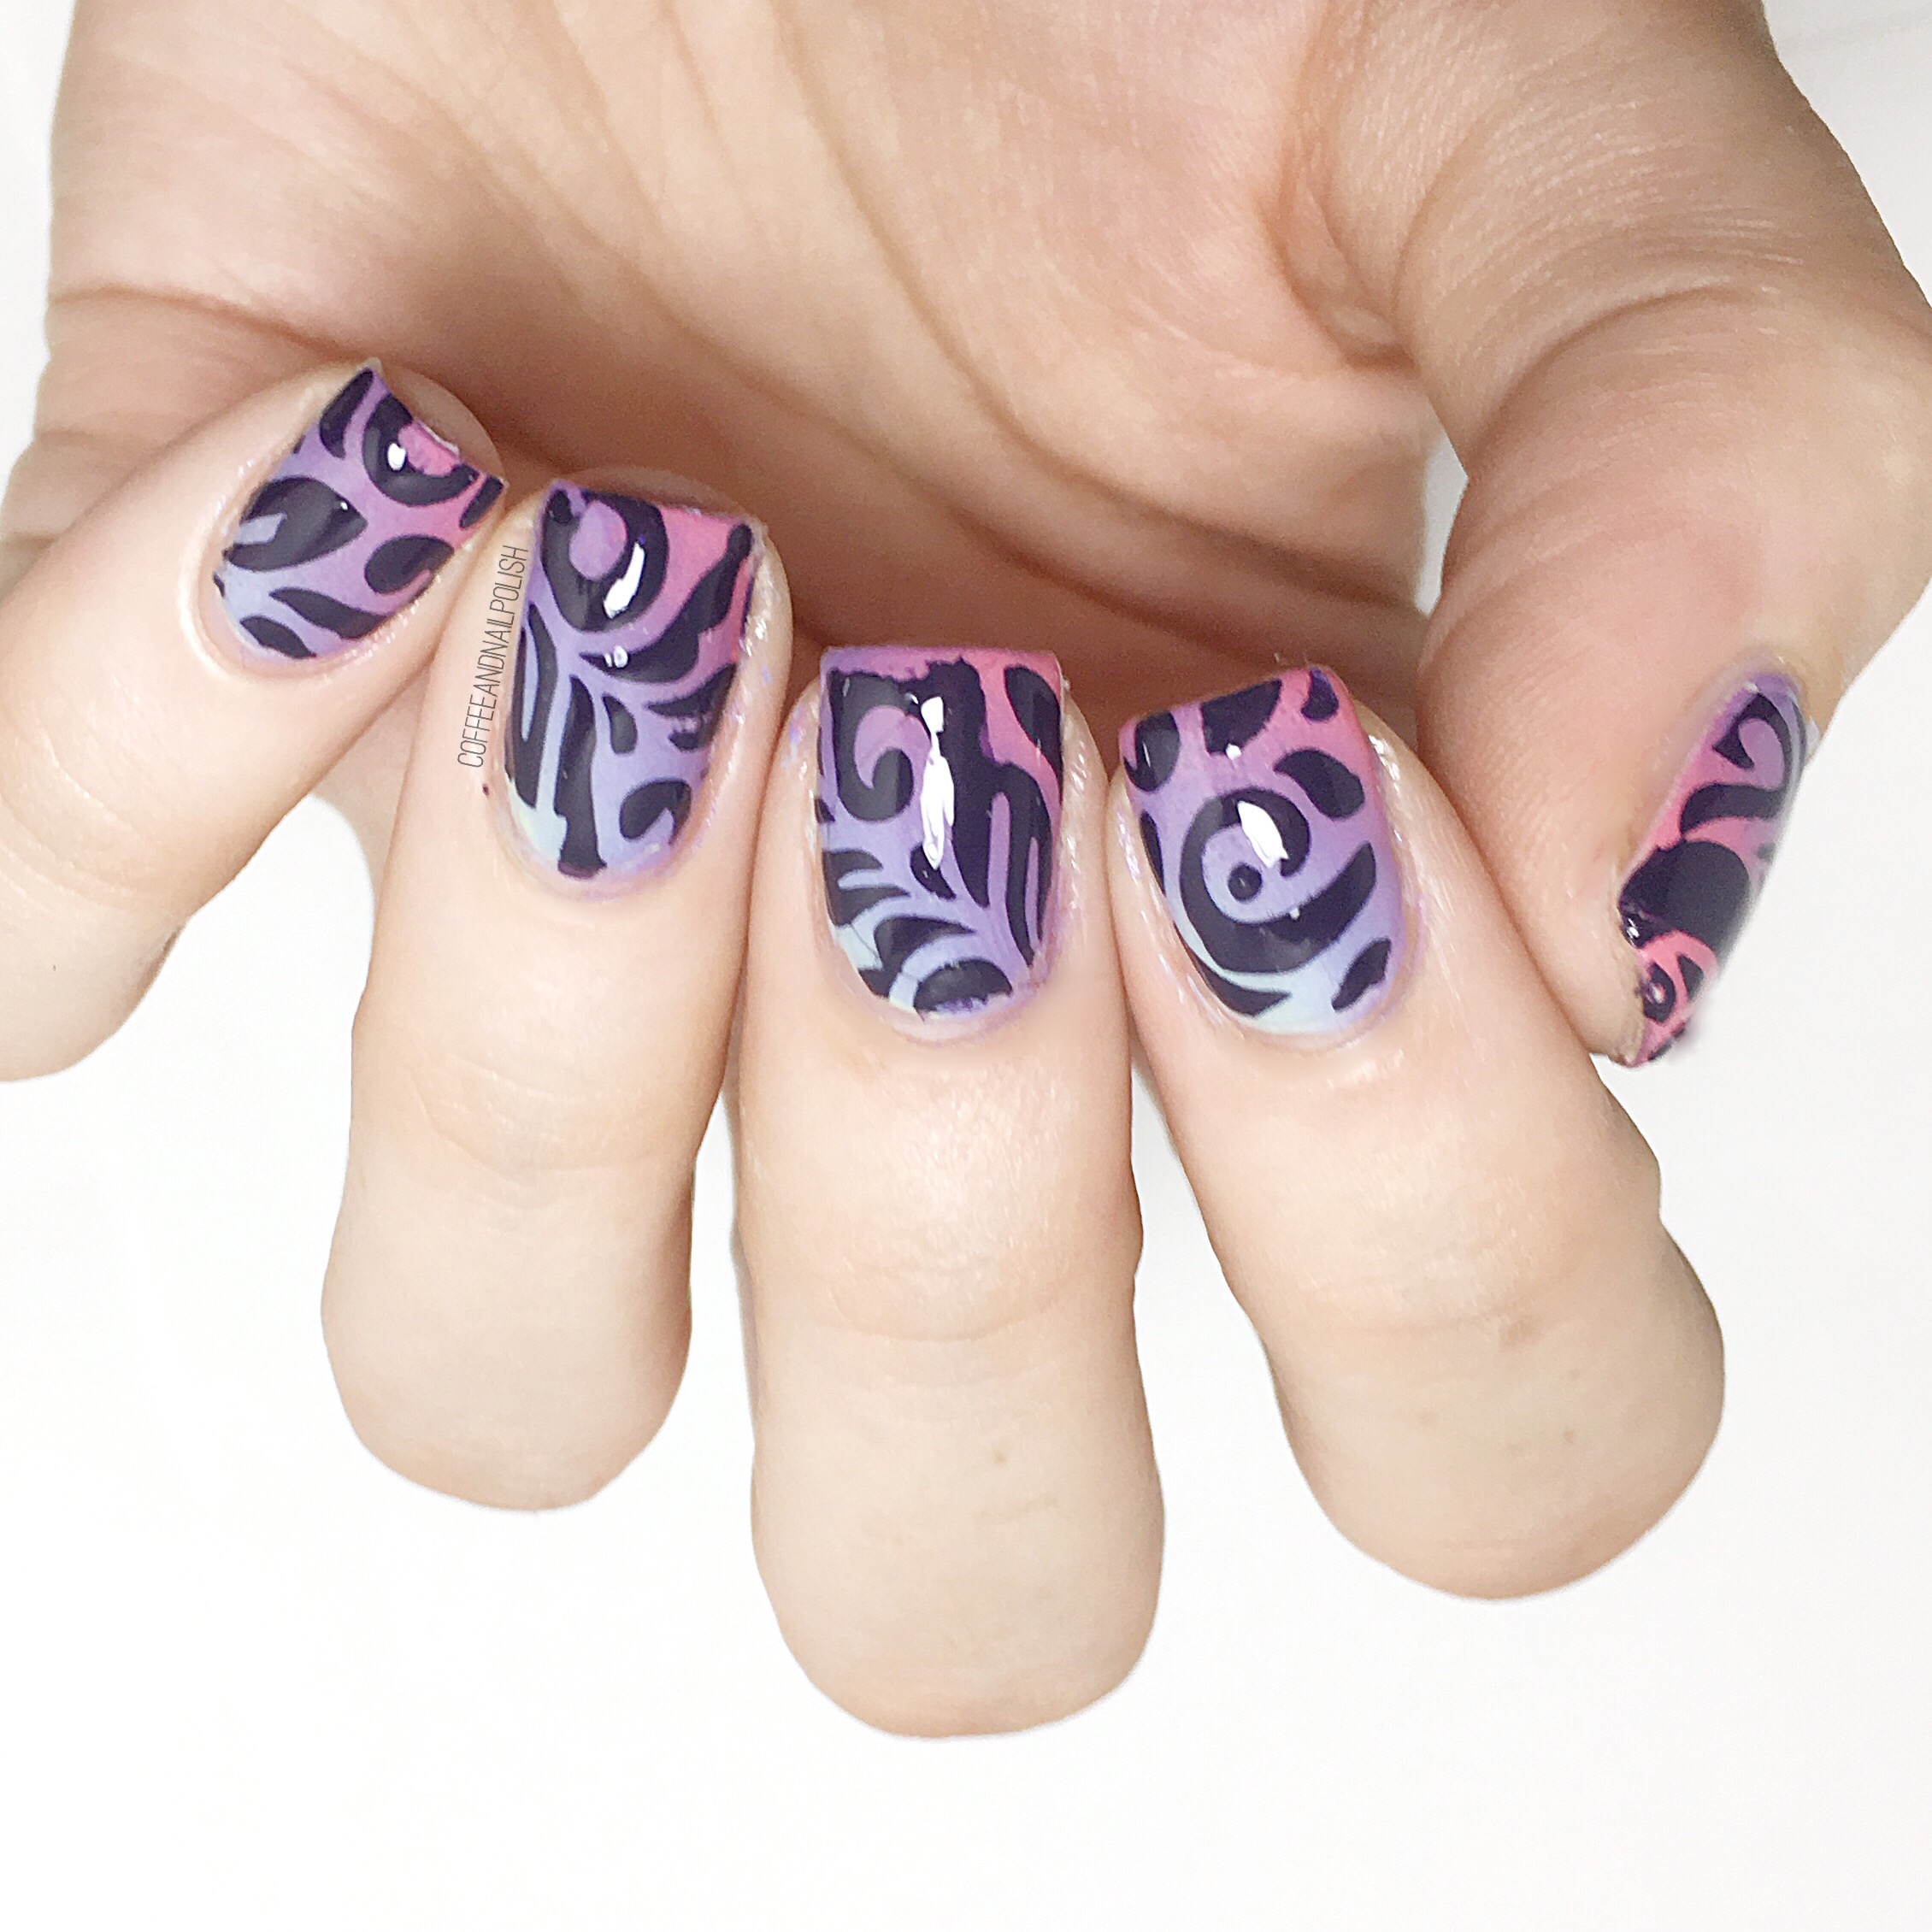
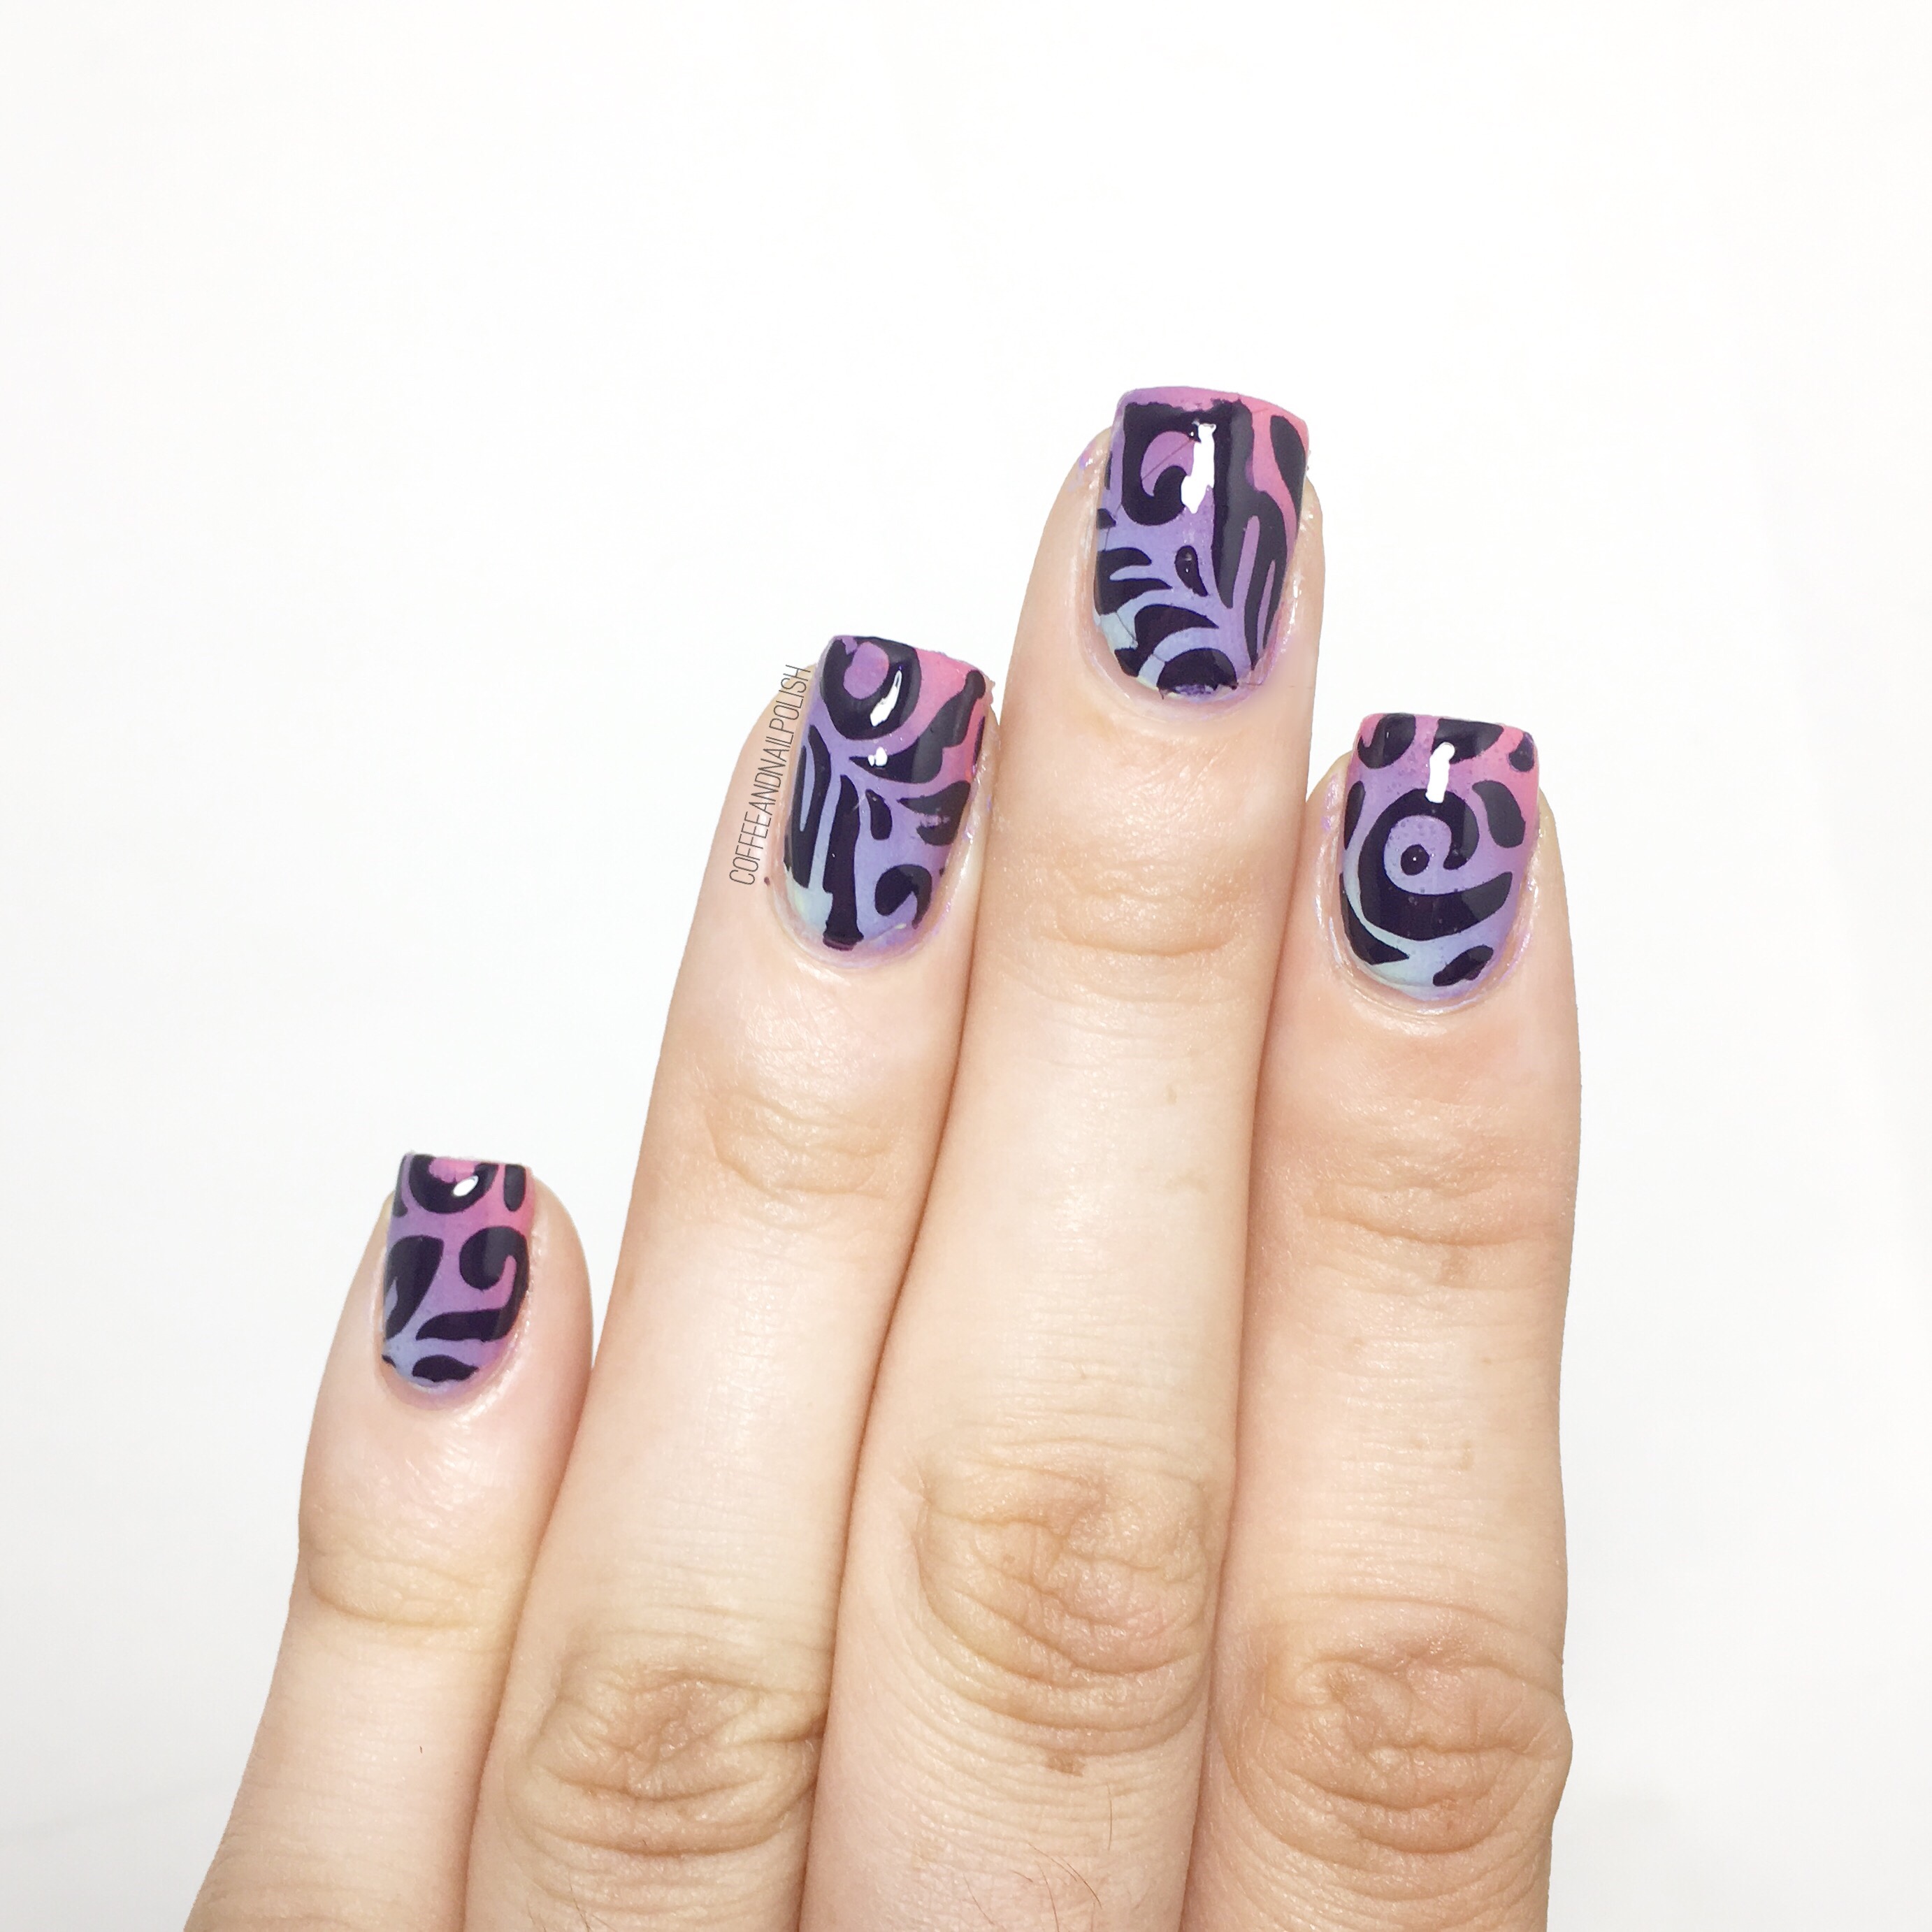
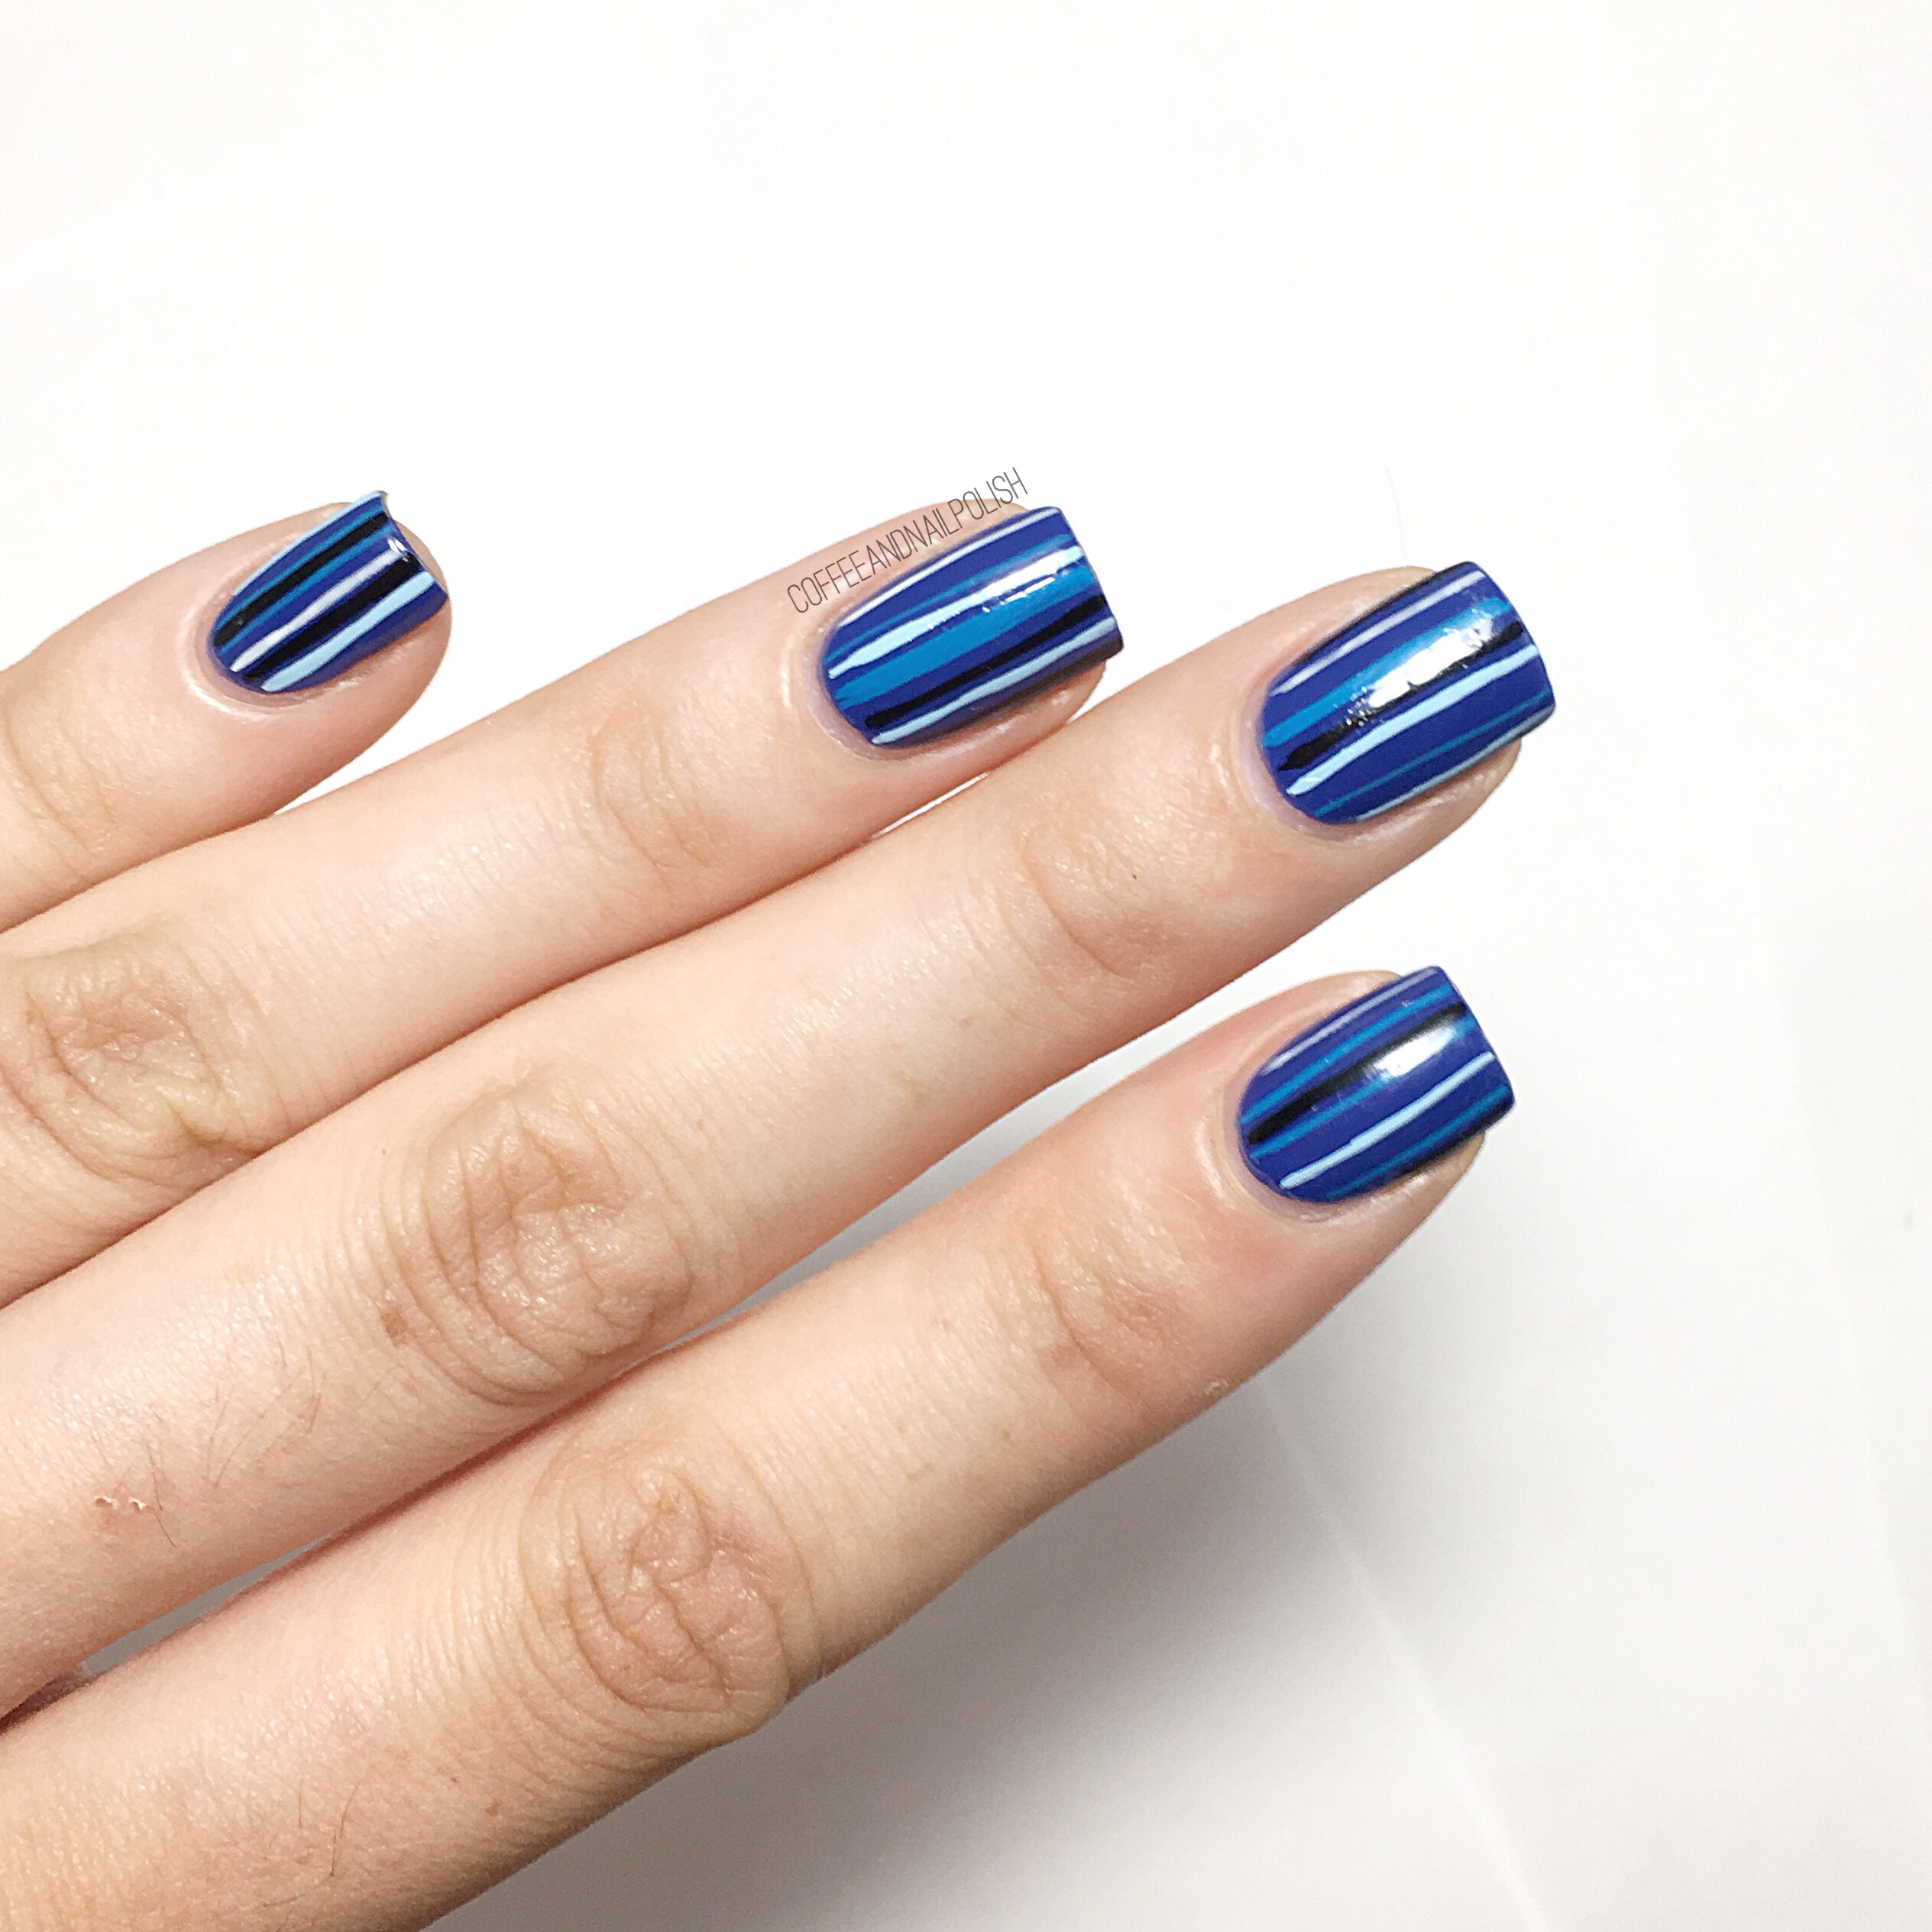
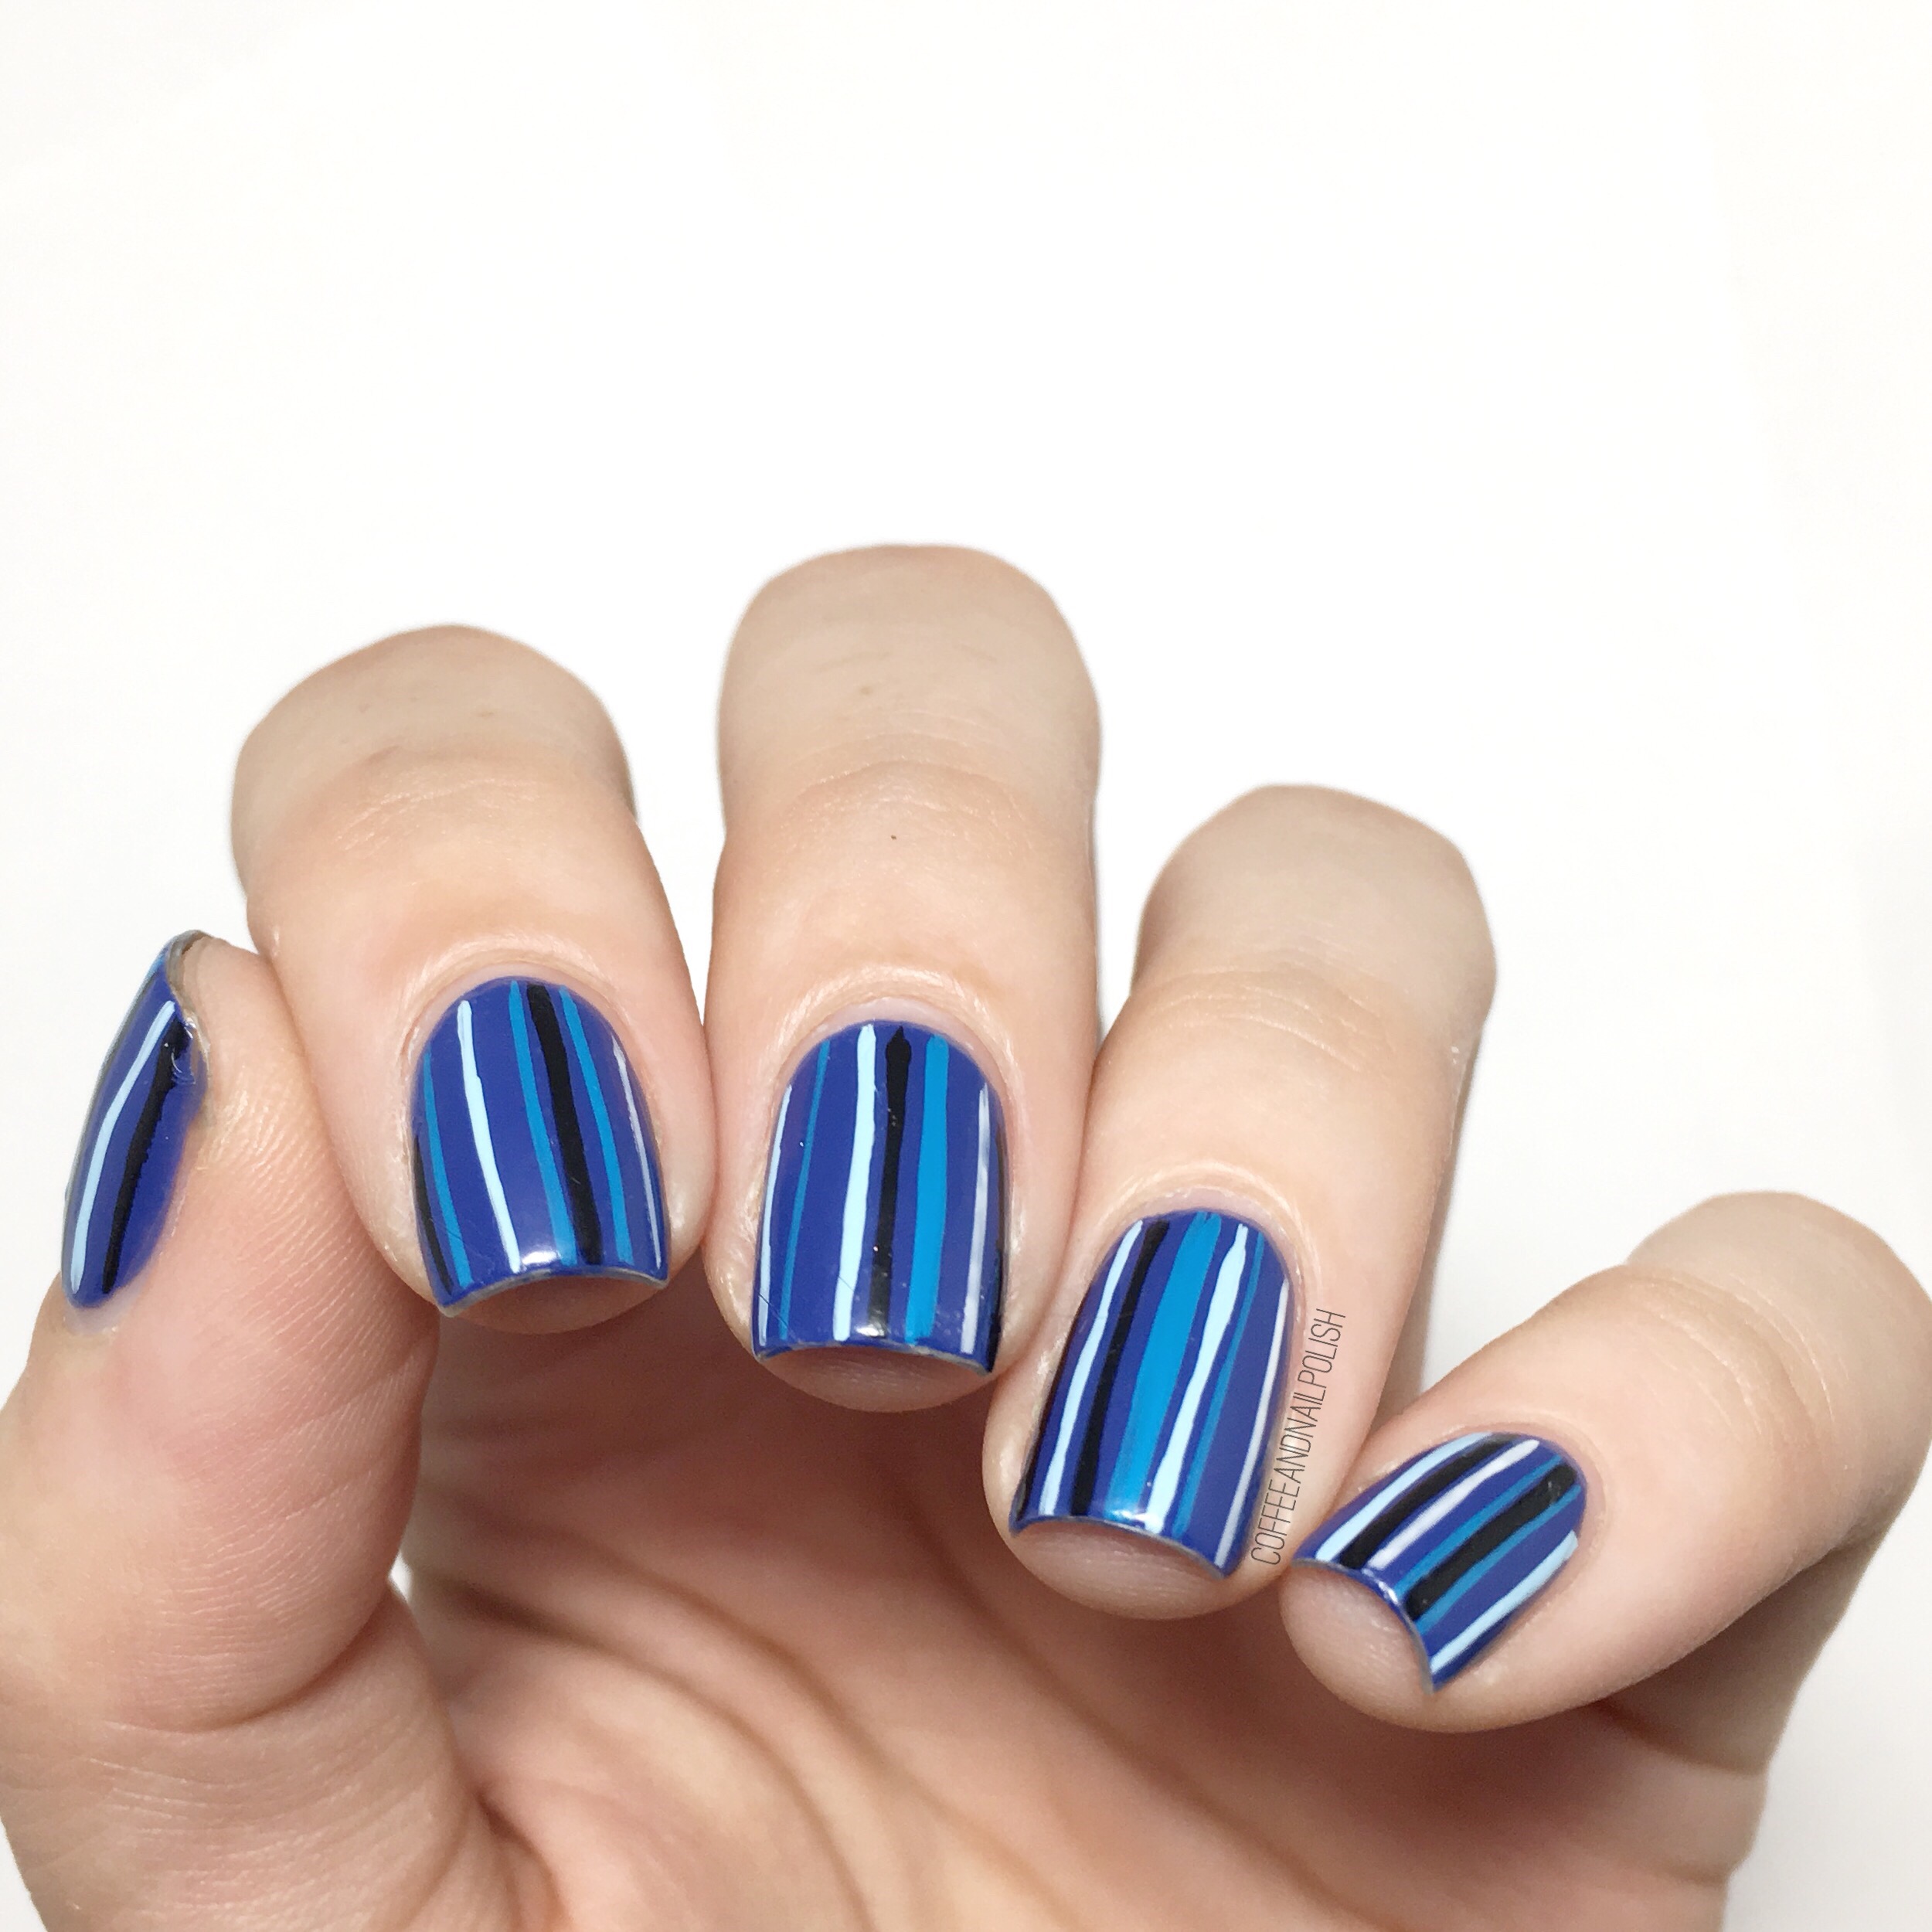
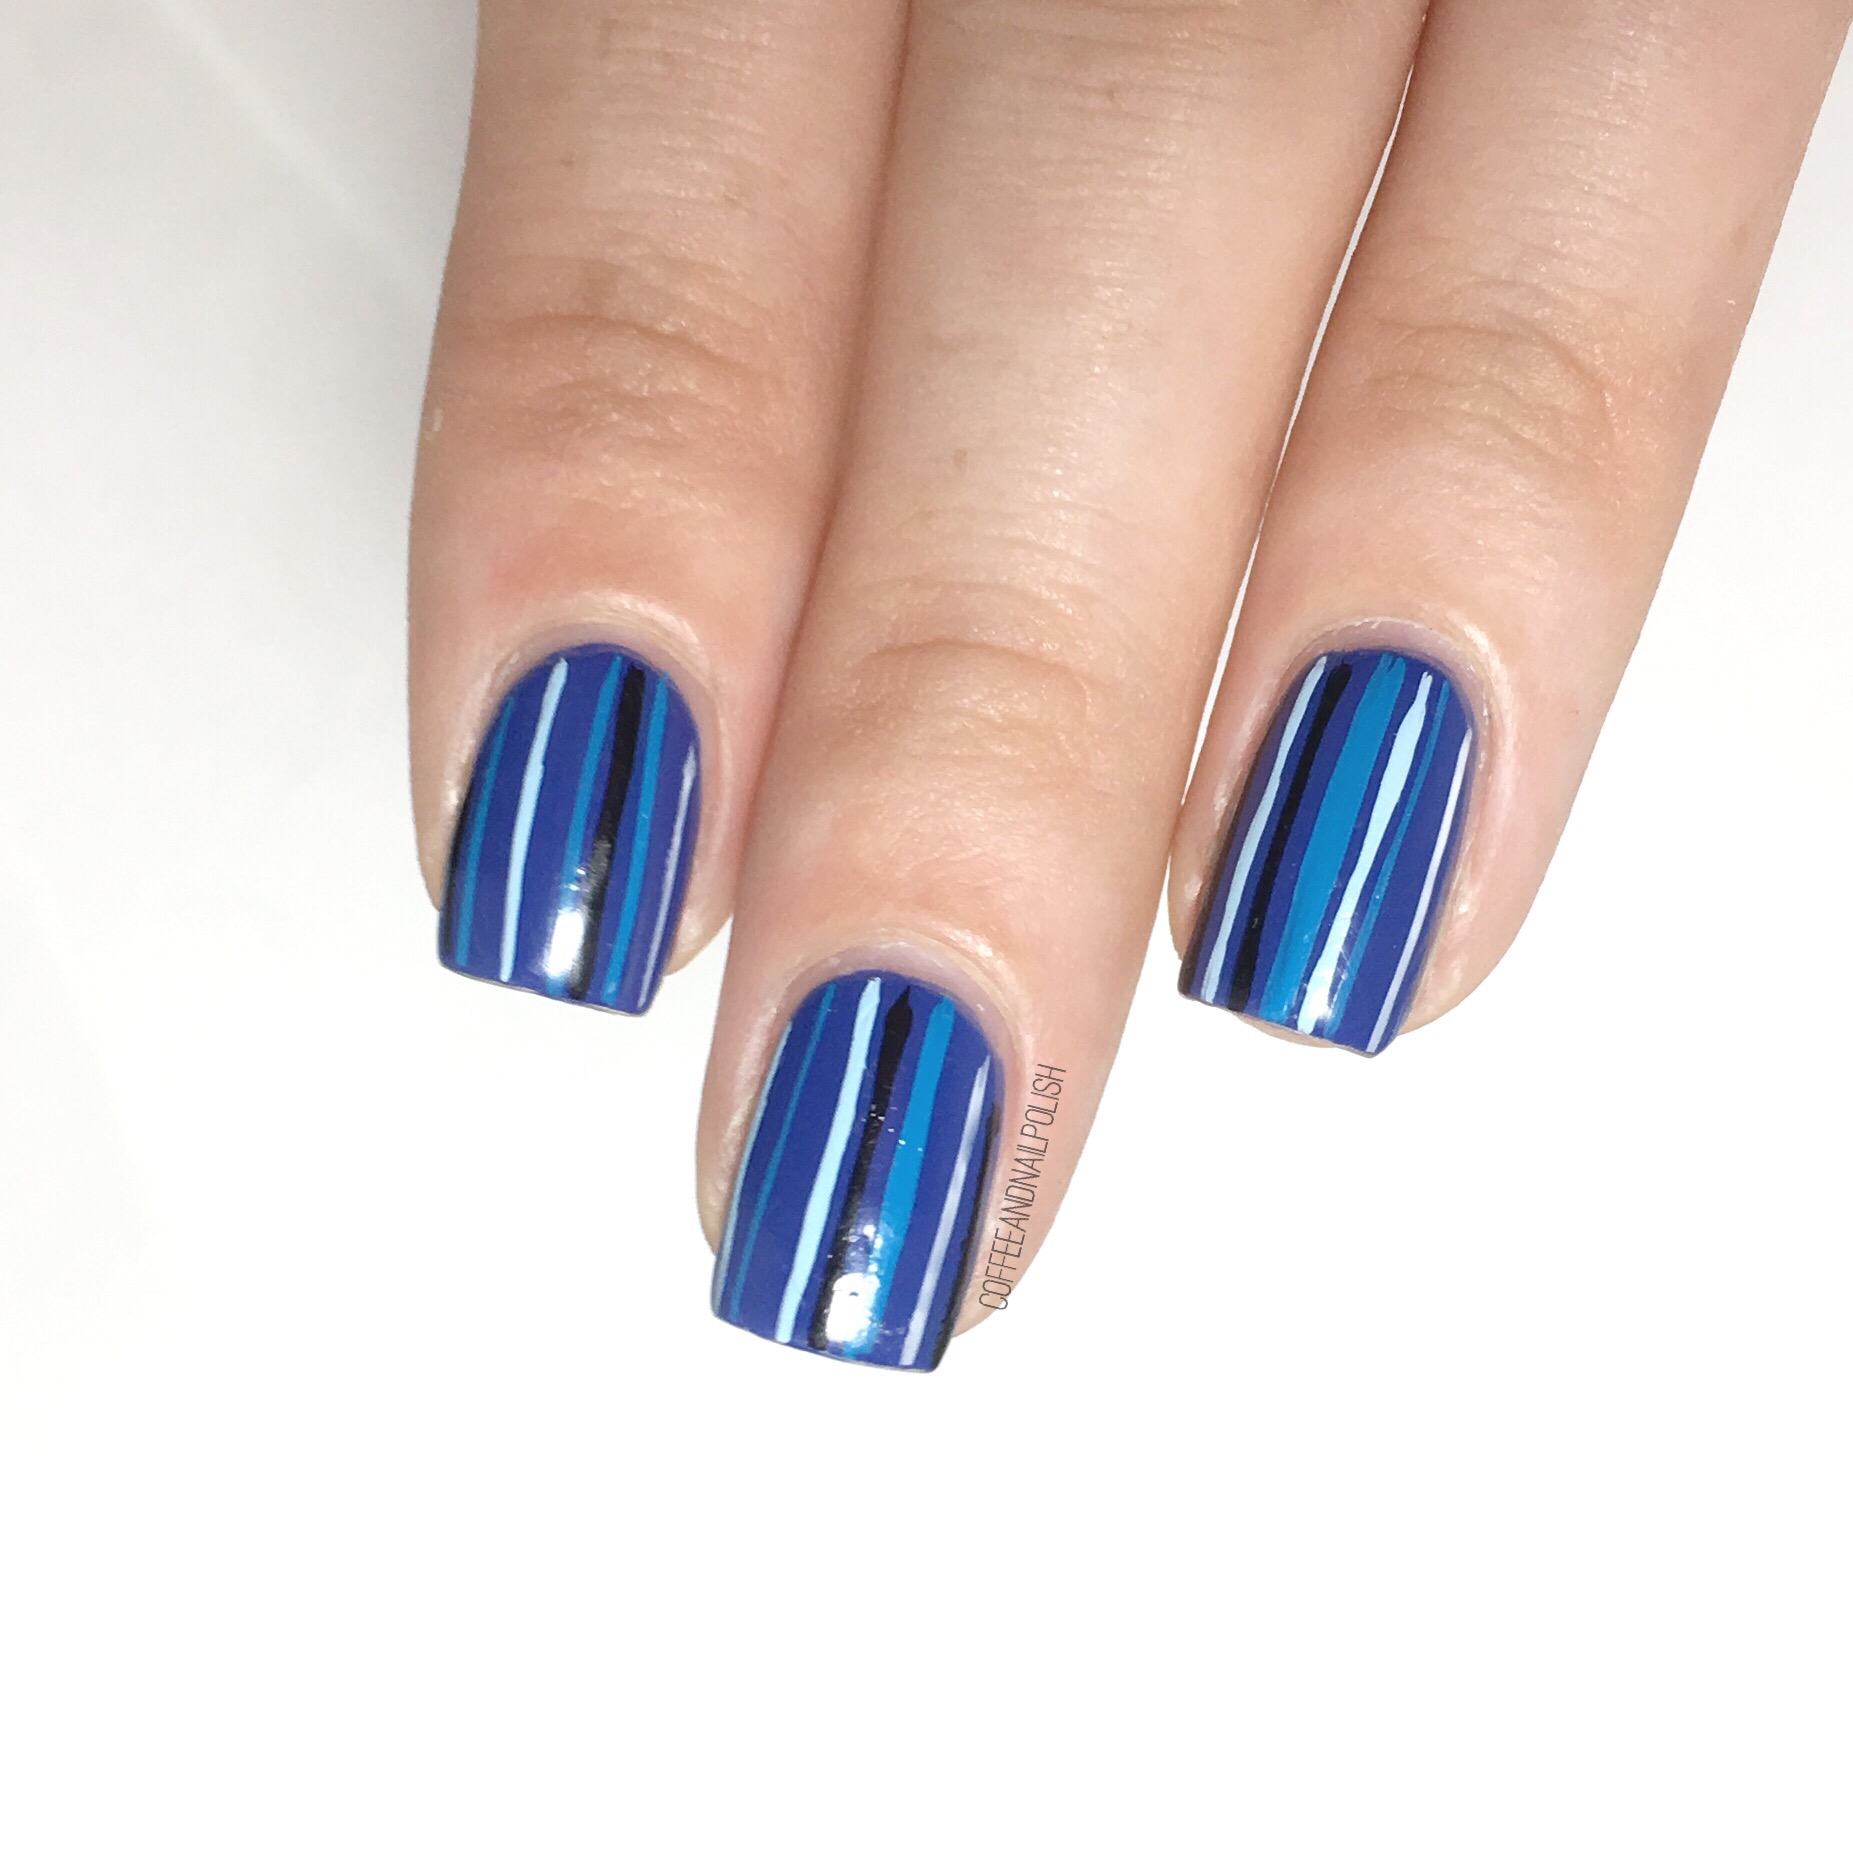
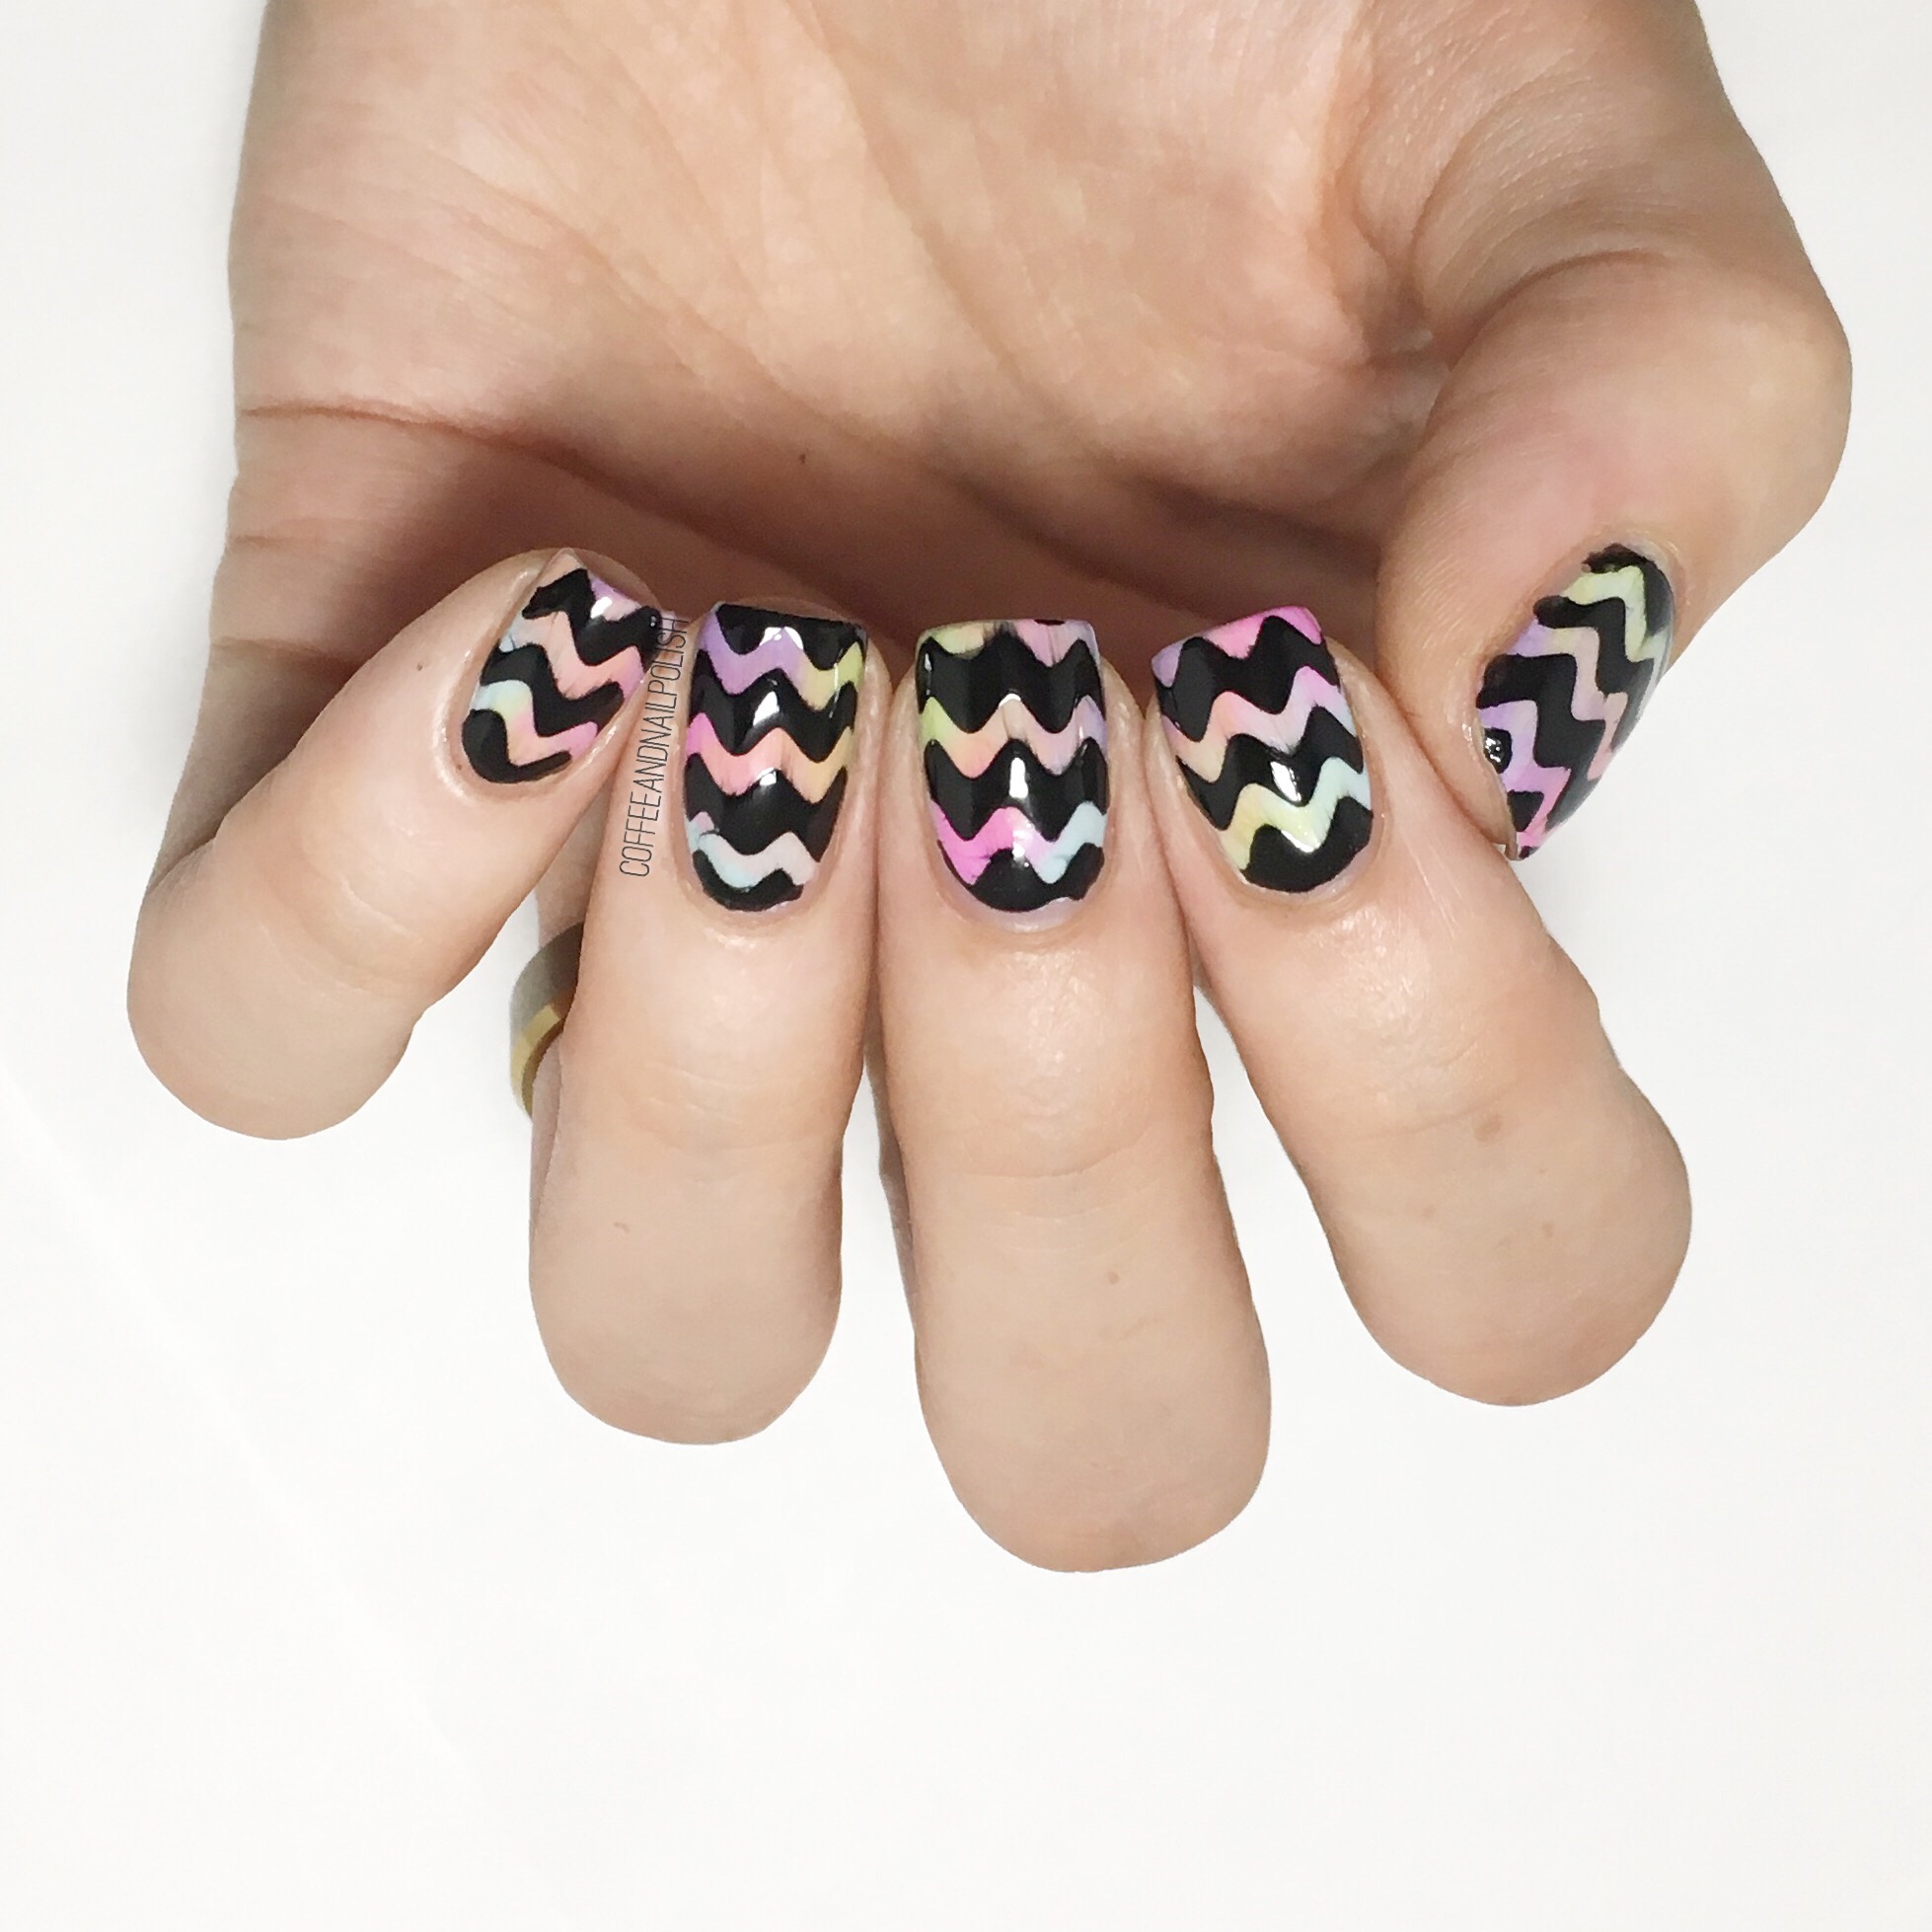
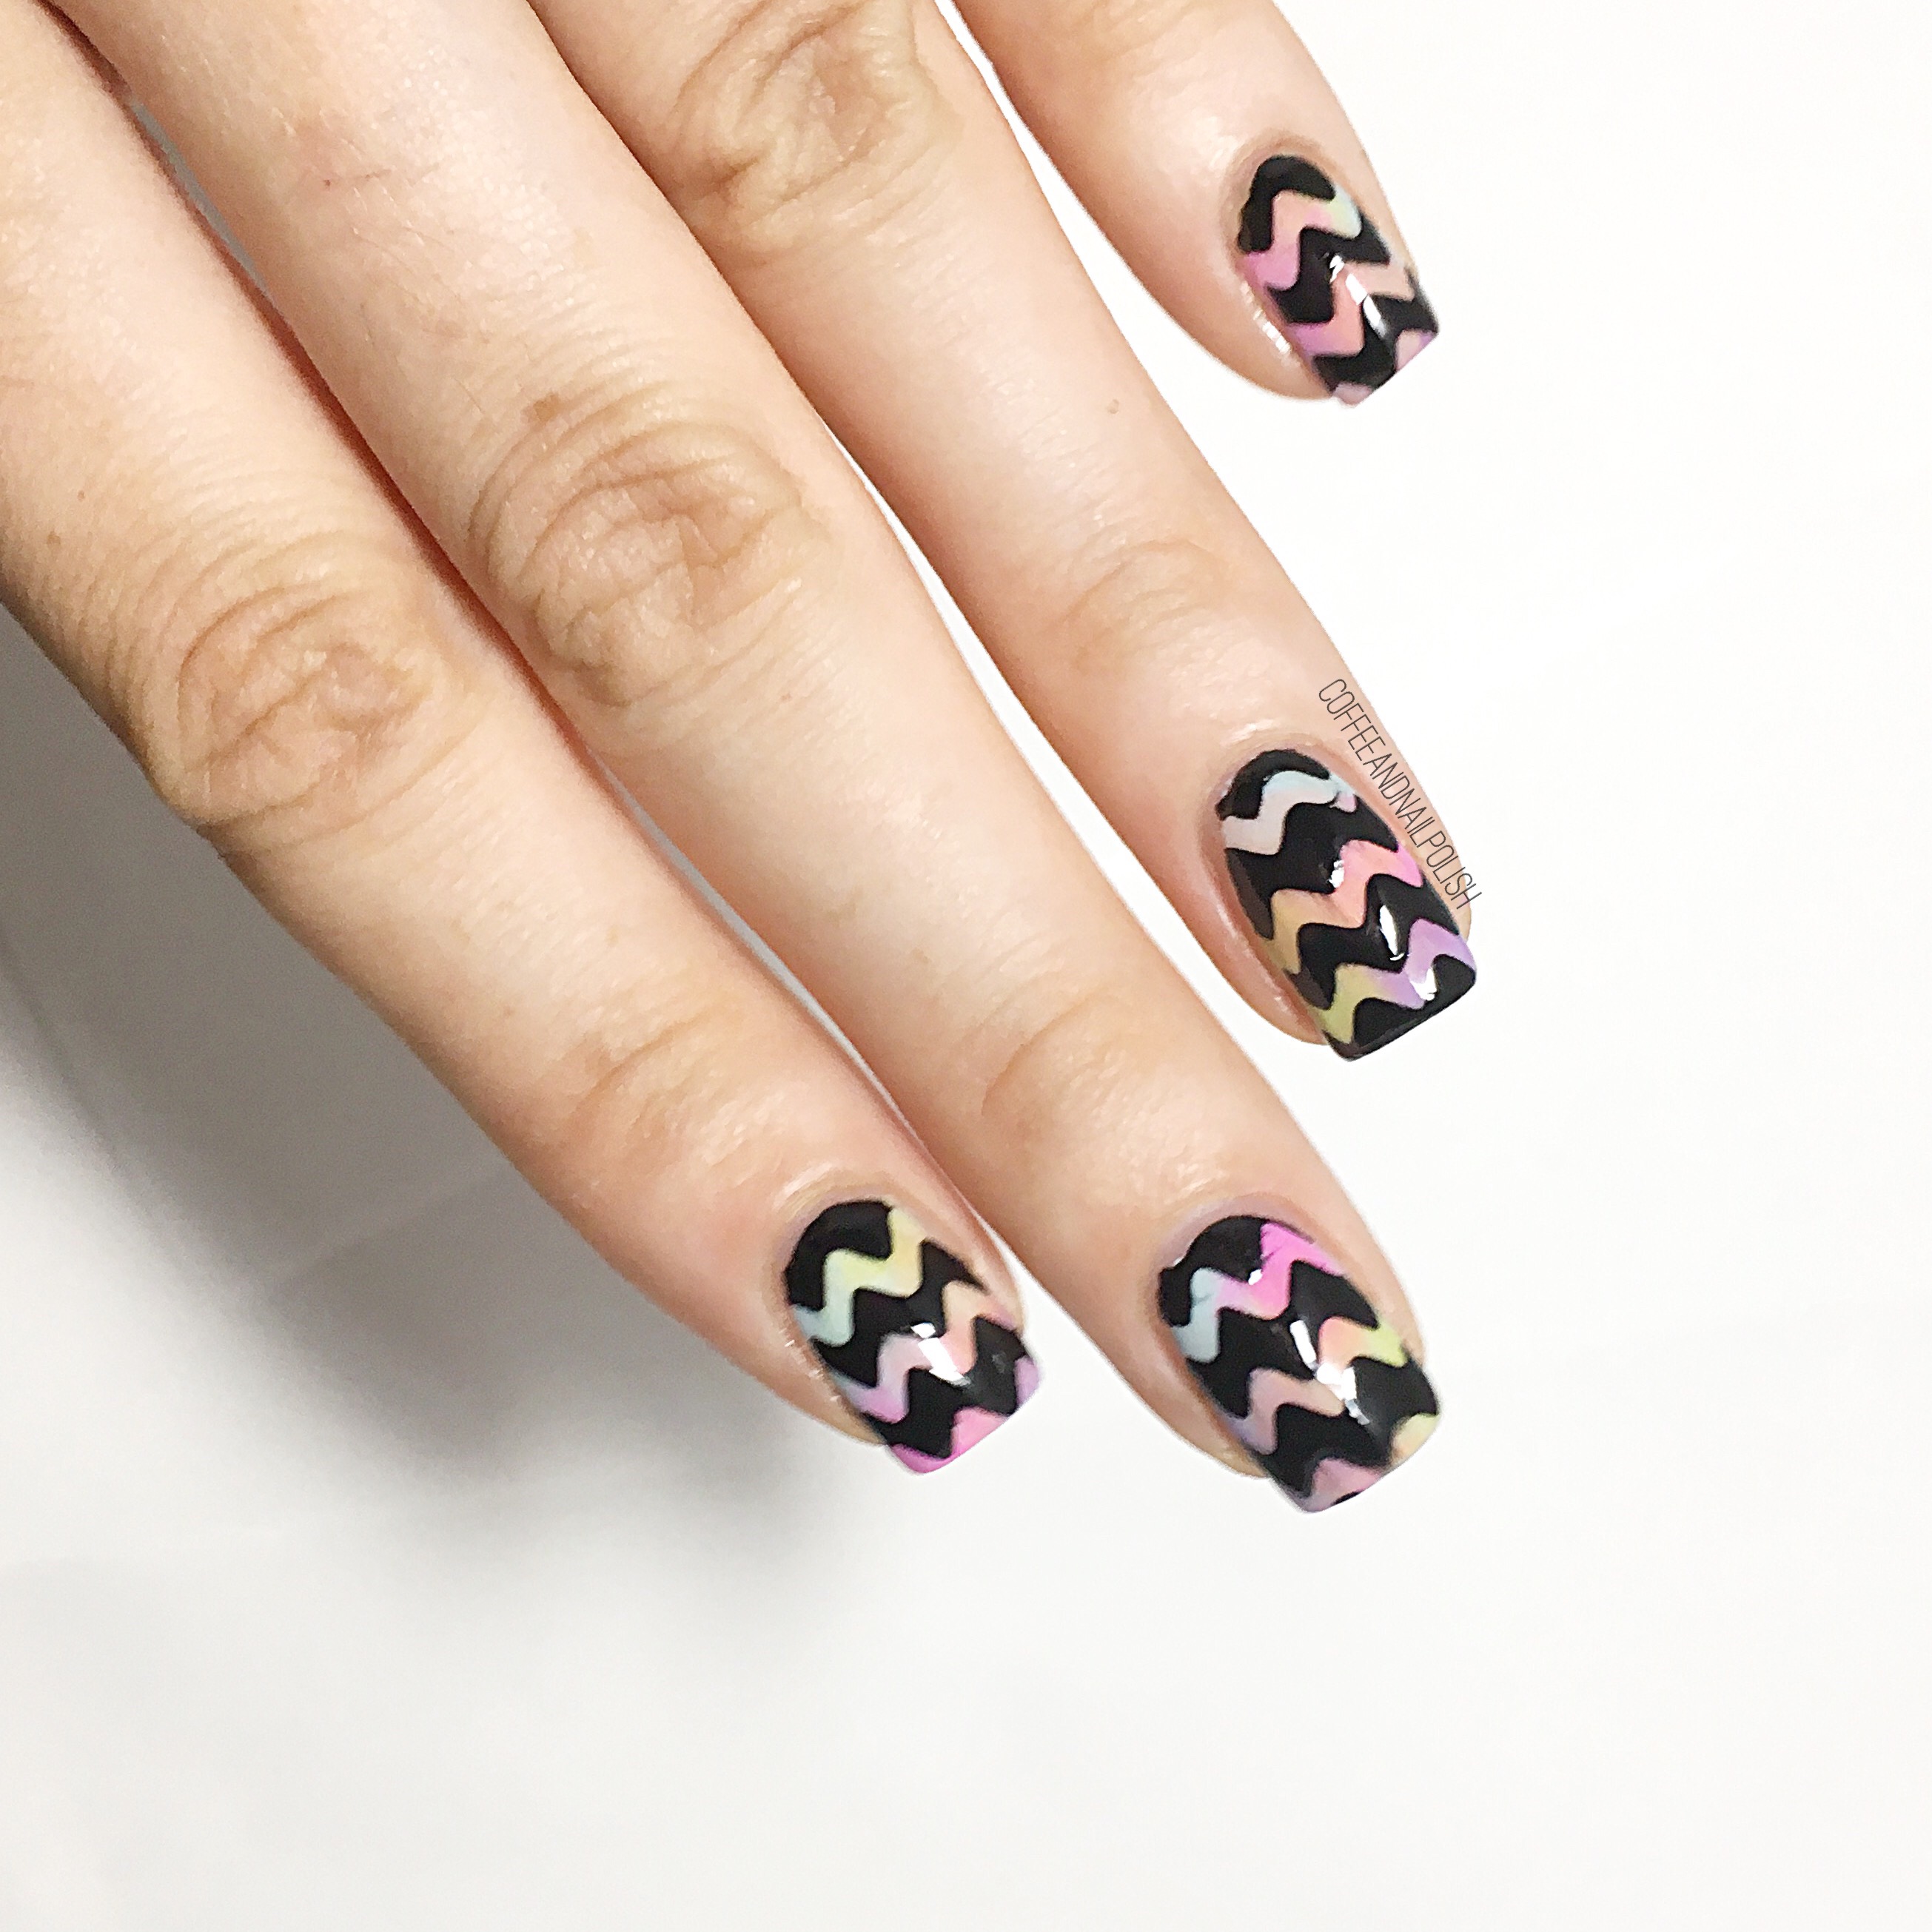
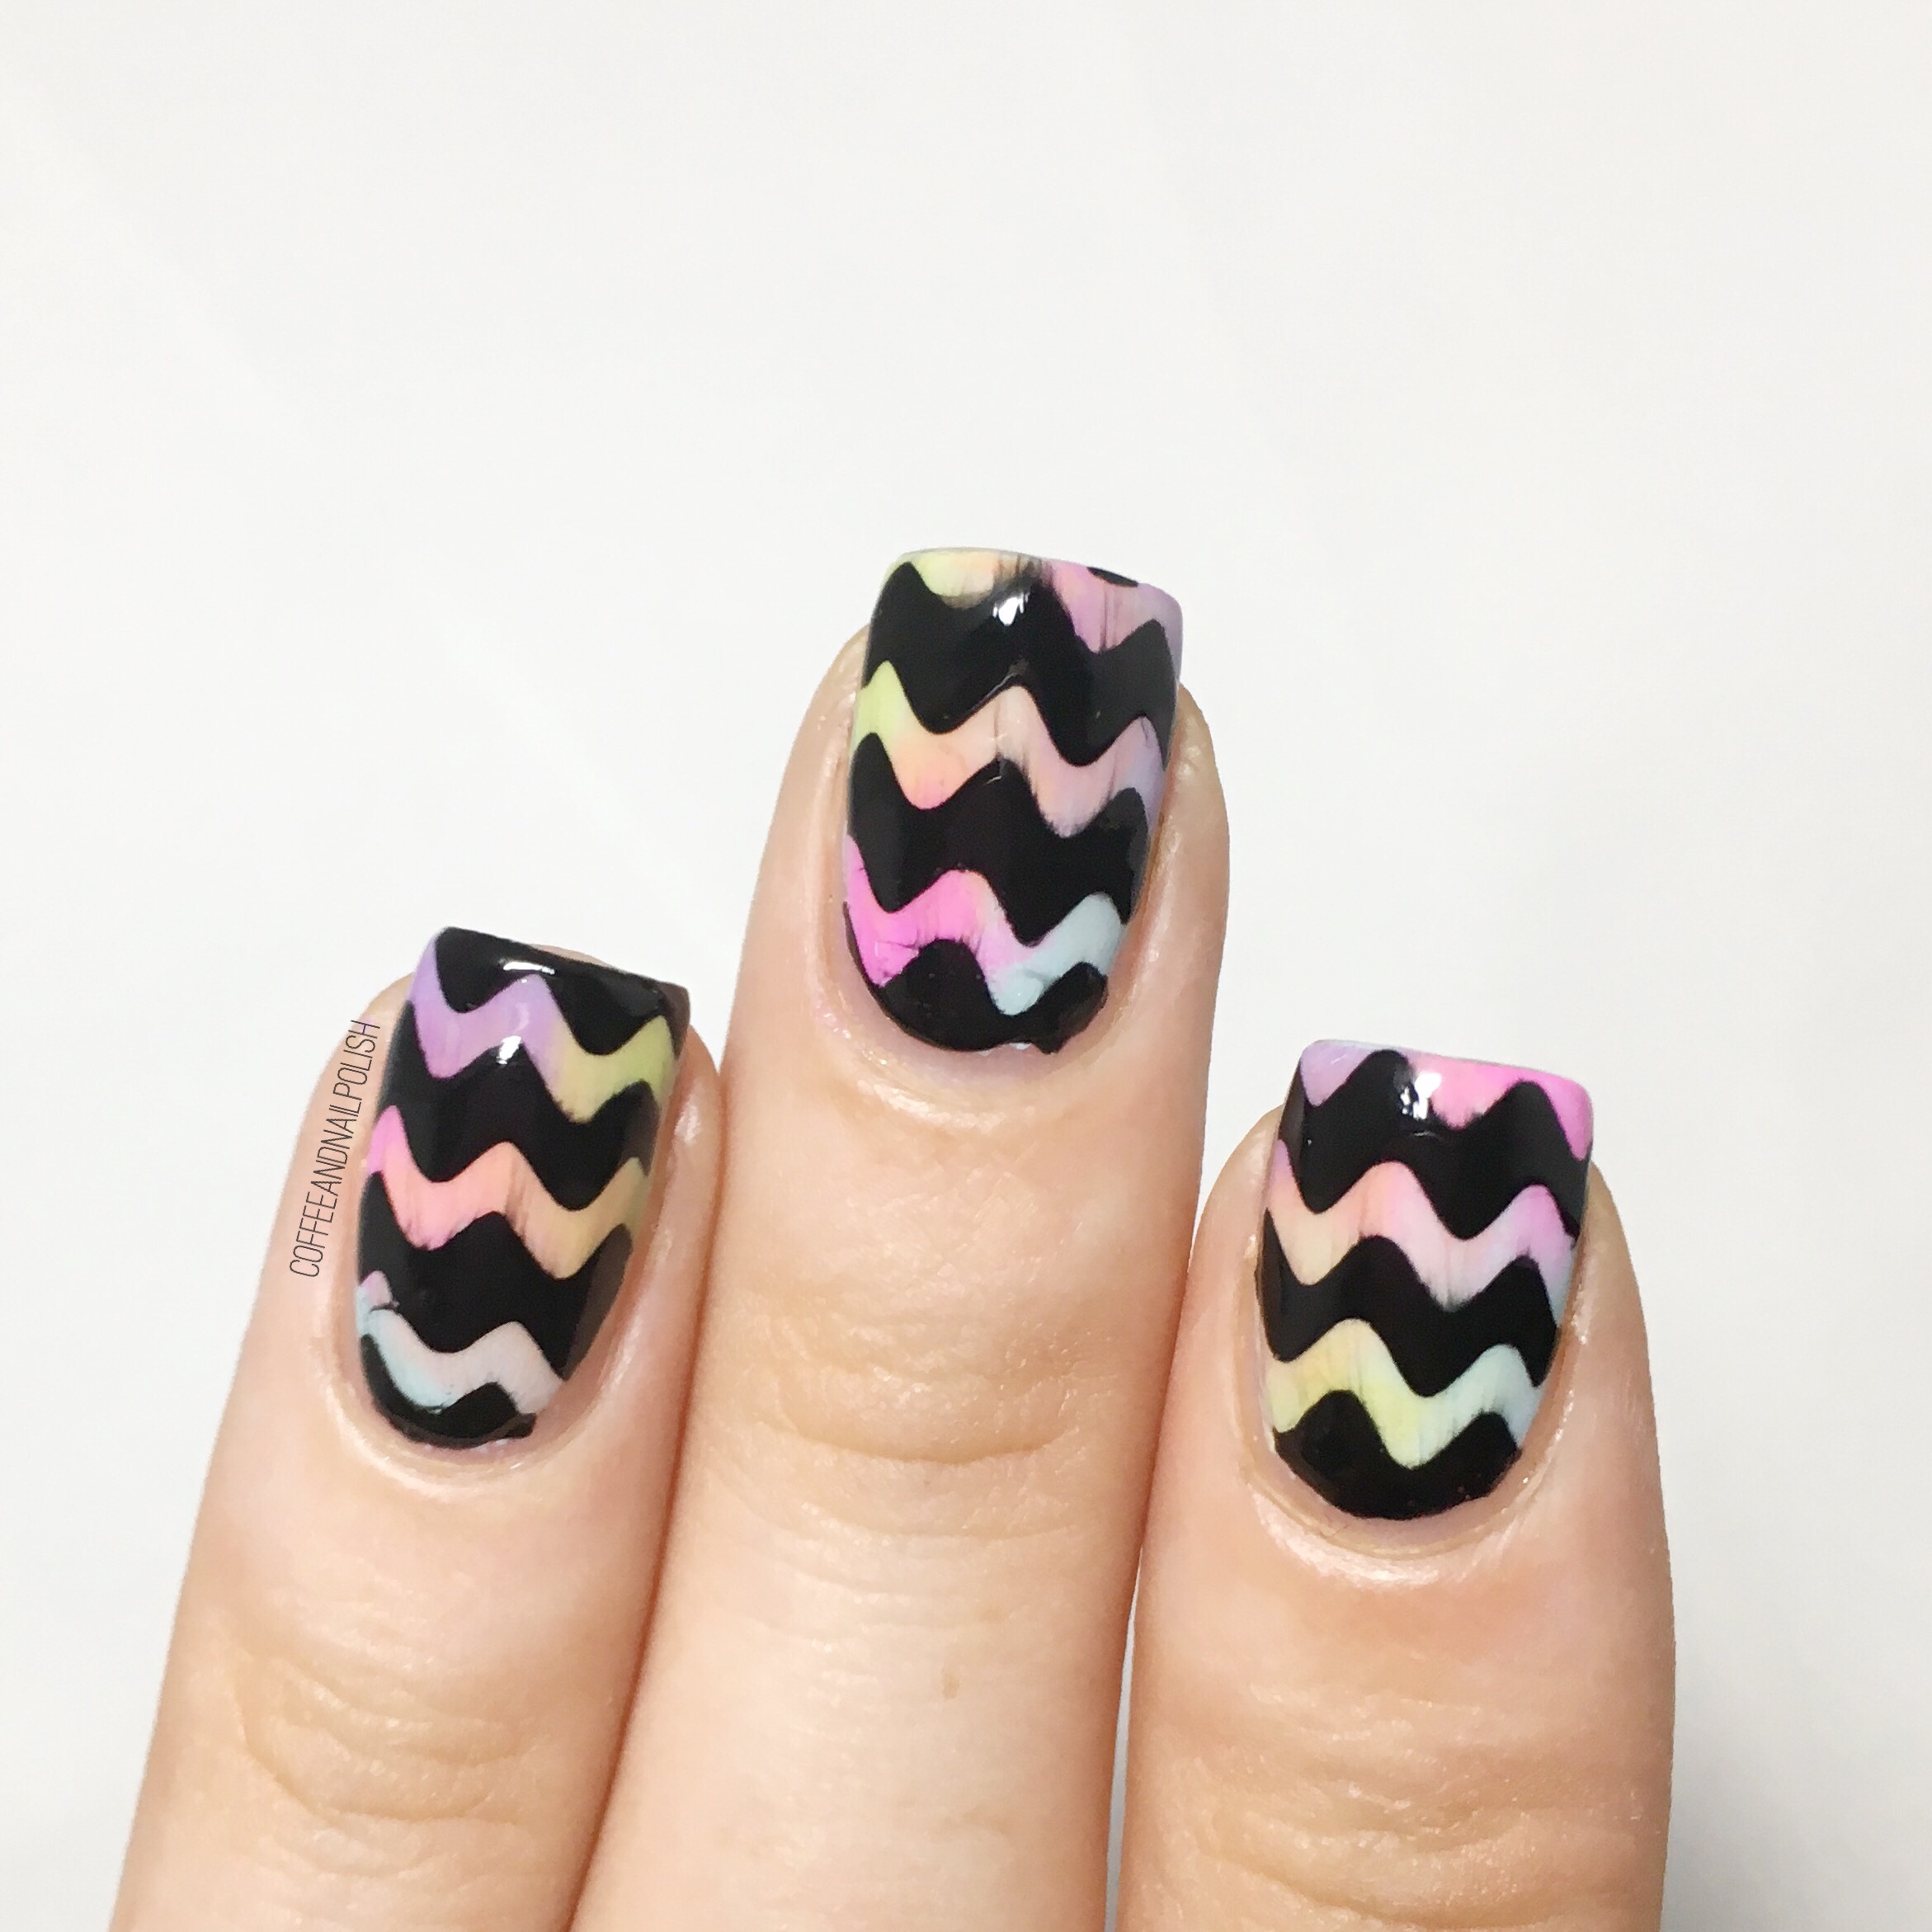
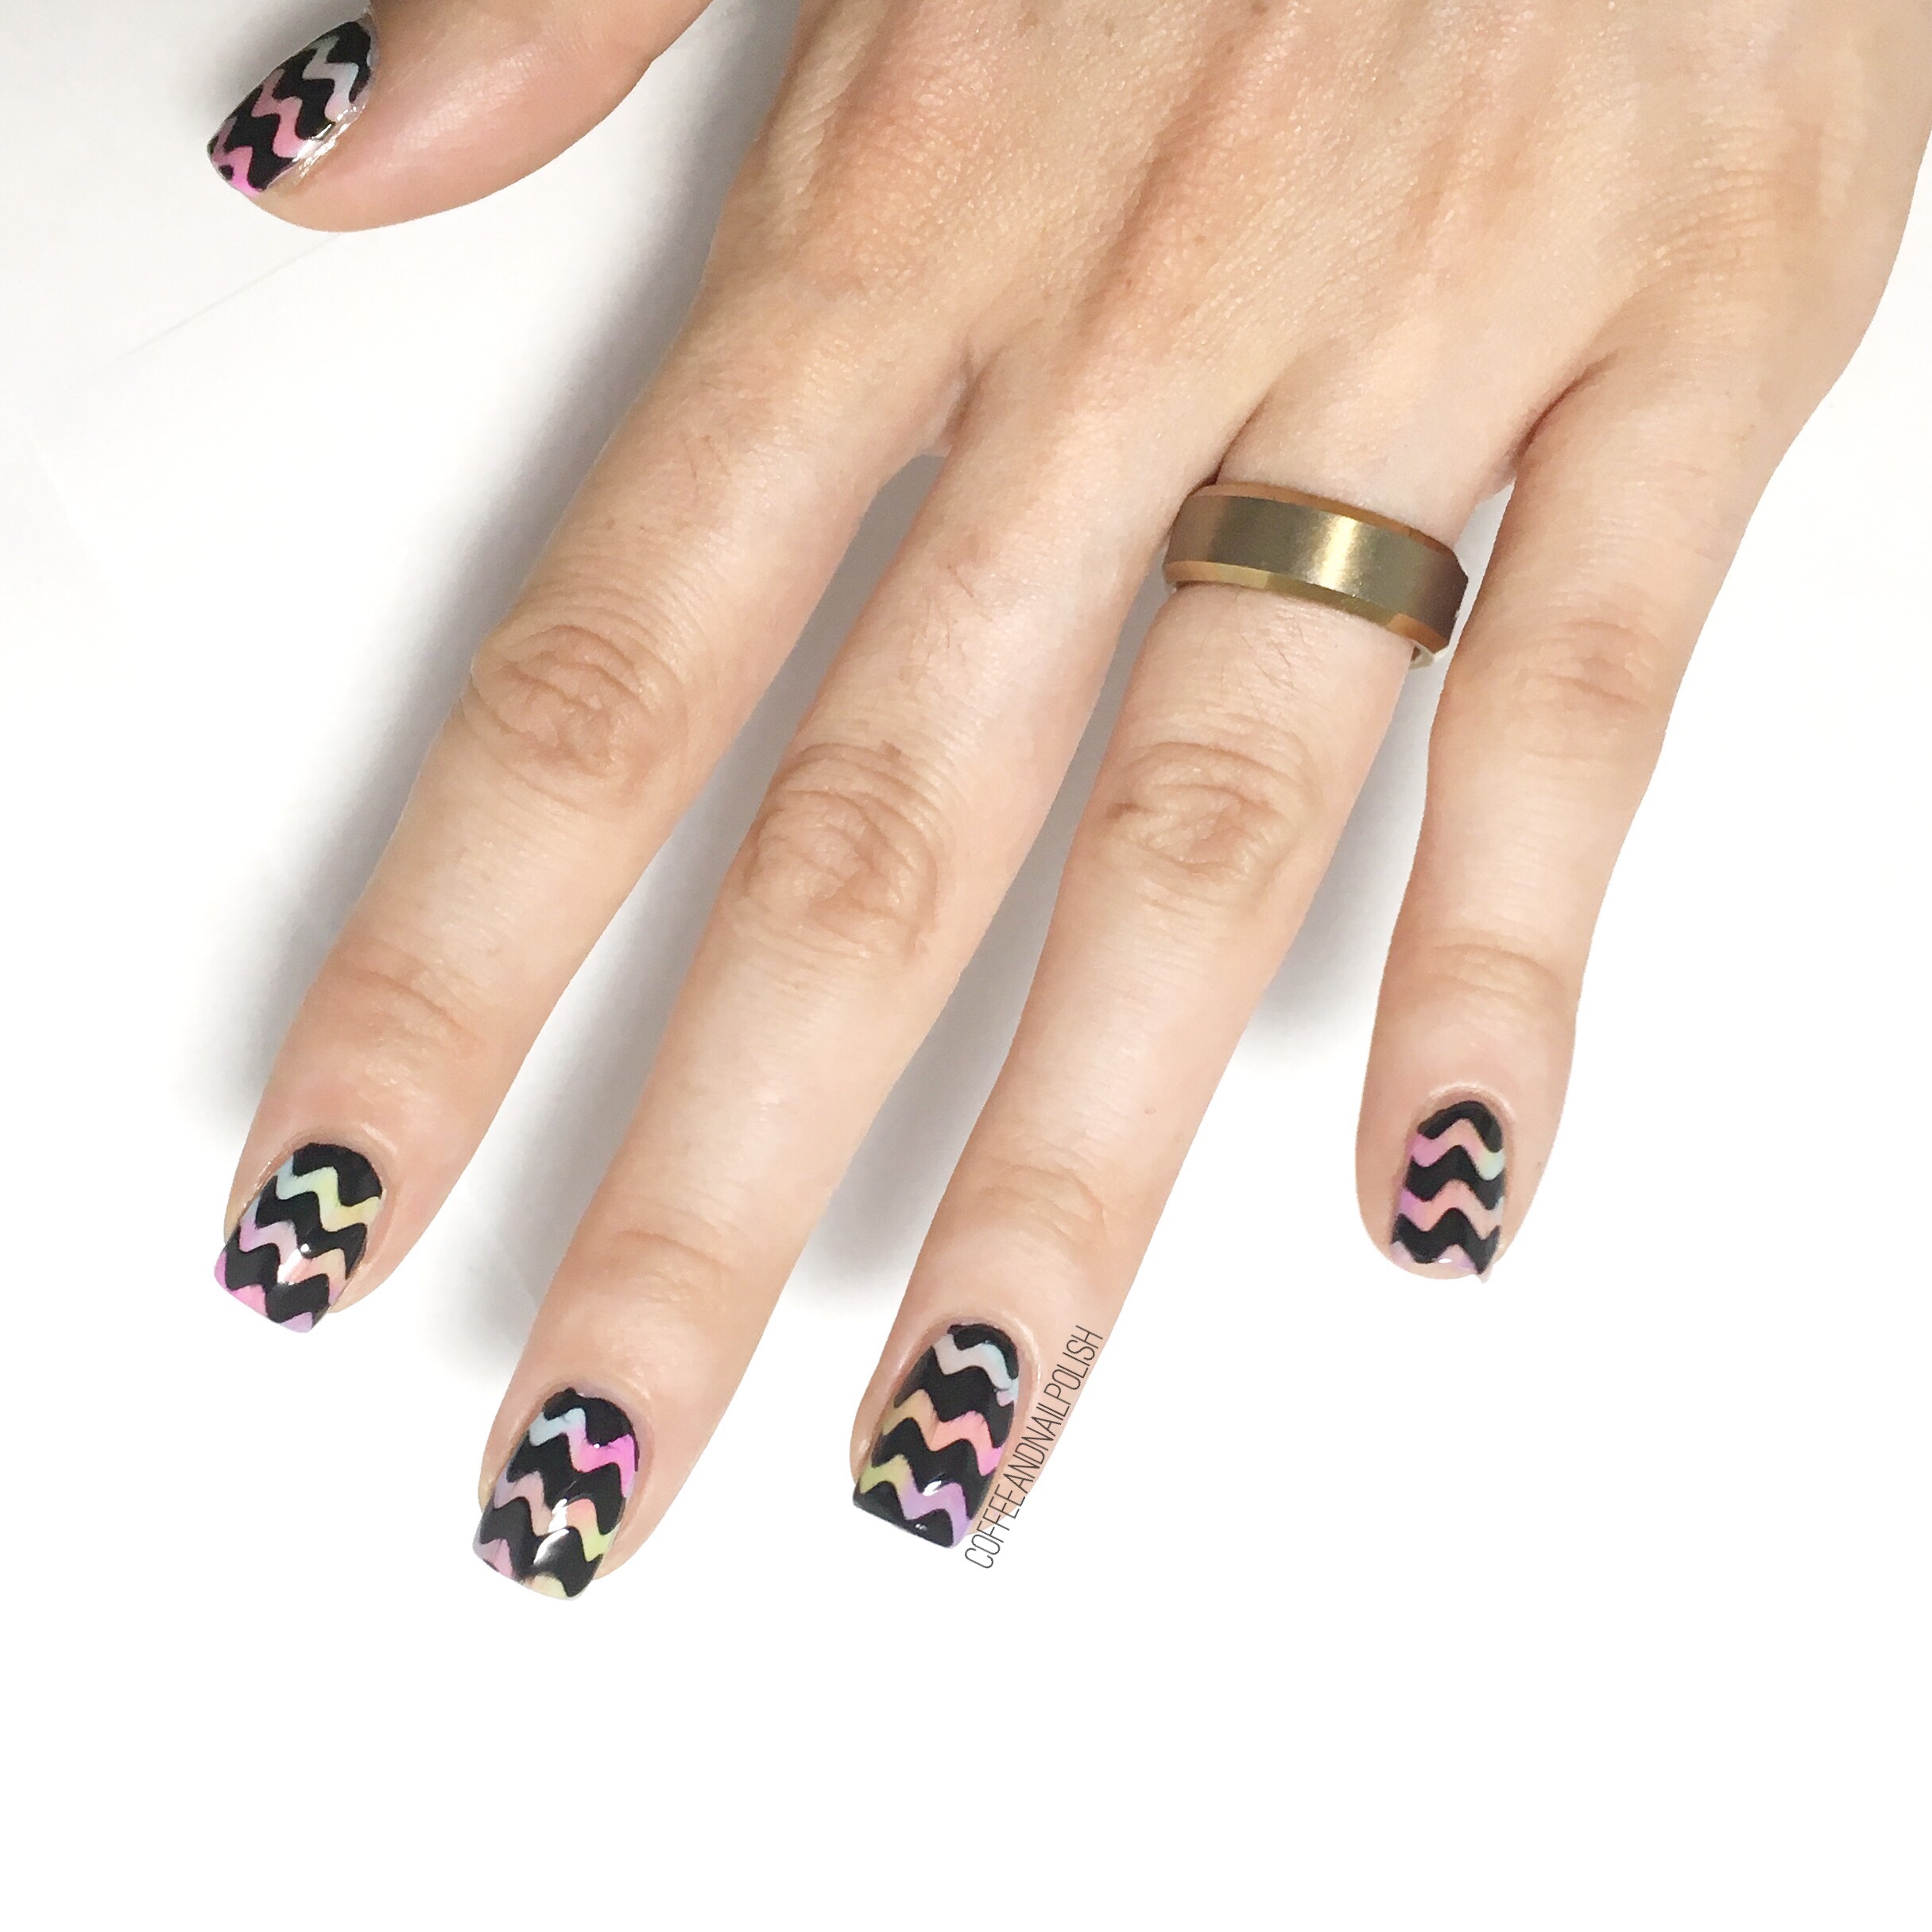
Am I the only one who does their nails & immediately dubs them “my new favourite nails”? I do it a lot, but in my defence most manicures I do are my favourite. Maybe it’s in part to the fact my nail art skills used to consist of occasionally being able to create semi-straight dots. Either way, these sideways gradient nails featuring the psychedelic pattern vinyls from Xroma Polish & Nails are definitely my new favourite! I don’t think I’ve ever created a gradient so flawless. 

For this manicure, I used: 

  • Base Coat: L’Oréal All In One
  • Top Coat: Essie Gel Setter
  • Hard Candy Sky
  • Nicole by OPI Love Son
  • Deborah Lippmann Groove Is In the Heat
  • Essie Under the Twilight
  • Latex Free Make Up Sponge 
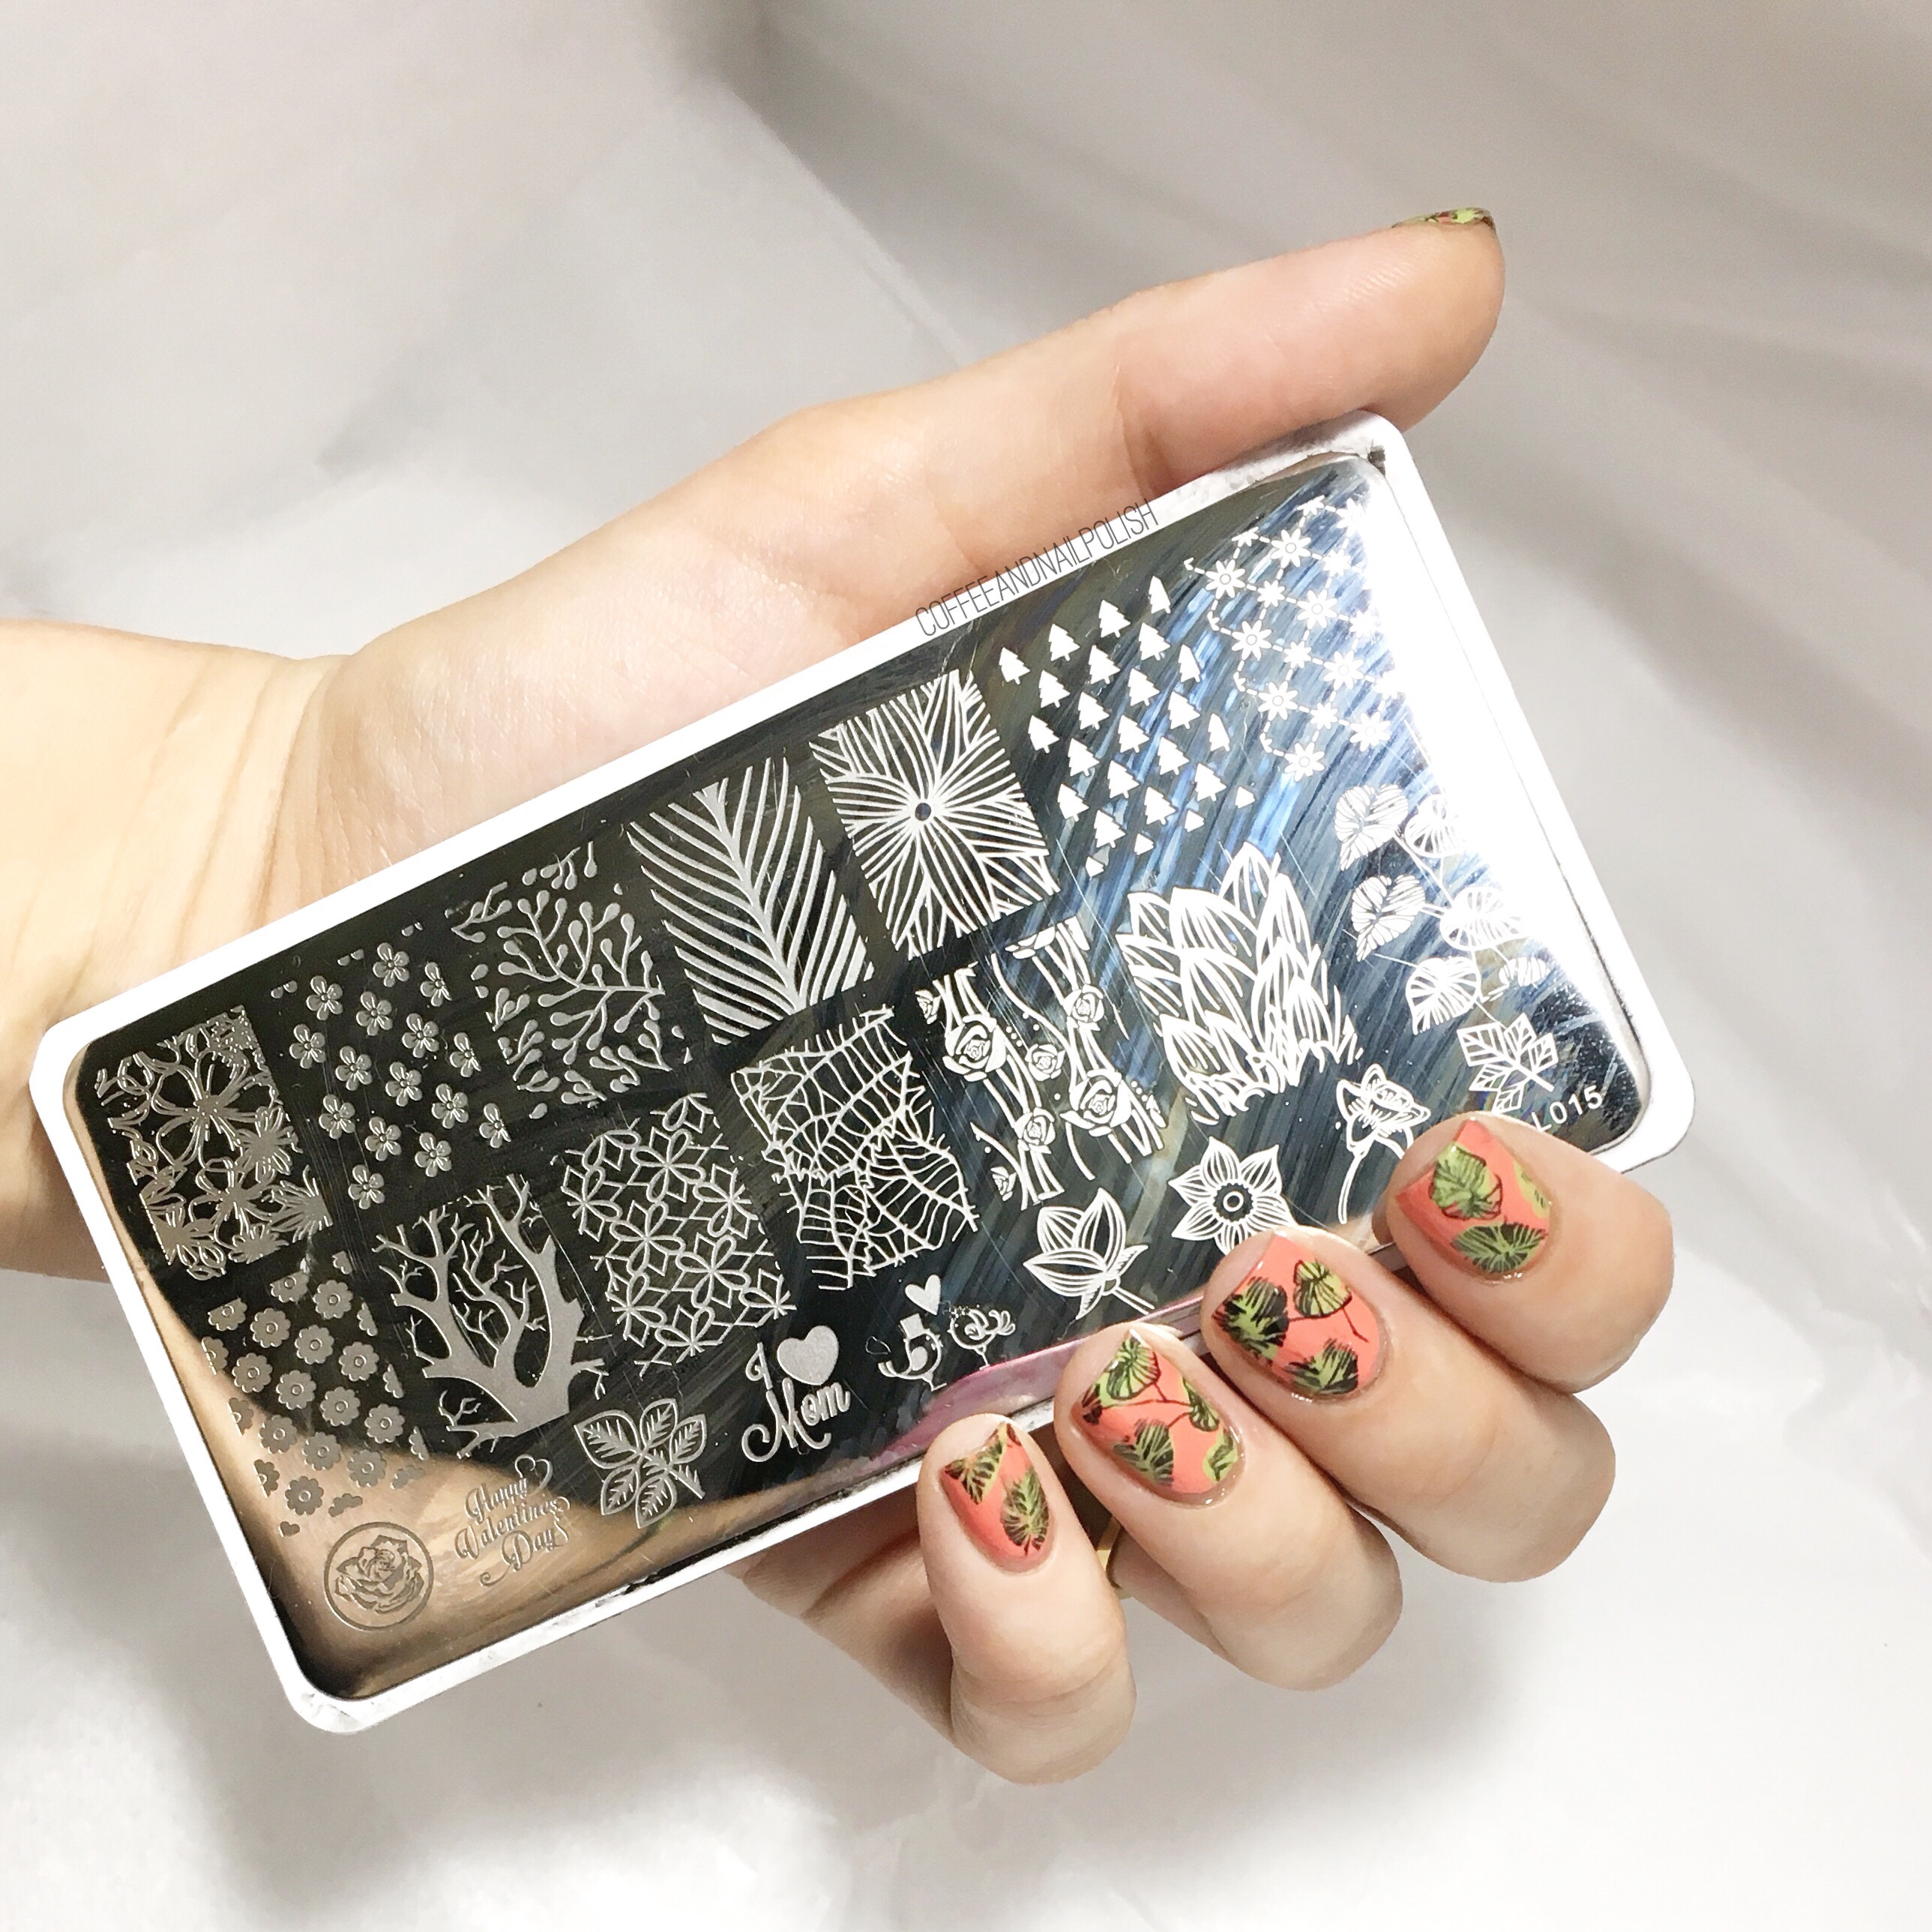
  • Xroma Polish & Vinyls Psychedelic Stencils

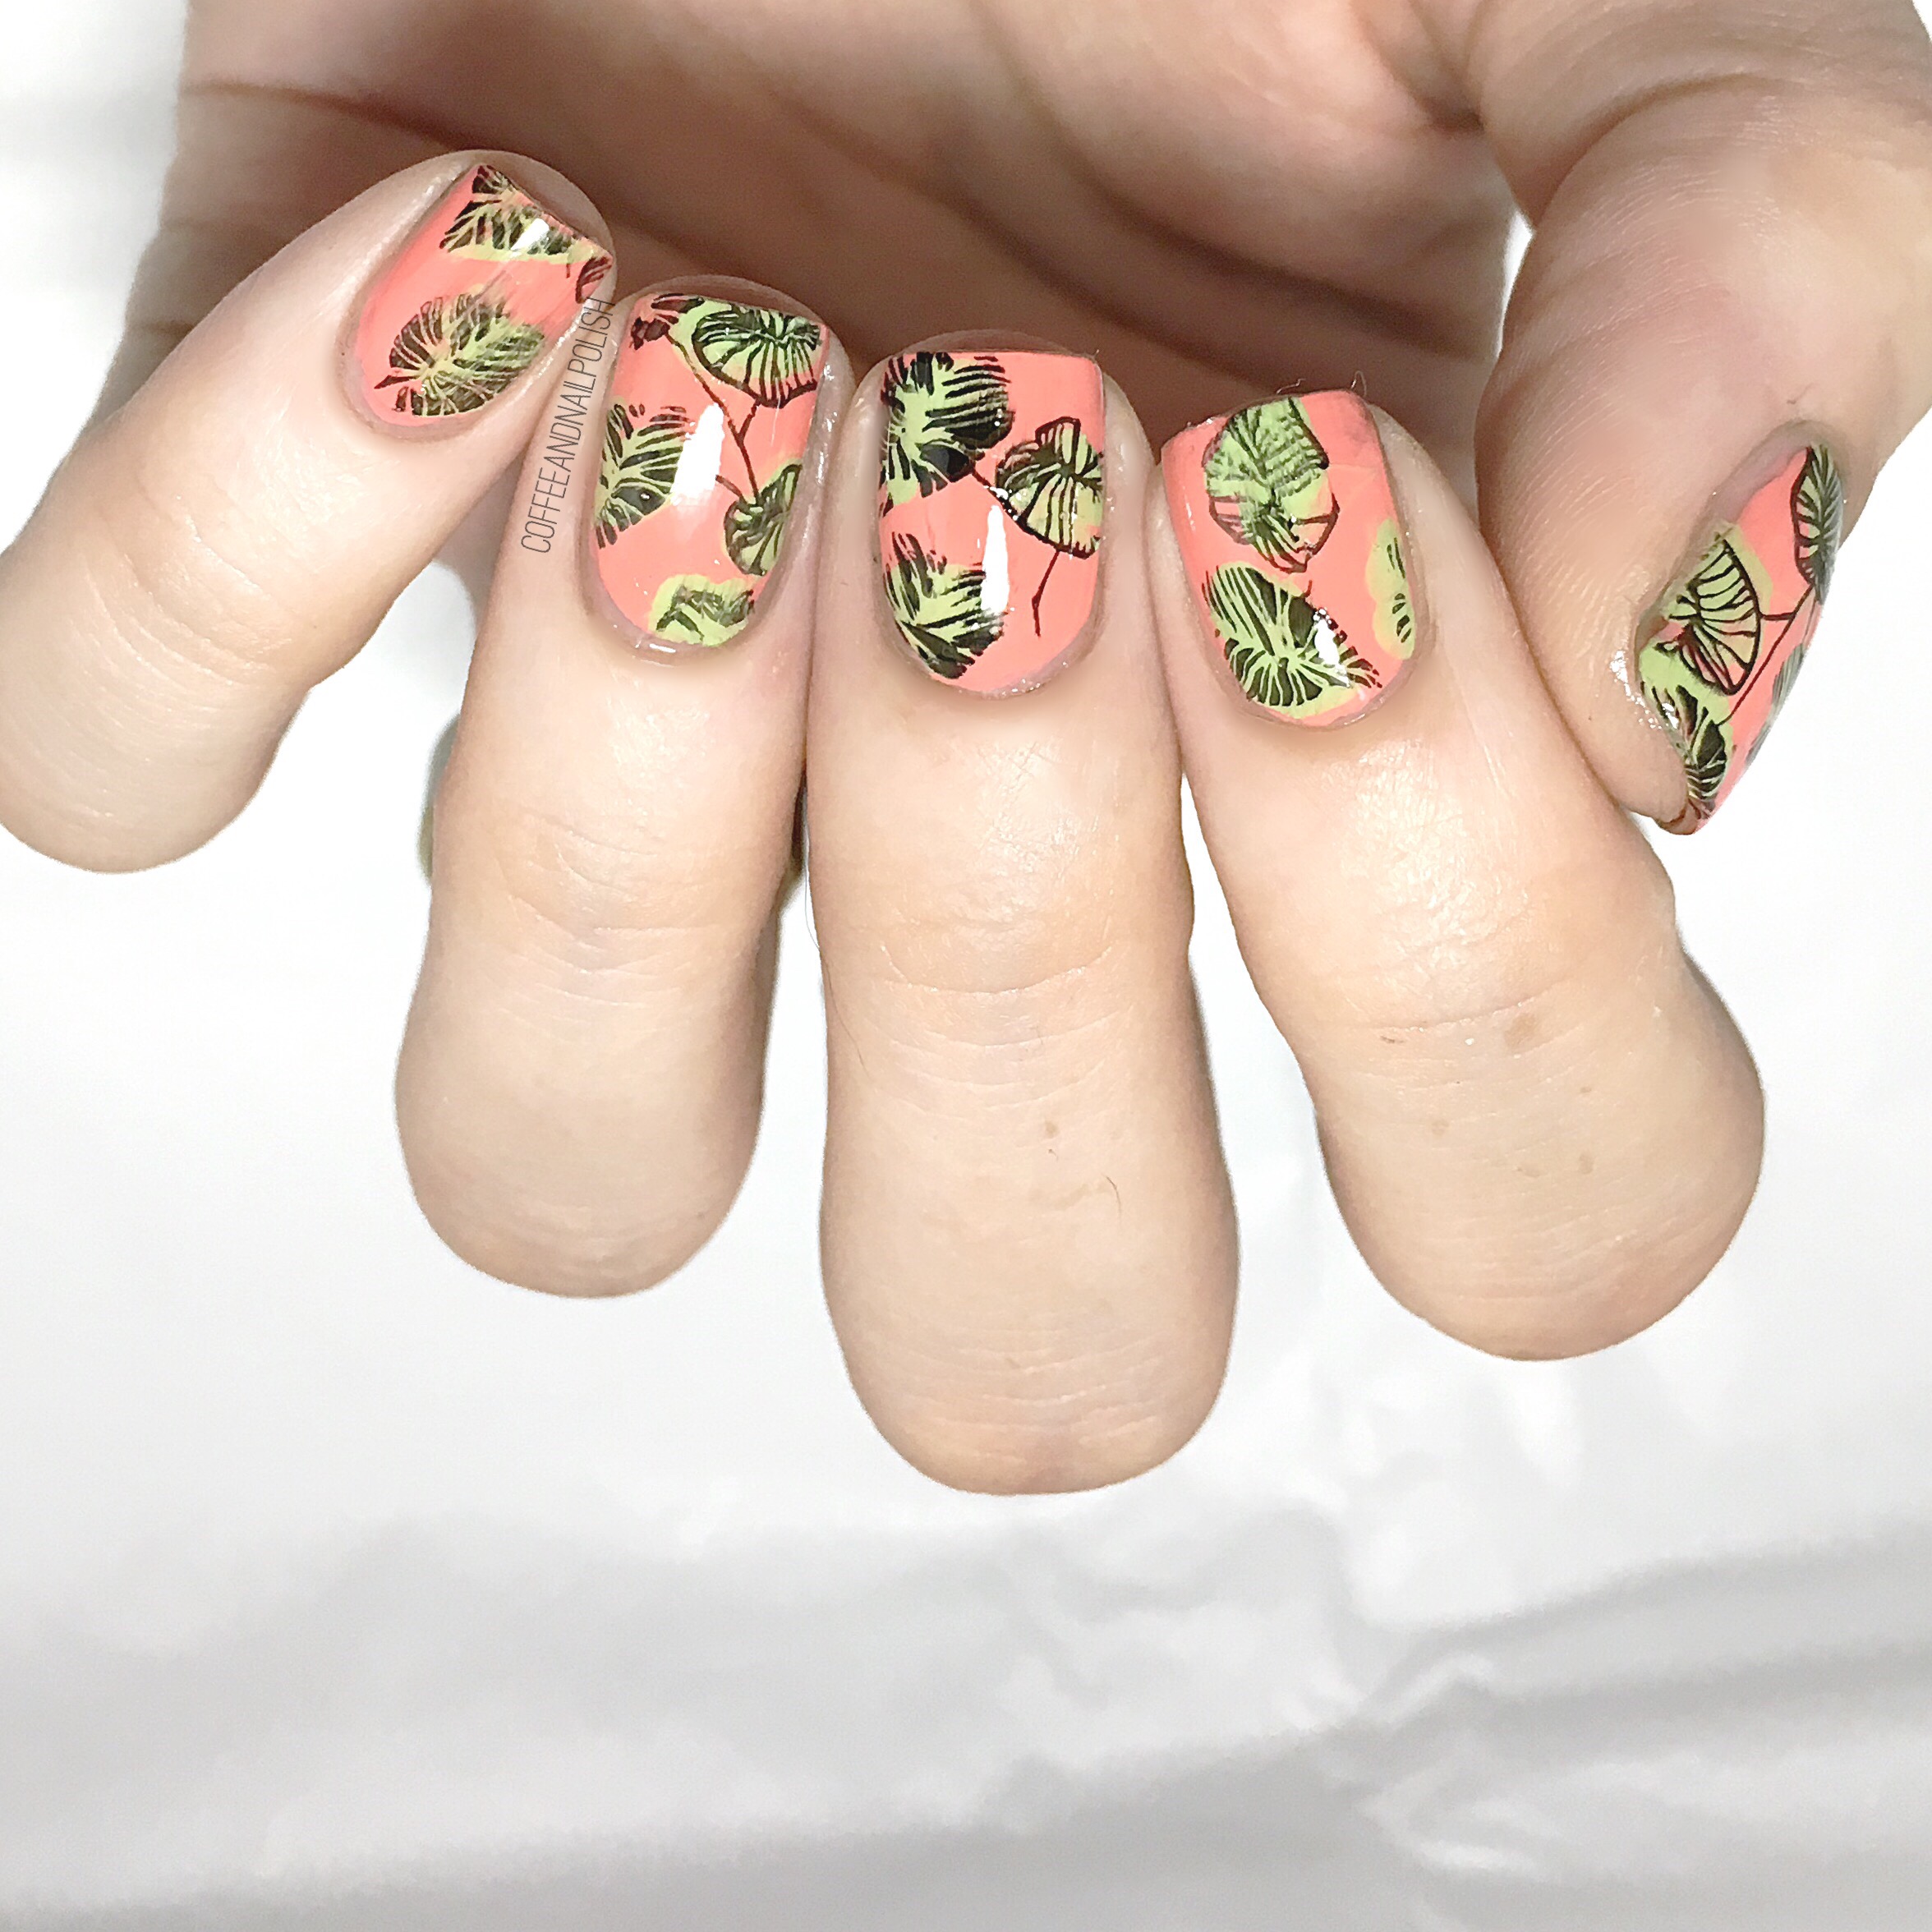
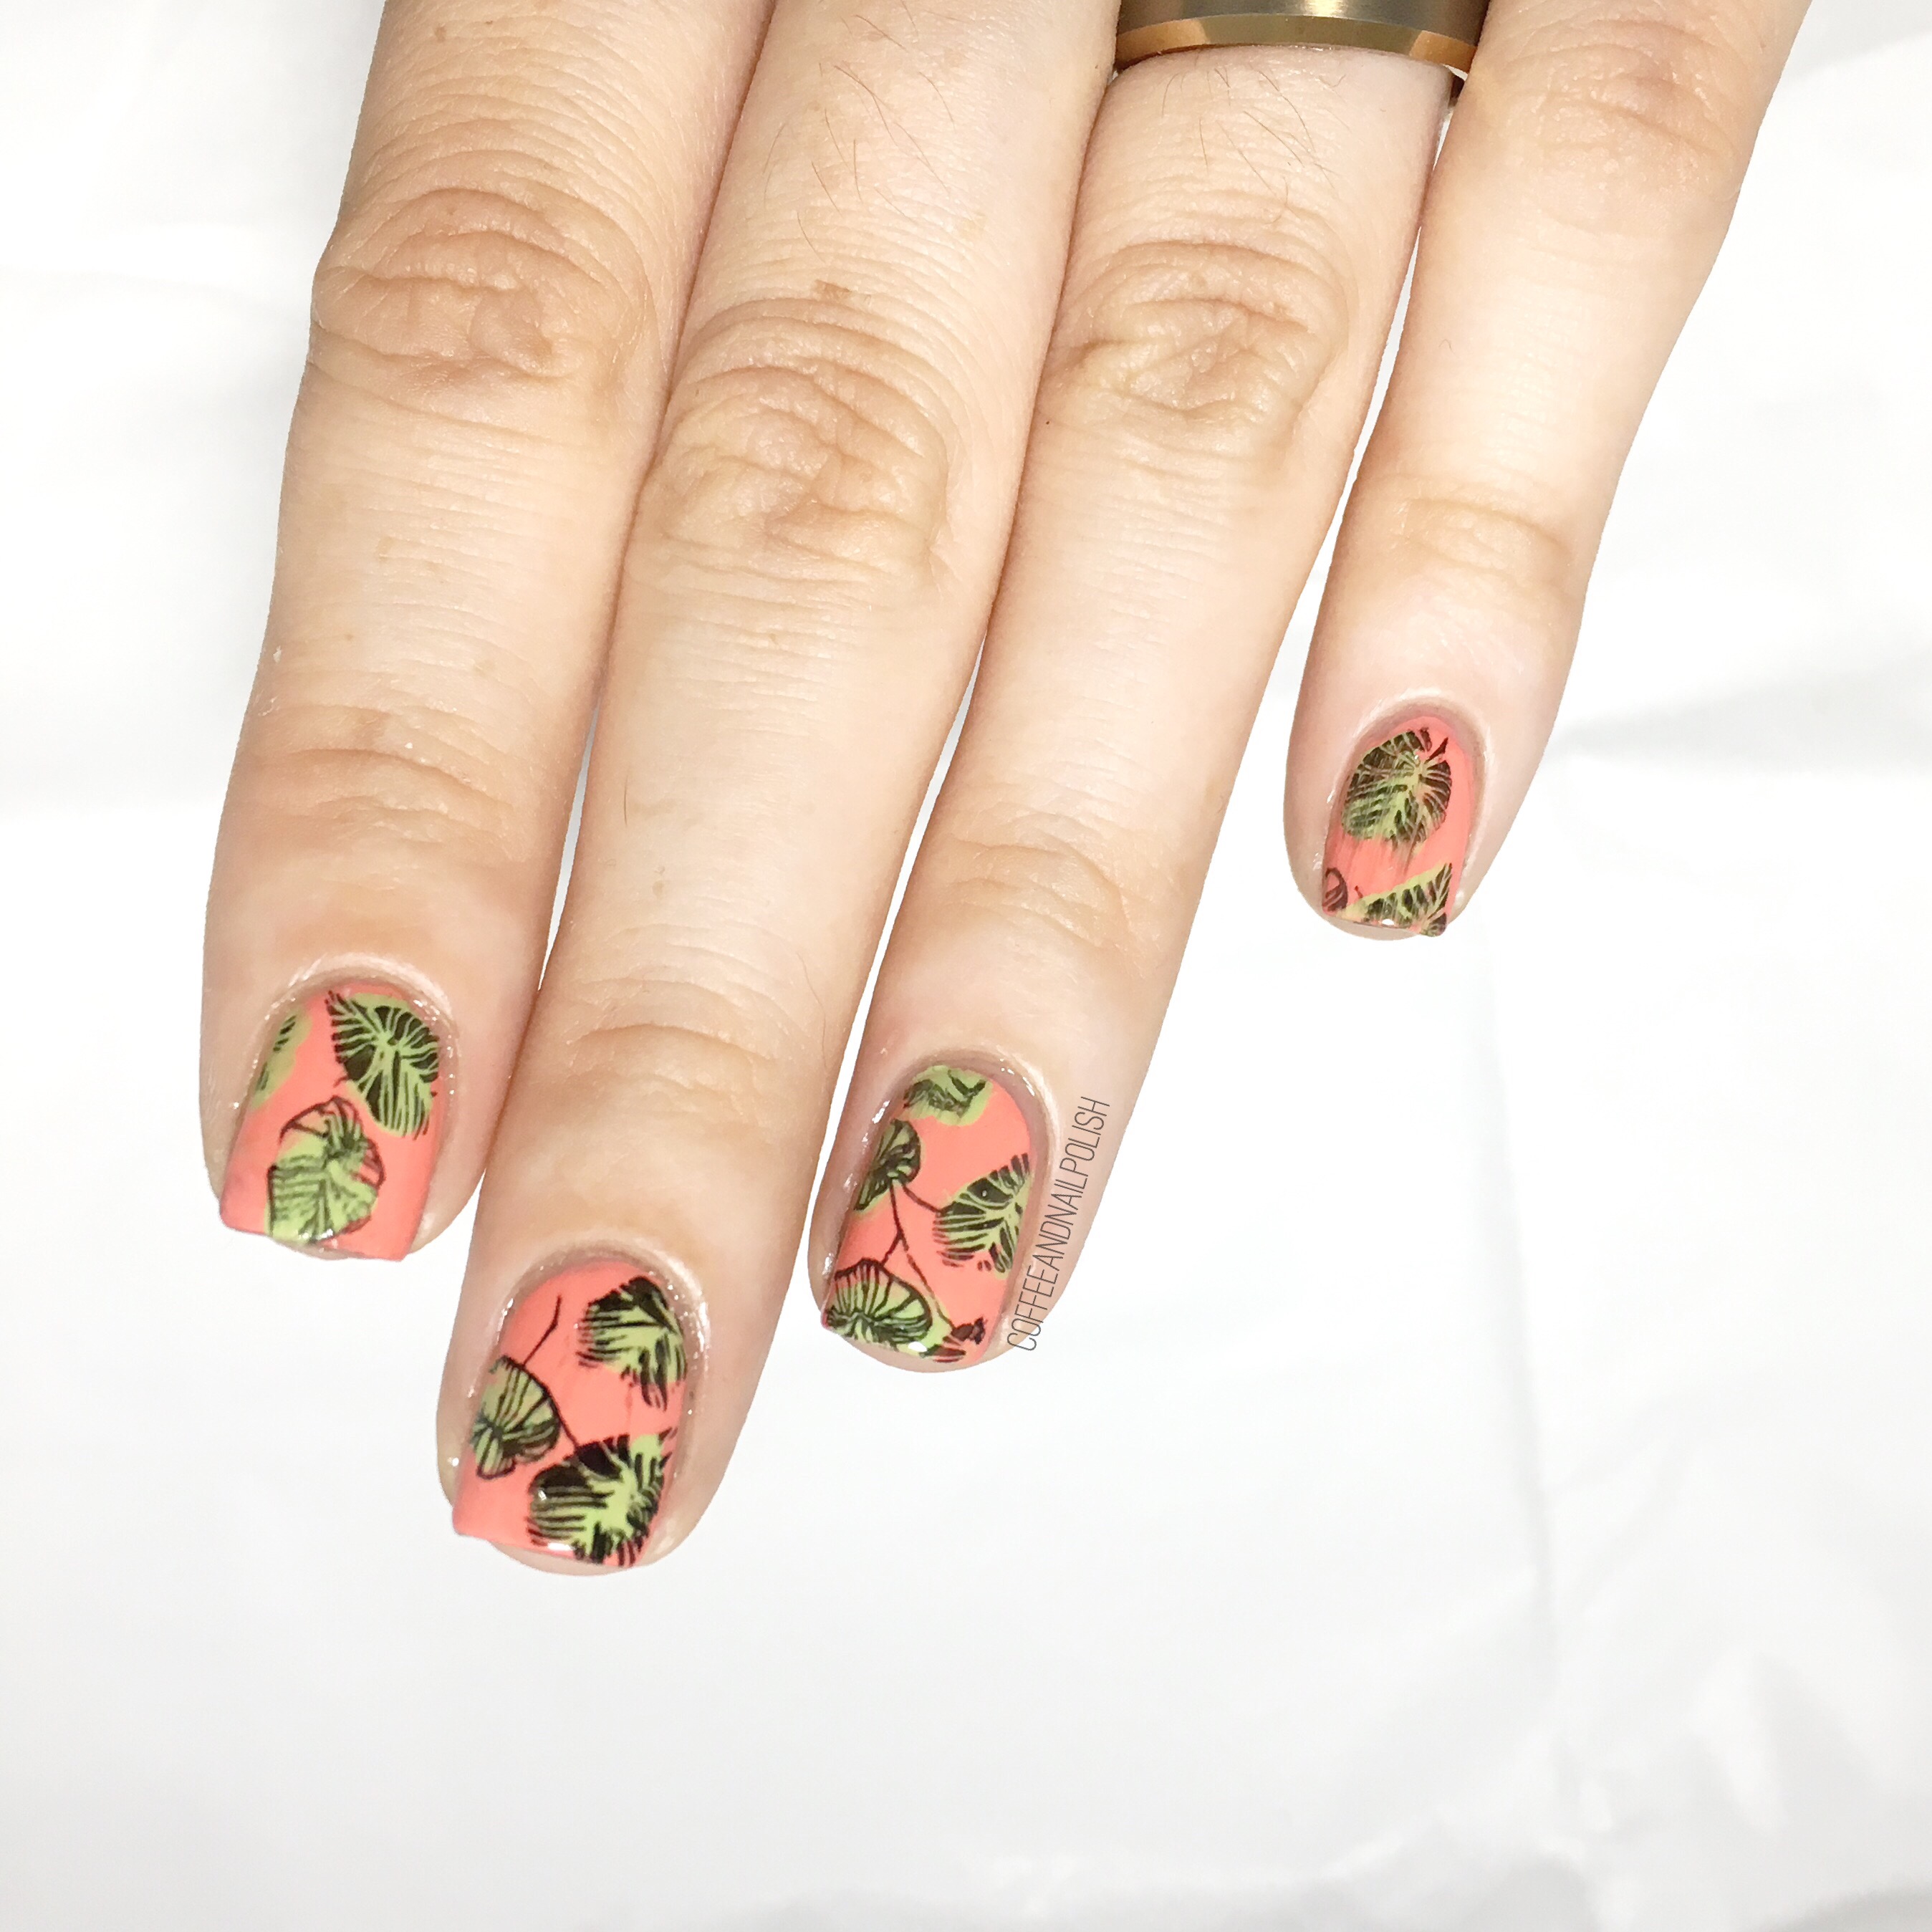
This gradient just makes me so happy… the colours & the blending just turned out so perfect! & the use of the pattern over top just brings the whole design together (I think at least). Trying to wear as many Summer-y designs as I can before I start feeling the call of Fall, which thanks to my years in retail usually starts around early-mid August. Haha. But in the mean time, I’ll try to stick to a purely Summer pallet. 

What do you think of this gradient/nail vinyls combo? Let me know in the comments below! I have to say, these psychedelic vinyls are definitely my new favourite pattern. 

Feeling Blue… Stripes 💙

Happy Friday! It’s been so long since I played around with my stripers, which used to be one of my favourite nail art tools, so I figured why not pull them out for some fun stripes. This used to be my go-to design whenever I had nubbins, & it makes somewhat medium  length nails look even longer! (& who doesn’t want their nails to look longer?)

For this manicure I used:

  • Base Coat: L’Oréal All in One
  • Top Coat: Essie Speed Setter
  • Sally Hansen Miracle Gel Beatnik 
  • Kiss Products Nail Art Striper in Black
  • Kiss Products Nails Art Striper in White
  • Jordana Cosmetics Pop Art Nail Design in Blue Abstract

After spending the majority of June not wearing any blue nails, I must say it was nice to pull out again. I purchased Sally Hansen Beatnik on clearance at Shoppers while on my no-blue-nails crusade (I know, I have a sickness), so I was excited to finally get it wear it. & it really is such a pretty colour. That’s why I thought just some simple striping would really compliment the colour & I was right! 

What are you wearing on your nails right now? Let me know in the comments below! 

Born Pretty Store Review — BORN PRETTY Stamping Polish Plate Set Flower Leaf Tree Image Template item #39933. 


Hey lovelies! I know… I disappeared a bit. A lot has been going on since getting home from vacation. But that’s okay! Because today I have another review of one of the items I received for review from Born Pretty Store–the flower leaf image stamping plate set item #39933. 

As I’ve said with all my reviews, I still consider myself a stamping newbie but I definitely feel like I’ve gotten better with all this practice. For today’s nails I played around with the BORN PRETTY Stamping Polish Plate Set Flower Leaf Tree Image Template item #39933 which comes with two stamping plates (a large square plate, & a smaller round floral plate) plus two stamping polishes. 

For this design I used:

As I’ve written before, I find their is a learning curve that comes along with stamping. Or maybe just natural talent. Either way I think this is a great set for beginners because it has so many image options & comes with stamping polishes. Now personally I’m not a fan of the stamping polishes, not because they don’t stamp (they do!) but I just haven’t found a way to use them that doesn’t make a huge mess! If anyone has any tips, please please share because I love the end result. But if you’re just trying out stamping I think this set would be a good introduction for you. 

Personally I liked the larger square stamping plate over the smaller round plate. I tried reverse stamping a rose, but it didn’t turn out exactly how I hoped. That plate took a few more tries to get things right, but I did eventually accomplish my goal (even if it wasn’t the prettiest). The smaller plate definitely worked better for me when I was just stamping the image straight onto my nails, & not taking time to be fancy. 


All in all, I would definitely recommend this set to anyone itching to try out stamping, but would warn practice does make perfect. Don’t be frustrated if it takes a bit of time to get things looking perfect because the end result is worth it. 

If you’re interested in ordering this stamping set (or something else) from Born Pretty Store feel free to use my discount code COFFK31 to save 10% off any regular price items! I’ve been ordering from them for years, & I love the wide variety of products you can find for all your nail polish addict needs! 

Rainbow Wave Nails 🌈 

Hello Lovelies! It’s been a little while. I spent last week & the beginning of this week away on vacation which meant no posts! But I’m back & refreshed & I have pretty nails to share with you. 

It’s been way too long since I share one of my favourite sponge manicures with you. This manicure is actually from a while back (whoops). I’m so bad for doing my nails & then completely forgetting about them in the recesses of my phone. But I think this kind of rainbow design is perfect for warm Summer days… even if today is feeling less than Summer-y. 

The polishes used for this manicure:

  • Base Coat: L’Oréal All in One
  • Top Coat: Essie Speed Setter
  • Hard Candy Sky
  • Essie Chillato
  • ORLY Scenic Route
  • Nicole by OPI Love Song
  • Color Club Peppermint Twist
  • OPI Where Did Suzi’s Man-go?
  • OPI Who You Calling Bossy?
  • Latex Free Make Up Sponge
  • Xroma Polish & Vinyls skinny wave vinyls

Am I the only person obsessed with sponging? I just used up the rest of my peel of latex for my more messy manicures, BUT  while I was away on vacation I found a peel of by a brand I’ve never heard of in the local pharmacy (which is a big deal because I was in a pretty small town!) so I’m excited to try it out for gradients & the like, as well as seeing how it will fair as a peel of base coat. It’s not glue or latex based so I’m really curious to see how it fairs, especially since it means I can pull out my make up sponge again! There is nothing worse than trying to clean up nail polish mess from around your cuticles. Ugh. 


What is your favourite way to use a make up sponge on your nails? Let me know in the comments below! 

Happy Birthday Canada Day Nails 🇨🇦

Happy Canada Day! 🇨🇦 Today is an important birthday for my country–it’s the 150th birthday of Canada’s Confederation. & in honour of the occasion I created these festive nails using maple leaf stencils I received in honour of the occasion free from Nail Polish Canada (& thanks so a discount code @jennieshaw posted a few weeks back). 

For this manicure I used:

  • Base Coat: L’Oréal All In One
  • Top Coat: Essie Speed Setter
  • Essie Too Too Hot
  • China Glaze Ruby Slippers
  • Sally Hansen Hard As Nails Hard To Get
  • Xroma Polish & Vinyls Skinny Waves Vinyls
  • What’s Up Nails Canadian Flag Nail Stencils c/o: Nail Polish Canada

I hope everyone is having a fabulous Canada Day (& it’s not too rainy where you are!) Myself & the baby are heading on vacation tomorrow so we’re keeping our plans low key today since he’s a little too young for fireworks this year. We are however having a fun Canada Day supper with my inlaws before we leave. Whatever your plans are today, I hope it includes a little red & white (& maybe something maple flavoured). 

How are you celebrating Canada’s 150th Birthday?! Let me know in the comments below!