Candy Cane Accent Nails

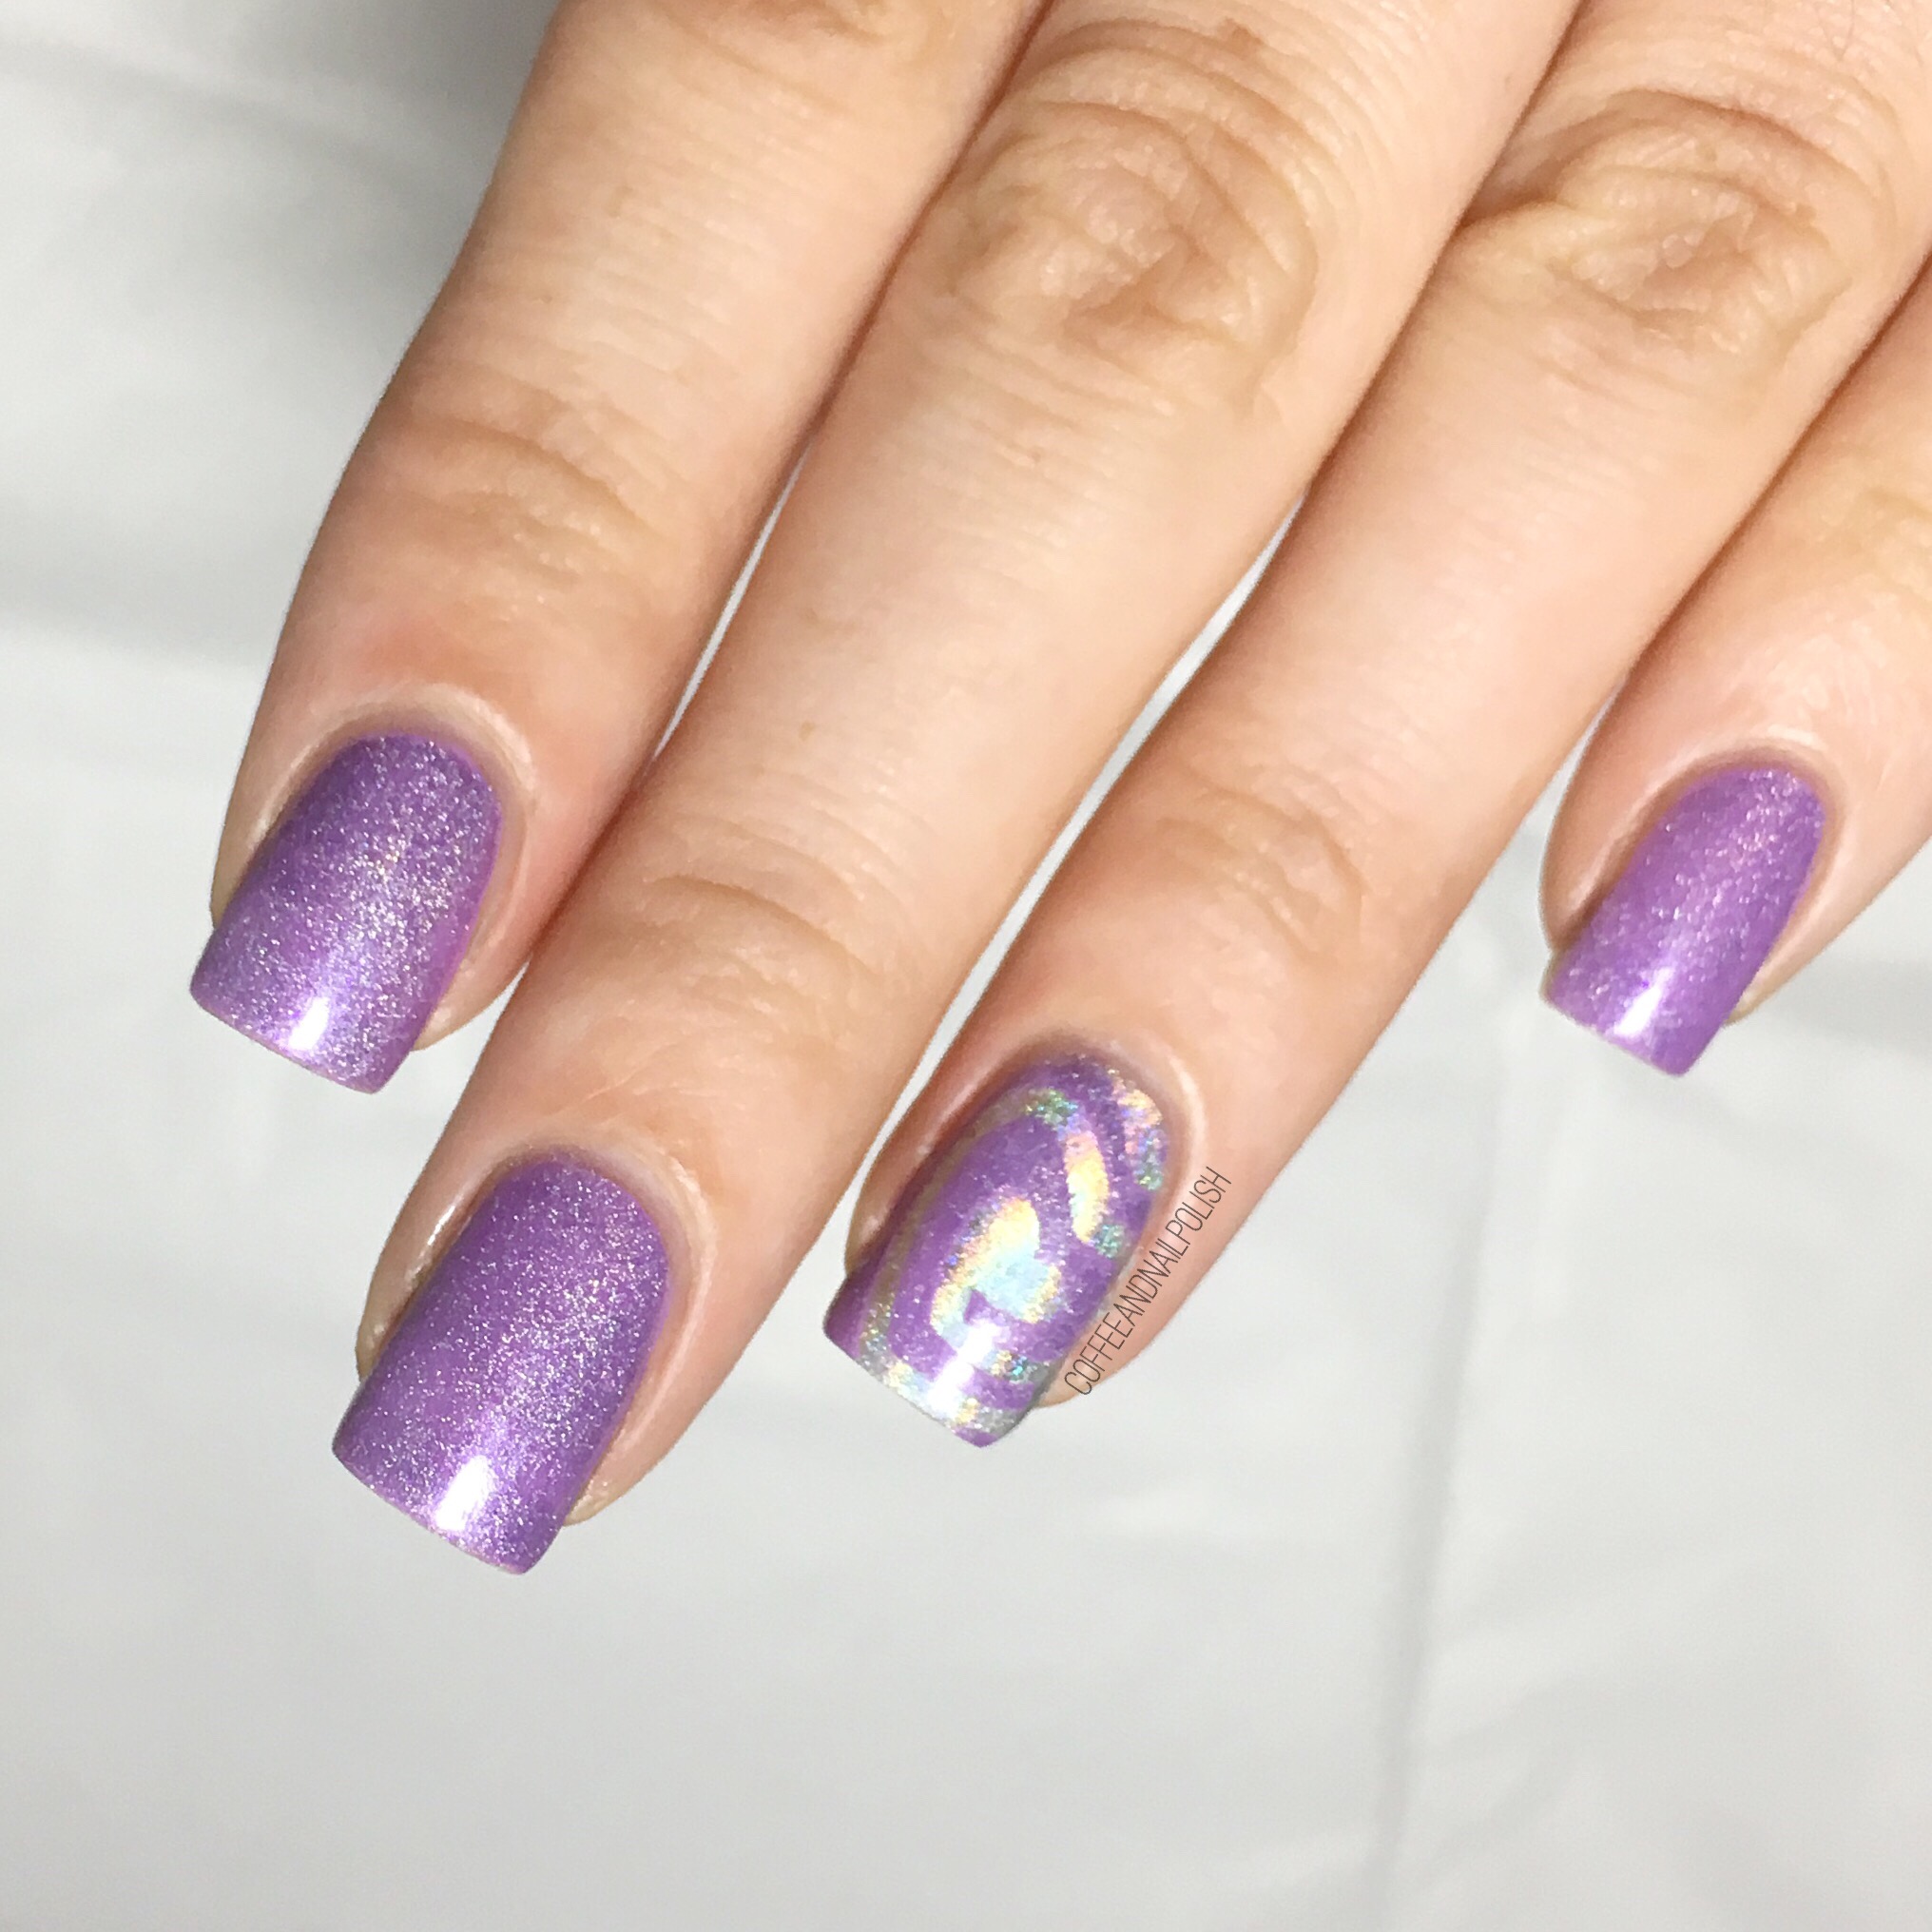
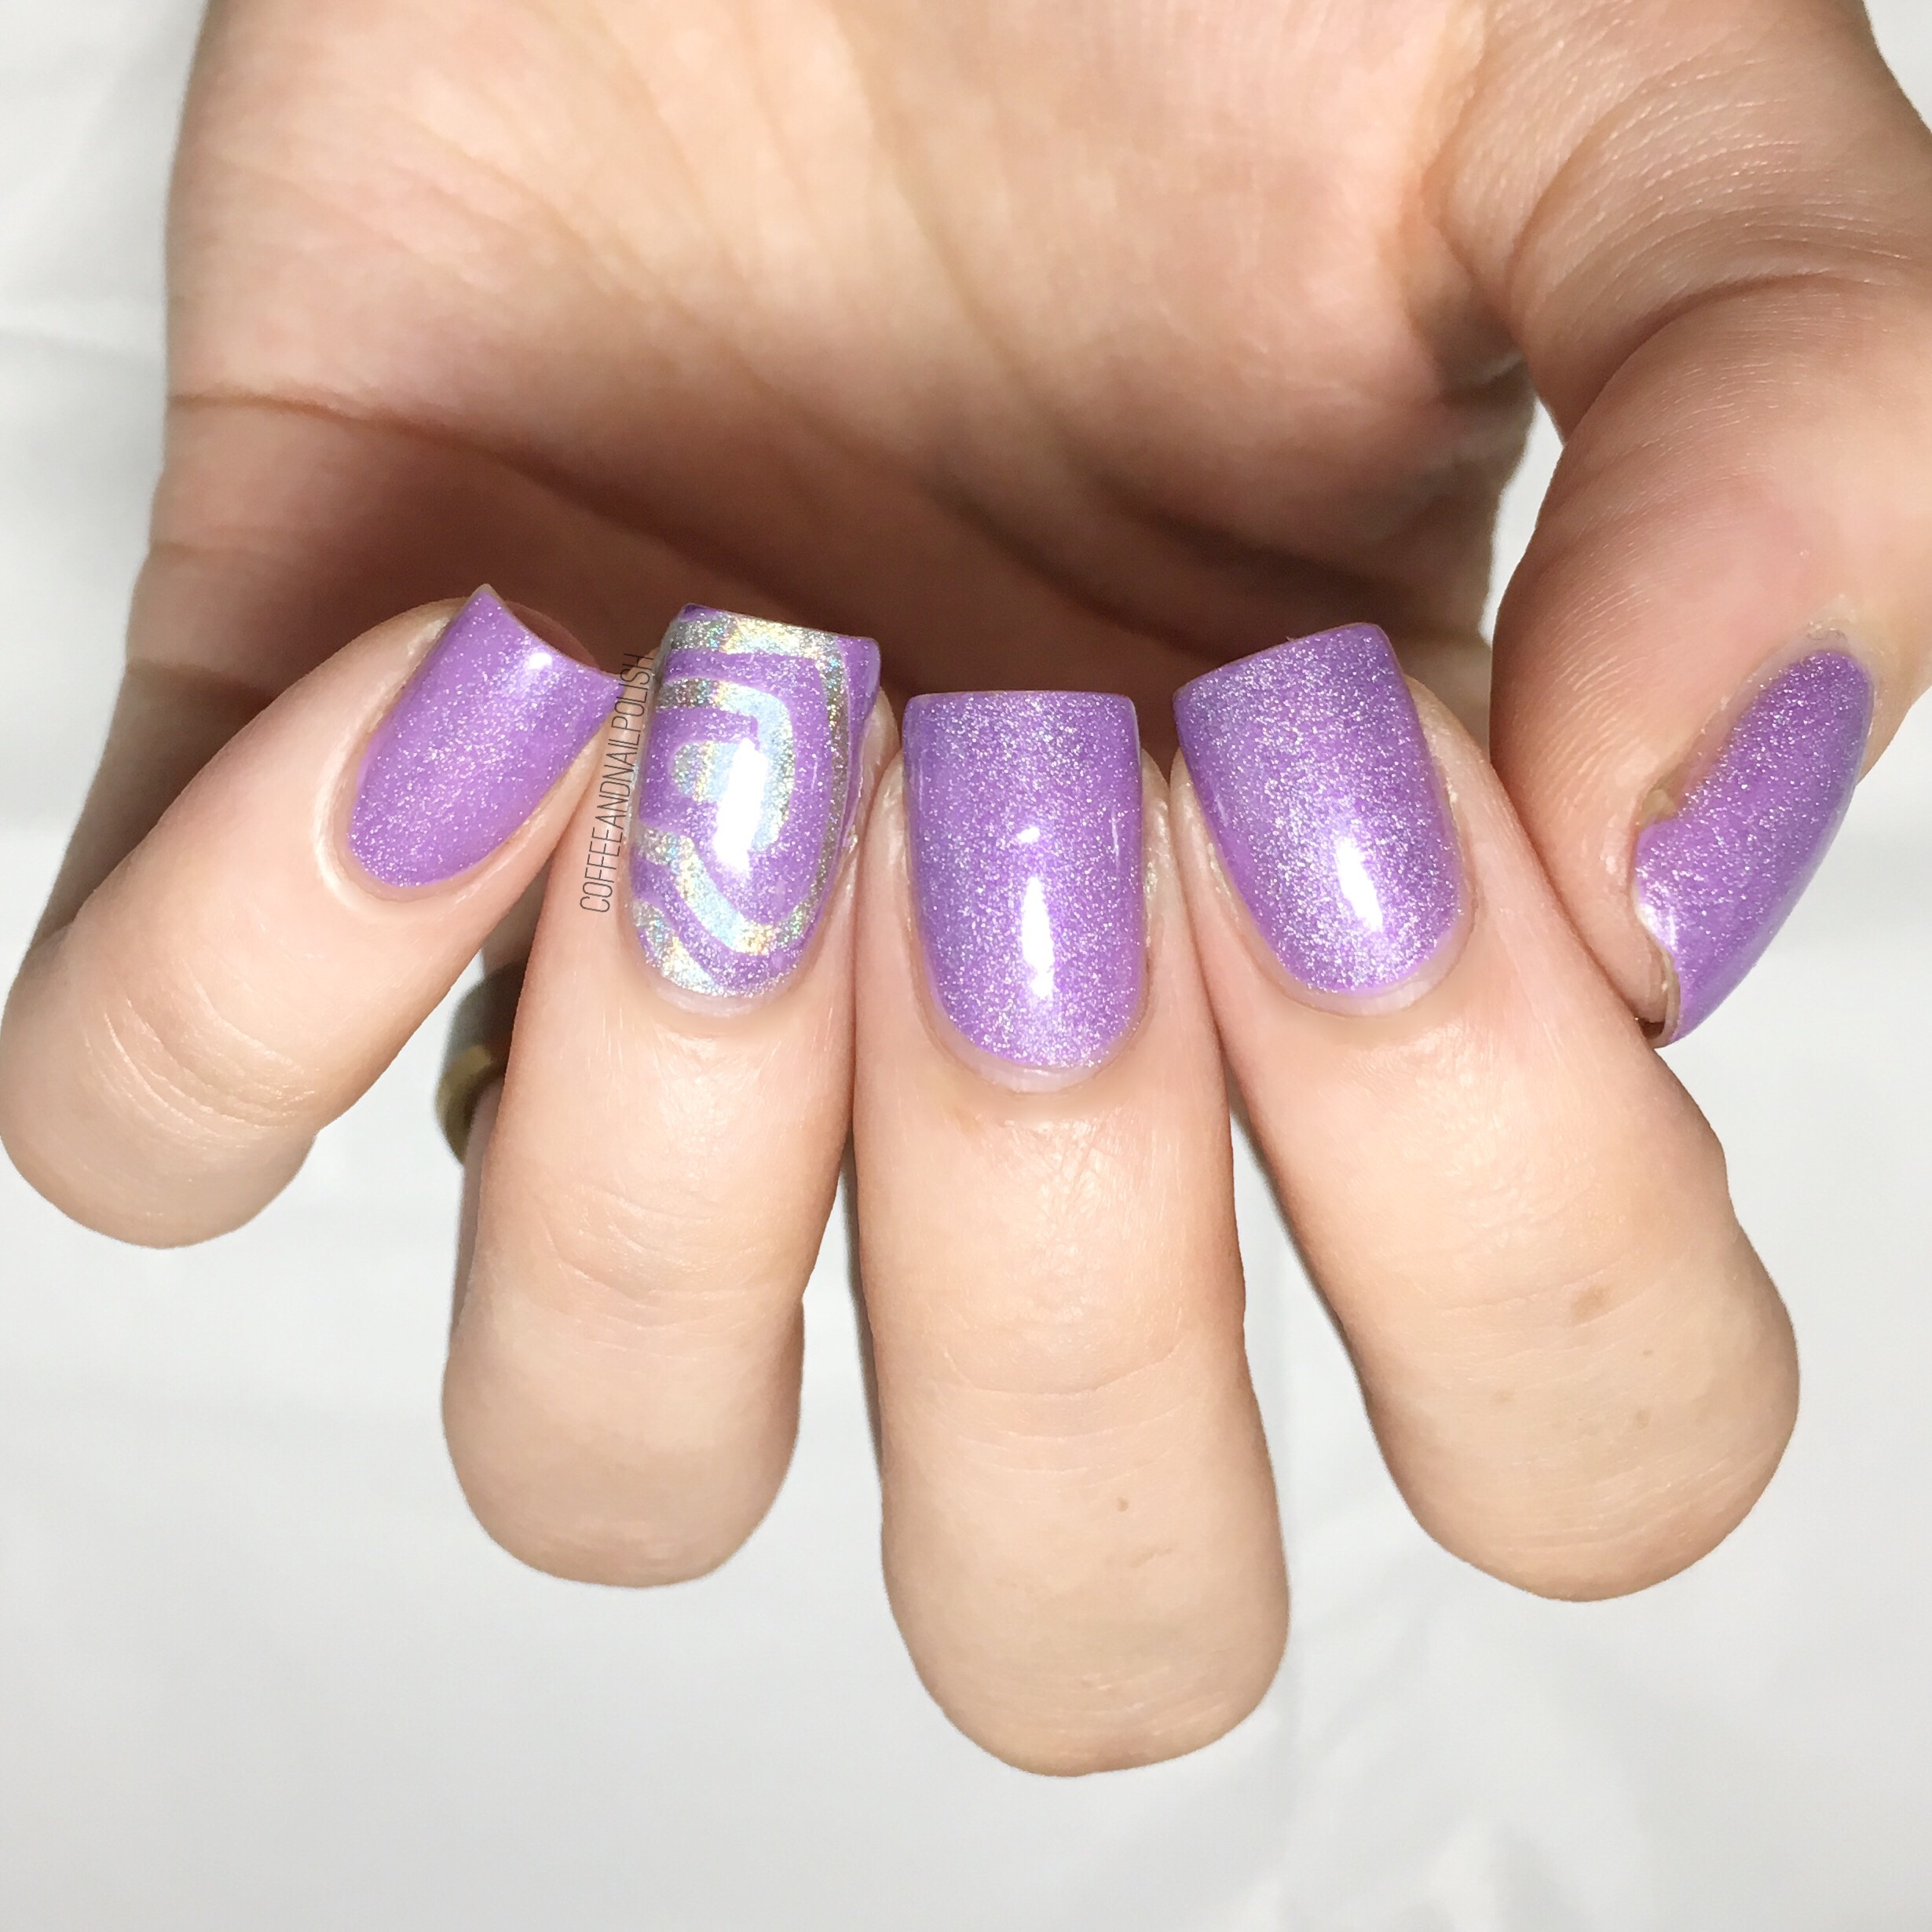
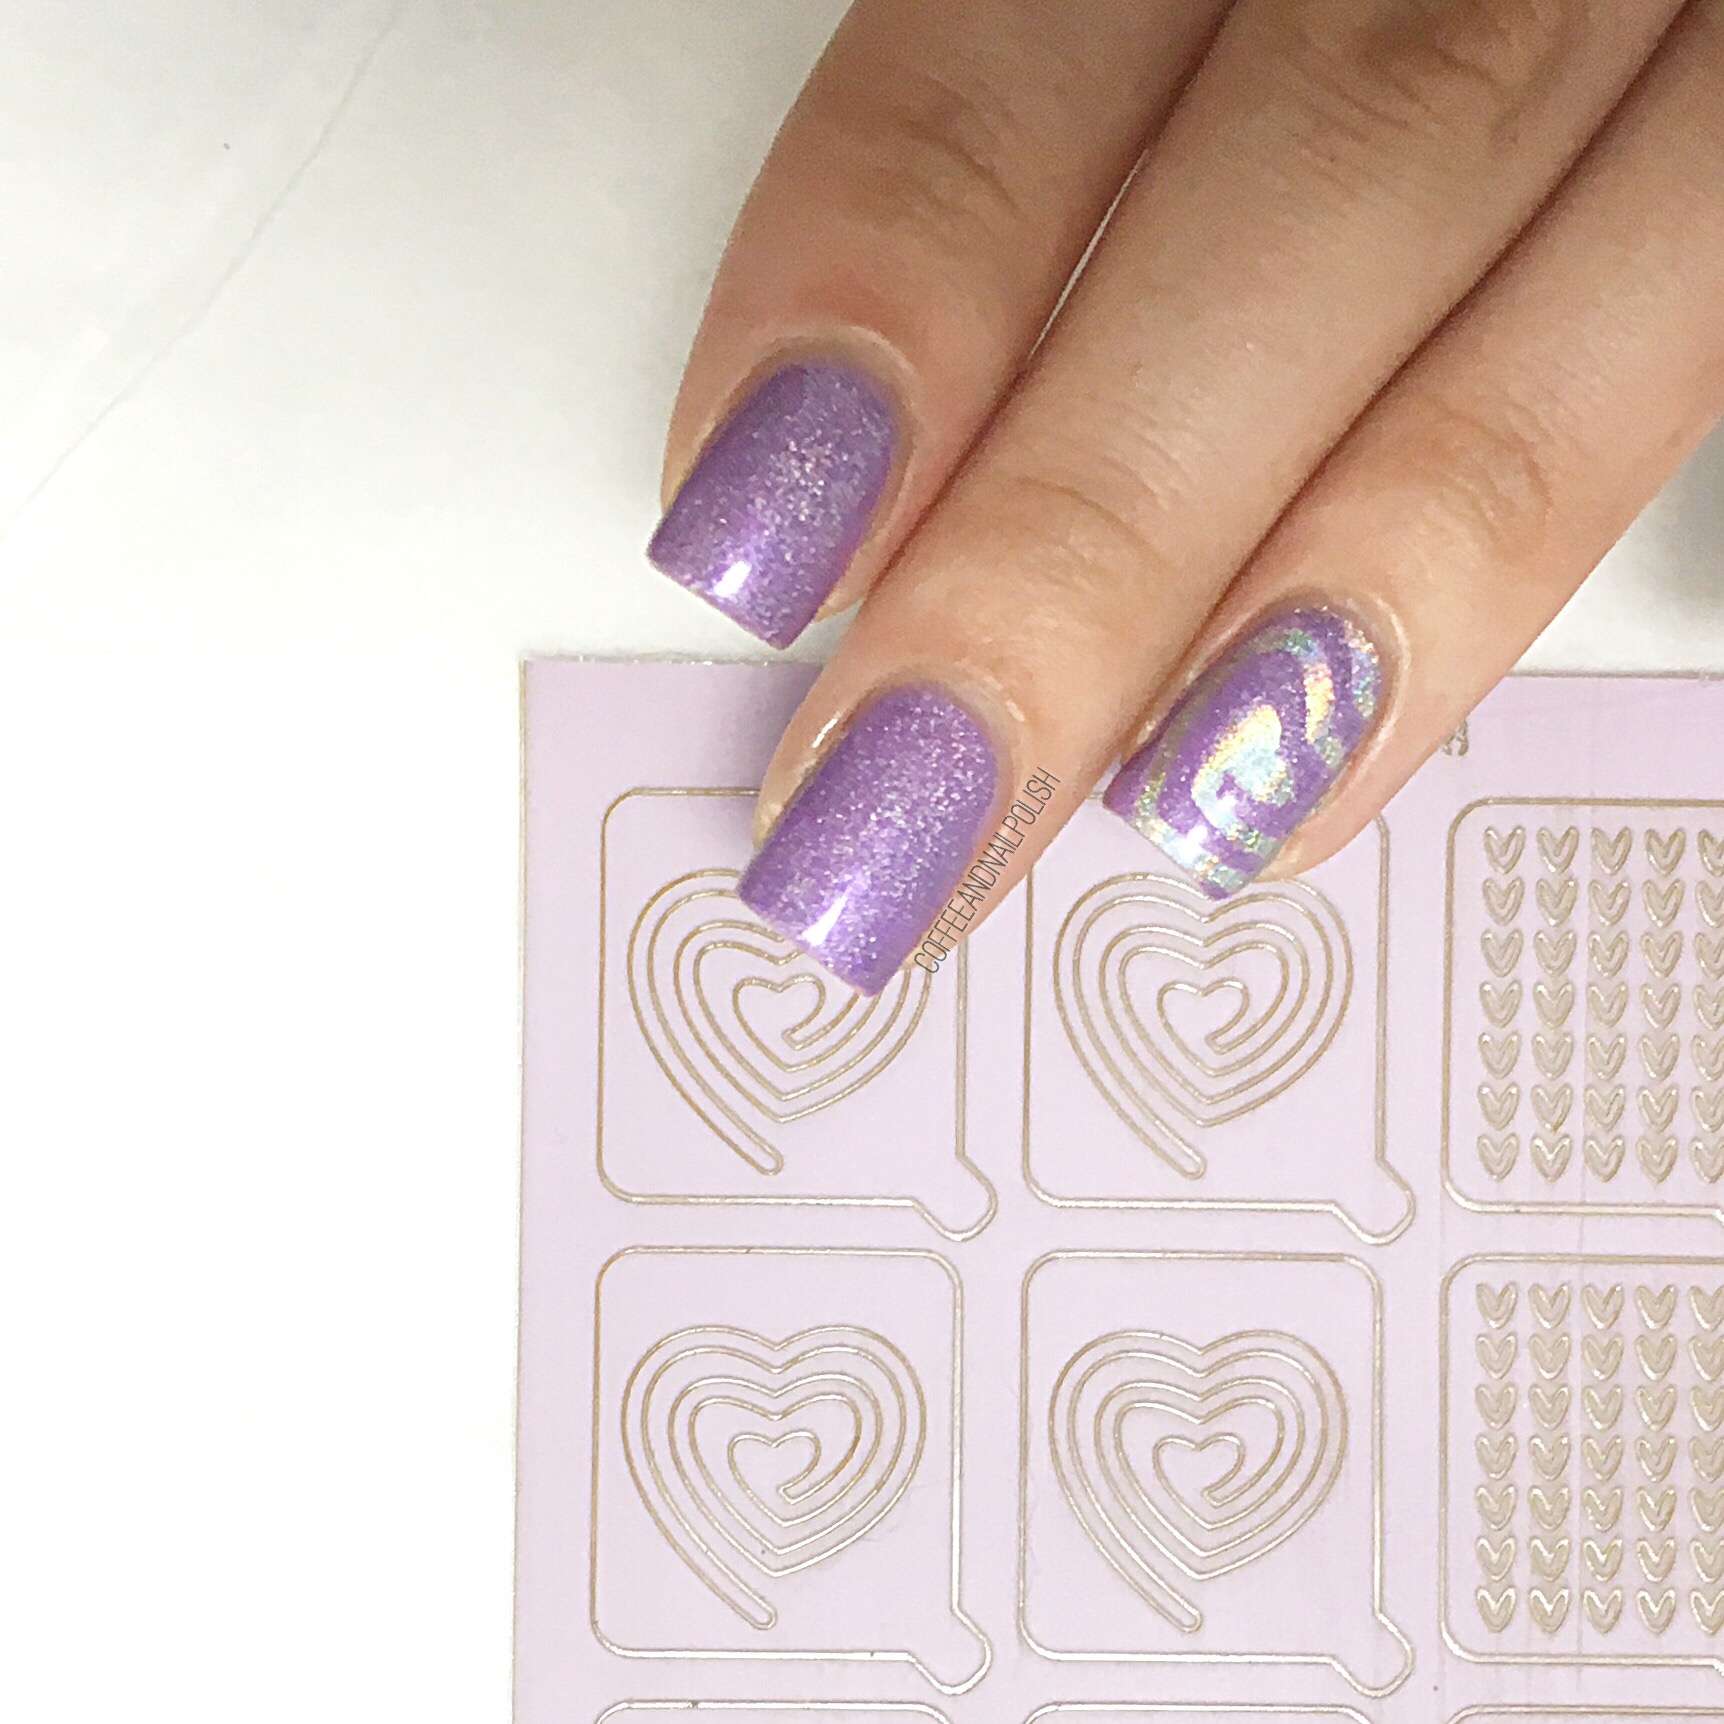
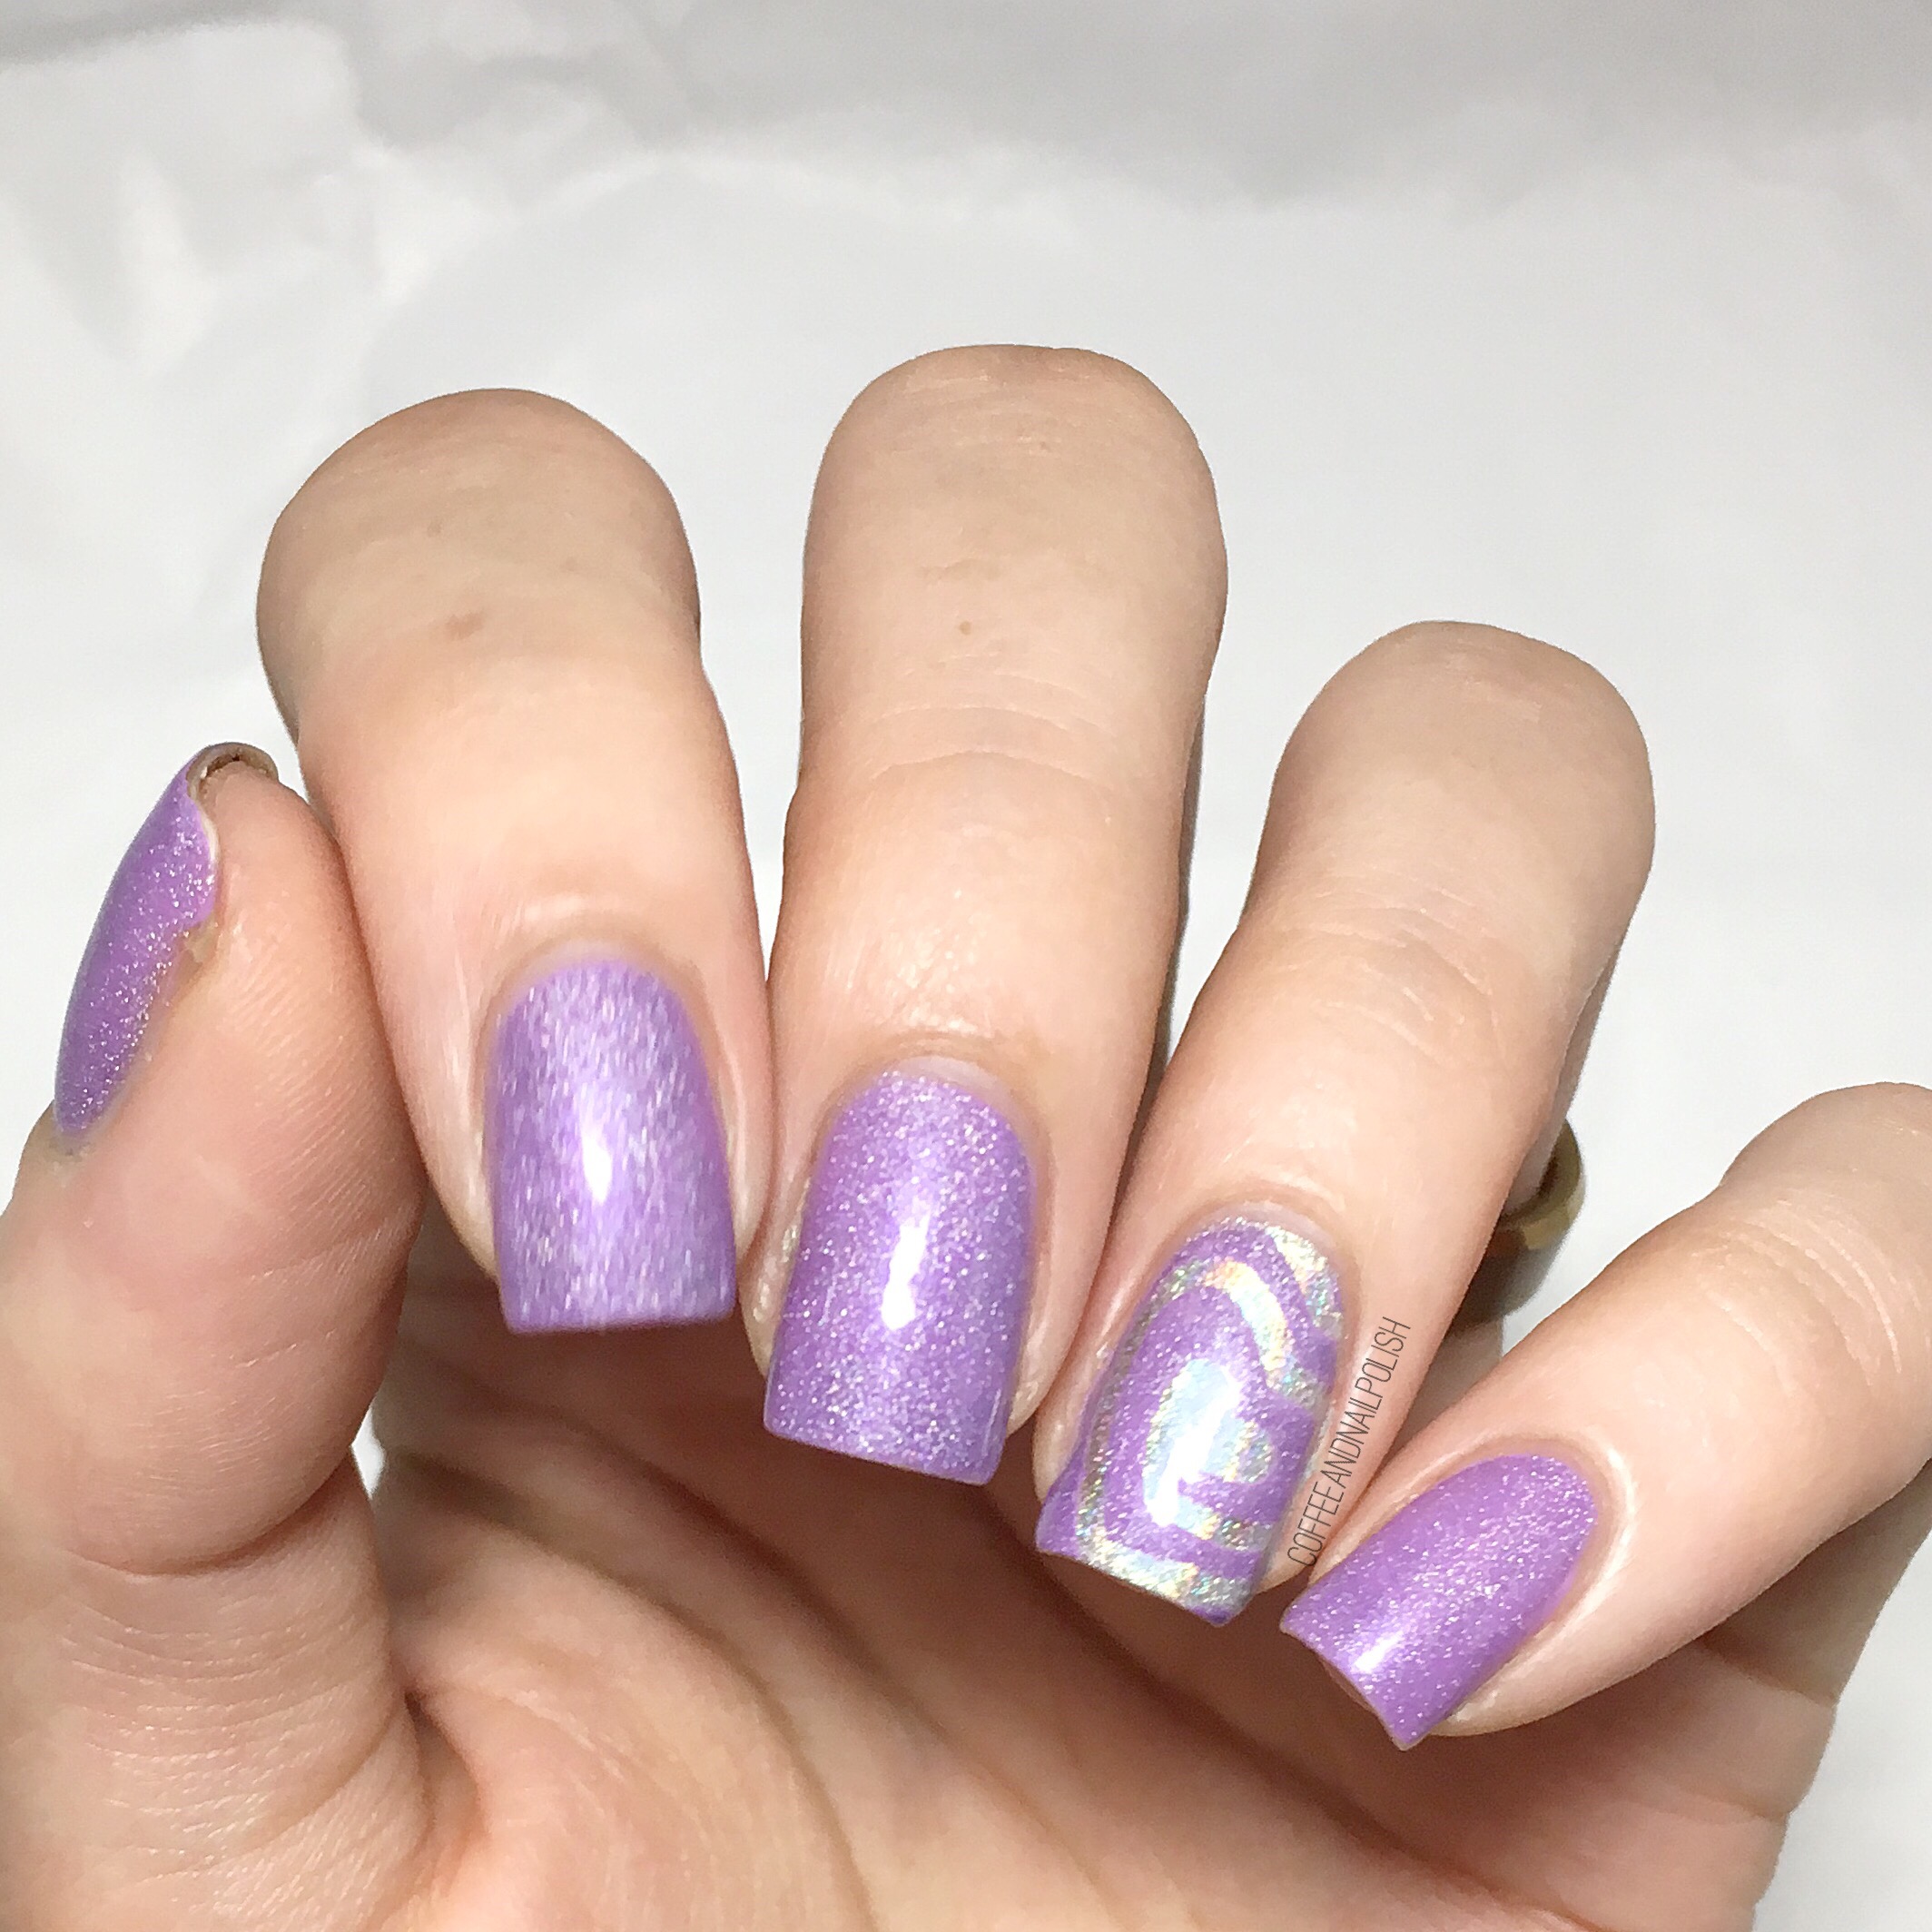
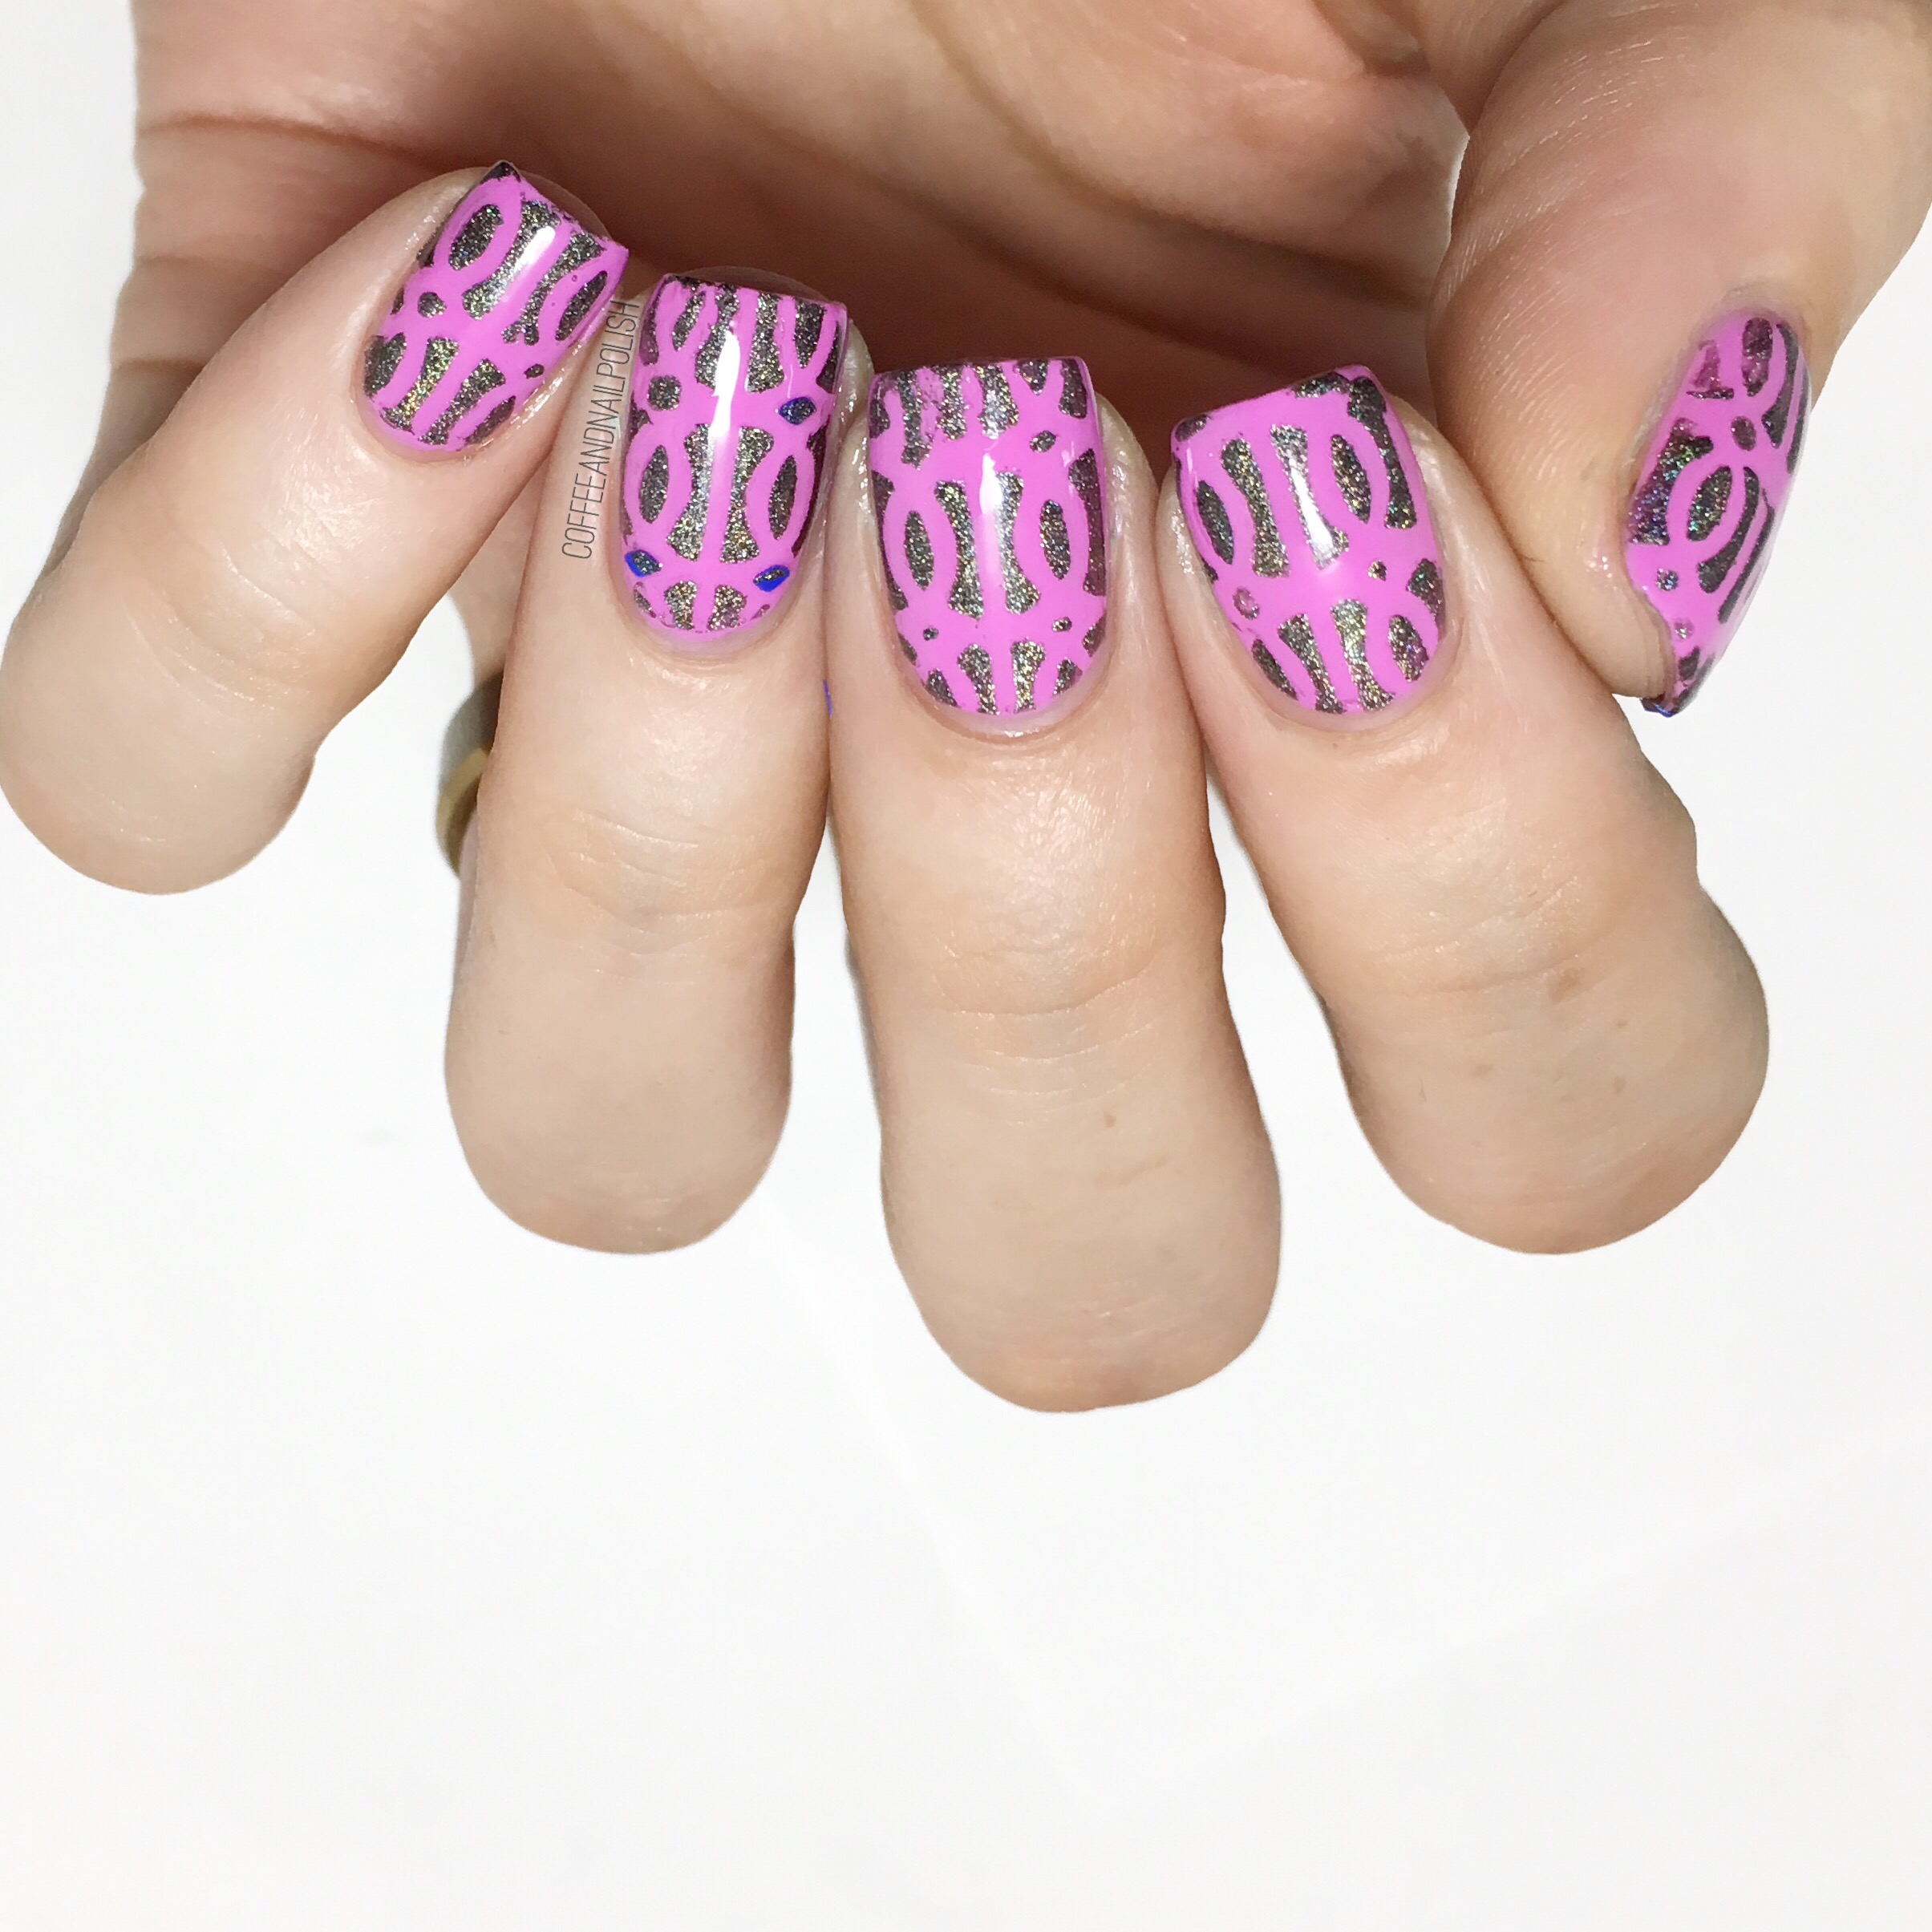
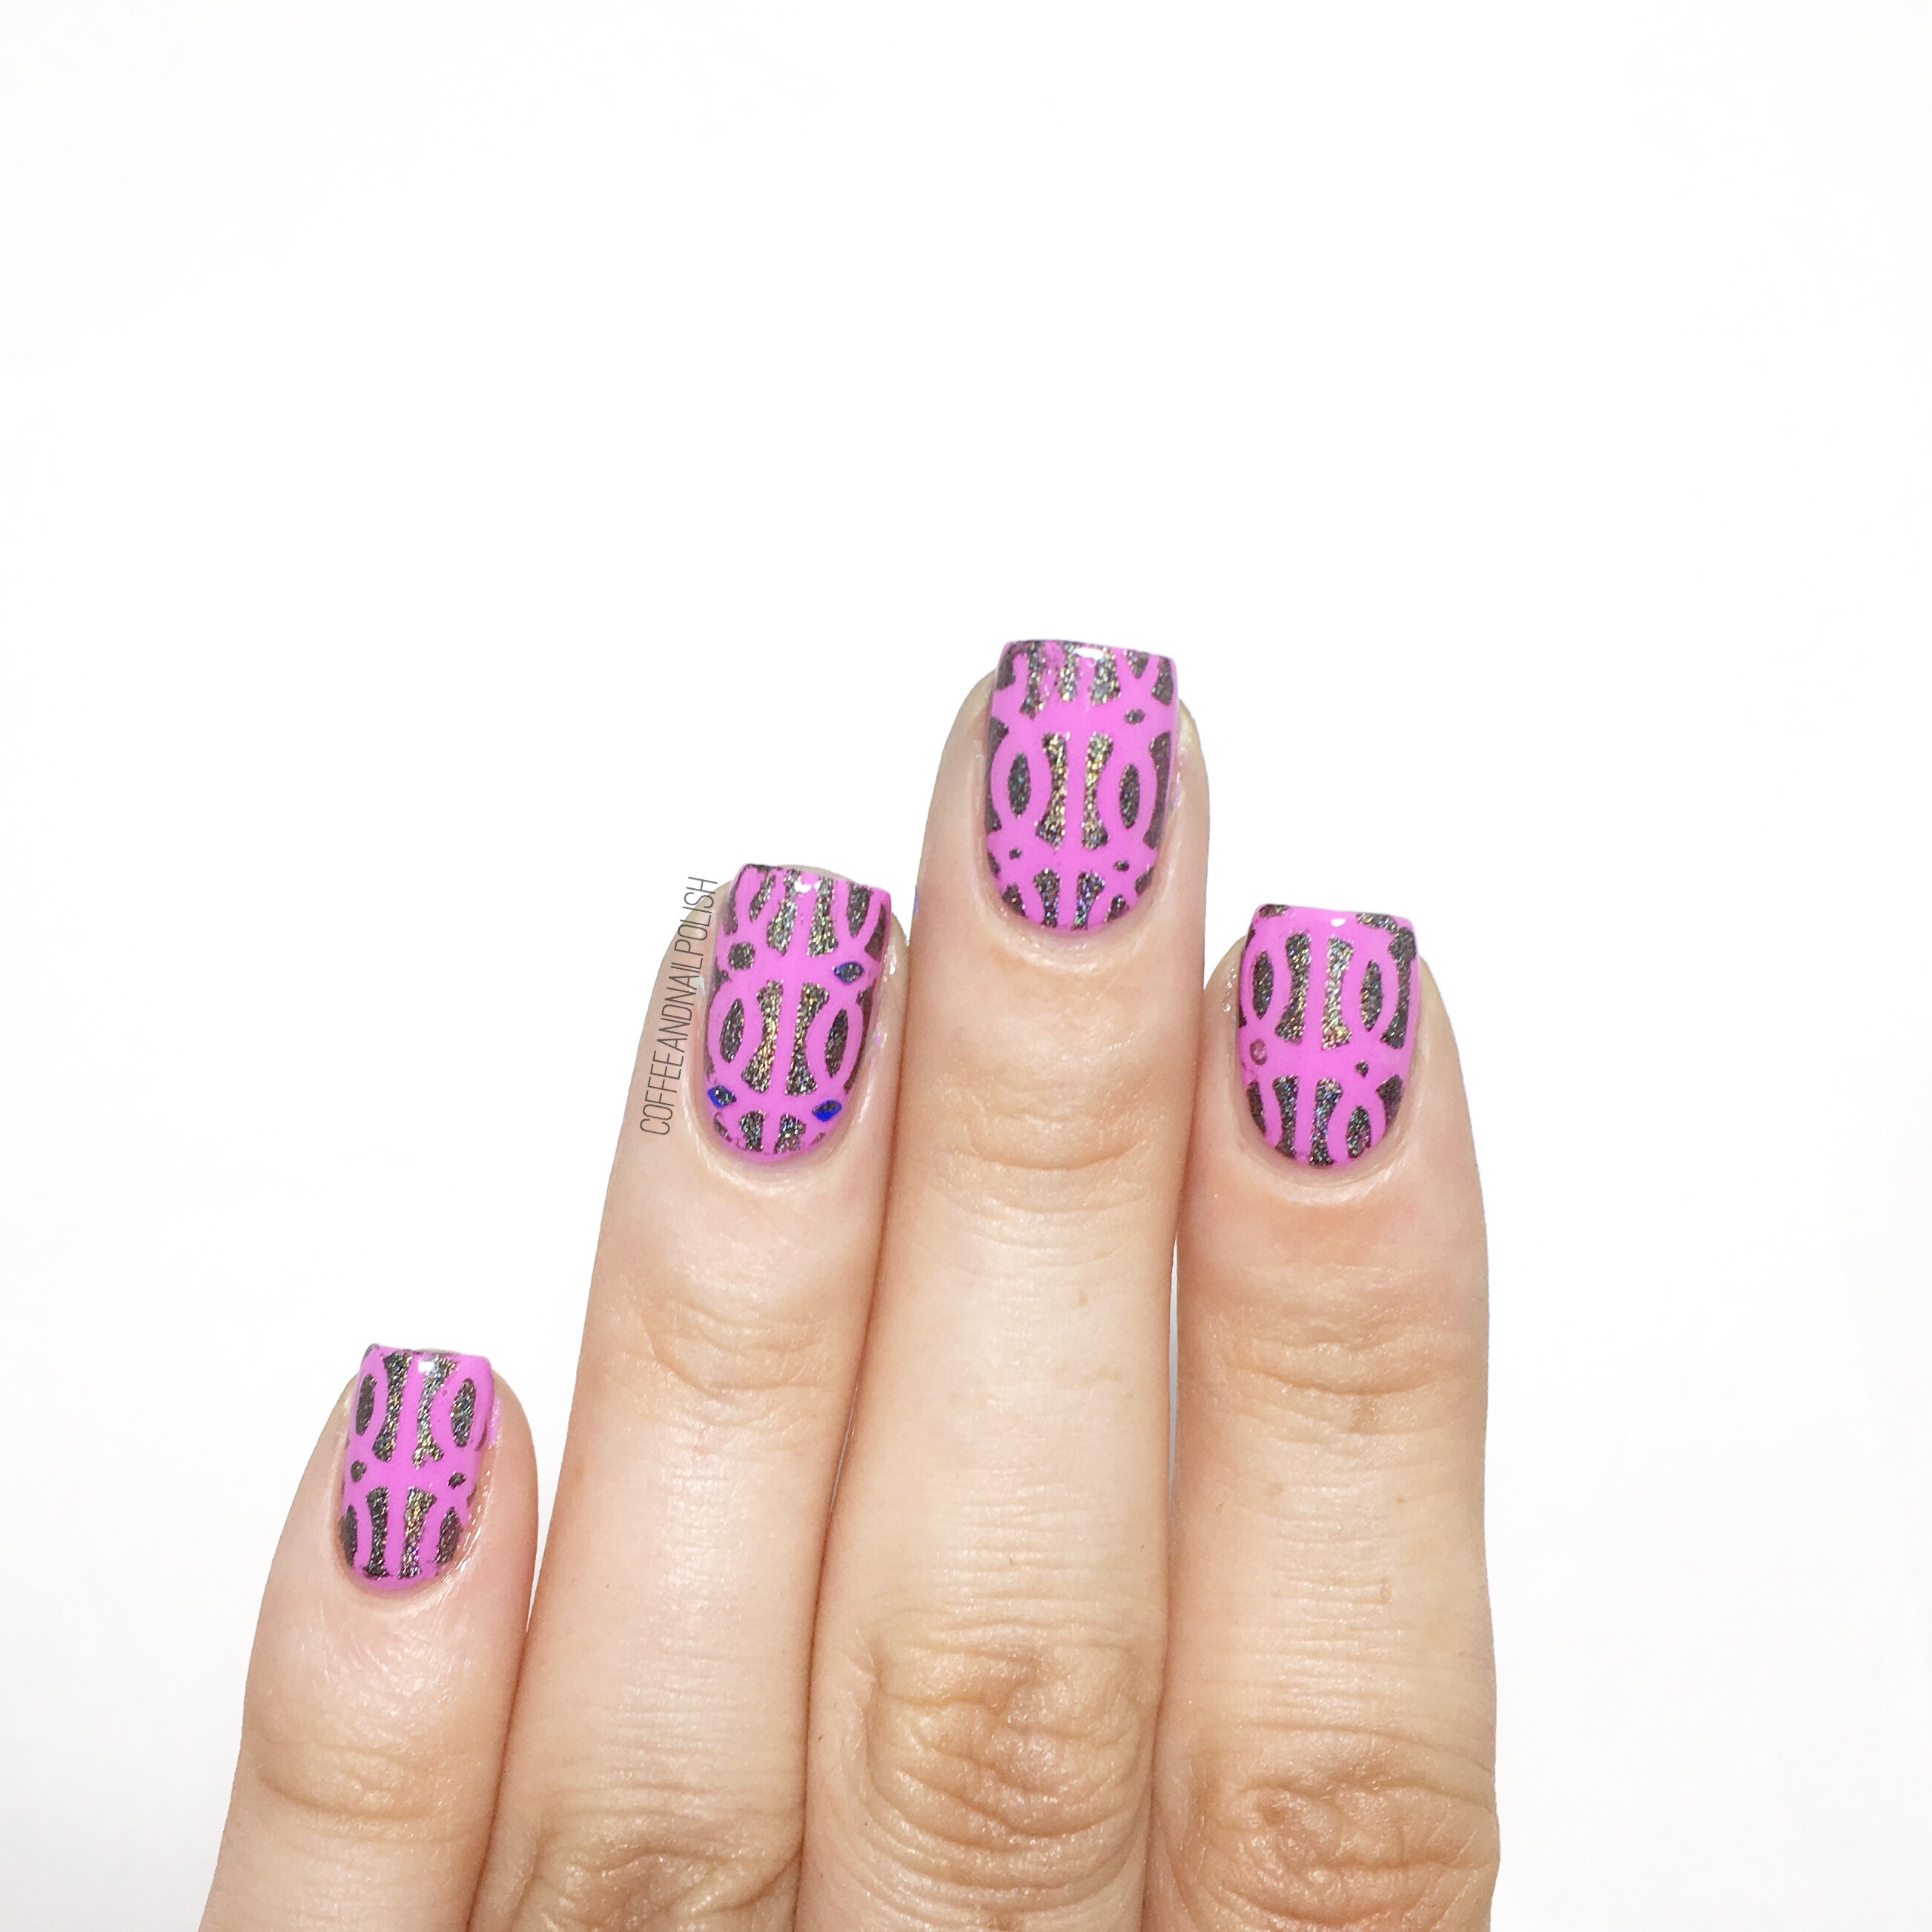
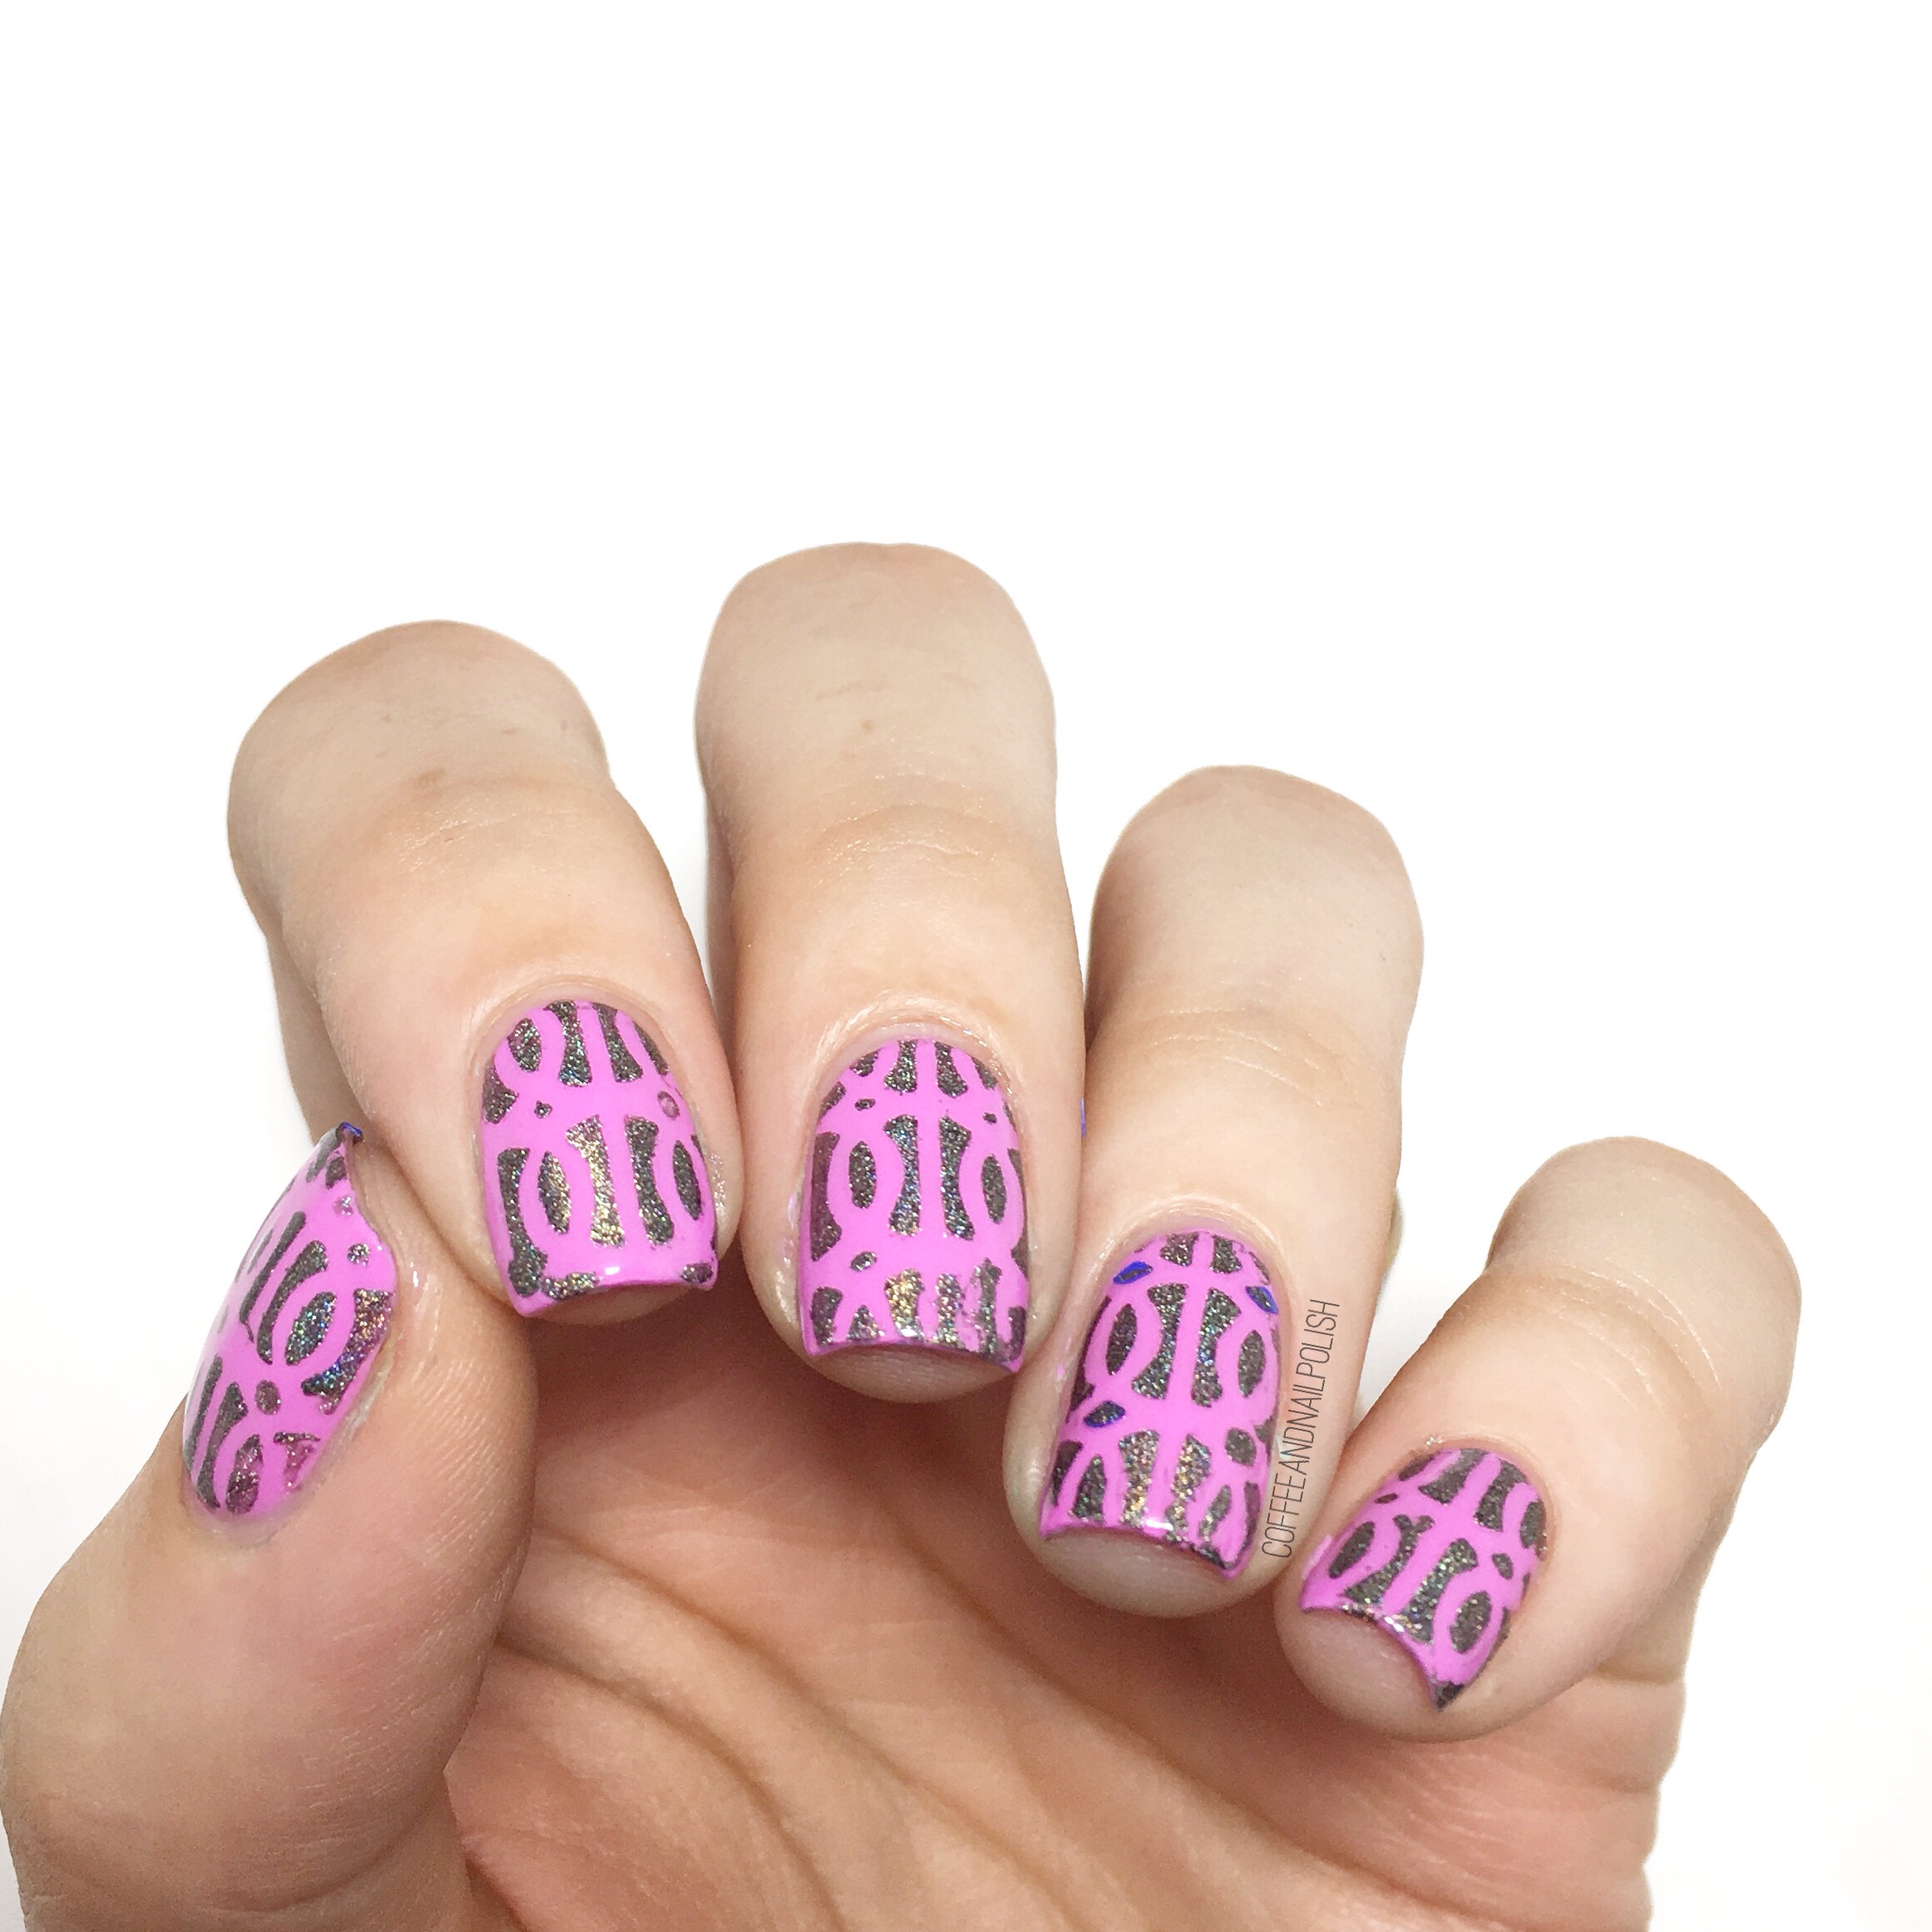
Hello Internet! After two weeks of packing & moving & unpacking & lacking the internet I am finally back! & oh boy am I happy to be back! Its officially December now, & that means it’s time for some serious Christmas-y nail spam. First up? These candy cane accent nails that have been sitting on my phone for the last week.

The polishes used for the design were:

  • Base Coat: Essie Grow Stronger
  • Top Coat: Seche Vive
  • Quo by ORLY The Antidote
  • Essence Dream On
  • Essence Perfect Match
  • Deborah Lippmann She Drives Me Crazy
  • Layla Cosmteics Soft Touch Golden Touch
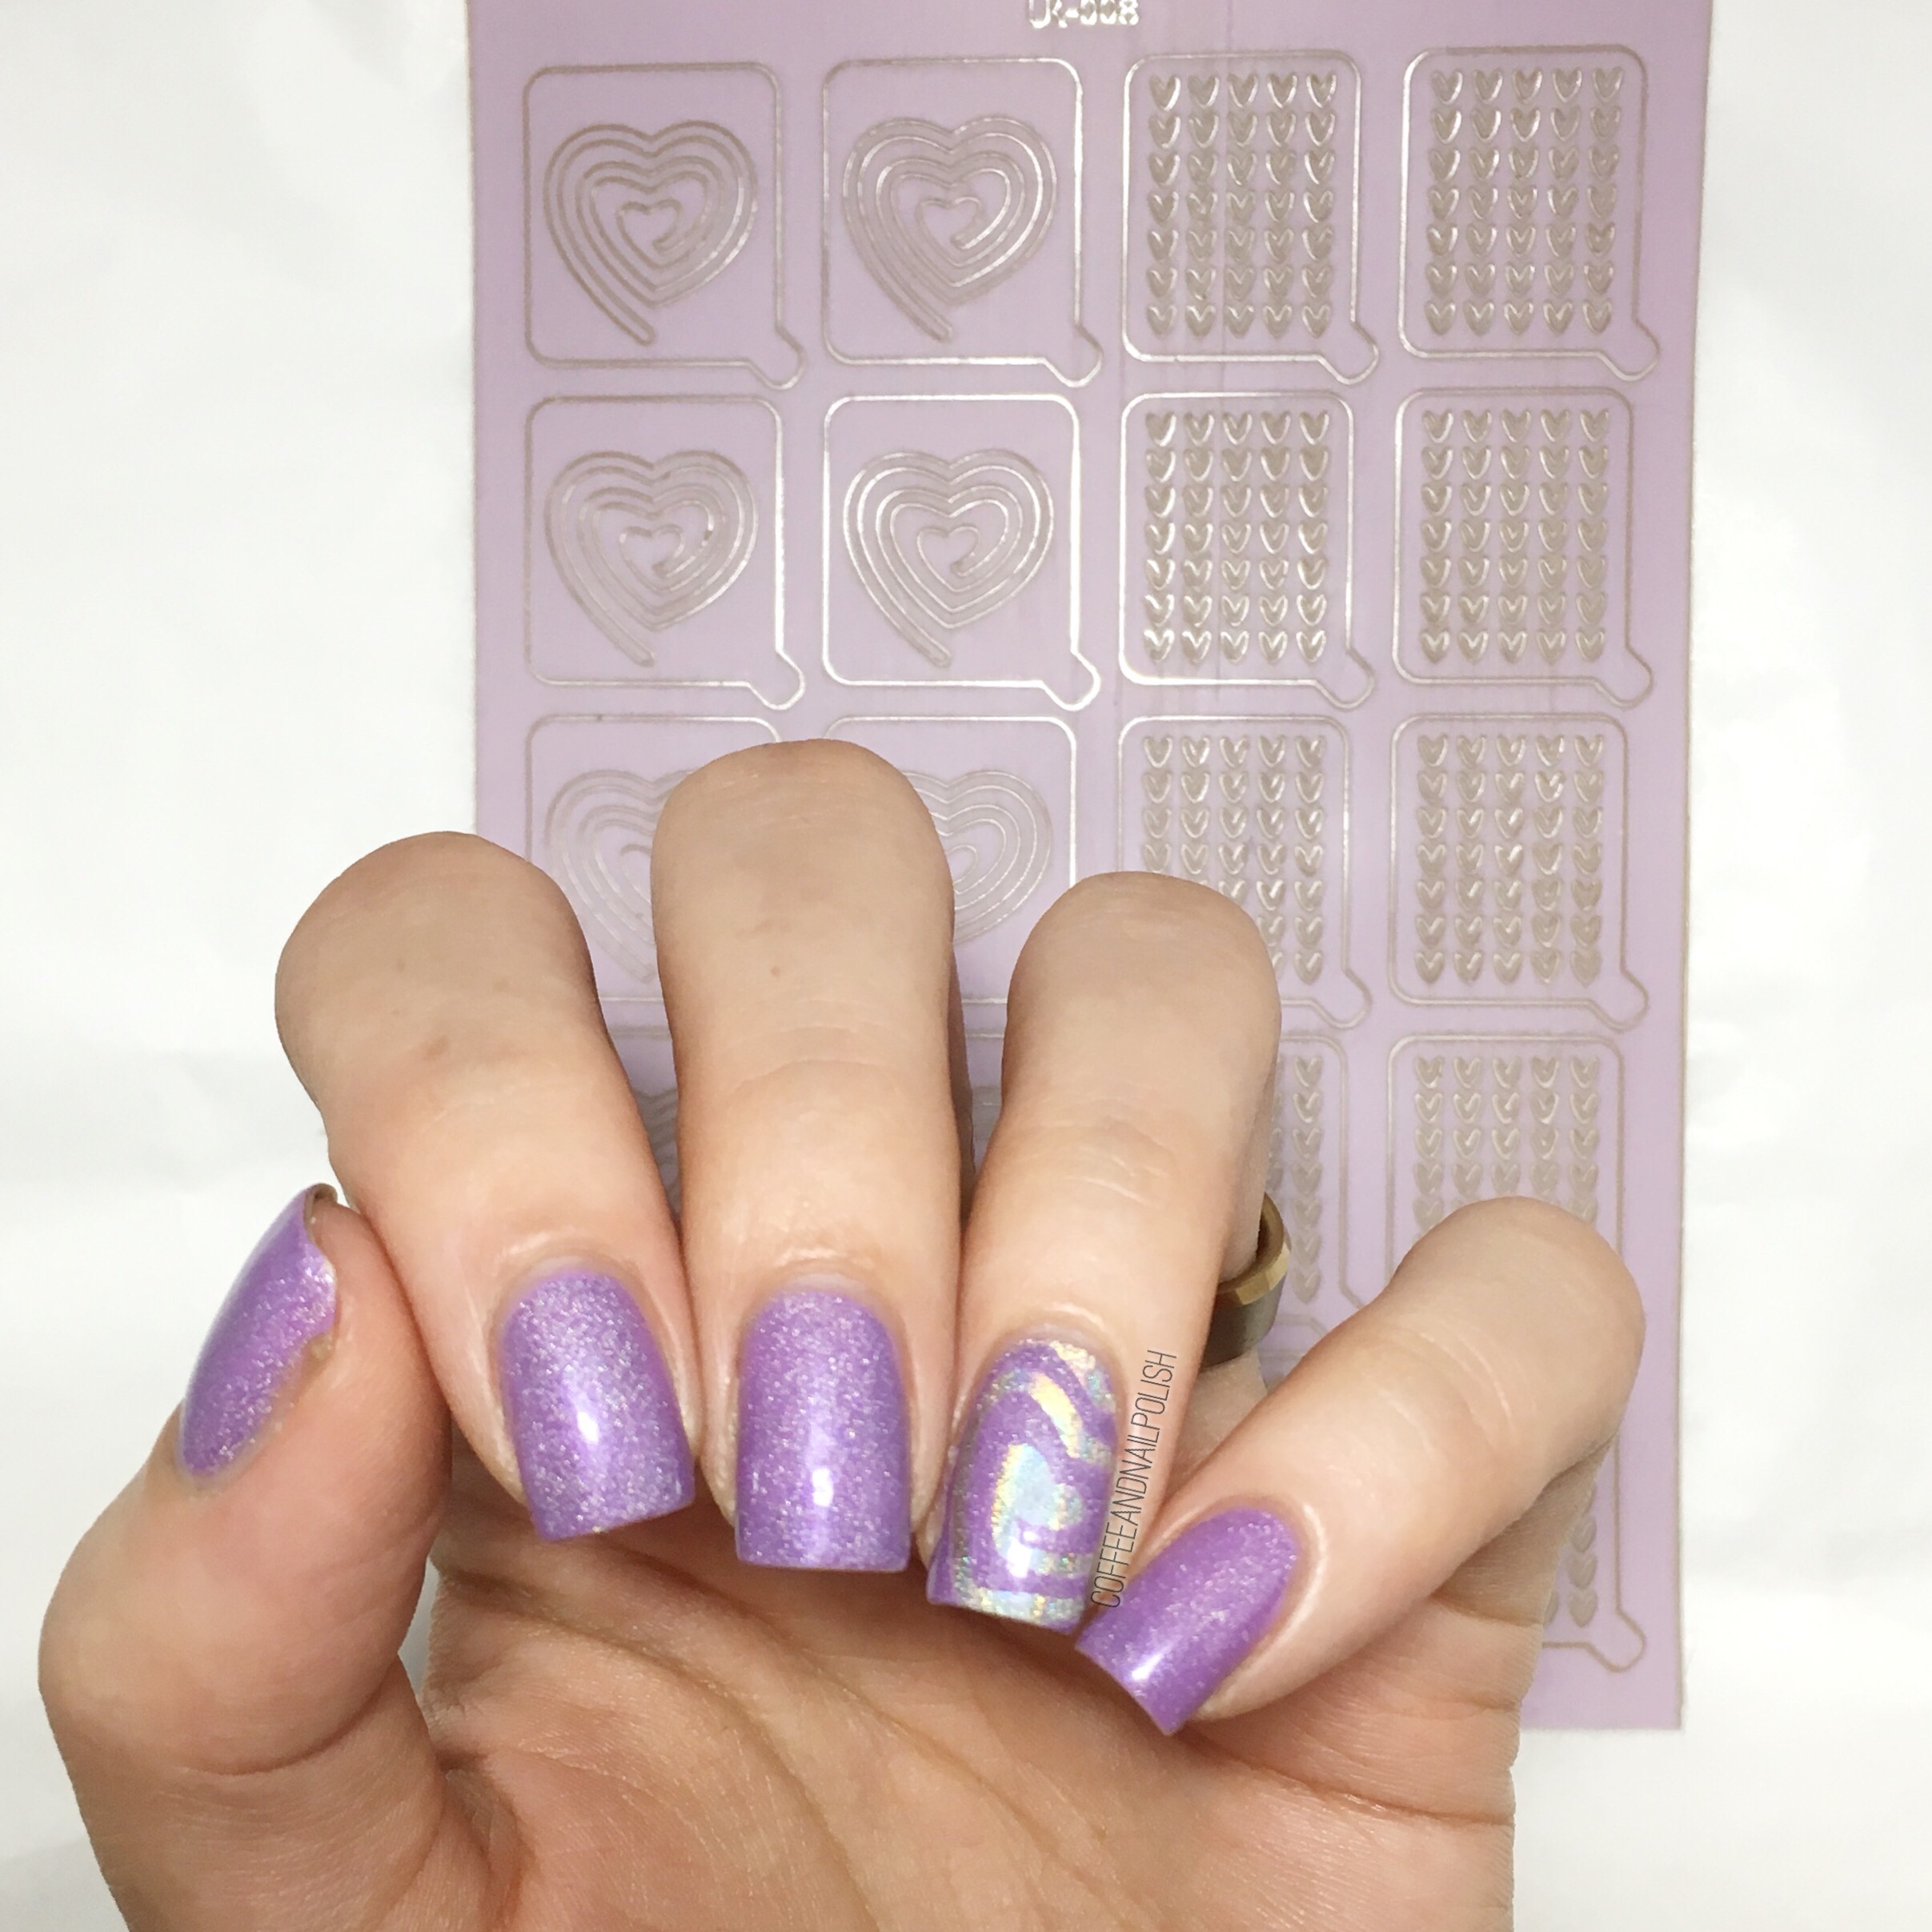
  • UR SUGAR Nail Stencils item #AUB39877 — click to buy

Who doesn’t love candy canes at Christmas — whether it’s an actual candy cane (my favourite are those sour patch kids ones that used to sell years ago… not sure if you can still buy them) or in the form a candy cane hot chocolate or mocha. There is something about those extra sweet & sugary sticks that bring out your inner elf… even if you don’t really like Christmas all that much.

What do you think  of these candy cane accent nails? Is this something you would wear for any of your holiday occasions. These would be super cute to wear to a Christmas party or Christmas concert! Let me know what you think of this design in the comments below, & let me know any Christmas designs you’d like to see this month!

Born Pretty Store Review — UR Sugar Adhesive Nail Vinyls Heart Pattern Nail Art item # 39723 


Good morning & happy Friday! Today I’m sharing another review of a fun item from Born Pretty Store. This time I’m reviewing some sugar adhesive heart pattern nail vinyls (item #39723). These vinyls comes with two different styles — the swirly hearts & the multiple hearts. Let’s consider this part one as I’m just reviewing the swirly hearts. 

For this manicure, I used:

  • Base Coat: L’Oréal All in One
  • Top Coat: Essie Speed Setter
  • Quo by ORLY Color Amp’d Paparazzi 
  • Layla Cosmetics Hologram Effect Mercury Twilight
  • UR Sugar Adhesive Nail Vinyls Heart Pattern item # 39723 

I’ve used a lot of nail vinyls over the last little while & I have to say these are definitely high up on the list. They are easy to peel off their backing & stick to the nail–easily adjustable but not so flimsy that they just stick together & crumple. Also they stick really, really well. I had zero issues with colour bleeding underneath. Also, you get two stencils in one with the heart swirls, which means you can do 20 nails total! I also really like that they have the useful little tab for pulling up your vinyl. 

All in all, I really like these vinyls. They’re easy to peel off & apply, they don’t bleed & they just work really well. Using nail vinyls can be difficult sometimes, but these make it easy! I also like the fact you get 2 different designs per sheet which can be used separately or combined together. I can definitely see myself using these again & would say anyone who is curious about trying out nail vinyls should give them a shot! 

& for fun—a shot of this holo manicure in action. 


If you’re interested in ordering these nail vinyls (or something else) from Born Pretty Store feel free to use my discount code COFFK31 to save 10% off any regular price items! I’ve been ordering from them for years, & I love the wide variety of products you can find for all your nail polish addict needs! 

Black Holo & Pink Ring Pattern Nails


Is anyone else amazed by the fact that June is almost over? It’s crazy how quickly time to flying by! Before you know in, we will all be rocking Christmas manis again! But in the mean time, I have some Summer worthy nails to show off. I pulled out more of my Xroma nail vinyl stencils because I’m kind of obsessed. I really like these ring stencils because they seem kind of Art Deco to me. 

For this manicure, I used:

  • Base Coat: L’Oréal All In One
  • Top Coat: Essie Speed Setter
  • OPI Two Timing The Zones
  • Layla Cosmetics Hologram Effect Black Flash 
  • Xroma Polish & Vinyls Rings Stencil

Is there anything better than holo nails on a sunny day? I’ve been pulling out my holo polishes a lot lately to embrace the sunshine we’ve been having. The Layla polishes I own especially show off the rainbow effect (which I love). I also really love using the dark holo over the right pink.  I was going for a kind of Art Deco look, & I feel like I was successful. 

What shades do you love wearing on Summery days? What do you think of these ring pattern stencils? Let me know in the comments below! 

Flashback Inspired Prom Nails

Yep! I’m showing off more prom inspired nails. Last week I created some nails that I thought would be beautiful to wear to prom, & today I’m sharing a manicure inspired by one of my own prom dresses! I totally got nostalgic thinking about prom after my last post, & started looking through old prom pictures on Facebook & figured why not create a mani inspired by those pretty dresses. 

My inspiration above. 🔺 Can you believe me that dress only cost me $17 & I still adore it so much. Man, if only we had occasions to wear formal dresses more often! Now obviously this is a simple look, so I thought a simple line of holo would perfectly represent the sparkly sequin belt on my dress. 

For this manicure, I used:

  • Base Coat: L’Oréal One Stop Base
  • Top Coat: Essie Speed Setter
  • Layla Cosmetics Ocean Rush
  • Sally Hansen Insta-Dri Brisk Blue
  • Xroma Polish & Vinyls Skinny Straight Nail Vinyls

Who doesn’t love holo? This is a serious question… I would love to meet this person. I’d put Layla Cosmetics Ocean Rush on their nails, because it would definitely change their minds. I mean just look at it–even though it’s a small line of holo, it just shines.  You can see some serious rainbows. 

What do you think of these nails inspired by my very own prom dress? I hope you like them, because I may have accidentally clicked “like” on a prom picture of my high school boyfriend & I while trying to scroll through & find a picture of this dress on Facebook & that’s awkward. Haha. 

Would you ever create nails based on a favourite dress of yours? Let me know in the comments below! 💙

Turquoise Marble Stone Nails


Happy Friday! Today I’m sharing a gemstone/Turquoise stone design. I attempted a similar design three-ish years ago so it felt like a good chance to revisit this design! This is is also the first post using my brand new iPhone 6s. I just can’t get my over the picture quality–it’s awesome! 


For this manicure, I used:

  • Base Coat: Perfect Formula Pink Gel Coat
  • Top Coat: Cutex Quick Dry Top Coat
  • My Beauty Spot unnamed Teal
  • Essie Mint Candy Apple
  • Sally Hansen X-treme Wear Golden-I 
  • Layla Bubbley Effect in Black 

For this design, I kind of made up the technique on the fly. I started off with my base of teal. I then took a piece of crinkled up plastic bag, and dabbed on Mint Candy Apple & Golden-I & finished off with some top coat to seal in the base. After I felt like my base was dry enough (about 5-10 minutes) I grabbed my bottle of Layla Bubbley effect & added splots of the polish on each nail. I then went & ran that nail under water to remove some of the polish which left the black bubbles on the nail. Depending on how it turned out, I would add more black again and repeat the process. When I was happy with each nail, I finished off the whole design by sealing in with top coat. 

This is a super simple design, & it ended up being relatively quick to do. & definitely less clean up than using the traditional water spotted technique that you see for creating stone nails. However, because Layla Bubbley is a special effect polish, I’m not sure how well it would work with normal polish (I’m guessing probably not very well.) However, I’m thinking it might work out with acrylic paint which I’ll have to add to my list of things to do! If you try it out, let me know how it works out! 

So what do you think of these turquoise stone nails? Would you wear these? Let me know your thoughts in the comments below!