Kiss once again spoiled me, & recently sent me a box of Christmas cheer in the shape of their Press On Nails & False lashes! The perfect thing to help me get Holiday ready quickly.
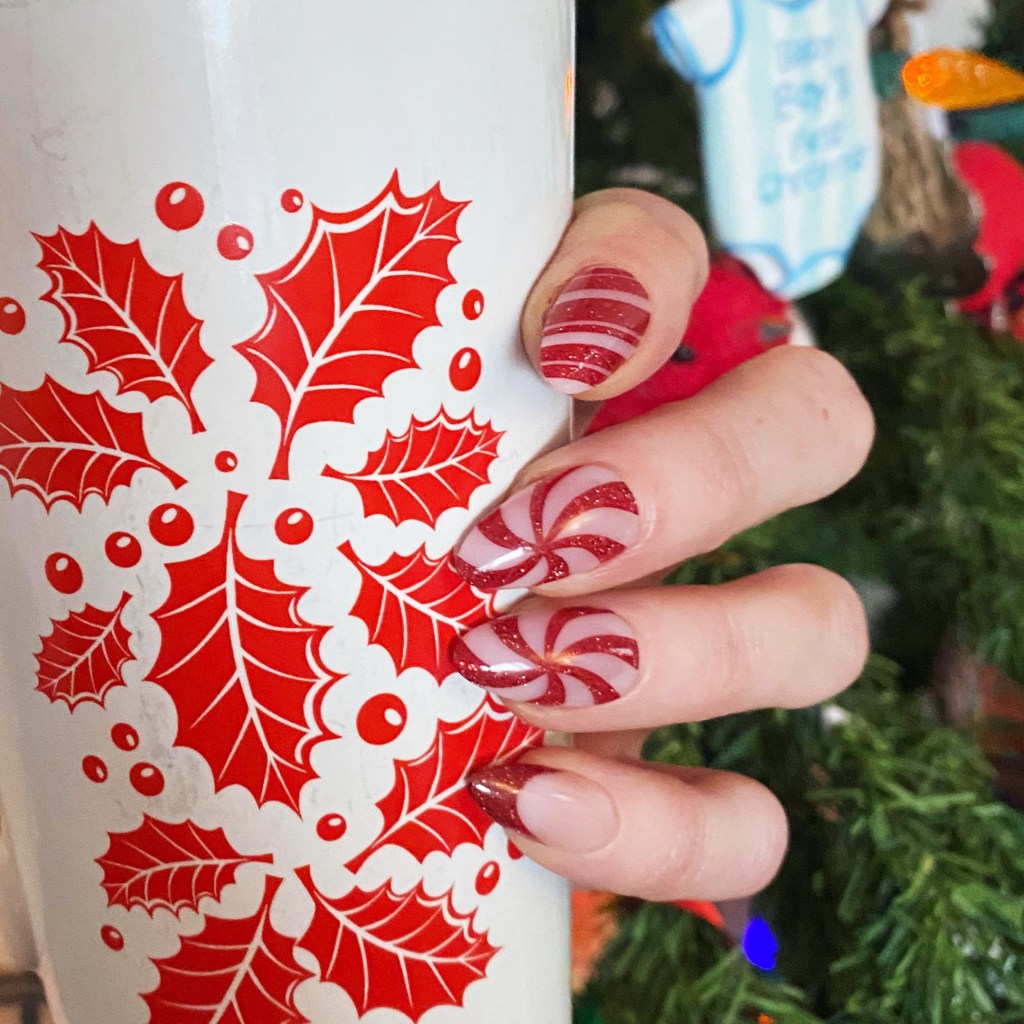
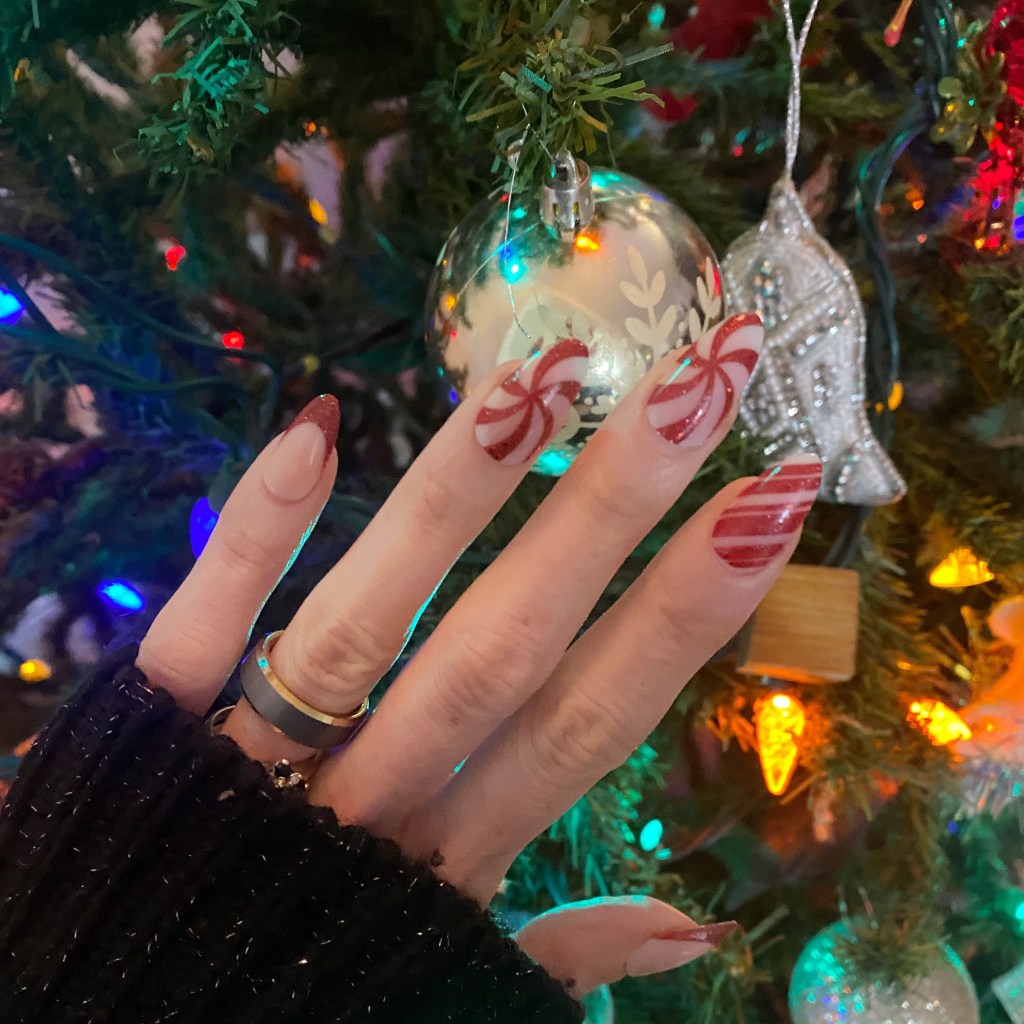
Sunday night I had a get-together with my former Candy Store coworkers, so I thought a set of nails would be perfect for the occasion — & who can say no to candy cane inspired nails!
These nails were fairly easy to apply. The trick is to make sure you pick out the size/style you need for each nail prior to starting your application, & laying them out in order. Then, start from your pinky nails & work your way to your thumb. I find this especially important to do when you’re doing nails with any significant length — like these ones!
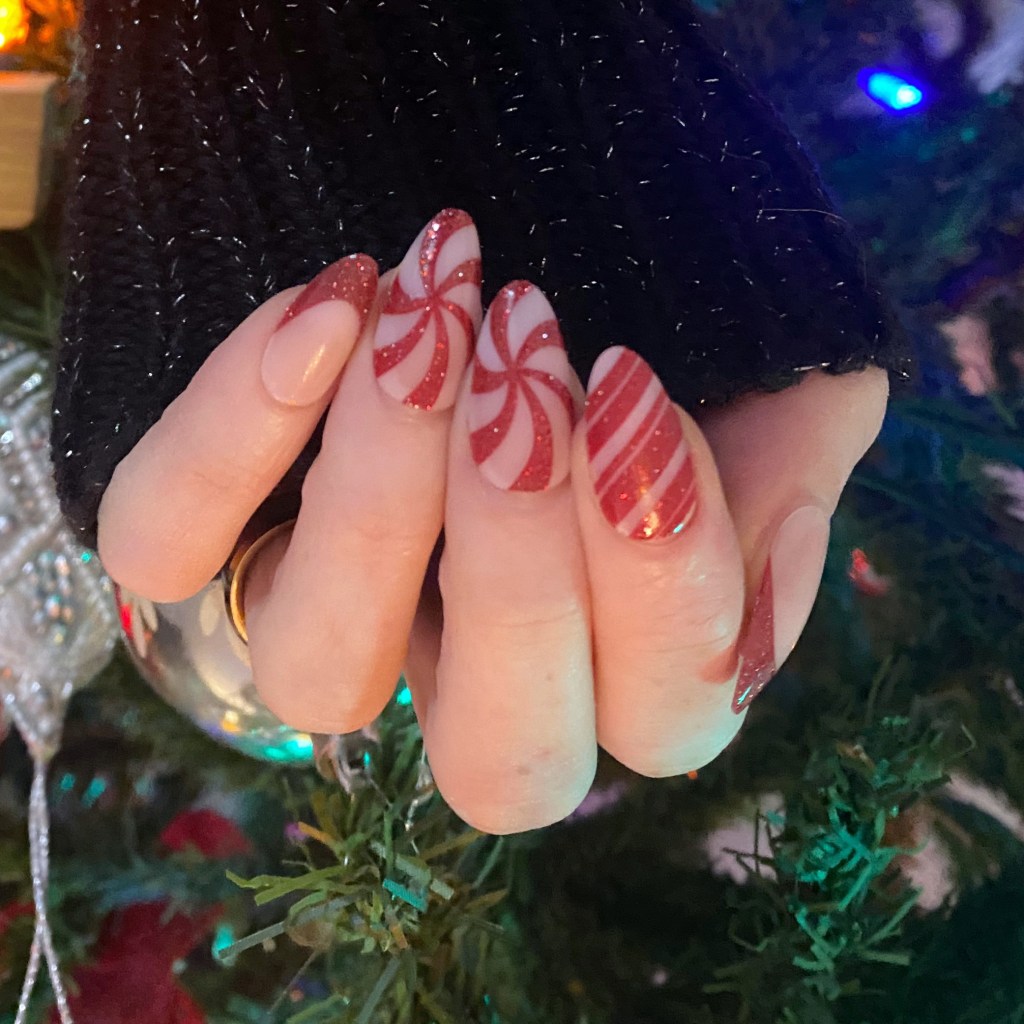
Now for these nails I was only planing on wearing them for the night, so instead of using the included glue, I chose to use sticky tabs to apply them which I find a better option for shorter term wear. Each pack does come with the Kiss Nail Glue, which from my previous experience does last really well & holds up against every day use.
What do you think about these Kiss Voguish Fantasy nails? Would you rock press on nails like this for a super quick & easy party look? Let me know all your thoughts in the comments below!
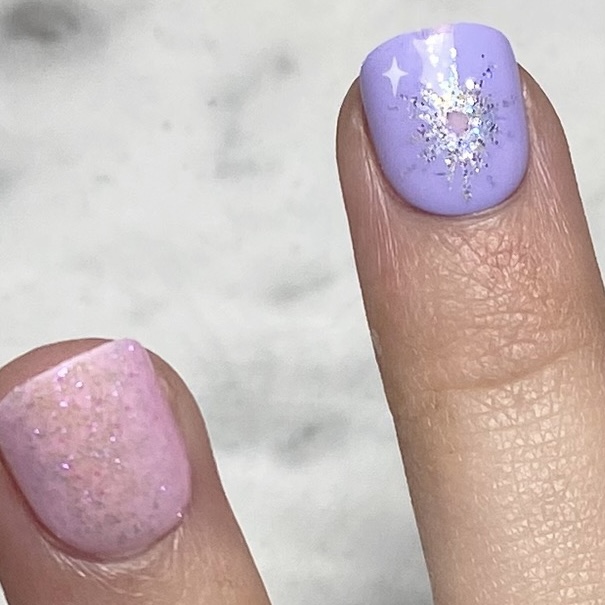
Hello loves & happy Sunday! Today I have a bit of a different Swatch Sunday post, & a special guest star! I was recently gifted a box of goodies from Kiss for the new Wicked: For Good movie, including a ton of press on nails. Even more special though, is they included 2 sets of the Impress Mini nails — perfect for my little girl!
To say she was excited was an understatement. So naturally, she wanted to put them on as soon as possible.
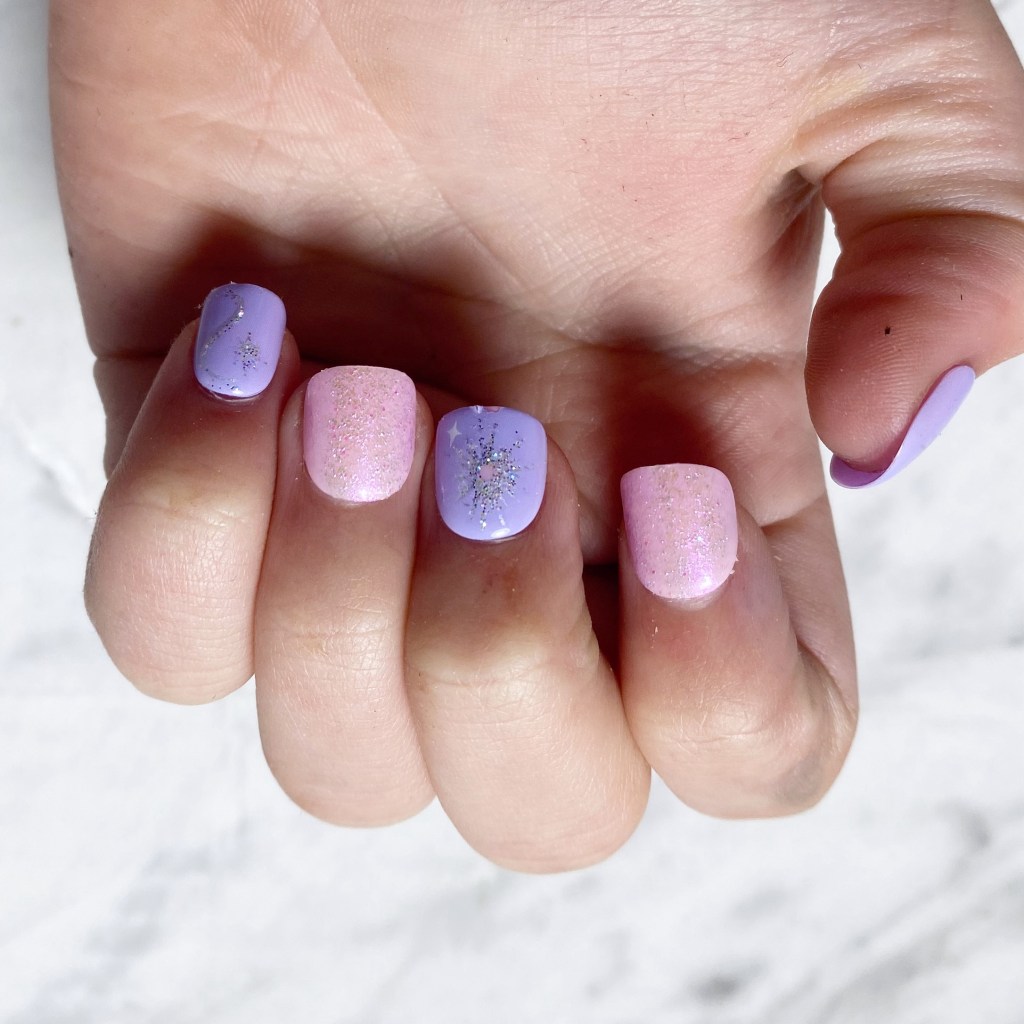
In the style Good News!
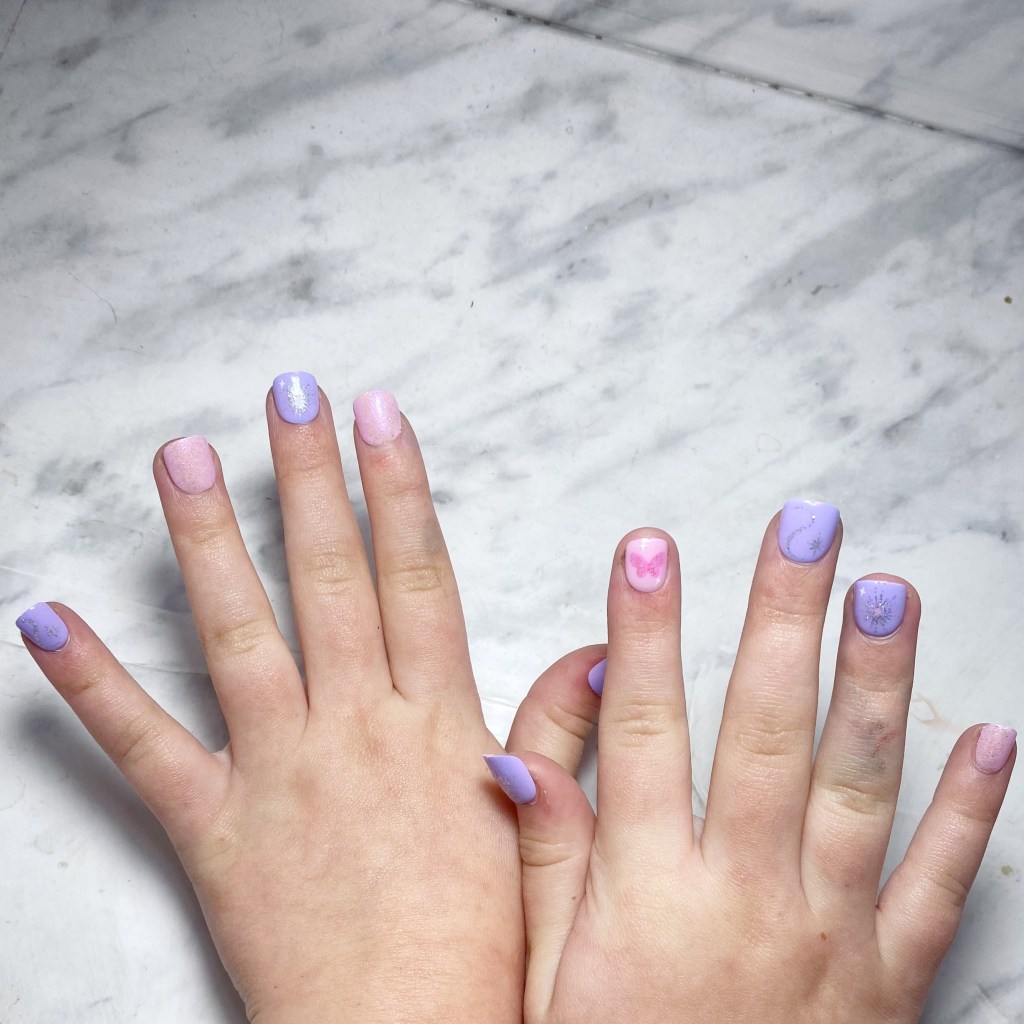
So coming from a Mom perspective, these nails were super easy to apply to my six year old. The part that took the longest was sizing each finger for the best fitting nail. Some aren’t perfect — & to be fair, I could have went through & filed them down to fit better — but we did a pretty good job matching up each nail with an appropriately sized fit.
Application itself was simple. Each press on nails were is already pre glued for application, so you just have to remove the protective plastic film, & press onto the coordinating nail.& make sure you pretty down hard, so it sticks well. Then you pop off the little tabs & give them a quick file with the provided file. Next time, I would probably use my own glass file for a smoother edge, but my little girl wasn’t bothered by the less than smooth finish — which also could have just been my own user error.
Each package comes with 18 nails, so it’s pretty easy to find ones to match up. They are also nice & sticky, but not so sticky you can’t also remove them easily. The little glittery patterns were also super cute, fun & girly, & my little girl loved that she got to “be” Glinda.
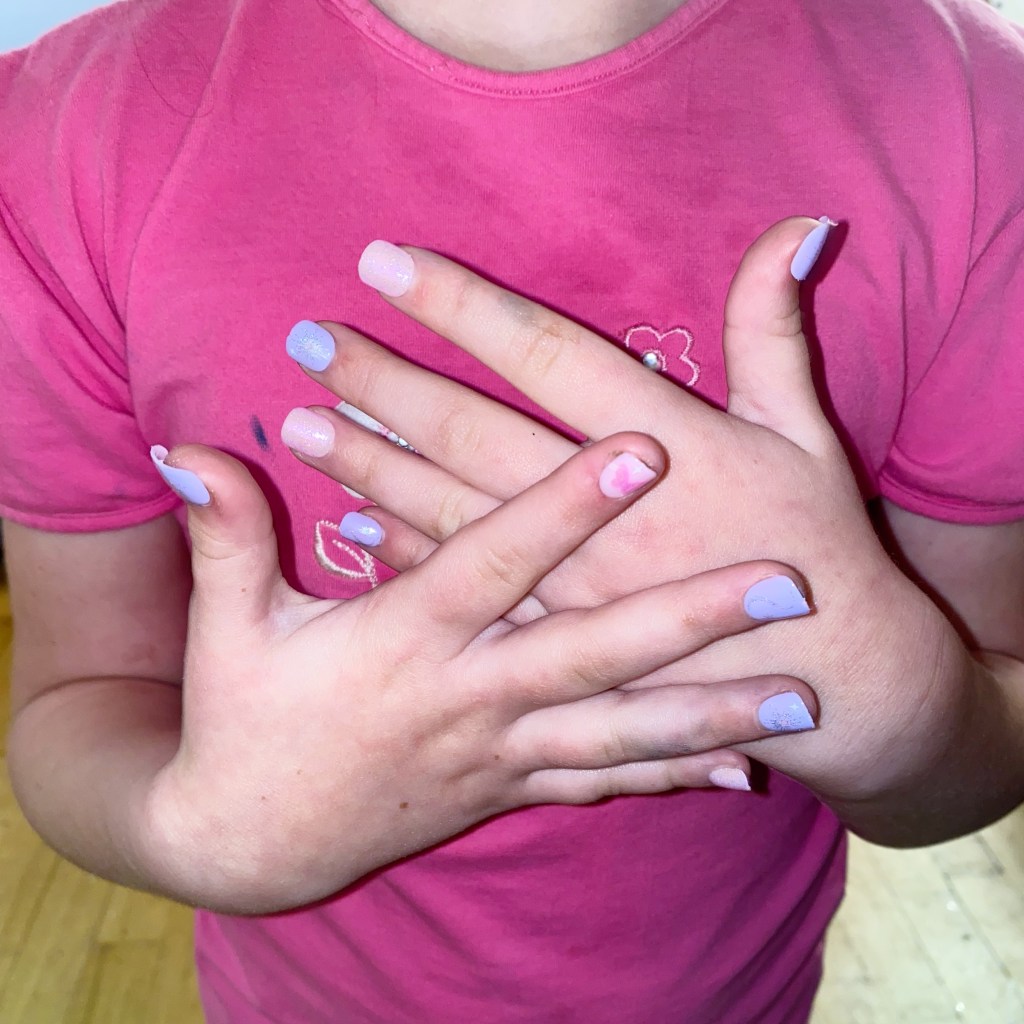
Over all these were super simple & quick to apply. Doing my little girl’s nails can sometimes not be the easiest, as she is six & doesn’t always want to sit still, but these made for a way less stressful application. Honestly, I can see buying these for her frequently just to keep things simple & easy. & even though she only decided to wear them a short time, she enjoyed them too! Plus we saved the nails for future use (also I would imagine I might need to get some sticky tabs for next time.)
Impress Mini Nails sell for around $7.97 CAD at my local Walmart, which I think is a fantastic price for a quick kids manicure. Like I said, the ease alone — & lack of stress — make these an immediate winner for me!
What do you think of these cute Impress Mini x Wicked: For Good nails? Are you a fan of press on nails? Let me know all your thoughts down in the comments below!
Hello loves & happy Saturday! I know, right — a Saturday post. It’s Halloween weekend, & I’m feeling wild, so I decided to share a fun post. Recently I was sent a fun PR box from Kiss — for the first time ever– which included a slew of fun press on nails, & a couple false lashes, all for Halloween. So naturally, I needed to try some of the goodies out!
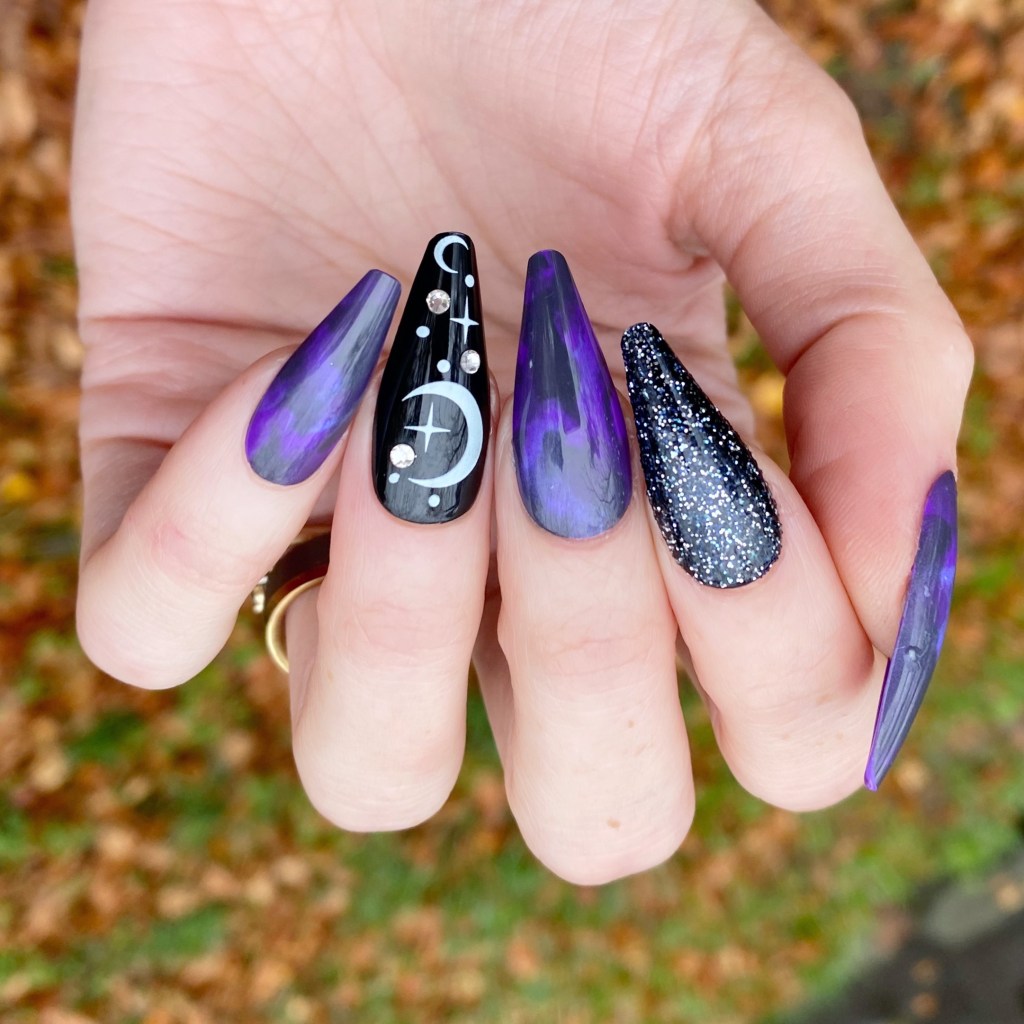
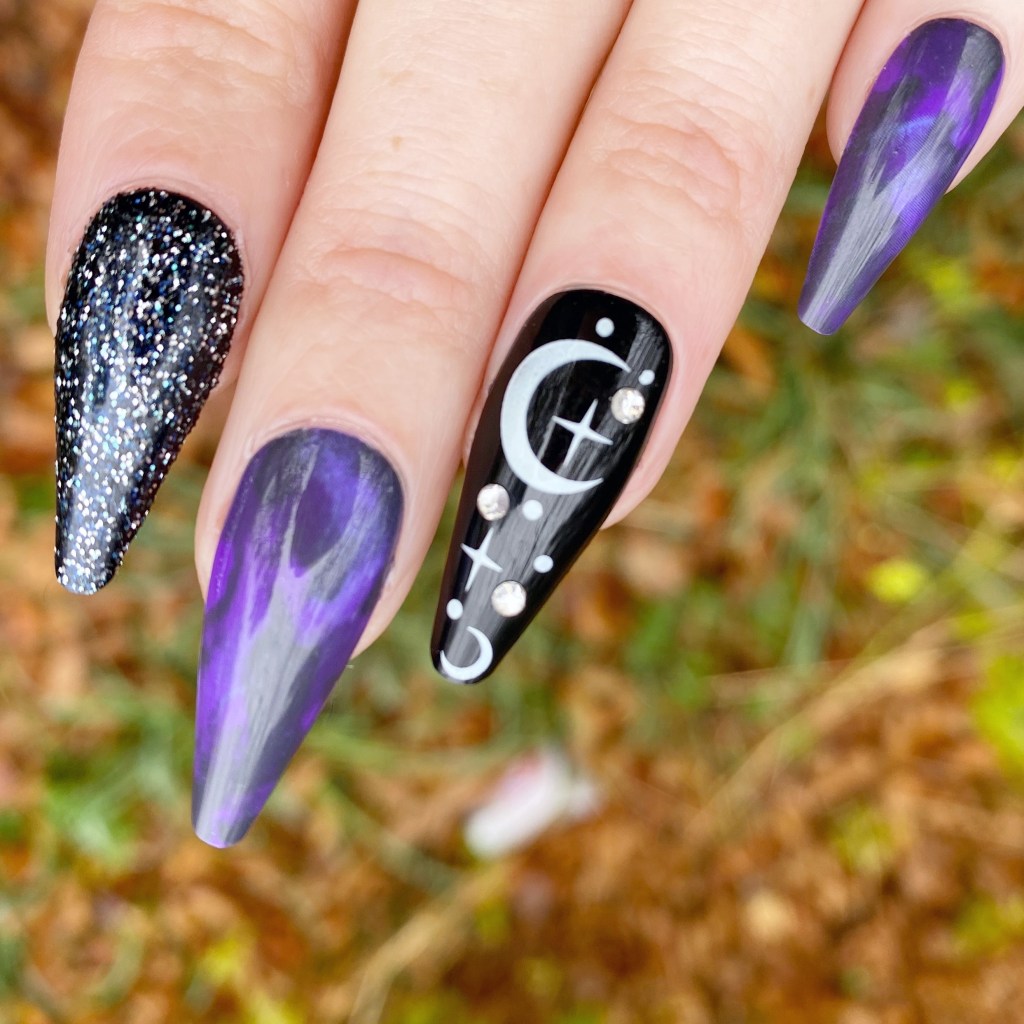
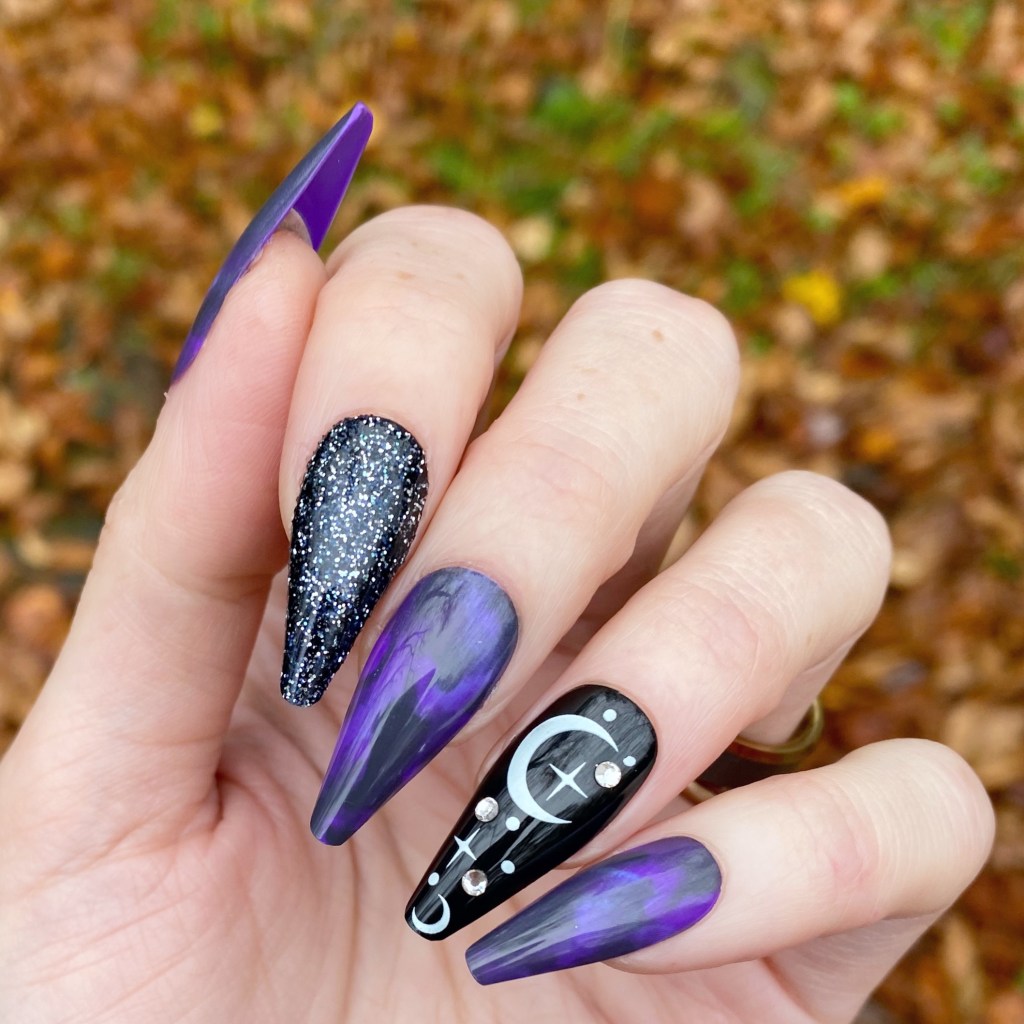
Full disclosure: I don’t think I’ve worn false nails in like… 18 years? I think the last time was my cousins wedding in 2006. So it’s been a while. I started off by going through the box & deciding on what length I wanted, but also took into account while nails had a fit that matched my cuticle line the best. I ended up going with these fun witchy nails, in the XL length. I went through & found nails to fit each nail, & then set them in a line so I could apply one by one, starting from my pinky to my thumb.
It was actually an easier process then I remember — & I didn’t end up with nail glue all over my hands which was nice. It definitely got more tricky the closer I got to my thumbs, especially with this extra long length, but I managed to get all 10 applied easily.
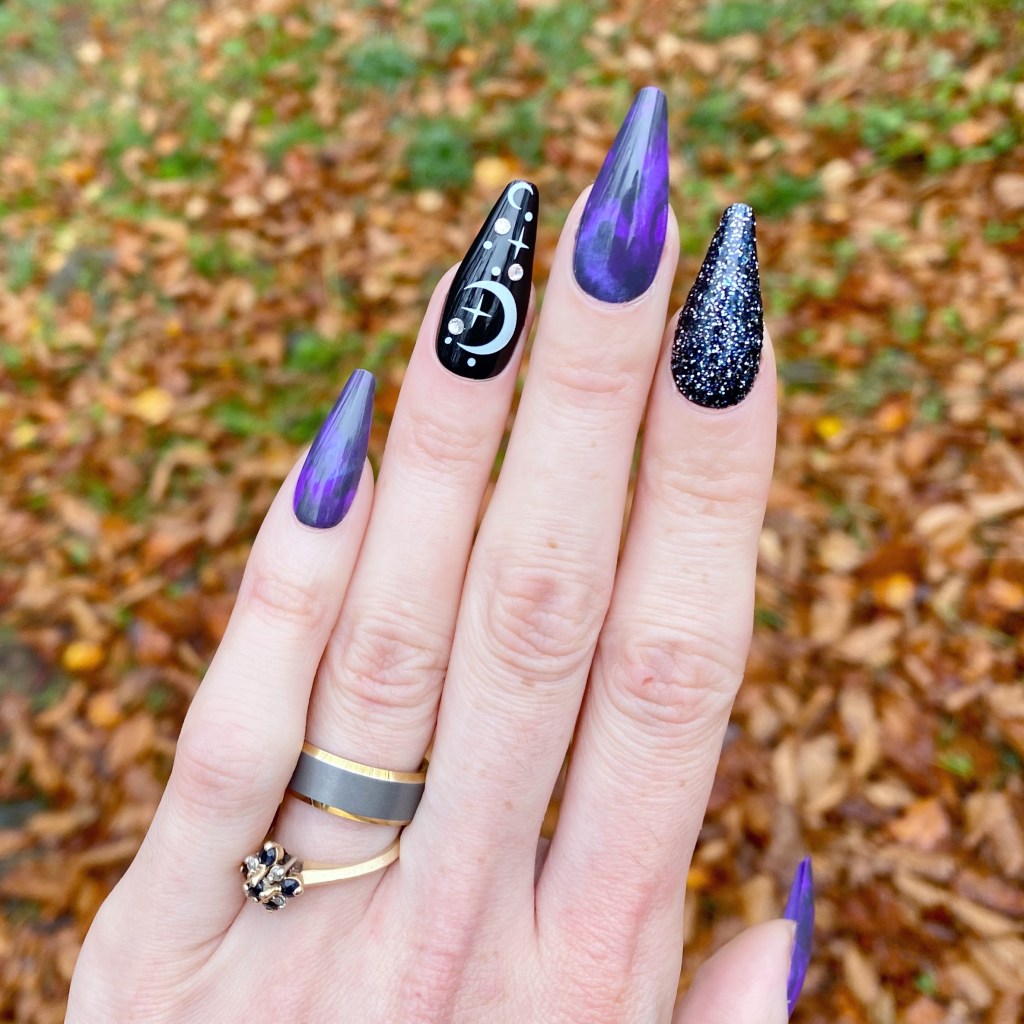
As for wear, I wore these for 3 days of work, & while the length definitely took some adjusting to, I was really impressed with the wear of the nails. I had no lifting, no nails that popped off; they were very secure. & that was during 3 days where I was unpacking boxes, & generally being pretty hard on my nails. If I had decided to, I definitely think could have gotten a week’s wear out of them.
Removal was a little more difficult. I purchased the Kiss Glue Off, which boasts easy removal, but it definitely was a bit of a challenge getting them off, & I did end up needing to trim down my natural nails due to some damage. But I also left my natural nails long, which I think was my own fault. However, if your nails are already short, & you want to add some fun length to them, these are an awesome option for you! & they definitely have great lasting potential, with a fraction of the cost you could pay at a salon!
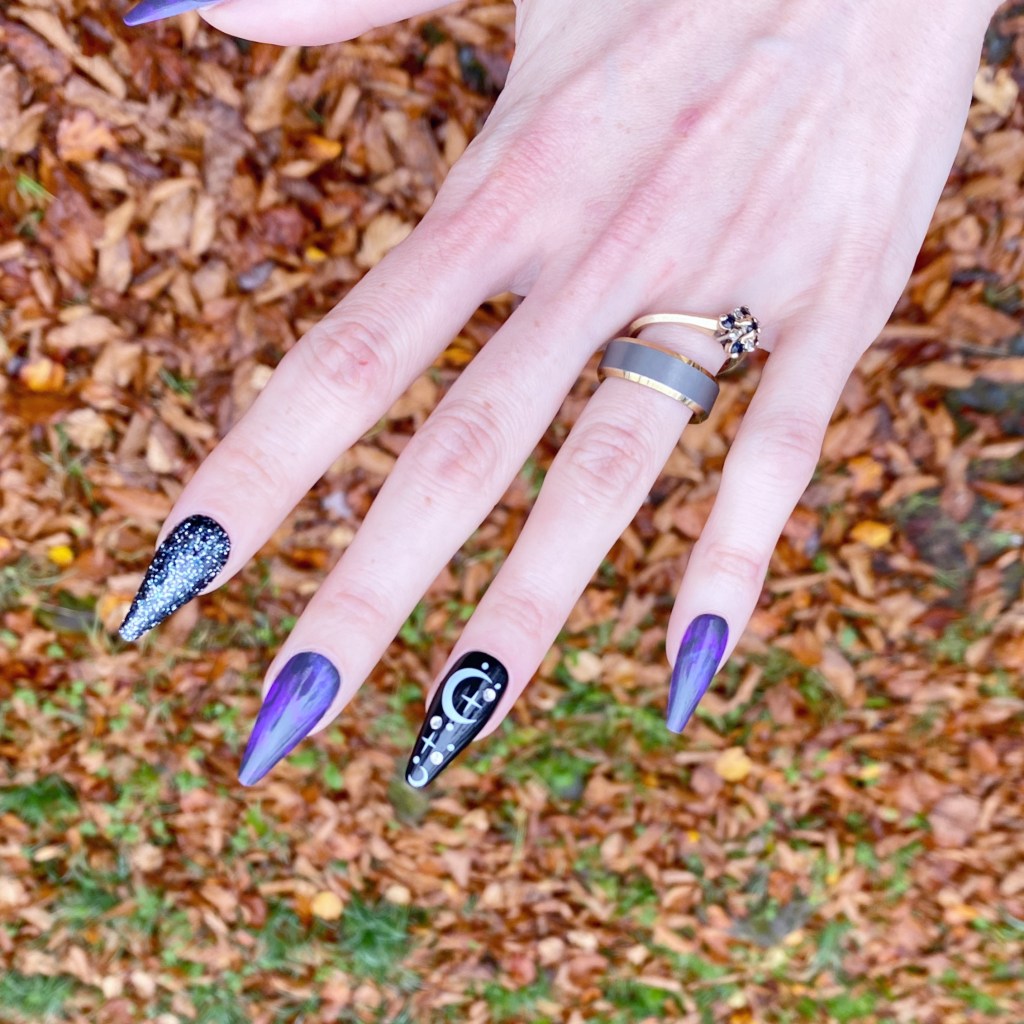
Overall, I was really impressed with these Kiss Press on Nails, & I had so much fun wearing them — even for a short time.
I don’t think I’m the target audience, simply because I like changing up my nail art a little more frequently, but I couldn’t get over how many compliments I received while wearing these, with a majority of people telling me how they looked like salon done nails! If you’re someone who likes having pretty nails, doesn’t want to change them too frequently, definitely check them out! Kiss Products can be purchased at your local Walmart.
Have a fun Saturday beauties!
Products featured in this post were provided in exchanged for content. All thoughts are honest & my own.
Hello lovelies & happy Thursday. This week is speeding by quickly, isn’t it? Crazy! Today I’m showing off a fun look I did earlier this week.
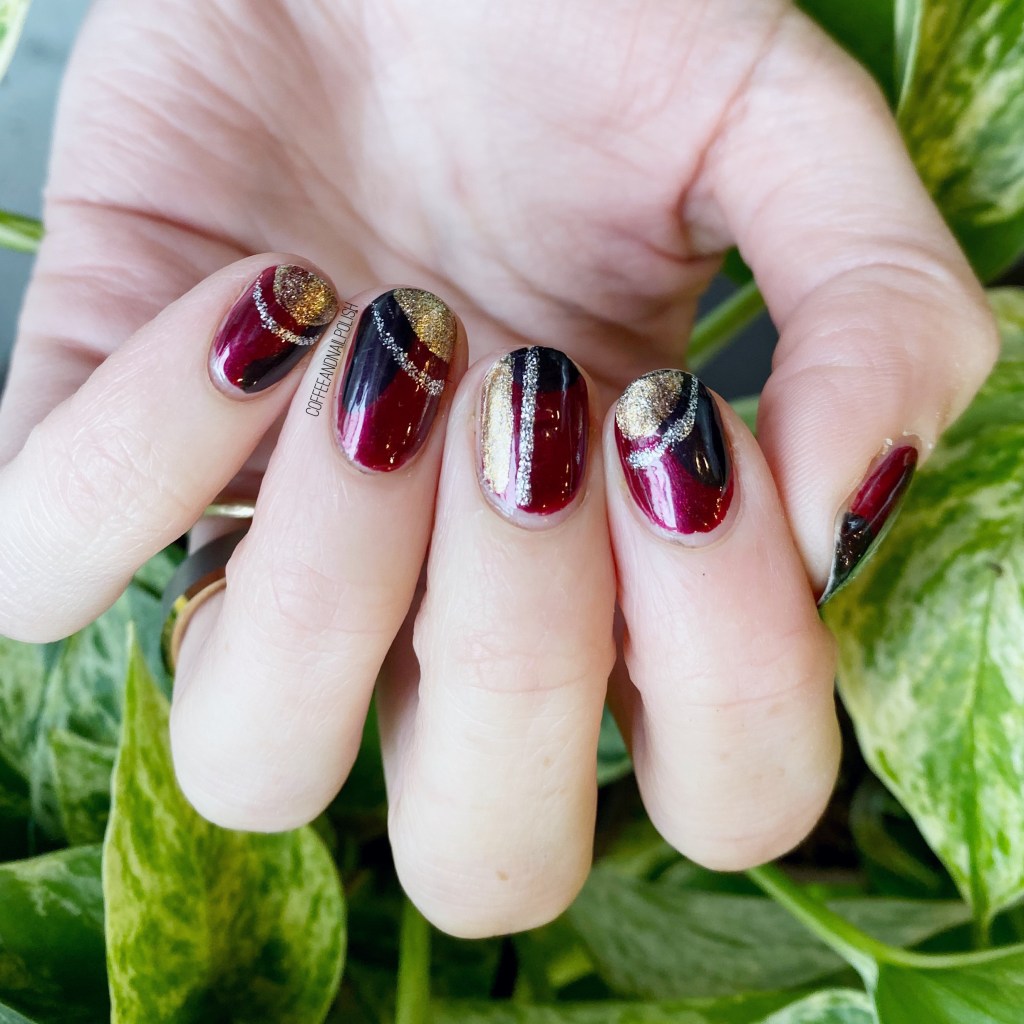
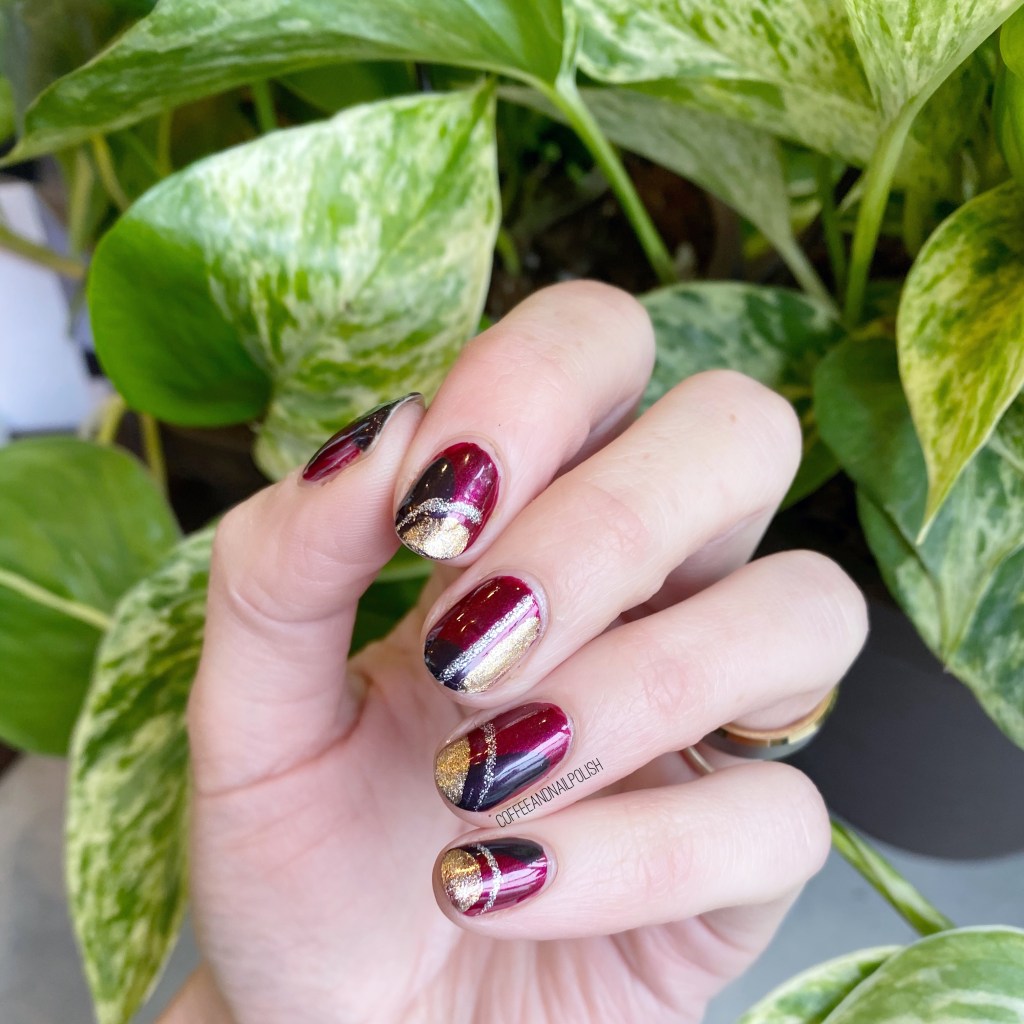
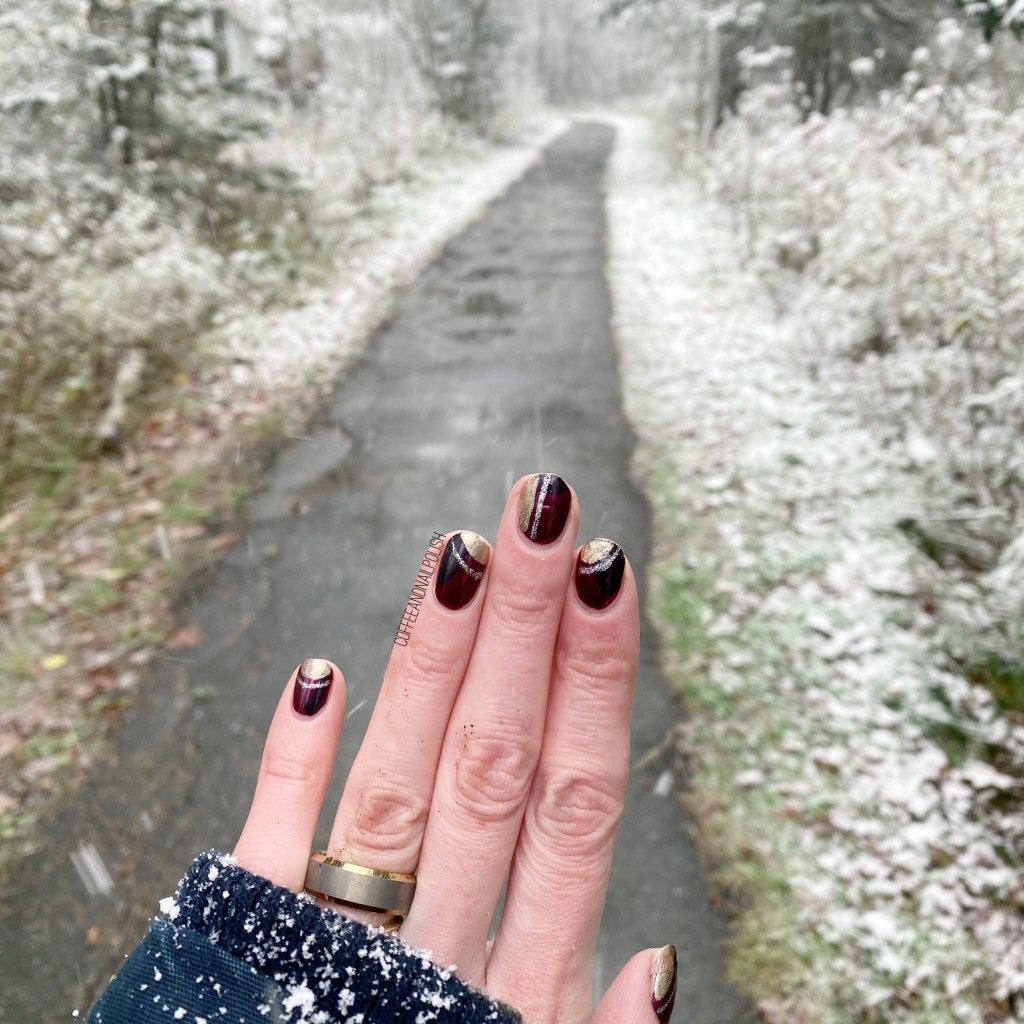
Full disclosure: I had painted my nails, went to work, chipped the hell out of them, & had ever intention of repainting them. Then I fell asleep at 7pm. When I woke up the next morning, I didn’t want to go to work with still chipped nails, so I thought of the easiest way I could cover up the “damage”, & decided to create this almost abstract colour blocking. & I think it turned out pretty cool for something that was painted on the fly. Haha.
For this manicure, the polishes I used were:
Base Coat: Sally Hansen Hard As Nails
Top Coat: Seche Vite
Sally Hansen Miracle Gel Frosted Berries
China Glaze Glamcore
Essie Mosiac On Down
Kiss Products Nail Art Striper in Silver
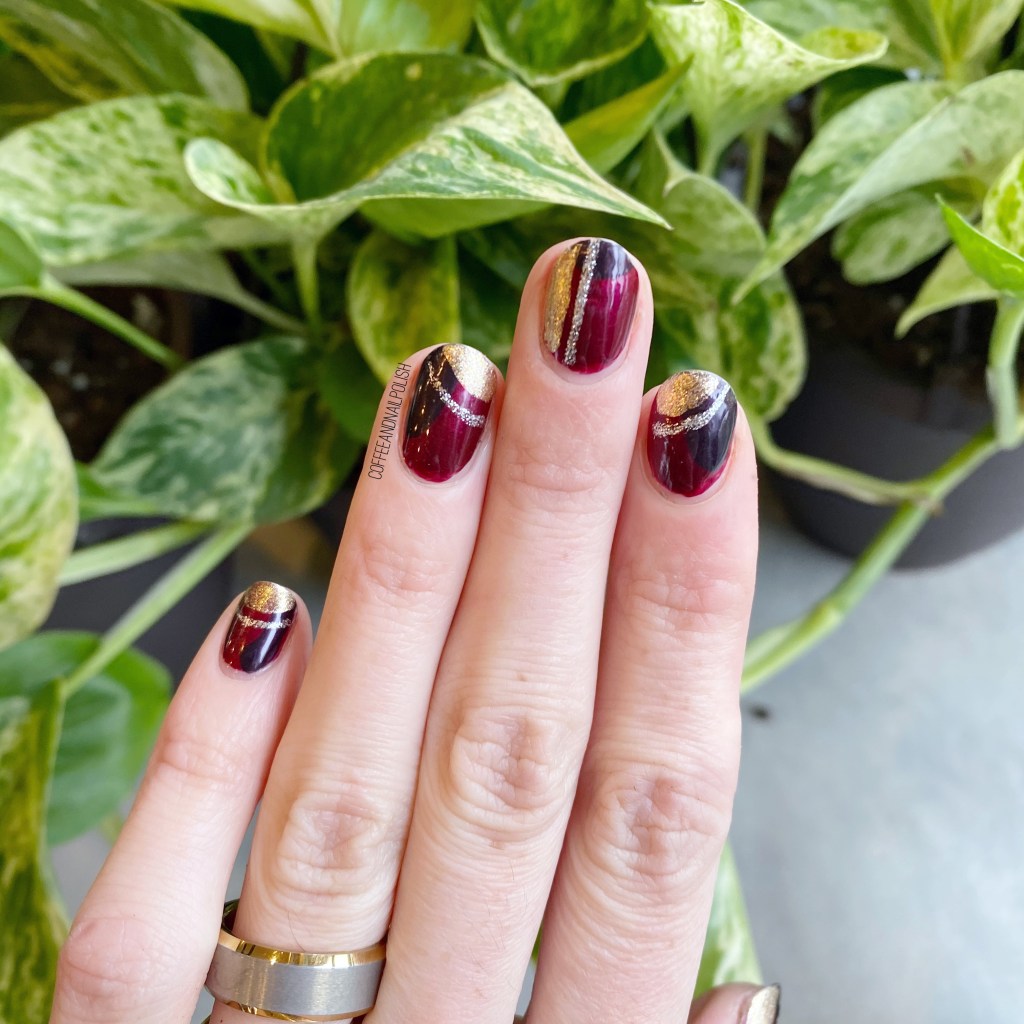
The colour choices — especially that silver — is giving me a bit too much of a holiday vibe, but I really do think this is a fun quick design. It was way easier than taking everything off, & repainting from scratch.
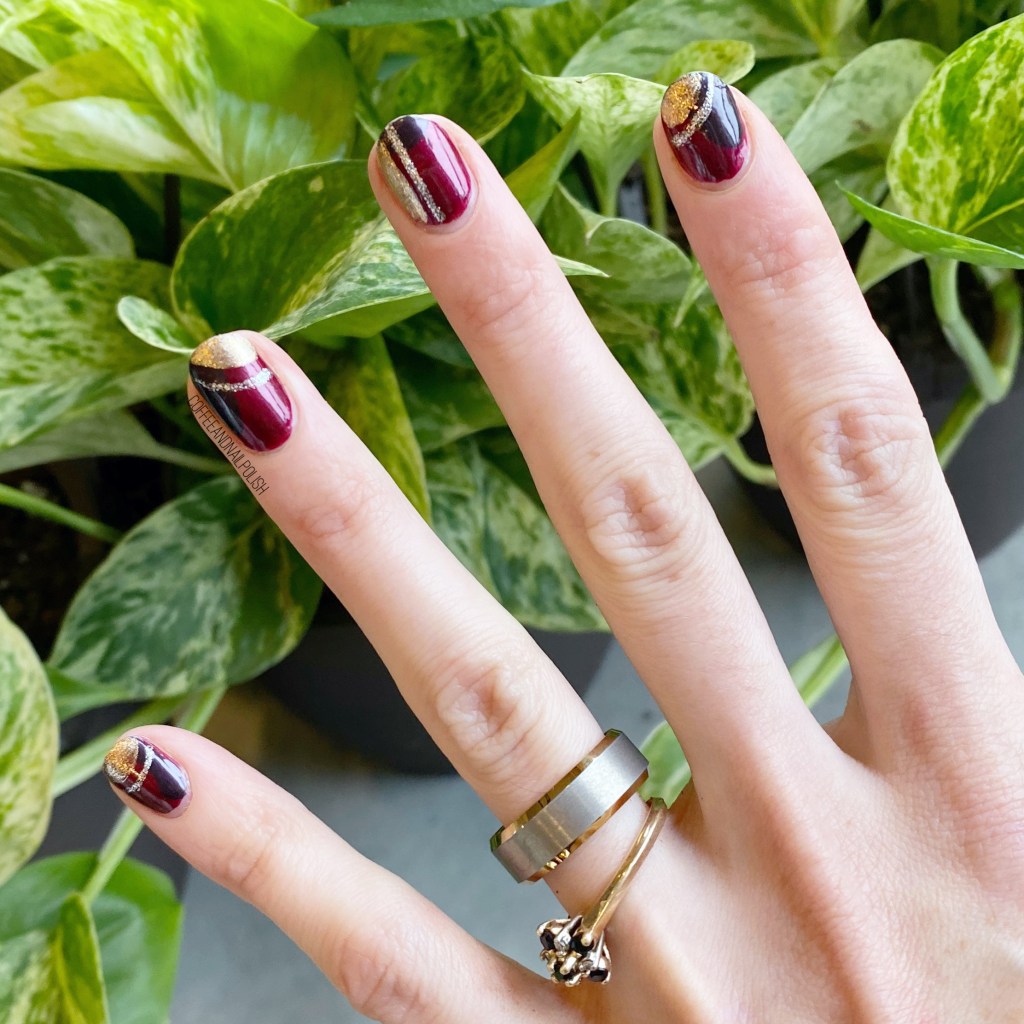
What I did was paint some base coat on the sections that a chipped, to protect the naked parts of my nails, then swiped the polishes over to cover up the chipping. I also used my bottle of Seche Vite, because I wanted to make sure they dried quick. & it turned out pretty neat! Also, in a weird way in kind of reminds me of argyle, or at the very least makes me want to do some argyle sweater print nails ASAP. Already playing the colour combination in my head as we speak.
Also, we totally got hit with a early winter storm, so I’m in full winter knit sweater nail mood when it comes to my nails. So that is your early warning there will probably be A LOT of sweater inspired nail art to come!
Have you ever tried to save a manicure or cover up some chipping to extend your nails another day? Any tricks you want to share? Let me know in the comments below!
Good morning lovelies & Happy Wednesday. I don’t know how it’s possible that we’re already half way through the week, but we are! & Today I’ve got a cute nail art look to share that is perfect for short nails (like mine!)
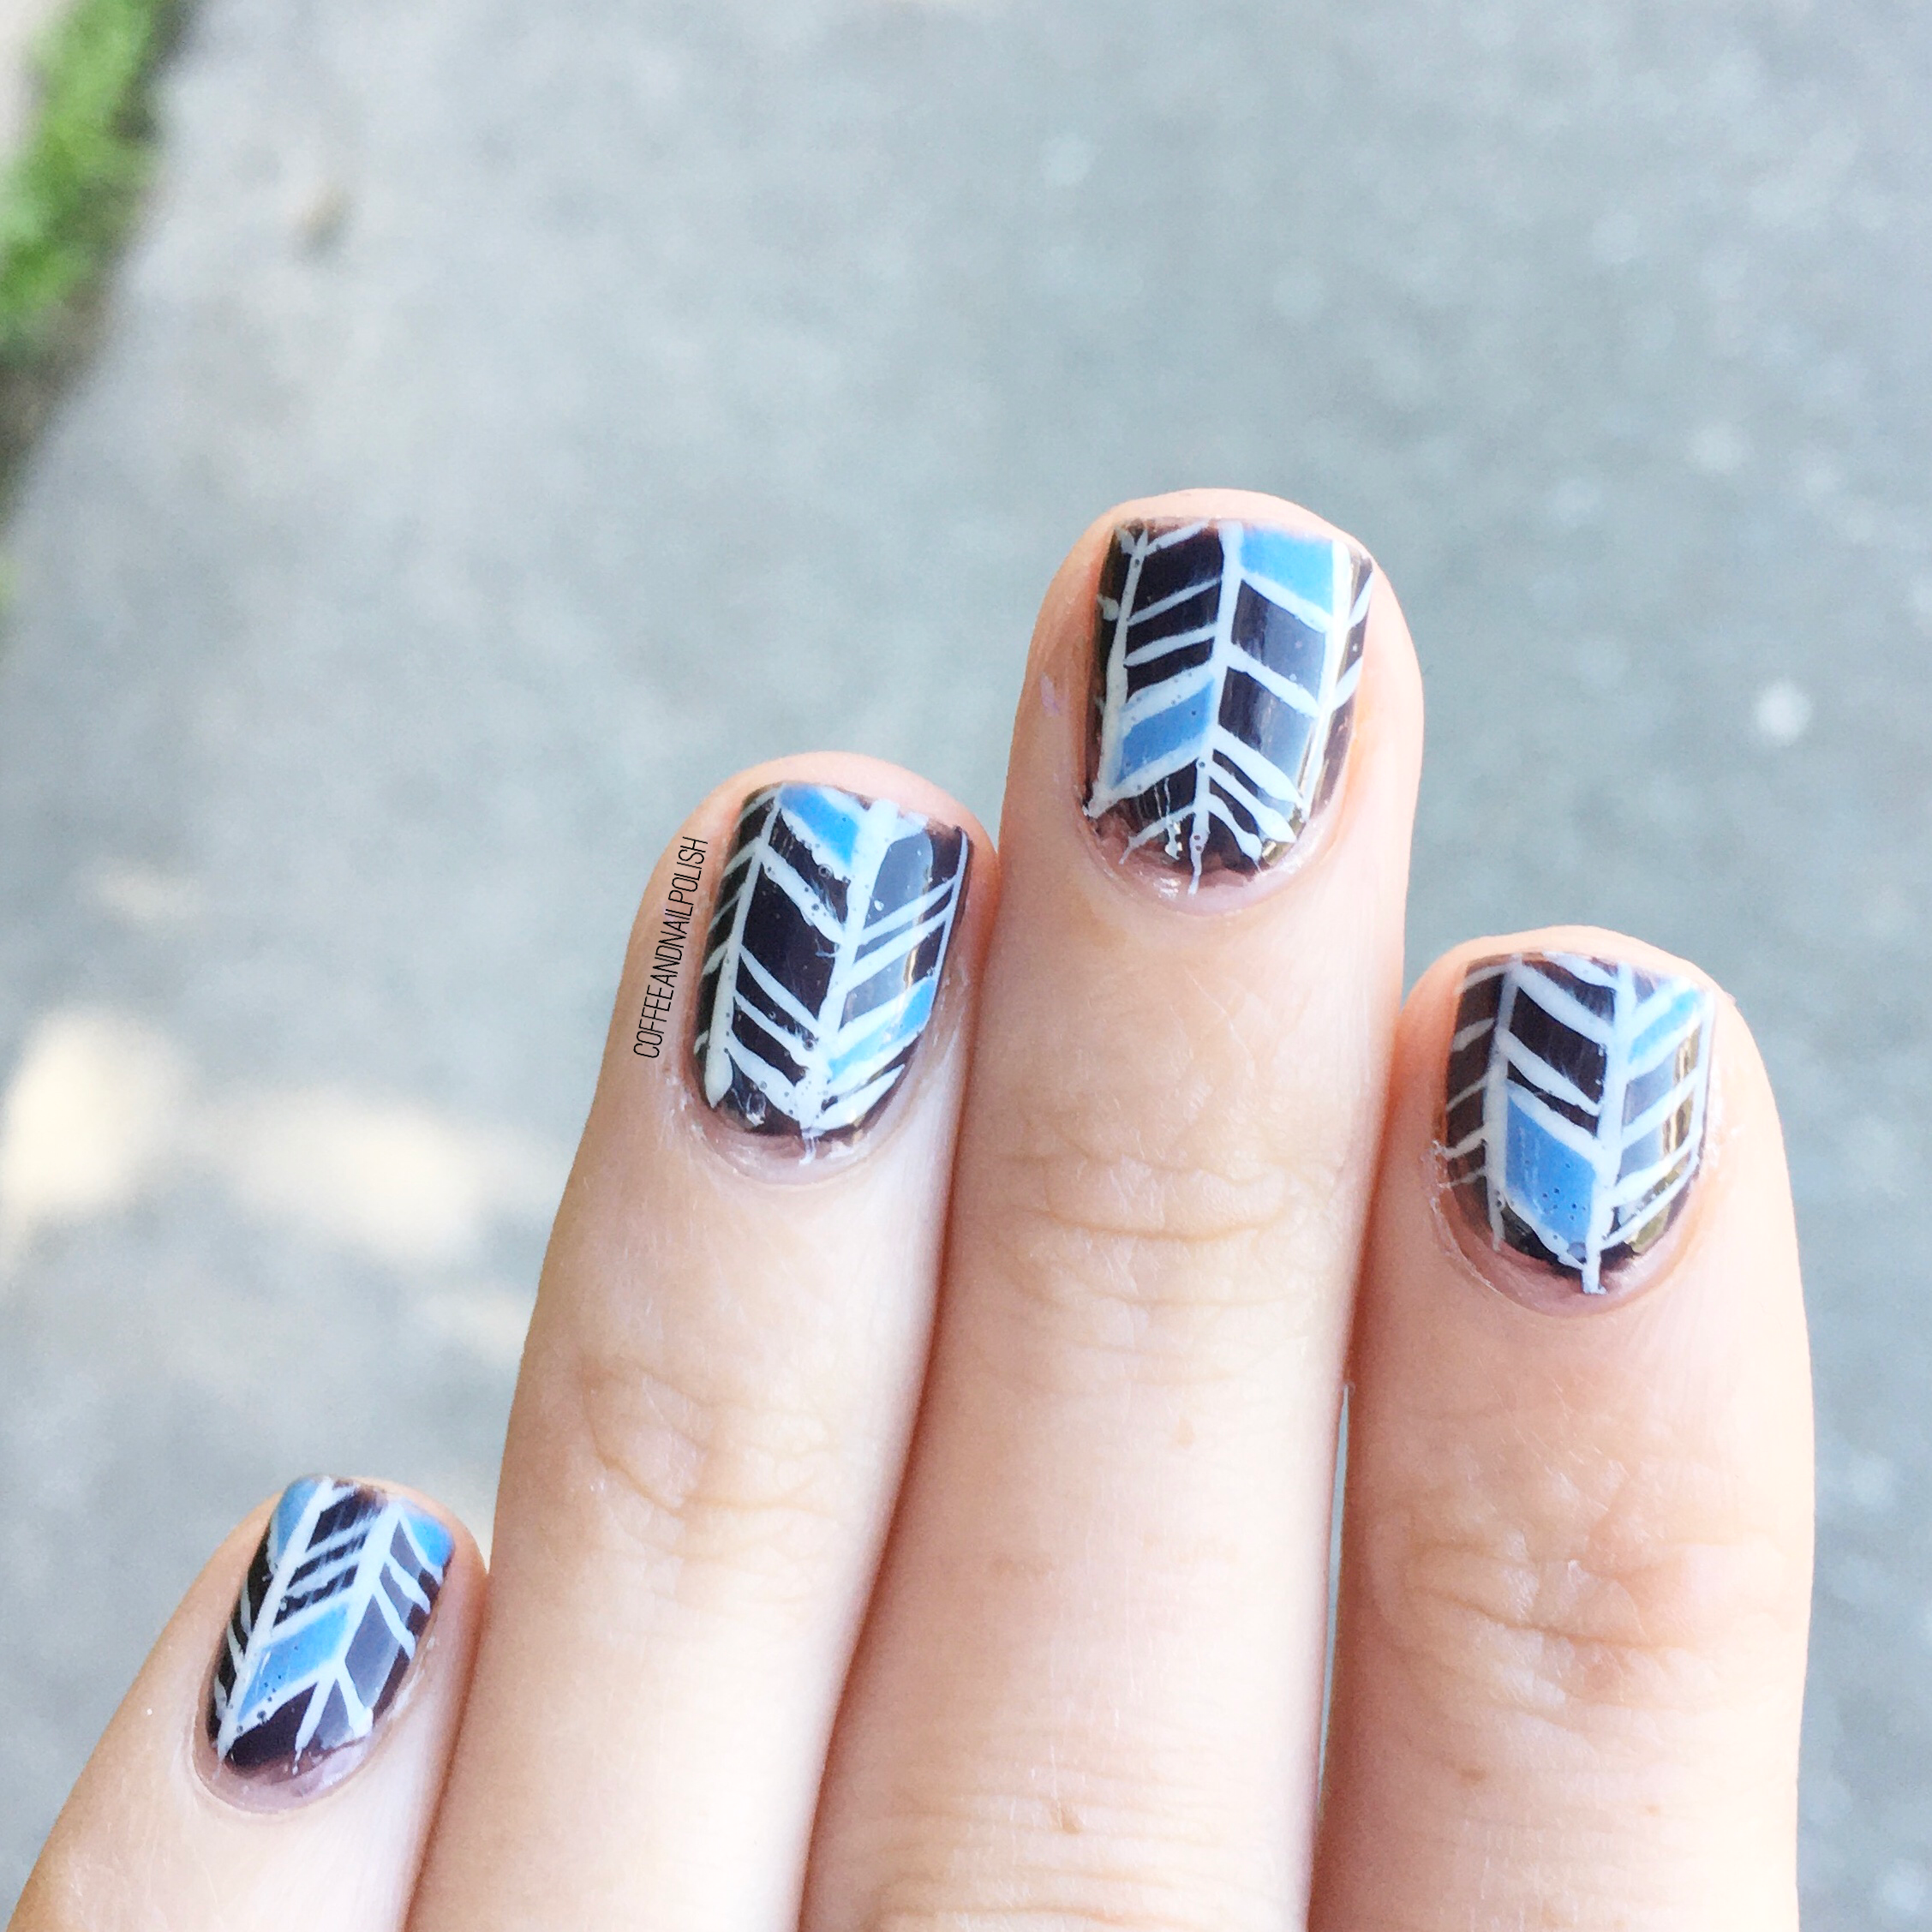
I’ve always been a fan of herringbone/chevron looks, mostly because they’re surprisingly easy to do! & for a bit of a rustic look like this, you don’t need to have the most perfectly thin of straight lines. & it will still look cute! This particular design was actually inspired by this pot, although I added the splashes of blue to make it a bit more Summery.
For this manicure, the polishes I used were:
Base Coat:Essie Strong Start
Top Coat: Essie Gel Setter
Sally Hansen Xtreme Wear Grey Area
China Glaze Boho Blue
Kiss Products Nail Art Striper in white
NailStuff.caDotting Tool Trio— I used the small one to fill in my blocks of colour! (Use COFFEE10 to save 10%)
I really really love how these turned out. My white Kiss striper is definitely on it’s last legs which led to a bit of messiness of my stripes, but I feel like it works with this kind of pattern. Truthfully, I could have used a striper nail art brush to achieve the same look, but I was short on time, & this was a bit easier. I will definitely have to try again though, maybe with a few of the Essie Summer 2020 polishes I just received! I think I could do a beautiful quatrefoil design with them too, so stay tuned for fun nail art looks!
What do you think about this herringbone look! I feel like it looks really good on my super short nails! It’s a great way to fancy them up! Let me know what your favourite short nail design is in the comments below!