•contains pr/gifted product•
Hello lovelies & happy Wednesday! I hope everyone is having a lovely week so far. The sun is finally peaking out, & I’m excited for another break from the rain. We’ve definitely been having a very rainy Summer so far. It has me dreaming of vacation. Maybe it’s the fact we’ve been binge watching Below Deck: Sailing Yacht, but I definitely have been wishing I could take a trip somewhere Mediterranean.
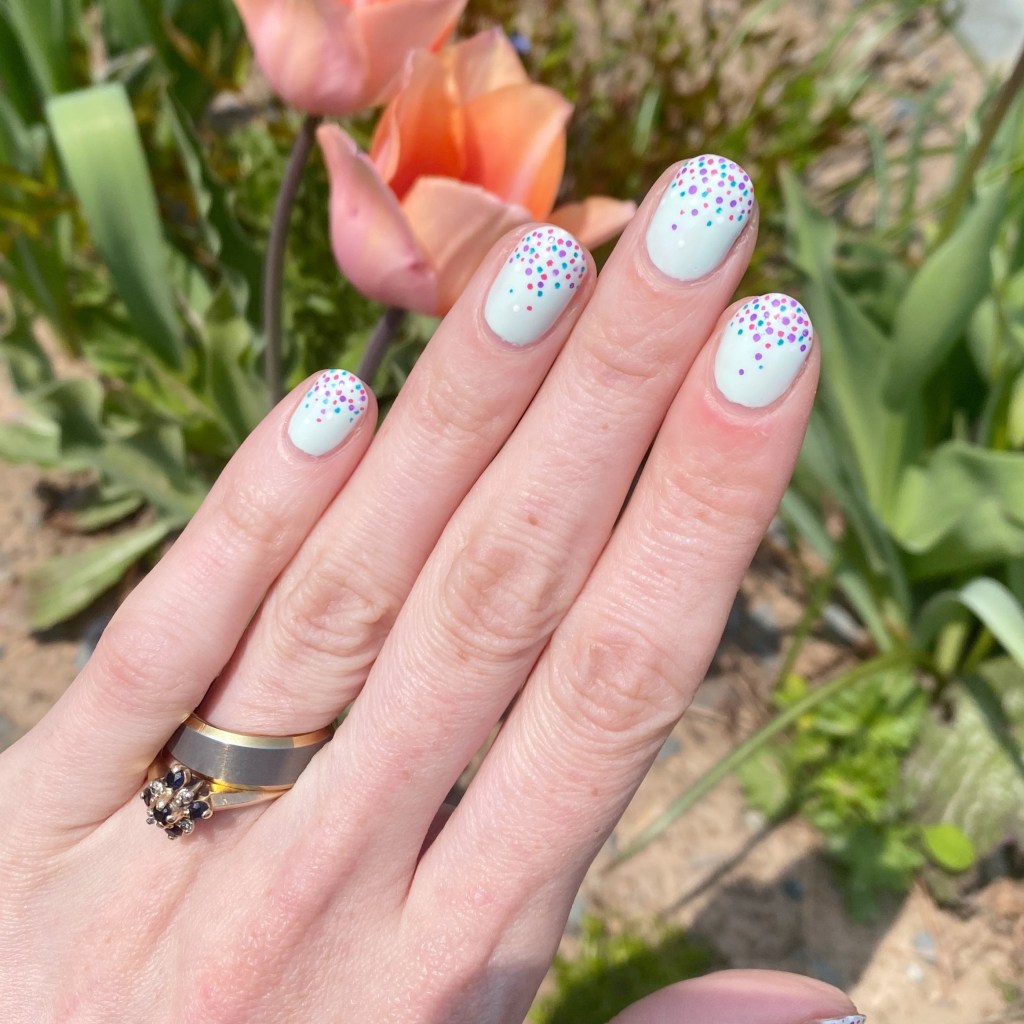
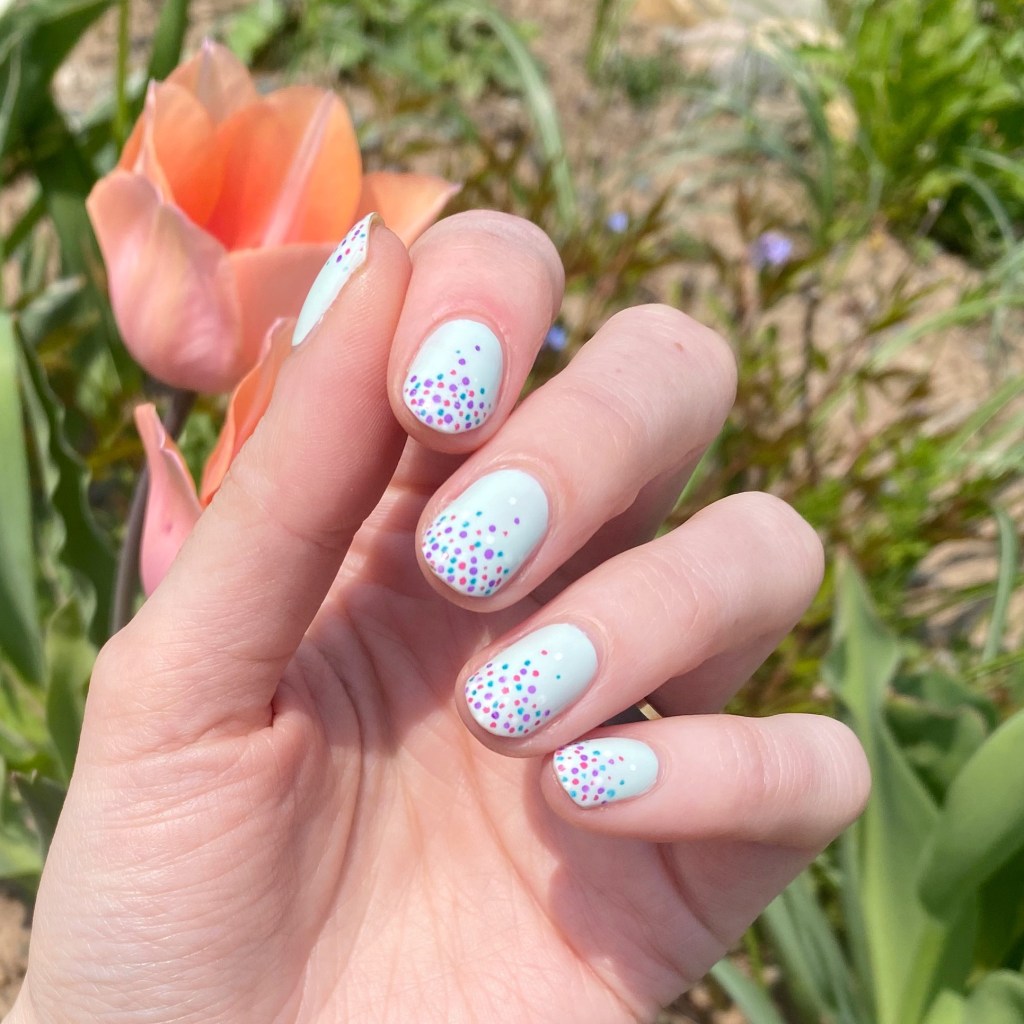
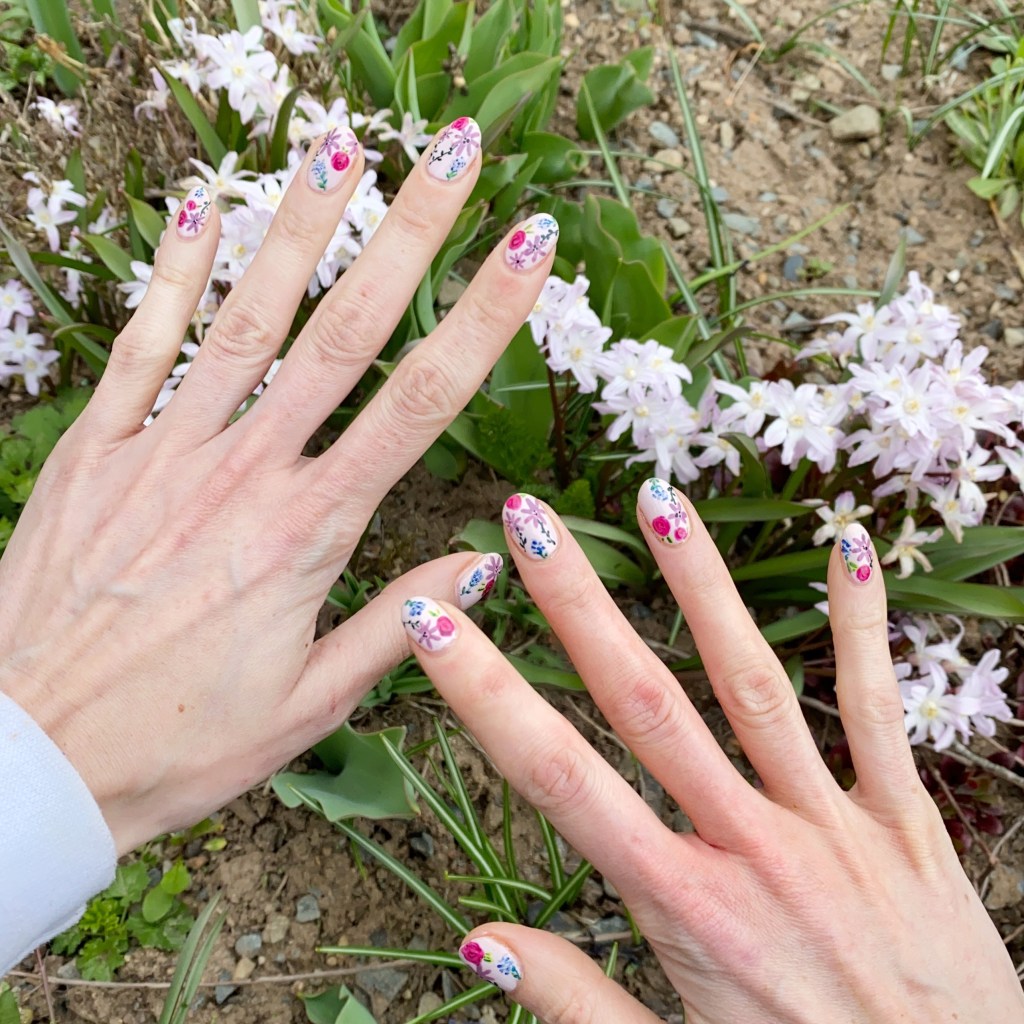
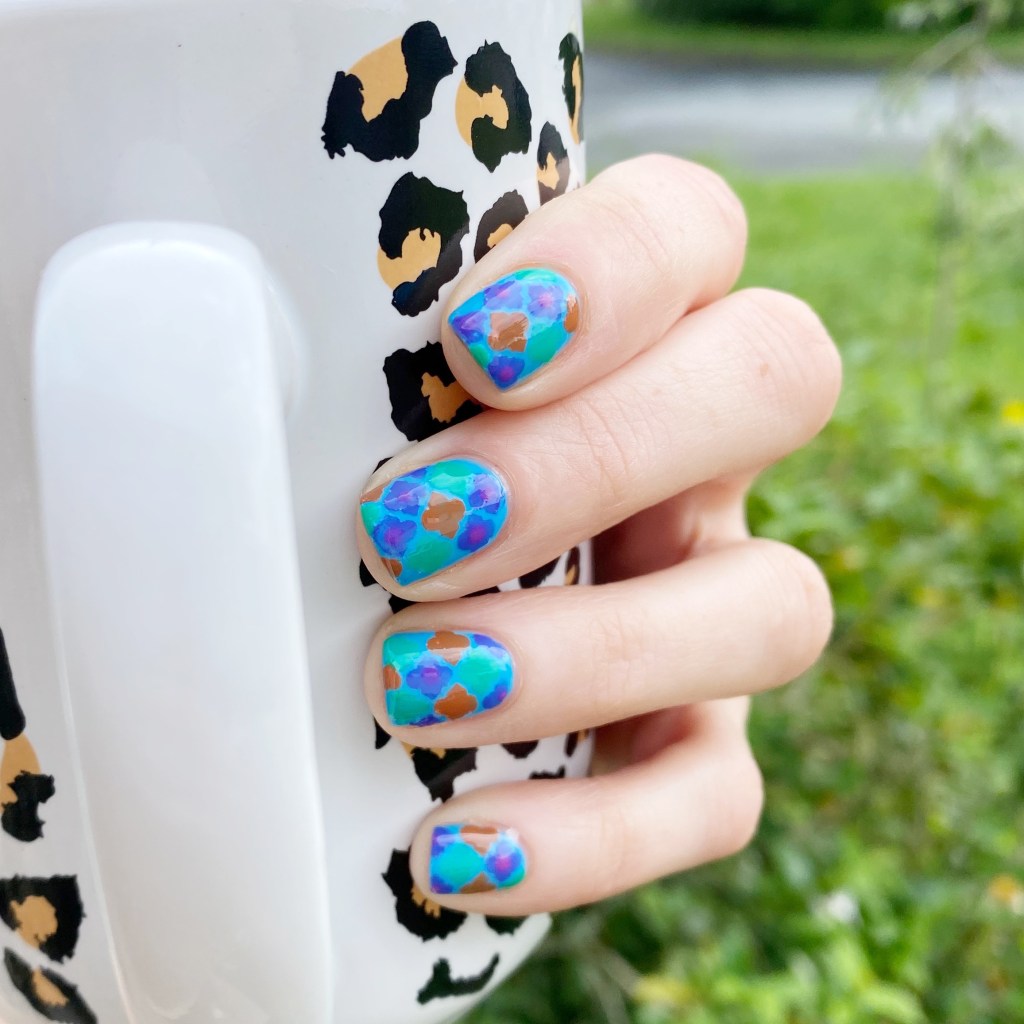
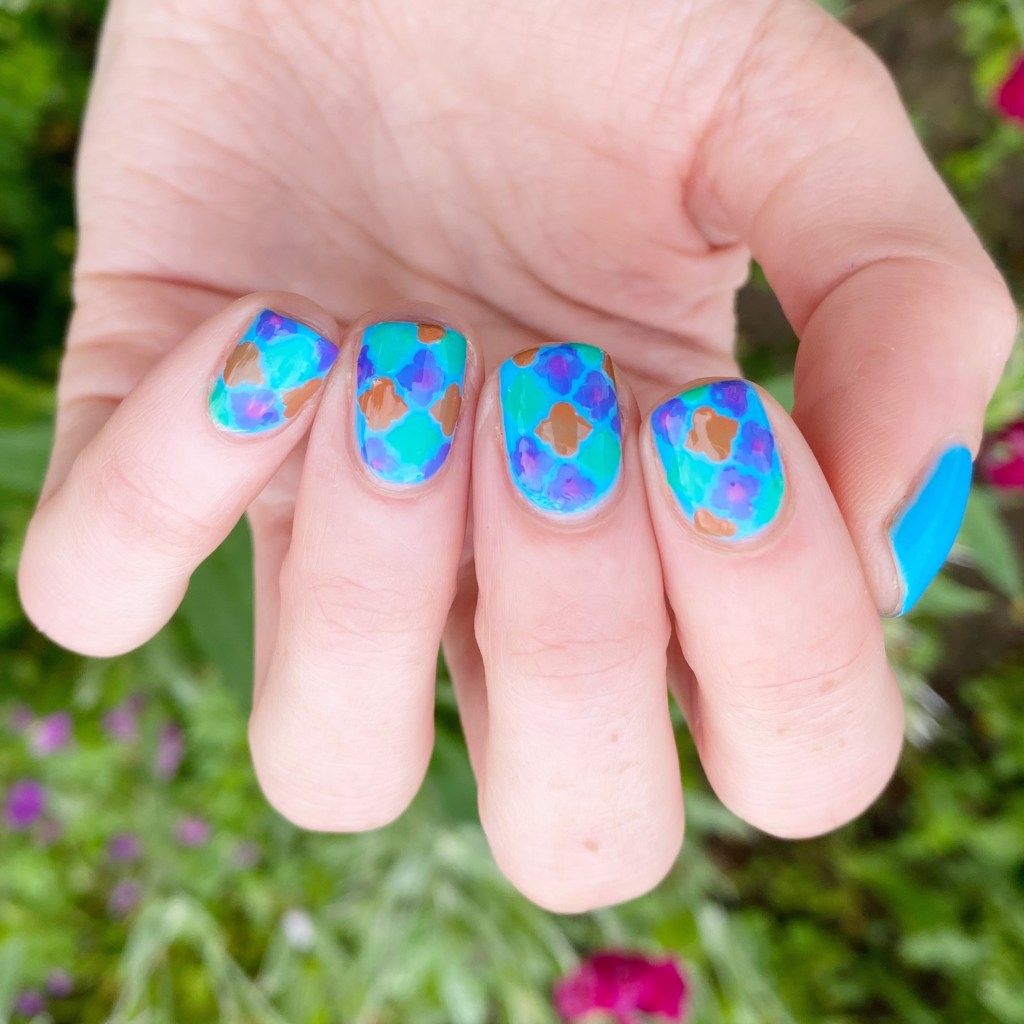
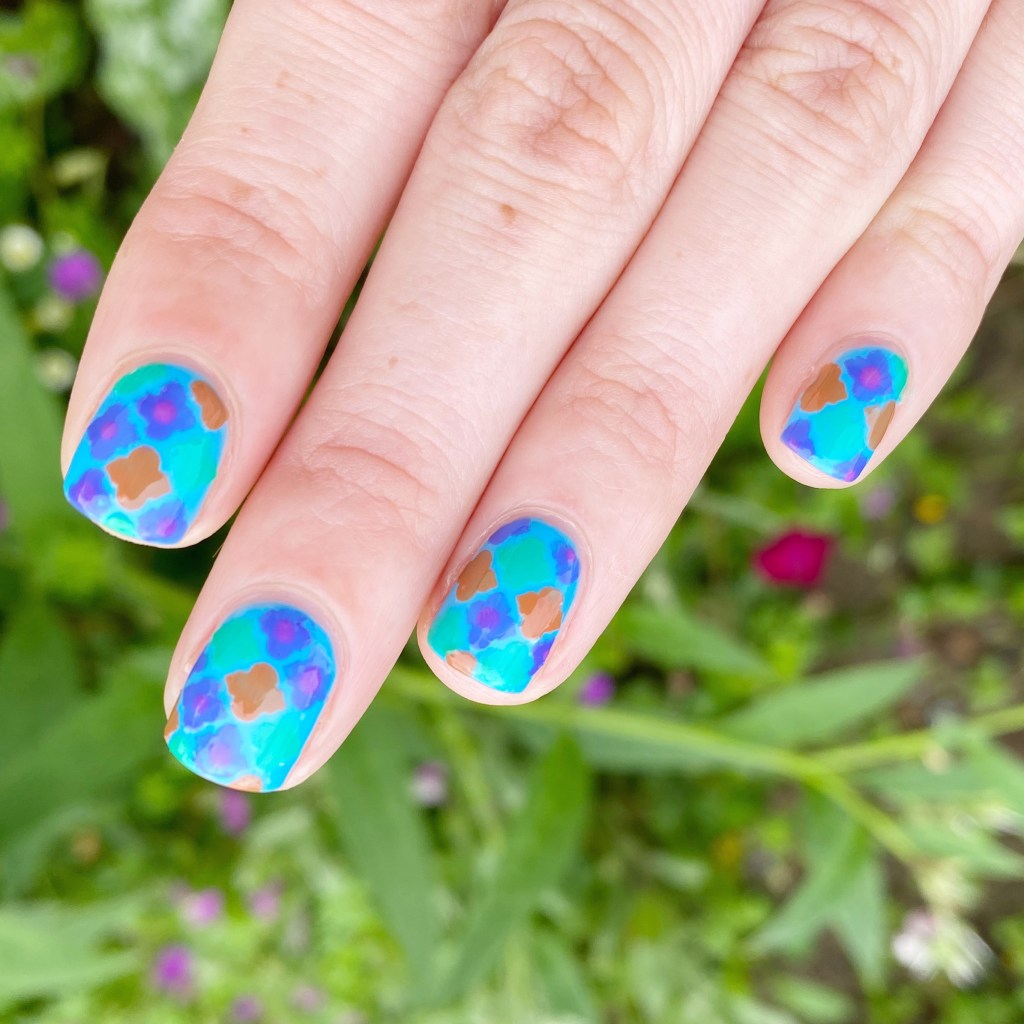
So obviously when I received those beautiful new Olive & June shades, I knew I wanted to try & create something inspired by Mediterranean tiles. The colours were perfect for a Summer vacation on my nails — even if the farthest I’ll be traveling this Summer is to another province.
The polishes I used for this manicure are:
- Base Coat: Londontown KUR Nail Hardener & Base Coat
- Top Coat: Olive & June Long Lasting Top Coat
- Olive & June Not A Cloud
- Olive & June House of O&J
- Olive & June Flowerpot
- Olive & June How Do You Spell Bougainvillea?
- Olive & June Bocce Ball
- What’s Up Nails Moroccan Stencils
- Large Dotting Tool (NailStuff.ca Dotting Tool Trio)
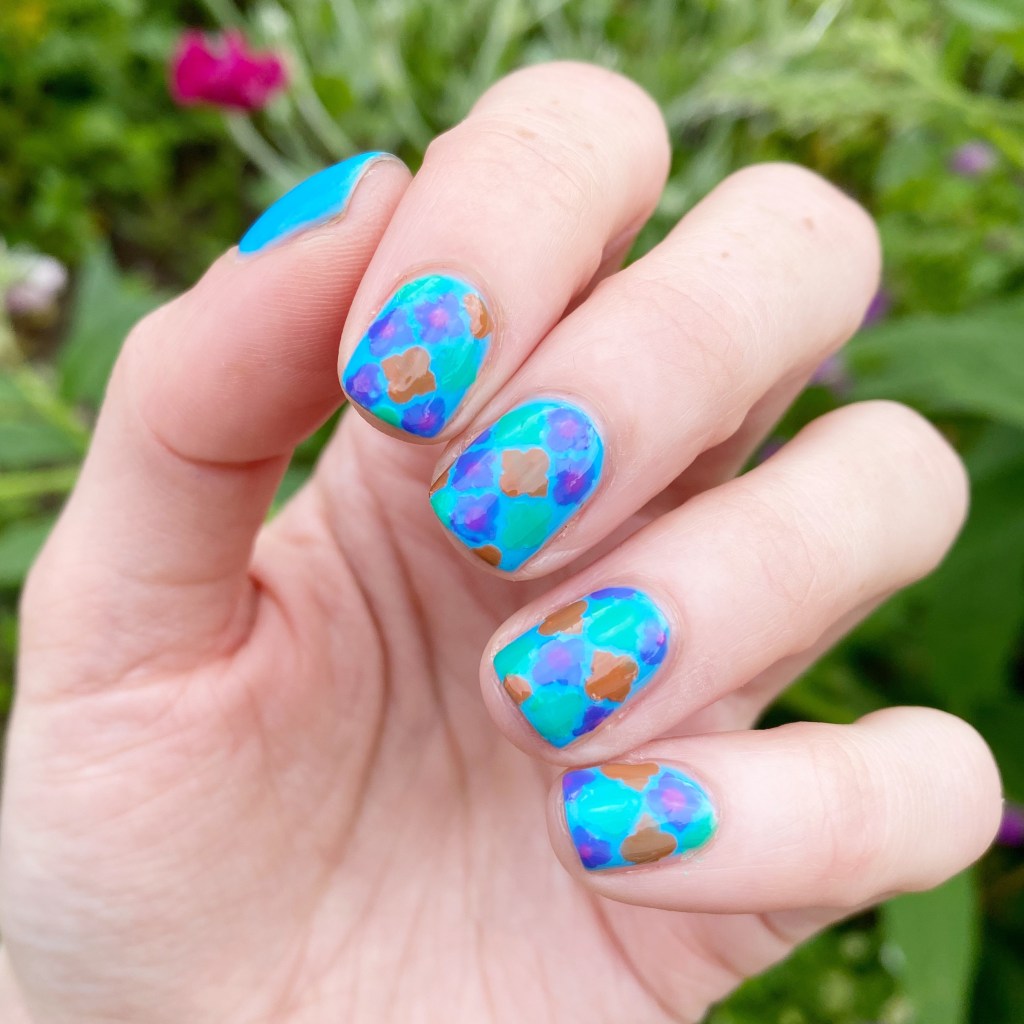
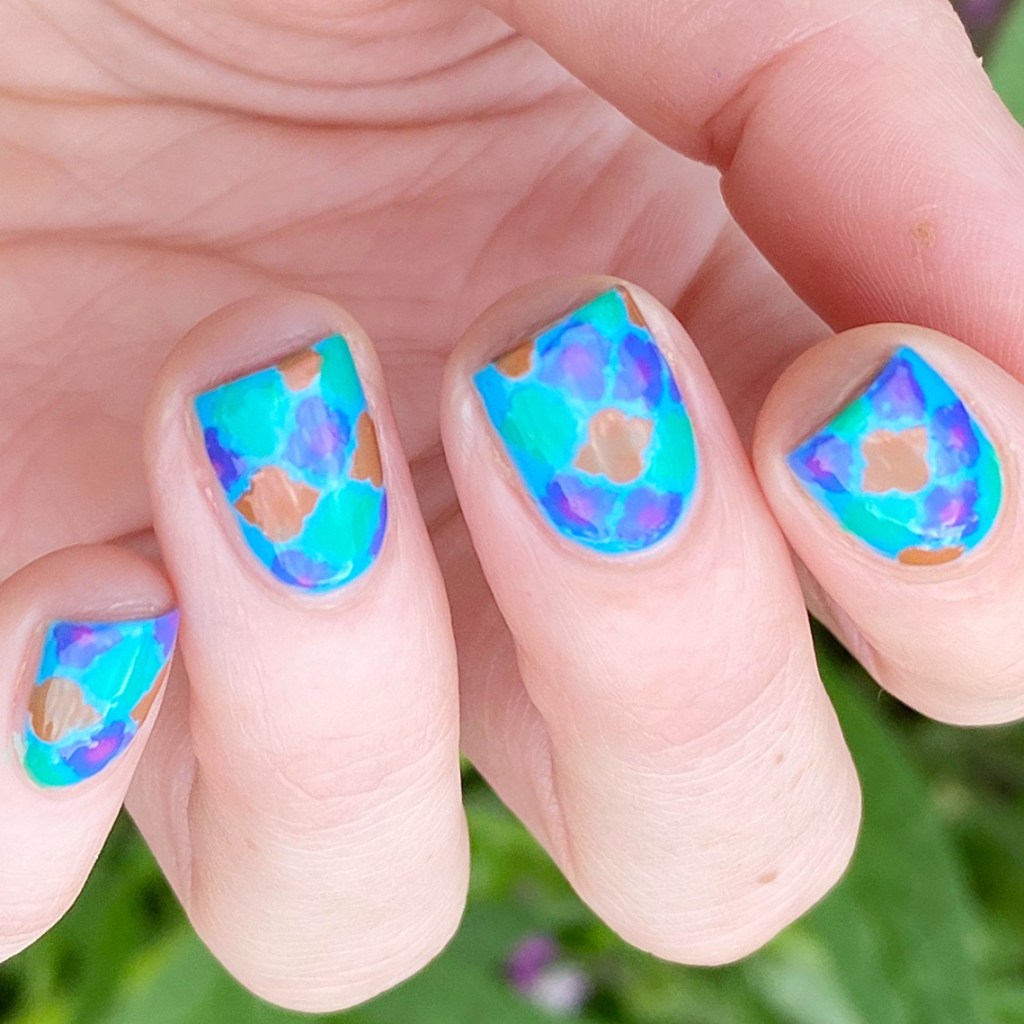
How freaking fun are these? I wasn’t sure how the colours were going to go together until I started, but I really like how they look! When I applied the top coat, it blended the polishes together in an interesting way that made it look a bit faded — which helped with the over all aesthetic I was going for. I really, really love it. I may not be traveling on a super yacht, but at least my nails can give me those vibes.
Also this was definitely the first idea that popped in my head the second I saw this collection.

What do you think of these nails? Are they giving you vacation vibes? Are you a fan of these shades together? Let me know all your thoughts down in the comments below!
Products featured in this post were provided in exchanged for content. All thoughts are honest & my own.