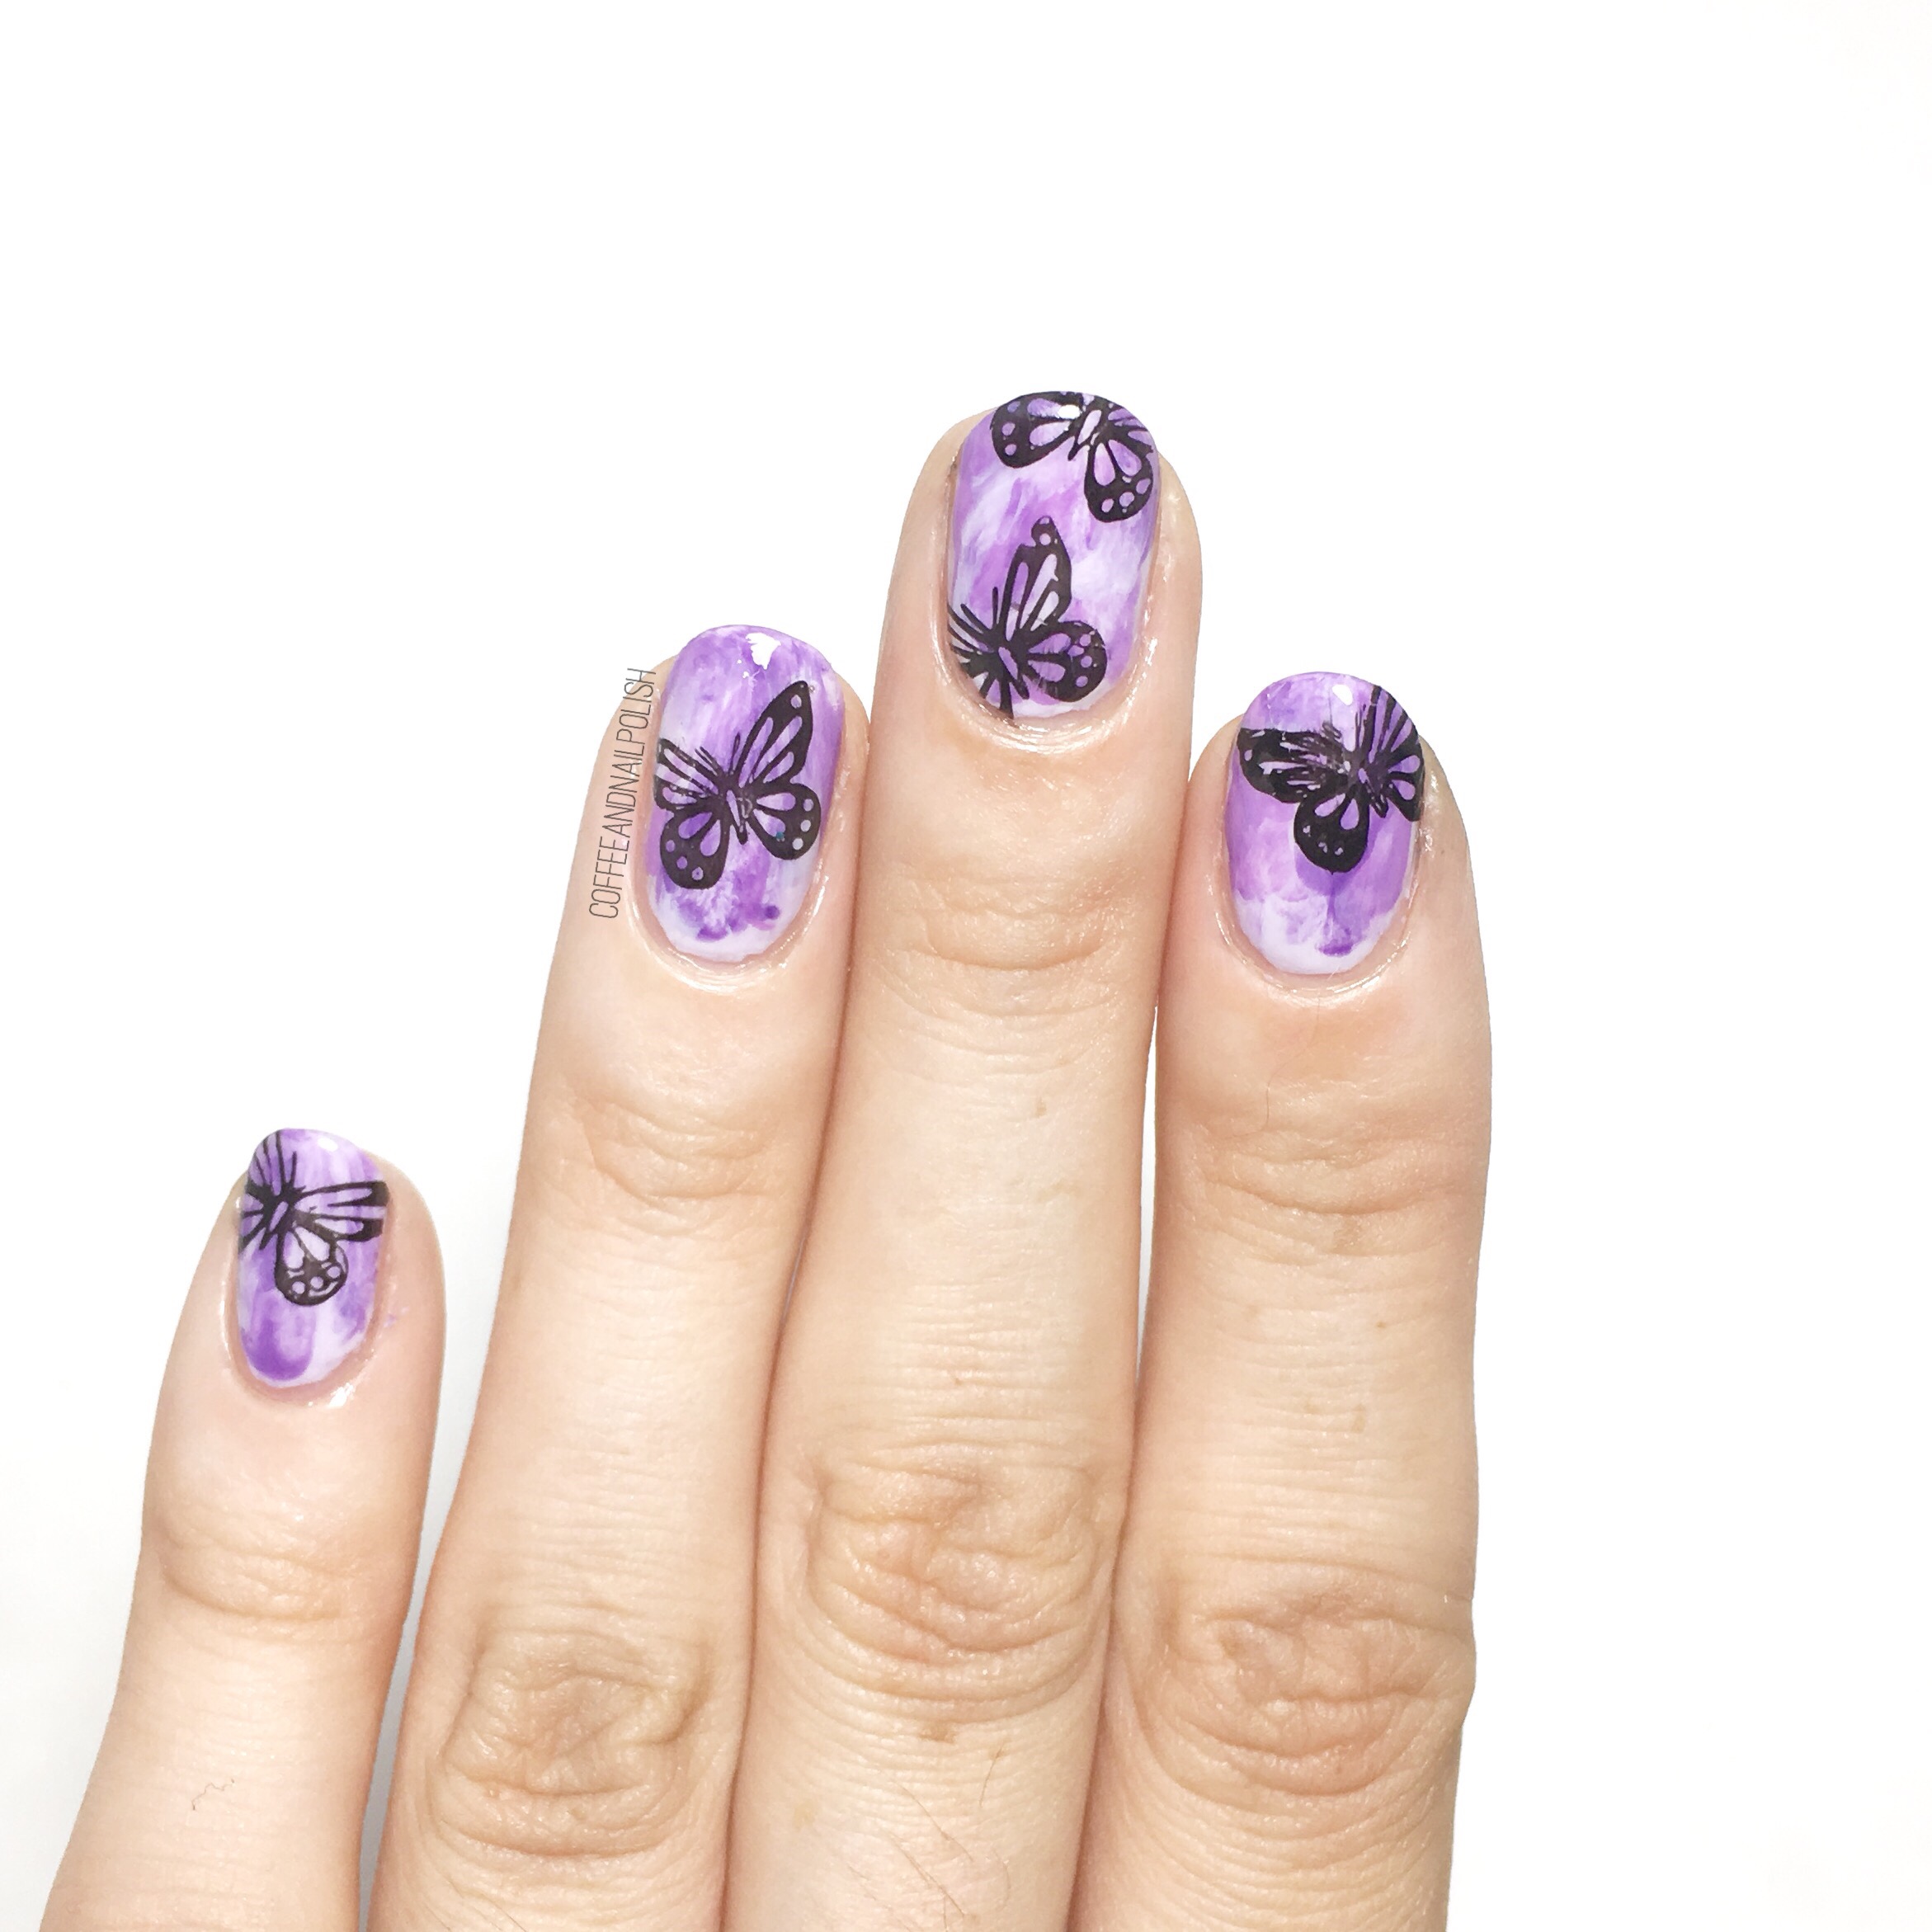
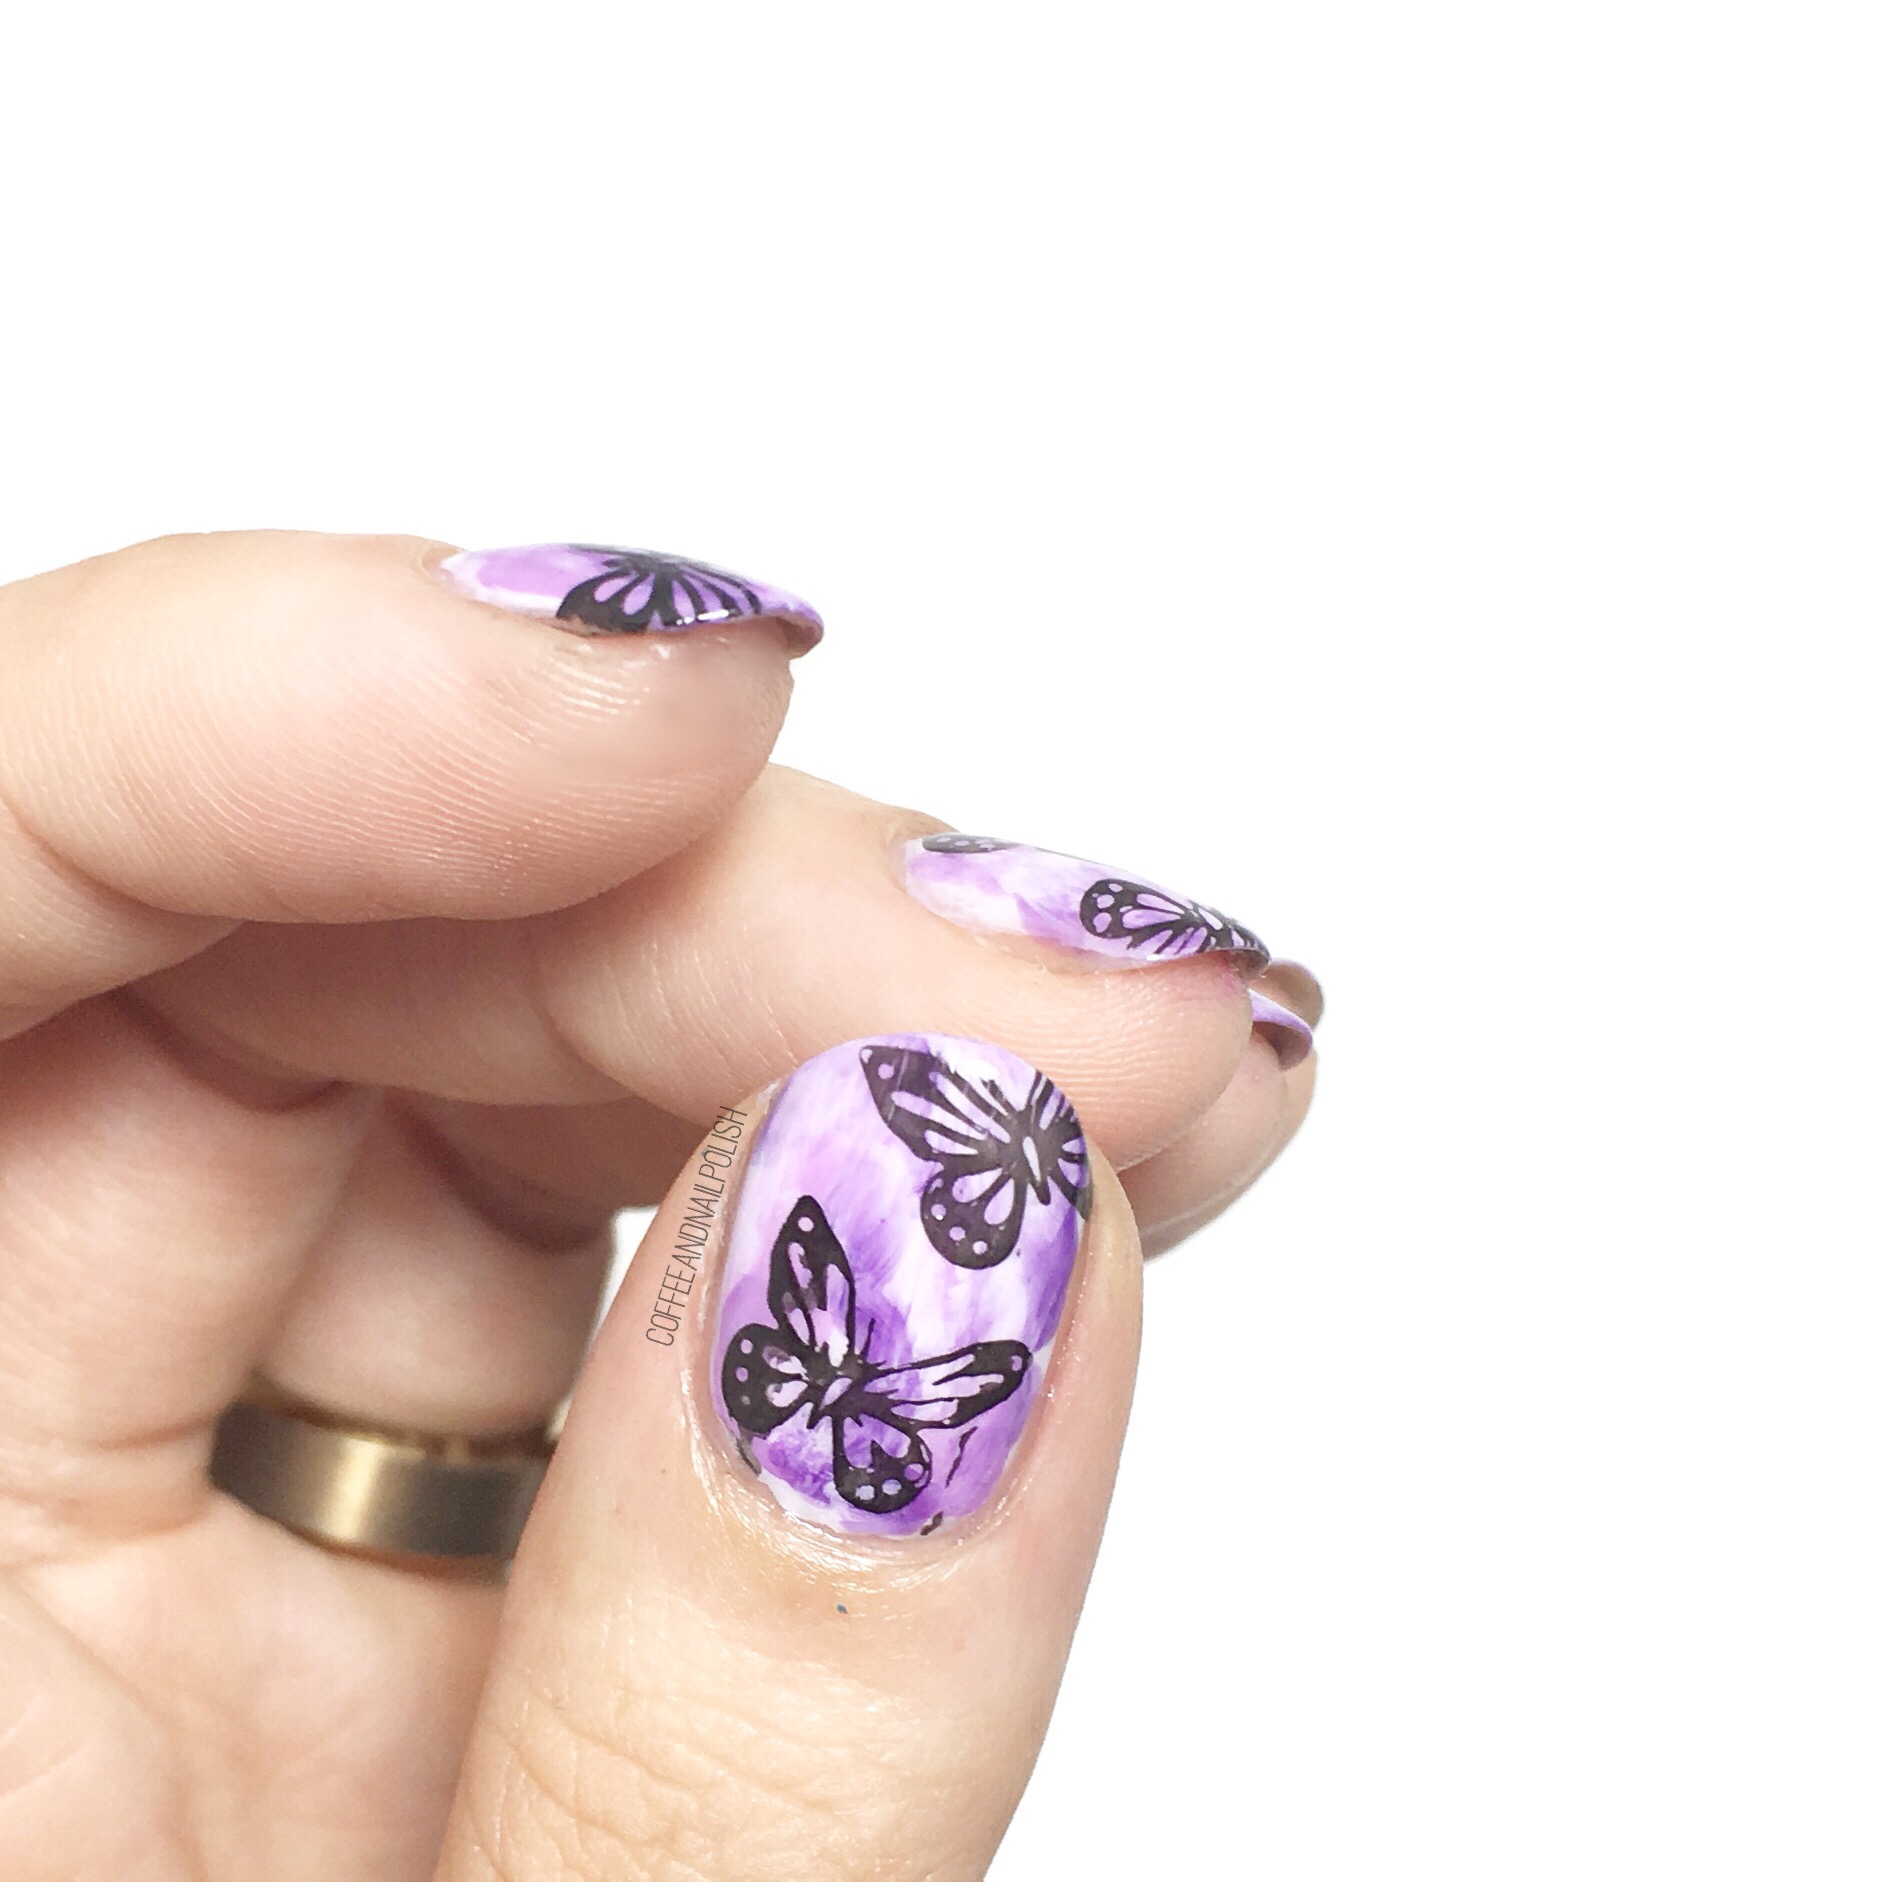
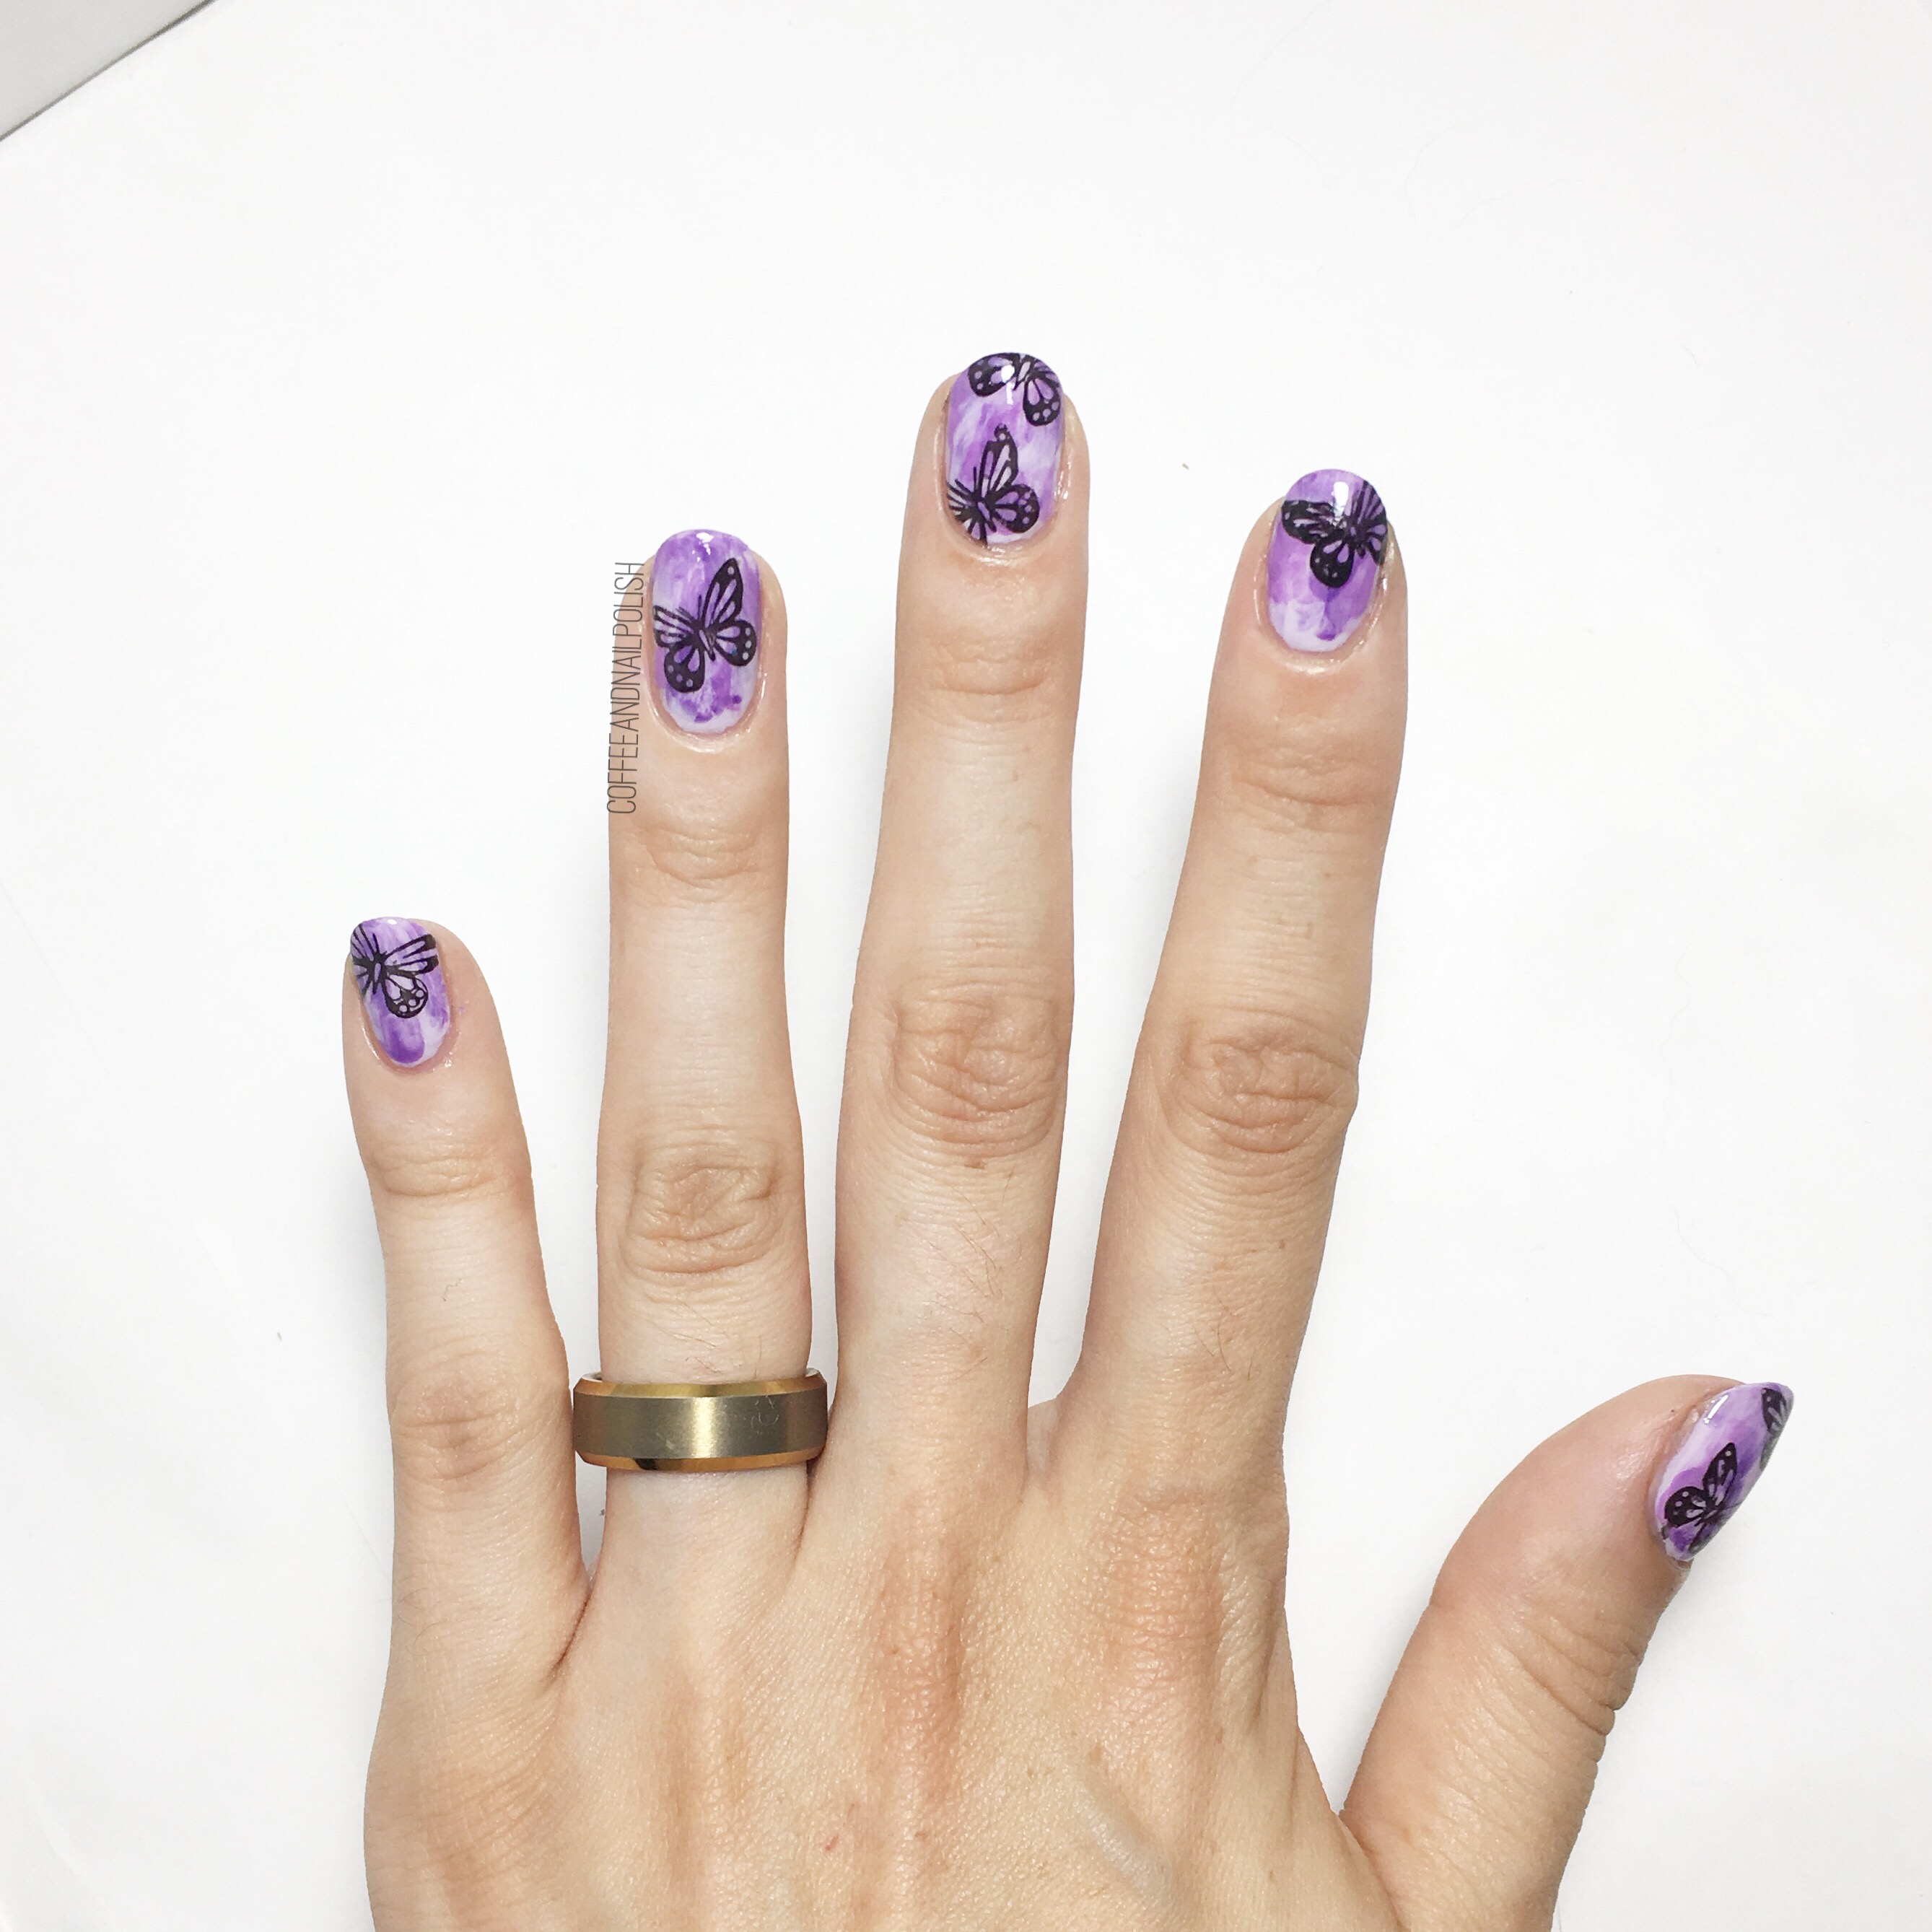
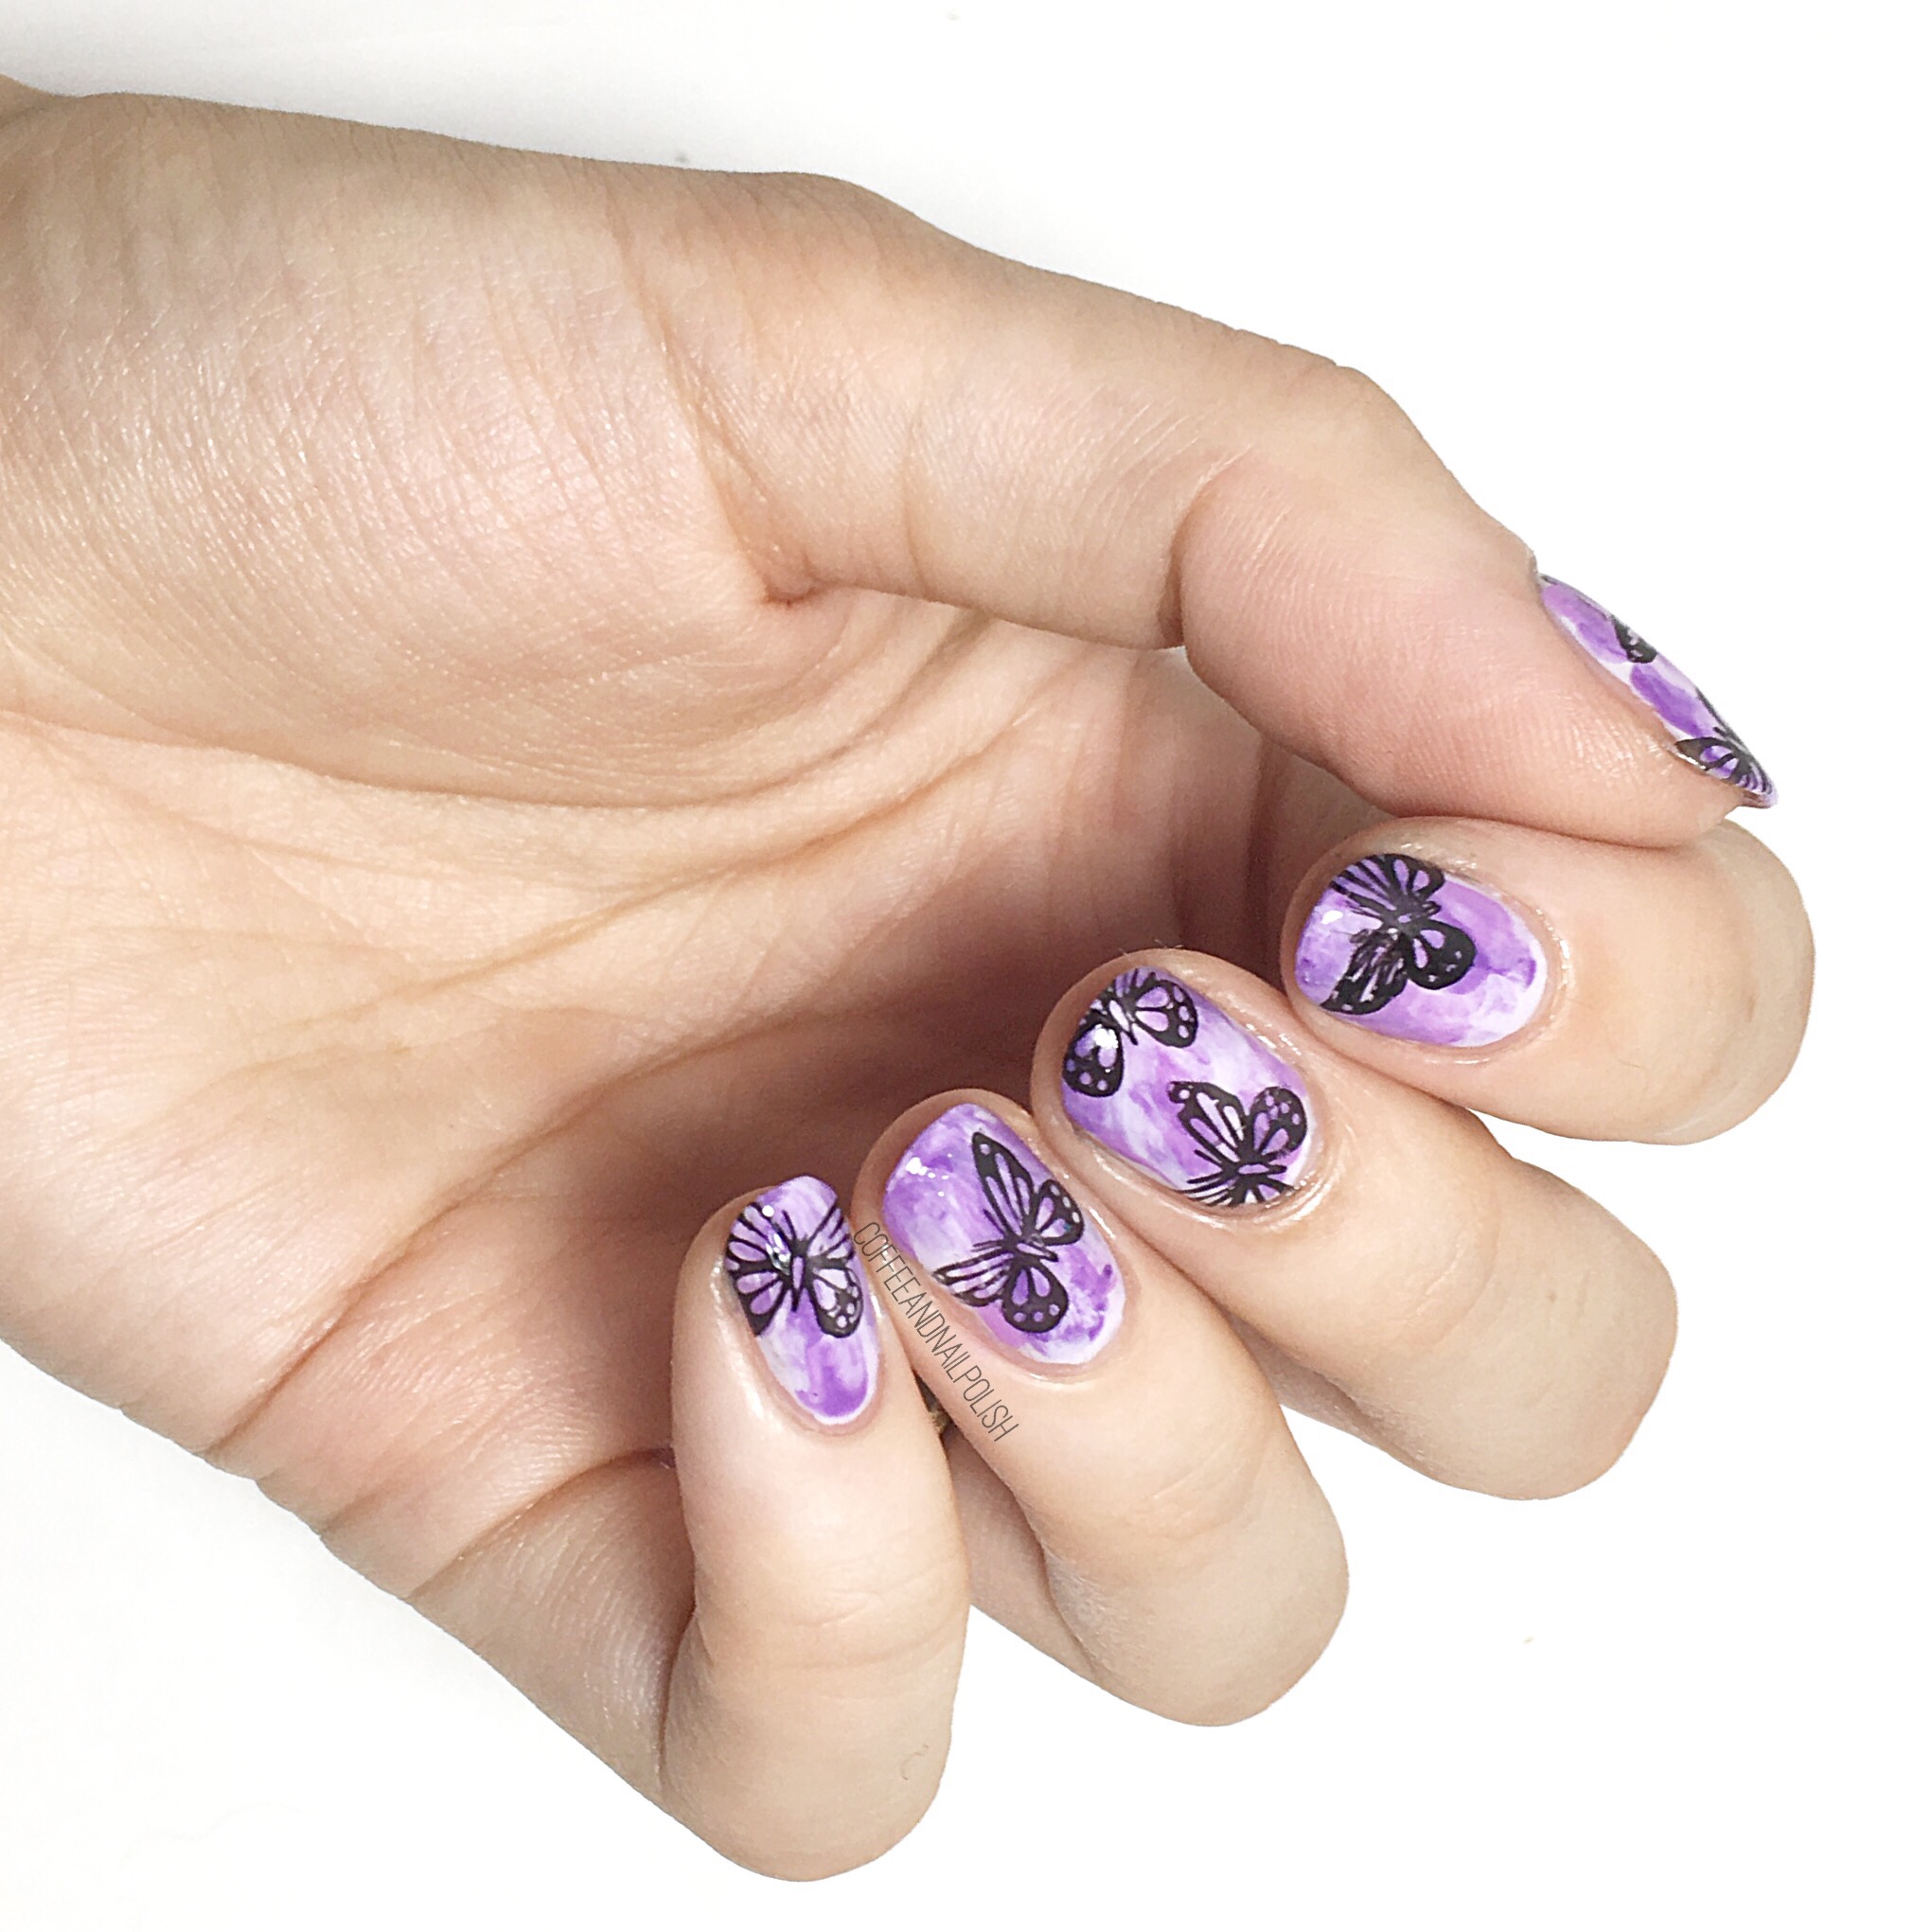
Purple Butterflies with #thenailartsquad


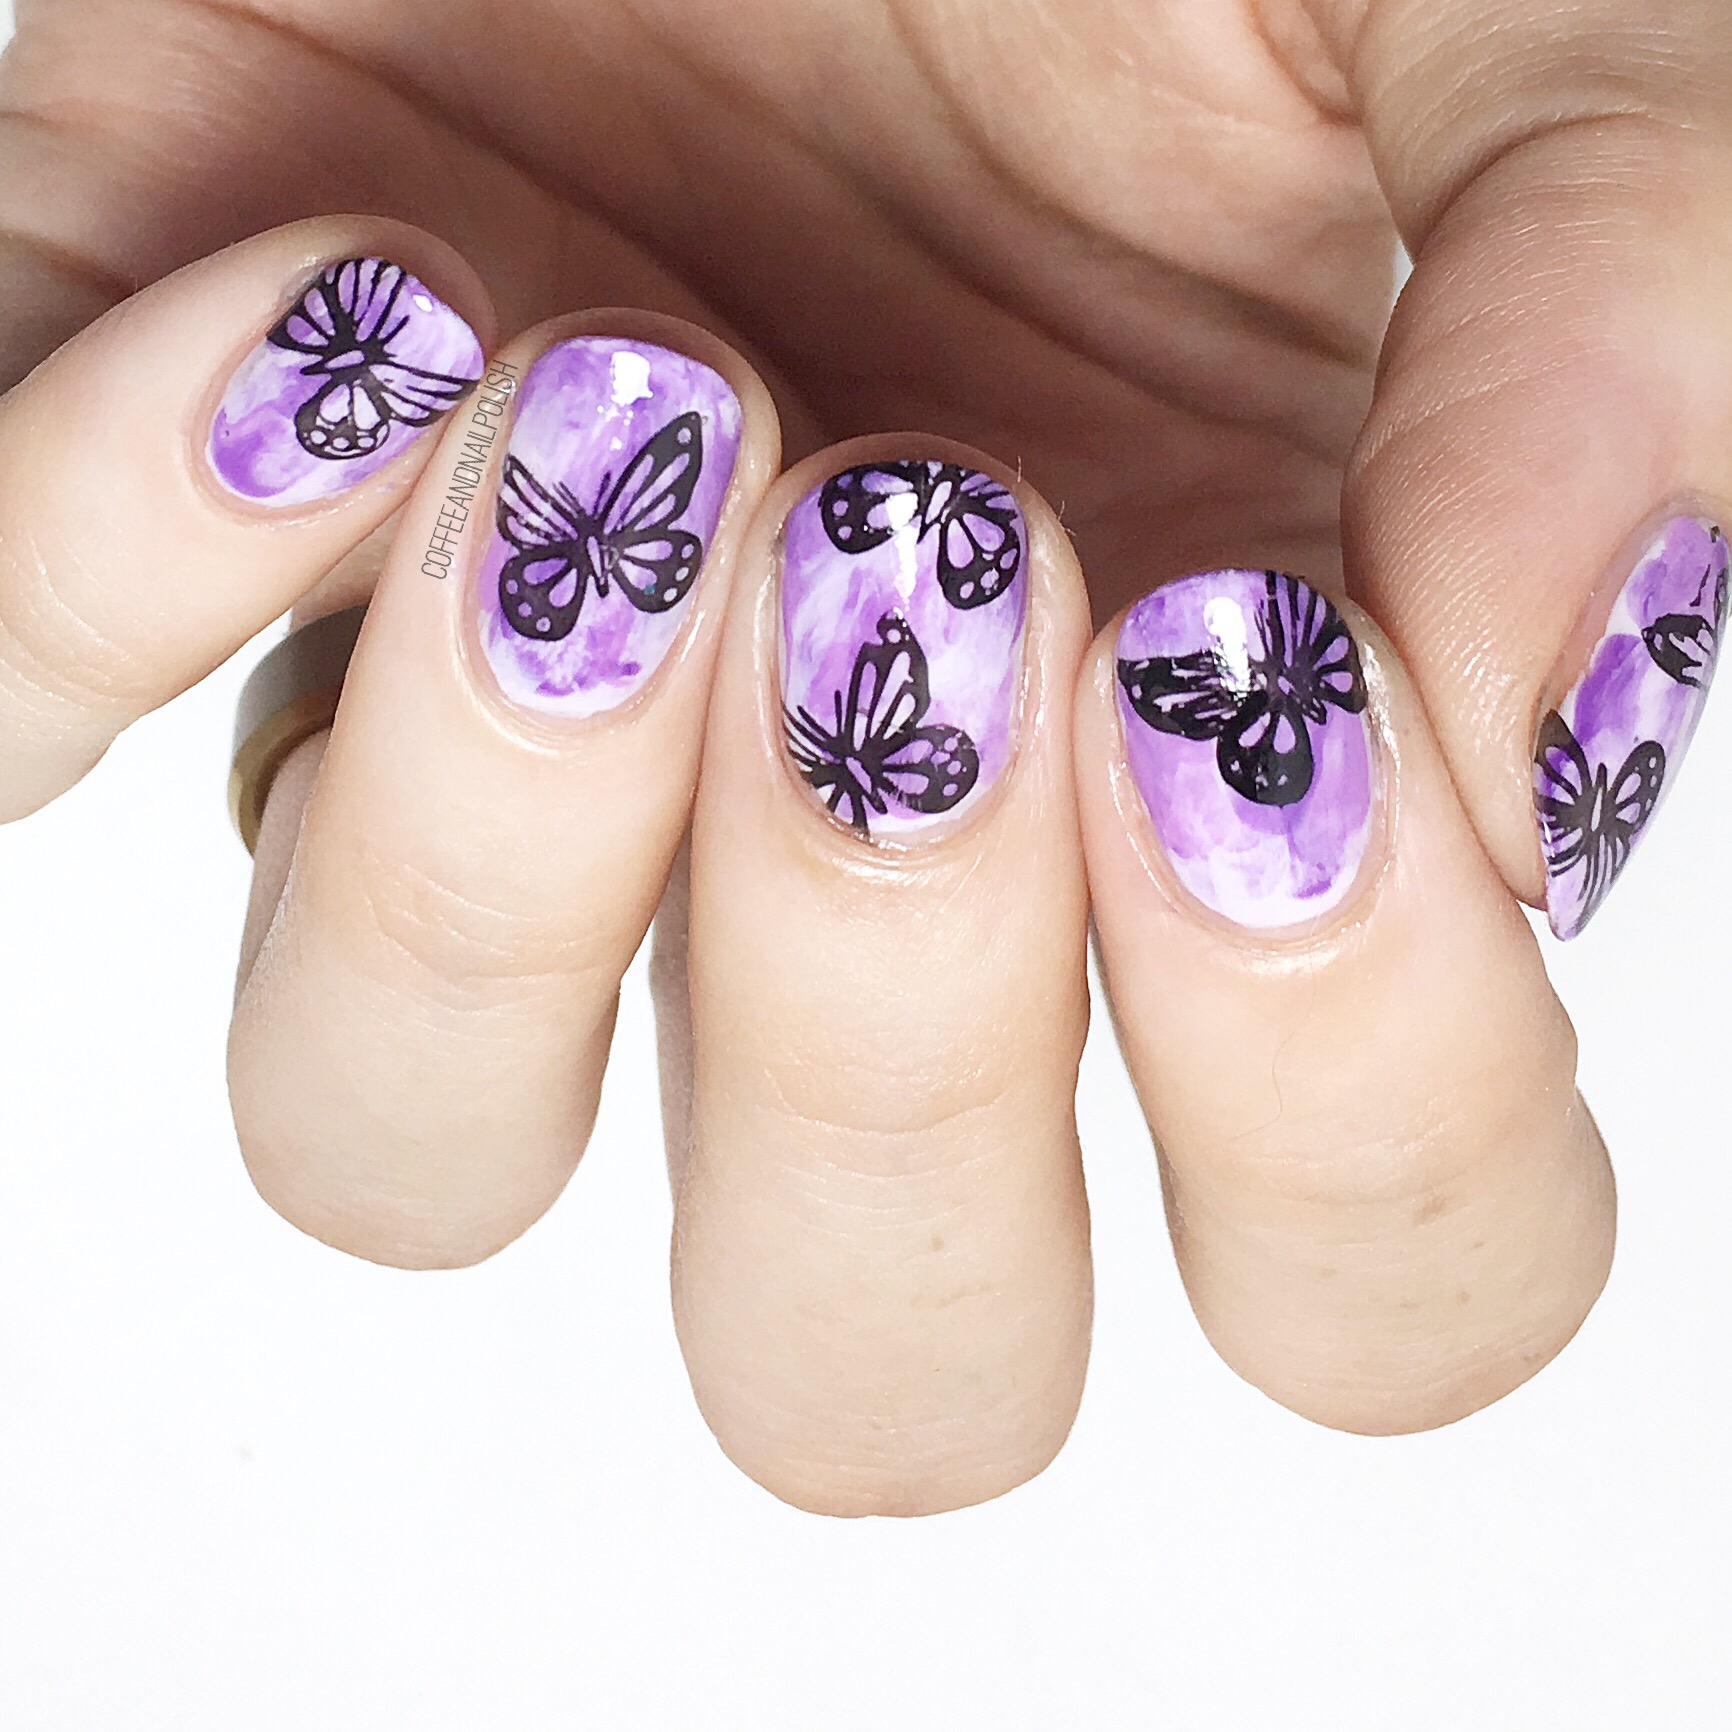
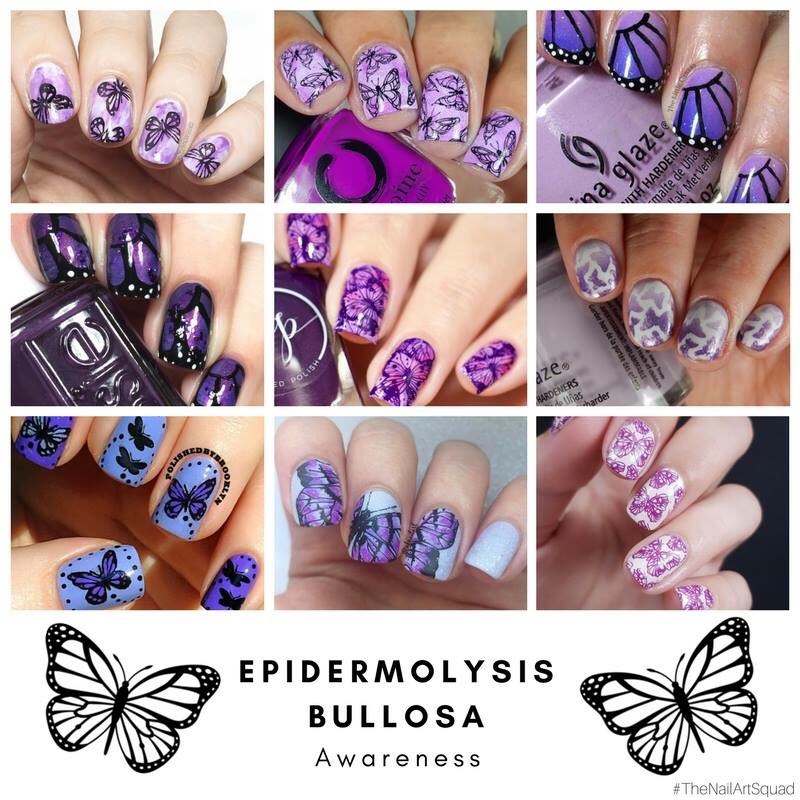
Today I have a very special manicure to brought to you by The Nail Art Squad. We got together to create beautiful purple butterfly designs in honour of Epidermolysis Bullosa. Epidermolysis Bullosa is a rare genetic disease that causes the blistering of skin, & has no known cure & in severe cases can be fatal. Children with Epidermolysis Bullosa are often called “butterfly children” which is why we chose butterflies to create (purple is the colour used for the awareness of the disease). This was a personal manicure for our group to take on as one of our members recently lost a friend to the disease. 

For my manicure, the products I used are:

  • Base Coat: OPI Natural Base Coat
  • Top Coat: Cutex Quick Dry Top Coat
  • Essie Go Ginza
  • Essie Play Date 
  • LA Colors Color Craze Orchid
  • Essence Black Is Back
  • Unknown stamping plate (which I bought as part of a set at Dollarama years ago.)

These nails were simple to do, but turned out so beautiful. I thought about freehanding butterfly wings, but didn’t think I could do them justice & because we were creating these nails for such a special reason I wanted them to be as perfect as possible. The stamping plate I used was found in a set at the Dollarama years ago, but as you can see the image stamped perfectly clear. 


I feel so honoured I could join in bringing awareness to such a special cause. 💜 to see the other purple butterfly manicures, don’t forget to check out the hashtag #thenailartsquad on Instagram. 

Aurora Borealis Inspired Dry Brush Featuring OPI Iceland Collection 🌌

Good morning & Happy Friday Eve! Anyone else super excited for the weekend to almost be here? 

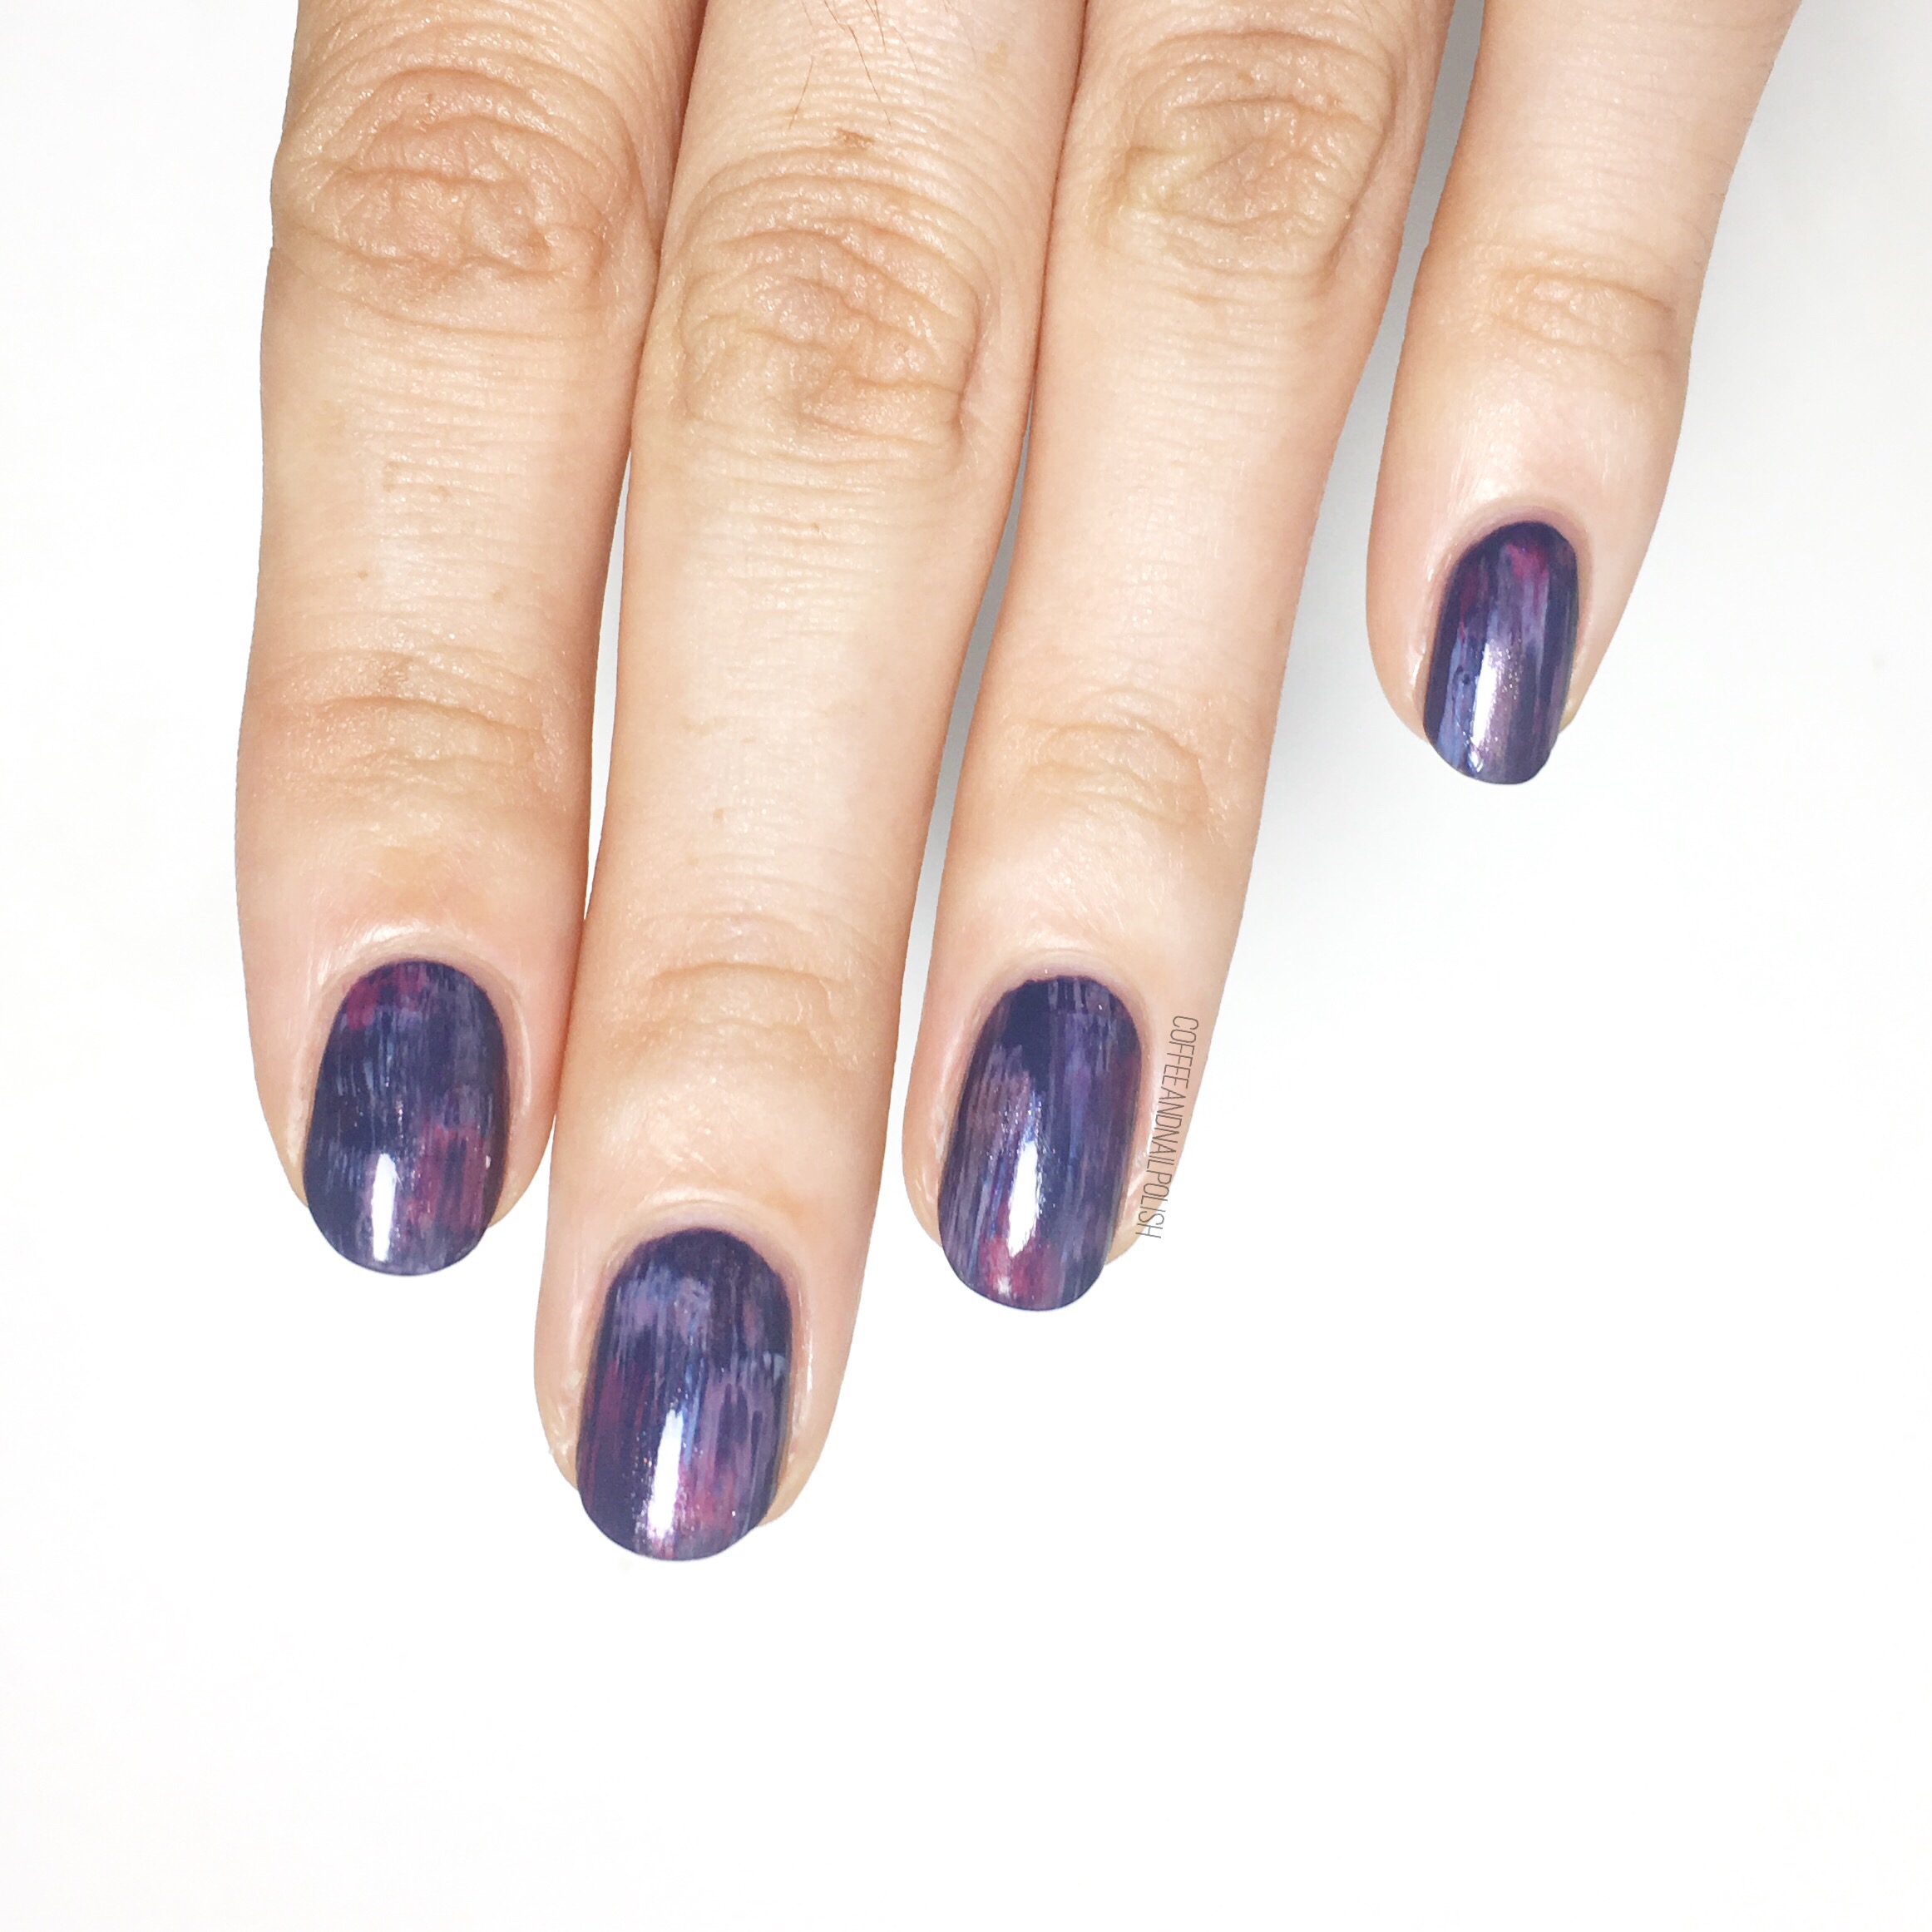
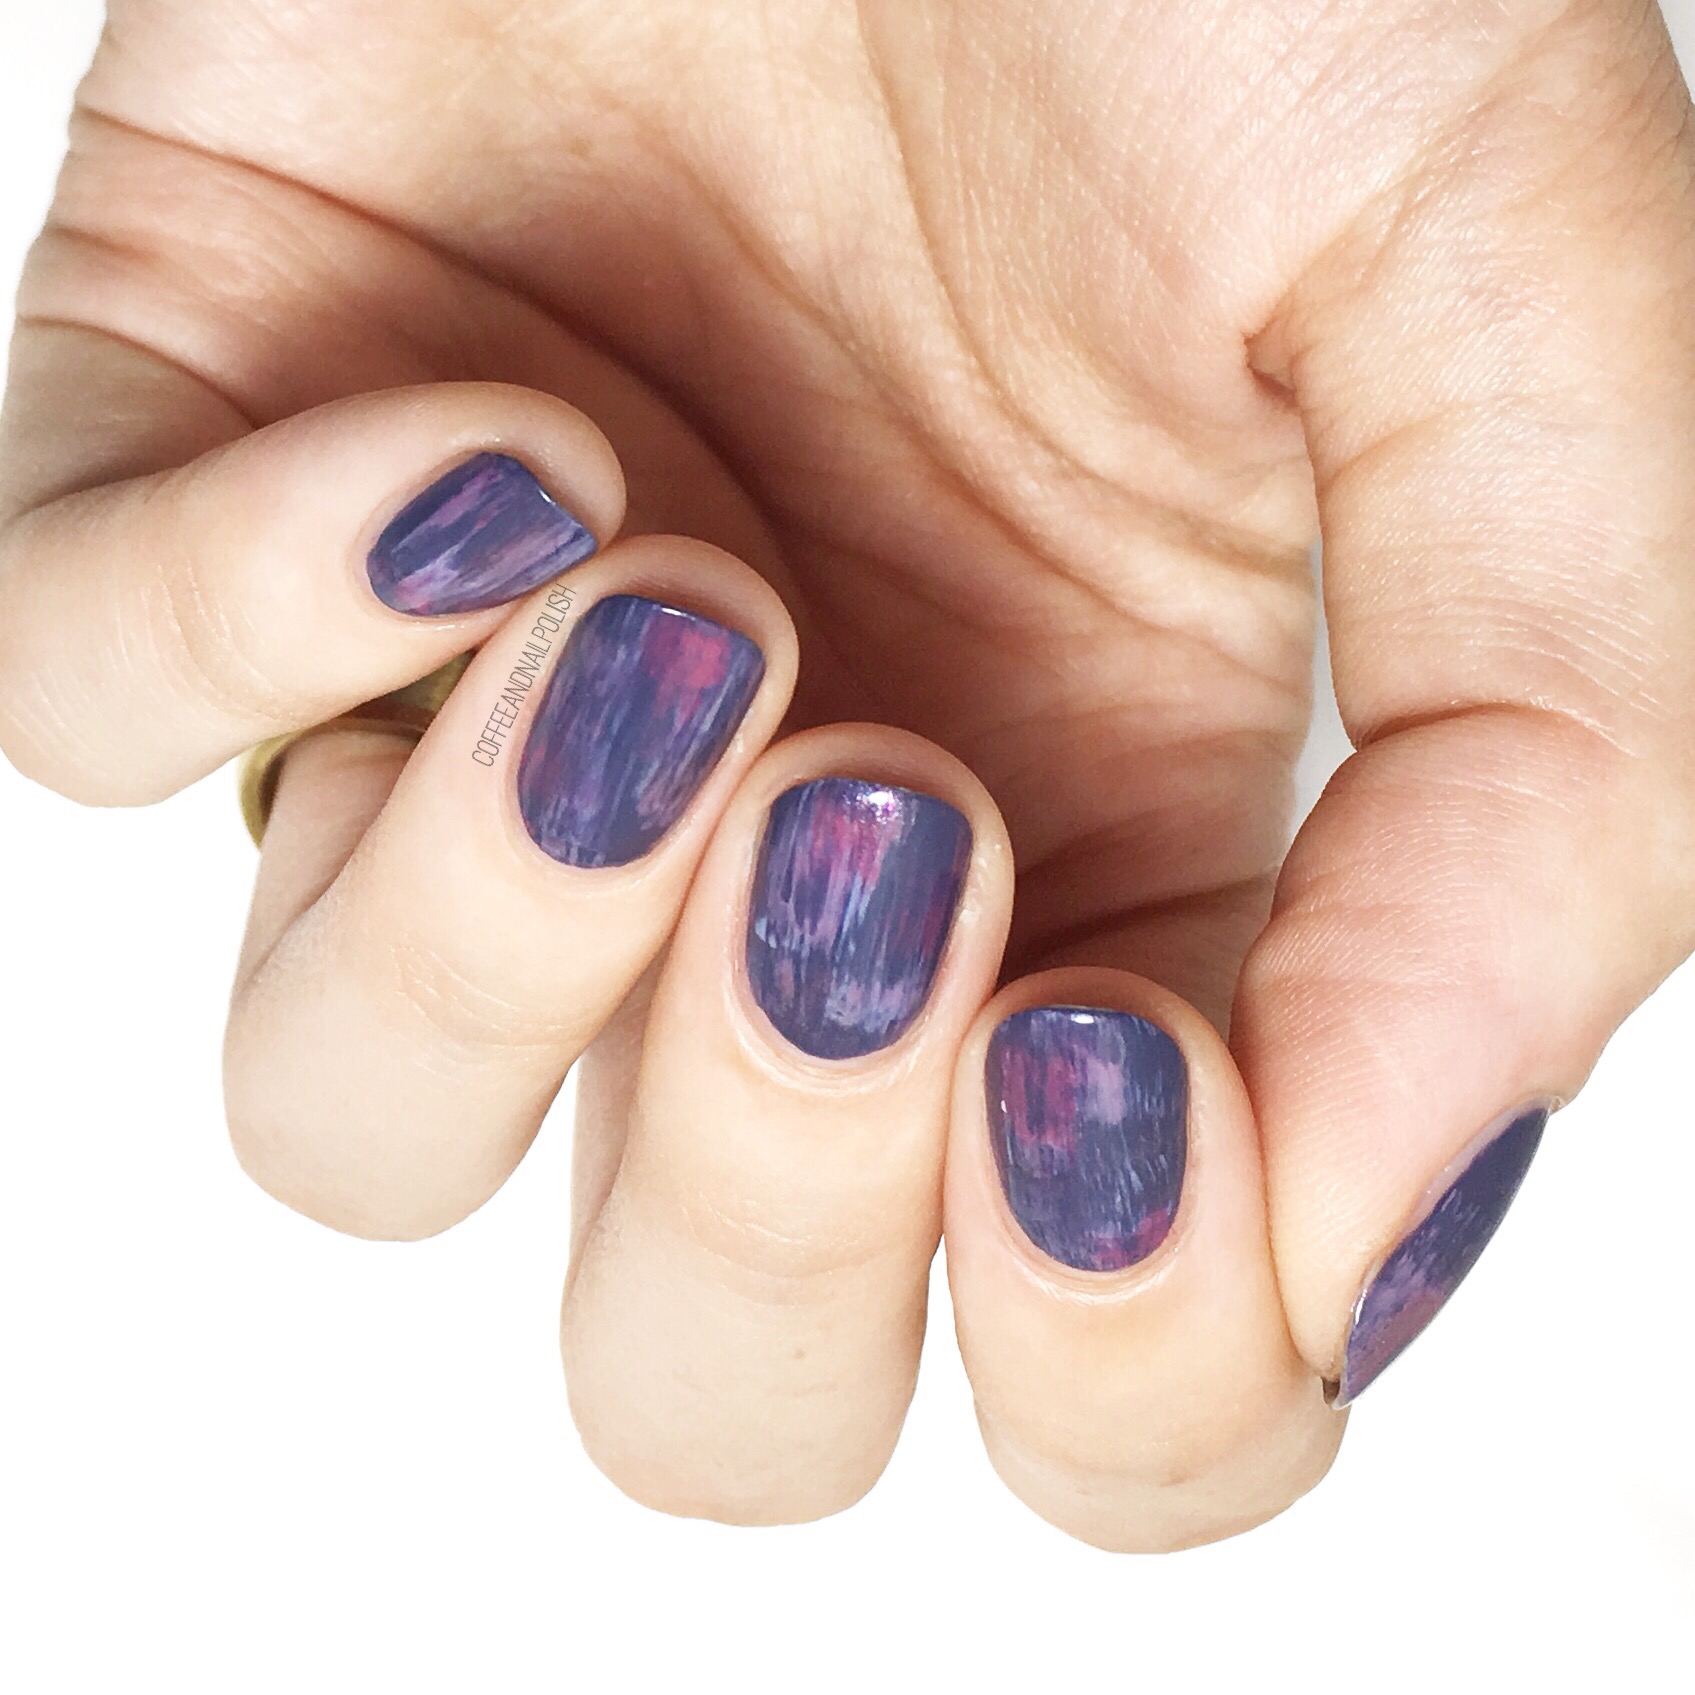
Today I’ve got some pretty nail art to share with you featuring some of the OPI Fall/Winter 2017 Iceland Collection. The first design I saw when I looked at these polishes was dry brush! I wanted to create something that would bring to mind the beauty of the Aurora Borealis.

For this manicure, I used:

  • Base Coat: OPI Natural Base Coat
  • Top Coat: OPI Top Coat
  • OPI Less Is Norse
  • OPI Aurora Berry-alis 
  • OPI One Heckla Of A Color!
  • OPI Reykjavik Has All The Hot Spots
  • OPI Check Out The Old Geysirs

A couple tricks to a good dry brush:

  •  have to have a light hand & only apply small spots of colour. I find it’s good idea to only choose a few shades for your dry brush. I tend to stick to about 4 polishes to avoid my dry brush ending up muddied. 
  •  make sure you don’t have too much polish on the polish brush. I like to keep a piece of paper towel (or regular paper would work too) beside me to brush your polish on first to steal any excess. This also keeps you from gunking up the neck of your bottle. 
  • Use a clear polish or non-quick dry top coat to brush over your dry brush a few times to blend the edge of the colours together. (I do this with gradients & sponge manicures too!) 

What do you think of these Aurora Borealis inspired dry brush nails? It’s been a while since I played around with dry brush, but as always I love the look. Also I think I was (semi) successful channeling my inspiration! I’m having a lot of fun playing around with these OPI polishes, so stay tuned for lots more nail art to come! 

All of these lovely polishes were all gifted to me by OPI as part of the #PreenMeVIP program. 
Mani Swap with @hjs_nails!


Good morning lovelies! Hope you’re enjoying your week so far, & what’s left of August. Isn’t it crazy how quickly the month is speeding by? Don’t get me wrong, I’m beyond excited for Fall but it is crazy to think how quickly this Summer has speed by. 

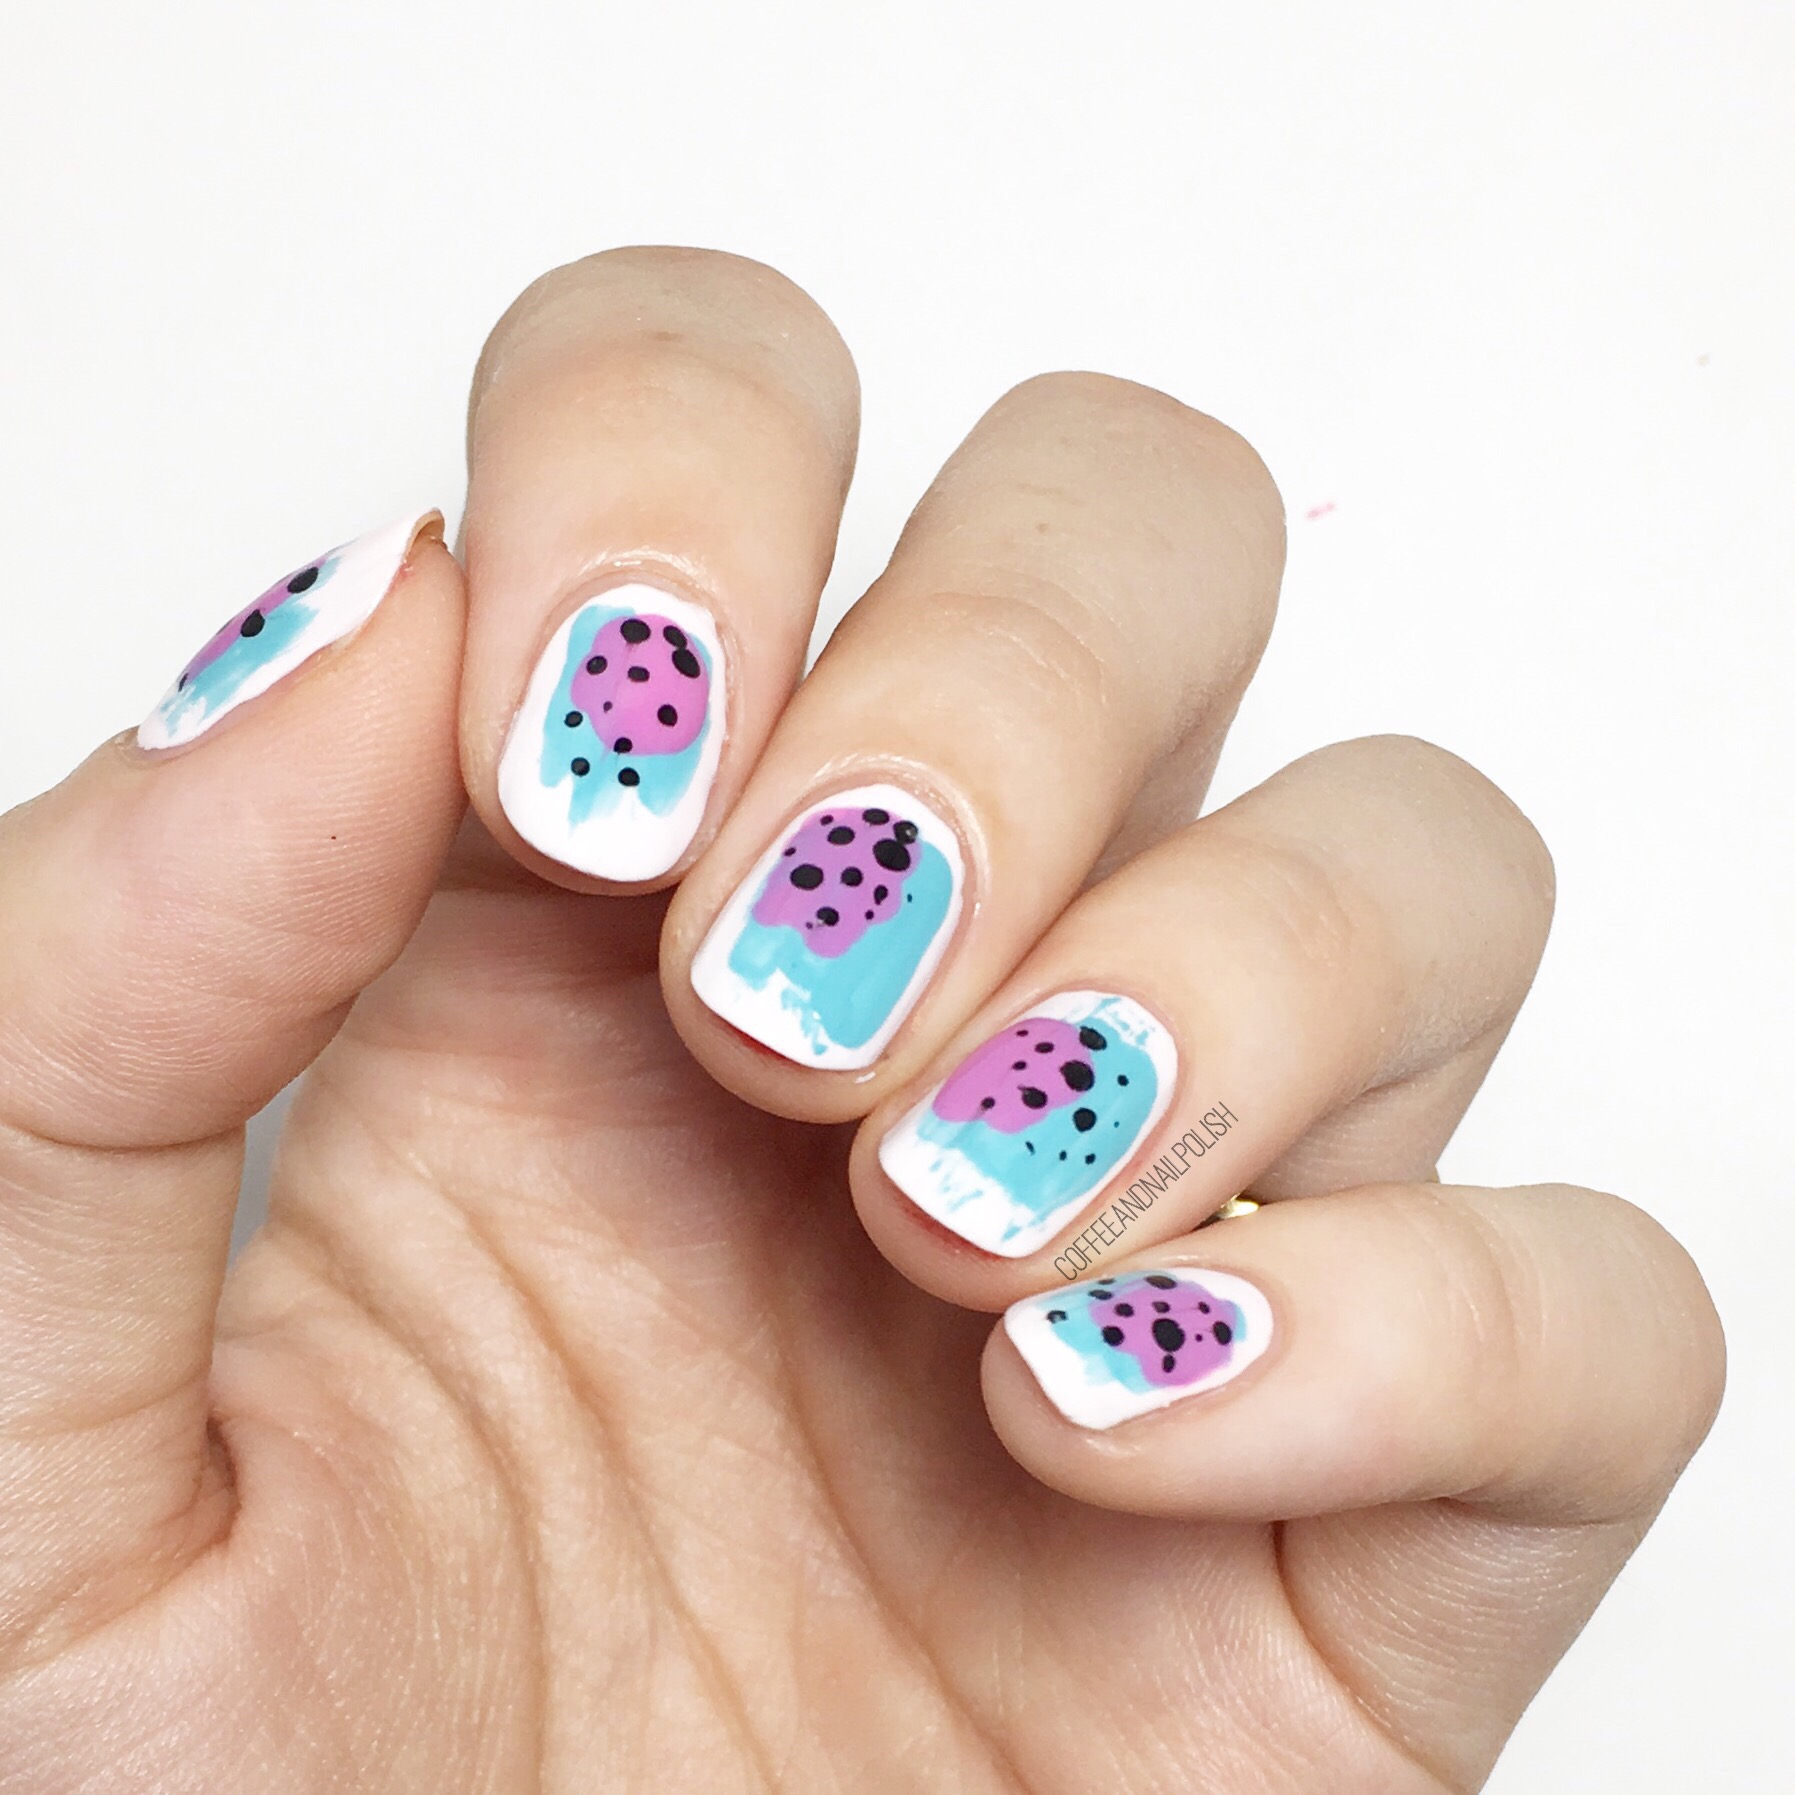
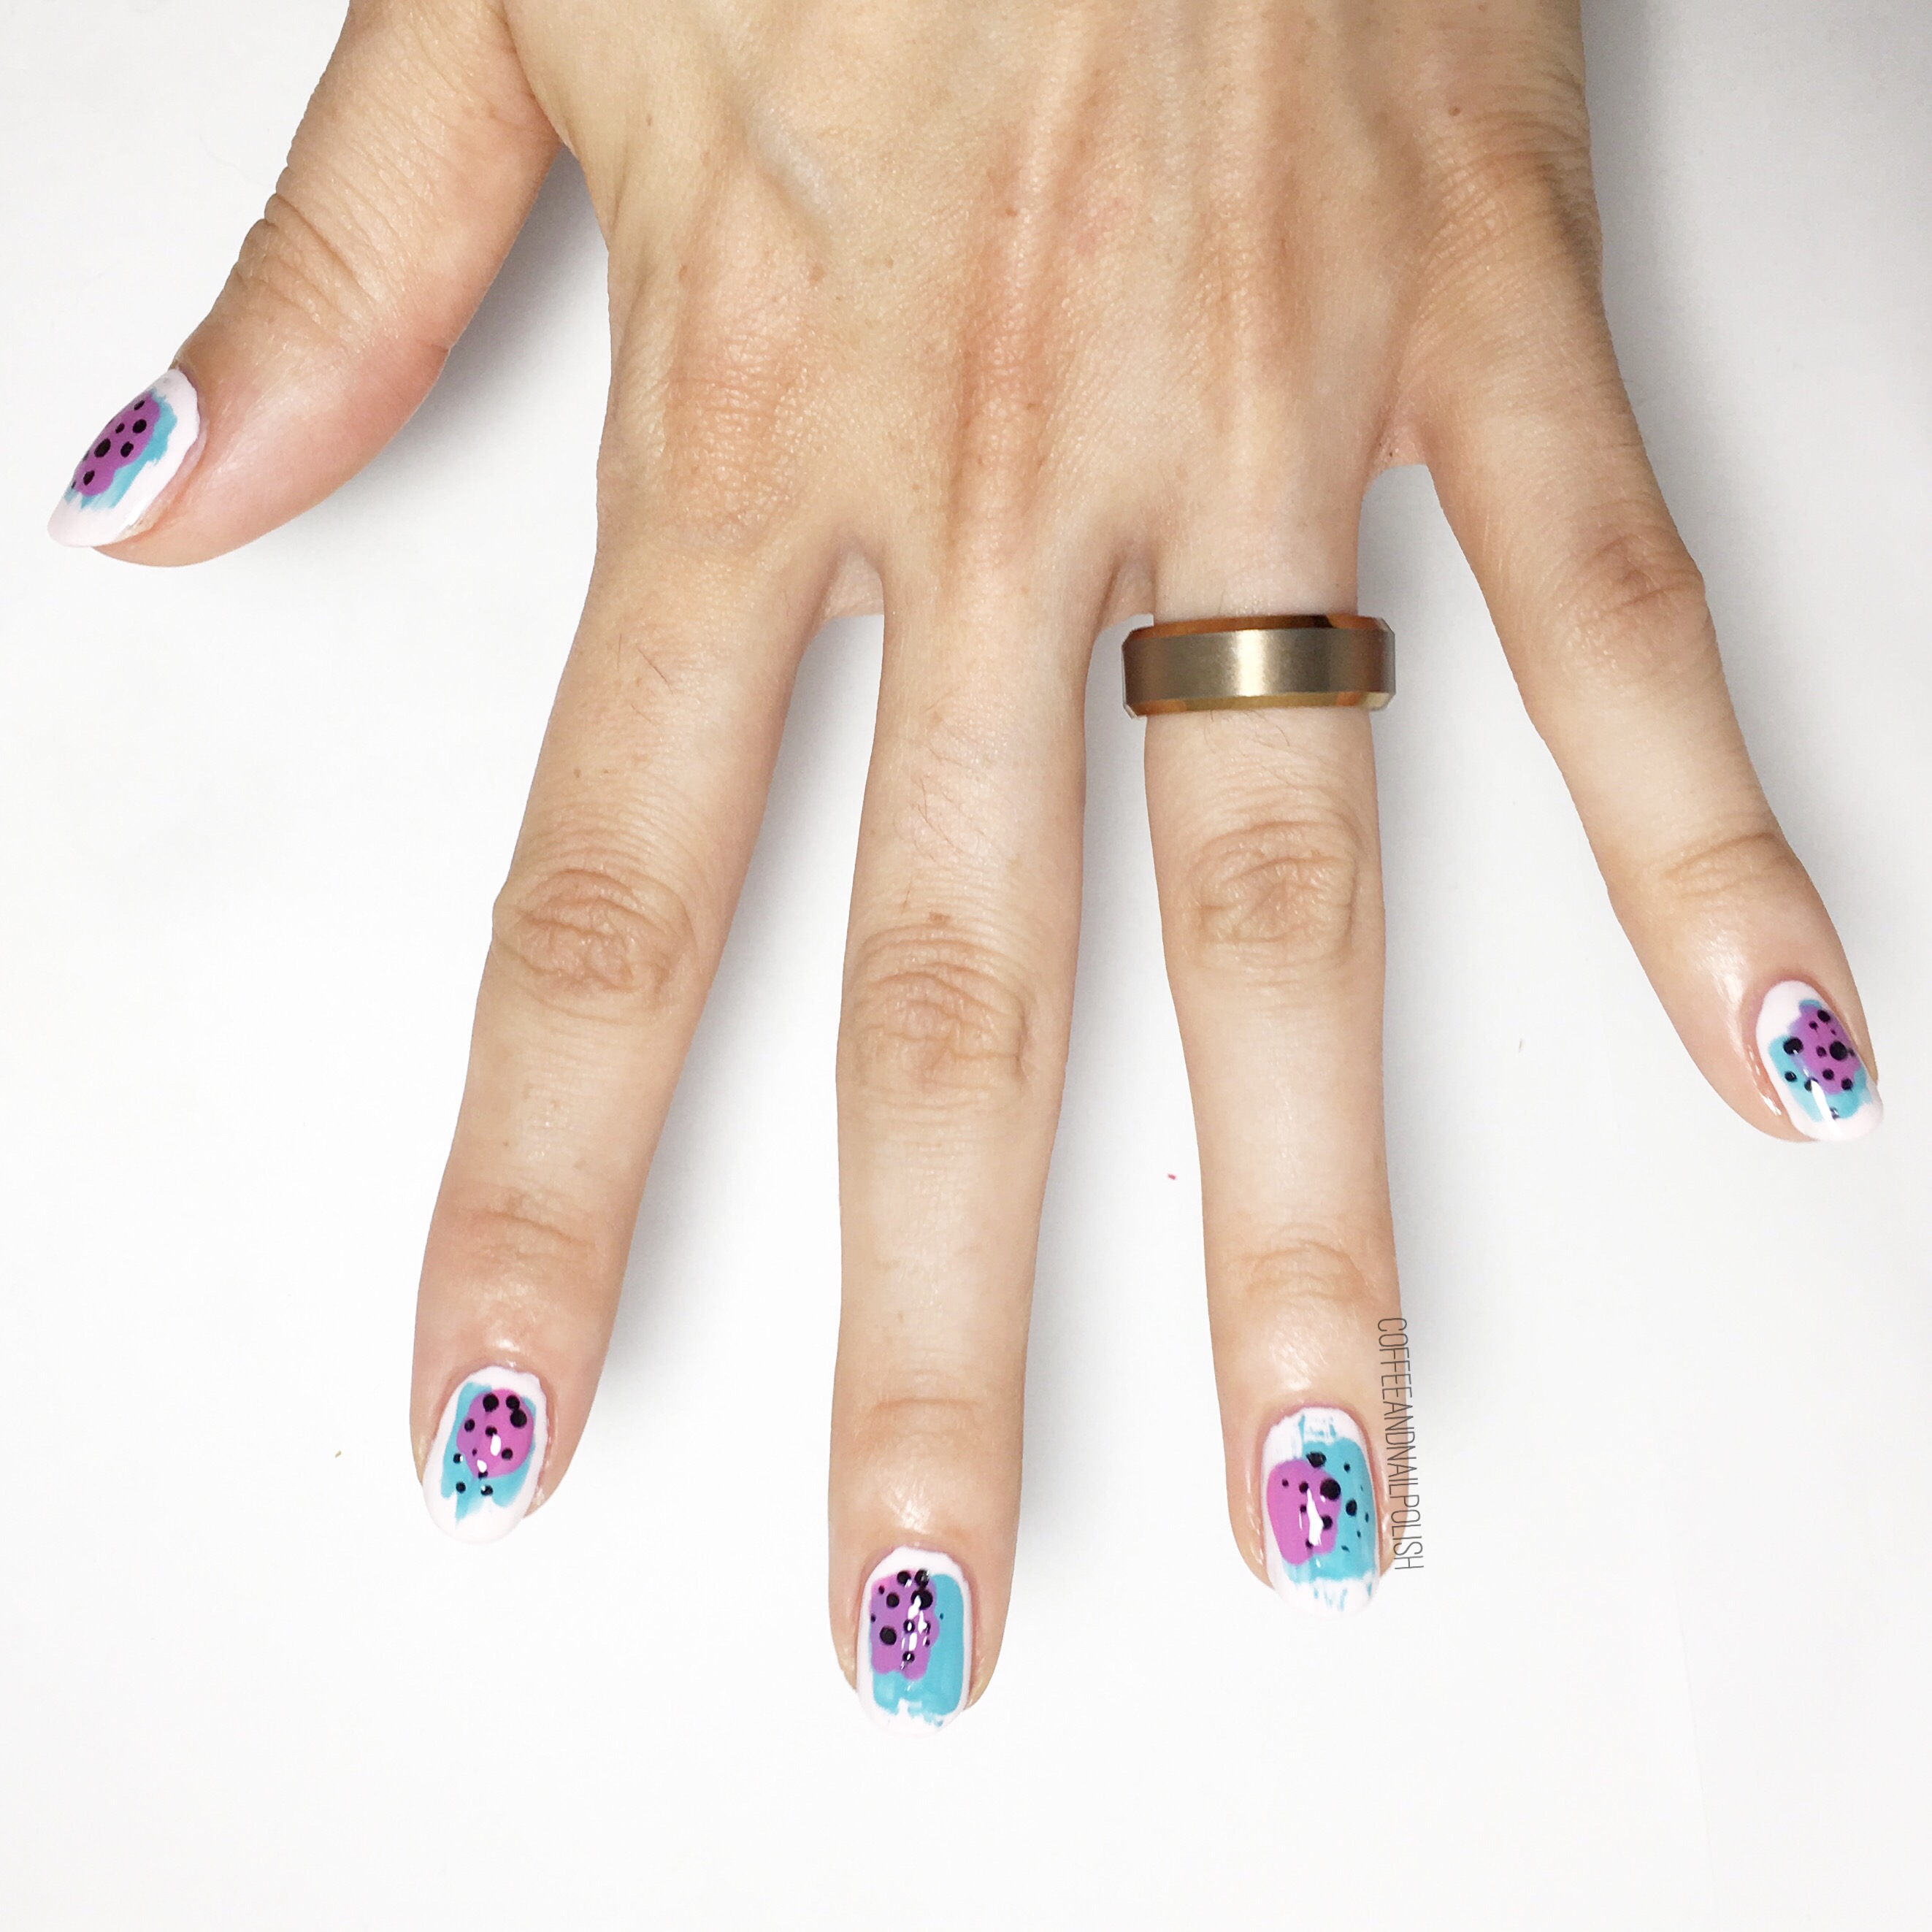
I thought I would break up the Fall colours I’ve been obsessing over, & joint in a fun (& bright & colourful) mani swap with Hannah of @hjs_nails! For this swap I picked her super neat abstract design, & she recreated my recent watercolour lines design (& lets be honest, she did it 100x better! I’m so jealous!) 

For this design, I used: 

  • Base Coat: OPI Natural Nail Base Coat 
  • Top Coat: Cutex Quick Dry Top Coat
  • Sally Hansen Miracle Gel Pretty Peony
  • Essie In The Cab-ana 
  • Essie Splash of Grenedine
  • Essence Back to Black
  • Small Bundle Monster dotting tool 

I thought this was such a neat design when I originally away Hannah’s so when she was looking for someone to swap with I knew already what design I was going to pick! Plus it’s such a great pop of colour which I kind of just needed in my life. You can never go wrong with a good abstract nail & the right pop of colour. 

What do you think of our swap? Let me know in the comments below! & don’t forget to head over to Hannah’s instagram & give her a follow if you’re not following her already. 💜

Patterned Watercolour Nails Inspired by @thesammersaurus

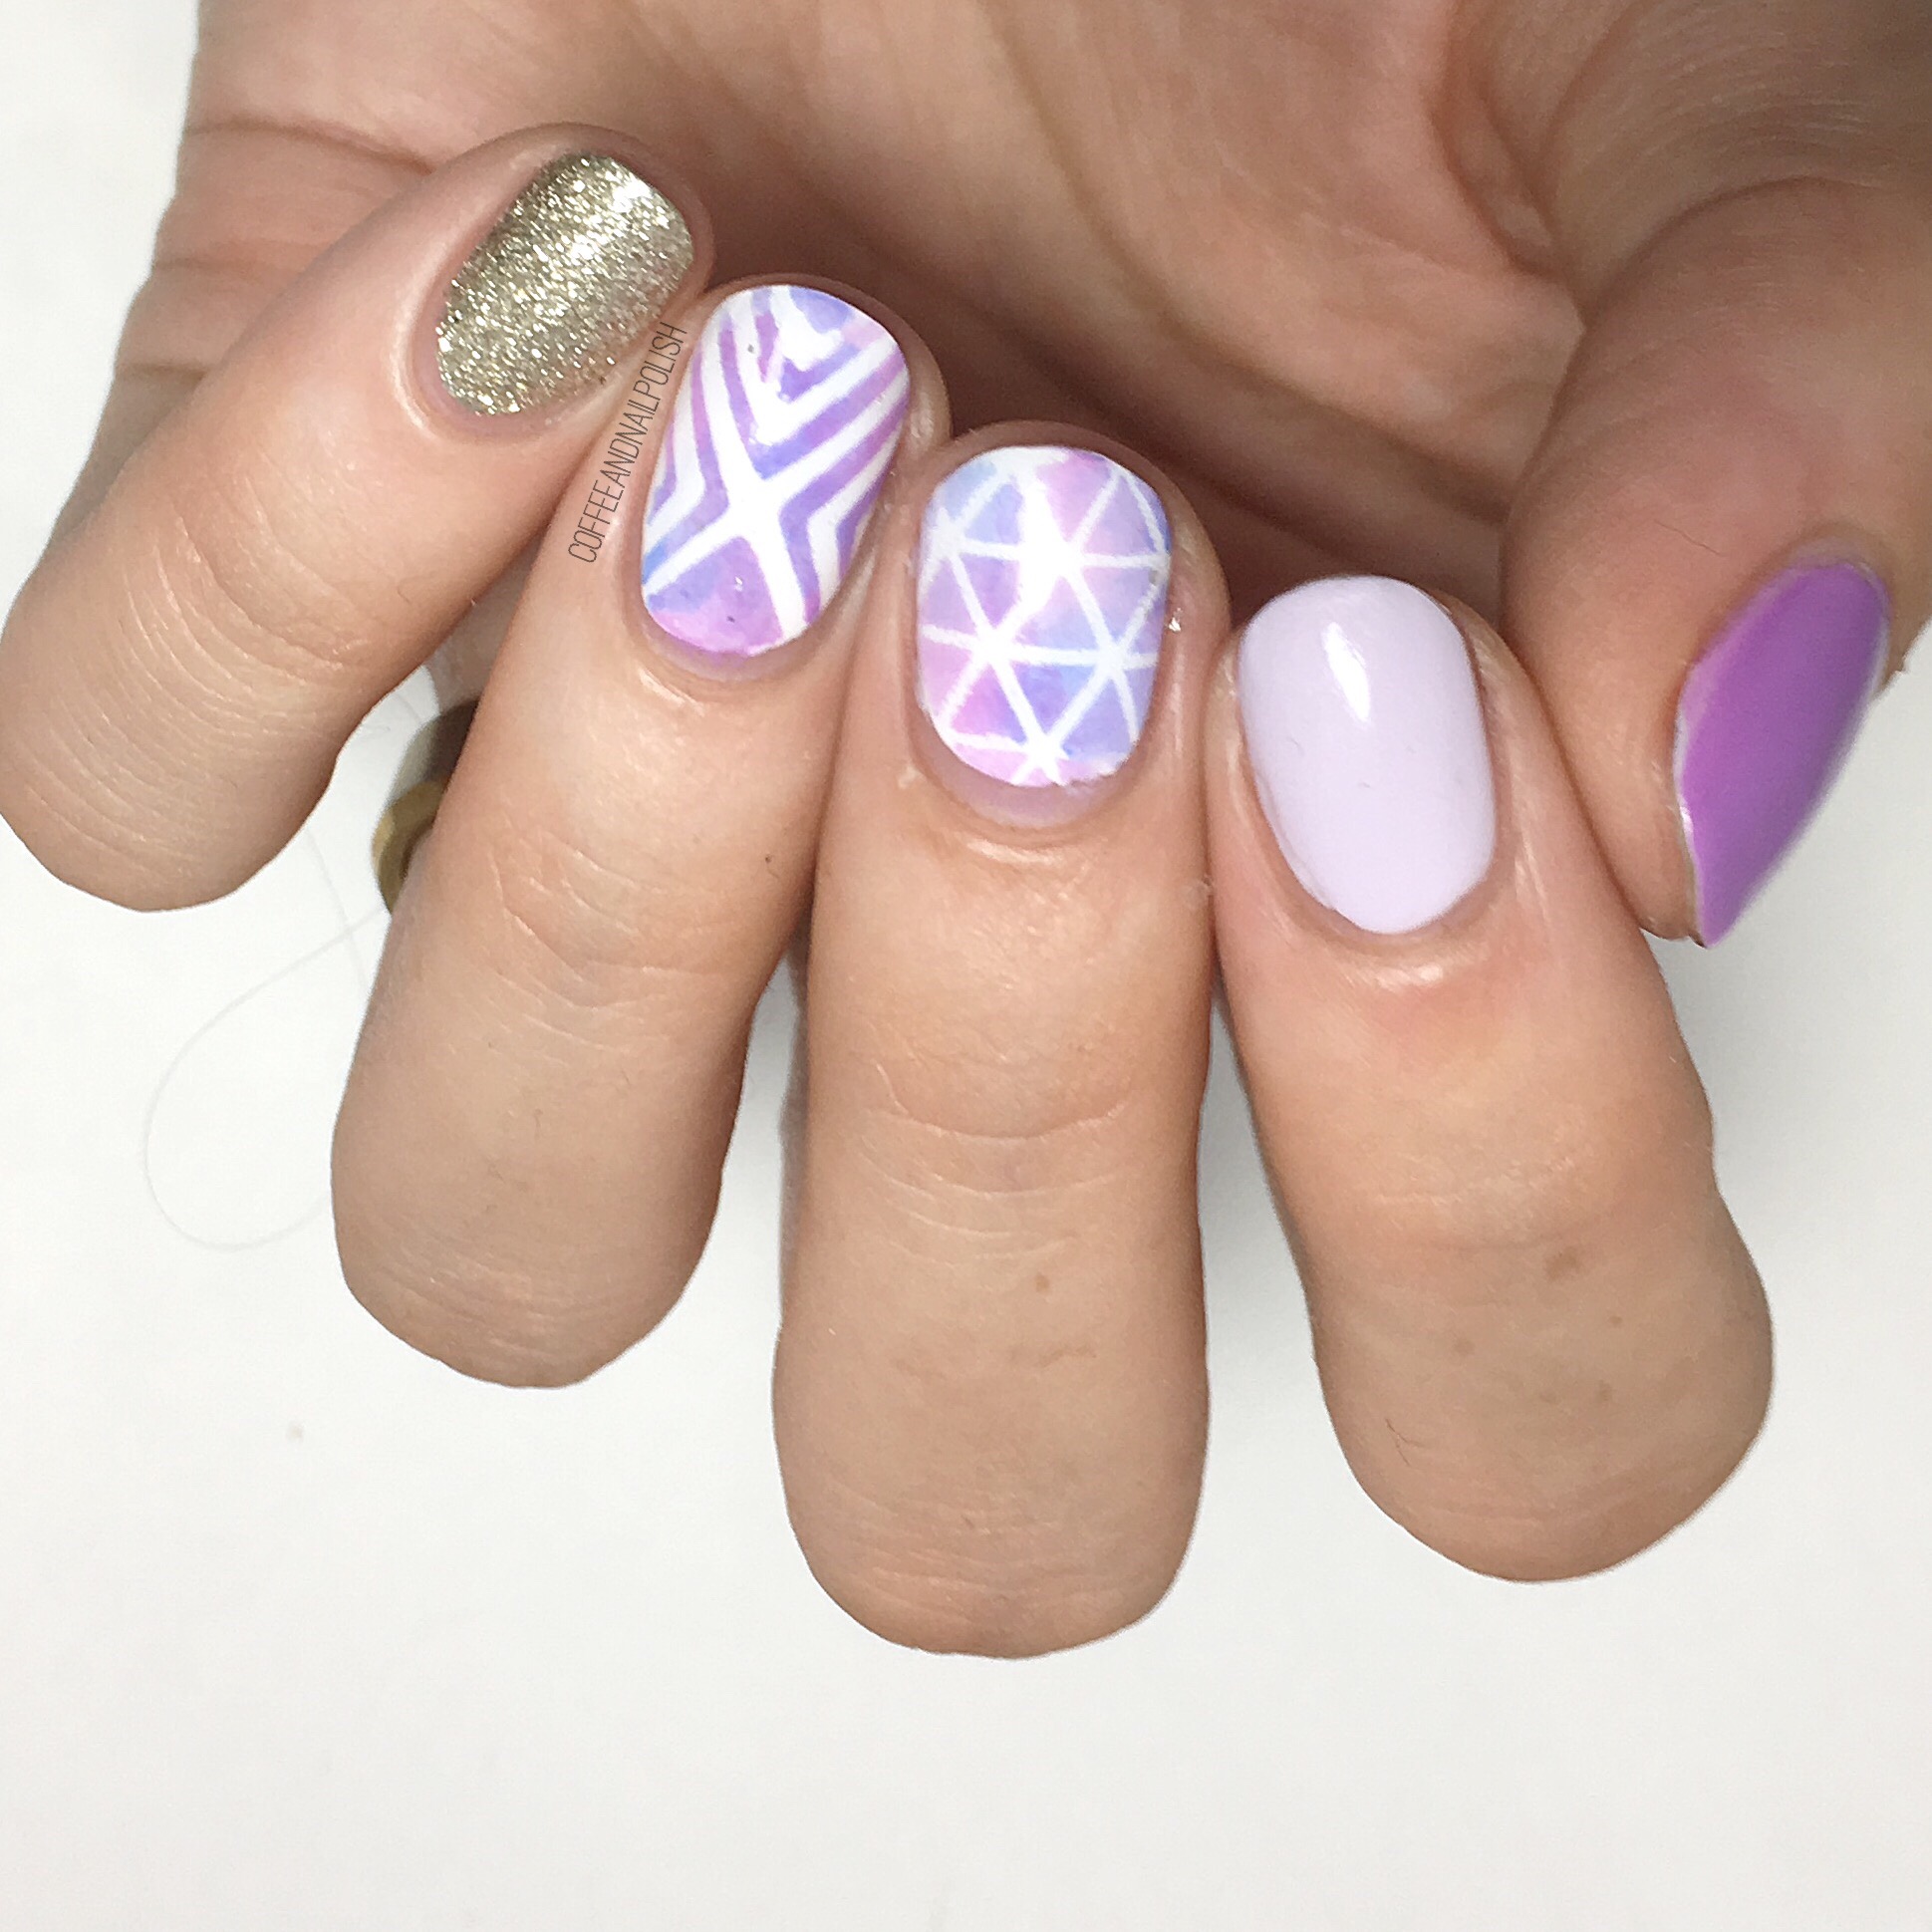
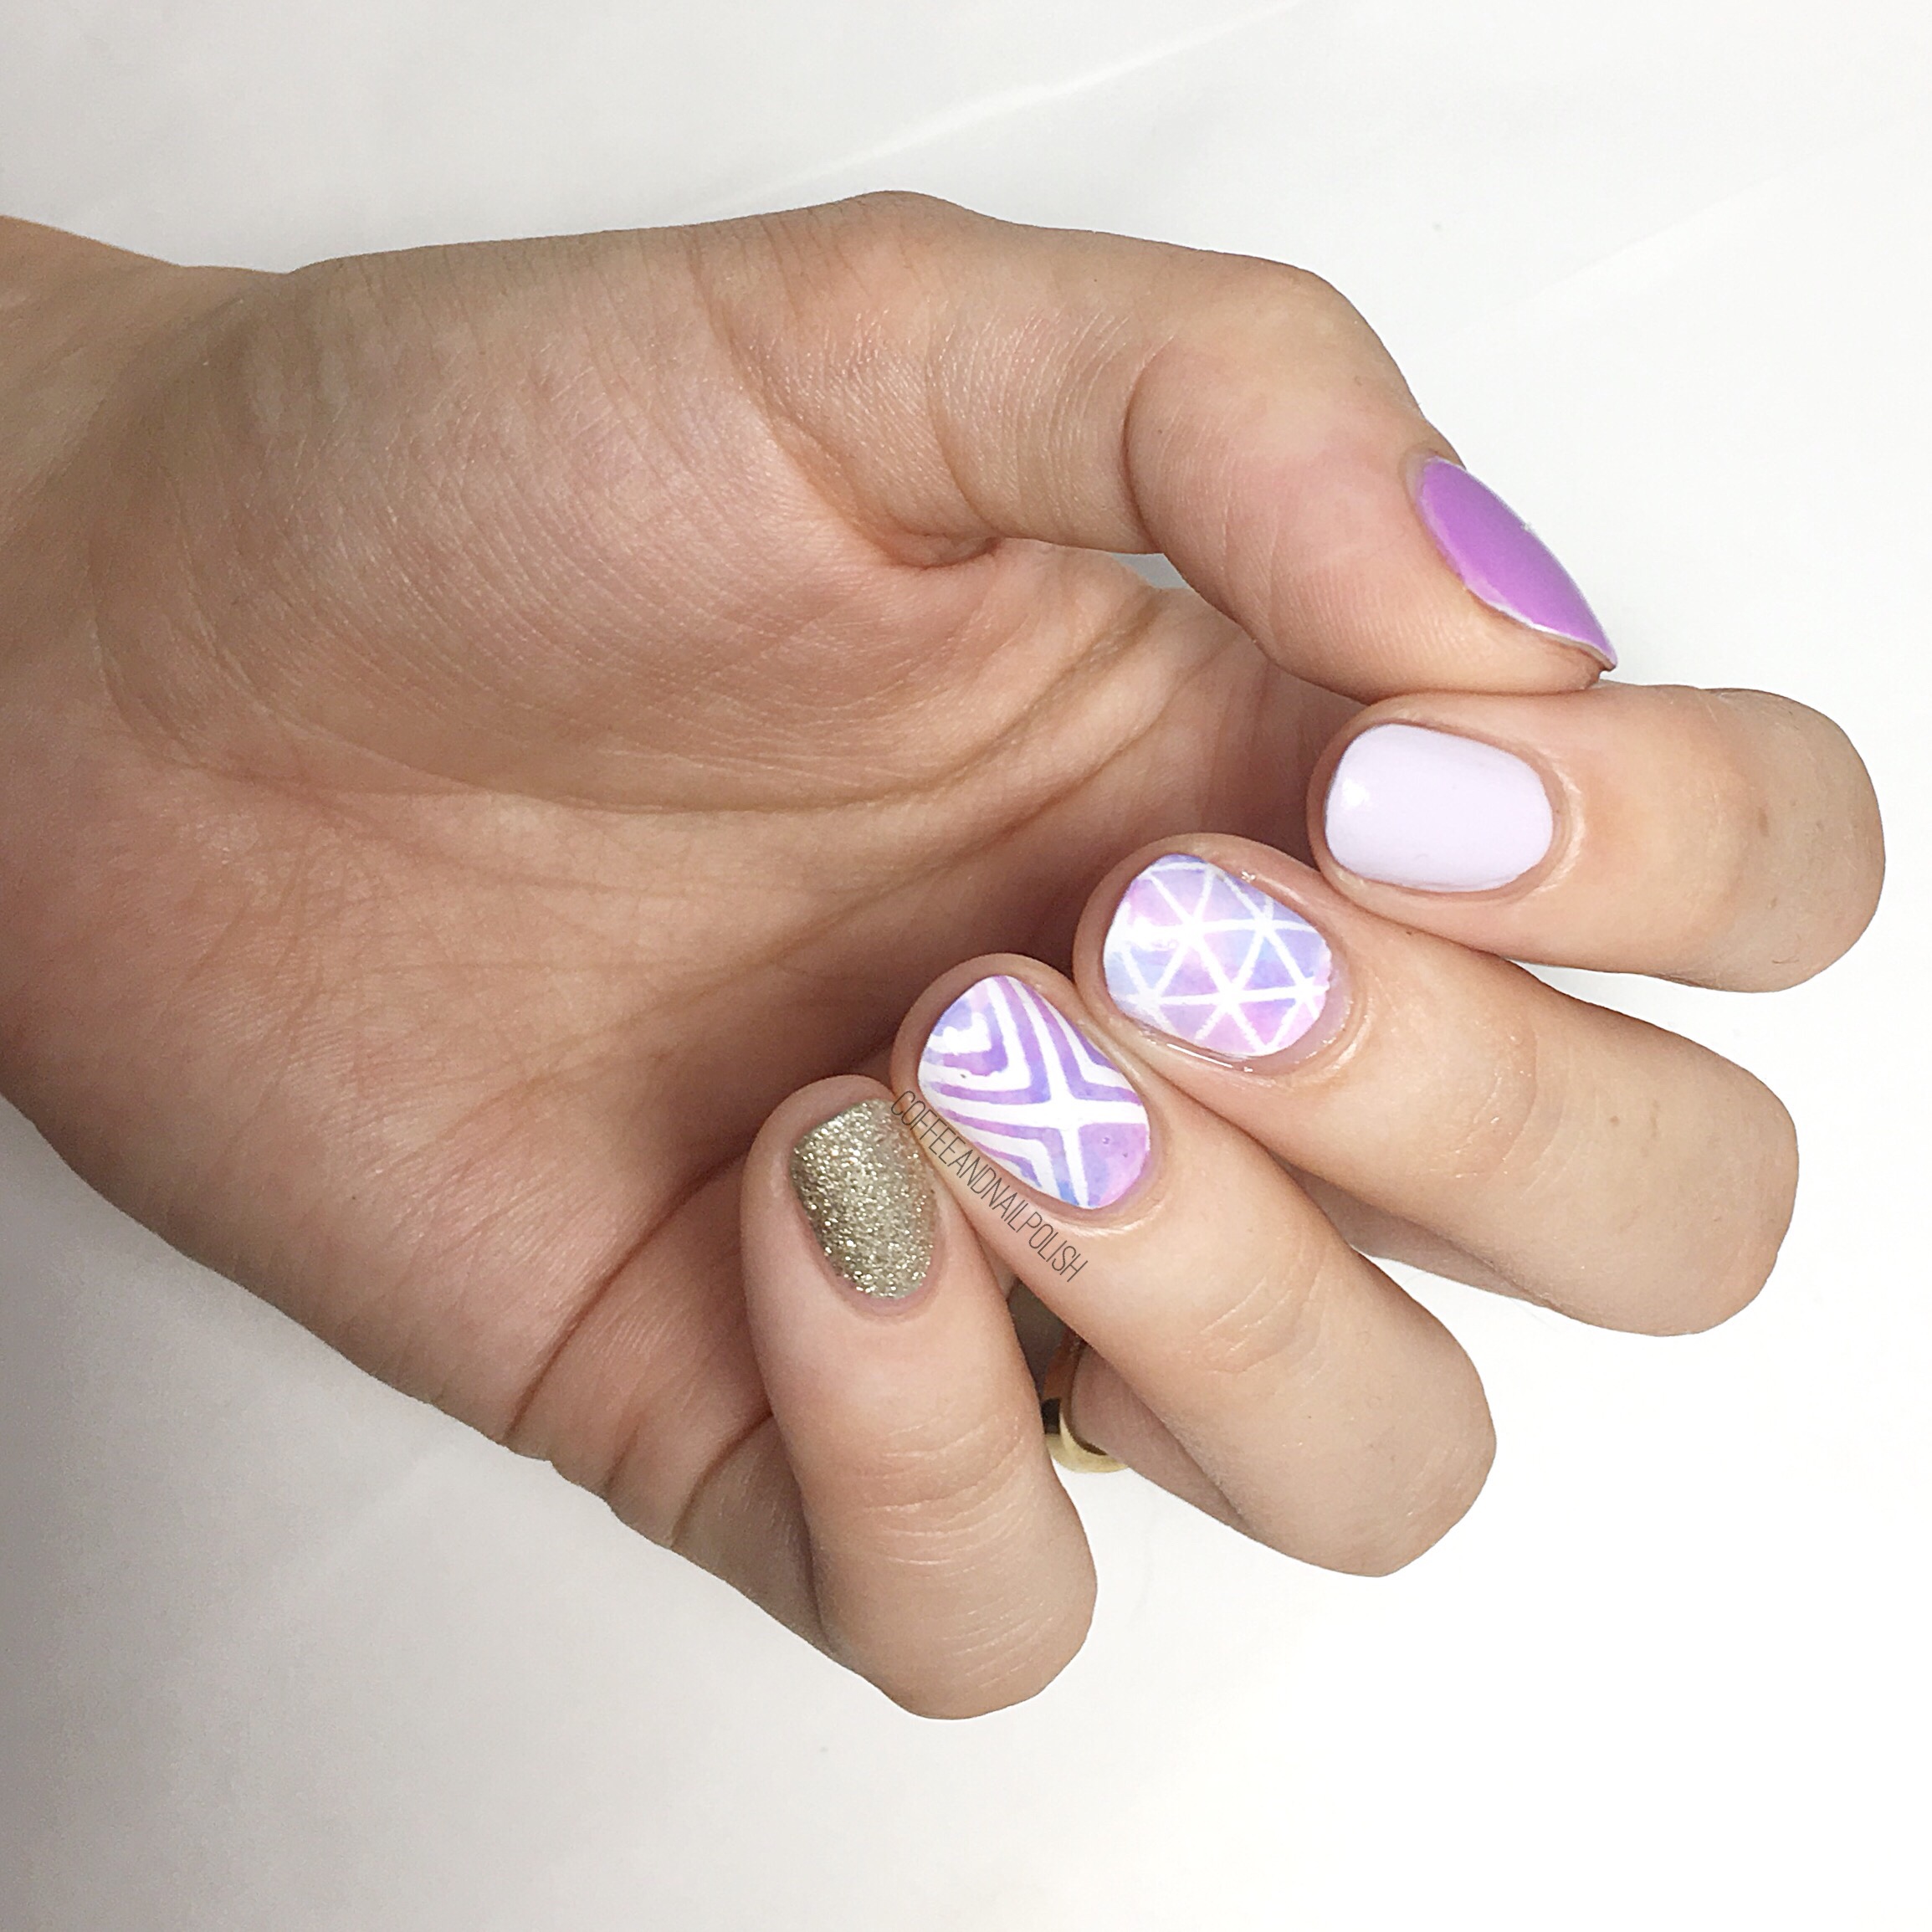
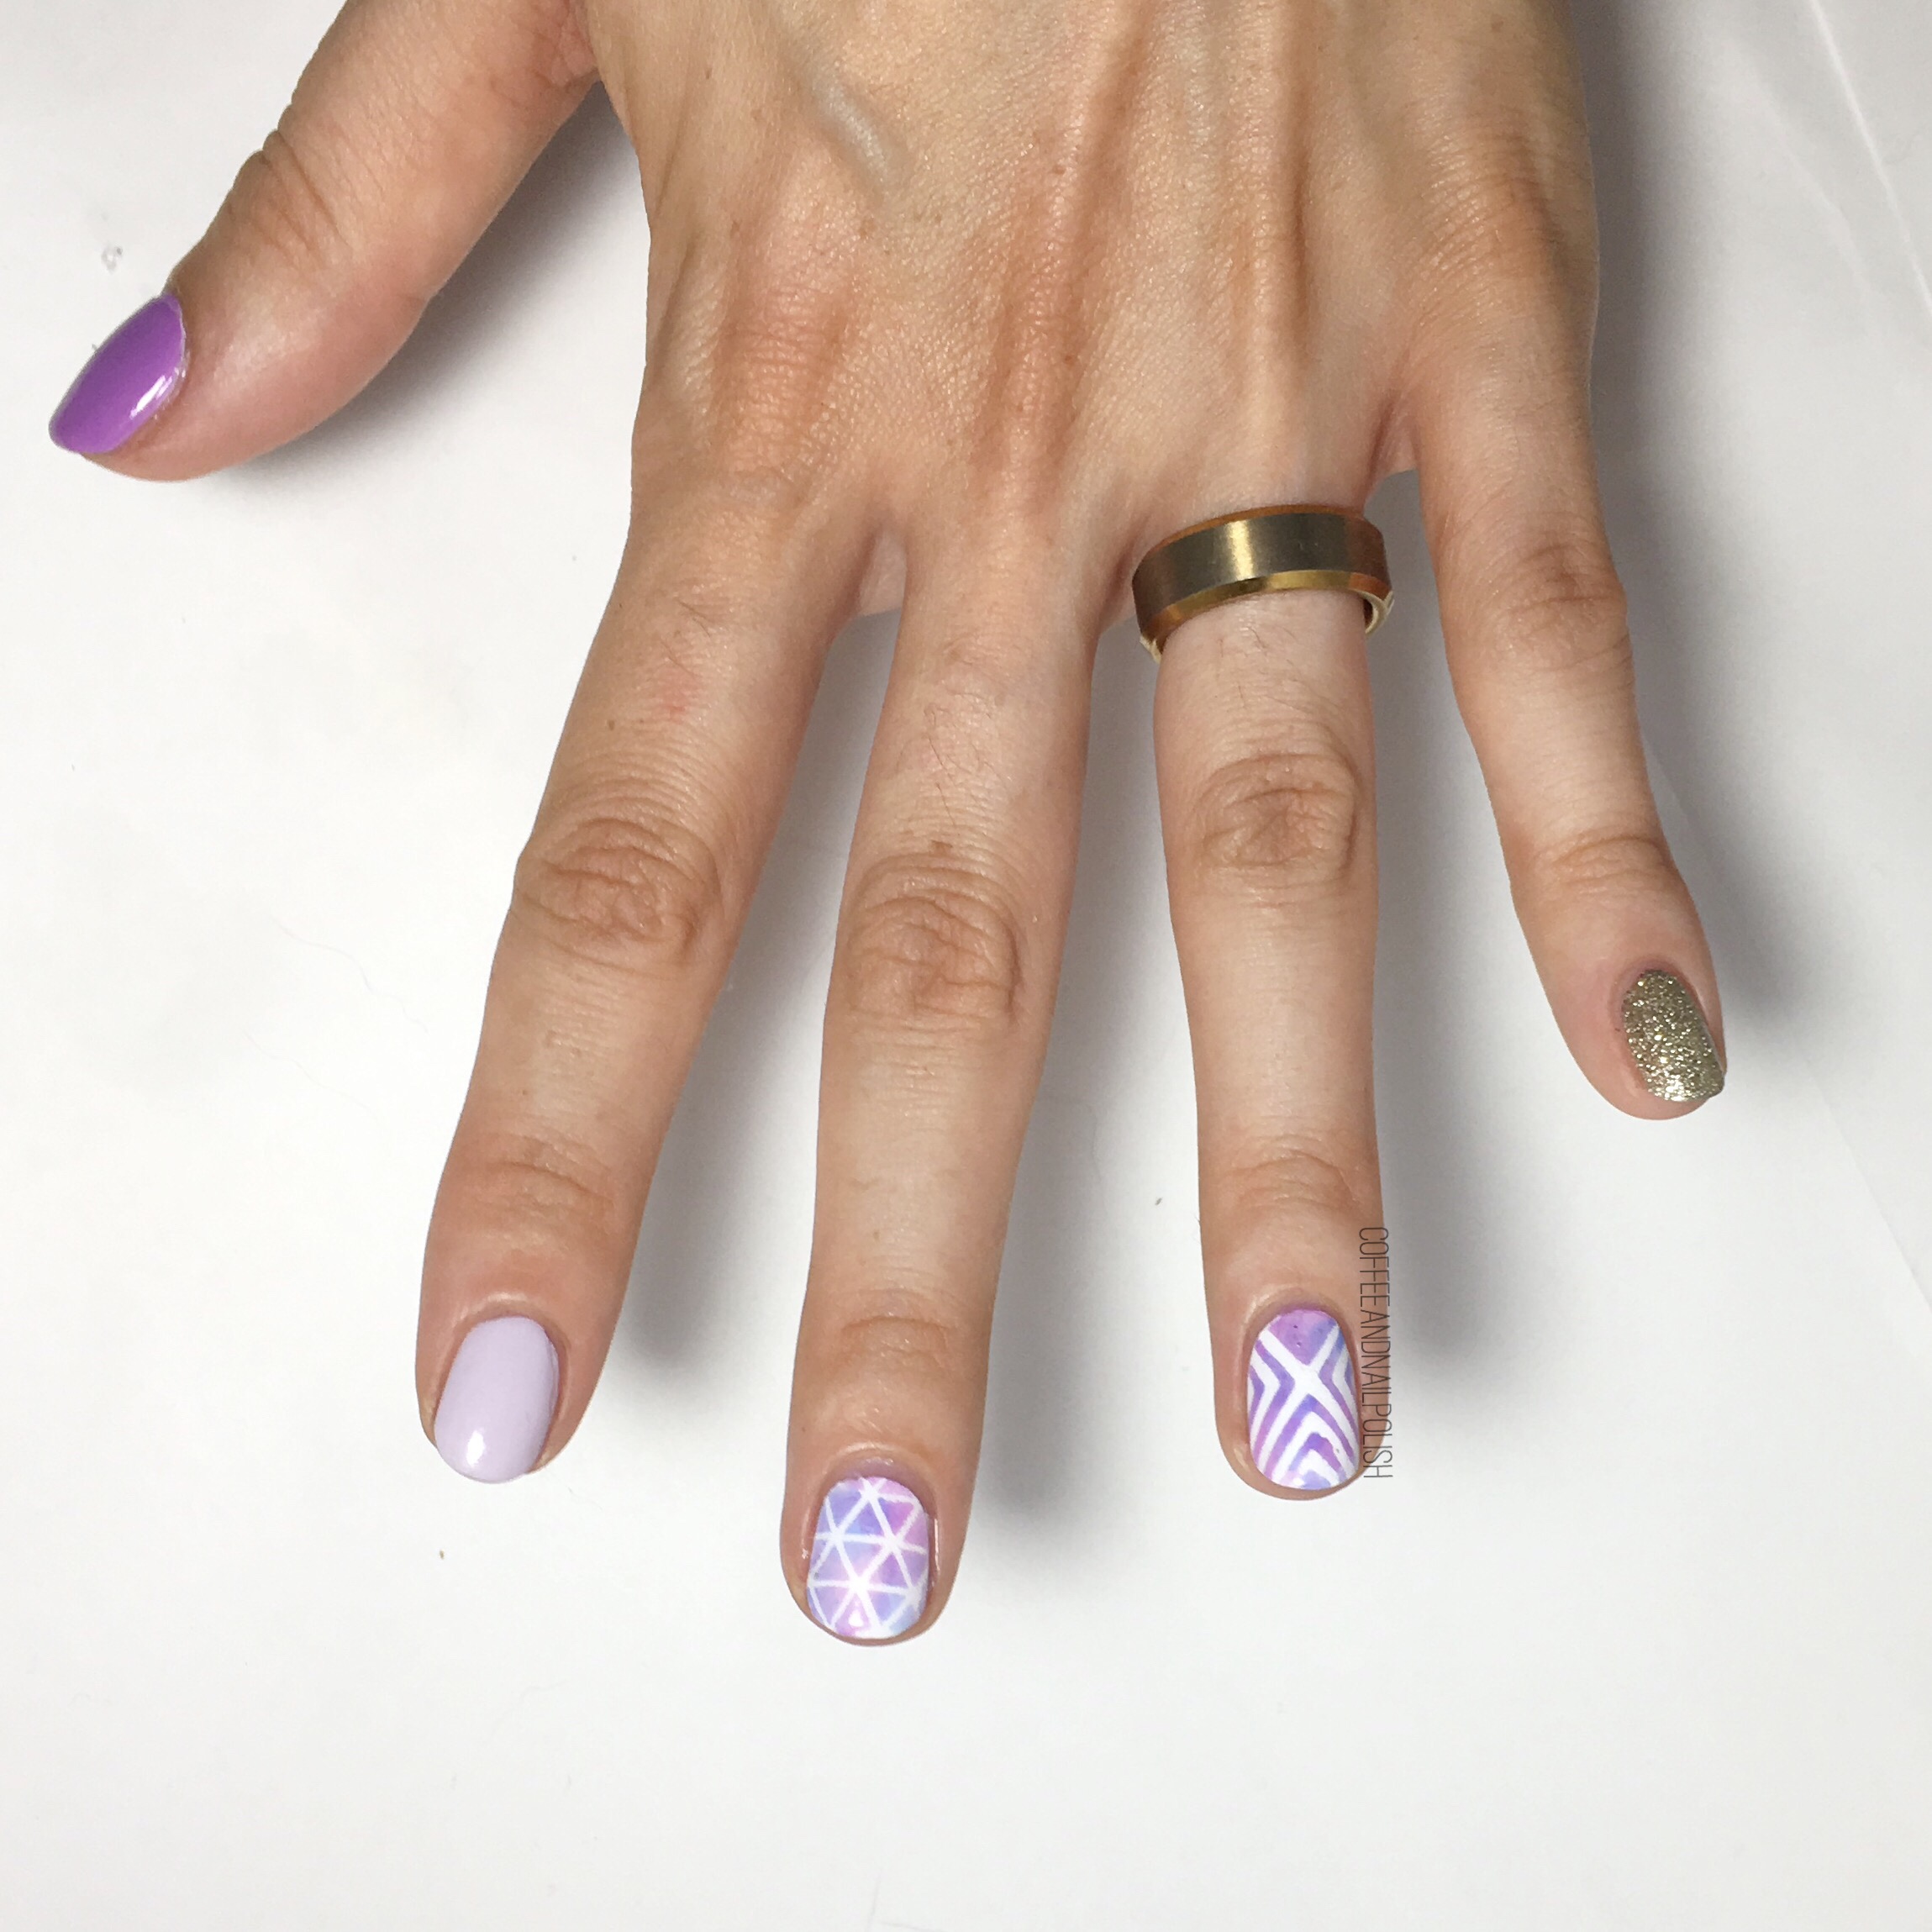
So I’ve been feeling a little stuck, inspiration wise, & when I feel lost for ideas I love browsing through the feeds of my favourite nail artists to see what catches my eye. I was scrolling through @thesammersaurus‘s instagram feed & came across a gorgeous geometric design from 3ish years ago. I’ve been a massive fan of Sammy’s for a long time–she was one of the first nail art blogs I discovered–& I love how she comes up with awesome, creative designs & rocks those shorter nails!  It gives hope to those out there who don’t have crazy long nails. So when I discovered this gorgeous design I loved, I popped over to her blog & found all the details of her design to make painting my recreation way easier! 

For the manicure, the products used were:

  • Base Coat: Cutex Brittle Nail Fix
  • Top Coat: Cutex Quick Dry Top Coat
  • Essie Go Ginza 
  • Essie Play Date
  • Sally Hansen Xtreme Wear Royal Hue
  • Sally Hansen Hard As Nails Hard To Get
  • OPI My Favourite Ornament 
  • Xroma Polish & Vinyls X Stencil (I cut off the bottom) 
  • The Base Coat Triangle Pattern Stencil
  • Latex Free Make Up Sponge 

Thanks to my vast collection of vinyls, I was able to cheat & skip having to place striping tape/skinny vinyls individually for a relatively easy to do manicure! (Thank god for that!) I also used a make up sponge instead of the Saran Wrap technique for my colour blending on the accent nails. But even though I didn’t follow her exactly, I feel like this recreation turned out Pretty on point. Just please ignore the shrinkage on my middle finger nail. 😂


Do you have a favourite nail art you love to turn to for nail art inspiration? Where is your favourite place to get nail art inspiration from? Let me know in the comments below! 💜

Happy Birthday Canada Day Nails 🇨🇦

Happy Canada Day! 🇨🇦 Today is an important birthday for my country–it’s the 150th birthday of Canada’s Confederation. & in honour of the occasion I created these festive nails using maple leaf stencils I received in honour of the occasion free from Nail Polish Canada (& thanks so a discount code @jennieshaw posted a few weeks back). 

For this manicure I used:

  • Base Coat: L’Oréal All In One
  • Top Coat: Essie Speed Setter
  • Essie Too Too Hot
  • China Glaze Ruby Slippers
  • Sally Hansen Hard As Nails Hard To Get
  • Xroma Polish & Vinyls Skinny Waves Vinyls
  • What’s Up Nails Canadian Flag Nail Stencils c/o: Nail Polish Canada

I hope everyone is having a fabulous Canada Day (& it’s not too rainy where you are!) Myself & the baby are heading on vacation tomorrow so we’re keeping our plans low key today since he’s a little too young for fireworks this year. We are however having a fun Canada Day supper with my inlaws before we leave. Whatever your plans are today, I hope it includes a little red & white (& maybe something maple flavoured). 

How are you celebrating Canada’s 150th Birthday?! Let me know in the comments below!