#GlamNailsChallengeFeb — Cow Print

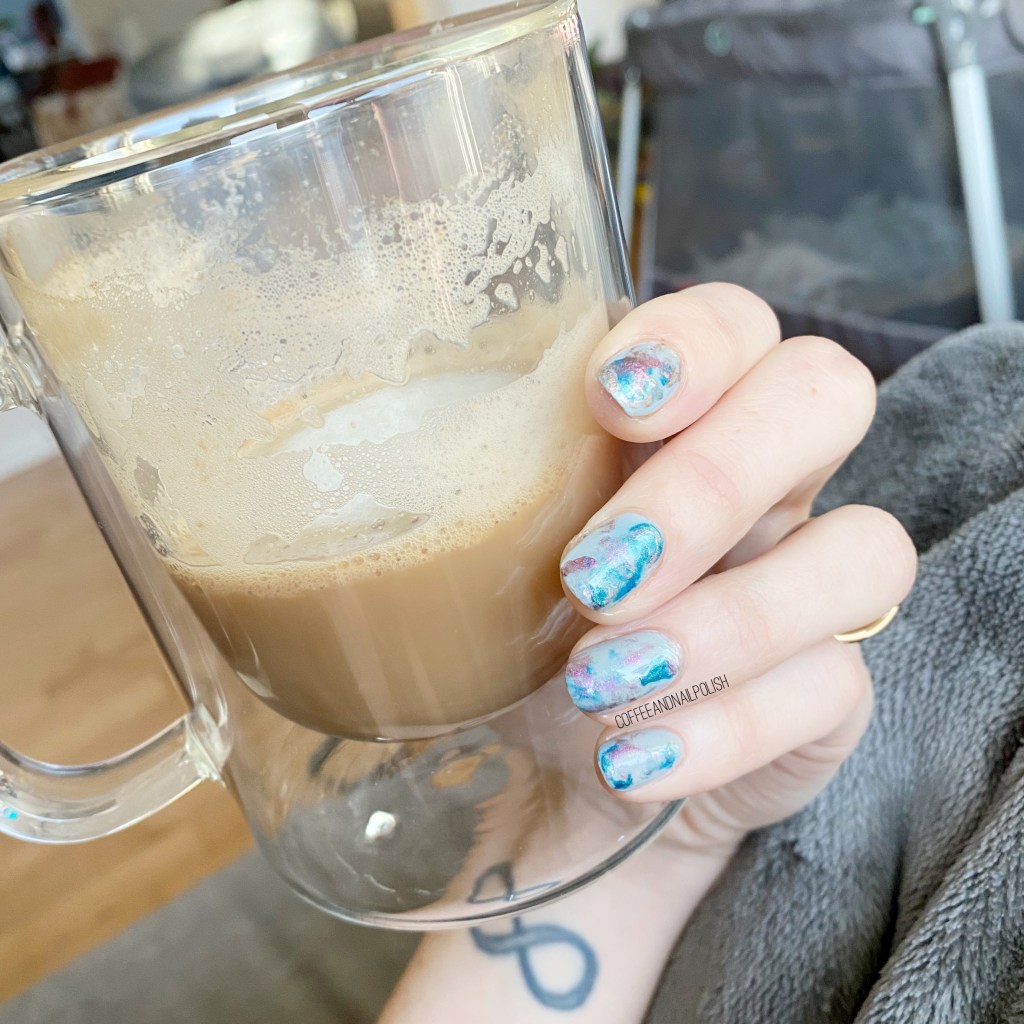
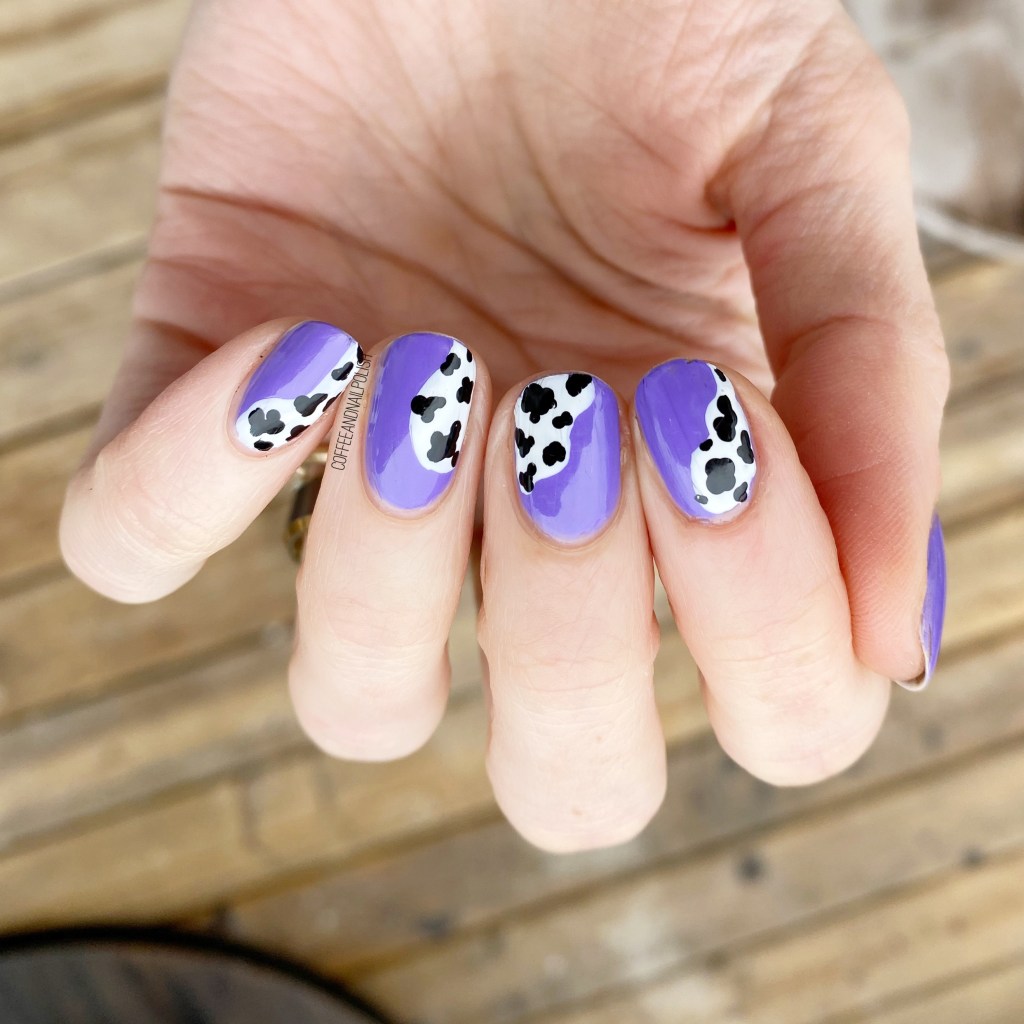
Hello lovelies & happy Monday! Currently digging out from a whallop of a Winter storm, but I am super excited to share my manicure for the second prompt of GlamNailsChallenge: cow print.

Now I’ve done my fair share of leopard print nails in the past, & some bird feather looks. But I’ve never really branched out in attempts animal inspired designs. So I was a little uncertain about what to do for this look! But thanks to Pinterest, I found this peak a boo cow print look by @cates.nails (via Maniology) & knew it would be the perfect cow print look to do!

For this manicure, the polishes I used were:

  • Base Coat: Sally Hansen Nailgrowth Miracle
  • Top Coat: Essie Good to Go
  • Color Club Pucci-licious
  • Sally Hansen Miracle Gel Get Mod
  • Starrily Vantablack
  • NailStuff.ca Dotting Tool Trio (COFFEE10 saves you 10%!)

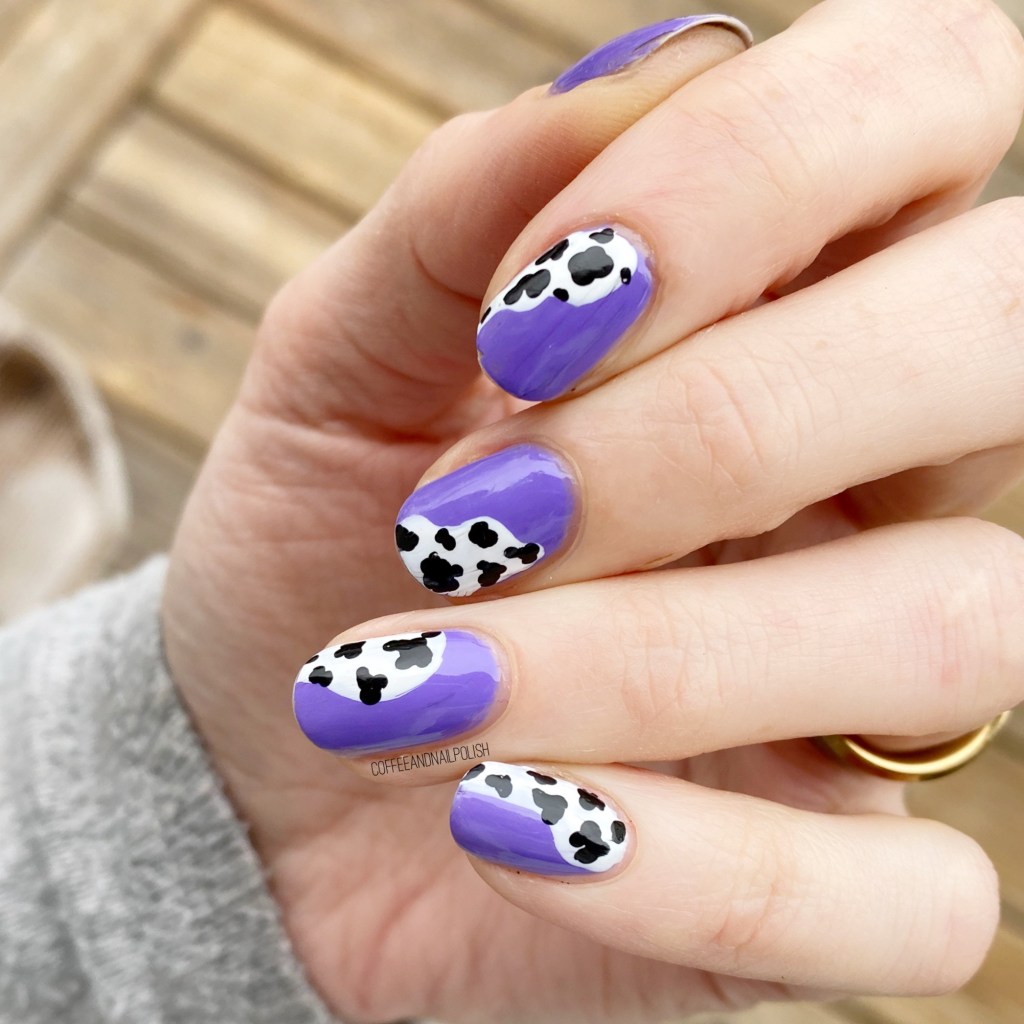
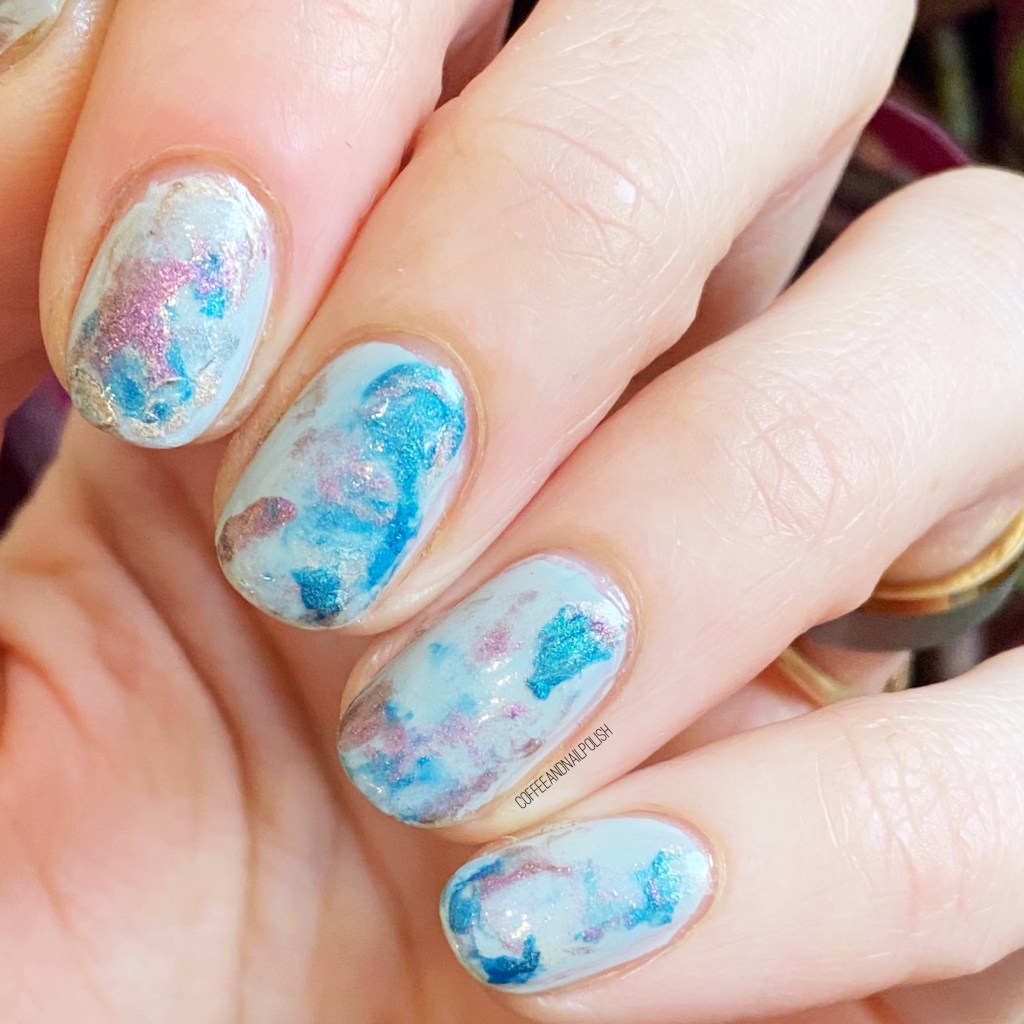
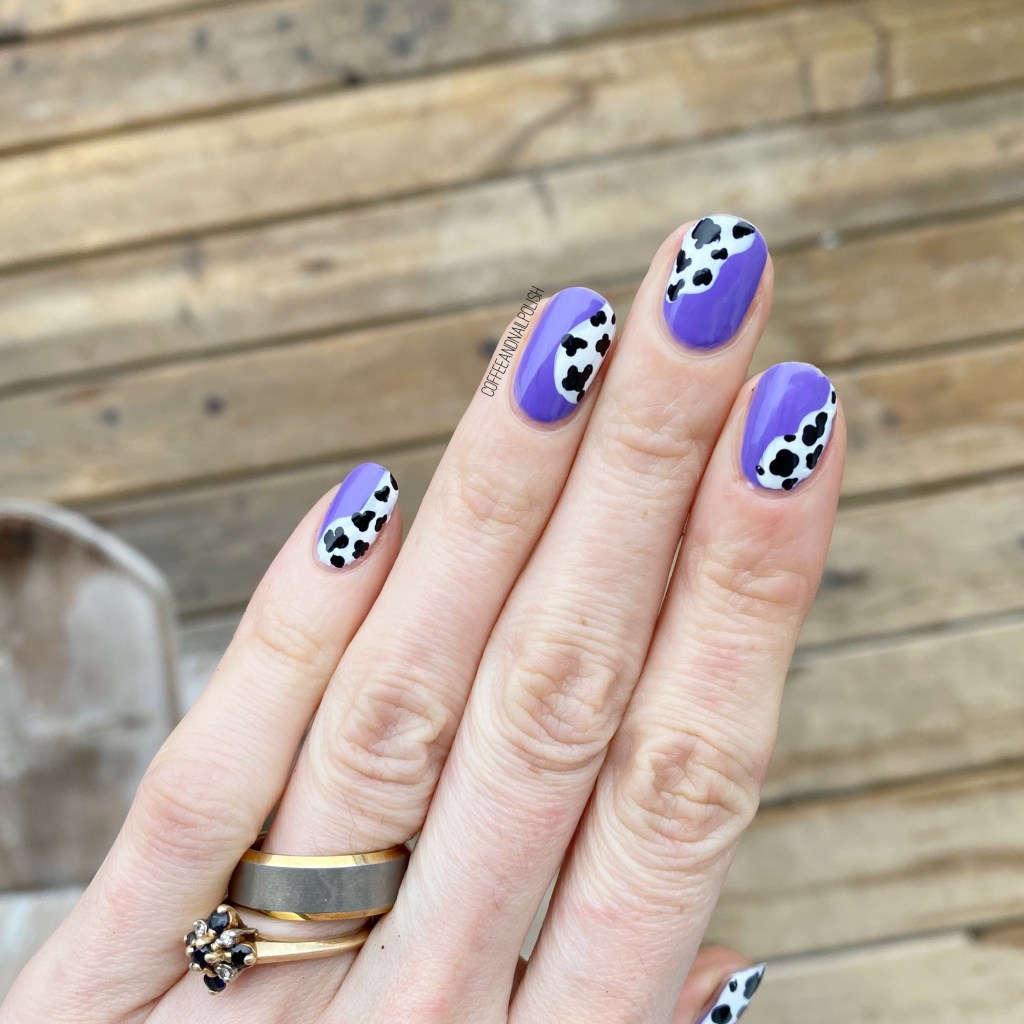
I really really like the black & white against the pop of colour. I haven’t worn Color Club Pucci-licious in a while, & it’s one of my all time favourite purple polishes, so it felt like the perfect base for this look. @cates.nails original manicure was done with a pink background, but I needed a little pink break haha.

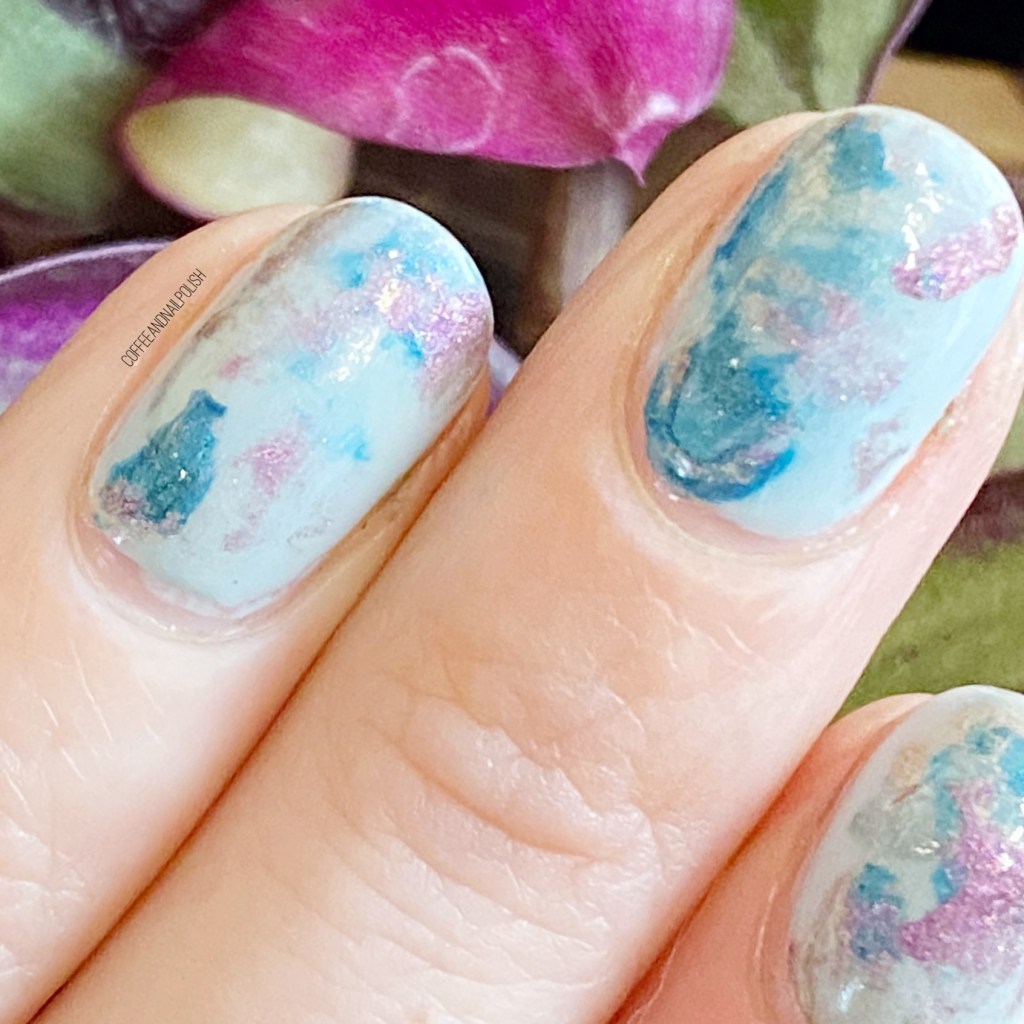
Overall this was a relatively easy look to do. The hardest part was painting the white blocks of colour. For my cow print, I used a smaller dotting tool from my Nailstuff set, & tried to make the blobs look cow-y. My husband did guess right away what they were, so I feel like that is a plus!

What do you think about my cow print nails for #glamnailschallengeFeb? Have you had a chance to check out the the other prompts on Instagram? Click the hashtag above to see all the other fun looks other people have done for this prompt!

& let me know down below what you think of this look!

Metallic Smooshy Nails

Hello lovelies & happy Thursday!

I hope everyone is having a lovely week so far. Today I have some more nail art to share with you that I recently did. I’ve been experimenting with different nail art techniques that I either haven’t done in a long time, or never tried. Today’s look is inspired by a technique by @grapefizznails — smooshy nails using a stamper!

For this manicure, the polishes I used were:

  • Base Coat: Sally Hansen Hard As Nails
  • Top Coat: Sally Hansen Miracle Gel Shiny Top Coat
  • Sally Hansen Nail Primer
  • Color Club Silver Lake
  • Color Club You’re My Soul-Matte
  • Color Club Matte About You
  • Color Club Put A Ring On It
  • Bodico small clear stamper
  • Silicone nail art mat

So I definitely love how these turned out, but I don’t think trying to do a marble look like this is easiest with matte shades, which I decided to use. They tend to try faster than non-matte shades, so you get more blob-ish smooshes instead of the delicate effect that I see in a lot of others smoosh looks. I’m going to try it out again for sure, with a different variety of polish formulas. I

t was definitely an easy look to do, which I always appreciate, & I always love seeing other people’s smooshy nails, so I’m dedicated to nailing this technique! I’m already imagining one using a Valentine’s Day inspired colour scheme.

What do you think about this nail art look? Do you enjoy smooshy nail art looks? Let me know all your thoughts in the comments below, & share any other nail art techniques you would like to see me try out!

#GlamNailsChallengeDec — New Years Celebration

Hello lovelies & happy Wednesday! We’ve officially made it — the last day of #GlamNailsChallengeDec! Can you believe it? That means we’re just a few days away from 2020 being the past, & hopefully 2021 will hold exciting things.

But first we need some New Years Eve nails! Today’s prompt is New Years Celebration, & I was inspired my fireworks! Who doesn’t love setting off fireworks on New Years Eve — my dad always used to set off a grand show during our yearly celebrations, & they make me so happy! I can’t wait until my kids are a bit older, & we can set a few fireworks off in our backyard at midnight. In the meantime, I’ll celebrate with my firework inspired waterfall look.

For this manicure, the polishes I used were:

  • Base Coat: Sally Hansen Hard As Nails
  • Top Coat: Sally Hansen Miracle Gel Shiny Top Coat
  • China Glaze New Year, New Boo
  • Essie Mosiac On Down
  • Sally Hansen Miracle Gel Buffalo Nickel
  • Sally Hansen Miracle Gel Five Golden Blings
  • Starrily Space Debris
  • NailStuff.ca 16mm Striper Brush (COFFEE10 saves you 10% on your purchase!)

Does that not totally look like cascading fireworks?! I love the waterfall look, & I haven’t done one in a while. I thought the combination of gold & silver over the navy blue would be the perfect New Years combination. & I got a ton of compliments on this look when I wore it to work, so I feel like I was successful!

This is probably one of my favourite New Years Eve looks I’ve ever done.

& with that, we’re officially done with #GlamNailsChallengeDec — which prompt was your favourite? Do you enjoy these challenges? Let me know in the comments below!

#GlamNailsChallengeDec — Reindeer 🦌

Hello lovelies & happy Wednesday. We’re officially halfway through December & Christmas is a week away! How did that even happen? But I’m loving just all the Christmas nail art looks I’ve been wearing — definitely the most wonderful time of year for nail art!

Today we have another #GlamNailsChallengeDec look to share! Today’s prompt is Reindeer, so naturally that meant I needed to pull out my favourite reindeer stamping plate design for some Rudolph nails!

For this manicure, the polishes I used were:

  • Base Coat: Sally Hansen Hard As Nails
  • Top Coat: Sally Hansen Miracle Gel Glossy Top Coat
  • Sally Hansen Miracle Gel Good Cheer-y
  • Sally Hansen Miracle Gel Goldie Rocks
  • Essie Mosiac On Down
  • Essence Give Me Nude, Baby
  • Zoya Ray
  • OPI How Great Is Your Dane?
  • NailStuff.ca Dotting Tool Trio (COFFEE10 saves you 10%!)
  • Born Pretty Store Stamping plate BP-L032 (item #23268)
  • NailStuff.ca Clear Stamper

Oh man, this look is just classic Christmas, & I love it! It was also a really easy look to do — the hardest part was the stamping, but as you can see, it turned out perfect! If you don’t have a stamping plate (or don’t like stamping), a nail vinyl would work just as easily! A perfect look for Christmas morning. 🎄

What do you think of this reindeer look? Do you enjoy these festive designs I’ve been sharing for #GlamNailsChallenge? Don’t forget to check out all the lovely looks people have been sharing.

Have a lovely Wednesday!

#GlamNailsChallengeDec — Christmas Lights

Good Morning lovelies & Happy Monday! Can you believe it’s only 10 days until Christmas Eve? Who else isn’t finished their shopping yet? 🙈

Today it’s time for another #GlamNailsChallengeDec look — this time the prompt is Christmas Lights. Originally I did a more tradition Christmas lights look, but I completely smeared it when I applied my top coat, so I went back & redid them as another design. & this is actually a recreation of a look I did 4 years ago that were inspired by one of the Starbucks Red Cup designs!

For this manicure, the polishes I used were:

  • Base Coat: Sally Hansen Hard As Nails
  • Top Coat: Sally Hansen Miracle Gel Shiny Top Coat
  • Sally Hansen Miracle Gel Can’t Beet Royalty
  • Sally Hansen Miracle Gel Get Mod
  • Starrily Nails VantaBlack
  • NailStuff.ca 4mm Micro Detail Brush (COFFEE10 saves you 10%!)

I’m really digging this look. Yes, it’s not your traditional Christmas Lights look, but I’m kind of glad my first design got all smeared (although, definitely wasn’t in the moment, haha!) It gave me a chance to recreate one of my favourite nail art looks from a few years ago! & I definitely love taking a trip down (nail art) memory lane!

What do you think about this take on Christmas lights? Do you like my white light look? Are you more of a coloured Christmas light person, or an all white Christmas light person. We are definitely team coloured lights here— there is something about them that just feels way more Christmas-y! 🎄