GLAM NAILS CHALLENGE OCTOBER — Bats 🦇

Hello lovelies & happy Monday! We’re officially half way through October, & that much closer to Halloween. We’re also half way through Glam Nails Challenge October, which is crazy — this month is seriously speeding by.

The next prompt for Glam Nails Challenge October is Bats! & while I’d like to believe that I could freehand bats onto my nails, I know better than that, so I decided to dig into my vast collection of nail art stickers for some of my Halloween goodies, & found some bat stickers for a fun, simple, stylish nail art look.

The polishes I used for this manicure are: 

  • Base Coat: Essie Hard To Resist Glow & Shine 
  • Top Coat: Sally Hansen Complete Salon Manicure Fast Dry Top Coat
  • China Glaze Screen Vixen
  • Assorted Halloween nail art stickers

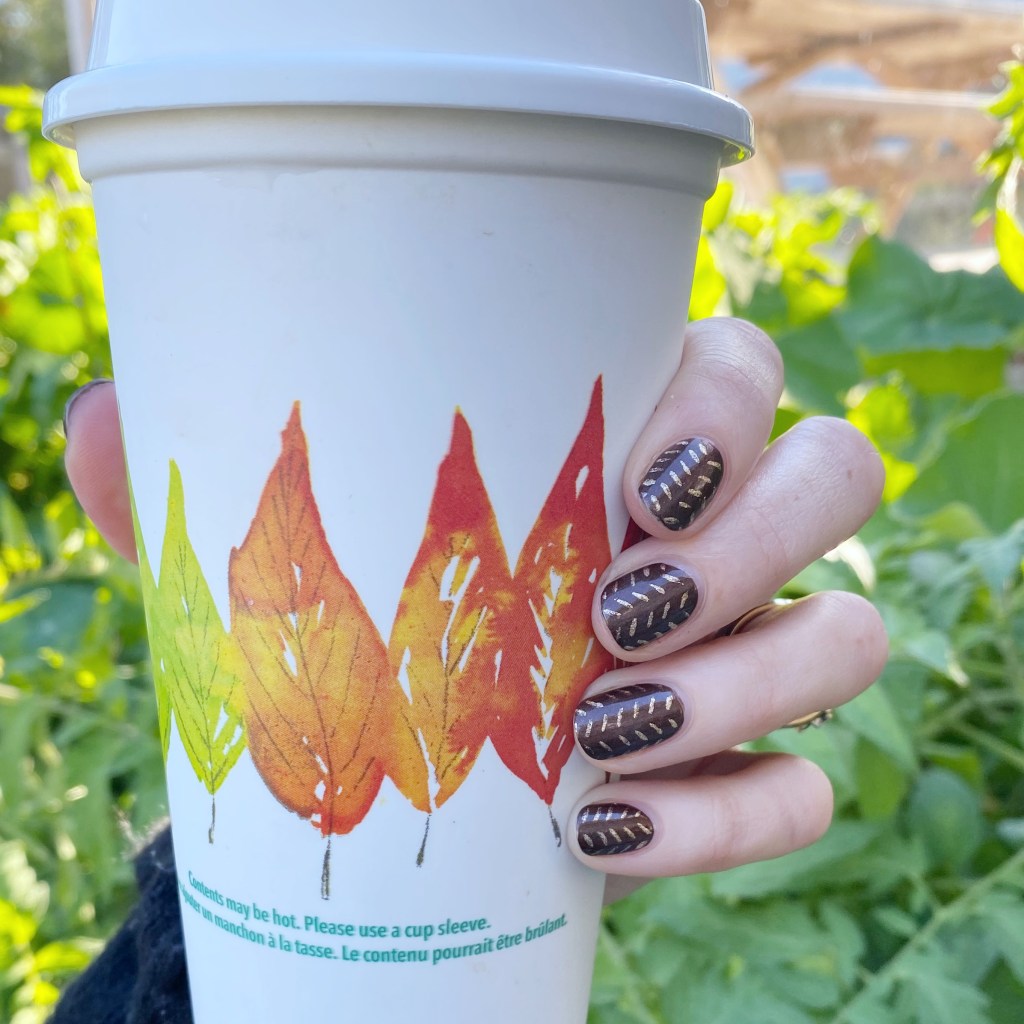
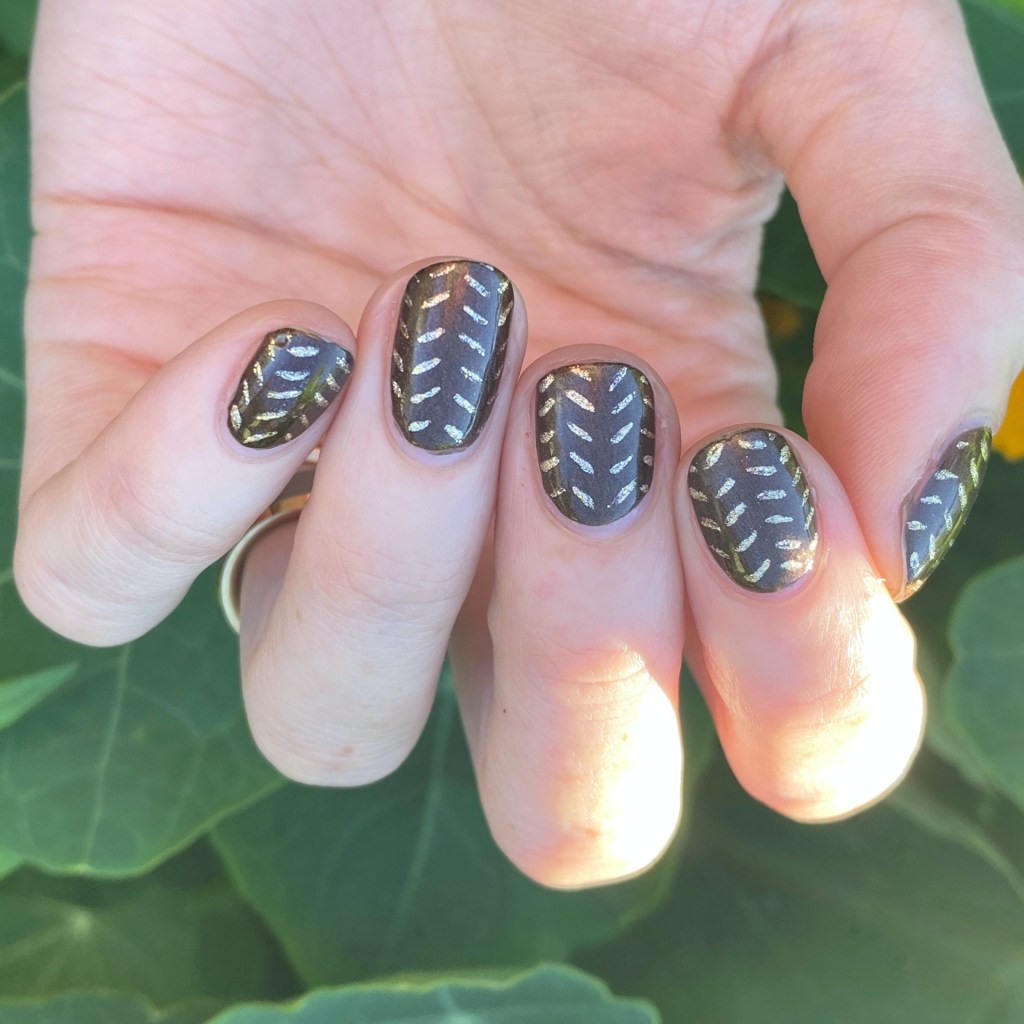
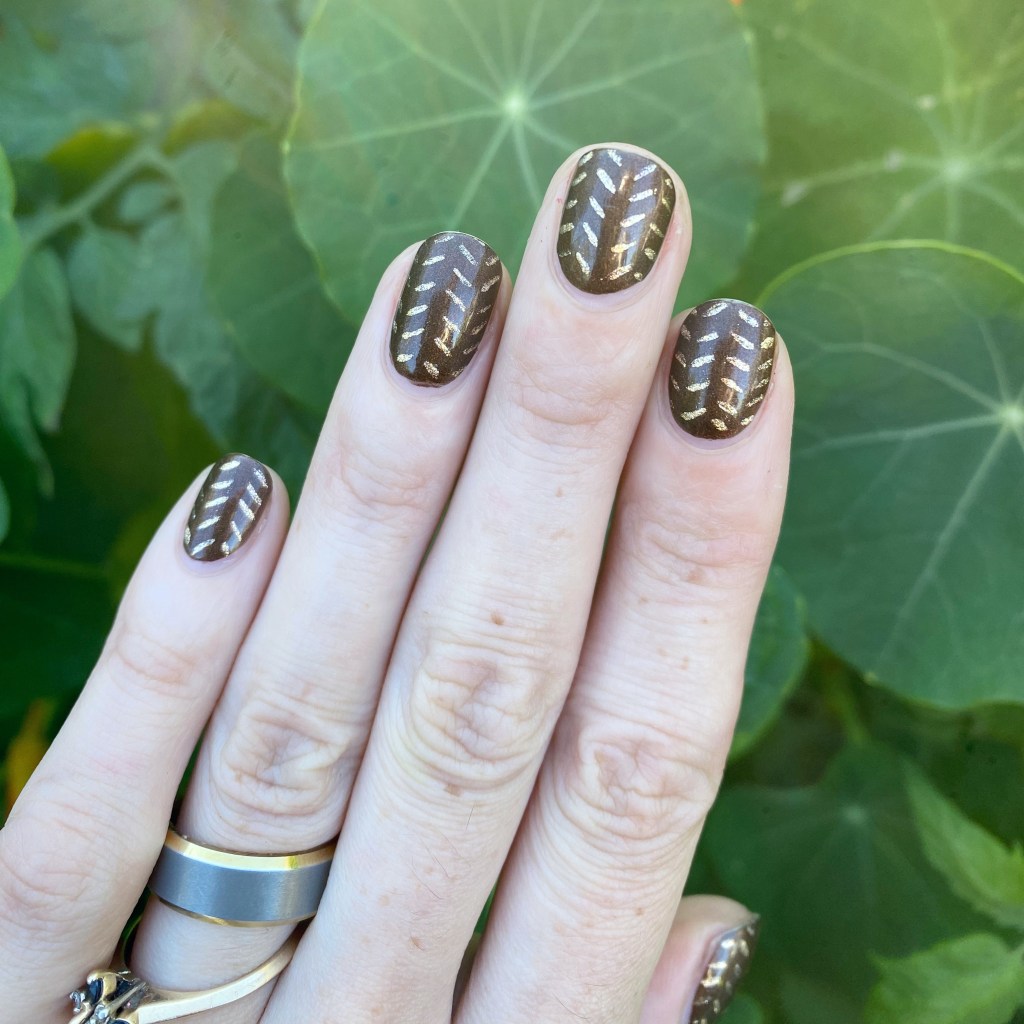
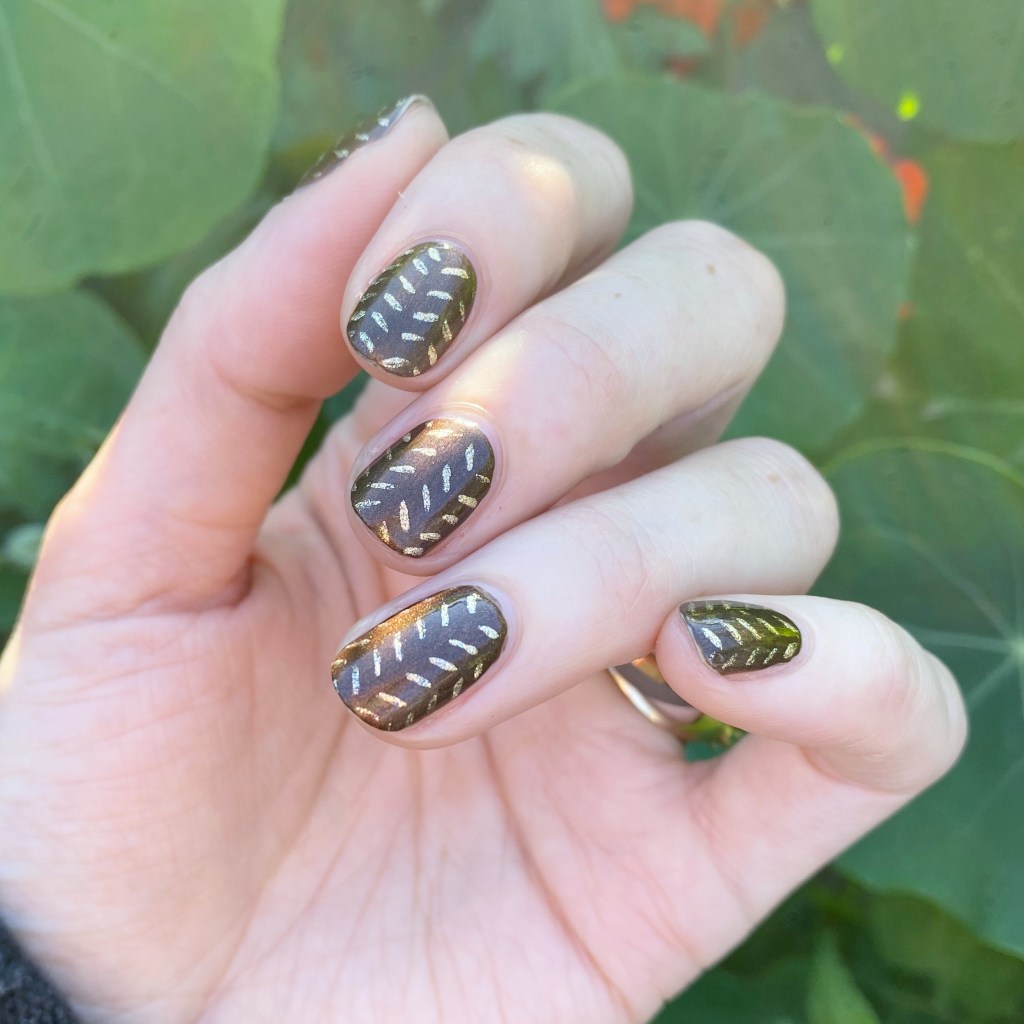
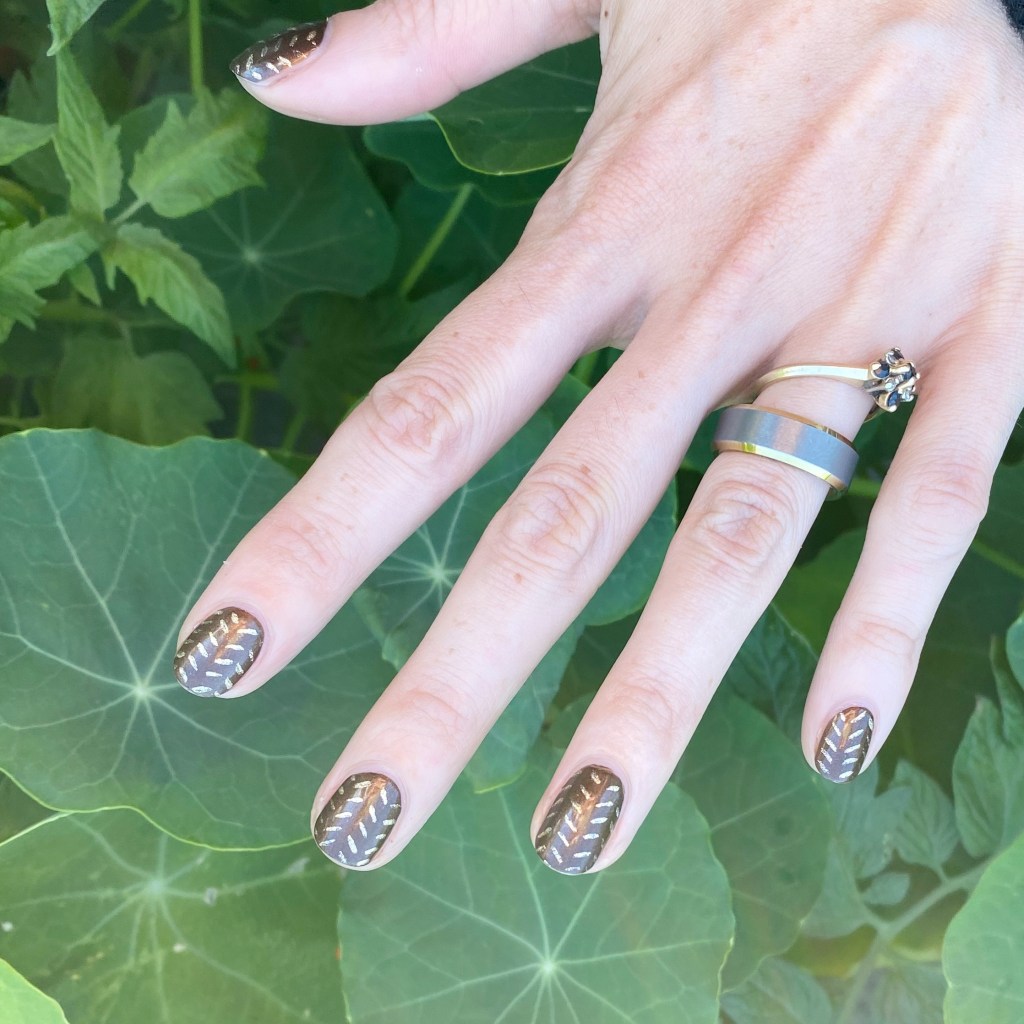
How cute are these. The Bat sticker on my ringer finger is from a set from Dollarama, & the other little bat stickers were in a Halloween nail polish set I got for my daughter last year. They paired so well together, & this was exactly the look I wanted to achieve. Sometimes I like to test my nail art free handing skills, & sometimes — like with this manicure — I just want something quick, simple, & gets to the point quickly.

& I feel like this is a nail art look anyone could wear!

What do you think of these easy bat themed nails? Are you still following around with #glamnailschallengeOct on instagram? Only a few more prompts to go for this month! How crazy is that.

Autumnal Knit Sweater Nails 🍂🌻

Happy Tuesday Lovelies!

I’m very happy to be writing from the world of power, which is a very lovely place to be. We survived our off grid experience, & I feel very lucky to have power, & warm food, because a lot of my fellow Atlantic Canadians are still going without.

Today I’m showing off some fun Autumnal nails I did pre-Hurricane. This look was actually inspired by a nail art look I did last year, & the year before — which was originally inspired by one of my favourite nail bloggers on Instagram: @xglitzandpolishx.

The polishes I used for this manicure are: 

  • Base Coat: Essie Hard To Resist Glow & Shine 
  • Top Coat: Sally Hansen Complete Salon Manicure Fast Dry Top Coat
  • Giorgio Armani #214 Woodstone
  • Essie Mosiac On Down
  • NailStuff.ca 4mm Micro Detail Brush

This is such an easy, fun look to wear. I decided that the gold with the shimmery bronze-y brown would be the perfect Fall combination, & I was right! It just screams AUTUMN VIBES to me, & that makes me so happy. I mean, this is my favourite time of year, & I’m feeling inspired to paint my nails, which is always a good thing. Sure, it means there are probably a whole lot of herringbone & sweater nail art looks headed your way, but that’s not a bad thing! Plus we’re days away from October, & I’ll be participating in Glam Nails Challenge October since it’s a Halloween theme.

So more fun nail art is coming!

What do you think about this version of the knit sweater nails? Would you wear this nail art look? What nail art/colour are you rocking this week? Let me know all your thoughts in the comments below — including what colour combination I should try next!

Gold & Plum Splatter Nails

Hello lovelies & happy Tuesday! A beautiful Autumn Tuesday at that.

Today I’m showing off yet another fun splatter look, this time inspired by a tutorial by @nailsdnt on Instagram. She used a stamper & cuticle oil to achieve a fun bubbly splatter look, & as soon as I saw her tutorial I knew I needed to give it a try! I just love a good splatter design, & this seemed like such an easy way to achieve it.

The polishes I used for this manicure are: 

  • Base Coat: Essie Hard To Resist Glow & Shine 
  • Top Coat: Essie Gel Setter
  • Matte Top Coat: Sally Hansen Miracle Gel Matte Top Coat
  • Color Club Twice Bitten
  • L’Oreal Feeling Kilty
  • Nailstuff.ca clear stamper
  • Revlon Cuticle Oil

So obviously, first thing is first: I apologize for my weird cuticle area. Between an older top coat, & some weird matte top coat effect, it kind of gave me a messy finish. I’m definitely due for a new bottle of top coat.

Second, as you can see my nails did turn out pretty cool, although there are some differences between my splatter finish & the original design. While the original tutorial used a nail cuticle pen, I chose to use my bottle of Revlon cuticle oil, which I think lead to too much oil on the stamper. Her’s had more of a bubbly effect, while mine reminds me more a classic splatter.

But either way I love the end result. It’s so pretty! & the matte top coat just makes it look even more beautiful — I think the matte top coat just completes the look.

What do you think about this look? Are you enjoying these splatter nails I’ve been wearing lately? Let me know down in the comments below.

Purple Glazed Half Moons

Hello lovelies & happy Friday! The weekend is almost upon us.

I’m sure if you’re any part of the nail art community, you’ve heard that glazed donut nails are all the rage right now. Initially sparked by Hailey Beiber, everyone has been doing their version of the glazed donut manicure on Instagram. So I thought: why not take a stab at my own version, inspired by the trend. I also recently picked up a pretty sheer purple by Essence cosmetics which I thought would give me a similar effect.

The polishes I used for this manicure are: 

  • Base Coat: Essie Hard To Resist Glow & Shine 
  • Top Coat: Essie Gel Setter
  • Sally Hansen Miracle Gel Central Pink
  • Essence Cosmetics Violet Voltage
  • Essence Cosmetics Oh My Glitter!
  • Wet n Wild 2% Milk
  • Paper Hole Renforcements
  • Teeny dotting tool (NailStuff.ca Dotting Tool Trio)

Naturally, & unsurprisingly, I’m very obsessed with how these nails turned out. I love the sheerness of Essence Violet Voltage really gives that glazed donut effect. & even though it’s not exactly like the glazed donut nails of my fellow Instagramers, I like this nail art take on the look — especially with the negative space moon touch.

It’s the same vibe, but with my own personal touch to it!

Have you heard about the glazed donut trend — have you tried it out yourself yet? Stay tuned, because I recently received a fun PR package from Sally Hansen, which included another way to achieve the glazed donut trend!

Have a fabulous day lovelies!

Summer Bright Abstract Dots

Features Gifted Product in Exchange for Content

Hello lovelies & happy Tuesday! I hope everyone’s week is off to a lovely start.

I’m actually excited because I’ve been creating some fun nail art lately. I’ve been inspired by my nail polish, & sunny days, & bright colours. So I’ve been creating a bunch of fun, & easy, nail art looks lately. There is something about painting my nails that just makes me feel a little less stressed, & right now I will take all the stress relief I can get.

The polishes I used for this manicure are: 

  • Base Coat: Essie Hard To Resist Glow & Shine 
  • Top Coat: Sally Hansen Miracle Gel Top Coat
  • Sally Hansen Miracle Gel x Friends A Moo Point 
  • Sally Hansen Miracle Gel x Friends Yellow Taxi 
  • Sally Hansen Miracle Gel x Friends Laven-door
  • Sally Hansen Miracle Gel x Friends How You Bluein’?
  • Sally Hansen Miracle Gel x Friends The One With the Teal
  • Sally Hansen Miracle Gel Black-O
  • NailStuff.ca Dotting Tool Trio
  • NailStuff.ca 4mm Micro Detail Brush

This look was partially inspired by this manicure I did a few Summers back, but decided to brighten up the colour scheme a bit.

Also my little girl decided she really wanted her nails painted like Mummy, so I decided to recreate this nail art on her tiny little nails, & I’m quite impressed with how they turned out! It was surprisingly easy, even on her tiny little nails. I always get really excited when she asks me to paint her nails, especially when she wants her nails painted like me.

What do you think about this abstract dot looks? I’m still really loving these bright & fun Sally Hansen x Friends Miracle Gel collection. They’re just so much fun for Summer.

Products featured in this post were provided in exchanged for content.