Hello lovelies!
Happy day after (American) Thanksgiving to my American readers, & happy Black Friday! This is my first year in a while I’m not working in retail for Black Friday sales, so I’m kind of enjoying the breather.
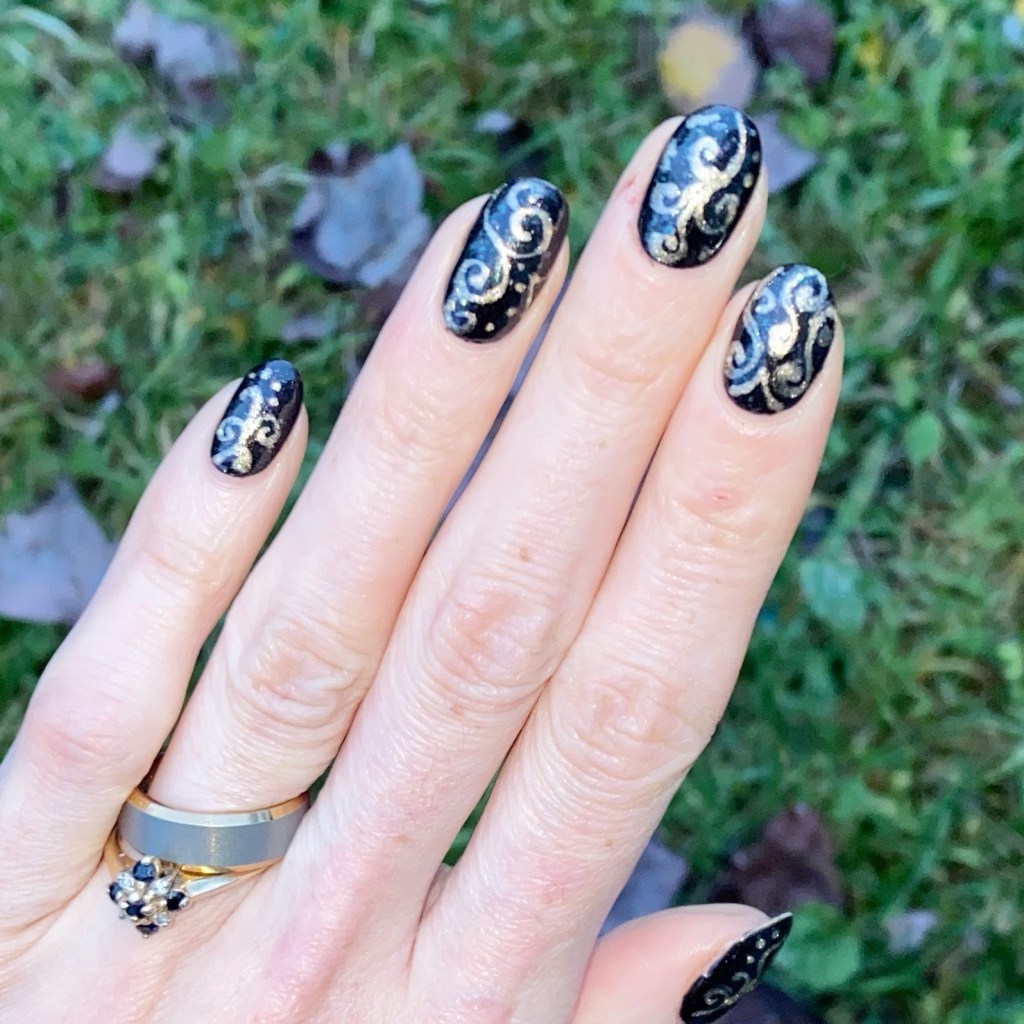
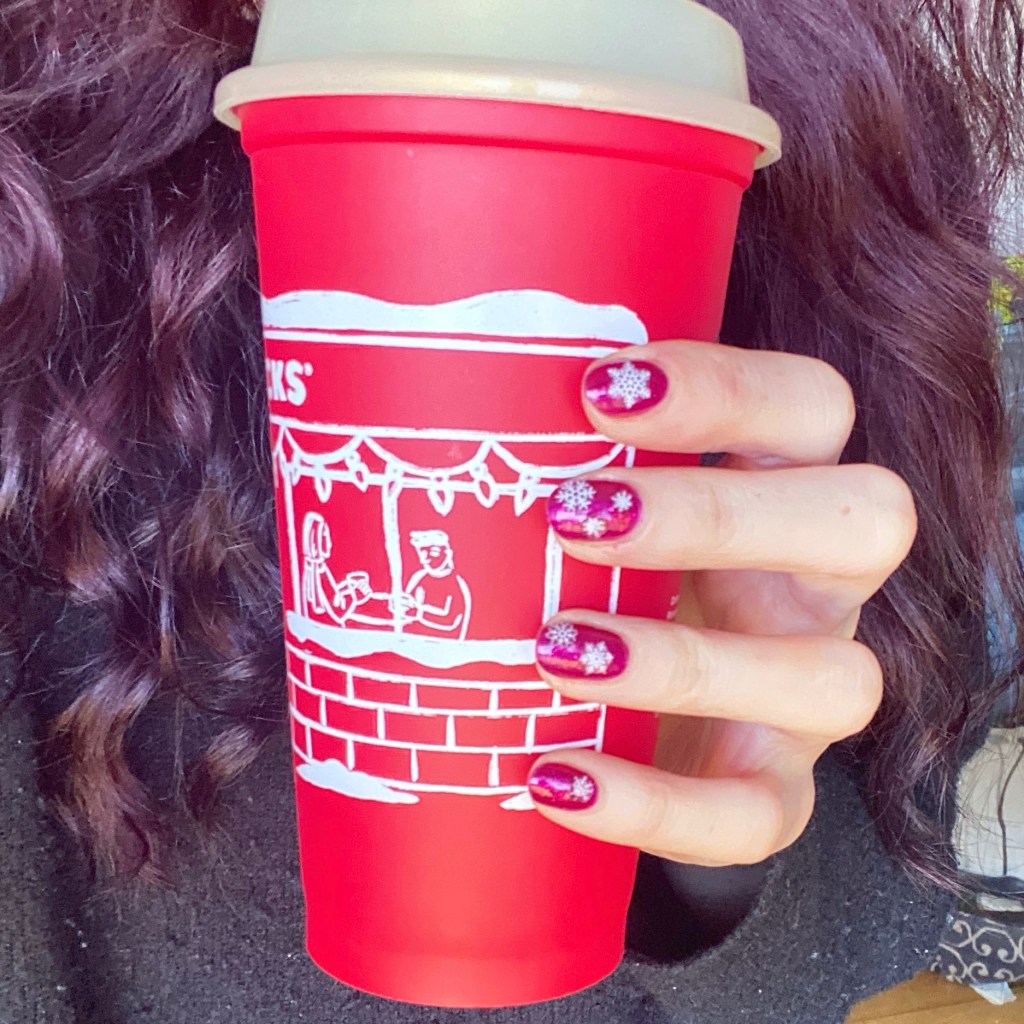
But we can’t deny — Christmas is coming. & even though I’m feeling less than zero Christmas spirit this year, I figured it was time I at least tried to summon some Holiday/Winter spirit. So naturally I thought we’d dip our toes in with some snowflake nail art stickers.
The polishes I used for this manicure are:
- Base Coat: Sally Hansen Miracle Cure
- Top Coat: Sally Hansen InstaDri Top Coat (red bottle)
- Sally Hansen Miracle Gel Wrapped in Love
- Ardene Dancing Queen
- NailStuff.ca Snowflake Nail Art Stickers
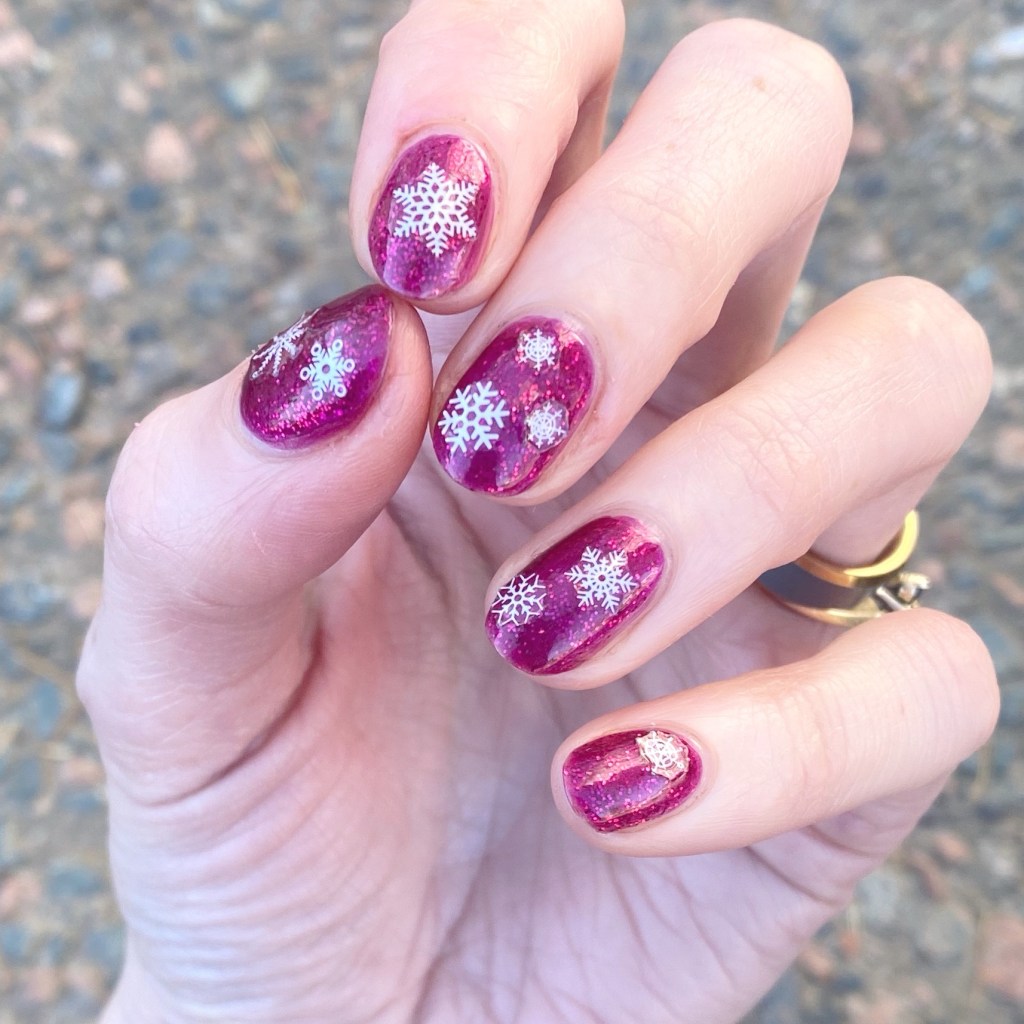

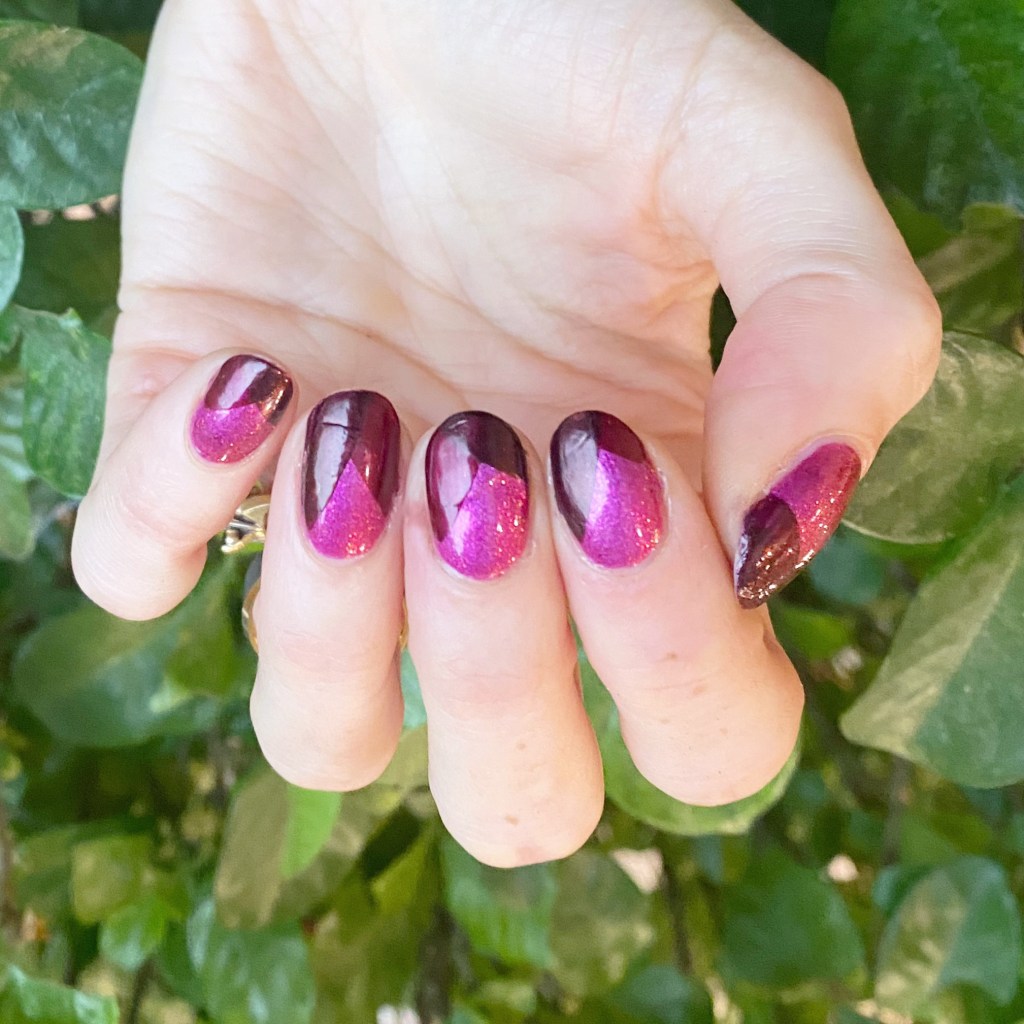
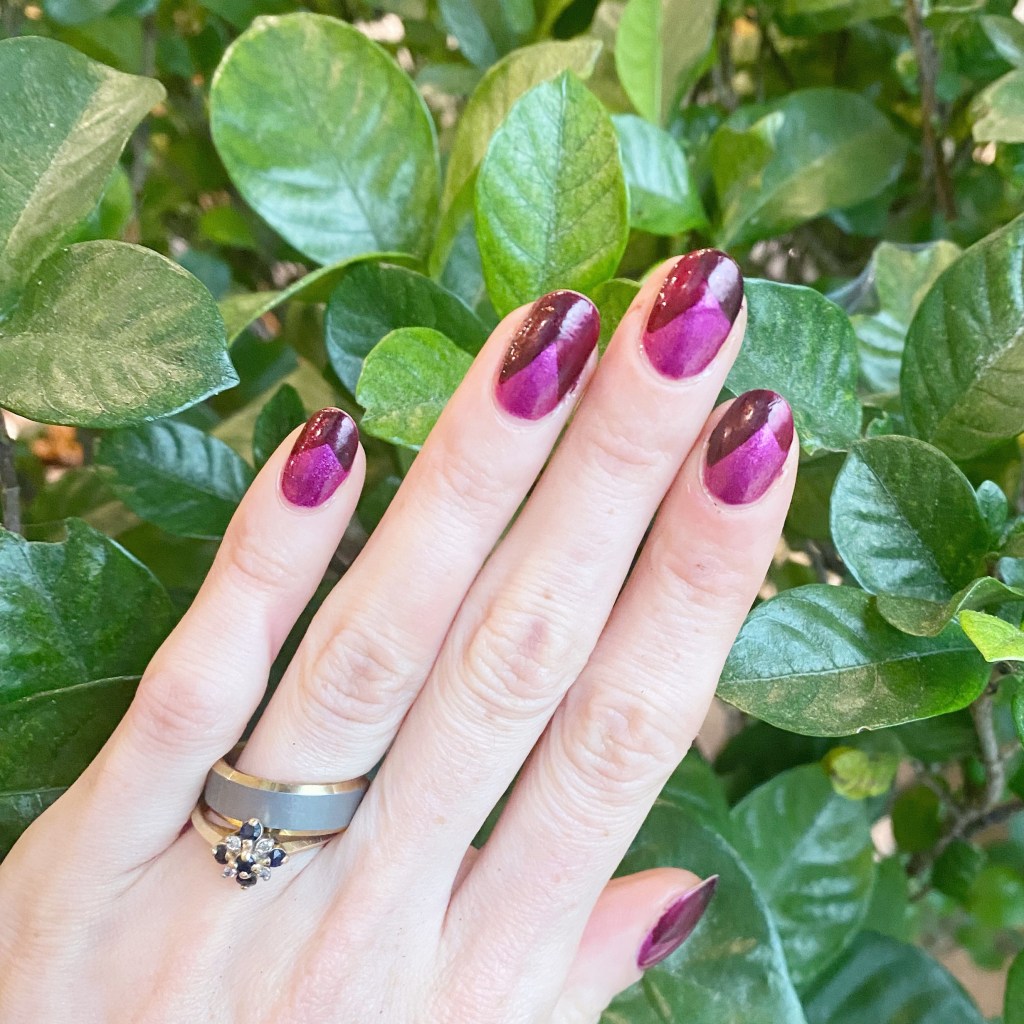
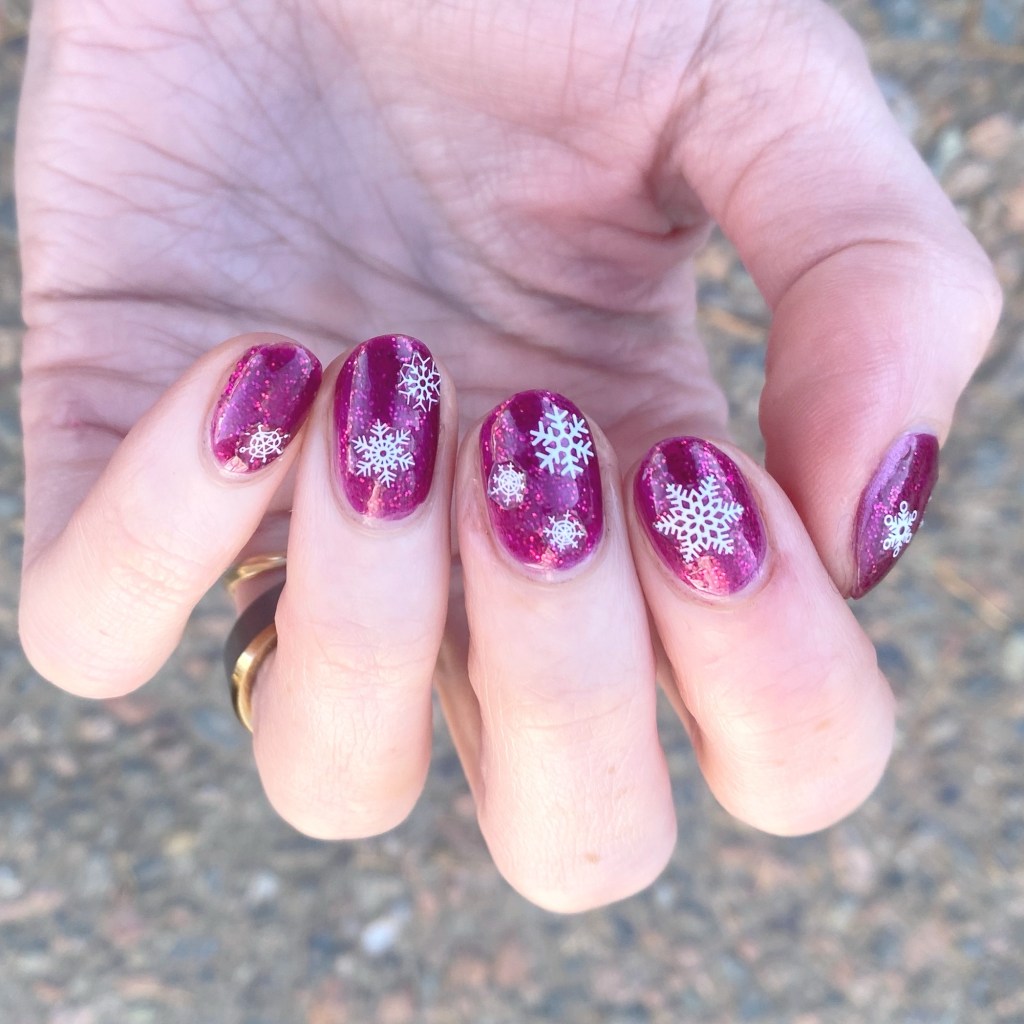
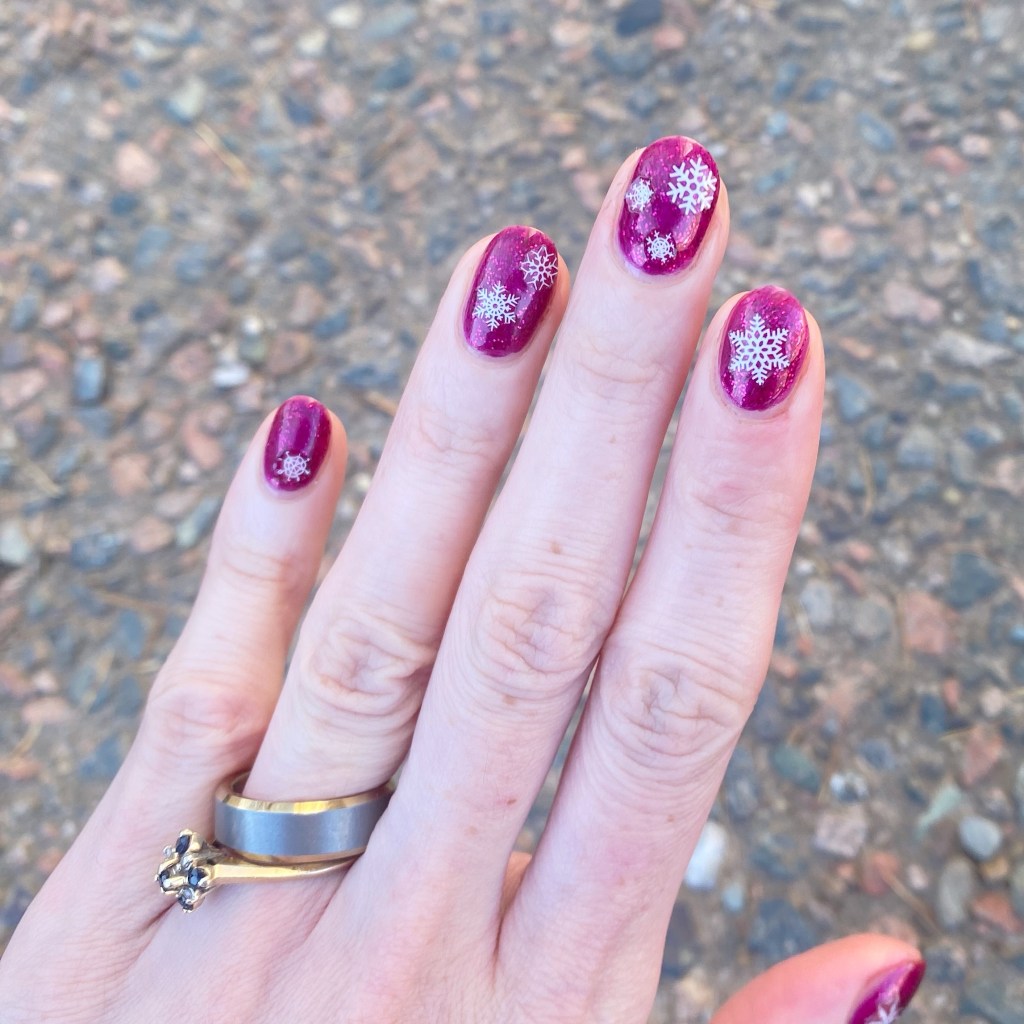
First off, I’m officially petitioning for glitter pink to become an official Christmas colour. Secondly, I love how cute these are! I’ve had these nail art stickers in my collection forever, & I love that they’re still being used for cute nail art looks.
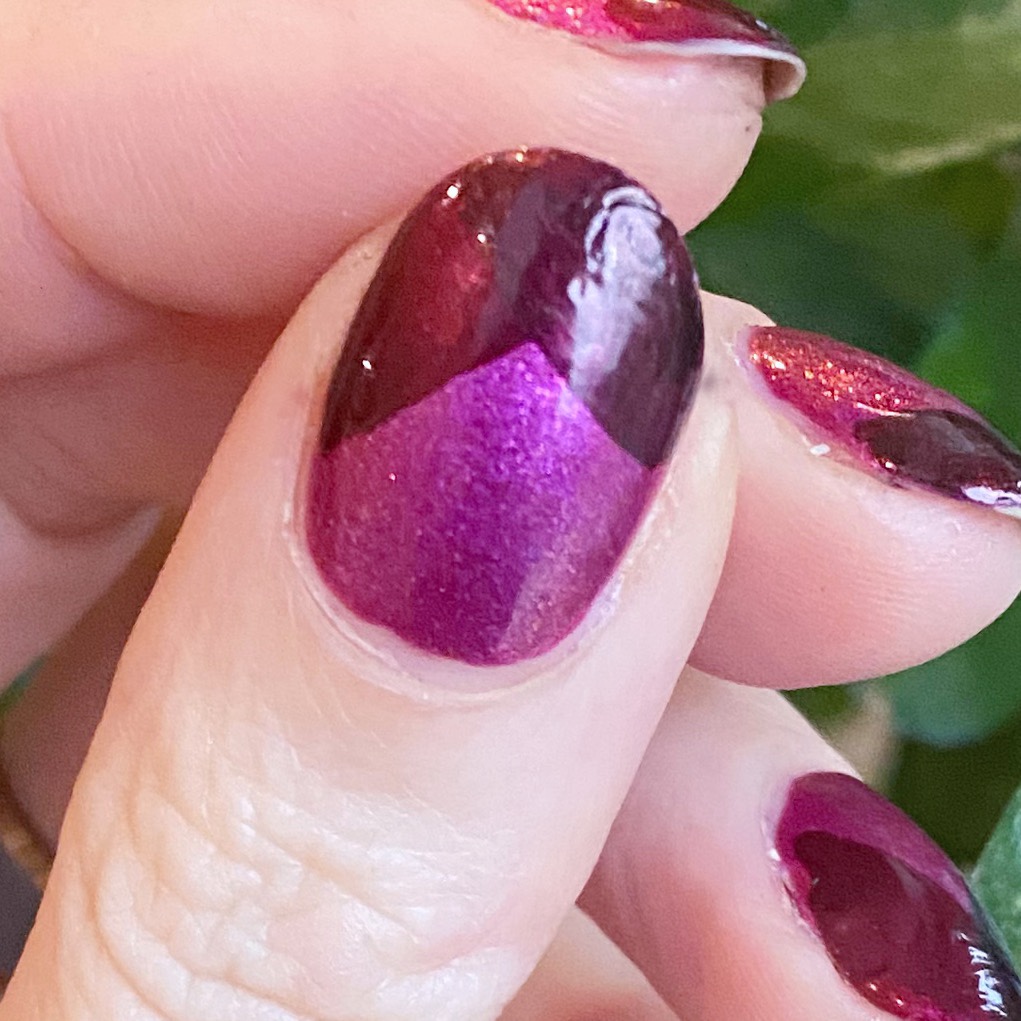
& it was way simpler than me trying to hand paint snowflakes on my nails! The white of the stickers just pop so well against that pretty pink. Definitely giving Christmas vibes — at least for me.
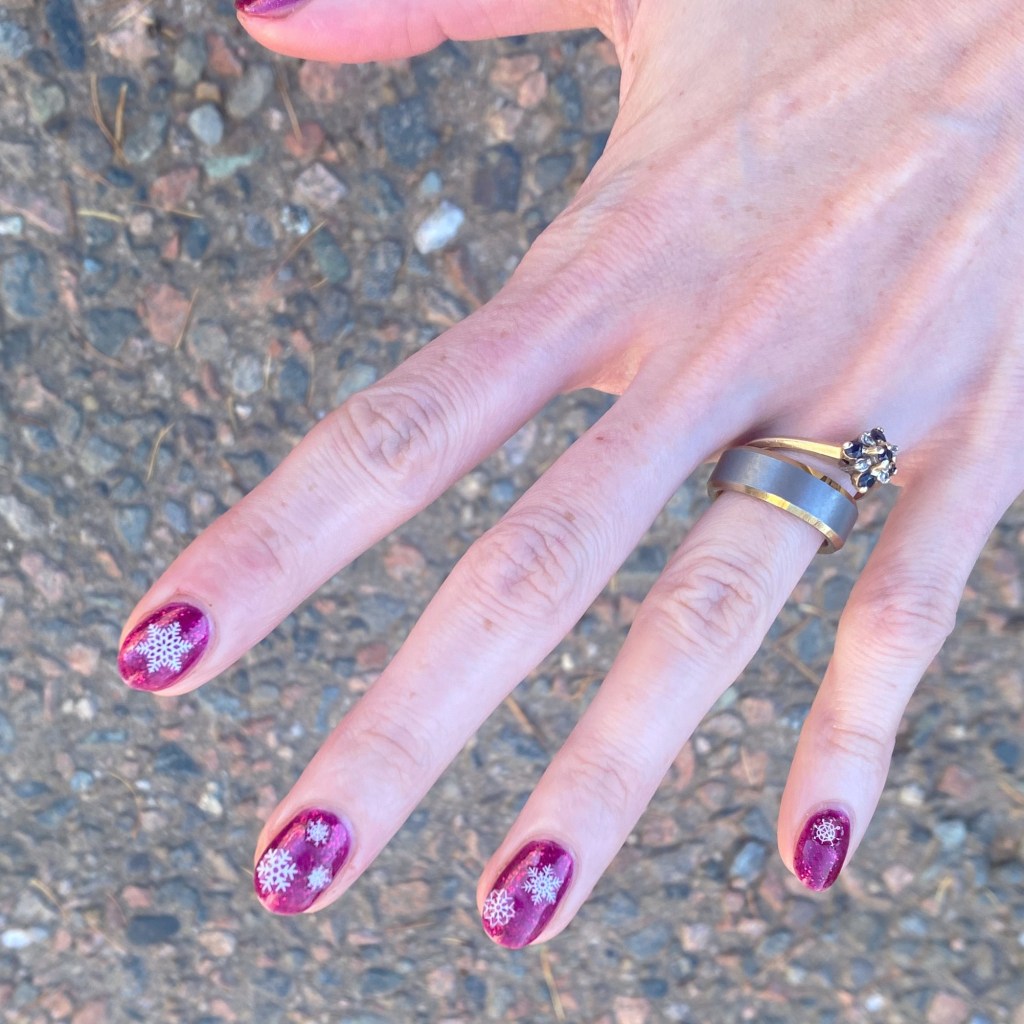
What do you think about these pink glittery snowflakes? Are they giving holiday vibes? Let me know all your thoughts in the comments below! & how you’re getting your nails into the festive spirit.
Happy Friday
🖤