Glam Nails Challenge March — Checkered 🏁

Hello lovelies & happy Monday!

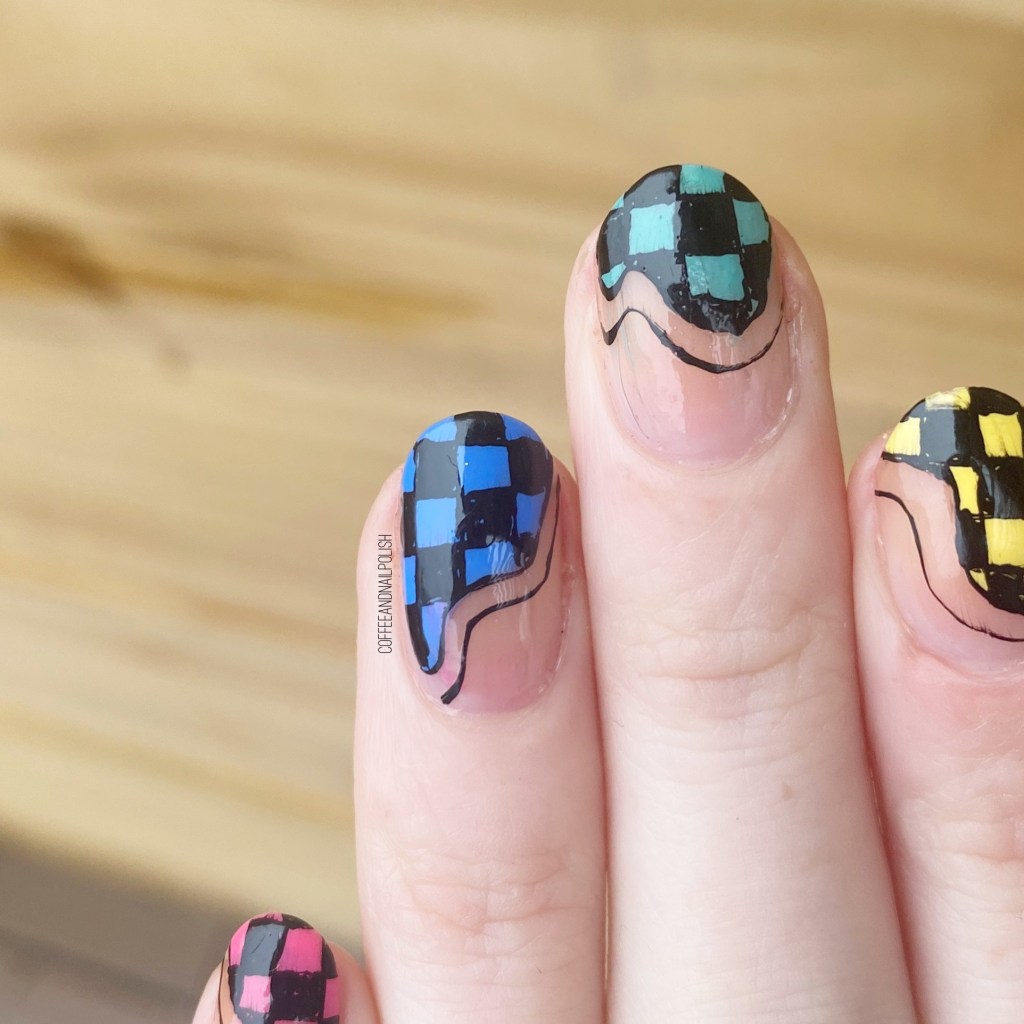
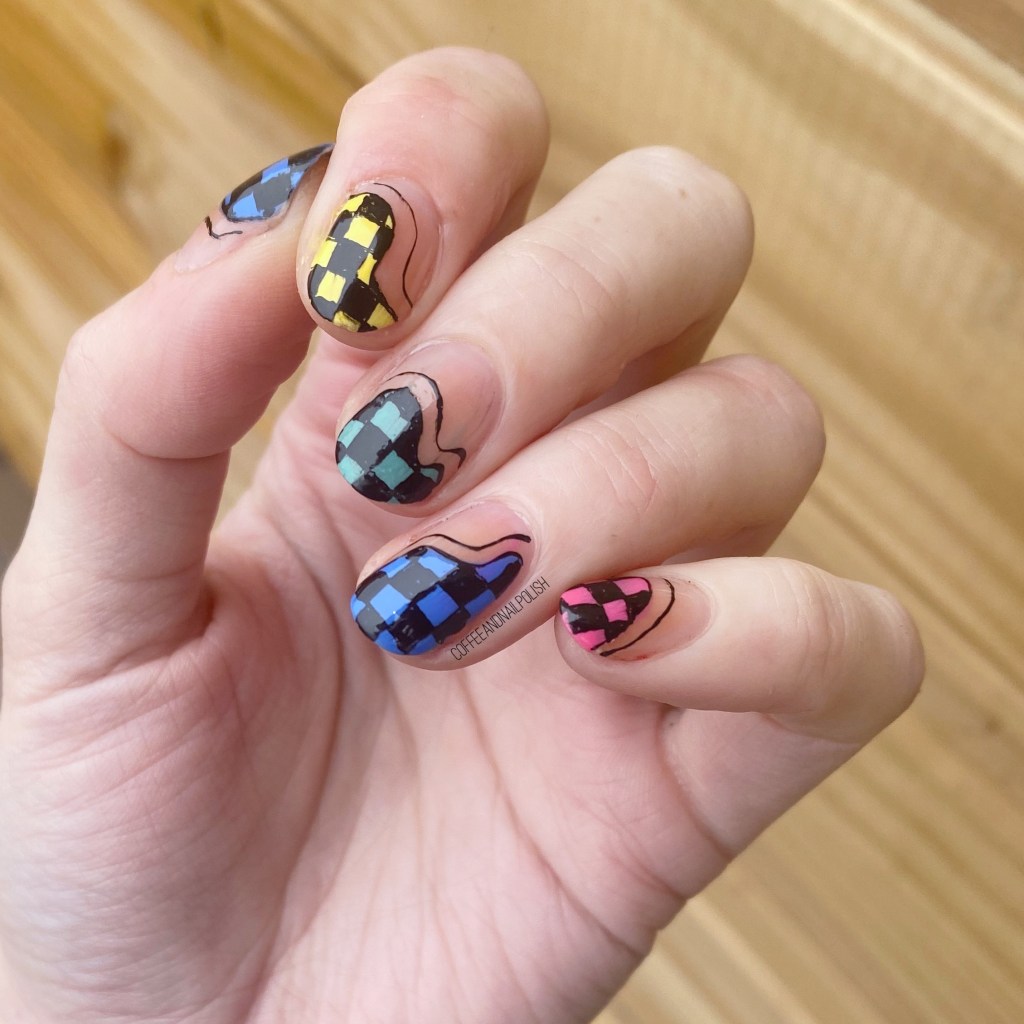
Today I’m excited because today’s prompt for Glam Nails Challenge March is checkered, & that’s a design I don’t think I’ve ever done in all the years I’ve been doing my nails. So I was very excited for this challenge, & decided to make it even more of a challenge by free-handing the whole look. Haha it’s not like I didn’t have a stamping plate I could have used. I just wanted to see if do it.

& instead of the classic black & white, I decided some Spring-y colours, & peak-a-book negative space, would be perfect.

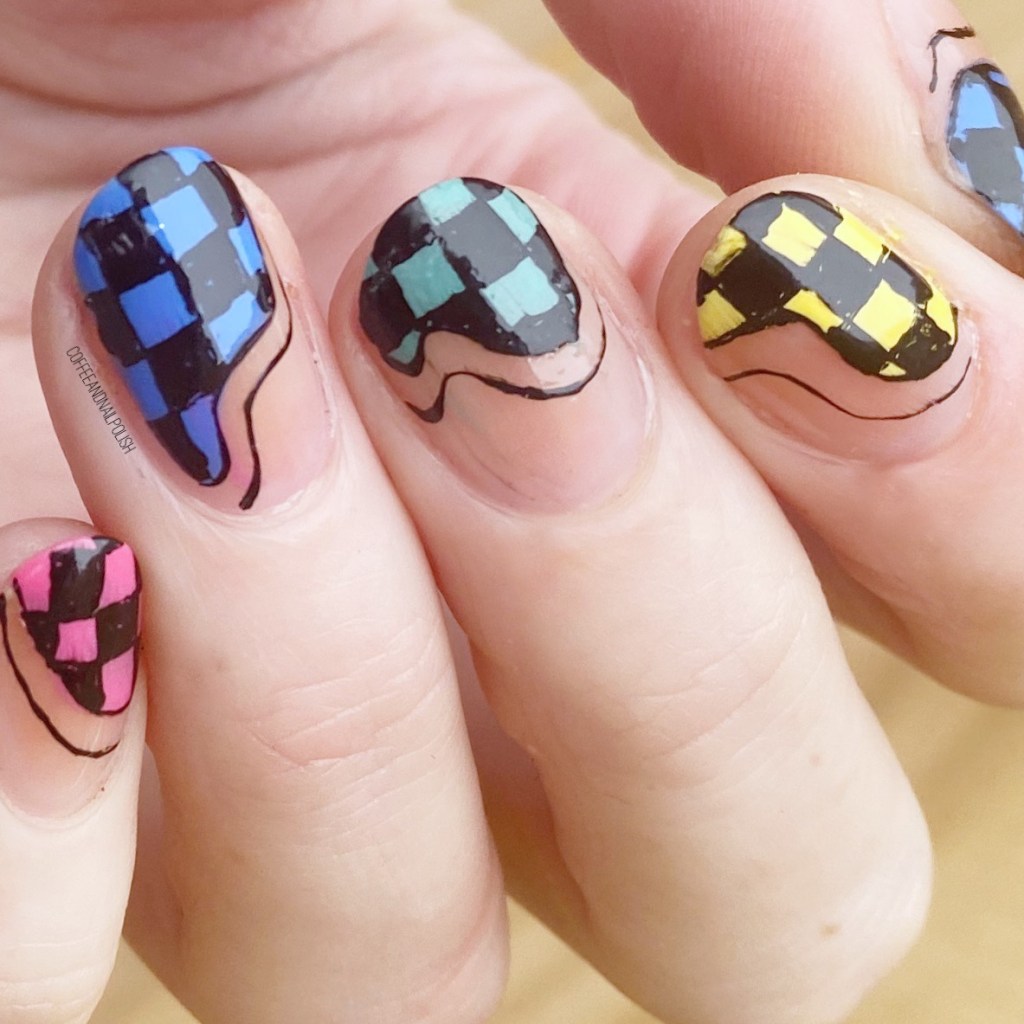
The polishes I used for this manicure are: 

  • Base Coat: Sally Hansen Good. Kind. Pure Hardener
  • Top Coat: Essie Speed Setter
  • Sinful Colors Fit Chick
  • Sinful Colors Blue Me Away
  • Sinful Colors Fitspo
  • Sinful Colors Yolo Yellow
  • Starrily Vantablack
  • NailStuff.ca 4mm Micro Detail Brush

I picked up a few of these funky bright Sinful Colors shades at my local Walmart, 3 for $6, so I went with that colour scheme because it would be the most fun. Bright, funky & colourful! Perfect for these almost Spring days we’ve been having.

Also I’m really, really proud of how this freehanding turned out. I was very nervous to attempt something as complex & time consuming as this. But you know what, I’m really glad I did, because they turned out so freaking perfect.

What do you think about this checkered design? Are you feeling these bright, & colourful shades? Let me know all your thoughts down in the comments below!
Glam Nails Challenge March — Hearts 💚

Hello lovelies & happy Monday! It’s a brand new, fresh week. Hopefully this one will be warmer & more Spring-like (although, I’ll be honest… my hopes are not too high.)

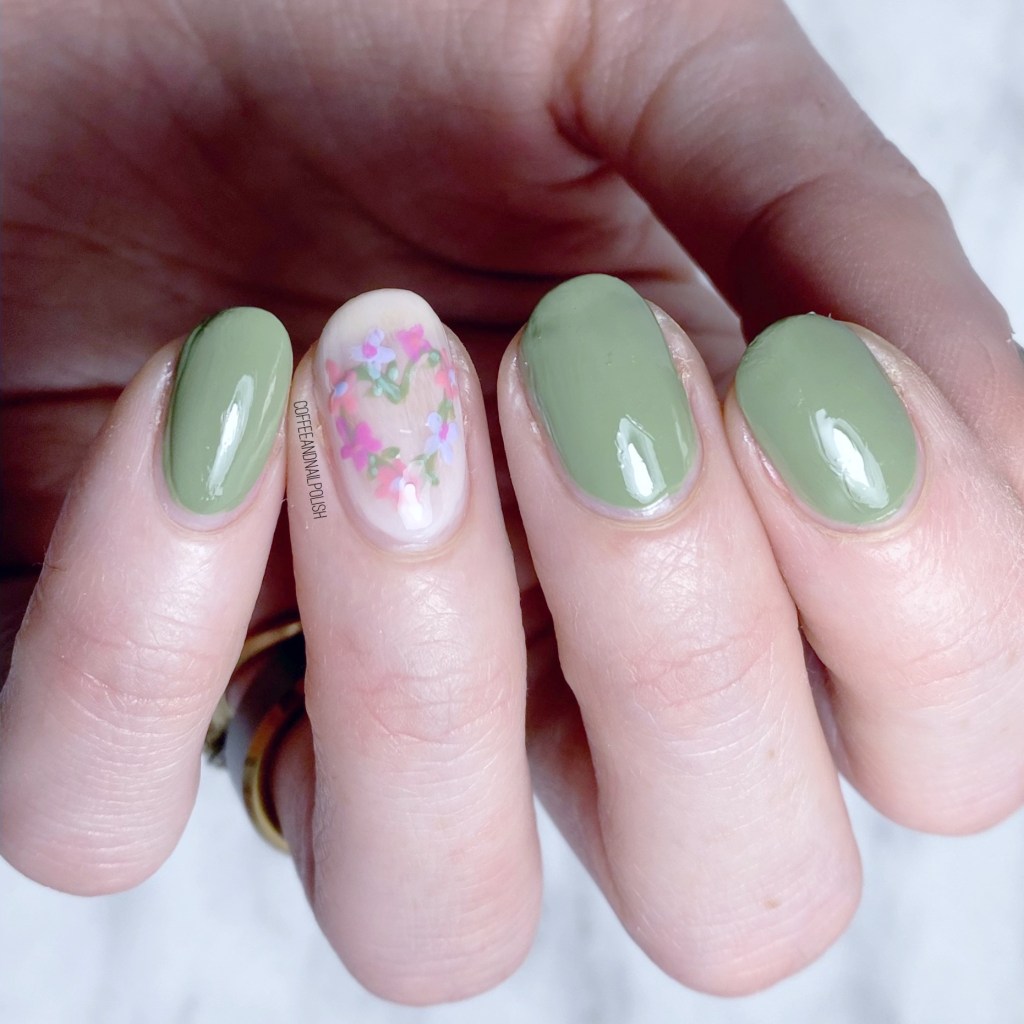
But — I have a brand new look for Glam Nails Challenge March, & I’m excited. The prompt is hearts. Originally I had a completely different heart look done, but I’ll be honest: I was not feeling it. & it did not photograph well. So I did what any crazy person does… I completely redid the manicure at the very last second. & I absolutely adore how they turned out!

The polishes I used for this manicure are: 

  • Base Coat: Sally Hansen Good. Kind. Pure Hardener
  • Top Coat: Seche Vive
  • Wrenn Polish I Know Guac is Extra
  • Sally Hansen Miracle Gel Tutu the Ballet
  • Sally Hansen MG Crying Out Cloud
  • OPI Two Timing the Zones
  • L’Oréal Jardin Des Roses
  • L’Oréal Pistache Royale
  • NailStuff.ca 4mm Micro Detail Brush

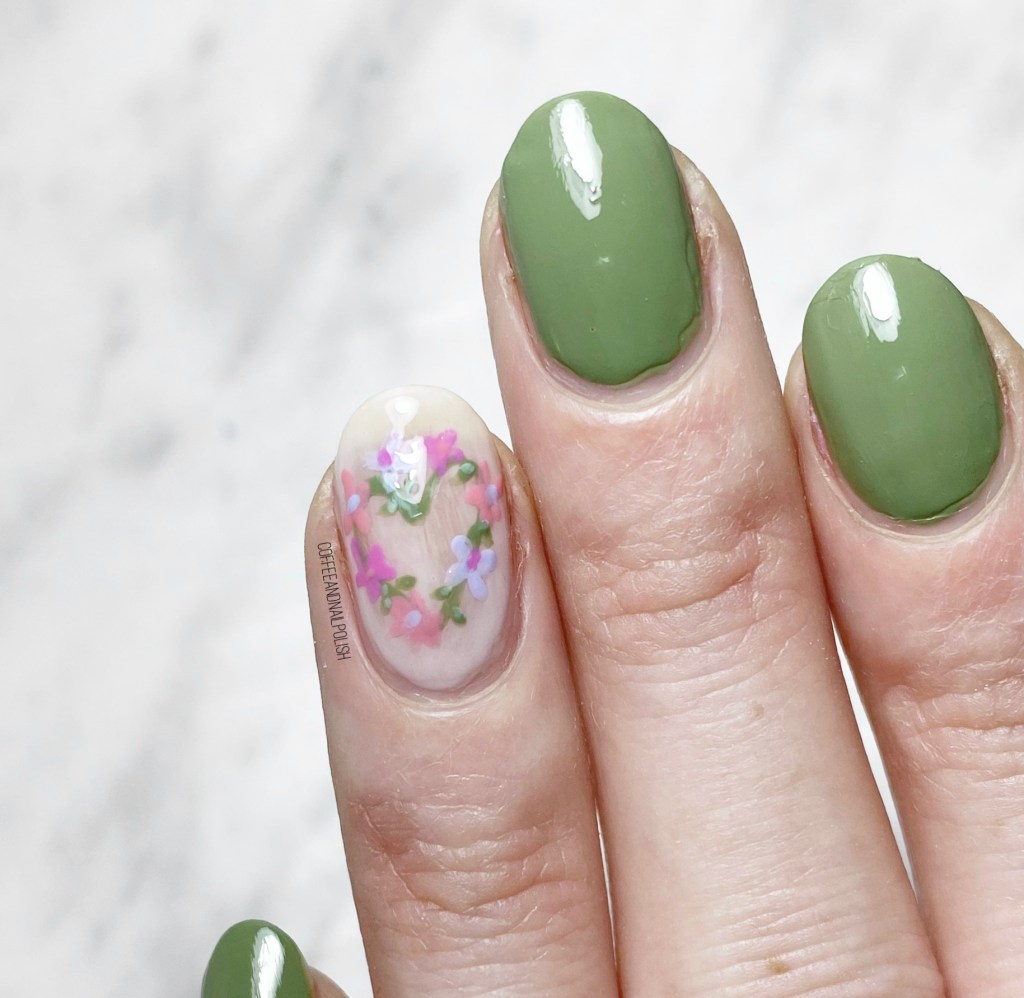
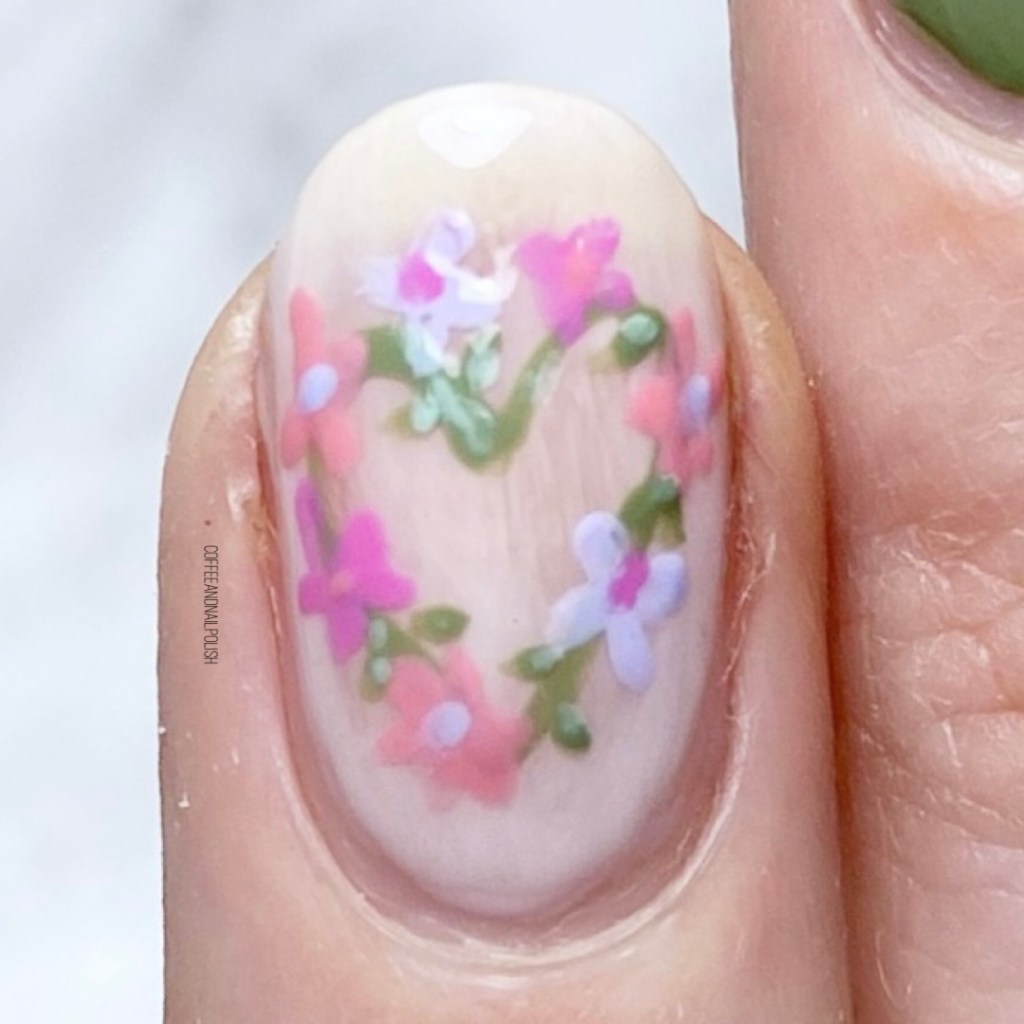
I’m calling this look Spring Floral Heart, & it turned out exactly how I pictured in my head. This was originally what I thought about doing, but decided to go with a dry marble heart look, which was kind of ugly, so I’m glad I switched back to my original idea.

These were actually pretty easy to do. I started by freehanding my green heart, then added a few tiny flowers & finished off with some green leaf details. & it turned out so beautiful & Spring-y. This is definitely a look I will be attempting again because it’s just lovely!

I mean, how beautiful would this be as a wedding manicure?

What do you think of this floral heart look for my next Glam Nails Challenge March?

Festive Glitter Gradient ✨🎄

Good morning lovelies & happy Thursday! & happy Christmas Eve Eve. I hope everyone is ready for their holidays, & for those still working long hours & not sure how they’re going to be ready — I feel you! Hopefully everyone is also staying safe with everything quickly changing in the world.

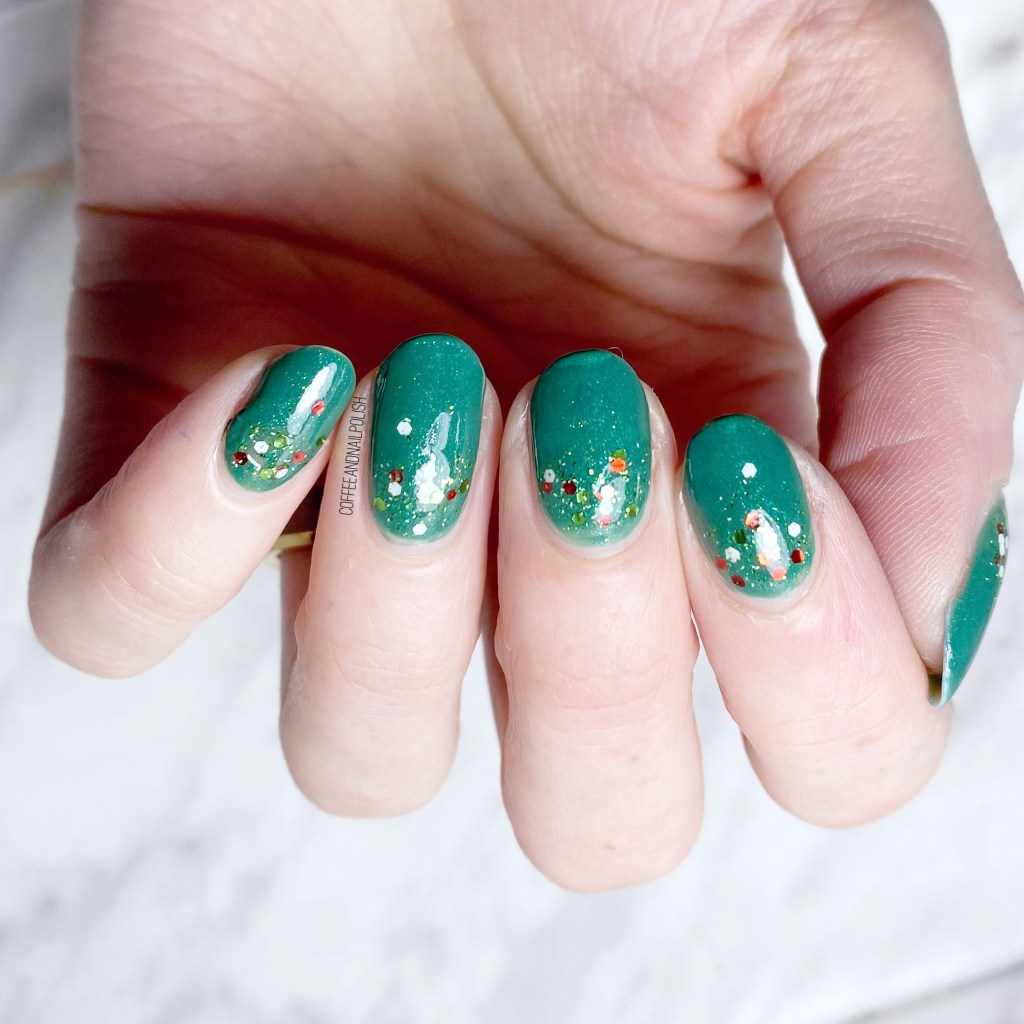
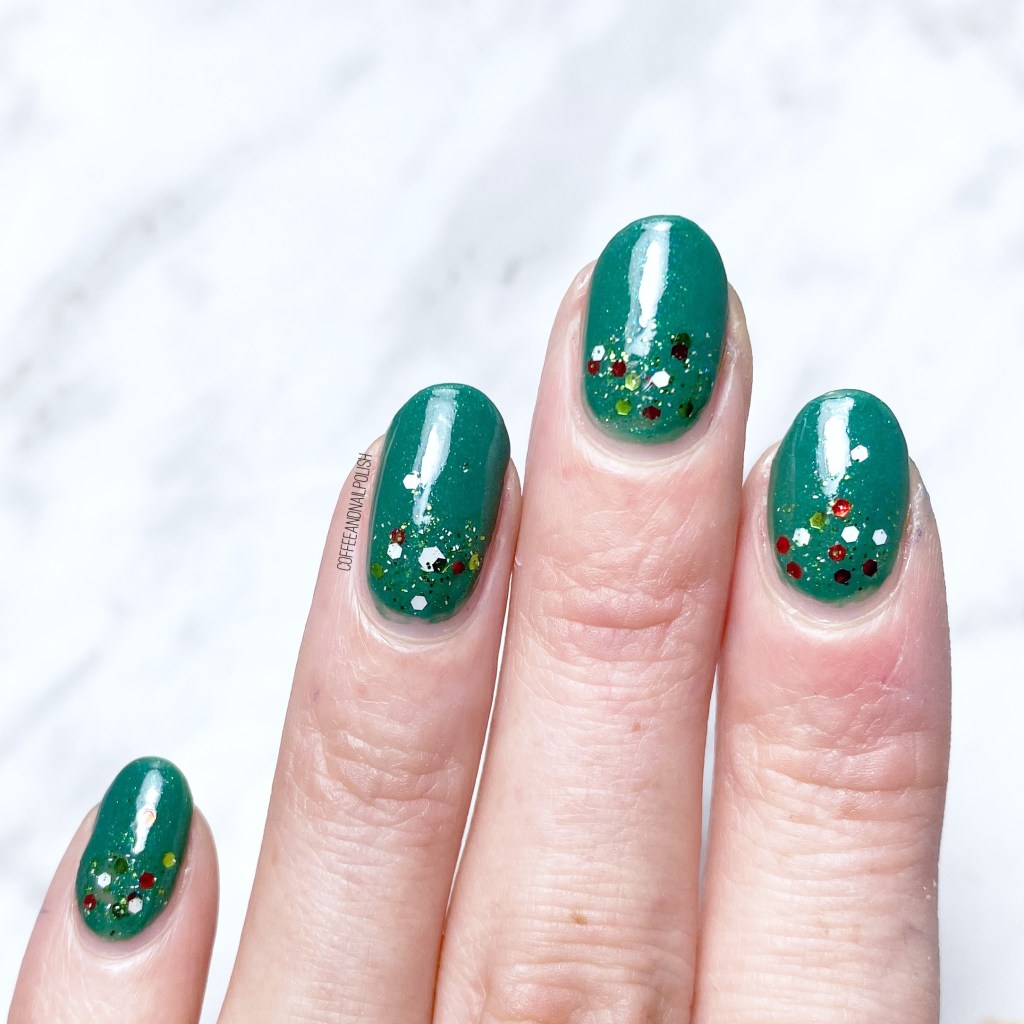
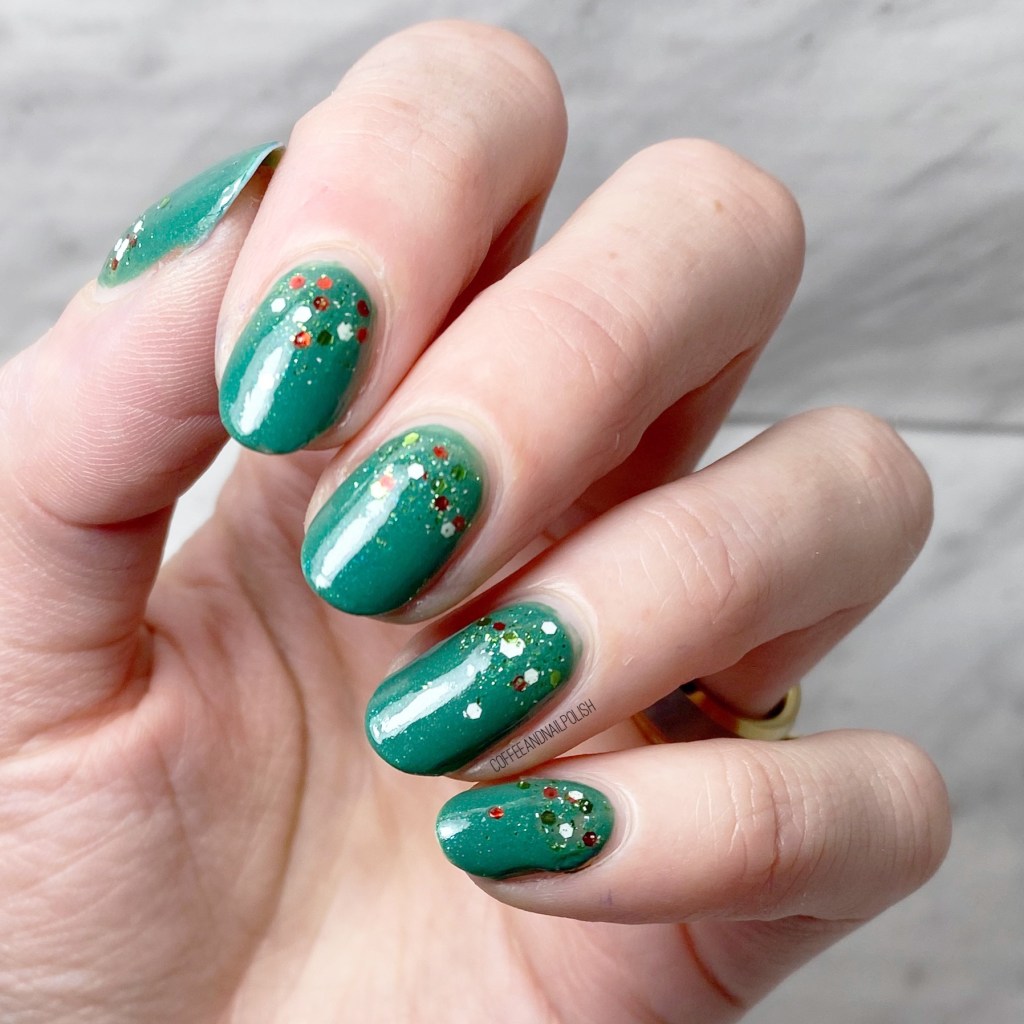
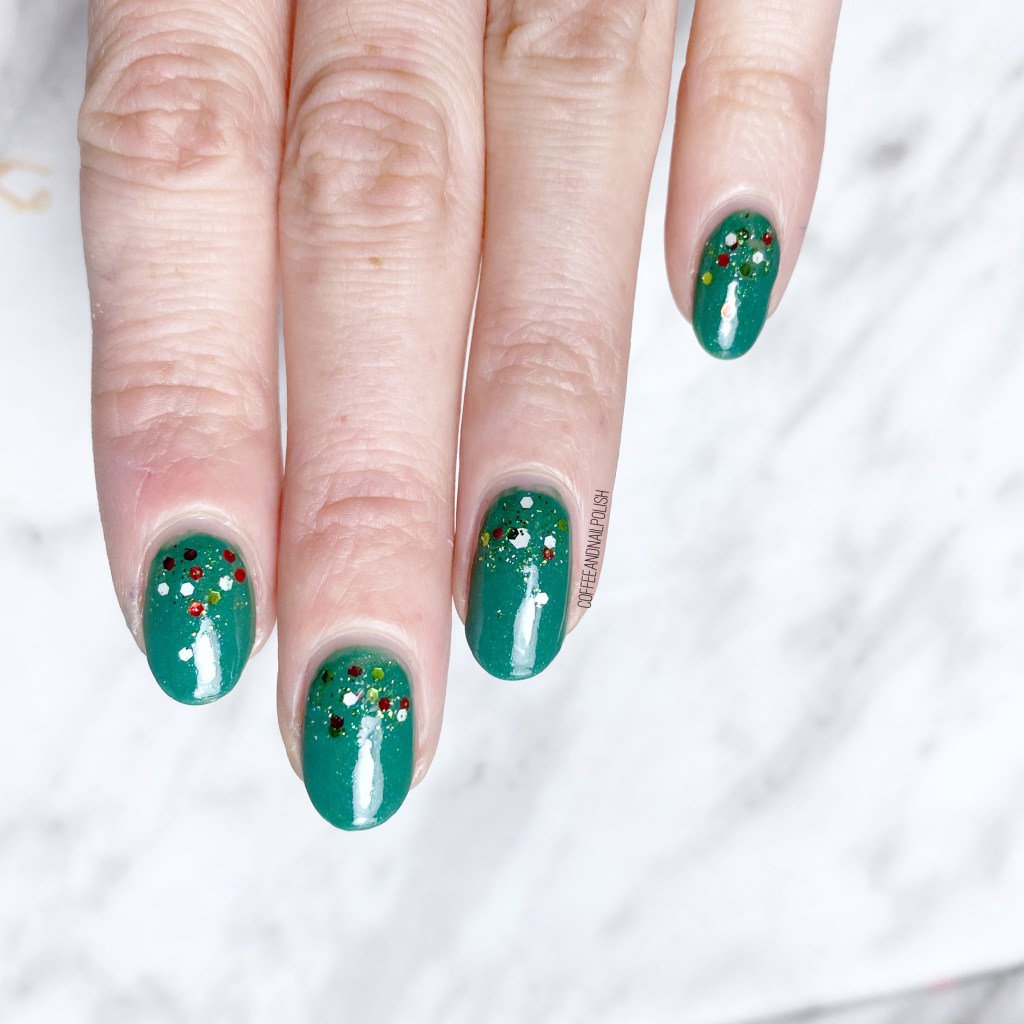
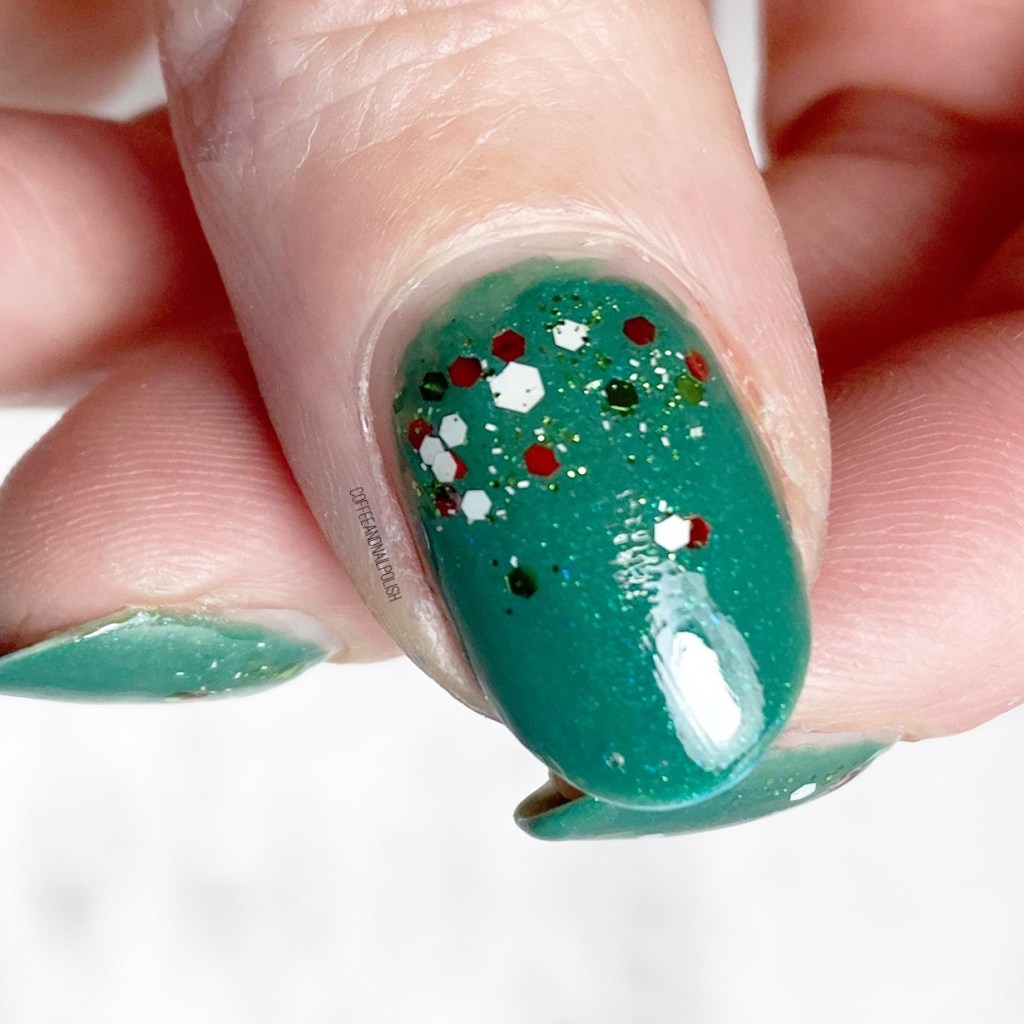
I said I was dedicated to 5 nail art looks this week in preparation for Christmas, & I wasn’t lying! Today is day four, & I went with a classic look that I do some incarceration of every year: a Christmas glitter gradient. Last year’s was very similar to this years, but that’s okay! When you find a classic that works for you, you go with it! (Plus my nails are so much longer this year!)

The polishes I used for this manicure are: 

  • Base Coat: Essie First Base
  • Top Coat: Seche Vive
  • Icing Emerald City
  • Icing Tis The Season

Hello Christmas sparkle! I was actually going to use my other Christmas-y glitter from Icing, Santa Baby, but unfortunately it’s on the goopier side, so I decided to go with my other very Christmas-y glitter for this look. I’ve mentioned before how I love the speed & ease of a glitter gradient, plus the versatility, so I don’t think I’ll ever get tired of them.

What do you think about my glitter gradient? Do you like this years version, or last year’s shorty version? Let me know what nail art design/style you repeat year after year & never get tired of!

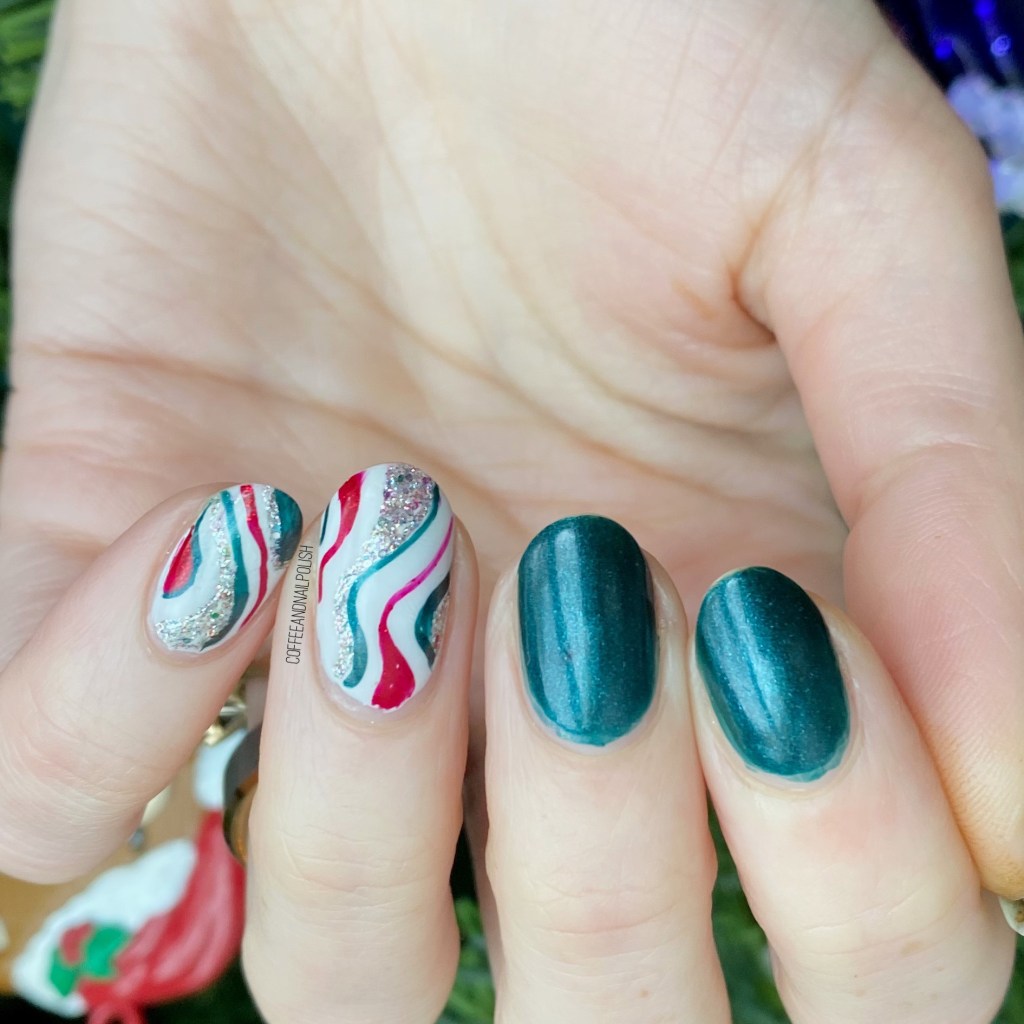
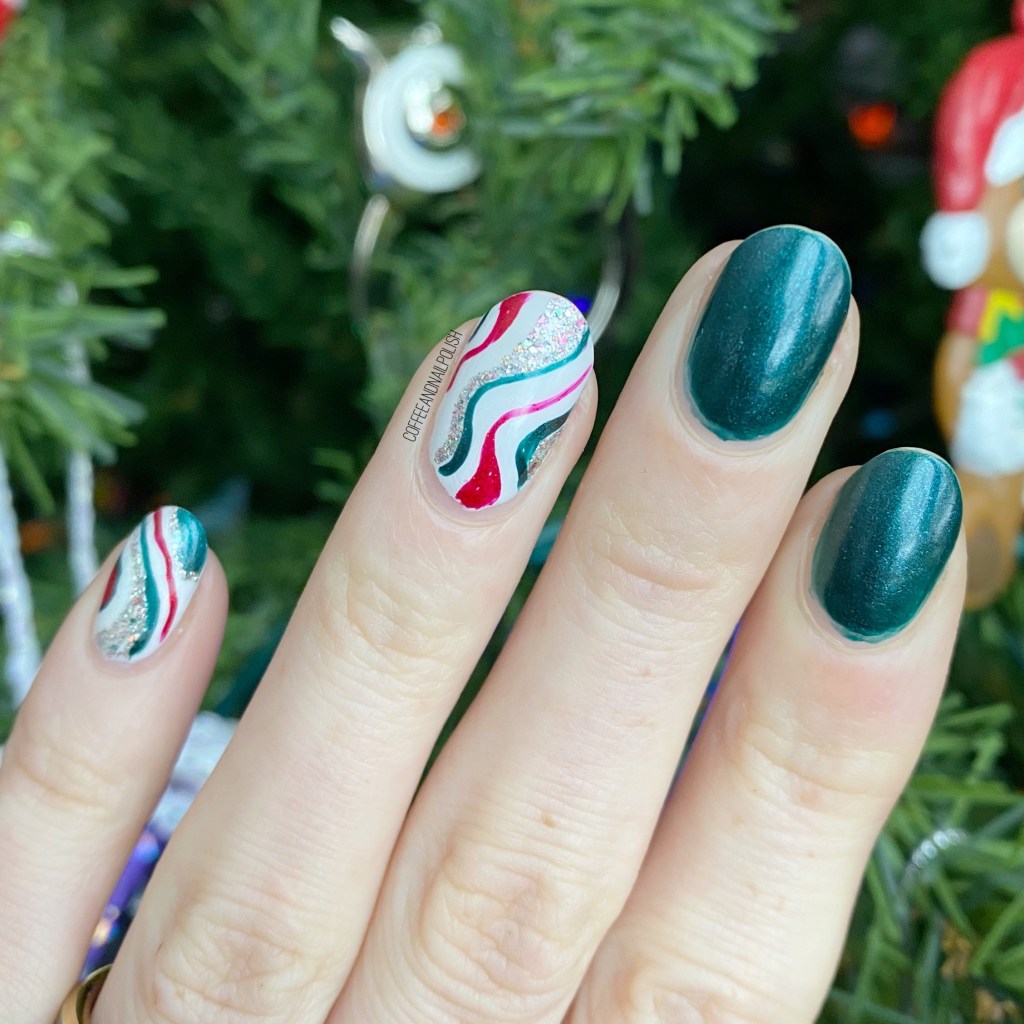
Abstract Candy Cane Accent Nails

Hello lovelies & happy Tuesday!

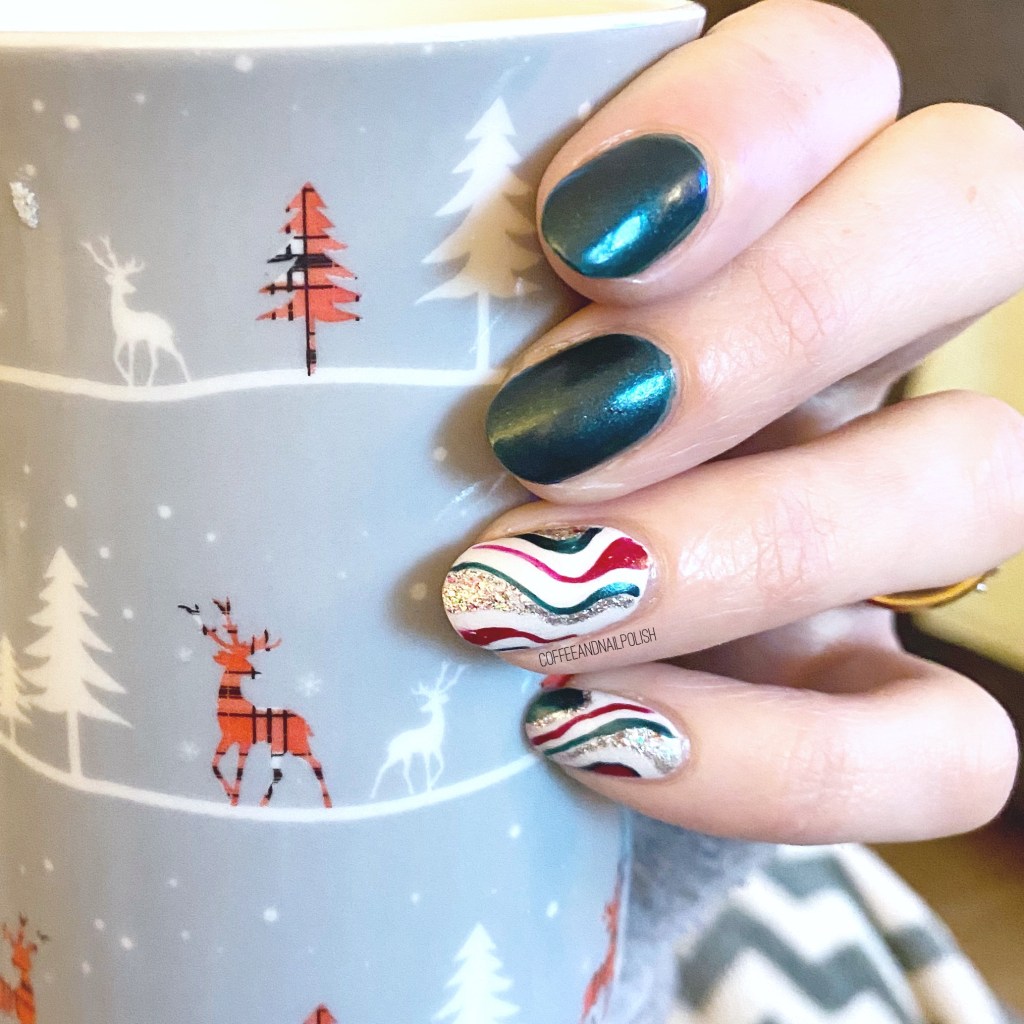
I’m seriously dedicated to sharing a Christmas design everyday until Saturday. Today’s look is funky abstract candy cane accent nails.

The polishes I used for this manicure are: 

  • Base Coat: Essie First Base
  • Top Coat: Seche Vive
  • China Glaze Emerald Fitzgerald
  • China Glaze Friends Forever Right
  • China Glaze Ruby Slippers
  • China Glaze Polarized
  • NailStuff.ca 16mm Striper Brush

These were super easy to do! I used my long striper brush from NailStuff which made painting my lines so much easier. Originally I was going to do something with these colours & nail vinyls, but I was too lazy to wait for my nails to dry, so I decided to abstract stripes was the

What do you think about this Christmas-y look? Let me know all your thoughts down in the comments below!
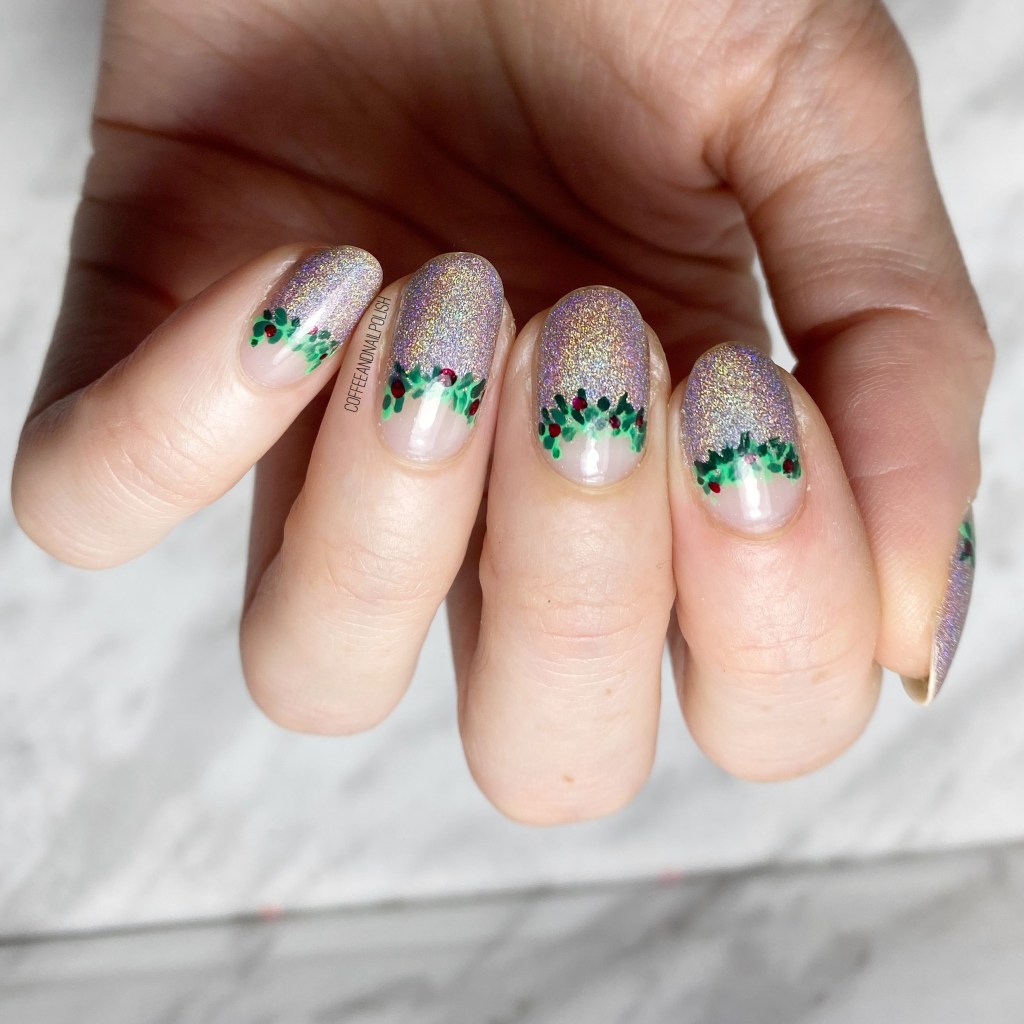
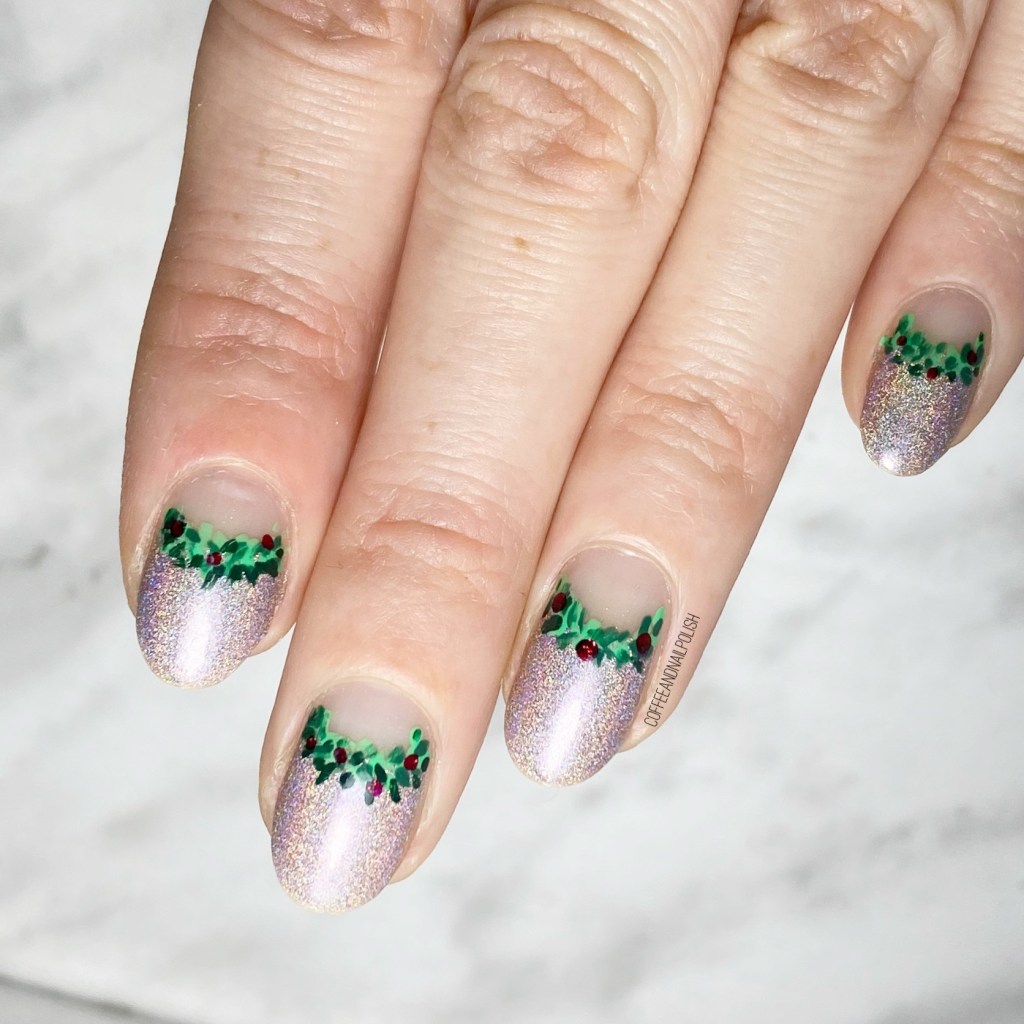
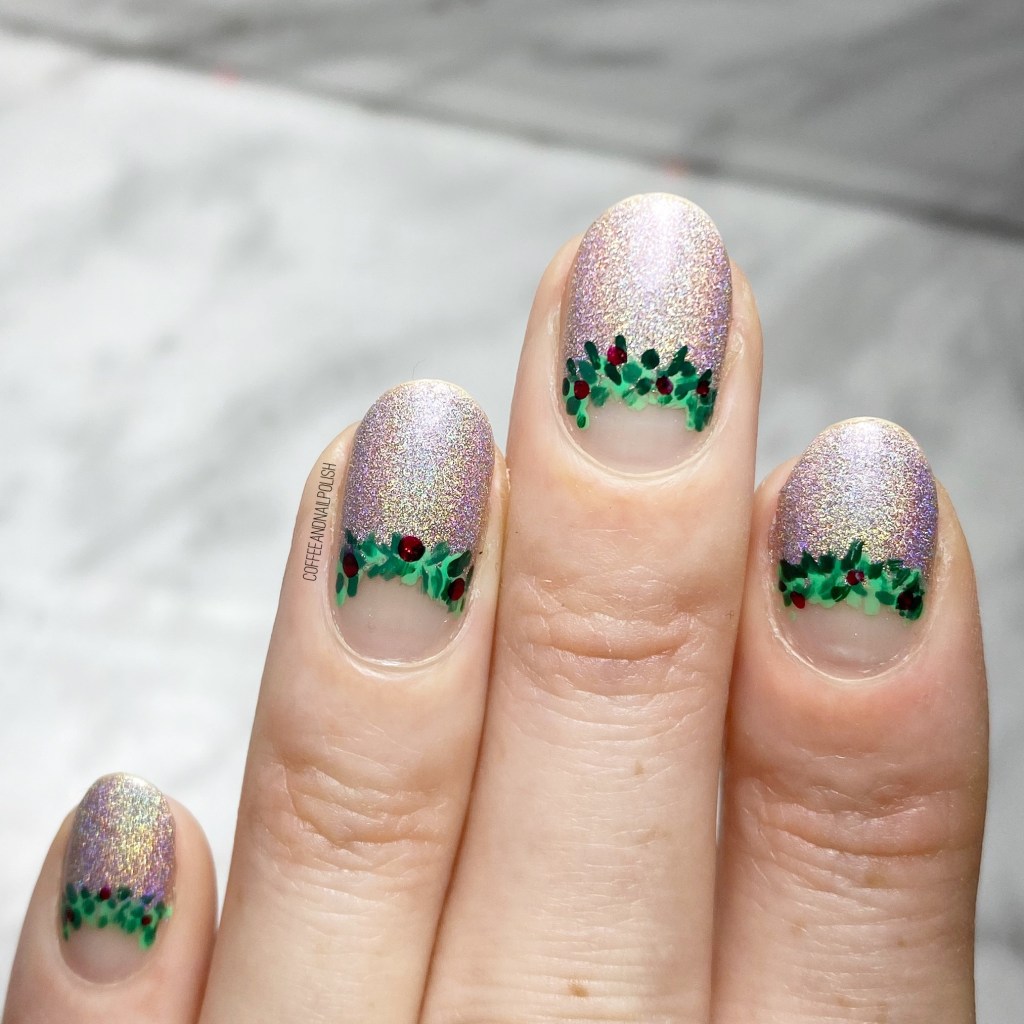
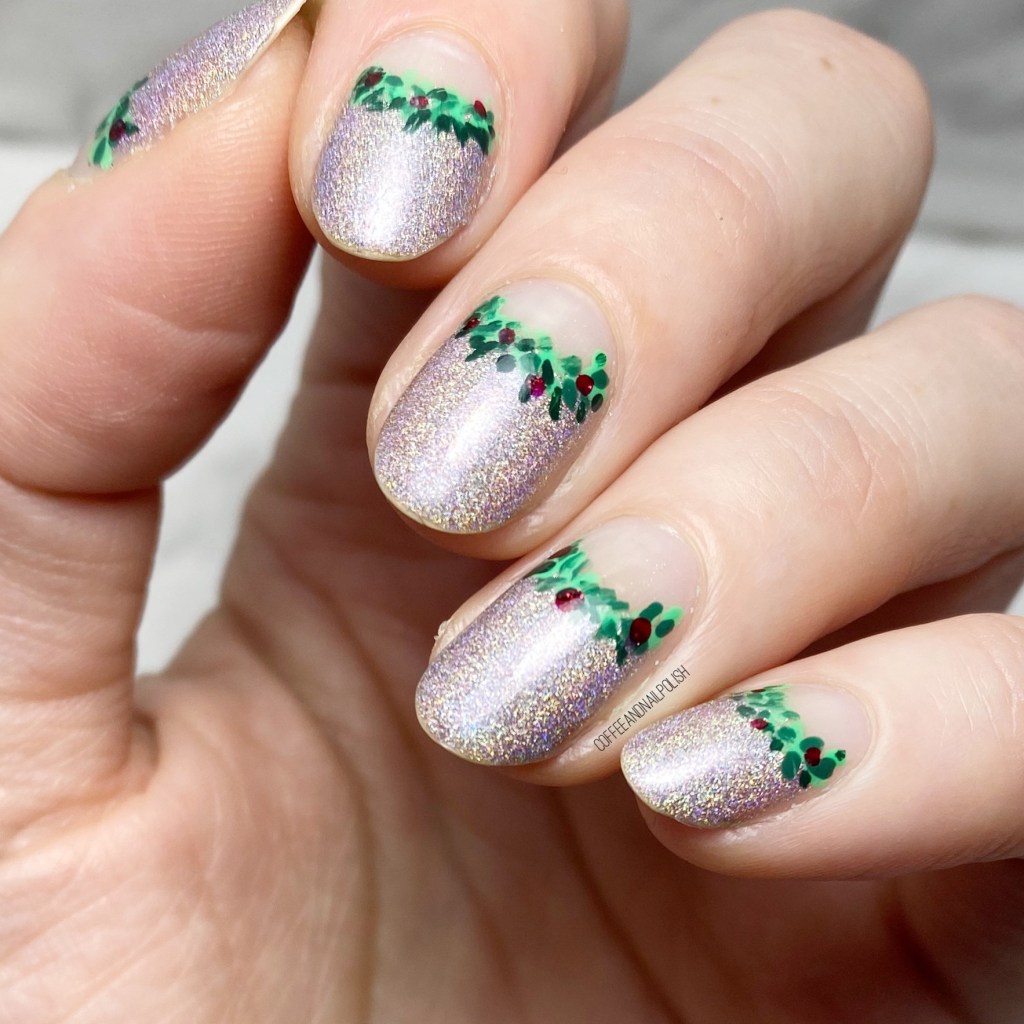
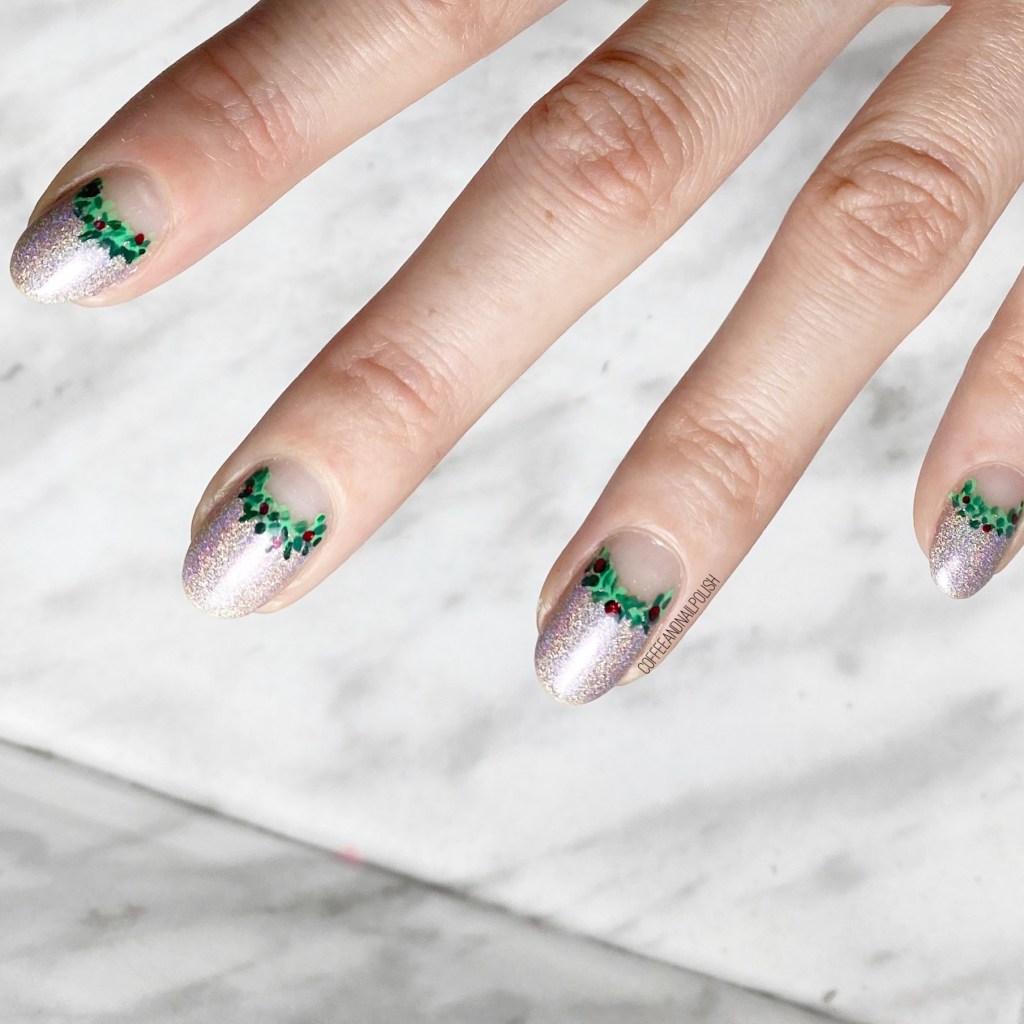
Glam Nails Challenge December — Wreaths

Hello lovelies & happy Monday! It’s a beautiful—but chilly—day here. Almost all our snow melted away this weekend due to crazy rain, so it’s feeling very un-Christmas like outside. More like April than December.

But that’s okay because I have another cute Christmas look to share for Glam Nails Challenge December: wreath nails. & I think this is my most favourite Christmas look so far!

The polishes I used for this manicure are: 

  • Base Coat: Essie First Base
  • Top Coat: Seche Vive
  • Wrenn Polish Happy Thoughts
  • Essie Off Tropic
  • Ardene Jungle Green
  • Essence The Green & The Grunge
  • Sally Hansen Miracle Gel Red It Twice
  • NailStuff.ca 7mm detail brush
  • Small dotting tool (NailStuff.ca Dotting Tool Trio)
  • Paper Hole Reinforcements

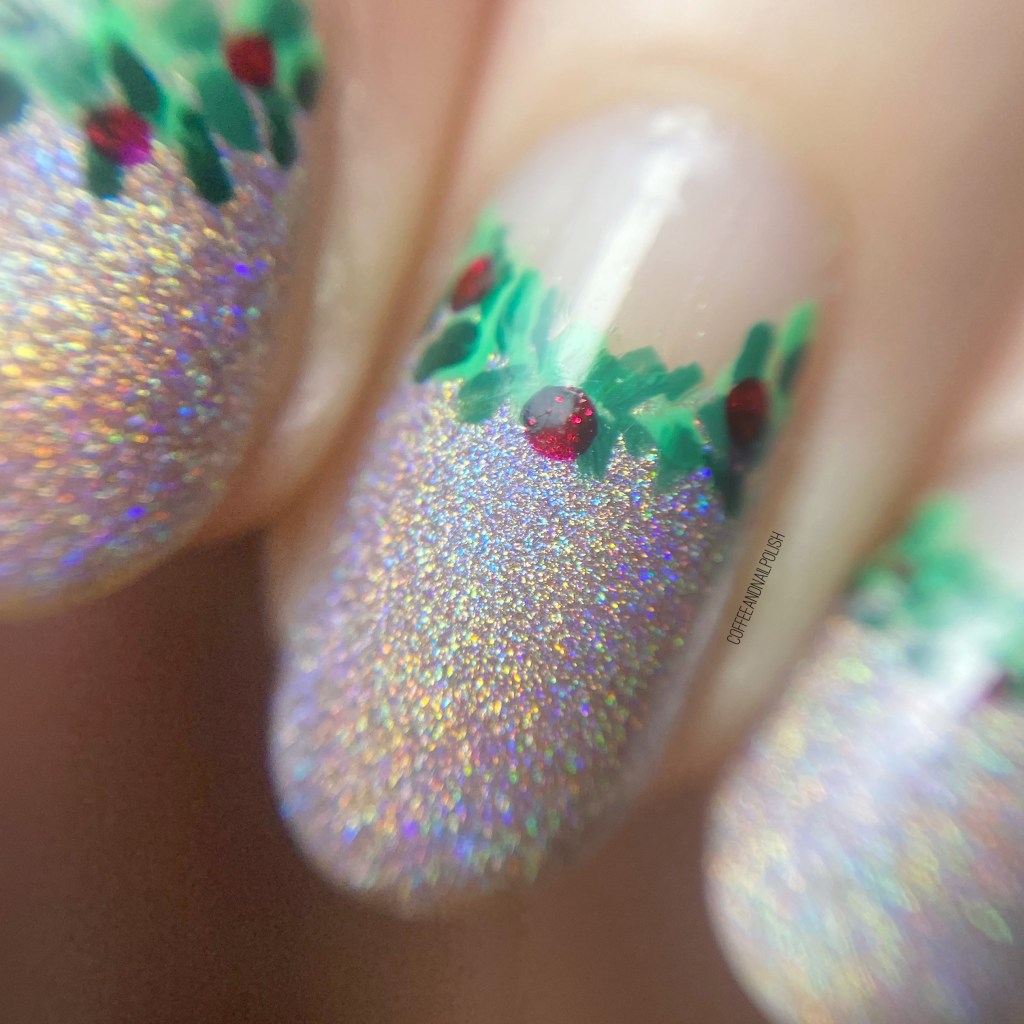
I’m not going to lie—I’m absolutely obsessed with how pretty these turned out. I’ve done some wreath nails before, but I wanted to do something completely new & I think I succeeded! So much so, I’ve been wearing these nails for going on 3 days now, & they’re still more or less holding up (with a few chips at the tip that are easy to fix).

Also I forgot how absolutely stunning Happy Thoughts by Wrenn polish is. There is a reason why her holos are some of my favourites—they are absolutely eye catching! I’m going to be so, so sad when I finally take these off.

What do you think about these half moon wreath nails? Are you obsessed with them as much as I am? Would you wear this look on your nails?

Let me know all your thoughts down the comments below! & have a lovely Monday!