GLAM NAILS CHALLENGE MARCH — Dots

Hello lovelies & happy Thursday!

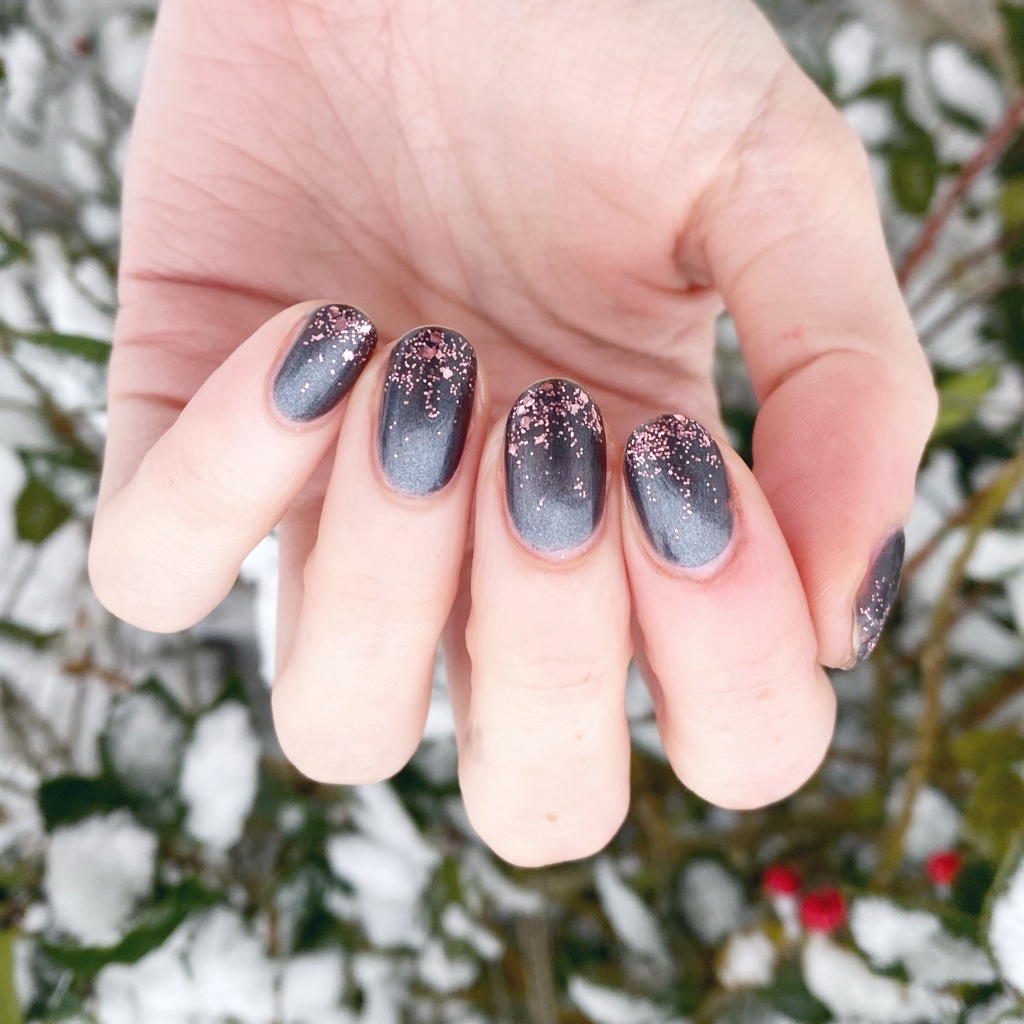
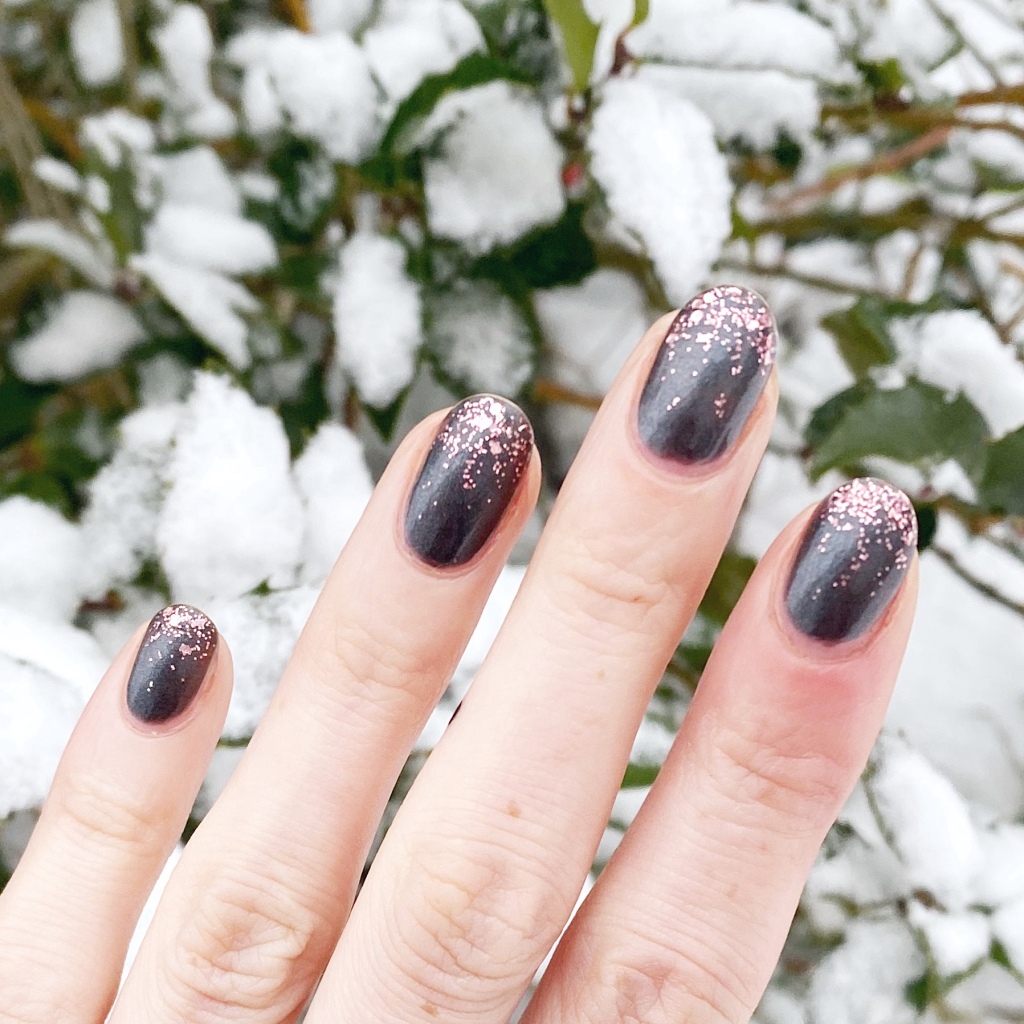
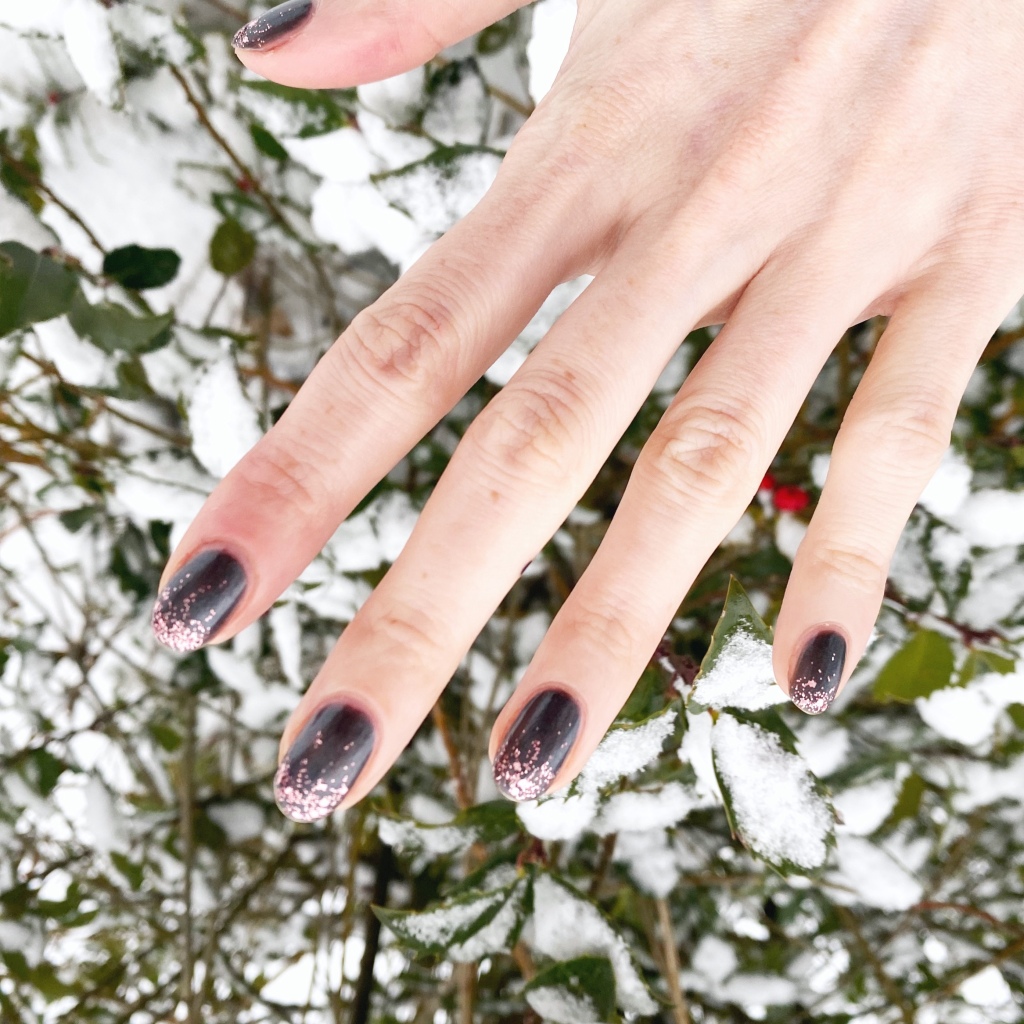
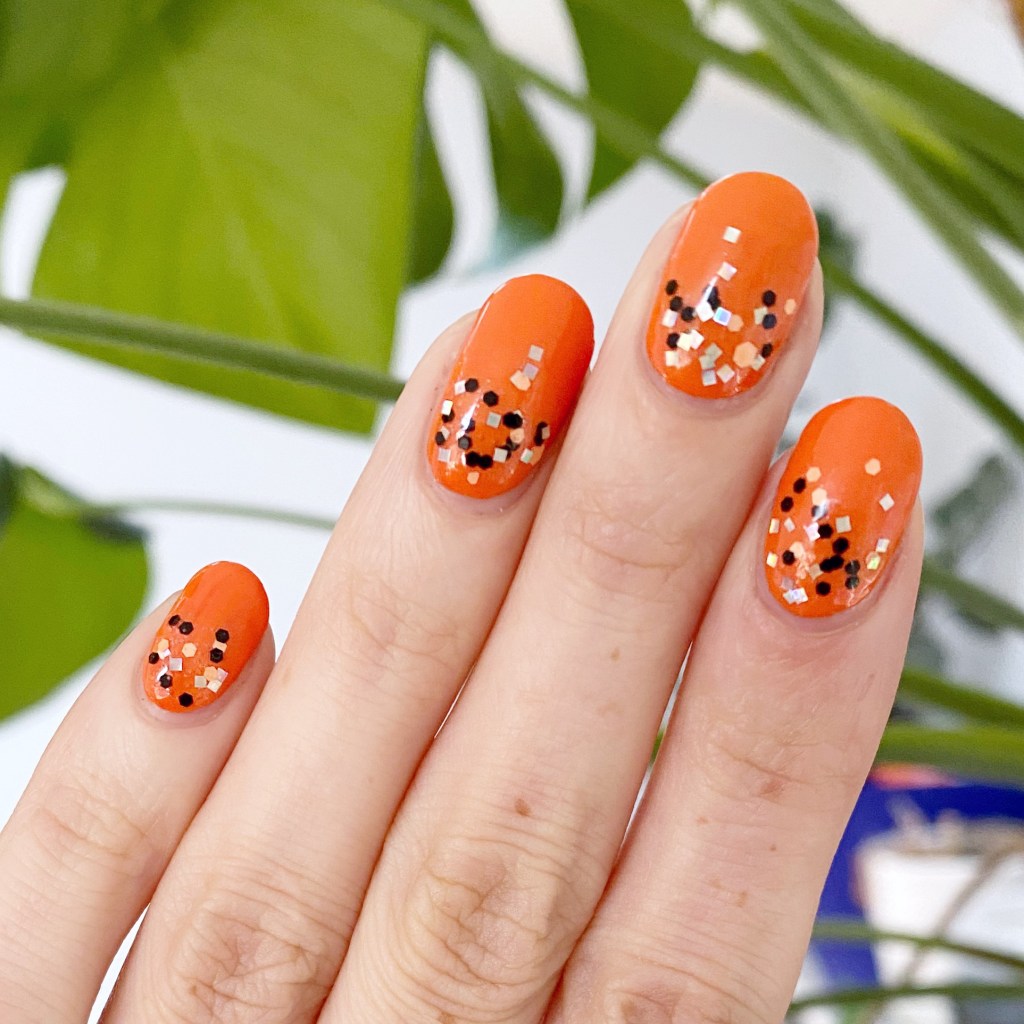
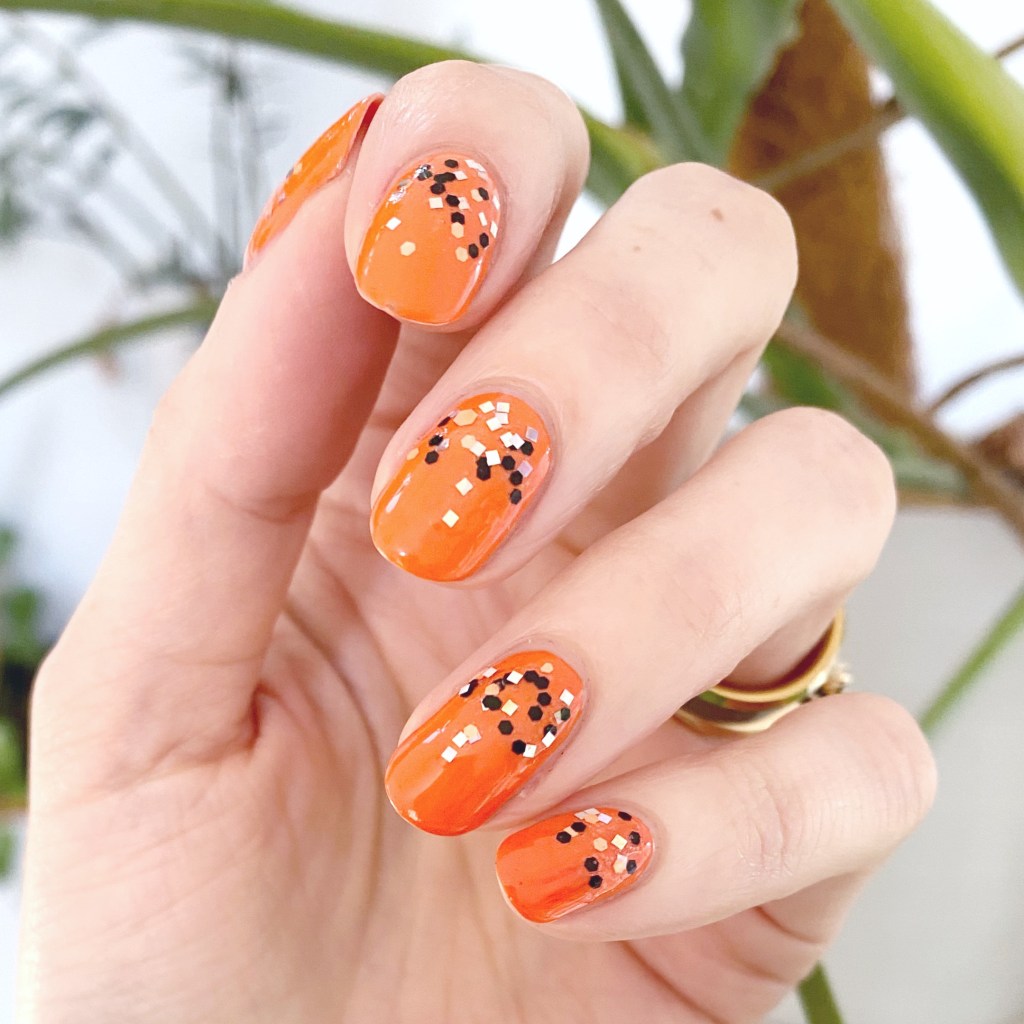
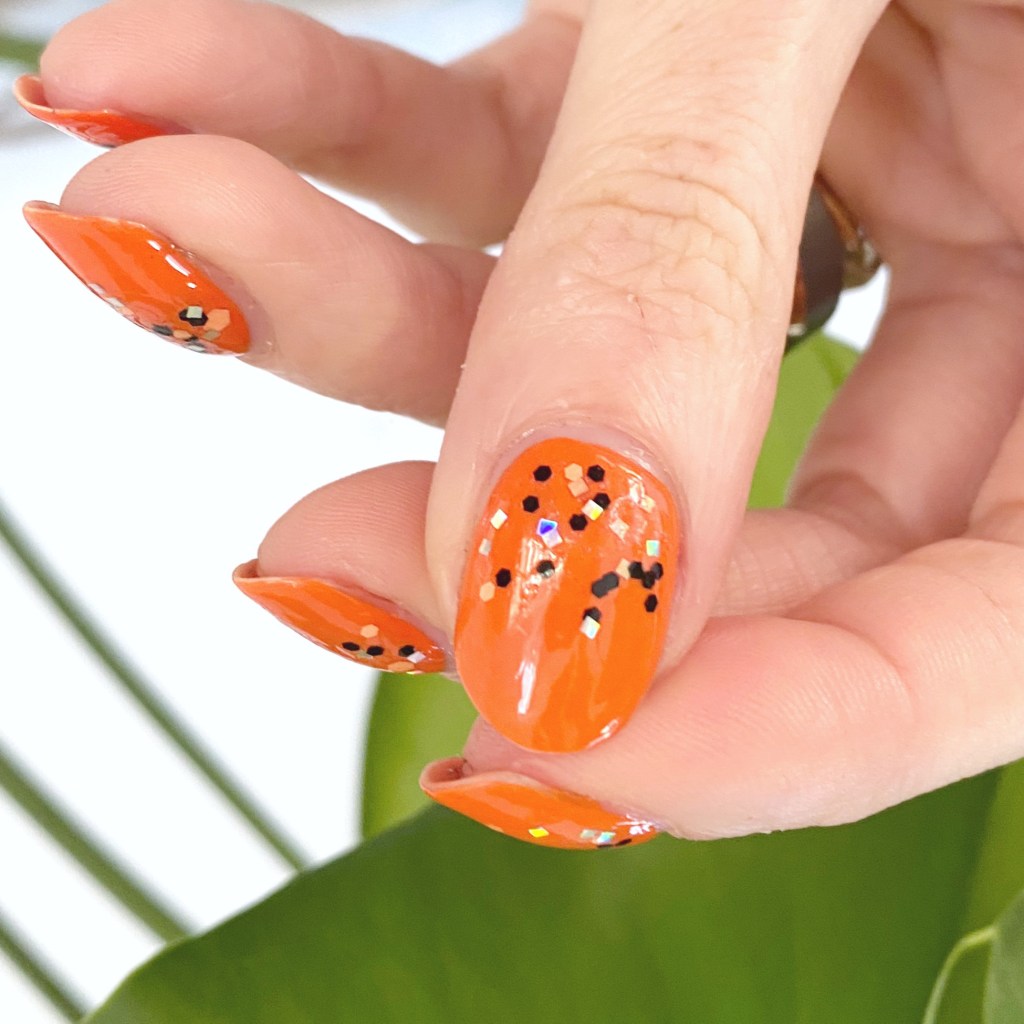
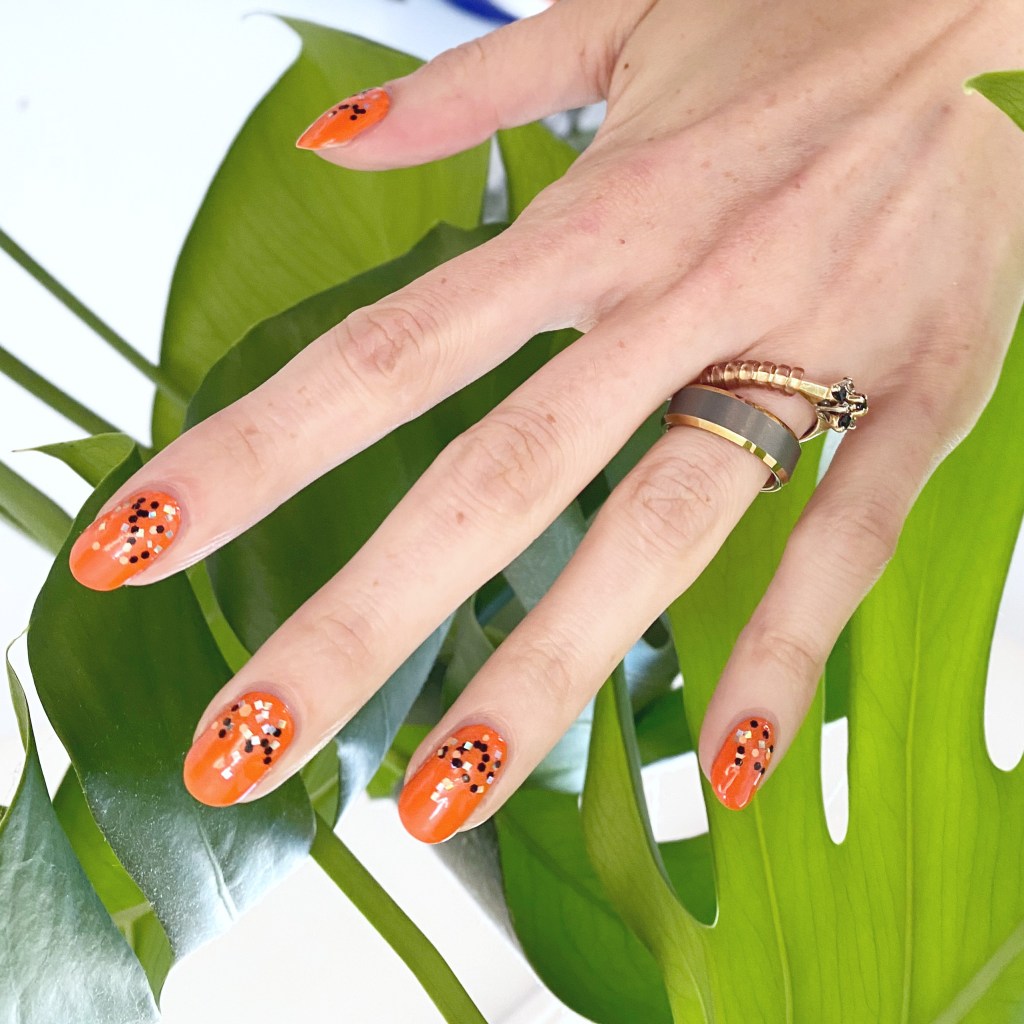
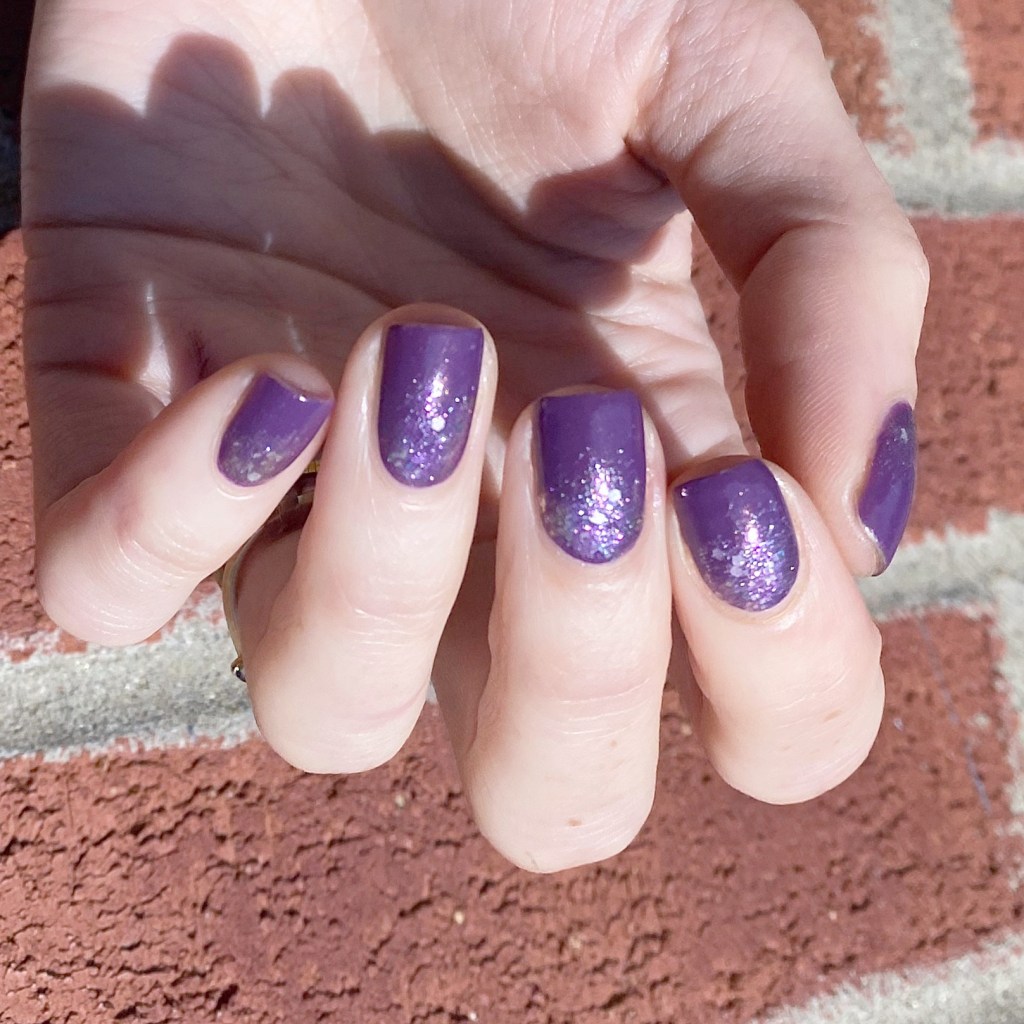
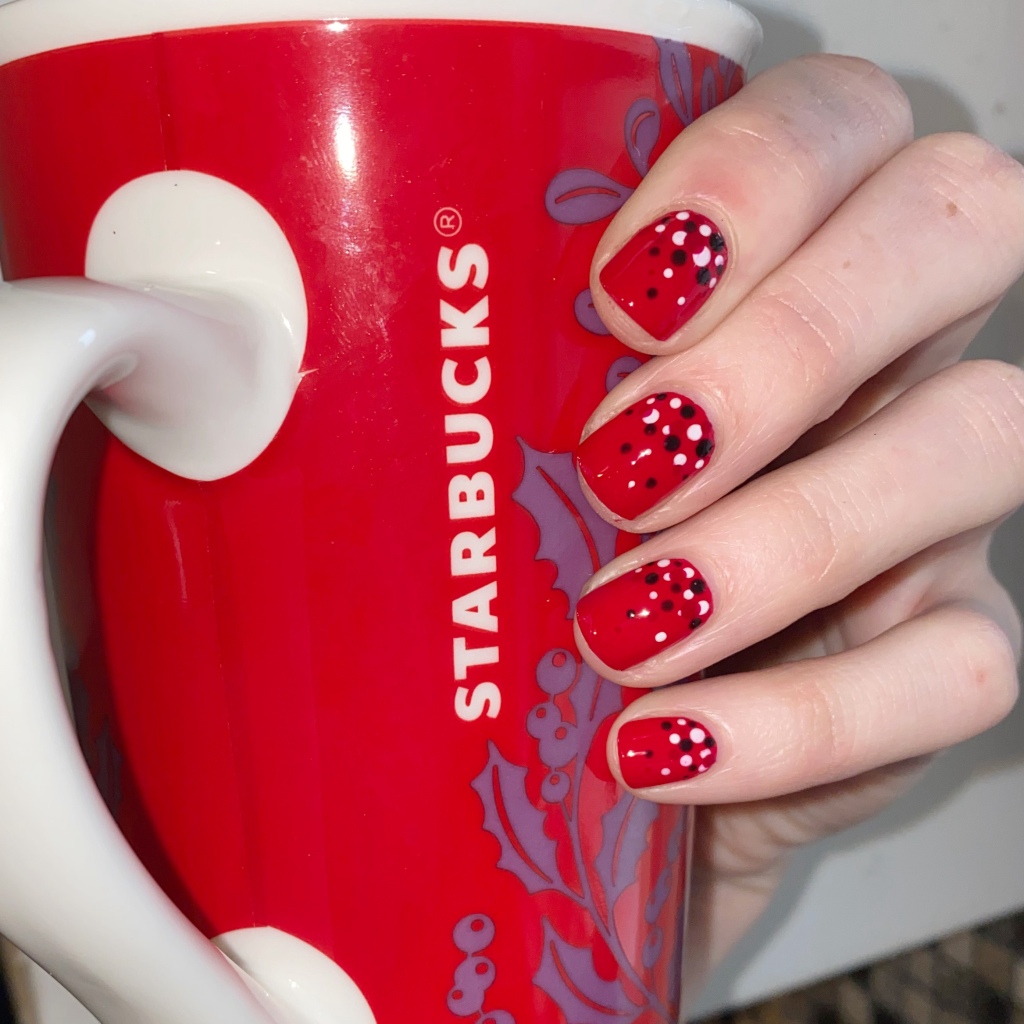
I am a day late on posting the next prompt for Glam Nails Challenge March. I worked long shifts for the last few days, so I was too exhausted to get up this prompt so I apologize! But the next prompt for Glam Nails Challenge March is dots, & we all know that I adore a dotticure. I decided to go with a gradient dotticure for this look, as I haven’t done one in a while.

The polishes I used for this manicure are: 

  • Base Coat: China Glaze Calcium Gel Fortifer
  • Top Coat: China Glaze Fast Forward Top 
  • Sally Hansen Complete Salon Manciure Cherry Delightful
  • Sally Hansen Miracle Gel A Moo Point
  • Sally Hansen MG Blacky-O
  • Sally Hansen MG Can’t Beet Royalty
  • NailStuff.ca Dotting Tool Trio

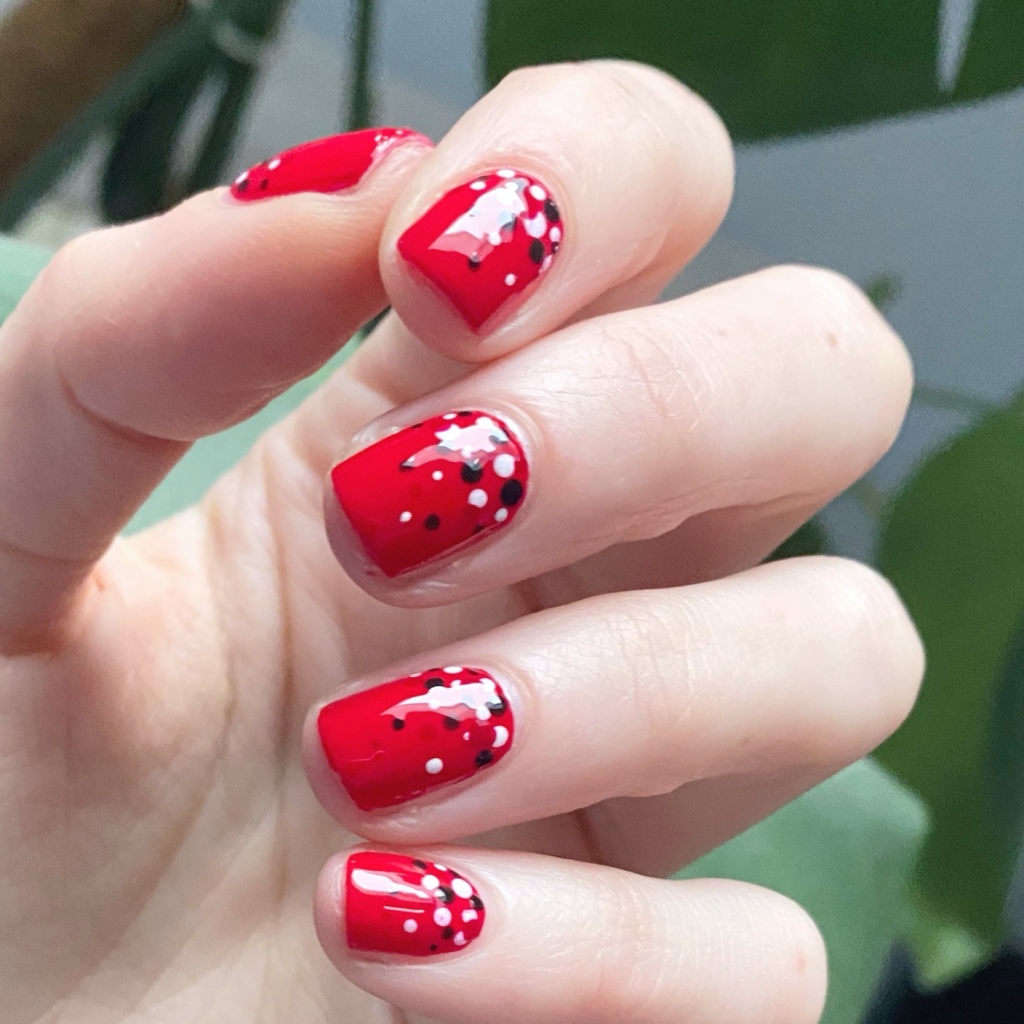
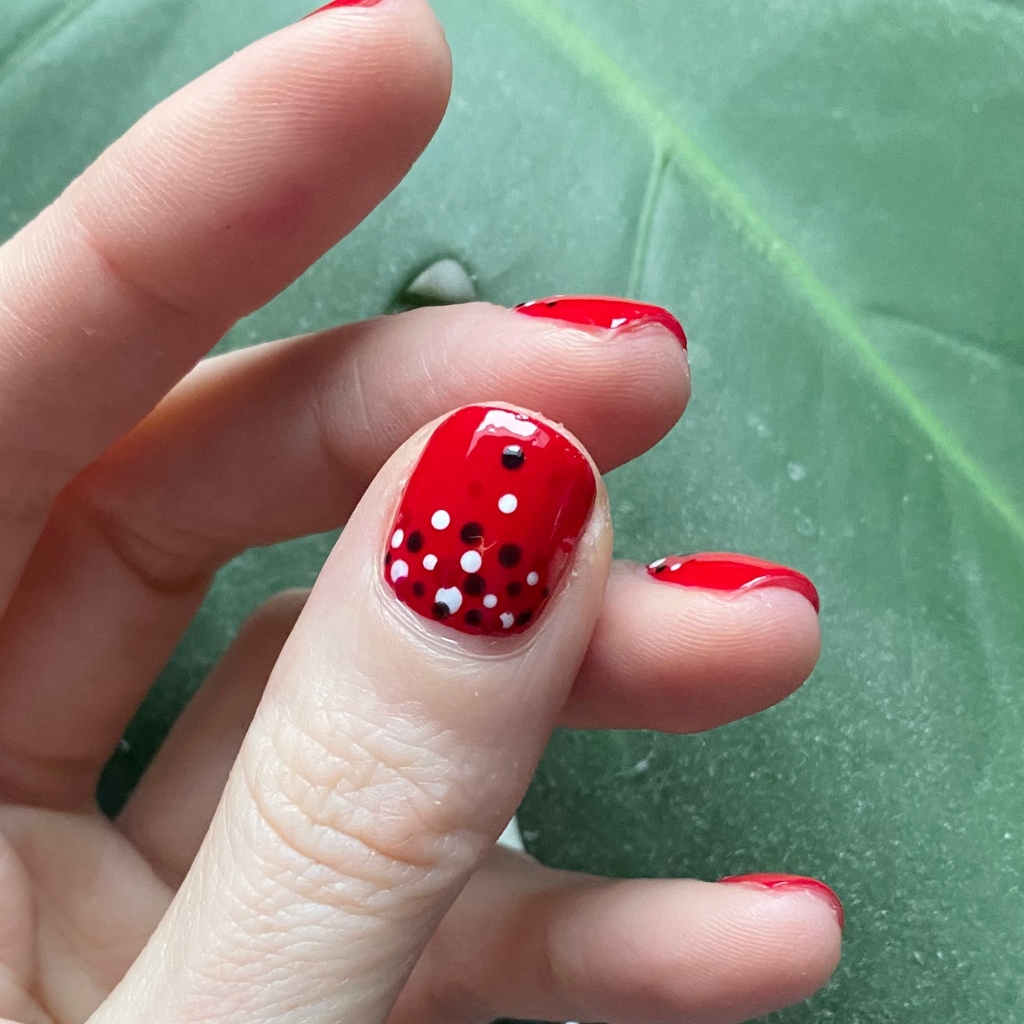
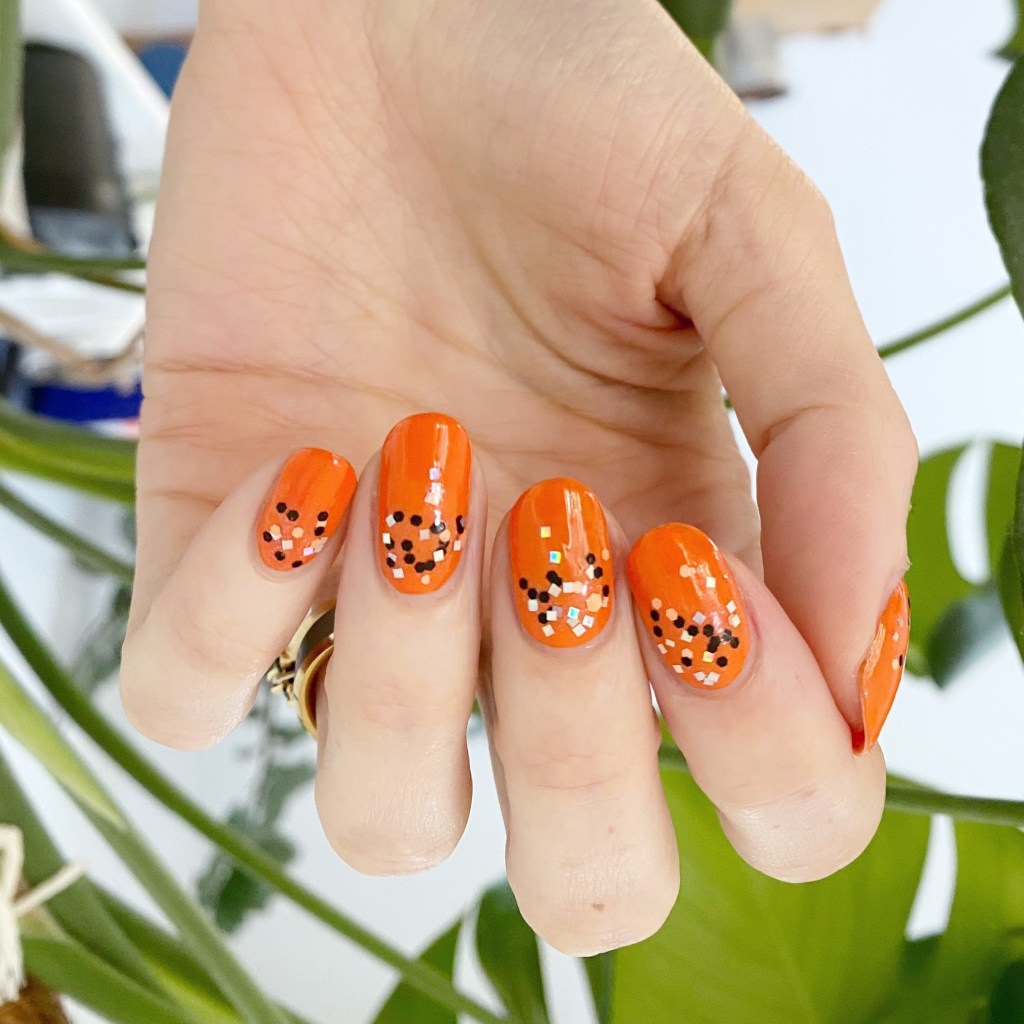
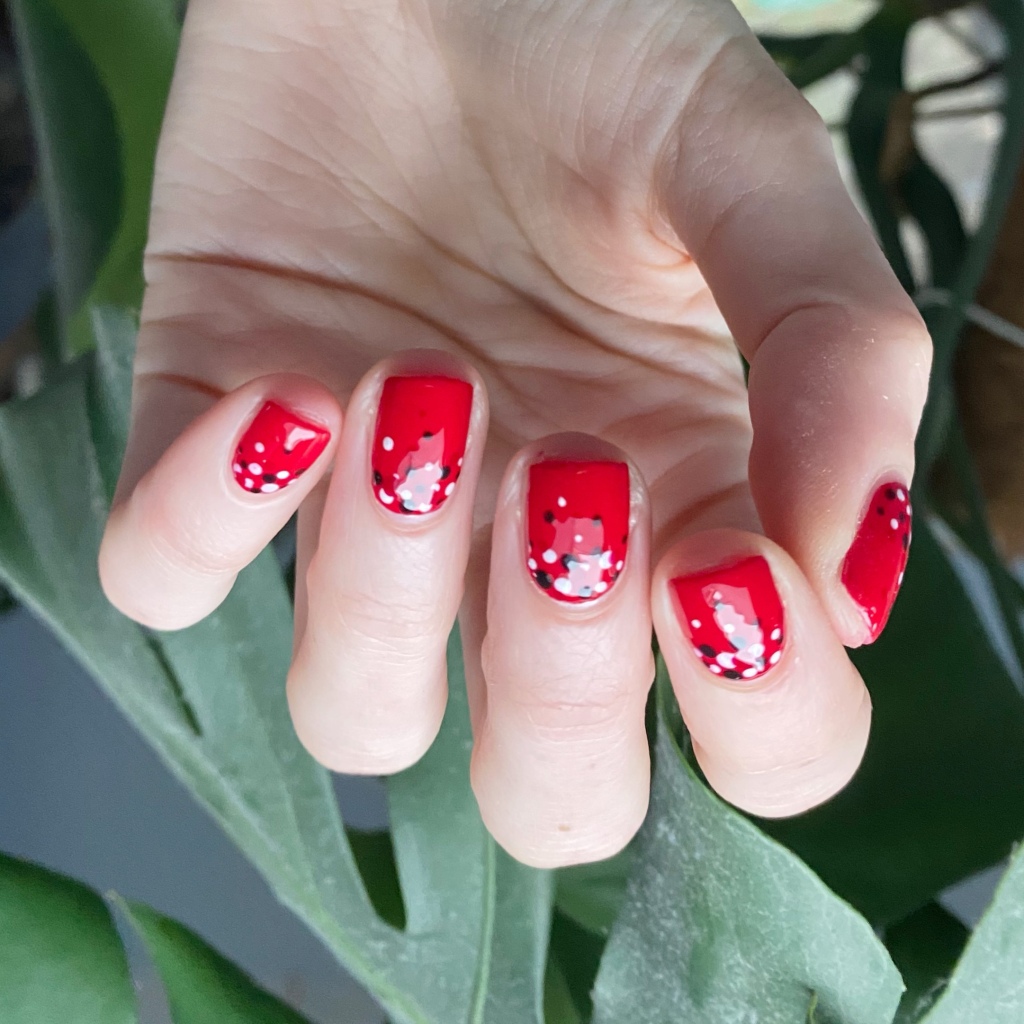
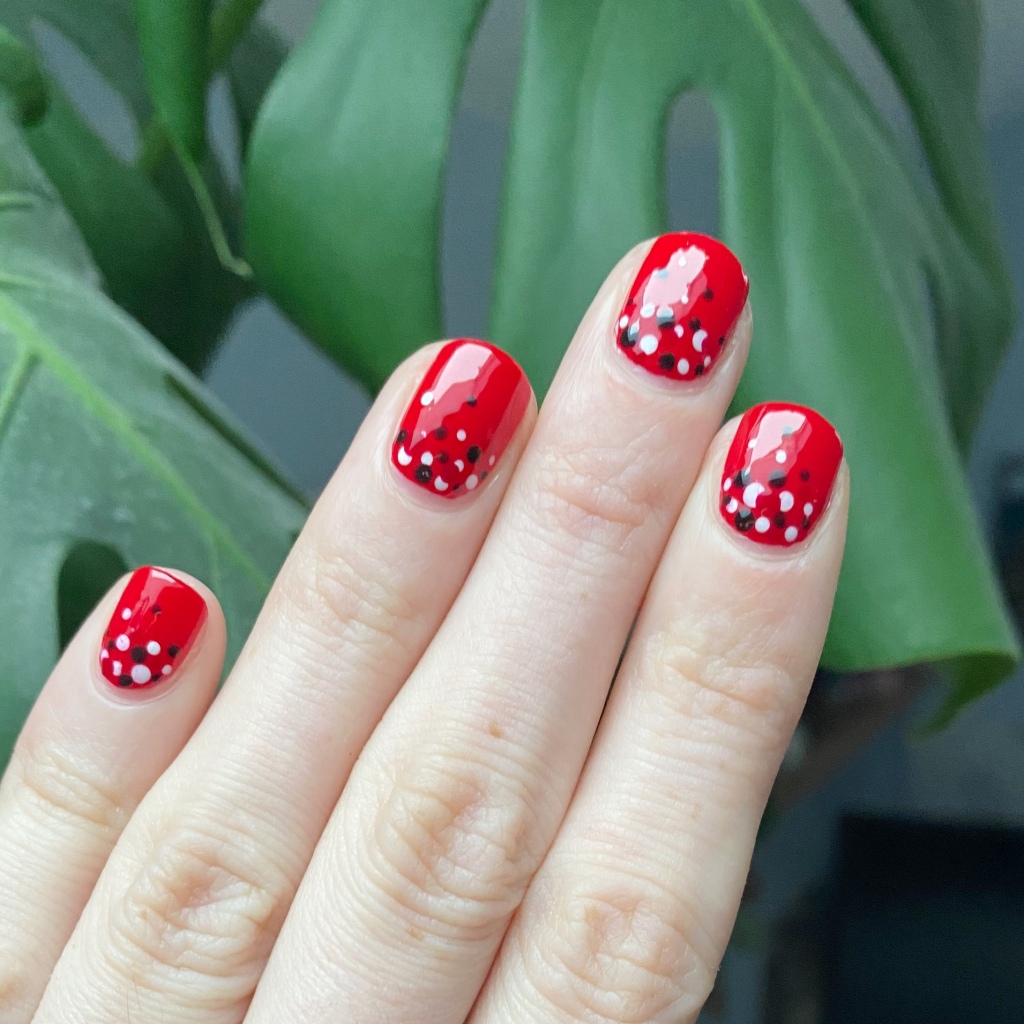
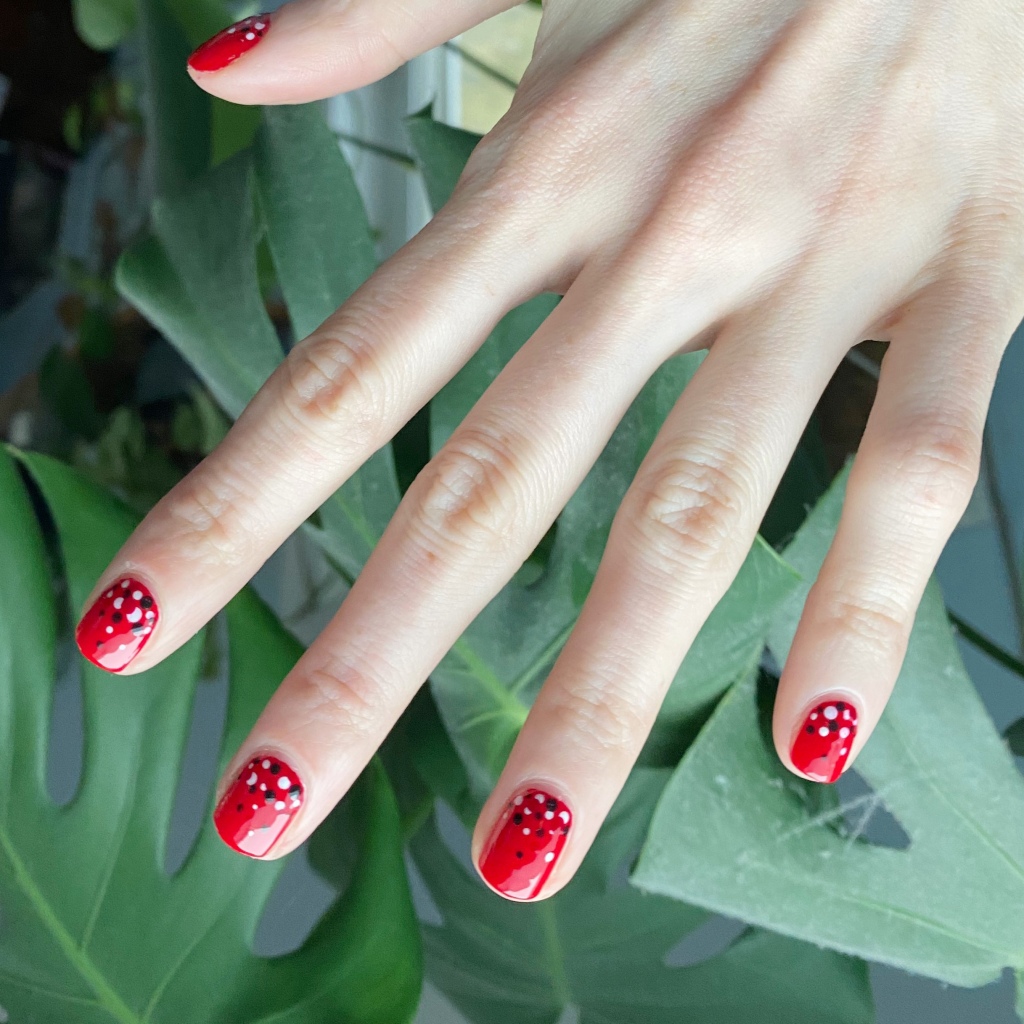
I’m obsessed with this red from Sally Hansen — it was released years ago as part of the Sally Hansen RED/esign collection. The black, white & dark red dots remind me a bit of Mini Mouse too, which is fun.

A gradient dotticure was one of my first nail art looks that I learned to do, & became obsessed with, so I always return to it. It’s the easiest way to jump into nail art if you’re kind of scared–it’s really hard to mess it up!

What do you think of my dotticure for Glam Nails Challenge March? Are you a fan of a gradient dotticure like this? Let me know all your thoughts down in the comments below!

Glitter Gradient Nails (With Revlon Nail Art Expressionist Duo)

Good Morning & happy Wednesday! It’s a snowy, messy, gross Wednesday here with a little bit of everything a winter storm can offer. But I’m excited because I have a fun (& easy) nail art look to share with you today using an old school polish that I found at my local Dollarama! Every so often, older polish collections & nail art items pop up in the beauty aisle. So I was pumped when I saw a few of these Revlon Nail Art Duos from 2015 show up at my local Dollarama.

My local Dollarama had two different styles in stock — one neon one, & the one Santa slipped into my stocking called 350 Ulterior Motif. It has a dark metallic gunmetal base shade, with a rose gold glitter for accenting.

The polishes I used for this manicure are: 

  • Base Coat: China Glaze Calcium Gel Fortifer
  • Top Coat: Essie Speed Setter
  • Revlon Nail Art Duo 350 Ulterior Motif 

Don’t mind the tip wear — I stupidly photographed these after wearing them for a full work shift. But I love how easy this duo made it to create a funky nail art look, with no tools needed. I definitely didn’t take advantage of these sets when they were originally released — which is a shame, because they make nail art super easy!

Do you remember the Revlon Nail Art Duos from the mid-2010s? Did you have/do you have any in your nail polish stash? After using this one, I kind of want to go back & get the neon style because it will be fun to use in the Summer!

Have a lovely day ♥︎

An Easy Halloween Glitter Gradient 🎃✨

Hello lovelies — it’s Friday! & I’m definitely happy for the weekend as it’s my birthday weekend. Today is also Friday the 13th, which for most is a scary day but Friday is my lucky day, & 13 is my lucky number. So I’m always excited for a Friday the 13th!

Today I’m taking a break from the Glam Nails Challenge designs for a quick & simple Halloween inspired glitter gradient.

The polishes I used for this manicure are: 

  • Base Coat: Sally Hansen Miracle Gel Colour Grip Primer Base Coat 
  • Top Coat: Sally Hansen Insta-Dri Top Coat
  • Sally Hansen InstaDri x Sour Patch Kids Pump-kid
  • Sally Hansen InstaDri x Sour Patch Kids Hallo-Queen

So you might remember, a few years ago, I did a similar idea using a darker base, so I thought it would be fun with this pumpkin orange as the base! Orange isn’t really a colour I’m drawn to frequently any other time of the year, but I do enjoy it around Halloween! & this is such a fun easy look that still gives off Halloween vibes without being obvious about it.

What do you think about this quick & easy glitter gradient? Are you a fan of orange polish? Let me know down in the comments below!

🖤

Purple Glitter Sparkle Gradient

Hello lovelies & happy Monday! A brand new week to enjoy. Today, I’m sharing a little bit of sparkle with you to start off this week. I recently was feeling stuck for inspiration, so I decided to grab one of my favourite purple OPIs Dutch You Just Love OPI?, & a pretty glitter OPI, & create a quick, easy glitter gradient!

The polishes I used for this manicure are: 

  • Base Coat: Sally Hansen Miracle Gel Colour Grip Primer Base Coat 
  • Top Coat: Sally Hansen Miracle Gel Glossy Top Coat
  • OPI Dutch You Just Love OPI?
  • OPI Charmmy & Sugar
  • Latex free make up sponge (mine are from Dollarama)

Check out that sparkle! I love it. I don’t know if I’ve ever worn this pretty sparkle before (it’s from the 2016 OPI x Hello Kitty collaboration) but I think it looks incredible over this purple. I love a good glitter gradient, & sometimes you find two polishes that just go together so perfectly. I love that moment.

What do you think of this quick & simple nail art look to start off your Monday? I know it’s not the most exciting of manicures, but sometimes you just want a little bit of sparkle.

Let me know what you think down in the comments below.

Sparkly Glitter Gradient ✨

Good morning lovelies & happy Monday! A beautiful, sunny & warm Monday. It’s feeling like Summer today, & I’m loving every moment of it.

Today I gave a super simple, easy nail art look that anyone can do! I love a good glitter gradient, & it is such an easy way to spruce up a relatively plain manicure.

The polishes I used for this manicure are: 

  • Base Coat: Londontown KUR Nail Hardener & Base Coat 
  • Top Coat: Seche Vive Fast Dry
  • Essie Revenge’s A Beach
  • Sinful Colors Pride

What I love most about a glitter gradient is you don’t really need any tools. Obviously, you can sponge on the glitter, but I usually just apply it using the brush as I find it easiest (& least messy).

These are definitely the look you need to do if you have a special occasion you want fancy nails for, but aren’t too comfortable with nail art. I swear, anyone can rock this look easily! In fact, I’m already planning another one in my head featuring a few glitters I don’t use too often — stay tuned!

What do you think about this fun glitter gradient? Also yes — that is the same polish from yesterday’s Swatch Sunday post. Crazy how different lighting can make it look different! Natural light vs Light Box.

Have a fantastic beginning to your week loves! 🖤