GLAM NAILS CHALLENGE DECEMBER— Santa Claus

Hello beauties & happy Monday. It’s a snowy December here on the East Coast of Canada , & we put up our Christmas tree this weekend, so it’s feeling very Christmas-y here. It’s also the beginning of Glam Nails Challenge December, & I’m very excited to close our 2023 with a month of festive nail art designs.

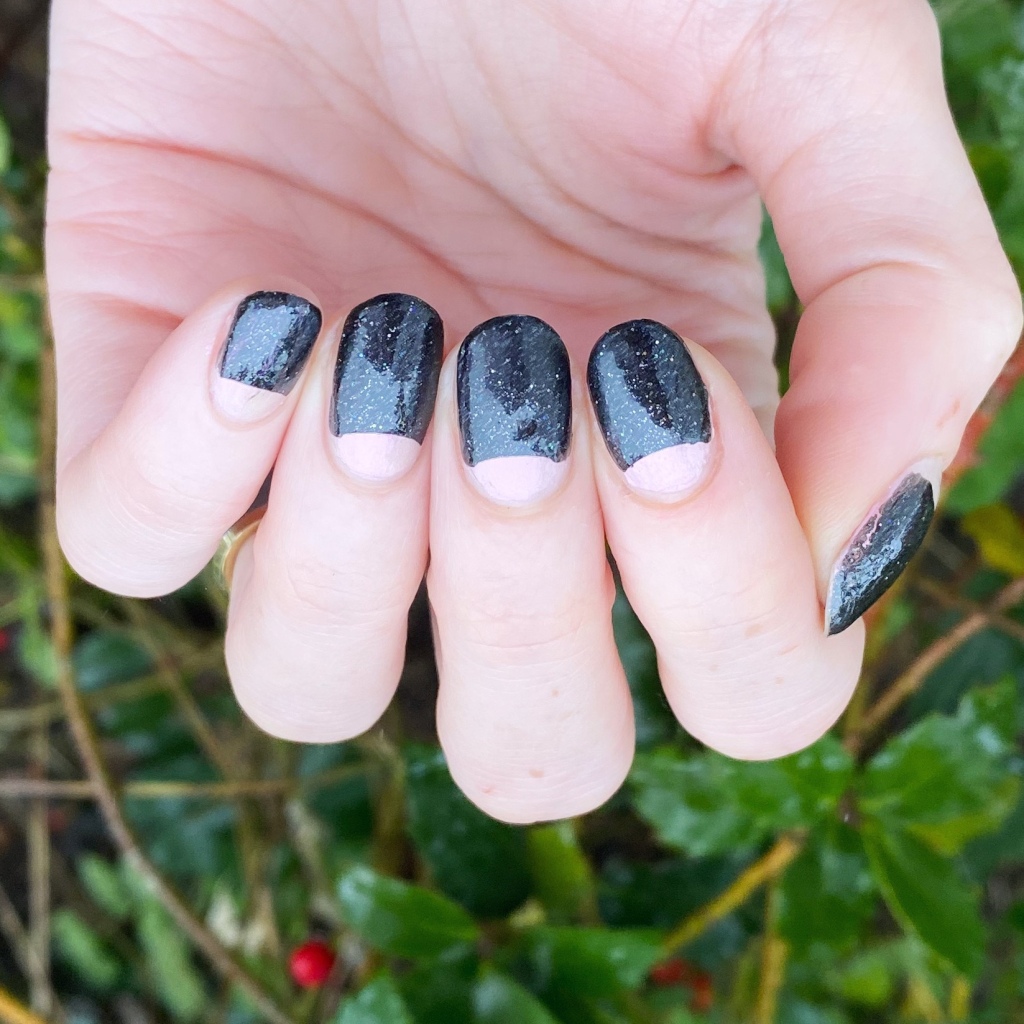
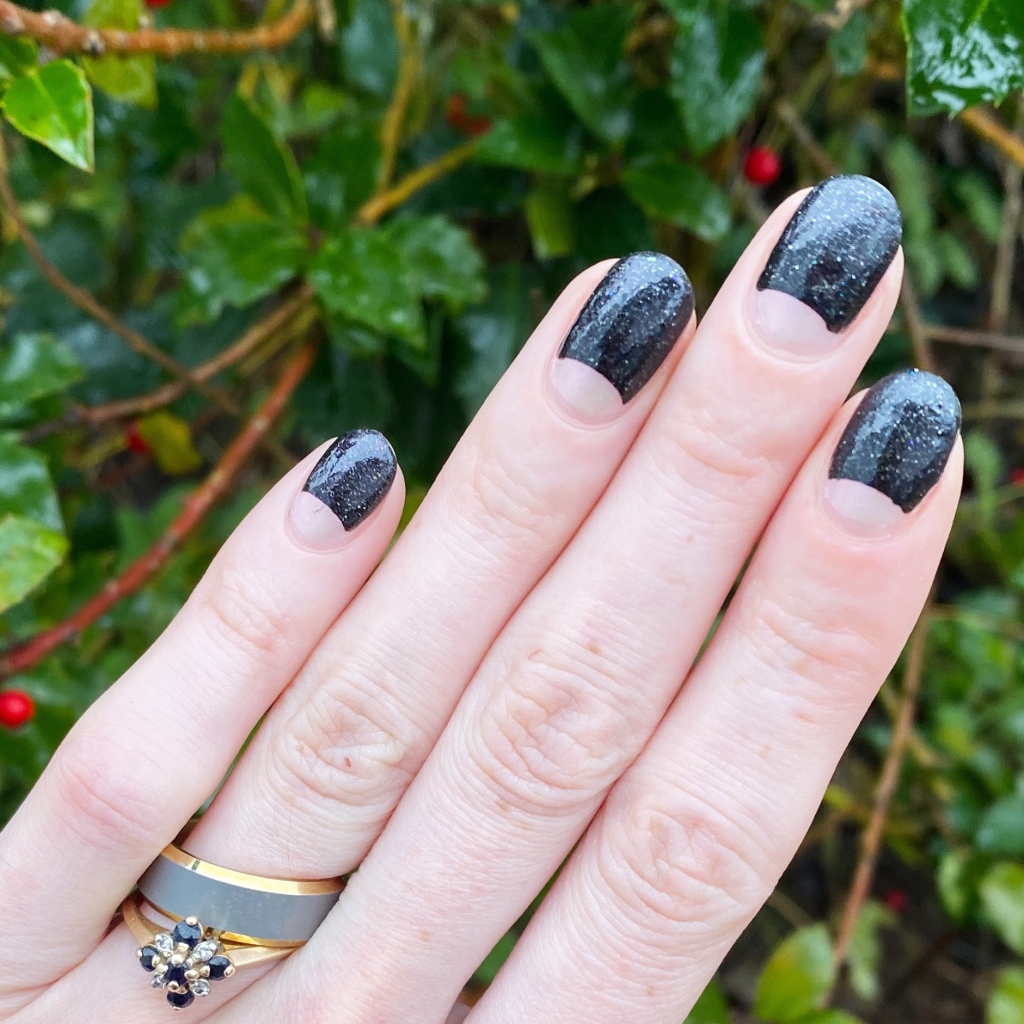
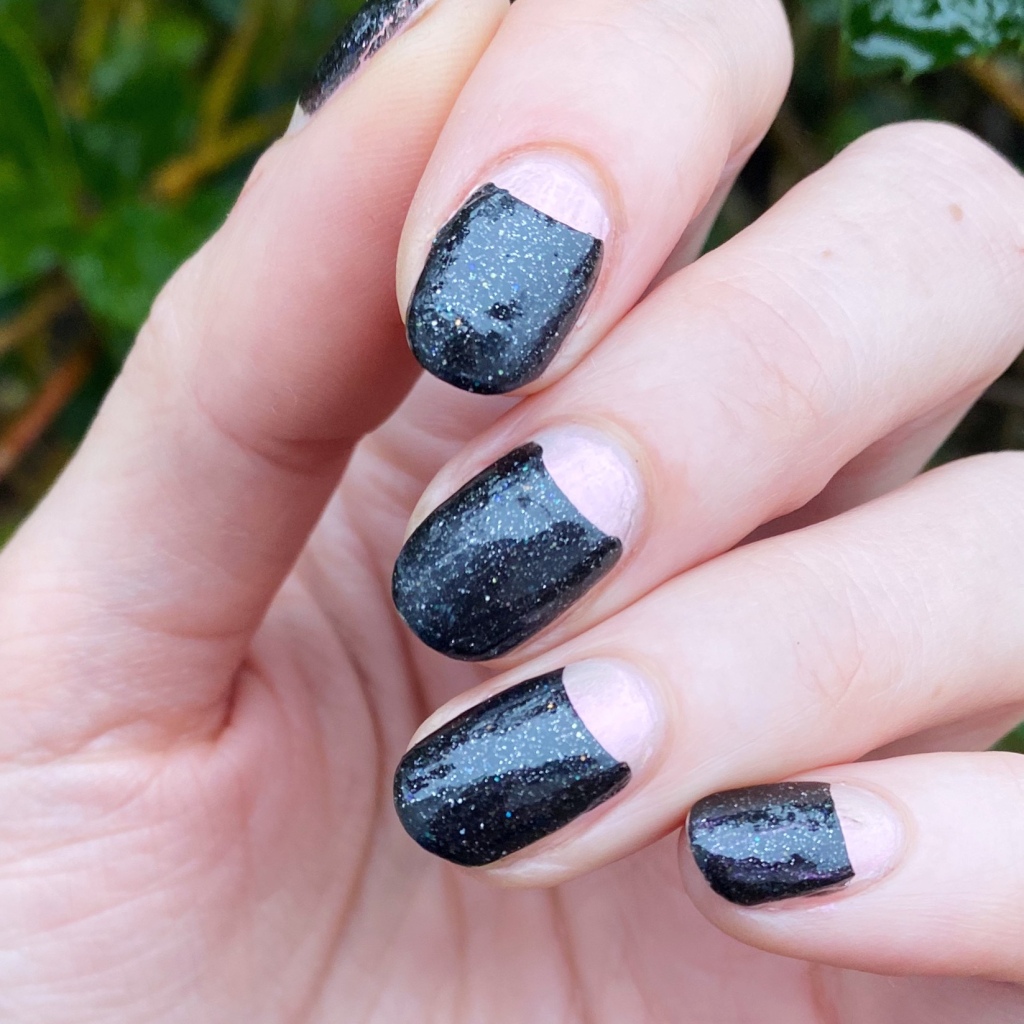
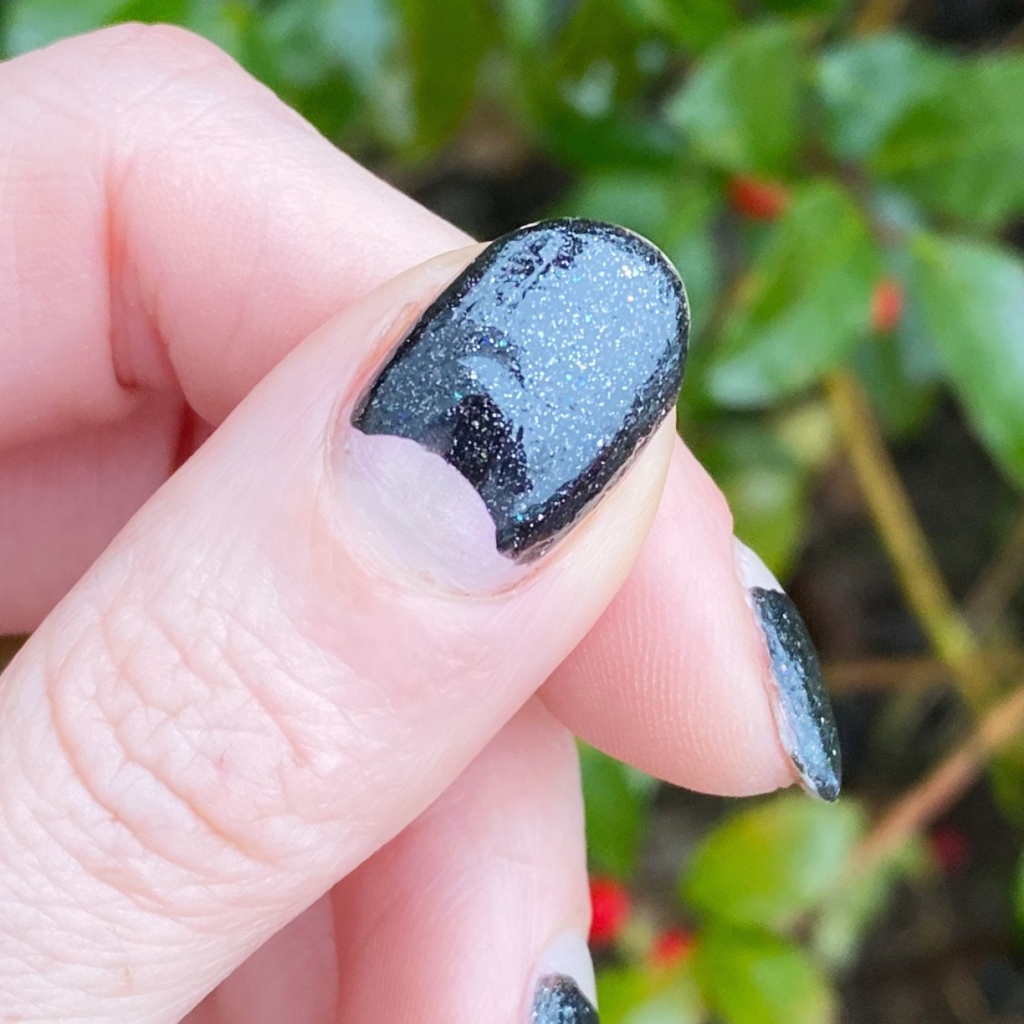
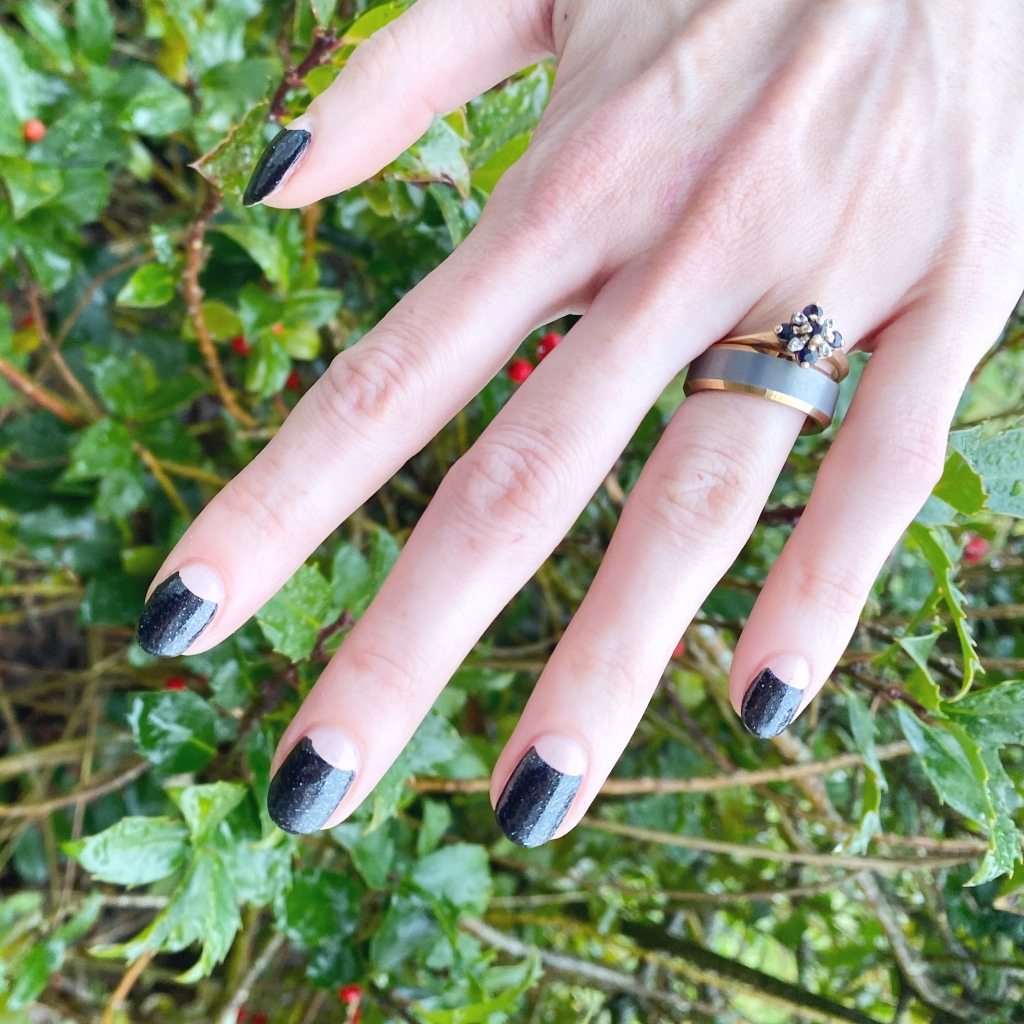
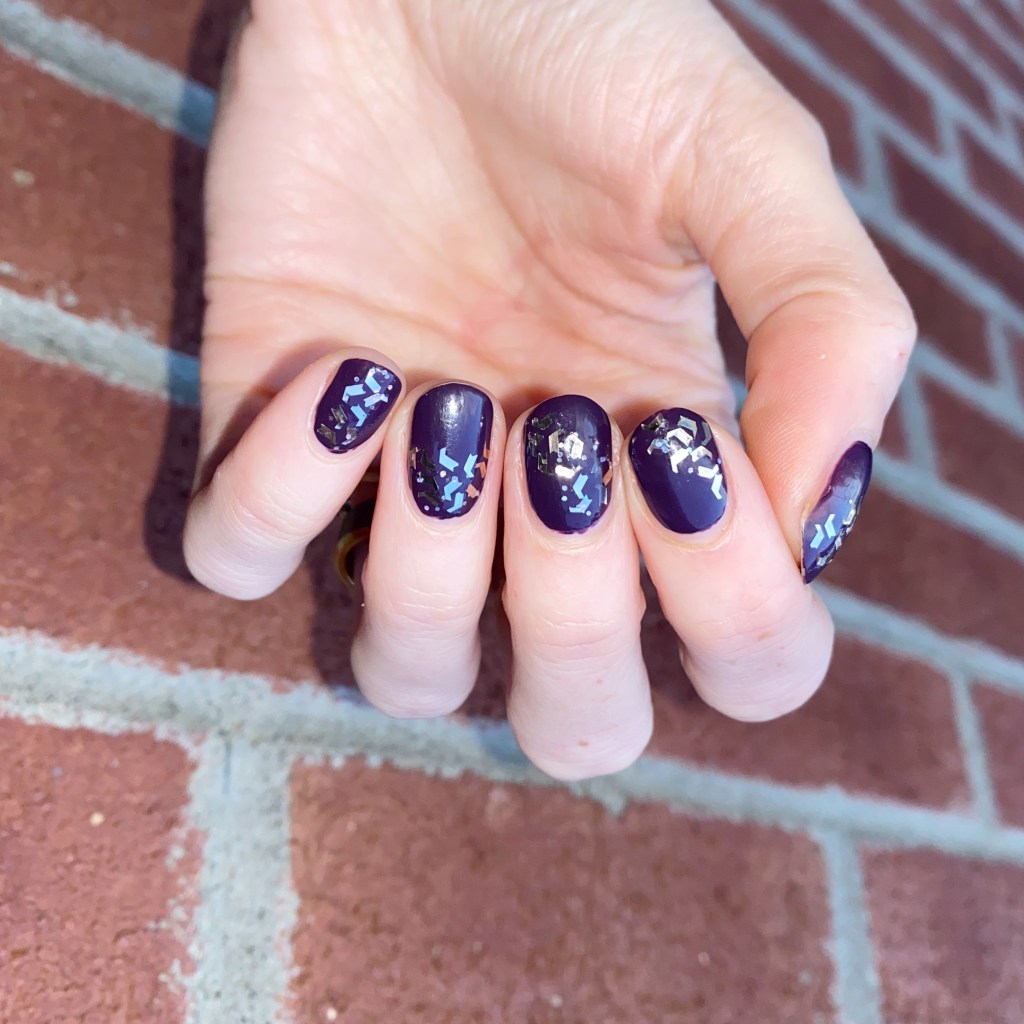
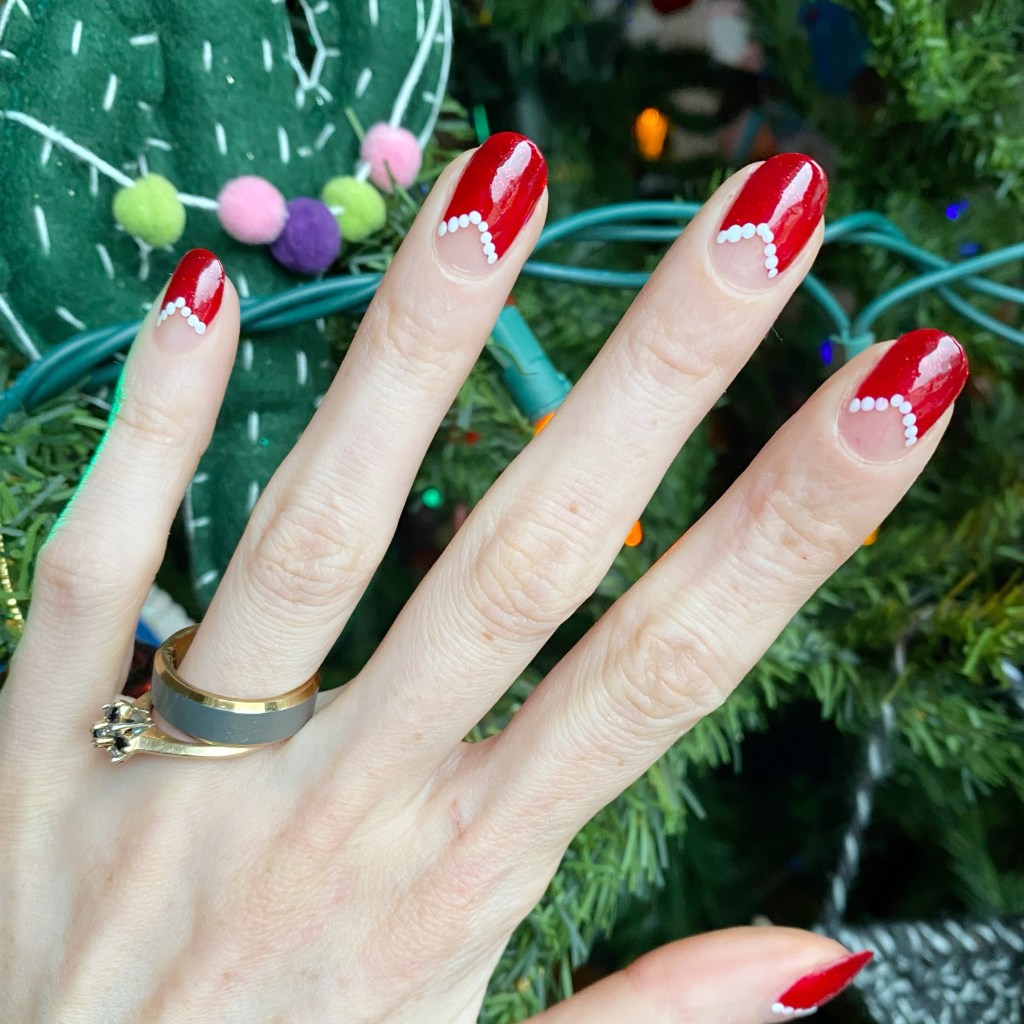
Our first prompt for the month is Santa Claus, & I went with a Santa Claus inspired half moon chevron design.

The polishes I used for this manicure are: 

  • Base Coat: Sally Hansen Miracle Gel Colour Grip Primer Base Coat 
  • Top Coat: Seche Vive
  • Sally Hansen Xtreme Wear Red Carpet
  • Sally Hansen Miracle Gel Get Mod!
  • NailStuff.ca Dotting Tool Trio

I created my negative space chevron moons completely freehand, then went in with a small sized dotting tool & added the white accents. I think it’s the perfect nod to Santa Claus without being too literal about it. However, my 6 year old totally guessed my inspiration, so it gets the point across!

Also how cute does our Christmas tree look as the base for my manicure. I would expect to see a few designs posed in front of my tree this month!

Are you excited to finish off December & 2023 with one final month of Glam Nails Challenge? Are you excited for lots of holiday nail art content? Let me know all your thoughts down in the comments below, & don’t forget to follow along on Instagram with the hashtag #glamnailschallengedecember to see all the beautiful December designs.

Enjoy the beginning of your week lovelies! 🎄💗

Winter Sweater Accent Nail

Hello lovelies & happy Monday! It’s a brand new week already, & December is looming. While I’m brainstorming all the nail art I’m planning for December, I thought I would throw things back with a simple accent nail that reminds me of my early nail blogging days (circa 2015).

I used to be obsessed with these freehand sweater/aztec inspired accent nails, so I thought it would be fun to do one — especially as I was struggling with nail art inspiration the other night.

The polishes I used for this manicure are: 

  • Base Coat: Sally Hansen Miracle Gel Colour Grip Primer Base Coat 
  • Top Coat: Seche Vive
  • Essie No More Film
  • Essie All The Wave
  • Essie Hors d’Oeuvres
  • Essie Blanc
  • Essie Bikini So Teeny
  • NailStuff.ca Mermaid Tail Nail Brush Trio (11mm liner brush, 7mm liner brush)

I feel like these are giving off fun sweater vibes, & I like the combination of blues together. I was just going to do a simple skittle look with the different blues, but I decided I wanted it to be more exciting than that!

The end result turned out so fun! I haven’t had as much time for freehand nail art lately, so I really need to start playing around more often. I miss my freehand nails, so I’m definitely going to make more of an effort. Maybe I’ll redo this design in December with a Christmas-y colour scheme, & call them Ugly Christmas Sweater nails.

What do you think of today’s nail art look? Are you a fan of these simpler accent nail designs? Let me know all your thoughts down in the comments below!

🖤 Happy Monday!

SWATCH SUNDAY — China Glaze I Soiree I Didn’t Do It (Holiday 2015 Cheers Collection)

Good Morning lovelies & happy Sunday! It’s the last Sunday of November which is kind of crazy. Yesterday was one month until Christmas Day, so I think it’s time to kick the Christmas nail polish content officially into gear.

Today I have a polish from the 2015 China Glaze Cheers collection. This glitteryblue/greenish shade is called I Soiree I Didn’t Do It.

2 coats + top coat

China Glaze I Soiree I Didn’t Do It is a jelly green base filled will blue, teal & silver glitters. The base is surprisingly dense with glitter, which was nice as I managed my manicure in only 2 coats. I was fully expecting that I was going to need 3-4 coats.

Obviously, you do still see some natural nail peaking through from behind the glitter, but with something as sparkly as this it kind of distracts so the average person isn’t really noticing. I also used one coat of I Soiree I Didn’t Do It layered over a darker shade on my pedicure, & it works great as a glitter topper as well to add a bit of sparkle.

A close up to show off the different glitters all packed into the base. There is definitely holo glitter in there as well. Like I mentioned, this was only two coats, & I was fully expecting I’d need another coat at least. I am glad that I didn’t have to apply another coat though, because this polish was definitely difficult to remove with all that glitter!

I did use my Olive & June polish remover pot •PR• — which I’m overdue on doing a proper review of — which made the process slightly easier.

Now because this is an older special collection shade, it’s not in regular circulation — however, I did find the Gelaze version listed on the China Glaze website, so that’s definitely an option for those who prefer using gel!

& for the non-gel users, China Glaze I Speak Glitter from last years Holiday 2022 collection is very similar in colour as well, except it appears to have some other glitters added to the mix as well. For anyone who owns that shade ( or both), I’d love to know how the two compare!

What do you think about China Glaze I Soiree I Didn’t Do It from the 2015 Cheers collection? Do you remember when this collection was released ? Let me know all your thoughts down in the comments below.

I’m definitely feeling the glittery holiday vibes now, so I’m going to find all the glitter shades I can to share over the next few Sundays!

Have a great day loves! ♥︎

Black Friday Half Moons 🖤🌛

Happy Black Friday lovelies!

I suppose “happy” is a subjective term. But it is Black Friday, & that means that the holiday season is about to kick into high gear. I work in retail, though, which means I’m just trying to survive the weekend! So in honour of this crazy day, I thought I would create a black manicure to represent the day.

The polishes I used for this manicure are: 

  • Base Coat: Sally Hansen Miracle Gel Colour Grip Primer Base Coat 
  • Top Coat: Seche Vive
  • Mary Kay Salon Direct Moonlight
  • Essence Here’s My Number
  • Paper Hole Reinforcements

I wanted black nails, but with a twist, & I think this nail art look was just what I needed. I used a lot of top coat to smooth out Essence Here’s My Number as it’s a sparkle sand effect polish. I think the subtle pearlescent shimmer of Moonlight pairs really well with the more obvious sparkle of Here’s My Number. It’s a very chic look, which half moon designs always are to me, but then you have the black & white pairing, which just makes it feel even more chic.

Also it’s a very easy look, that anyone can do. The perfect nail art look for going into battle for retail war.

What do you think of these Black Friday half moons? Do you think this is as chic a look as I do? Let me know all your thoughts down in the comments below!

Happy Shopping darlings! 🖤

Broken Mirror Glitter Placement

Hello lovelies & happy Wednesday! It’s already midweek, isn’t that crazy? I feel like it’s going to be New Year’s Eve before we even realize.

Today’s look is a favourite of mine, that I’ve repeated a few times over the years, but never gets old to me. I love a good shattered glass glitter look, & so naturally when I painted my nails with this beautiful dark purple, I knew I wanted to add something glitter placement. I decided to grab a glitter I haven’t used in forever, & I’m glad I did because they turned out perfect!

The polishes I used for this manicure are: 

  • Base Coat: Sally Hansen Miracle Gel Colour Grip Primer Base Coat 
  • Top Coat: Seche Vive
  • Essie Kimono Over
  • OPI Infrared-y to Glow
  • Medium sized dotting tool (NailStuff.ca Dotting Tool Trio)

I tried to capture the little holo glitters that accompany Infared-y To Party, but for whatever reason my phone & my nails were not cooperating to really show it off. I thought this glitter was a nice alternative to the usual gold glitters I create this look with, & gives off more of a shattered mirror design because the glitters are silver.

I definitely do miss my bottle of Color Club Diamond Drops as it was perfect for this kind of design thanks to the holographic shards of glitter. I anyone knows a similar glitter topper, let me know, because I really need to expand my glitter collection for these kinds of looks!

What do you think of this broken glass/mirror design? Have you ever tried one of these designs before? If not, I definitely recommend giving it a try! It’s a bit time consuming, obviously, but other than that it’s super easy to do & is such a fun effect! I guarantee you’ll get lots of comments & compliments on your nails too!

Happy Wednesday ♥︎