Pink Glitter Placement 🩷✨

Hello lovelies & happy Wednesday! How is everyone’s week going so far? Enjoying the balmy weather? Our days have been hot hot hot which means the grass is crunchy & the fire risk is extremely high. I don’t usually wish for rain, but we could definitely use some.

Today, though, let’s share some pretty nails.

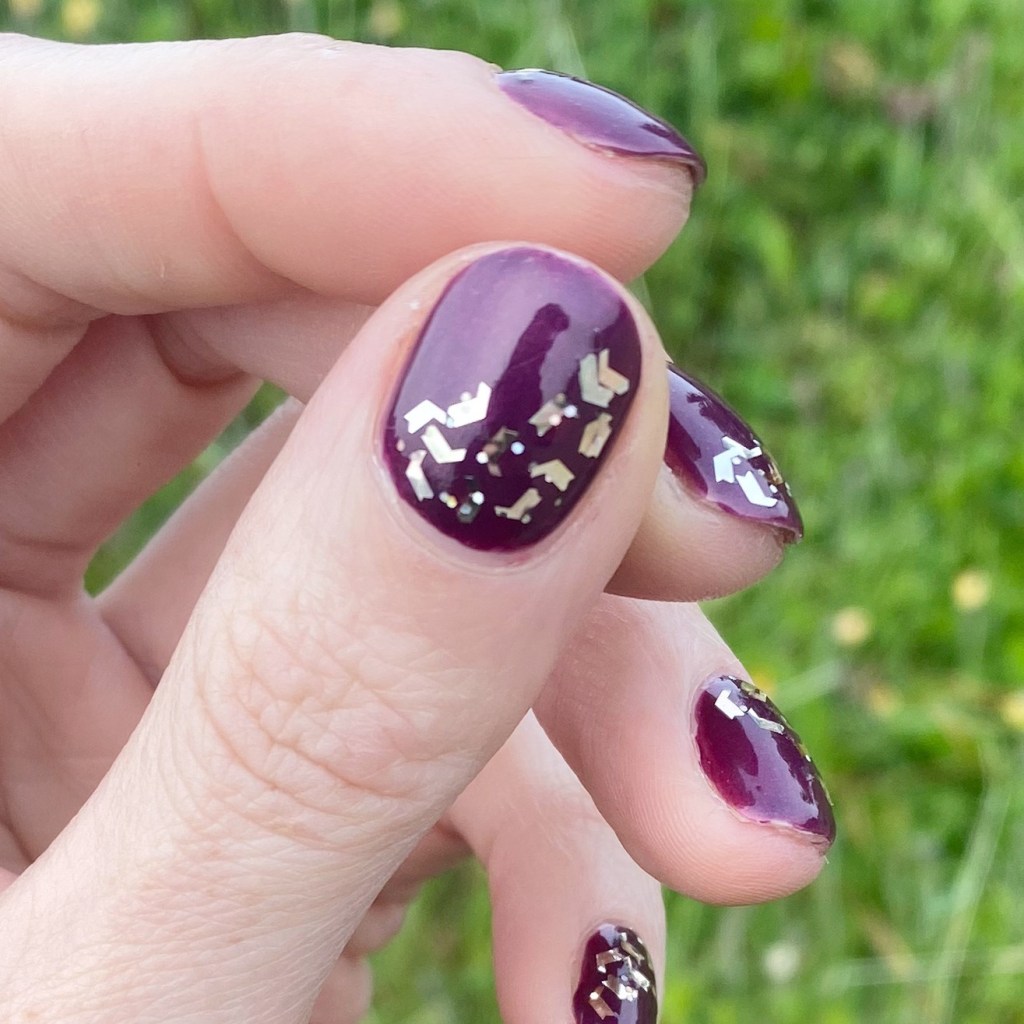
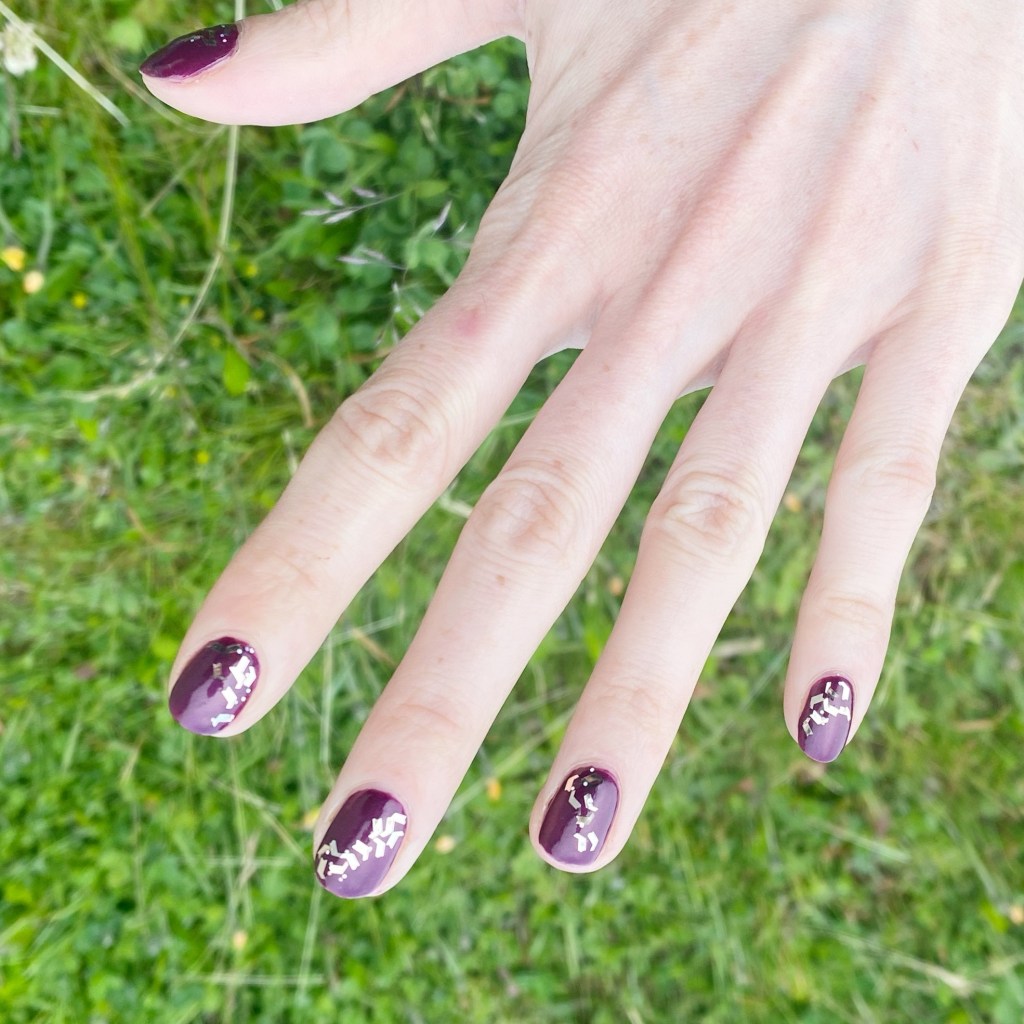
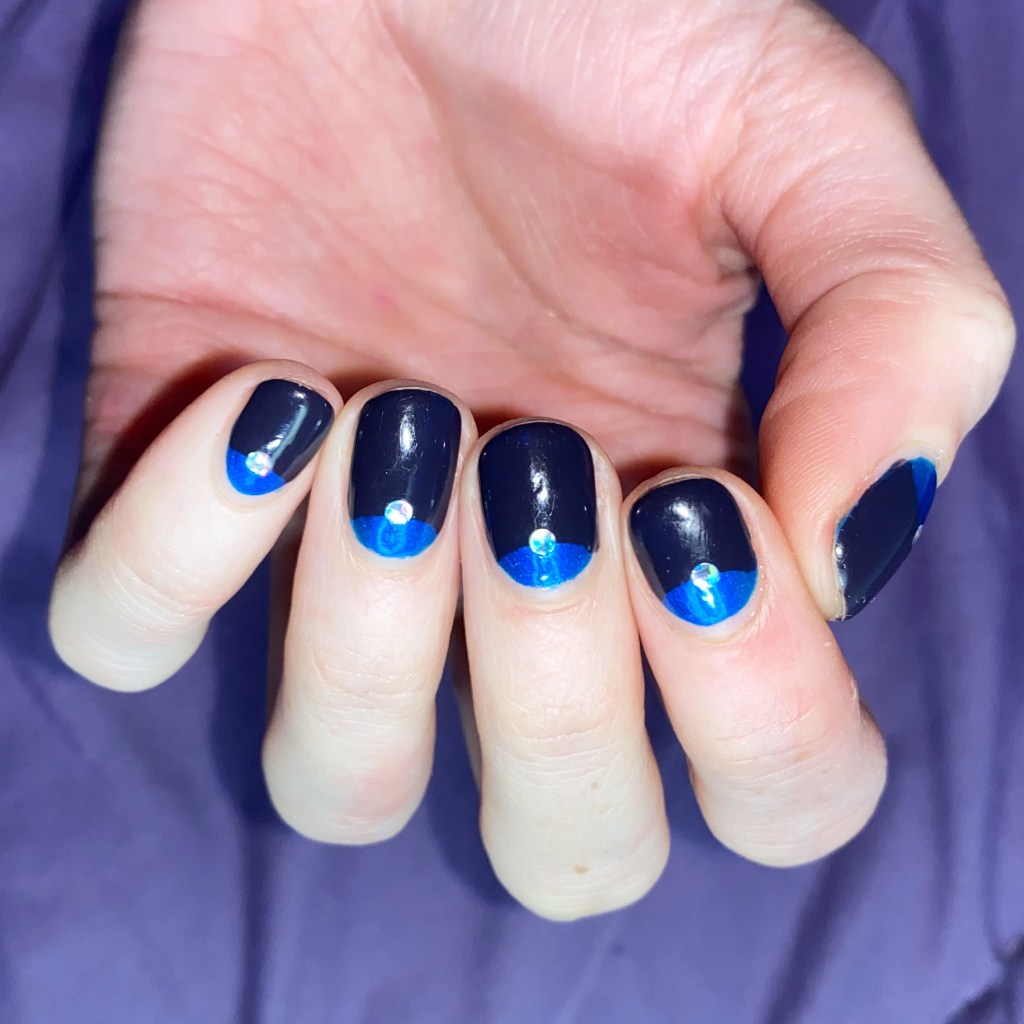
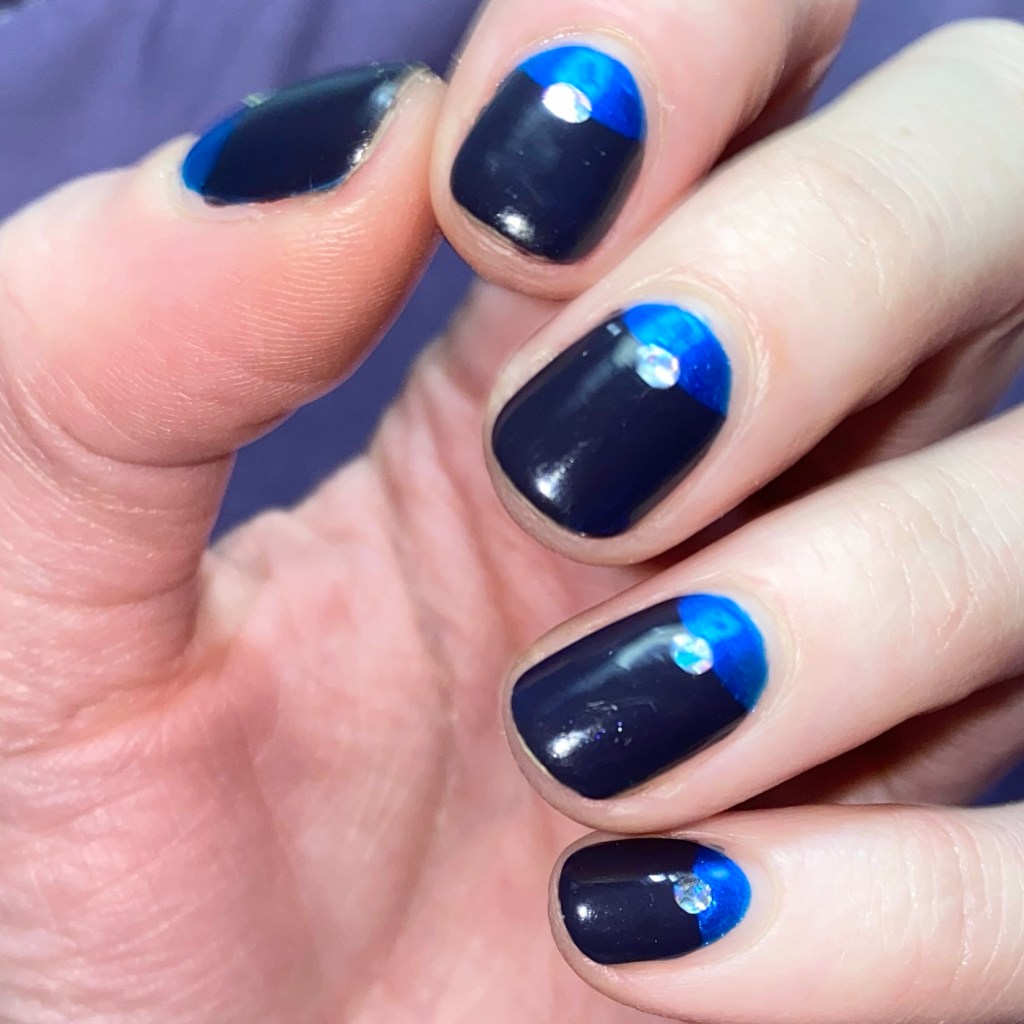
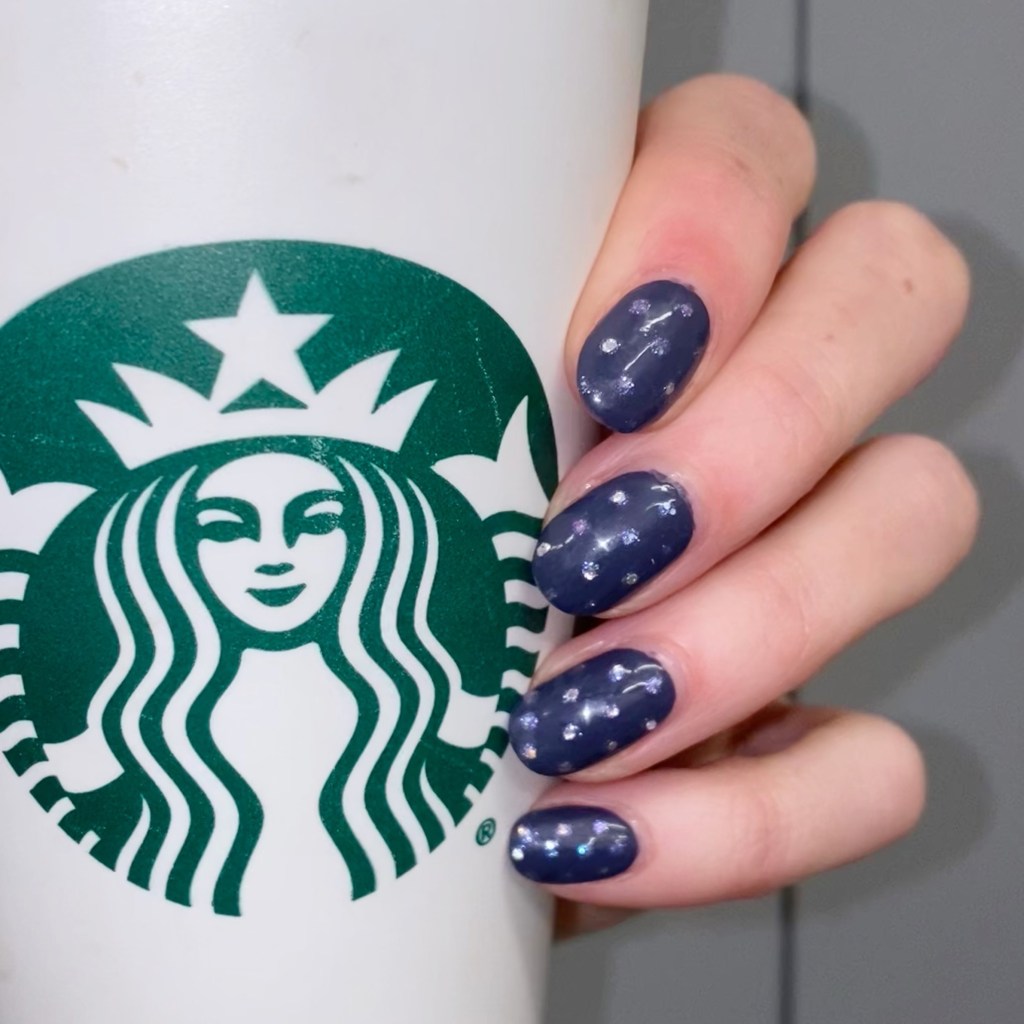
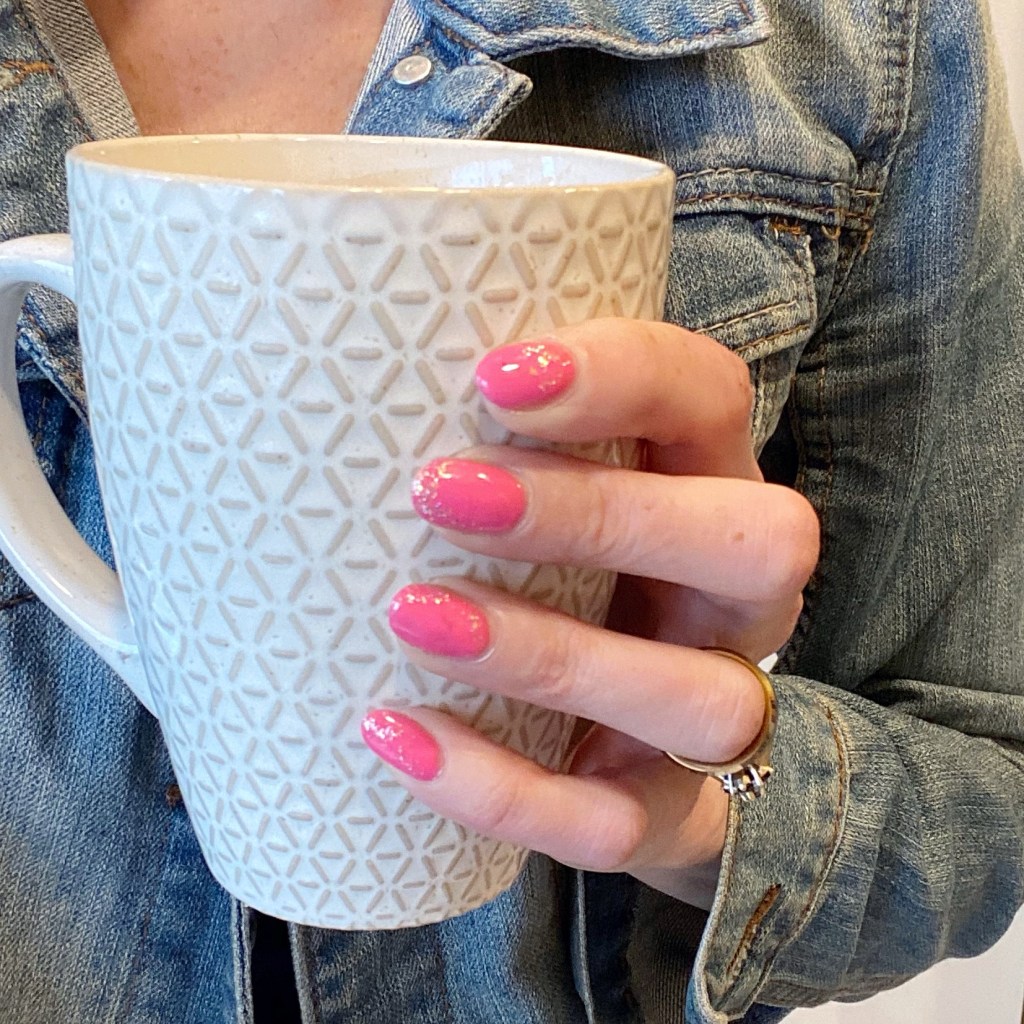
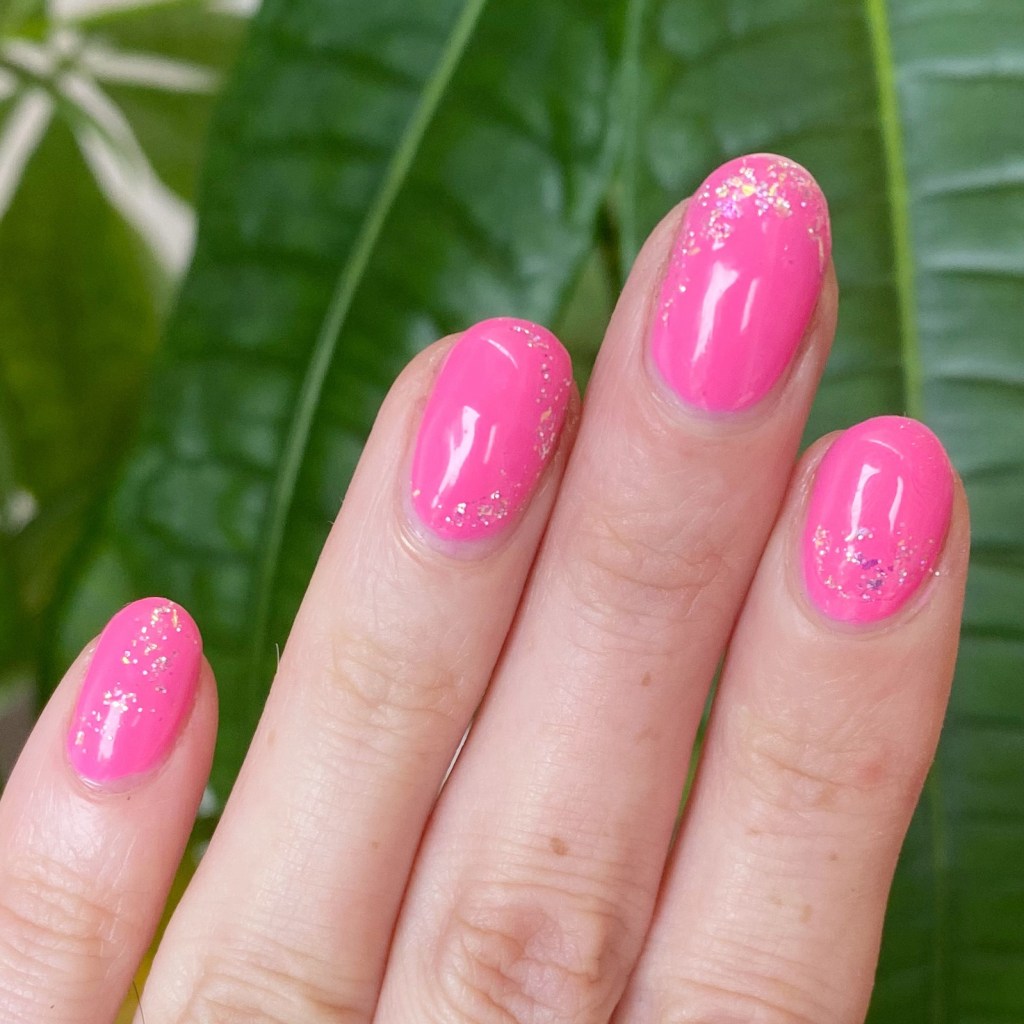
& you know what’s pretty — a flakie glitter placement. Especially when it is as easy as this one was to do!

The polishes I used for this manicure are: 

  • Top Coat: Essie Good To Go Top Coat
  • Base Coat: China Glaze Calcium Gel Fortifier
  • China Glaze Glow With The Flow
  • ‘Ard As Nails Fairy Flakes

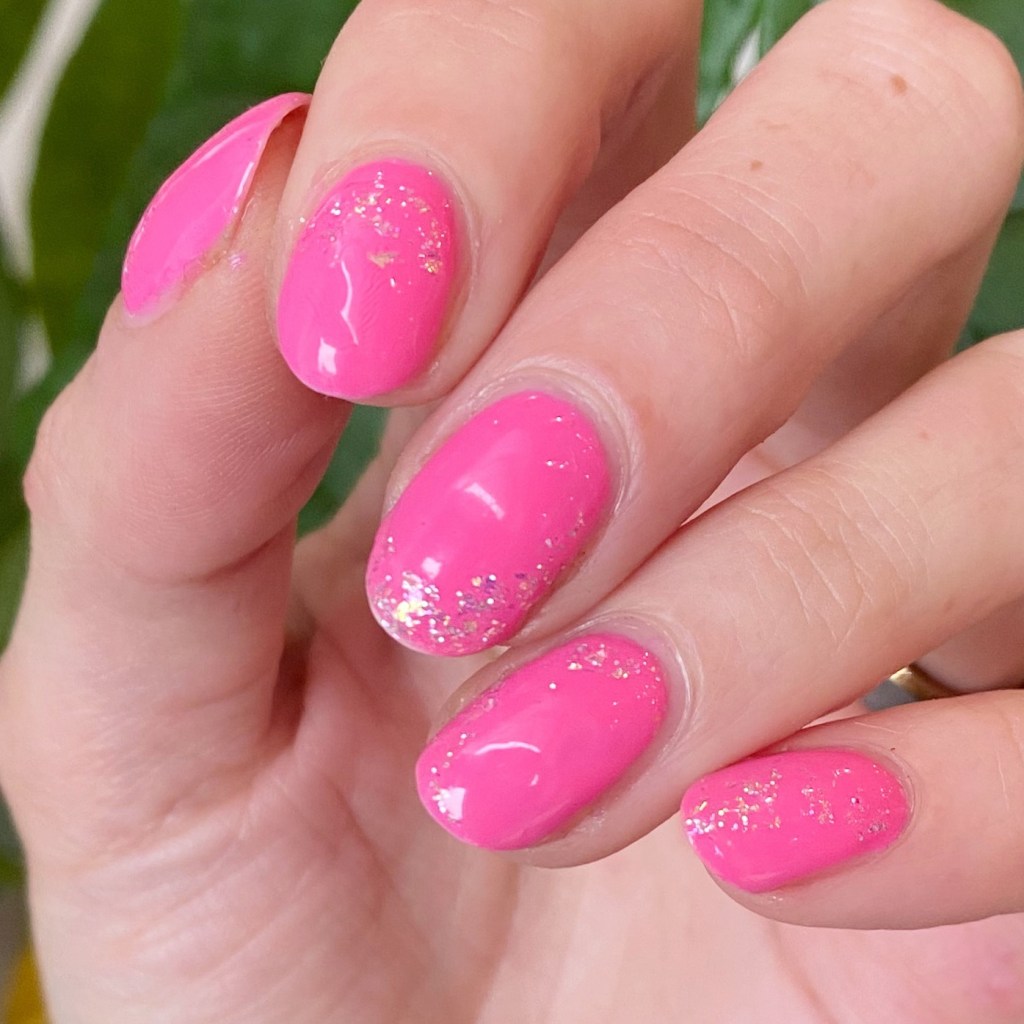
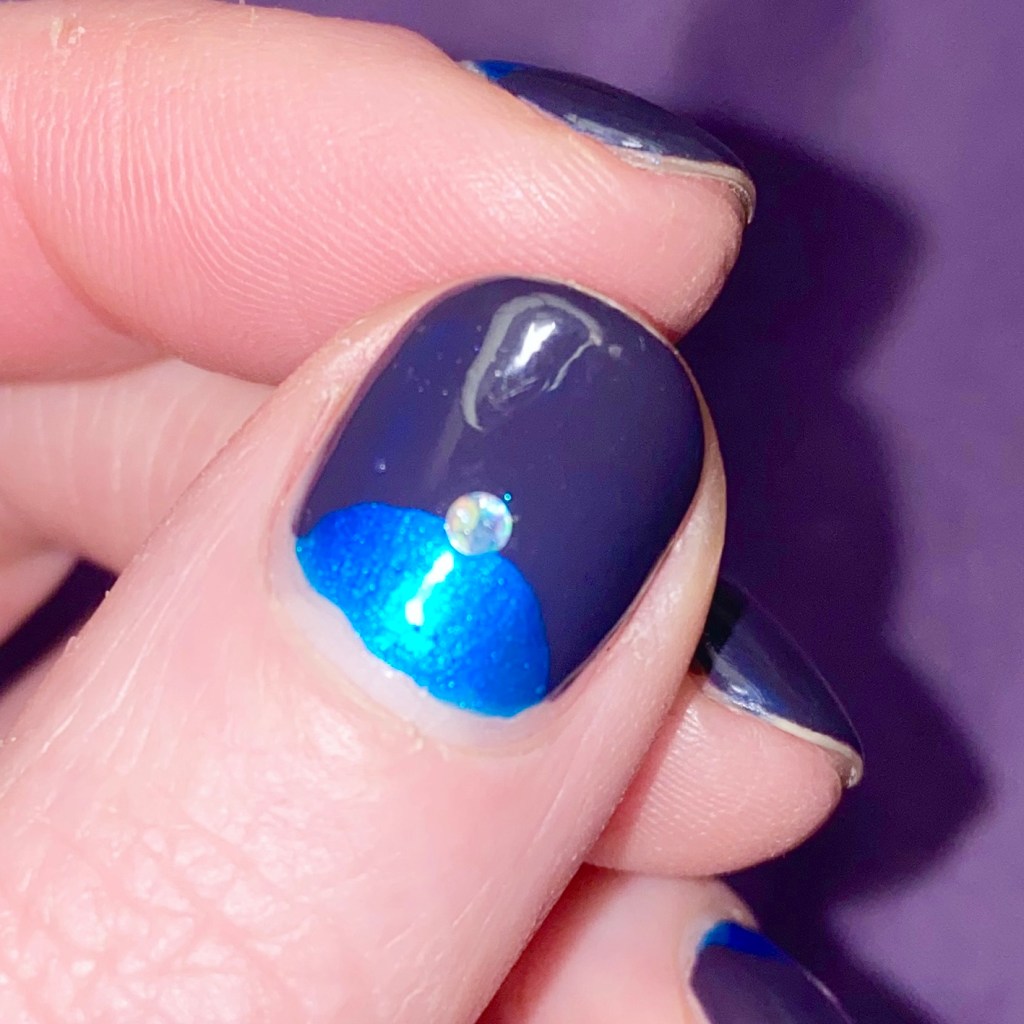
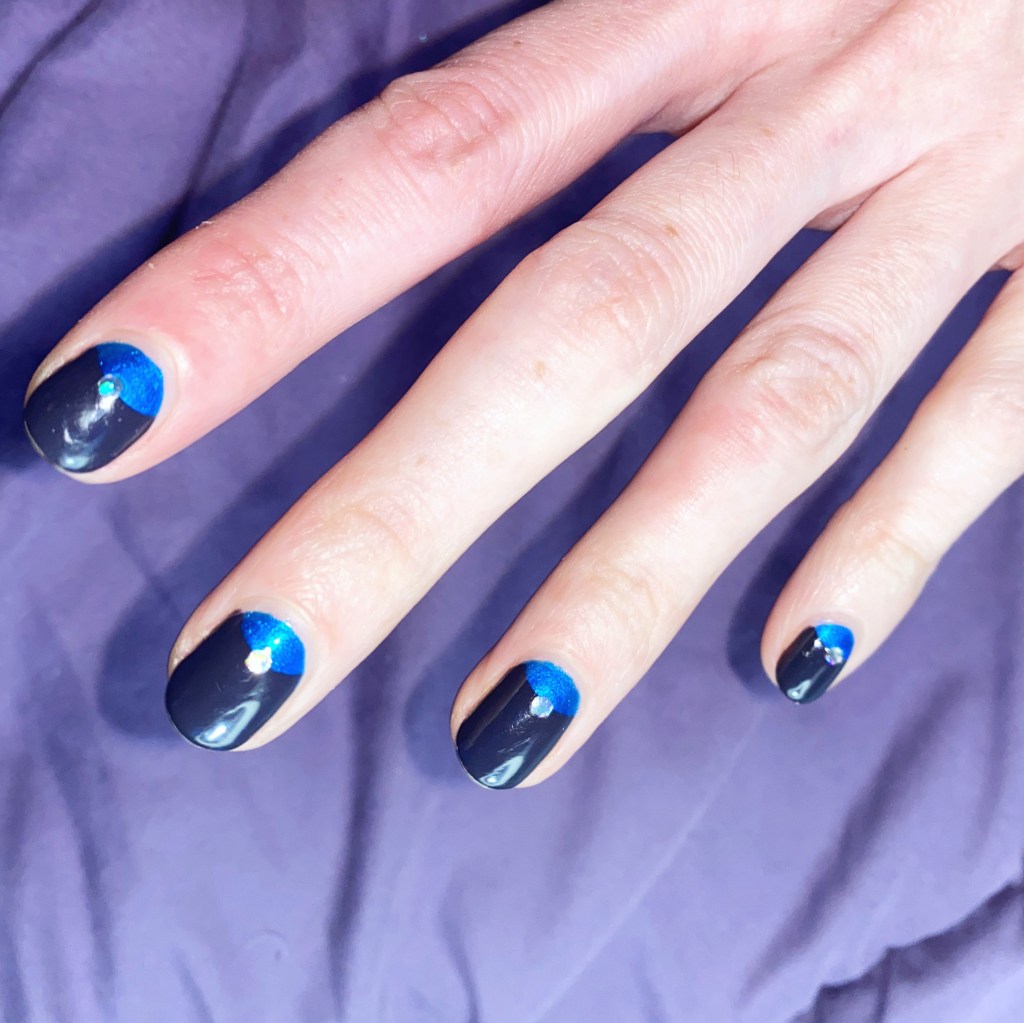
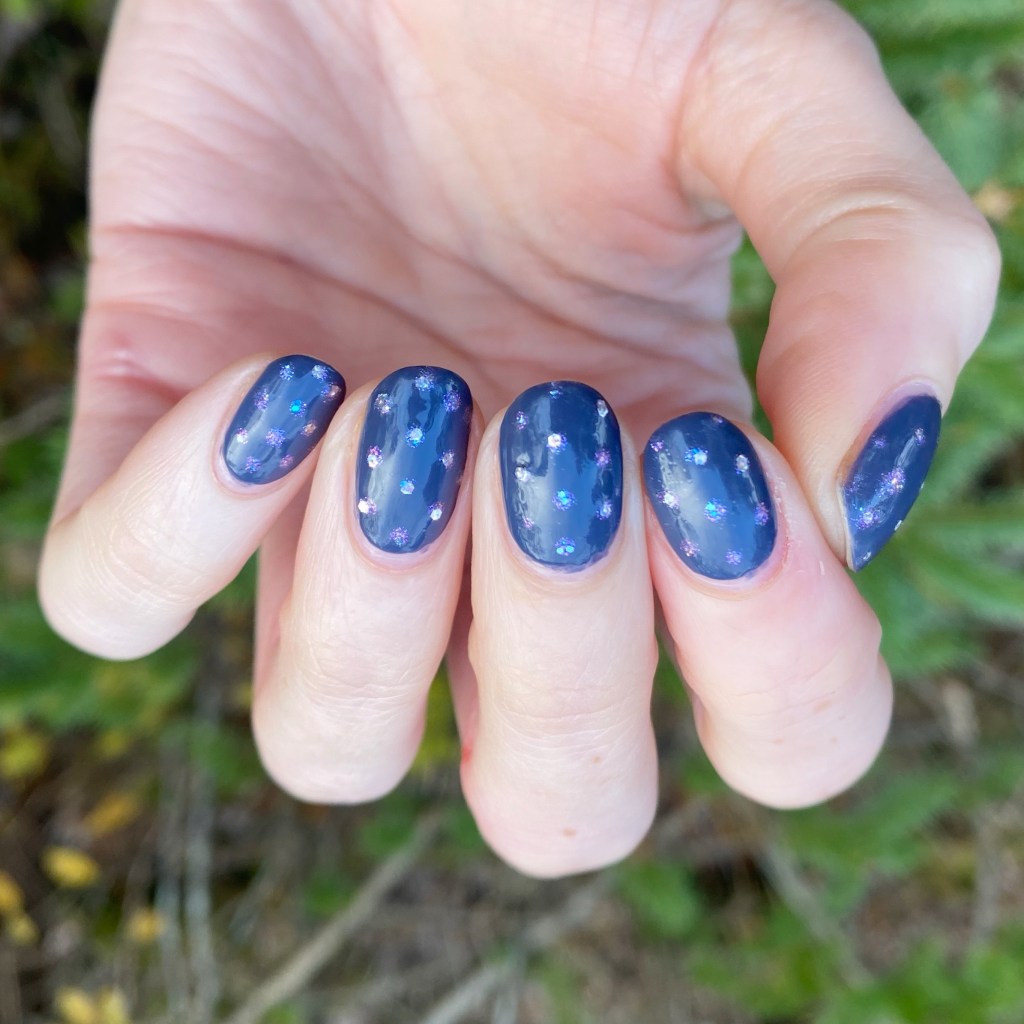
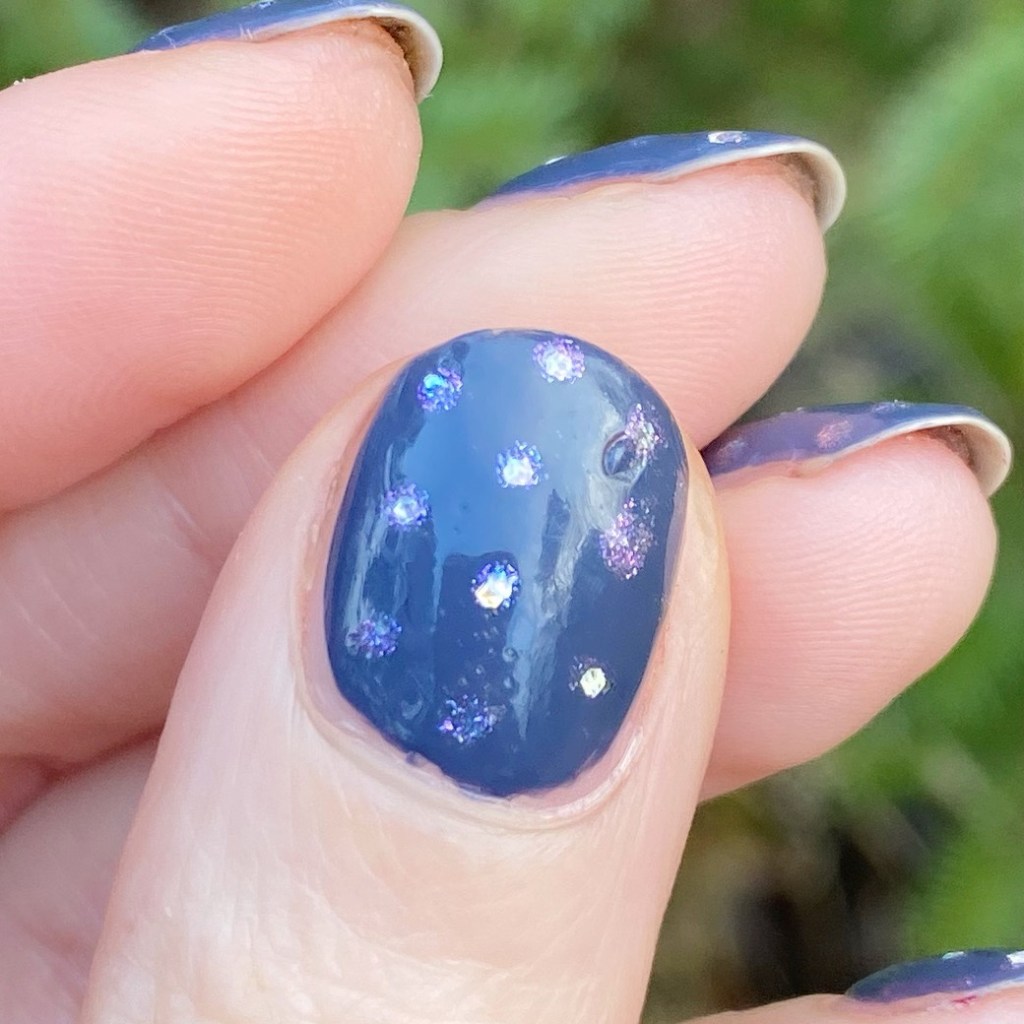
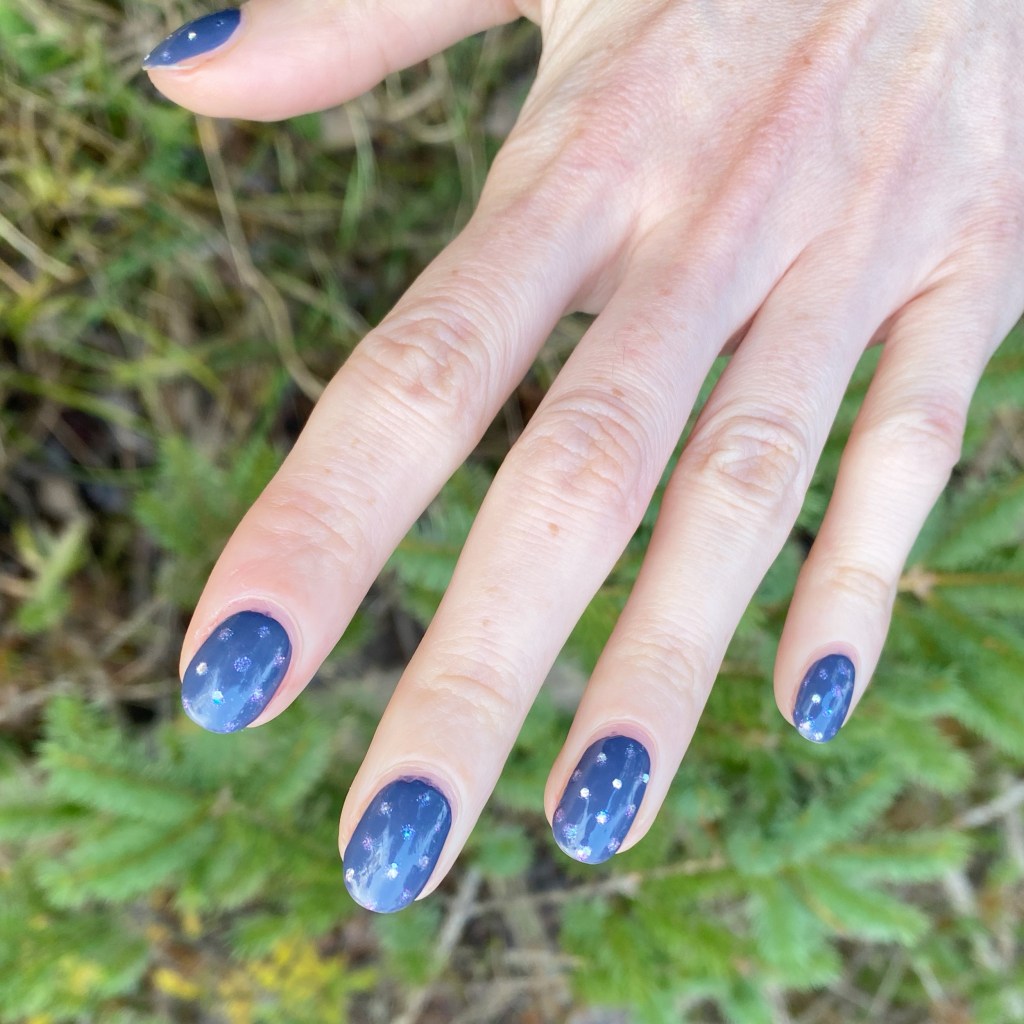
Look at those pretty sparkles! They’re just so pretty, & girlie & sparkly. I love it. This was also a super simple design to do, with no tools needed. & it’s just the right amount of sparkle — especially over a vibrant base like Glow With The Flow.

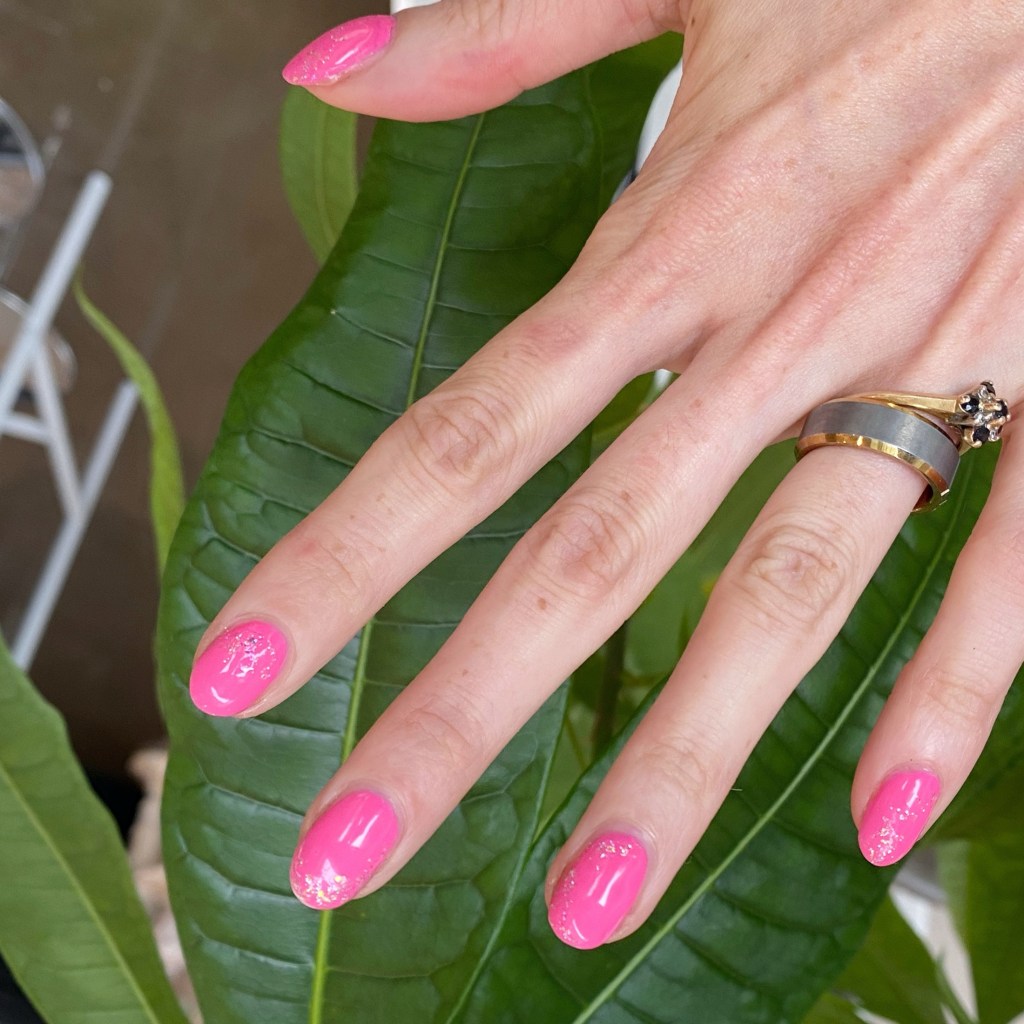
What do you think about my pretty pink glitter placement? Do you like this glittery combination? I’m still on the hunt to add more glitters to my collection for glitter placement looks — especially come to Autumn months. So please let me know your favourites!

Happy Wednesday.

♥︎

Purple Broken Glass Glitter Placement

Good morning lovelies — happy Friday & Happy July! Can you believe June is already over? How crazy is that. Of course, we’re starting off July foggy & lame. So much for Summer days. So I feel like this manicure is definitely matching the vibe.

June saw a lot of things, including quite the break on my ring finger, which is why I didn’t do a lot of nail art. But I did return to an old favourite design during that growing out period, & it made me realize I (still) need to get more shattered glitters for nail art, to add to my stash.

The polishes I used for this manicure are: 

  • Top Coat: Essie Gel Setter Top Coat 
  • Base Coat: China Glaze Calcium Gel Fortifier
  • OPI In The Moon For Love
  • OPI Infrared-y to Glow
  • Small dotting tool (NailStuff.ca Dotting Tool Trio)

This design has been a go to favourite over here for a long, long time. & I’m always happy to return to them, even if I’m not finding nail polish brands making the kind of shattered glitter toppers like they used to. I mean, I could use loose glitters, but have you met me? I’m a clumsy person, & it usually results in a mess. Haha.

What do you think about this design? Are you a fan of glitter placement designs? Which glitter shade is your favourite for a design like this? Let me know all your thoughts down in the comments below!

& happy Friday.

🖤

Valentine’s Day Heart Glitter Placement 🤍💜🩷💙

Hello beauties & happy Tuesday. What a Tuesday it is… it’s getting so chilly here. Ugh. Have I mentioned I’m really, really not a winter person? So why not brighten things up a little bit, & maybe start early on the Valentine’s Day looks!

I picked up a Nails INC gift pack at my local Shoppers Drug Mart on clearance for $10 recently, that I thought would be perfect for Valentine’s Day! While the gift pack was meant for Christmas, the colours just scream V-Day to me — especially this heart glitter topper.

The polishes I used for this manicure are: 

  • Base Coat: NailStuff Essentials Base Coat *
  • Top Coat: Essence Colour Shield Top Coat (I ran out of my NailStuff one & need to make an order!)
  • Nails INC Nutcracker Nouveau
  • Nails INC Heartfelt Holidays
  • Small dotting tool for glitter placement (I use the NailStuff.ca dotting tool from Dotting Tool Trio)
    **PR/gifted 

Firstly, this light pink shade, Nutcracker Nouveau, is absolutely stunning & a great pre-spring shade. I love a good pastel. Secondly, these heart glitters are too freaking cute.

I will be honest, they were not the easiest to fish from the bottle — there are lots in there, but it took me a few tries to pull some out on my brush. That is part of the reason why I went with placing my glitters individually, rather than brushing them up. The other was wanting to make sure I got a different variety of colours on each nails. & I think the end result is adorable.

I’m such a sucker for glitter toppers, especially in unique shapes like these hearts!

What do you think of these easy & adorable Valentine’s Day nails? These are honestly something so quick easy & fun you can rock for the occasion. & you know I just love a festive manicure with a theme!

Let me know what you think of this design! & Enjoy the rest of your day loves.

🖤

Icy Blue Half Moons (With Holo Diamond Accents 💎)

Hello loves & happy Friday!

This has been a very busy week for me, so I apologize for the (still) sporadic posting schedule. Eventually I’ll figure it out, but it might not be until next month. Haha. However, I have some cute nails to share with you!

Today’s look is an easy but striking one. I love a good half moon, as we all know, but I decided to jazz it up with a little holo diamond(ish) accents.

The polishes I used for this manicure are: 

  • Base Coat: NailStuff Essentials Base Coat *
  • Top Coat: Essence Colour Shield Top Coat (I ran out of my NailStuff one & need to make an order!)
  • OPI Y2Slay
  • OPI Suzy & the Arctic Fox
  • OPI I Snow You Love Me
  • Paper Hole Reinforcements
  • Dotting tool (I use the NailStuff.ca dotting tool from Dotting Tool Trio)

**PR/gifted

How freaking beautiful is this combination? I love the little holo Diamond accent over these two very cool blues. Y2Slay was another clearance find at my local Shoppers Drug Mart. I’ve been having very good luck their lately — in fact I just found a NailsInc Holiday pack there for only $10 which has some pretty polishes perfect for Valentine’s Day Nail Art!

What do you think about my half moons? Is this colour combination perfect for these cool January days (& nights!) Let me know everything you think down in the comments below!

Happy Friday

🖤

Glittery Dotticure

Hello loves & happy Monday! I hope everyone had a great weekend.

As you may have noticed in yesterday’s post, I’m back to rocking shorter nails. & Sometimes short nails can feel kind of lame, so I decided to do something fun. I’m all about the glitter right now, so I felt like some sparkle was much needed — & I wanted to create another version of this nail art look I did last New Year’s Eve, but with a darker base this time.

The polishes I used for this manicure are: 

  • Base Coat: NailStuff Essentials Base Coat *
  • Top Coat: Nail Stuff Essentials Quick Dry Top Coat *
  • OPI Less is Norse
  • OPI Infinite Shine Put On Something Ice
  • NailStuff.ca Dotting Tool Trio 

How cute are these little sparkles? I tried my best to get a little sparkle in each dot but it wasn’t always the easiest. Still looks so pretty against the darker blue base shade of Less is Norse.

It’s also giving me Christmas inspo to try this with a white base & green & red glittery polishes!

What do you think of this glittery dotticure on my new shorties? Do you like this look? Let me know all your thoughts in the comments below & let me know what you’re wearing right now!

🖤