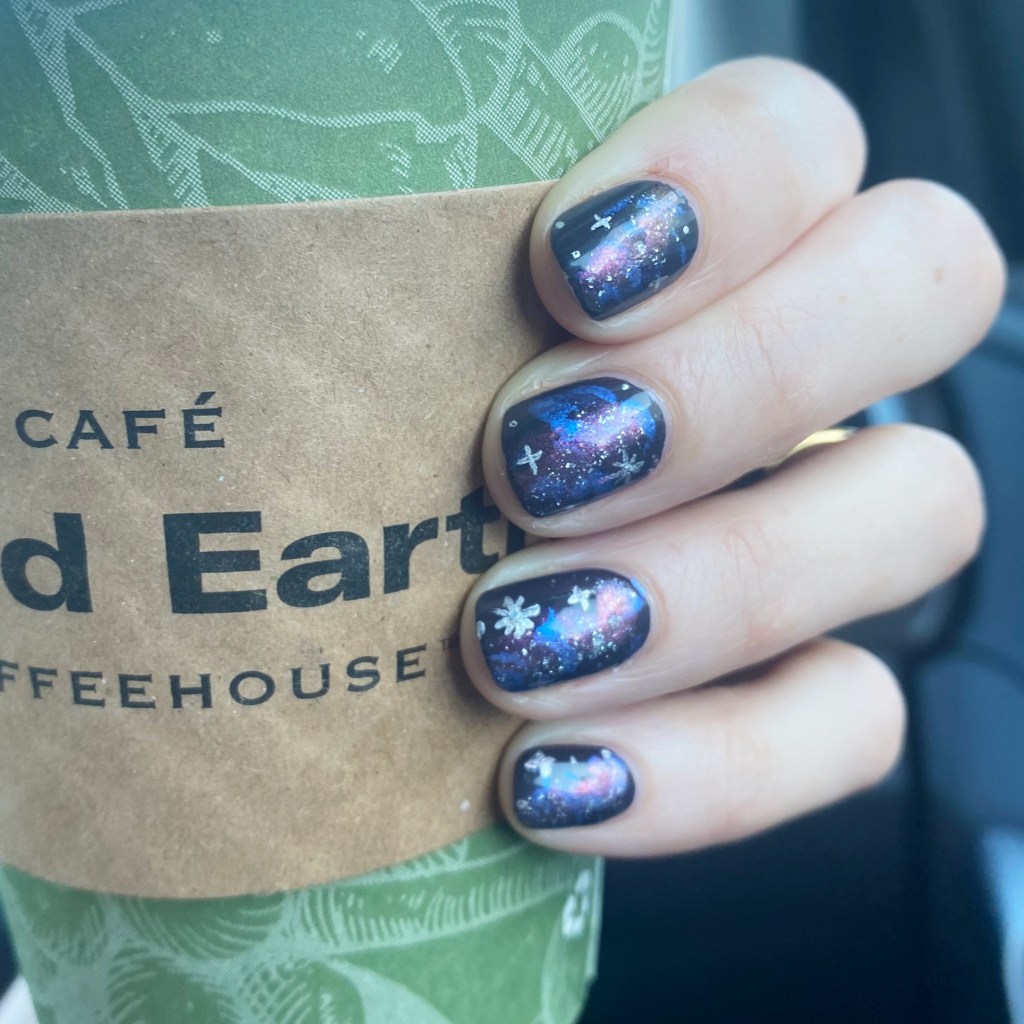
Tiny Galaxies On My Nails 🪐✨

Hello lovelies & happy Monday. & happy Labour Day.

I hope everyone had a good weekend. It was rainy, & wet, & a bit spooky… very Autumn. I even broke out the tights which was exciting (minus the rain). Today is supposed to be a seasonable nice day, & no rain, so I’m going to enjoy it.

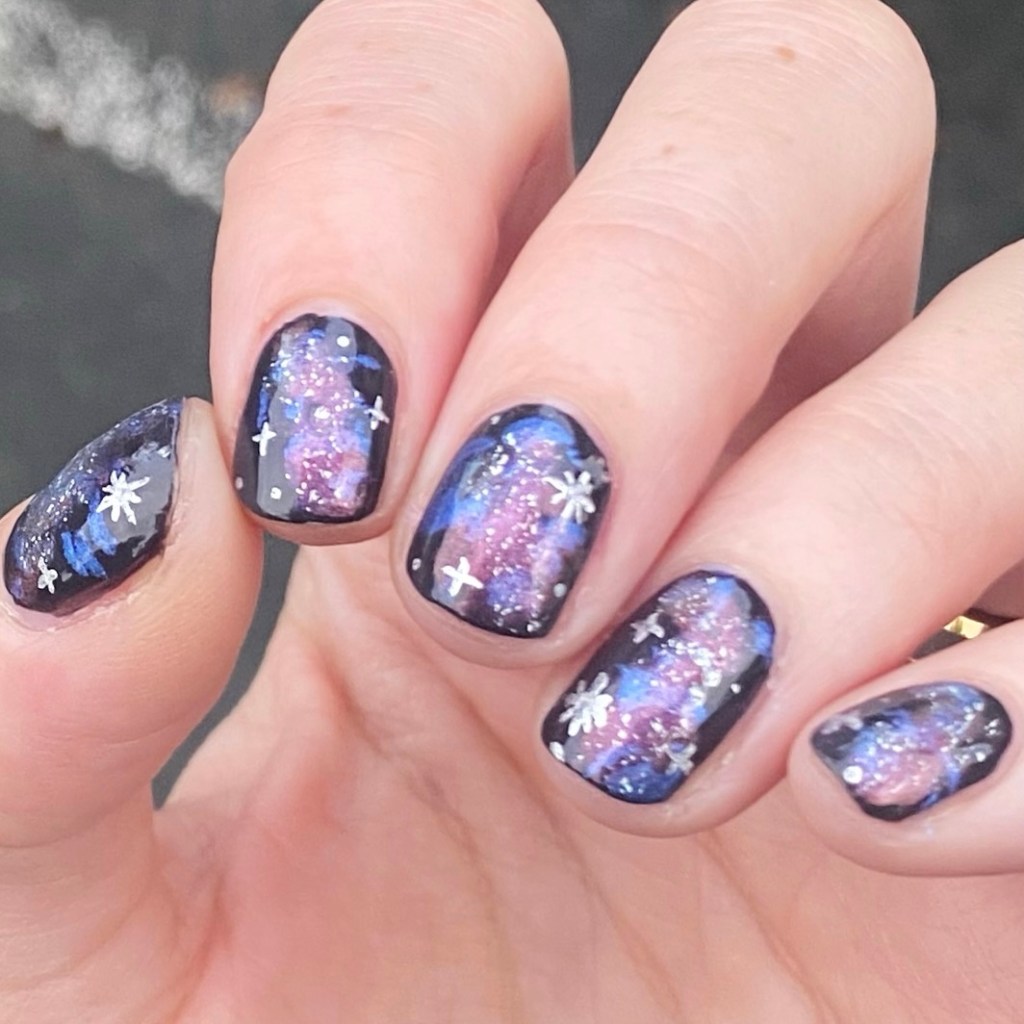
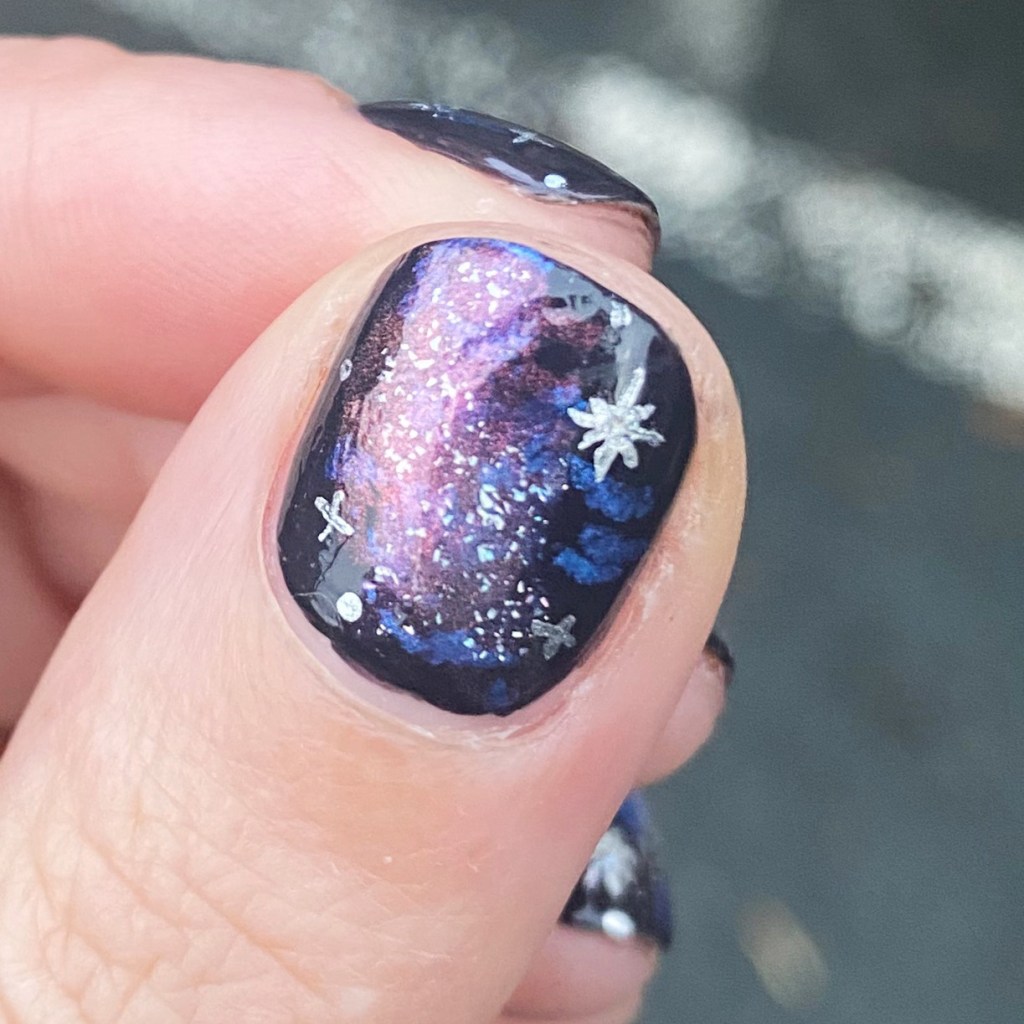
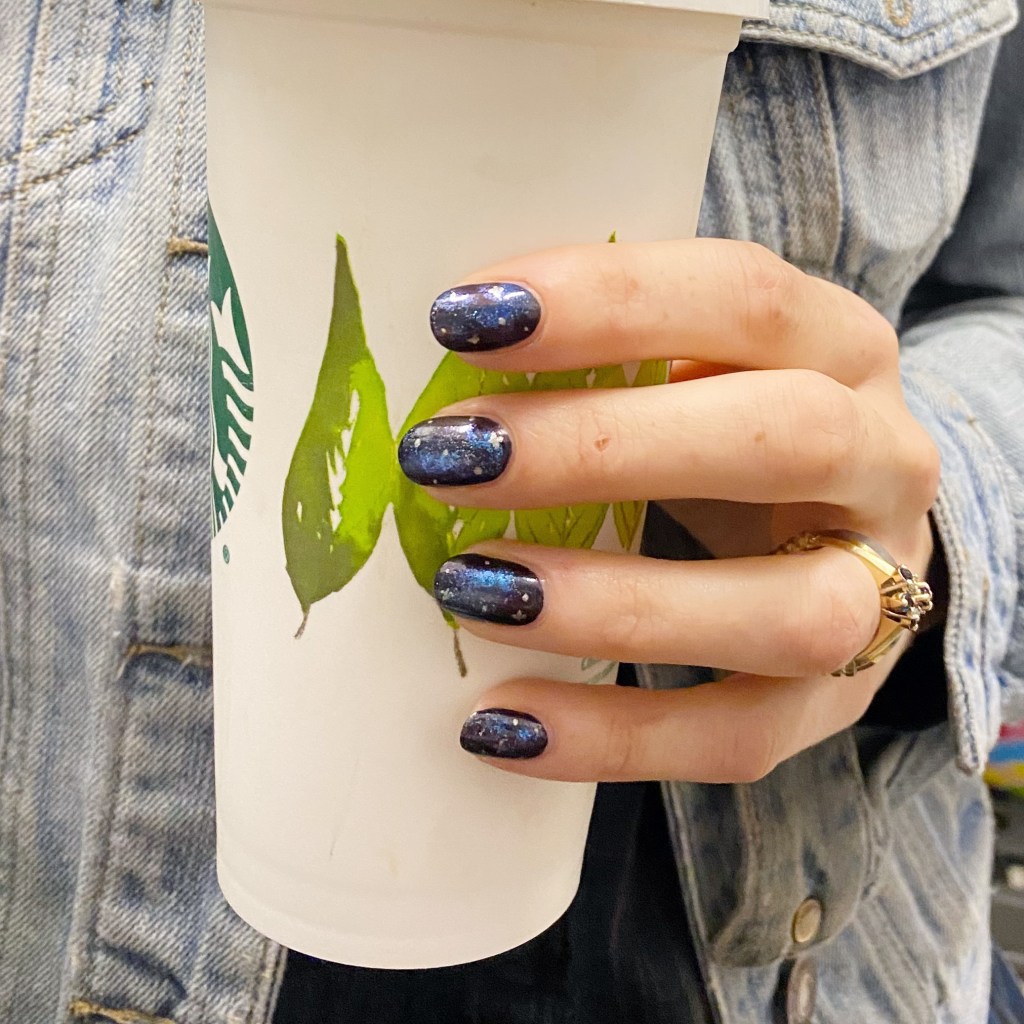
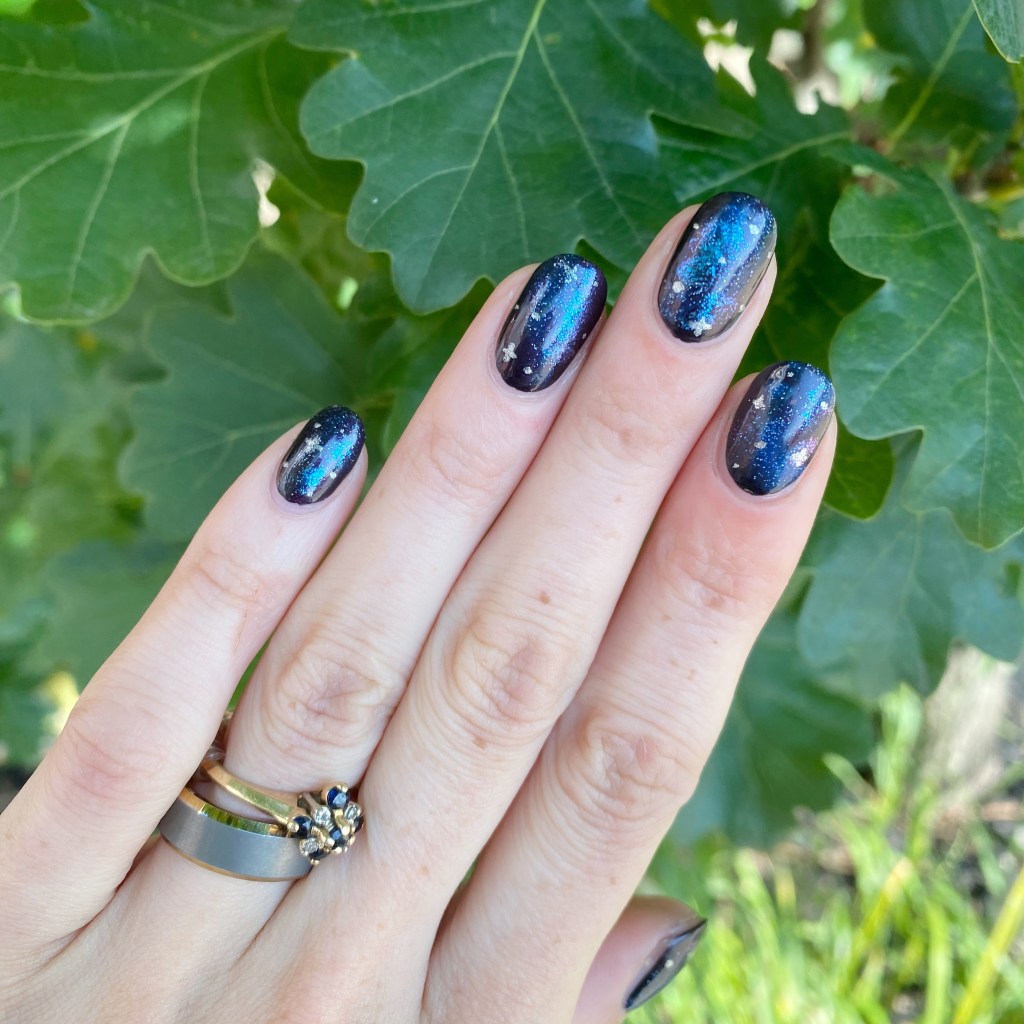
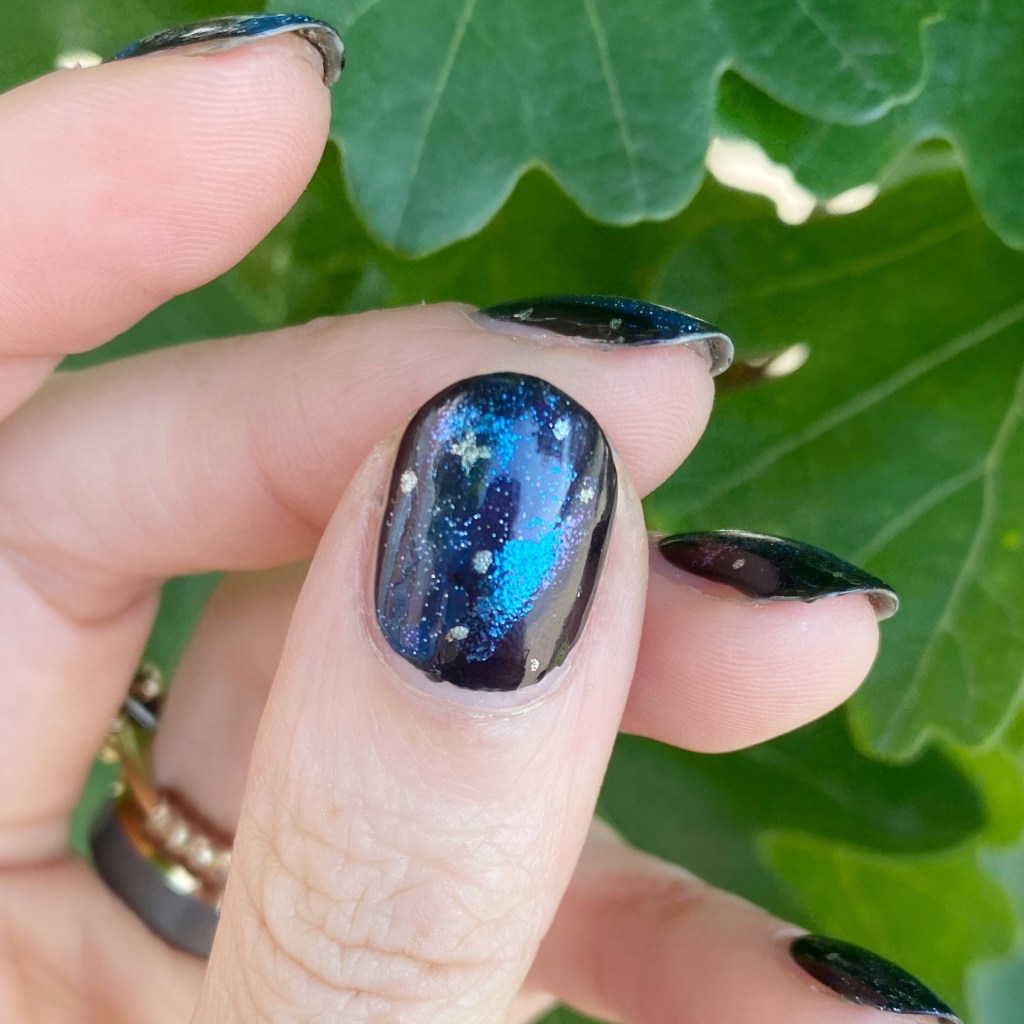
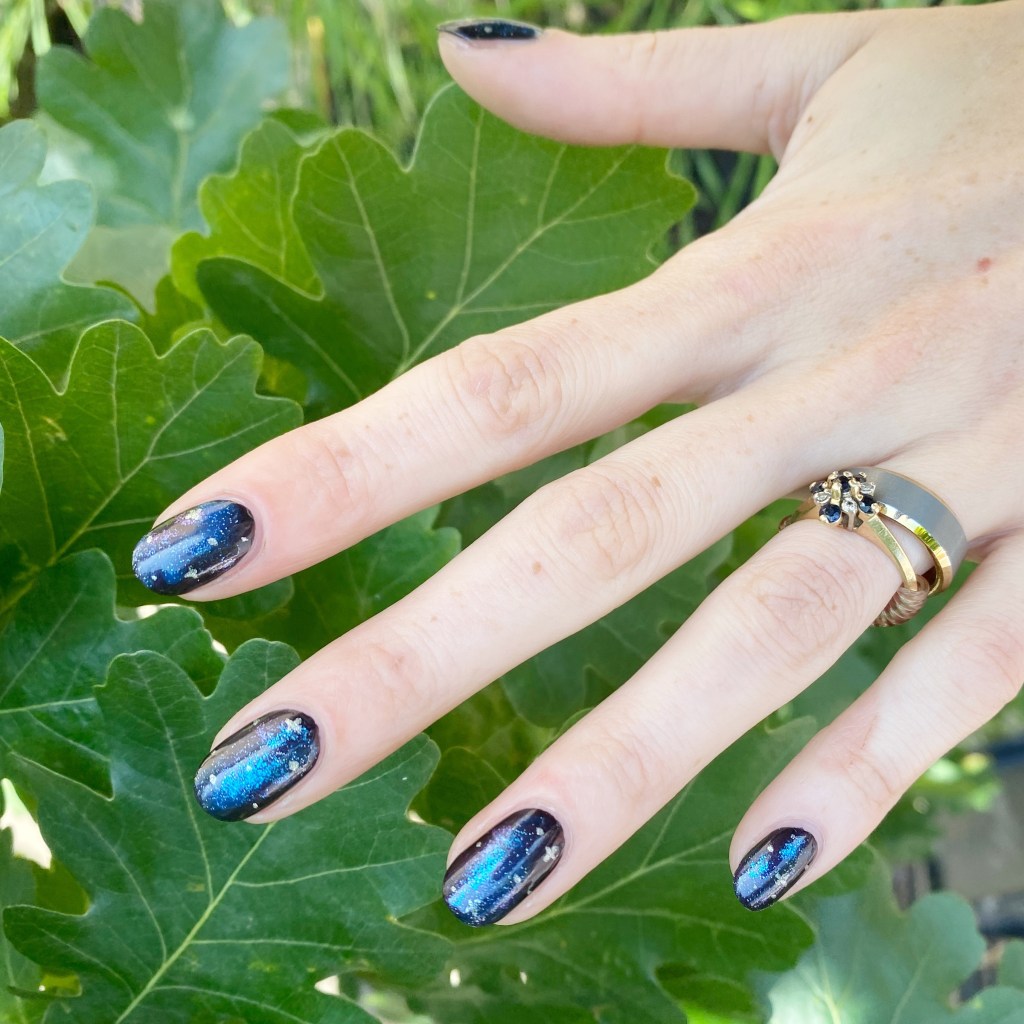
Today though, I have some cute nails to show. How long has it been since I did a galaxy look? A while for sure. These cute little galaxies were super simple to do, & I didn’t even use any sponges or anything. The only tools I had was my detail brush for the stars.
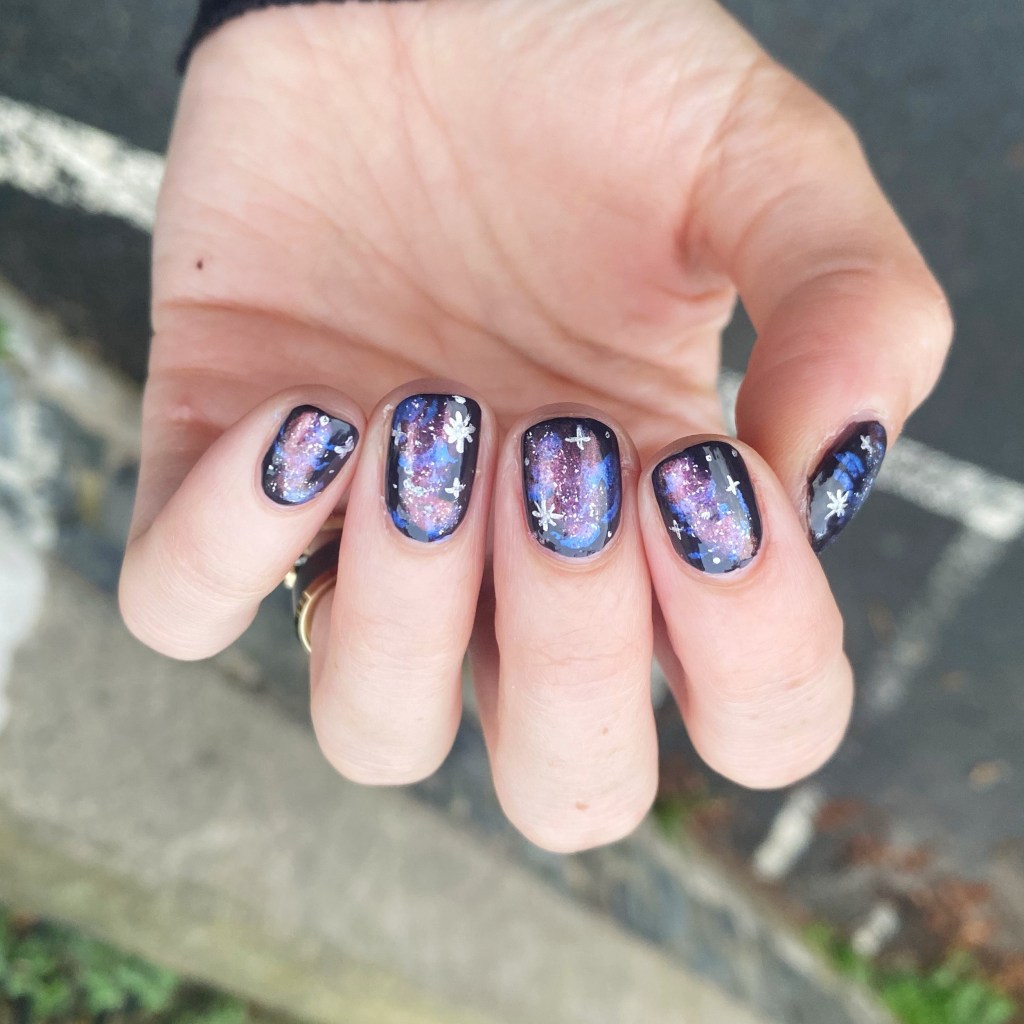
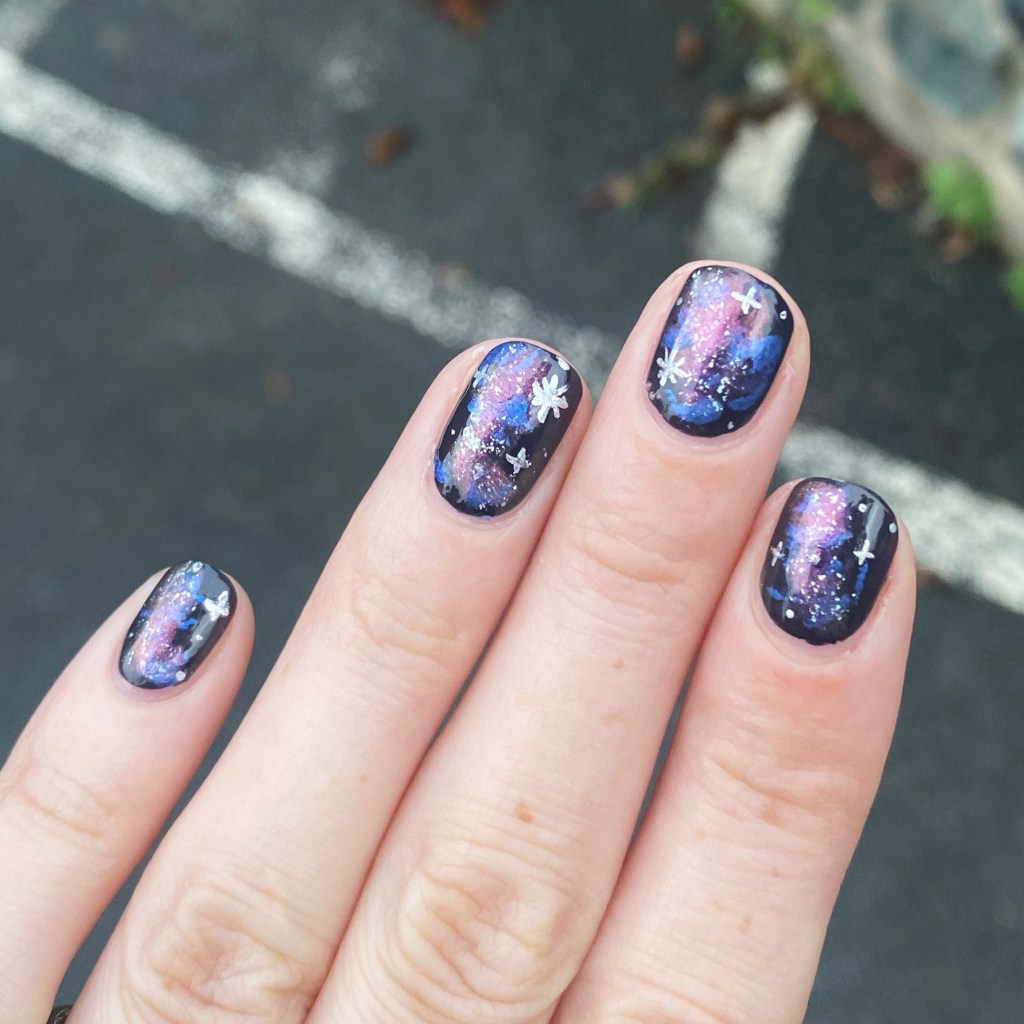
The polishes I used for this manicure are: 

  • Base Coat: Essie Hard To Resist Strengthner
  • Top Coat: Sinful Colors Power Paint Top Coat + Essie Speed Setter
  • Essie Home by 8 *pr
  • ACO by Ardene Unnamed Shimmery Blue
  • Essie Nail Art Studio Lustrous Luxury
  • Essie Cosmic Chrome *pr
  • NailStuff 7mm Liner Brush

Oh I love how these turned out.

I knew I wanted to do a galaxy look, but I decided it at 9:30pm & then realized I didn’t have any sponges so I had to pivot. But I”m actually really happy with the effect it created. It is absolutely giving Space 🌌 & I love love love them.
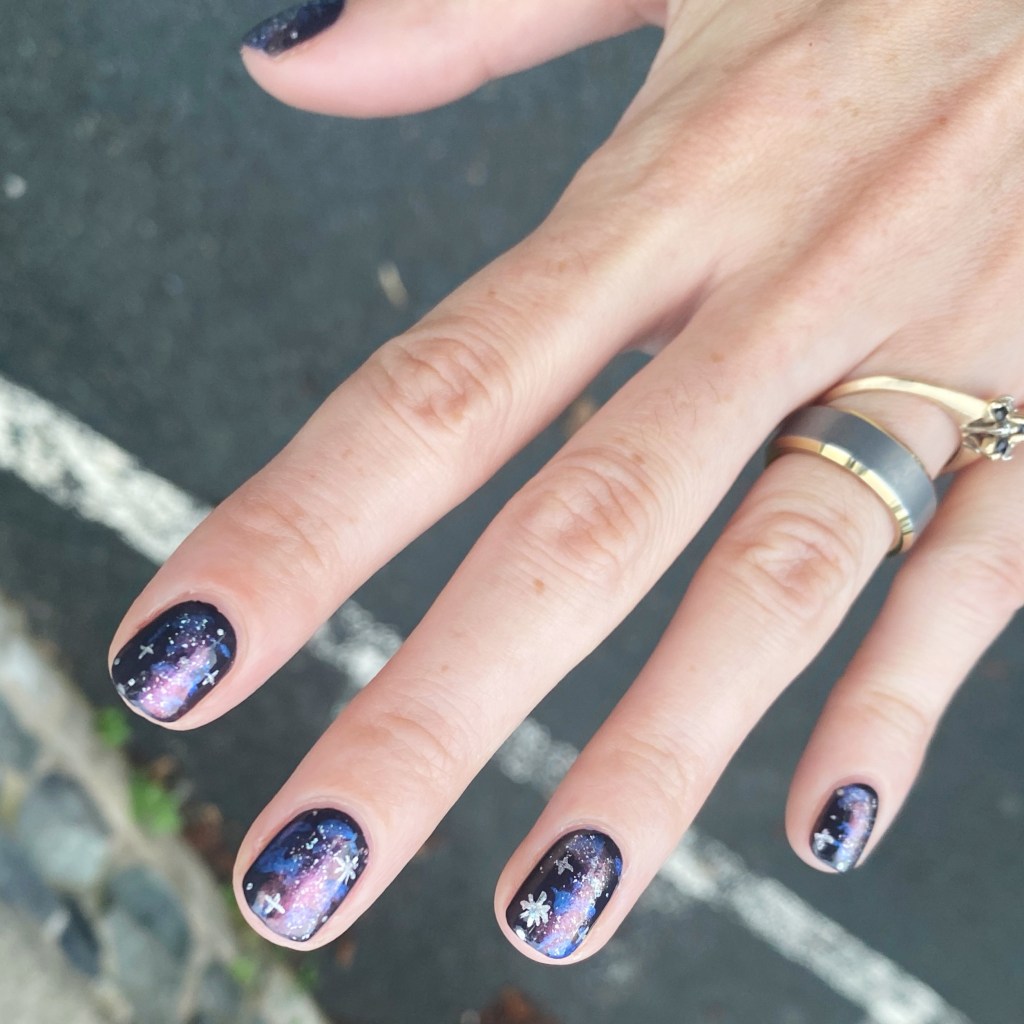
What do you think of my tiny little galaxies? Would you wear this nail art look?

Let me know all your thoughts down in the comments below, & enjoy the beginning of your week!

♥︎

Pastel Marble Sponging

Hello lovelies & happy Wednesday. A brand new week — & this month is certainly speeding quickly by. It’s already the 13th of August, & while that means I’m that much closer to PSL season, the velocity at which this Summer is passing can slow down just a smidge.

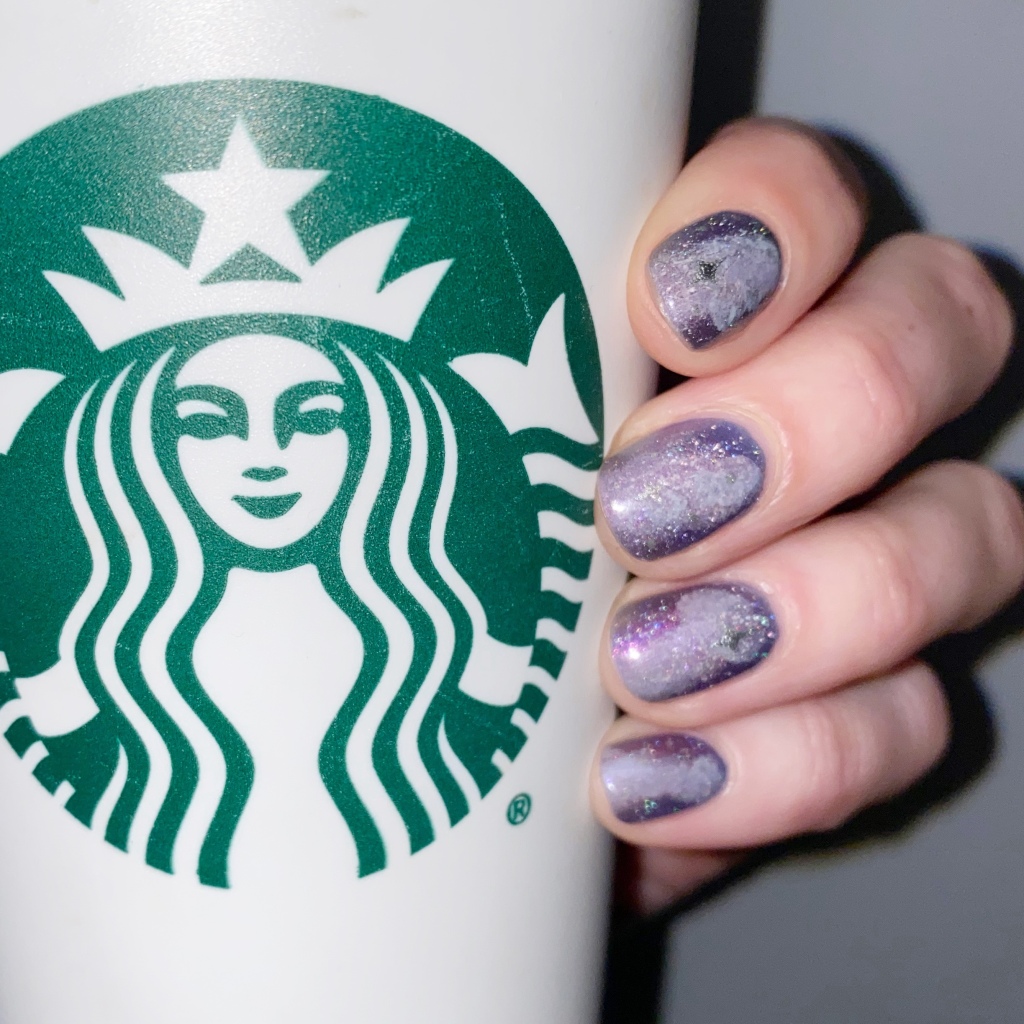
Today’s nail art look was kind of a happy accident. Originally I was going to try to create some pastel galaxies, but it turned into more of a marble effect. Either way, I think they turned out absolutely stunning. & I love them.

The polishes I used for this manicure are: 

  • Top Coat: Essie Good To Go Top Coat
  • Base Coat: China Glaze Calcium Gel Fortifier
  • Sensationail Nailtural Born to Explore
  • Essie Mint Candy Apple
  • Sally Hansen Miracle Gel Beatnik
  • Sally Hansen Miracle Gel Feelin’ Grape
  • Essie Separated Starlight
  • Latex free Make Up Sponge

Such a neat effect. & I added the little bit of sparkle to give it a more dimension effect & I really think it looks cool. Like little geodes on my nails.

What do you think about this marble nail effect? Do you like the combination of colours? Let me know what you think down in the comments below! I’ve been really trying to switch up & do some new nail art looks I haven’t done in a while — so please share any old designs you’d love to see me recreate!

Happy Wednesday

🖤

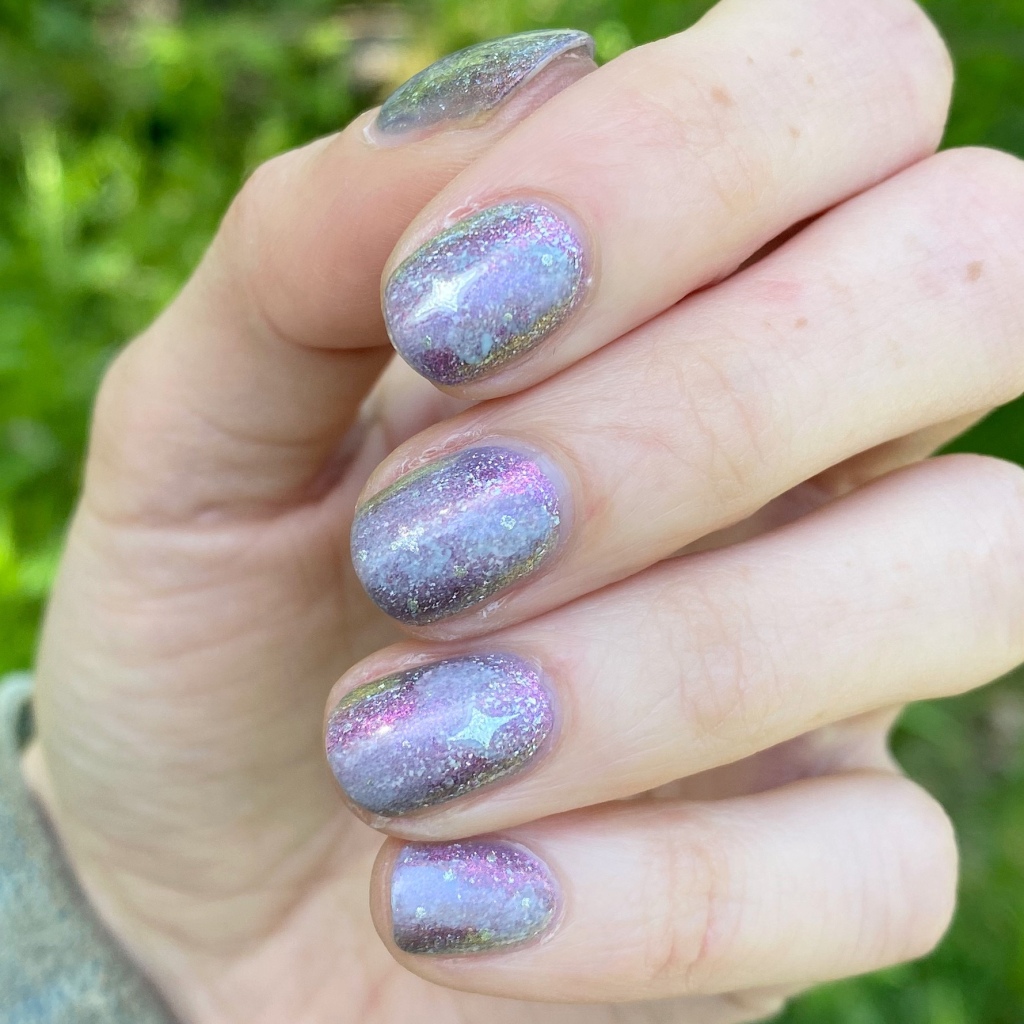
Glittery Pastel Galaxies 🌌✨

Hello loves & happy Tuesday! I hope everyone’s week is starting off well. &, if not, that it improves from here on out.

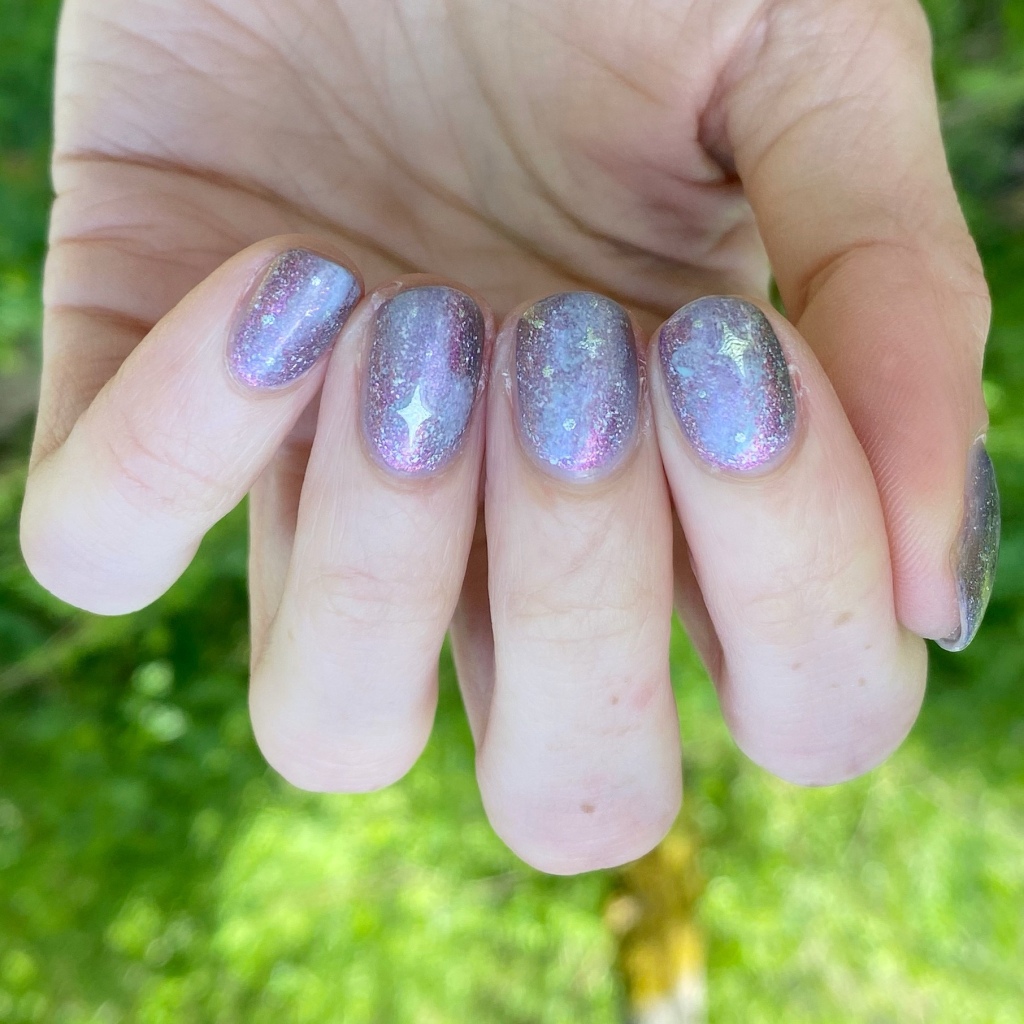
Today I’m sharing some new nail art with you on my baby nails, & it’s a nail art design I don’t think I’ve done for a while: galaxies. 🌌 I was wearing a beautiful glittery nail polish base, & wanted to do something fun overtop. After some time browsing on Pinterest & Instagram for ideas, I decided that a pastel galaxy look was the perfect choice!

The polishes I used for this manicure are: 

  • Base Coat: China Glaze Calcium Gel Fortifer
  • Top Coat: Seche Vive
  • Cadillacquer Lavender Sunset (NailStuff.ca exclusive) *gifted
  • Starrily Space Debris
  • Sally Hansen InstaDri Lavish Lavender
  • Sally Hansen Miracle Gel Crying Out Cloud *gifted
  • Sally Hansen Miracle Gel Buffalo Nickel
  • Icing Stores Nail Art Stickers from 2015 (these are similar)
  • Latex Free Make Up Sponge
  • Nailstuff.ca Mermaid Tail 7mm liner brush *gifted

Okay I’m kind of obsessed with these. The base of Lavender Sunset topped with Space Debris is already very eye catching, & then you add this pastel galaxy over top & it’s perfection!

I’ve had these stickers from Icing forever (like 2015-ish) but I haven’t really used them. But they made creating stars for my galaxy so easy, then I just added a few dots of Buffalo Nickel so complete it! Bam — the easiest galaxy nails you can create.

What do you think of these glittery pastel galaxies? Is this a look that you would rock? Let me know all your thoughts in the comments below & share what design you’d like to see next!

Happy Tuesday 🖤

Instagram Space Collab 🌌

Hello lovelies & happy Friday! I hope everyone’s having the most lovely week. I had yesterday off, & the kids had their first day of school, so it was a nice relaxing day where I caught up on laundry & blog stuff.

Today, though, I’m excited to share a new design I did as part of the monthly Instagram collaboration hosted by @Essiyall & @Petitenaillover. I’ve been having so much fun with these large collabs, & this month’s theme was SPACE. It’s been a bit since I did a galaxy design, so I was pumped.

The polishes I used for this manicure are: 

  • Base Coat: Sally Hansen Miracle Gel Colour Grip Primer Base Coat 
  • Top Coat: Quo by ORLY Color Amp’d Top Coat
  • China Glaze Glamcore
  • Icing Mermaids Have More Fun
  • Ardene La Luna
  • Sally Hansen Buffalo Nickel
  • NailStuff.ca 4mm Micro Detail Brush

For this look, I went with the classic sponge effect for my design. I used two shades I thought suited each other well, especially the shifty base of Mermaids Have More Fun. Then I added the little details of the stars, for that fun galaxy effect. I really like how everything came together.

Don’t forget to hop on over to Instagram, & check out all the amazing beautiful designs that my fellow nail artists did. Everyone interpretation for this theme, & I absolutely love everyone’s manicures!

Have a lovely day!

♥︎

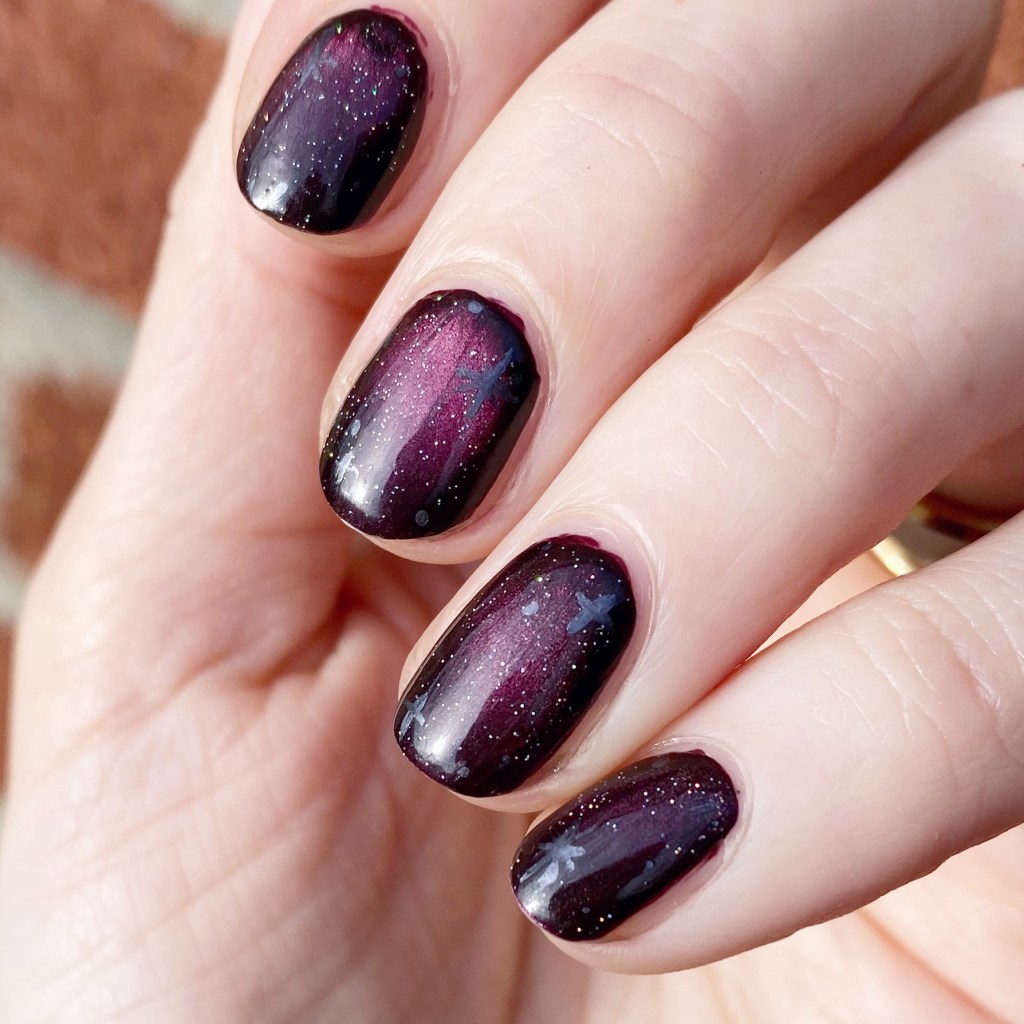
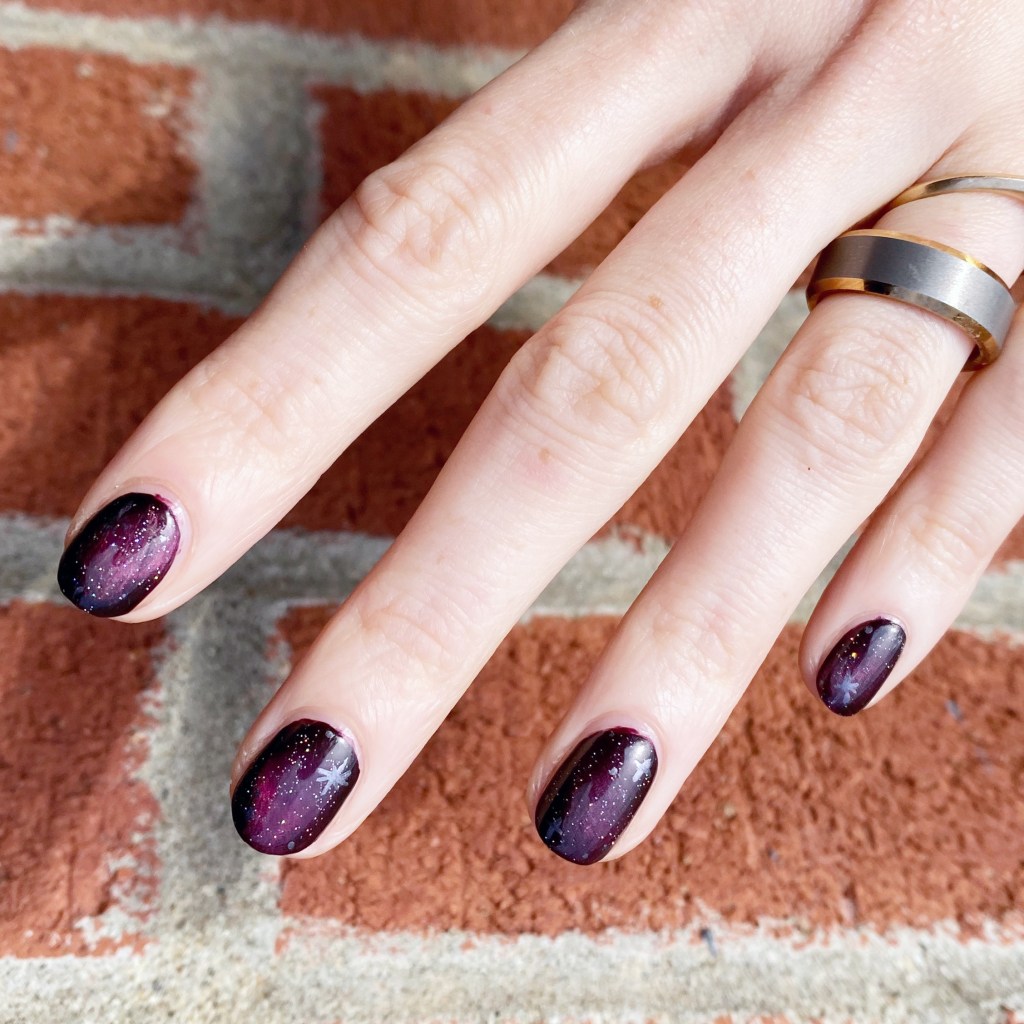
Easy Galaxy Nails ( With Magnetic Polish)

Hello beauties & happy Thursday! We’re almost one full week into 2023 & its kind go crazy to think about. & it actually looks like Winter today, which I think is the first real snowfall we’ve had so far that wasn’t more than a dusting. Now if only it could have come like 2 weeks ago before Christmas, haha.

Today we’ve got our second nail art look of the year.

I’ve recently been going through my stash, looking at old shades I haven’t touched in a while. We all know magnetic polishes are having a serious moment right now on Instagram, so I decided to pull out one of my old school magnetic shades from China Glaze to test it out with the Starrily magnetic I got from NailStuff.ca & see what kind of effect it would have on it. & from that, I realized how perfectly it would be as a base for a galaxy design! So here are my super easy magnetic galaxy nails!

The polishes I used for this manicure are: 

  • Base Coat: Essie Hard To Resist Glow & Shine 
  • Top Coat: Seche Vite Fast Dry Top Coat
  • China Glaze Magnetix Instant Chemsitry
  • China Glaze Fairy Dust
  • China Glaze Public Relations
  • Starrily Magnet (C/o: Nailstuff.ca)
  • NailStuff.ca Mermaid Tail Nail Brush Trio (11mm Liner Brush)

Originally my plan was just to wear the shade on its own, as I loved the effect the magnet had on it. But then I was like “I wonder what Fairy Dust would look over this?” From there I realized how much it looked like a galaxy, so I added a few dark silver stars.

Instant galaxy.

These are definitely the easiest galaxy nails I’ve ever created, & definitely the least time consuming. This is definitely making me want to go through all the magnetic polishes I’ve collected over the years & test them out with the Starrily magnet to see what it creates. The old magnets that came with these shades usually created patterns, but I’m much more fond of this like way.

What do you think about this easy galaxy design? Is this a look you could see yourself recreating? Let me know if this look is one making you want to dig out your own magnetic polishes, or any other thoughts you have down in the comments below!