Simple Spring Daisies 🌿🌼

Hello lovelies & happy Tuesday!

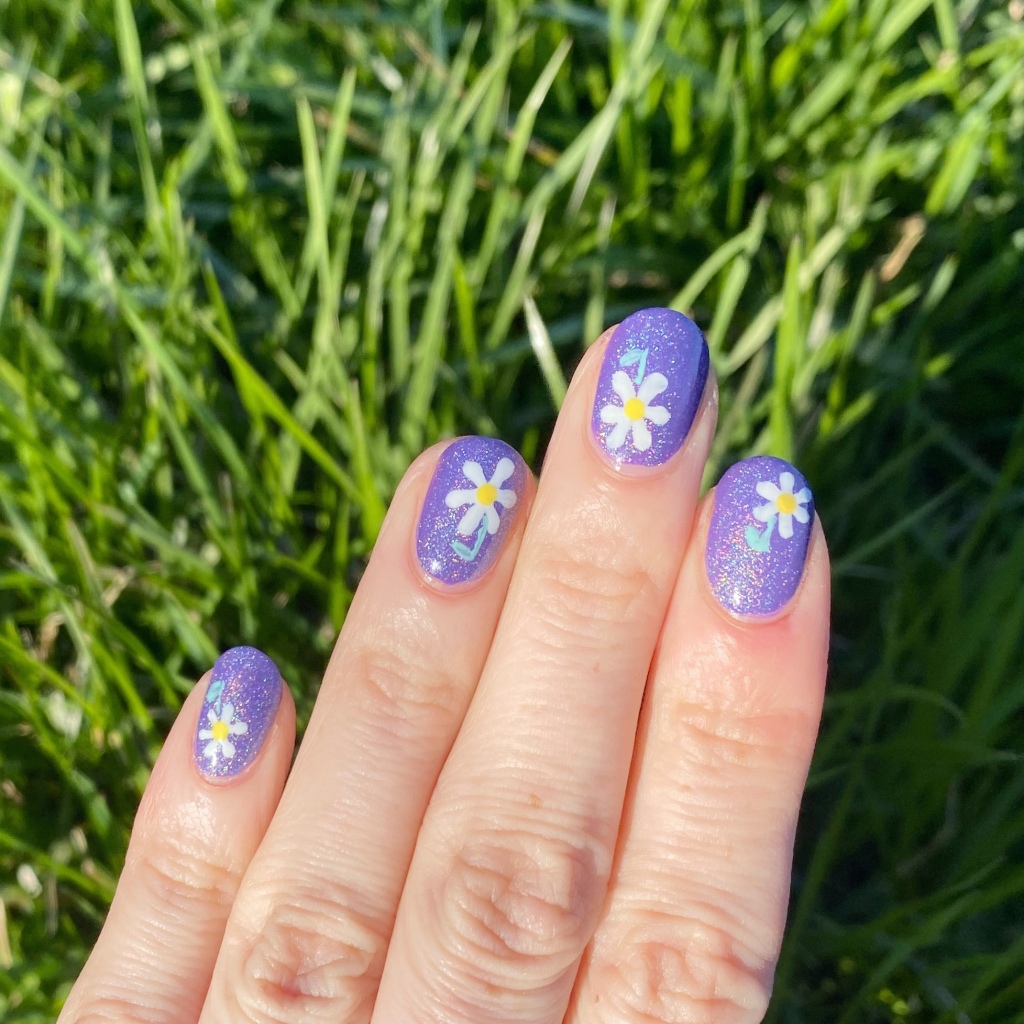
After a rainy, cold start to the week — today is supposed to feel a lot more Spring like today which has me super excited! So naturally, let’s share some Spring-y nail art to match the weather. & you can never go wrong with some pretty daisies! All the flowers in my garden are starting to pop up, so I’m all about the floral right now.

The polishes I used for this manicure are: 

  • Base Coat: China Glaze Calcium Gel Fortifer
  • Top Coat: Seche Vive
  • Essie Expressie IRL
  • Franken Holographic Top Coat
  • OPI I Cannoli Wear OPI
  • OPI Nature Strong Make My Daisy
  • OPI Nature Strong Cactus What You Preach
  • NailStuff.ca 7mm Liner Brush Mermaid Tail Brush
  • NailStuff.ca Dotting Tool Trio

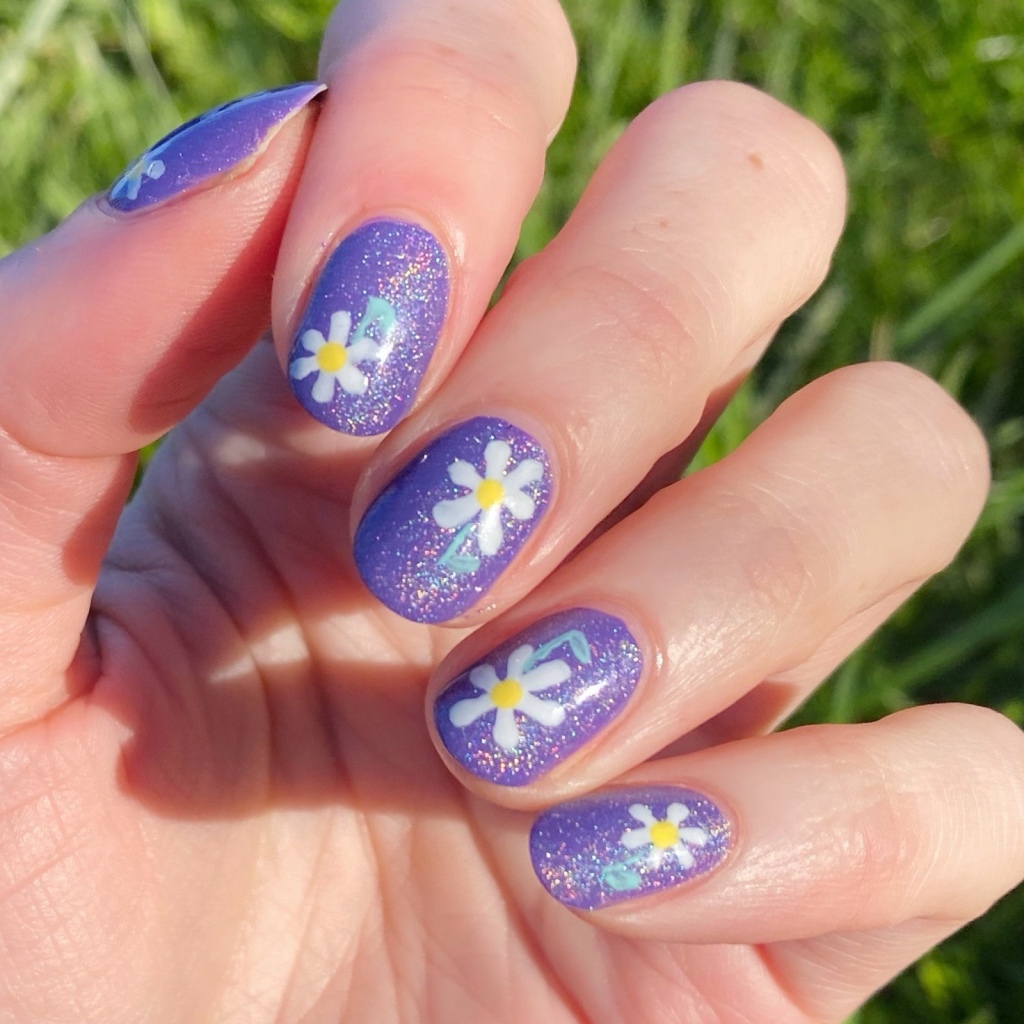
I love doing daisies, but sometimes I feel like they don’t turn out very cute. But this design turned out super cute, & I’m so happy about it! Daisies are my all time favourite flower, so I love recreating them on my nails.

Daisies also just scream Spring, & I’m ready for it. I’m ready for daisies in my garden, & those warmer days.

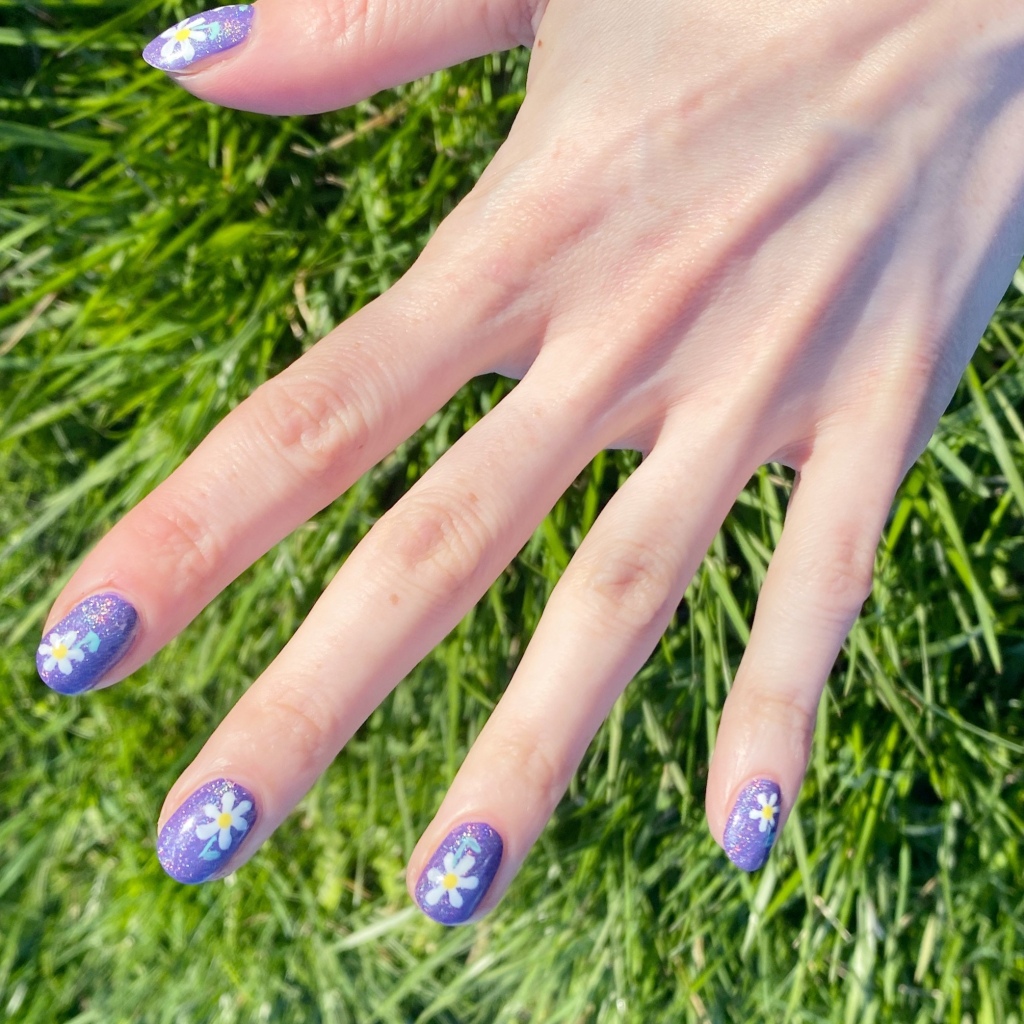
What do you think about my daisy nails? Are you a fan of this design? Let me know all your thoughts down in the comments below, & let me know what your favourite Spring flower is!

♥︎

GLAM NAILS CHALLENGE OCTOBER—Graveyard 🪦💀

Hello loves & happy Wednesday! I hope everyone is having a fantastic day. I’m excited, because I have another fun prompt for Glam Nails Challenge October — & I’m super happy with how my latest manicure turned out!

The next prompt is graveyard, & I decided to do something a little bit different than what I usually do. I hope you think it’s as fun & spooky as I do.

The polishes I used for this manicure are: 

  • Base Coat: Sally Hansen Miracle Gel Colour Grip Primer Base Coat 
  • Top Coat: Seche Vive
  • Sephora Formula X Hypnotize
  • Fraken Grey
  • Sally Hansen InstaDri Ghouls Night Out
  • NailStuff.ca Mermaid Tail Brush Trio (11mm liner brush)

I had this idea in my head about turning my whole hand into the graveyard by painting a gravestone on each nail, & I think I successfully captured my vision. It makes me really happy that I managed to bring my idea to life!

What do you think about this design? Does the prompt pop right out to you? Can you believe we only have one more prompt left to go? Crazy!

Have a lovely Wednesday. ♥︎

Floral Shorties

Hello loves & happy Wednesday!

& Happy last day of May!

I swear, you’re in the right place. I just decided to switch things up a bit. I’ve been humming & hawing on Instagram for a while about going to square nails, & I finally decided to take the plunge–just in time for a new month! I know, crazy. But it’s been about 2 years since the last time I rocked some squares, so I thought why not try them out again for a while.

They’re pretty short right now, but that’s okay. I’m excited to grow them out to a nice square shape. & in the meantime, we’ll rock some fun shortie nail art. Naturally, the first manicure I did on my new short squares is floral! I mean, were you expecting anything else.

The polishes I used for this manicure are: 

  • Base Coat: Londontown KUR Nail Hardener & Base Coat 
  • Top Coat: Seche Vive Fast Dry Top
  • Franken white shade (I mixed a few whites I own with a little black to grey it)
  • OPI Is That A Spear in Your Pocket
  • OPI Living On The Bula-vard 
  • OPI Two Timing The Zones 
  • OPI Do You Have This Color in Stock-holm? 
  • OPI Getting Nadi on My Honeymoon 
  • OPI Koala Berry
  • OPI Who You CallinBossy?
  • OPI Gelato On My Mind
  • OPI Check Out The Old Geysirs
  • NailStuff.ca Dotting Tool Trio
  • NailStuff.ca 4mm Micro Detail Brush

Obviously, I had to use my garden for a backdrop as it’s been thriving with these Summer-y temperatures. This floral is pretty simple — although it used a ton of different polishes — but I think it turned out beautiful & I’m really in love with the final look. I went with a white base, even though I’ve been iffy on wearing white lately thanks to the VPR drama & Scandoval, but I think this white base looks so pretty with the floral over top.

What do you think about this floral look & my return to square nails? This was the nail shape I had when I first started my blog, so I always return to it, even though I do love round nails as well. Sometimes, you just need a change, you know?

Let me know what you think & what nail art you’d like to see next! I have one manicure coming on Friday that I did earlier in the month for a nail art collab, but I’m excited to start Summer off with these new square shorties.


Happy Wednesday ♥︎

Glam Nails Challenge October — Jack-O-Lantern 🎃

Good morning lovelies and happy Monday! I

’m so excited for today’s look for Glam Nails Challenge October! We’re getting closer to Halloween, & I’m enjoying these Halloween looks more & more. The next prompt for this month is Jack-o-Lantern, & I’m so happy with how this design turned out!

The polishes I used for this manicure are: 

  • Base Coat: Essie First Base
  • Top Coat: Seche Vive
  • Cadillaquer Enchanted Woodland (NailStuff.ca exclusive!)
  • China Glaze Spice To Meet You
  • Sally Hansen Complete Salon Manicure Fiery Island
  • Essence Wake Up
  • Starrily Vantablack
  • Sinful Colors Essen-chills Smoky Palo Santo
  • China Glaze The Snuggle Is Real
  • Sally Hansen I ❤️ Nail Art pen in green
  • NailStuff.ca 7mm detail brush

So originally I had planned on using some pumpkin Nail art stickers for this design. Unfortunately the stickers did not want to stick to my nails so I ended up going with a design. & honestly, I definitely think that was the right decision — it looks so much cuter!

I was actually nervous to attempt these little pumpkin faces, because smaller details can sometimes be hit or miss for me, but oh man I just love how they turned out! The little pumpkin faces are actually the cutest!

I also was super excited to wear Enchanted Woodland again! I haven’t worn it for over a year, & it’s a perfect base for this Halloween design. Gives off the right amount of spookiness.

What do you think of this Halloween design — do you like these not so spooky jack-o-lanterns? 🎃 would you wear this design? Let me know down in the comments below!

My First Franken Polish! 


You know something I’ve always wanted to try? Mixing my own Franken polish. For those who don’t know what a Franken polish is, it is a polish you create by mixing two or more polishes together to create a custom shade. I’ve seen a few people I follow on Instagram do this, & I thought it would be fun to try for myself. Plus I had an empty bottle lying around, so how could I not?!


For this Franken I grabbed a few random colours. Originally I thought I’d mix a greyed out white with purple undertones, but the initial mix came out much more lavender so I decided to go with it.

For this Franken I used:

  • Sally Hansen Hard As Nails Hard To Get
  • ORLY Plum Sugar
  • OPI Who You Callin’ Bossy?
  • ORLY Oh Cabana Boy
  • ACO by Ardene Bonne Nuit
  • Nicole By OPI Make A Comet-ment

I can’t really give you an exact “recipe” because I just kept mixing until the colour that came out as perfect (to me). But I love it. It actually goes on perfectly in two coats & just needs a little top coat to smooth out that glitter. I only wish you could see the holo a bit better! It’s definitely subtle, but at least in person you could tell it was there–these pictures don’t show it off at all. Once the sun returns I’ll be interested to see how it comes out under sunny skies. 


What do you think of this colour? Have you ever mixed your own Franken colour before? I can see this being very addictive! As though I don’t already own enough polish haha. Also trying to figure out what to name this Franken colour, so if you have any suggestions let me know!