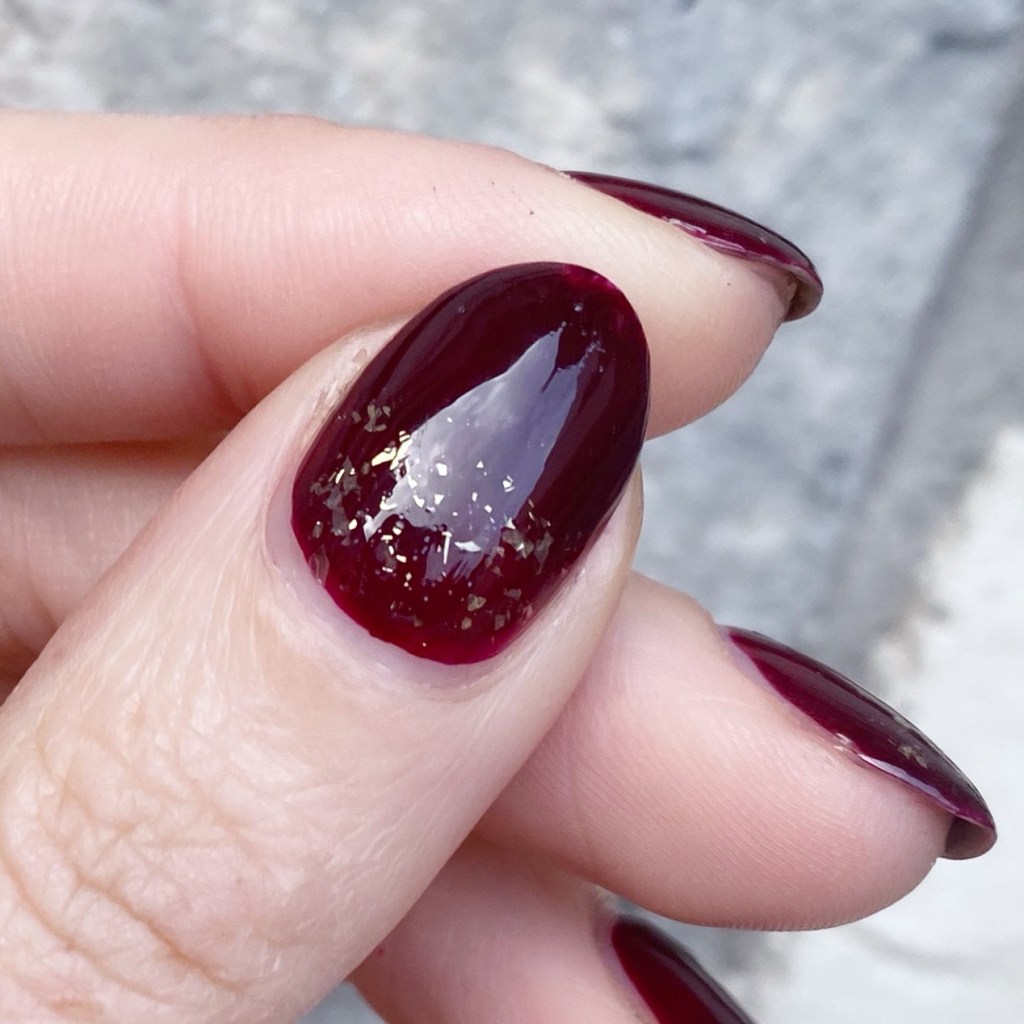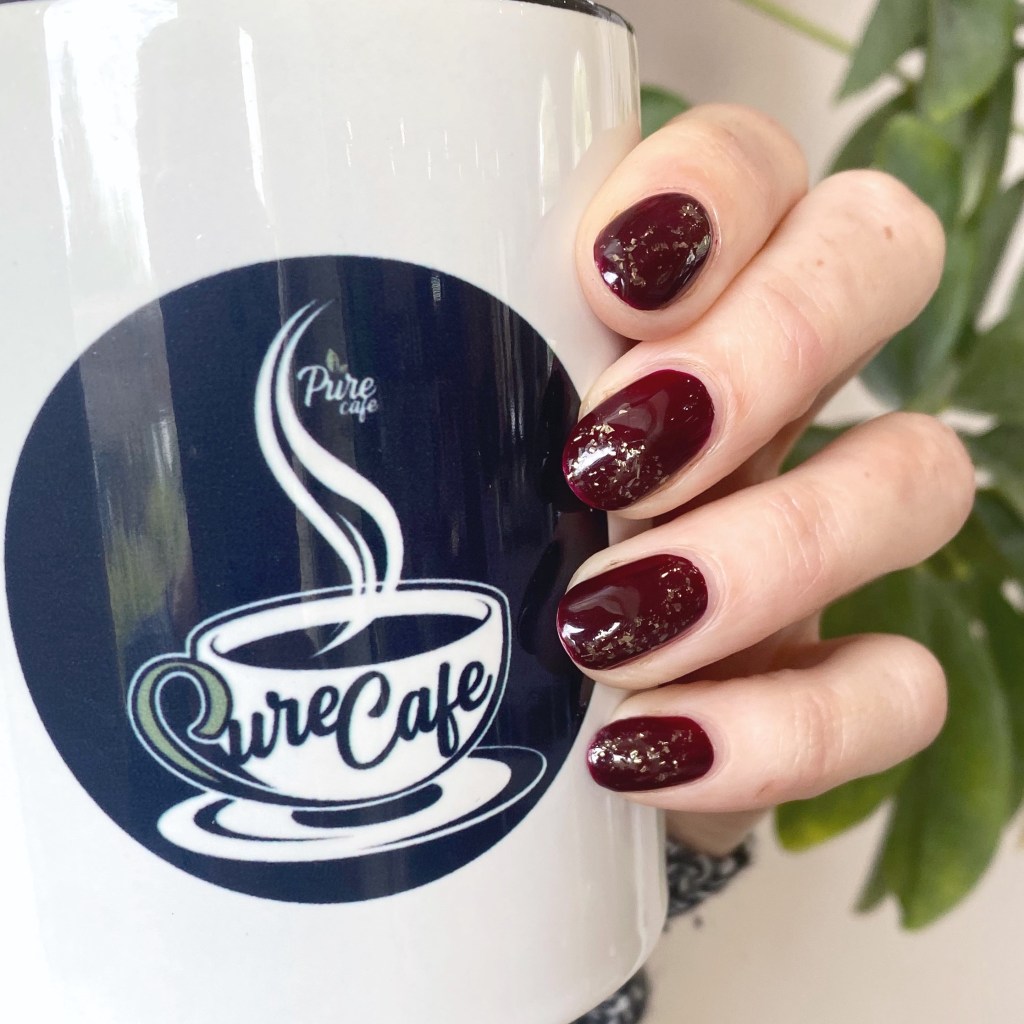
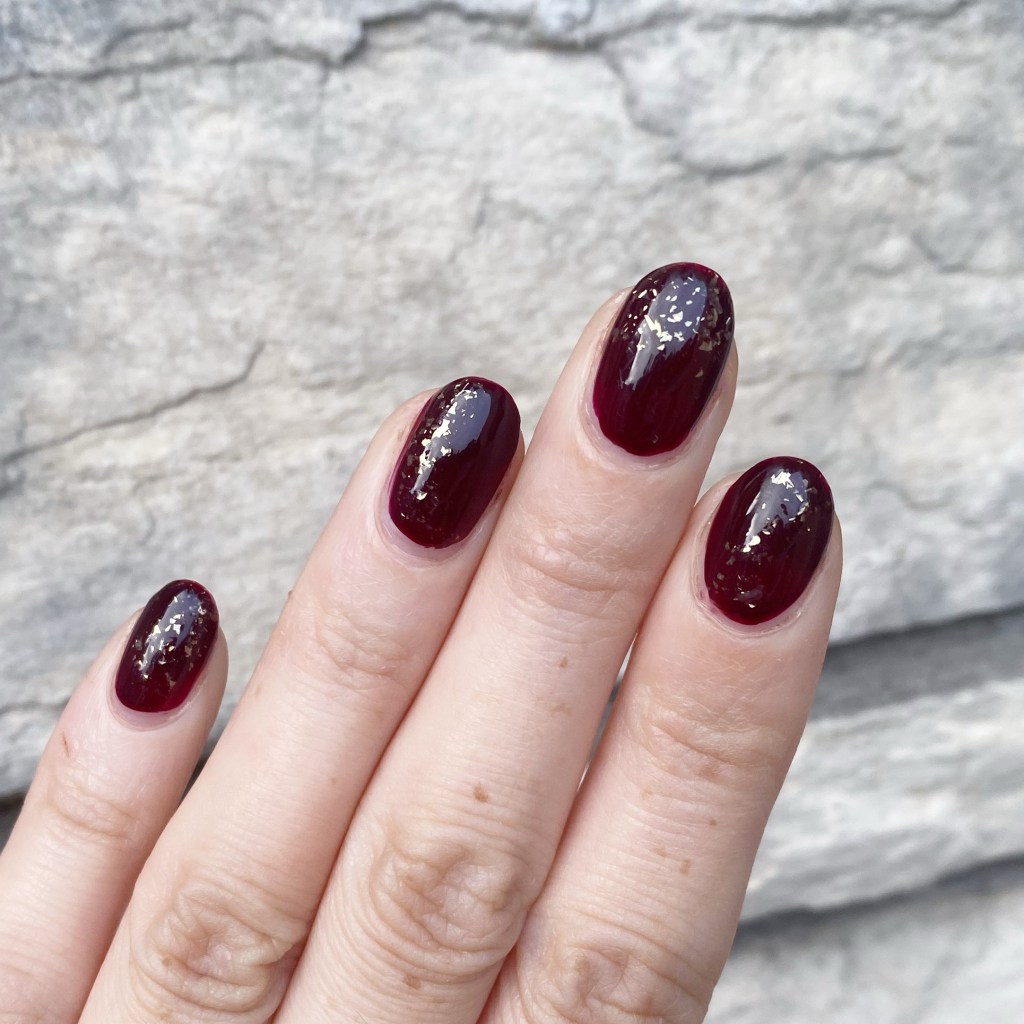
Deep Wine Red with Sparkly Glitter Placement

Good morning lovelies & happy Friday! & happy The Life of a Showgirl release day to my fellow swifties! I’m going to one of the showings tonight with a friend for the album, after I get off work, & we decided to go in blind without pre-listening, so today is going to be a serious test of my willpower!

But in the meantime, how about a little sparkle. We are in full October vibes now, & while I am having so much fun doing Halloween designs for the Glam Nails Challenge, I thought I would switch it up a bit with just a little dark glitter placement.

The polishes I used for this manicure are: 

  • Top Coat: Sally Hansen InstaDri Top Coat (red bottle)
  • Base Coat: Essie Hard to Resist (purple)
  • Revlon Color Stay Gel Envy Heartbreaker
  • Essie Nail Art Studio Glitter Separated Starlight

Okay I don’t want to sound too conceited, but like how freaking glamorous do these nails look? I absolutely adore how they turned out. The sparkle is kind of subtle, but not subtle. It’s definitely an everyday kind of glamour, & perfect for these Autumn October days! Also, no tools required which I always love because sometimes I’m just too tired to spend an hour on something more complex (especially when I have to be up at 5:30am to get ready for work!)
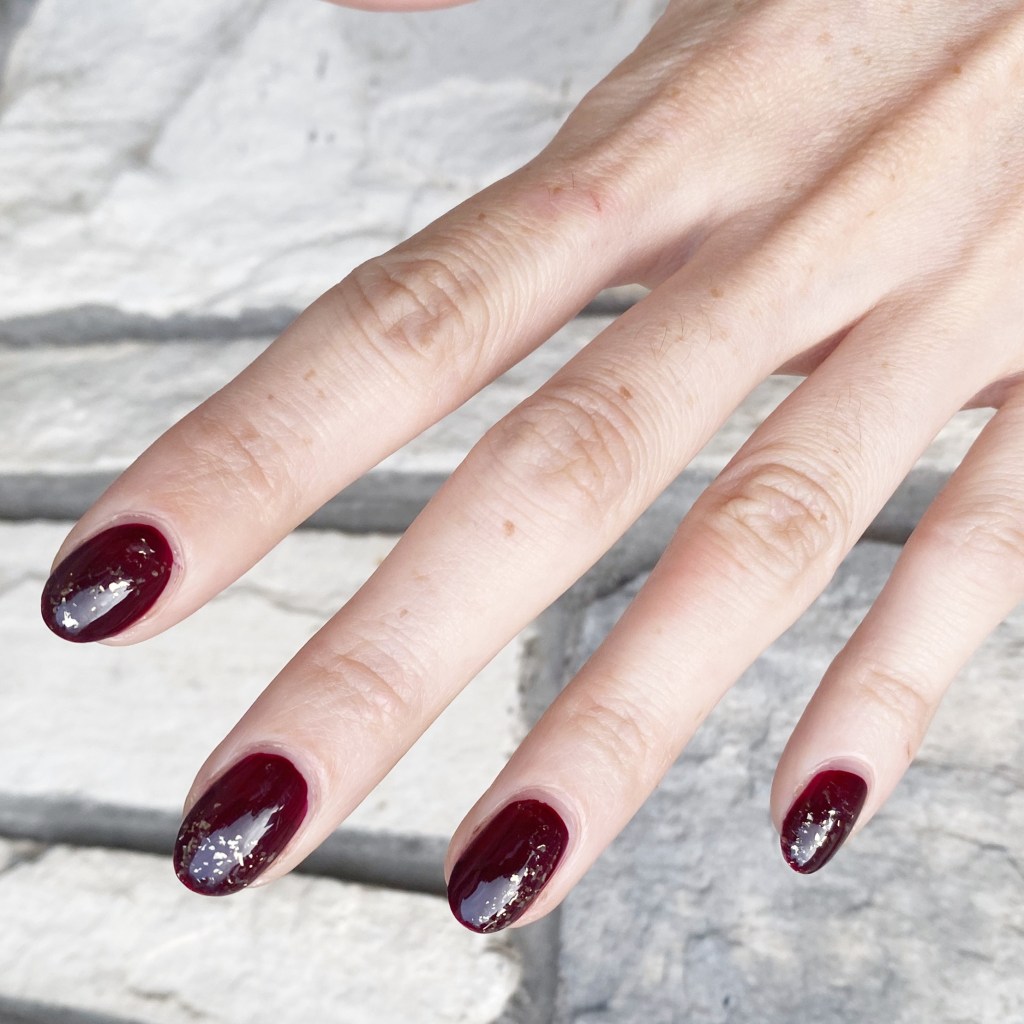
So what do you think of this design? I know it’s not a groundbreaking nail art look, but I think it just looks so pretty. Definitely my go to when I want something chic, but not complex. & just a little bit subtle.

Happy Friday!

🖤

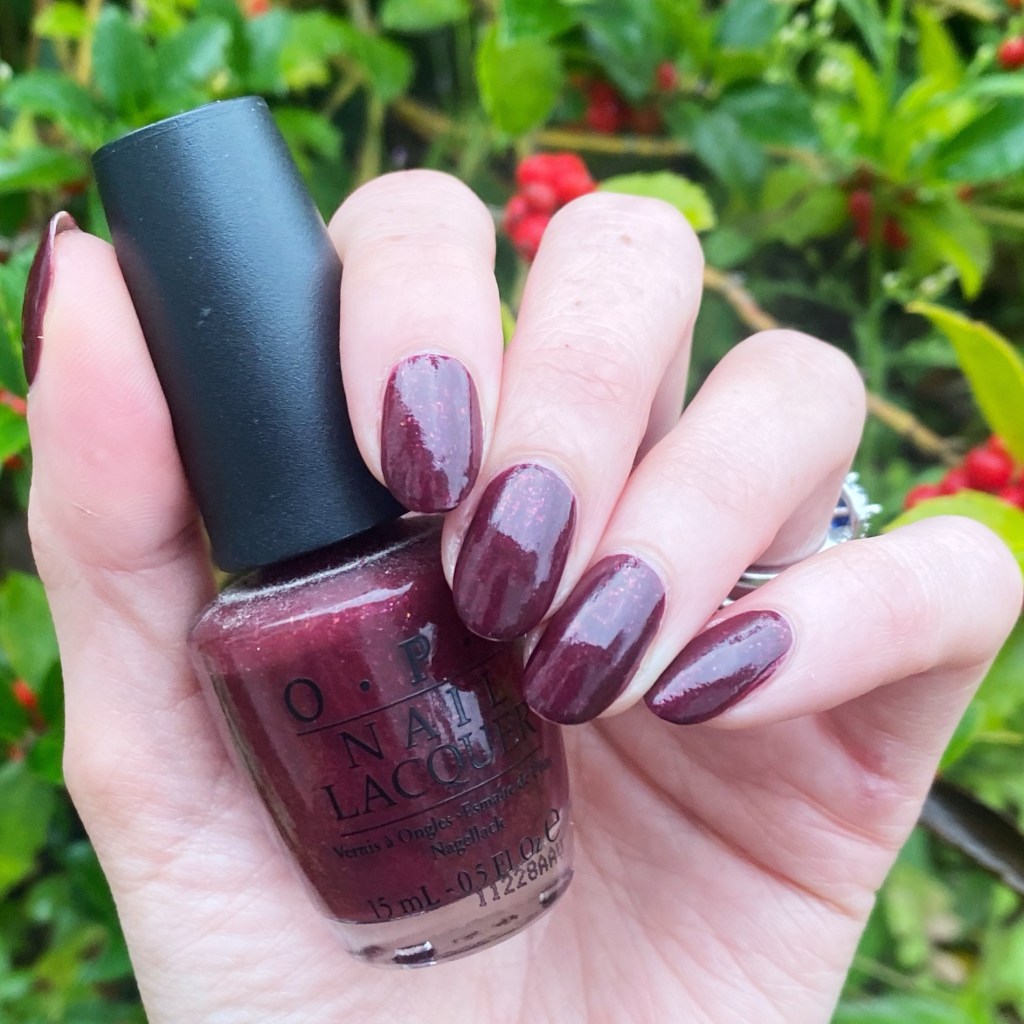
SWATCH SUNDAY — OPI PeePee’s Purple Passion (2011 Muppets Holiday Collection)

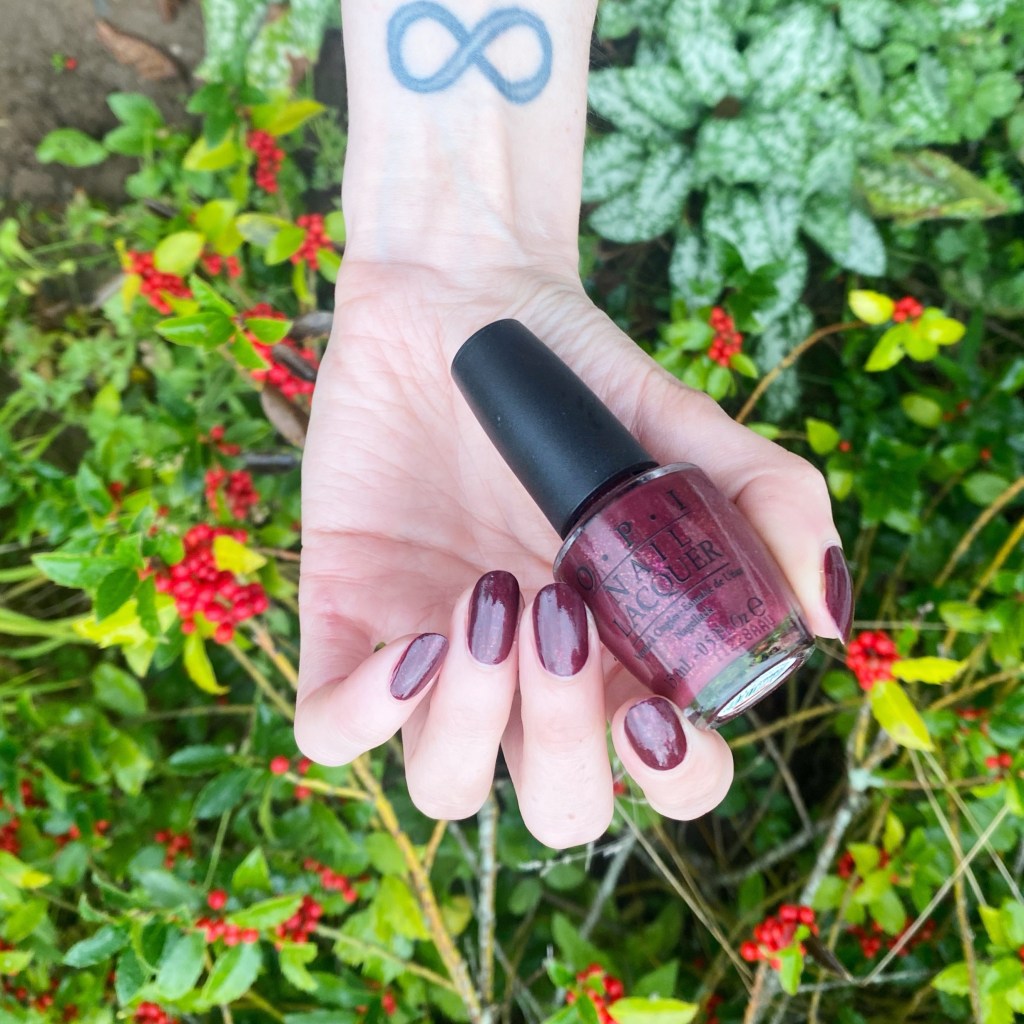
Good morning lovelies & happy Sunday! It’s a rainy Sunday here, feeling very Autumn-y (minus how muggy it’s been). That means — more shades that just feel perfect for the season. & for today’s Swatch Sunday post I reached way, way back into my stash to find something perfect! This is OPI PeePee’s Purple Passion, from the 2011 OPI Holiday Collection.

2 coats + top coat

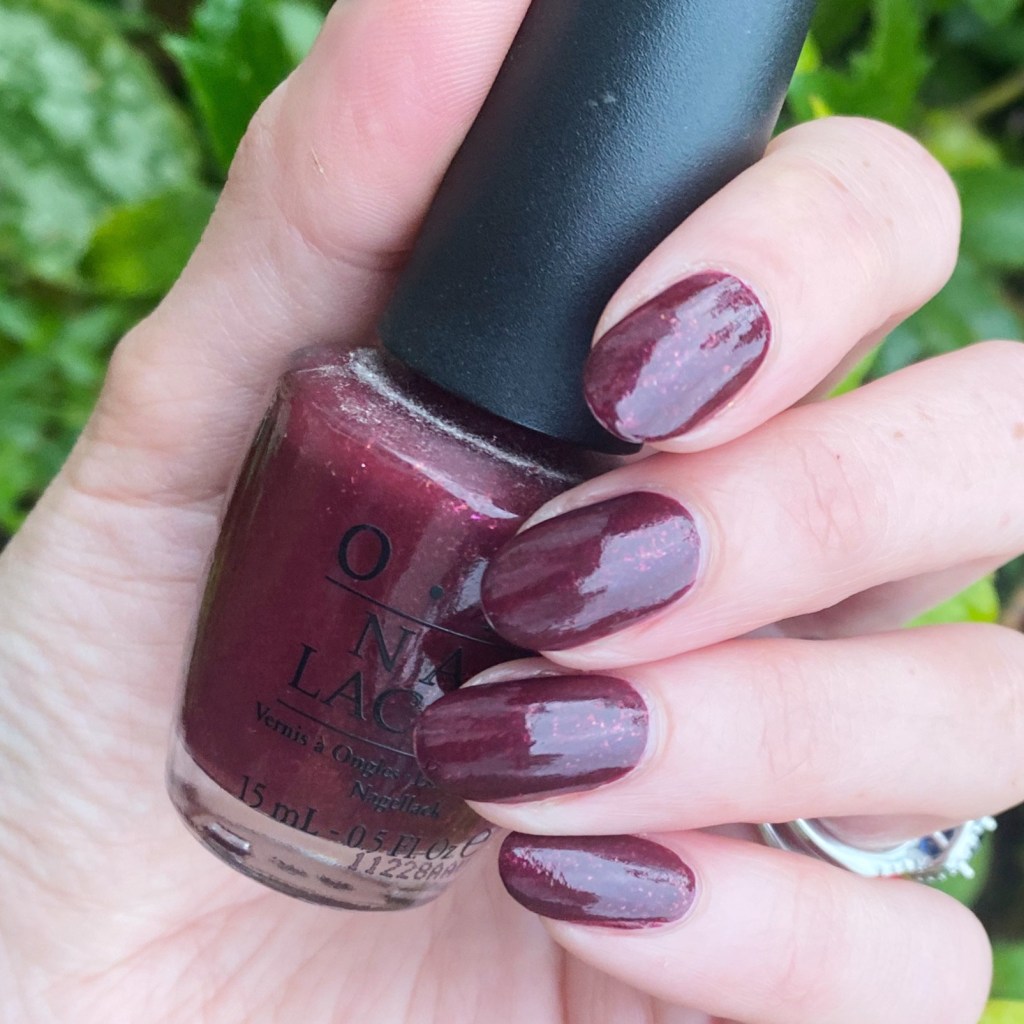
Firstly, this shade seems more like a dark dark red than a purple, which is why I probably initially purchased it. I’ve also heard it described as a dark raisin, which I can get behind. Regardless of what the colour is, the formula is easy to work with, & the flakies make the finish very unique. It gives a little dimension to the polish, which I like.

& for a 14 year old polish, it holds up very well. I wish I could say the same for my bottle of Rainbow Connection (from the same collection).

Oooh close up! You can really see those different flakie glitters in the formula.

Do you remember this shade from all the way back in 2011? Did you have any of the Muppets Holiday shades? I was absolutely obsessed with getting my hands on Rainbow Connection — as was everyone else — but this was definitely before my nail polish obsession fully took hold!

Happy Sunday!

🖤

Neutral Sparkle Colour Blocking

Hello loves & happy Friday. I’ve been pretty quiet this week on the blogging front — end of Summer kind of does that to me. But I didn’t want to end this week without posting at least one nail art look, & I think this particular design is perfect.

The polishes I used for this manicure are: 

  • Top Coat: Essie Good To Go Top Coat
  • Base Coat: Essie Hard to Resist (purple)
  • Beyond The Nail Glistening Fairy Nails
  • Essie Merino Cool
  • Essie Light as Linen

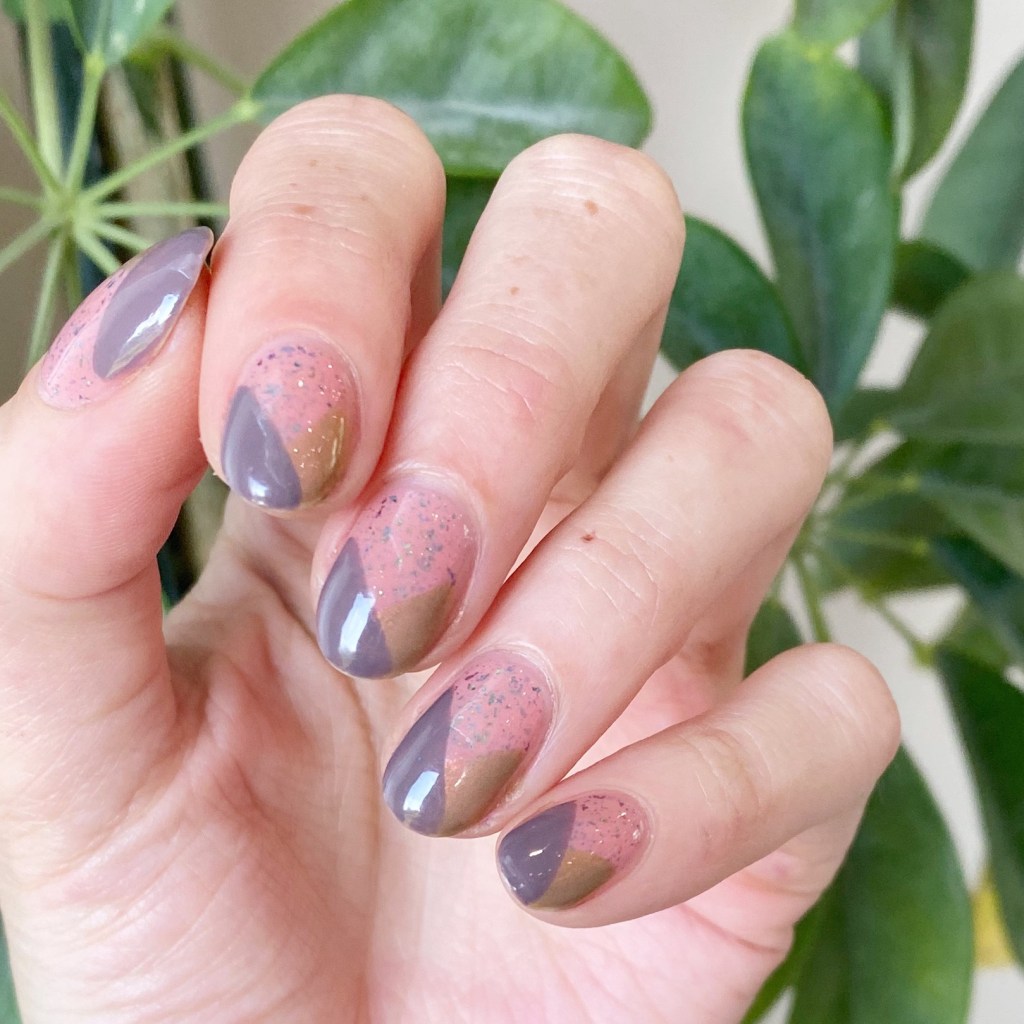
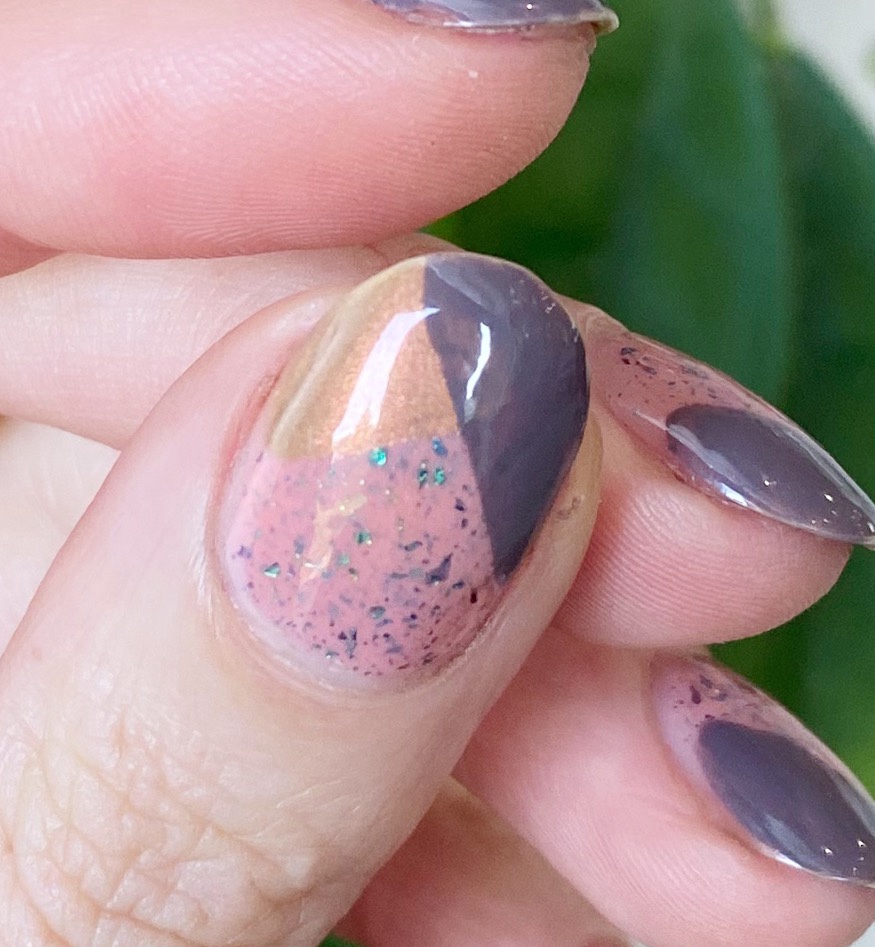
I love the mixed finished of this colour blocking look. You have the flakie look of Glistening Fairy Wings, the shimmer of Light as Linen & the cream finish of Merino Cool. Usually when I do my colour blocking, I stick to one — sometimes two — finished but I’ve never done anything so contrasting before (I don’t think, at least). I also really like the neutral colour palate— it’s not as eye catching as some colour blocks I’ve done, but it is so beautiful in its cooler tones.

I just really love how this looks, & I got so many compliments on them when I wore them to work.

What do you think about this neutral colour blocking look, with a touch of sparkle? Do you like how I mixed up the polish finishes? Would you wear this design?

Let me know all your thoughts down in the comments below & share what you’re wearing on your nails right now!

Happy Friday

🖤

SWATCH SUNDAY — Nicole by OPI Shoot for the Maroon 💫

Hello lovelies & happy Sunday! A beautiful Sunday at that — although, still desperately waiting on some rain in this part of the country (we really need it!) So today I thought I’d wear something a little moodier, a little cooler in hopes of encouraging some rainy weather.

I also thought it would be fun to pull out a polish from my stash from a now discontinued brand: Nicole by OPI. In my earlier nail polishing days I was absolutely obsessed with the Nicole by OPI days, so I’m sure you can imagine how many shades of I have in my collection. This is Shoot for the Maroon.

2 coats + top coat

This beautiful flakie purple has a deep dark base, with a metallic micro flakie effect that gives it beautiful dimension. Depending on how you move your hand, it shifts pink, purple, golden & even a little green. Super beautiful!

You can really see those micro flakies. I love the shiftiness of this shade & the dark jewel like tone. It’s a beautiful polish that just says Autumn & I’m here for it.

Sadly, the NOPI line was discontinued in the latter 2010s, so they’re no longer available in stores. I have seen some bodies available online, but not sure how easily you can find them. It’s a real shame, because I feel like this line was a great mainstream line for more specialty formulas — like this shade!

What do you think about Nicole by OPI Shoot for the Maroon. Do you still own any of the NOPI shades? What were your thoughts on the brand — let me know what you think down in the comments below!

Happy Sunday!

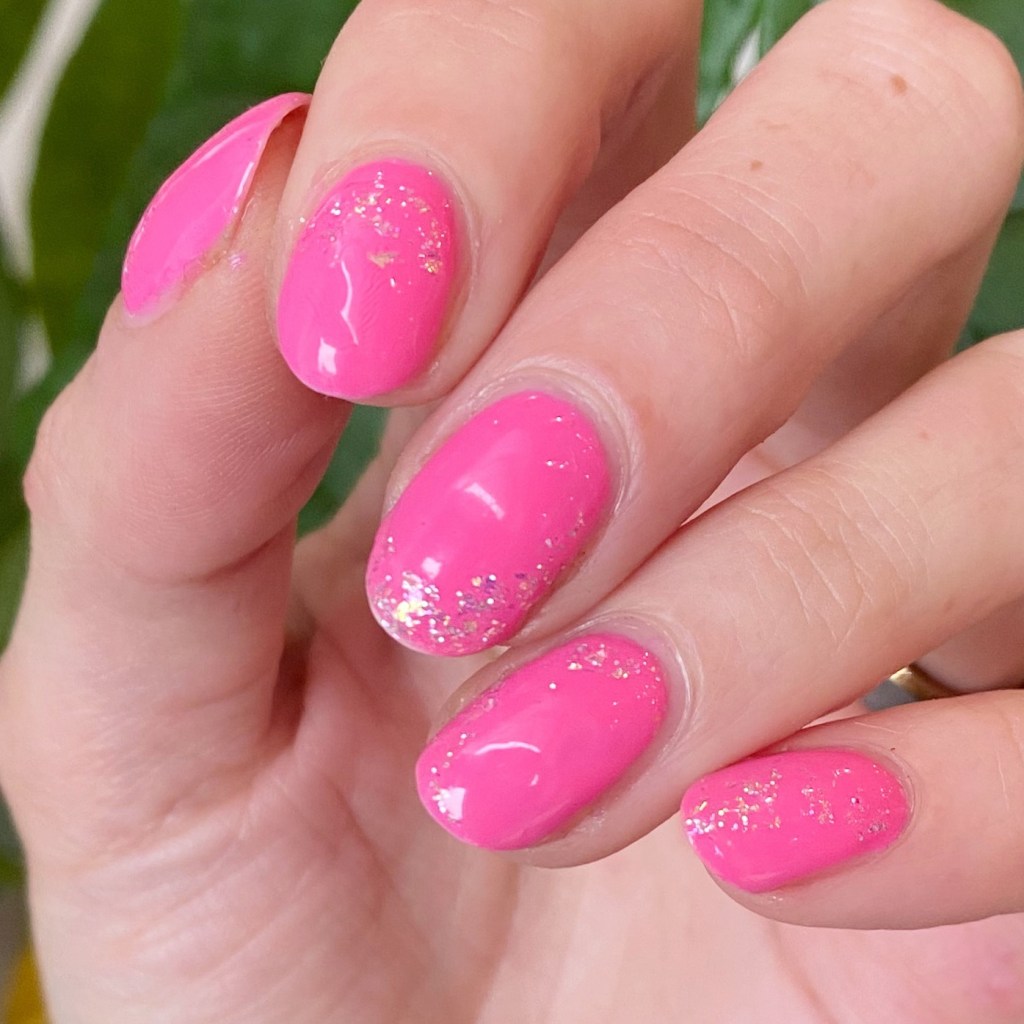
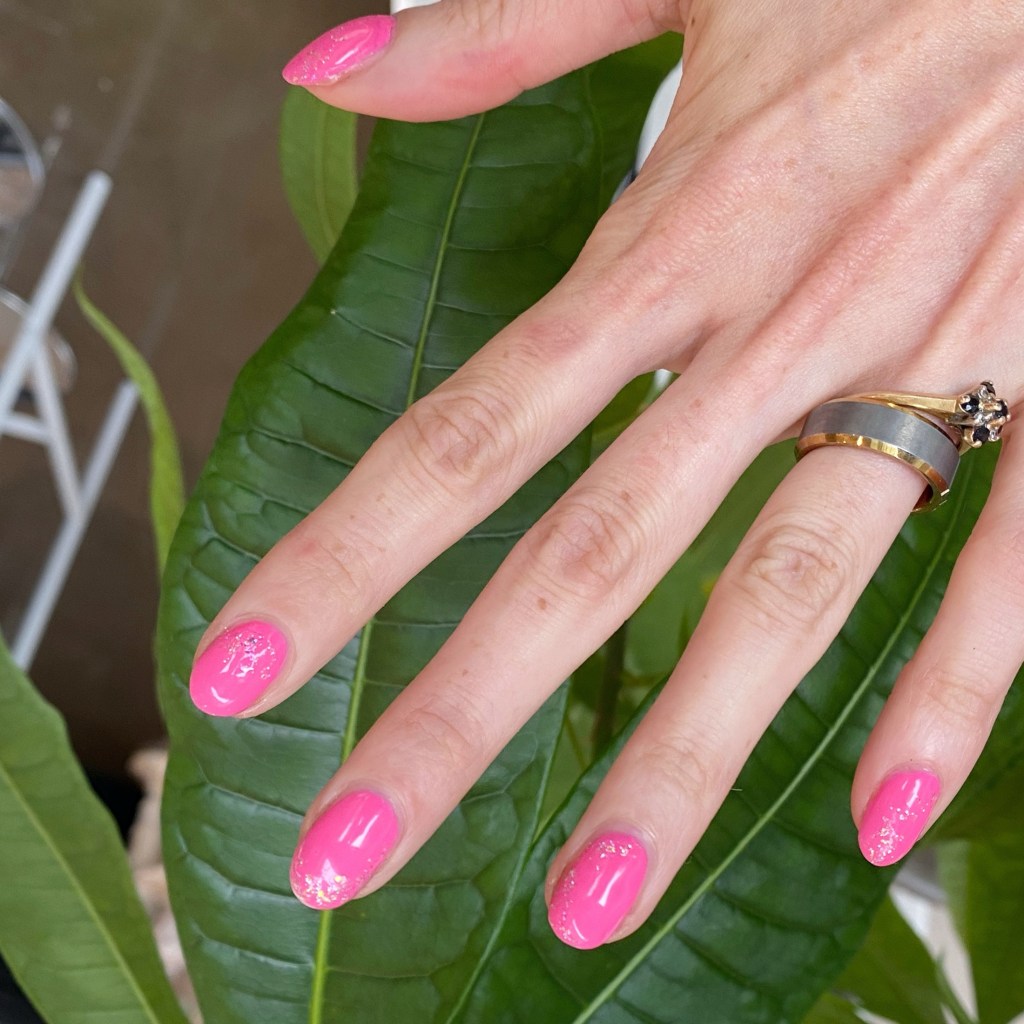
Pink Glitter Placement 🩷✨

Hello lovelies & happy Wednesday! How is everyone’s week going so far? Enjoying the balmy weather? Our days have been hot hot hot which means the grass is crunchy & the fire risk is extremely high. I don’t usually wish for rain, but we could definitely use some.

Today, though, let’s share some pretty nails.

& you know what’s pretty — a flakie glitter placement. Especially when it is as easy as this one was to do!

The polishes I used for this manicure are: 

  • Top Coat: Essie Good To Go Top Coat
  • Base Coat: China Glaze Calcium Gel Fortifier
  • China Glaze Glow With The Flow
  • ‘Ard As Nails Fairy Flakes

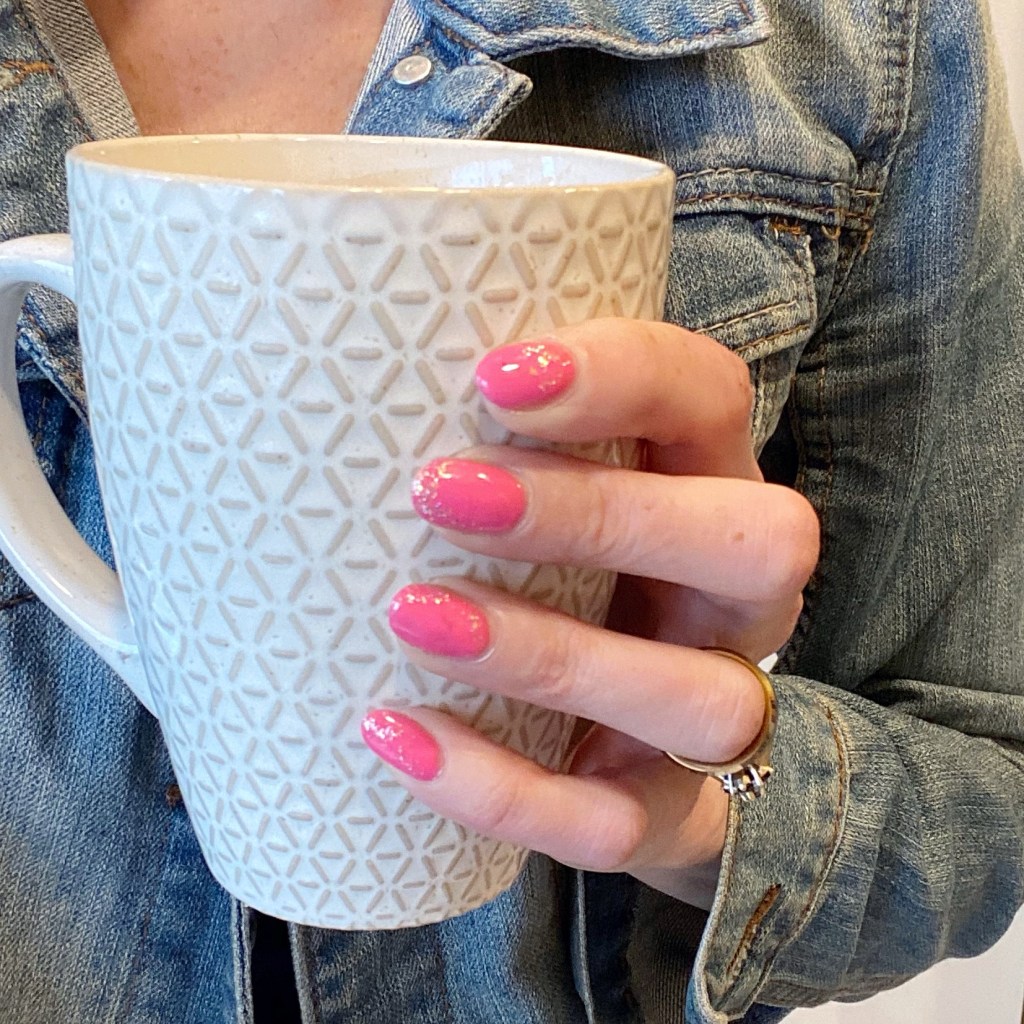
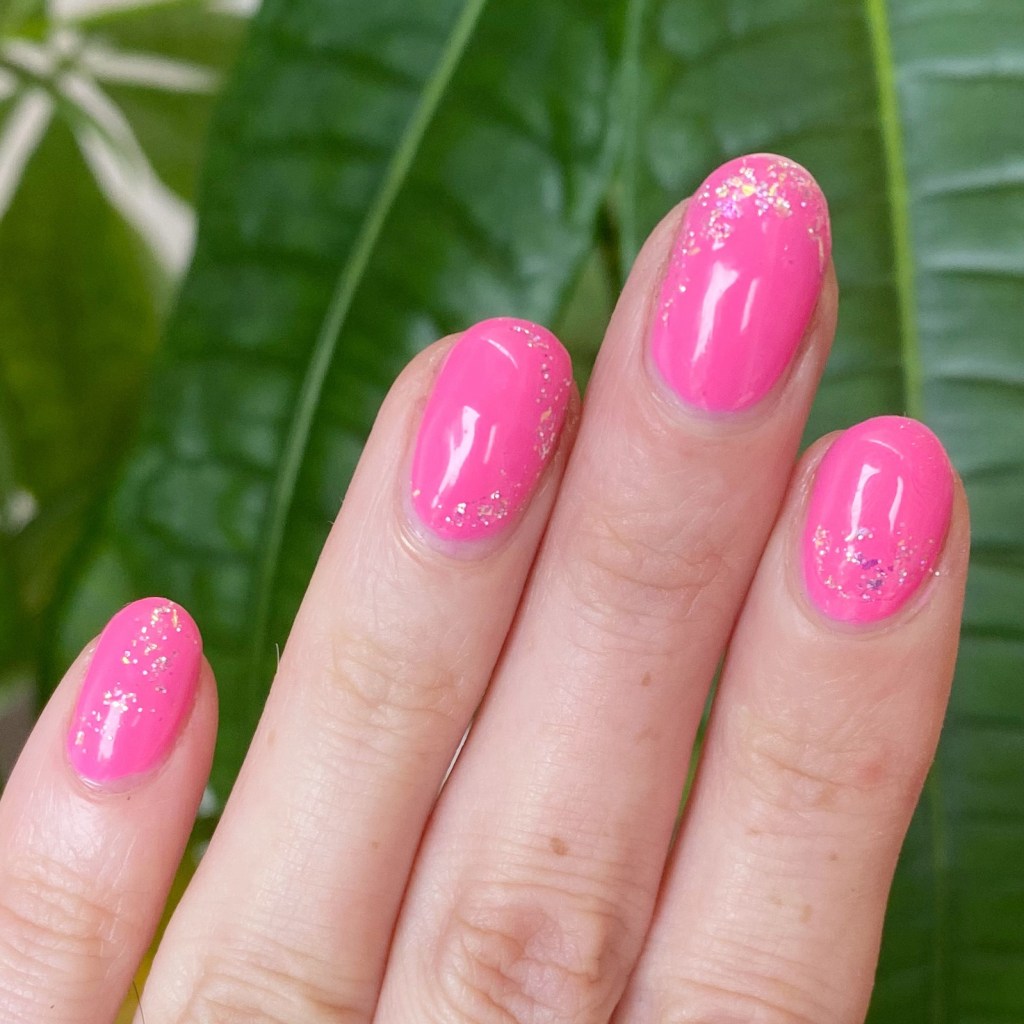
Look at those pretty sparkles! They’re just so pretty, & girlie & sparkly. I love it. This was also a super simple design to do, with no tools needed. & it’s just the right amount of sparkle — especially over a vibrant base like Glow With The Flow.

What do you think about my pretty pink glitter placement? Do you like this glittery combination? I’m still on the hunt to add more glitters to my collection for glitter placement looks — especially come to Autumn months. So please let me know your favourites!

Happy Wednesday.

♥︎