SWATCH SUNDAY — NailStuff.ca Blue Metallic Foil Flakies

Good Morning Lovelies!

Today I’m sharing one of the beautiful new goodies I was recently gifted from NailStuff.ca! I showed off one of their new nail stud wheels earlier in the week, & now I have these metallic blue flakies swatched for you.

PR Sample. This product was gifted to me for review.

Application was super easy & simple! I love the fact that you can apply these without having to worry about using gel.

For this look, I started off by painting my nails in a complimentary shade (Sally Hansen original Pacific Blue). After a few moments applied a coat of Finger Paints Peel Off Base Coat over my blue, which is my preferred method of flakie application. Once my nails had dried somewhat, I dipped the applicator into the pot of flakies, pulled a small amount out, & brushed them down over the nail. After each nail was covered I sealed the look in with top coat.

It looks like sapphires on the nail & I’m in love with it. 💙💎
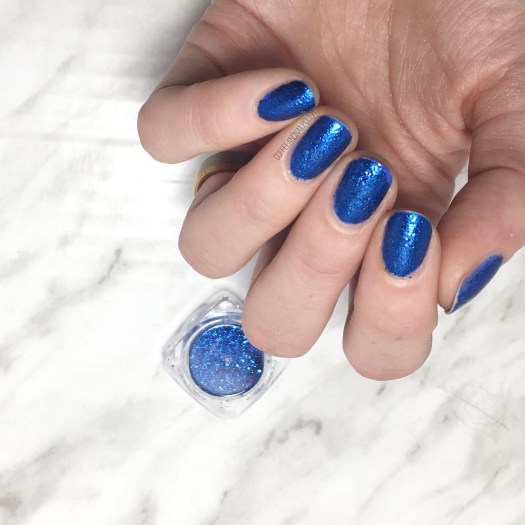
These flakies are so, so easy to apply & I love it. I stayed away from using nail powders for so long because I was concerned about making a huge mess, but surprisingly I never have any issues with these NailStuff’s product!

These flakies in particular are awesome because they almost clump together like magnets when picking them up out of the pot. You don’t have to worry about spilling all your flakies all over the couch (which my husband would not be impressed about!) Also I’m so glad how little product you need to use to achieve this look–one little swipe covered each nail so I still have a ton more for future designs!

Down below shows off this look in natural light. So happy for summer for beautiful green grass backgrounds!
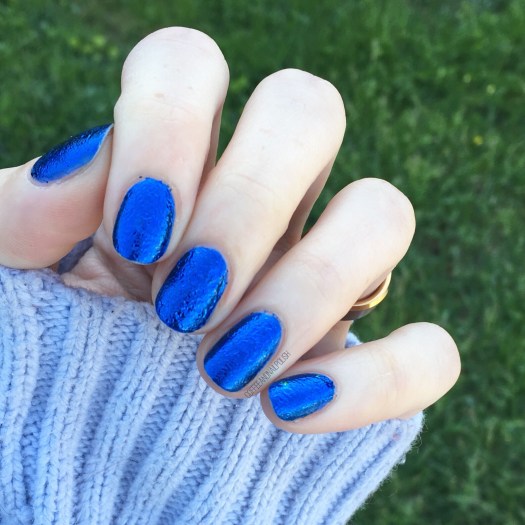
What do you think of these gorgeous blue metallic nails? Want to achieve this look for yourself — you can shop all the nail flakies available by NailStuff.ca here including these blue ones & a whole slew of other colours as well.

Have a happy Sunday loves! 💎

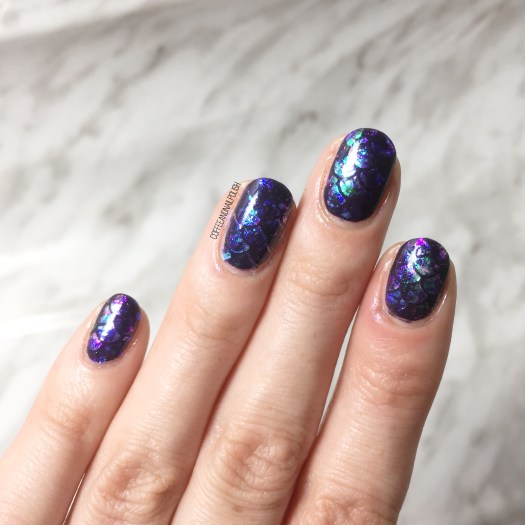
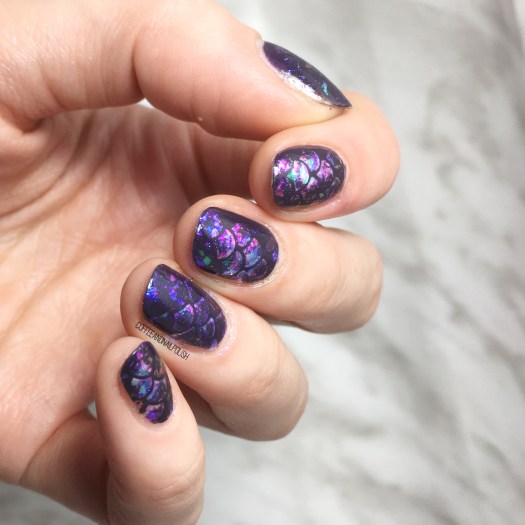
Mermaid Nails using NailStuff.ca Aqua Collection Flakies

Happy Saturday! Today I’m sharing one of the prettiest designs I think I’ve ever done–a mermaid design using the Aqua Collection flakies from NailStuff.ca. It felt like ages since I created mermaid nails, & those flakies were just sitting there staring at me, waiting to be used. I couldn’t decide which colour to use so I decided why not use all three! & the end result is pretty much the prettiest nails I’ve ever worn!

For this manicure, the products I used were:

  • Base Coat: Nailtek 2
  • Top Coat: Seche Vive
  • Essie After School Boy Blazer
  • Fingerprints Peel Off Base Coat
  • Nailstuff.ca Aqua Collections flakies (Mermaid, Lagoon & Abyss)
  • What’s Up Nails Scale Vinyls
  • Edge Perfection Cuticle Barrier

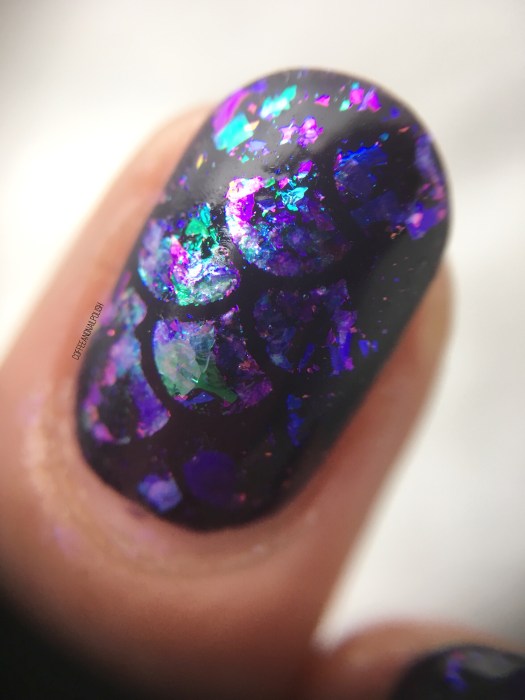
These were surprisingly easy to do–I applied my base colour (Essie Under the Twilight) & my top coat & let it dry completely. When my base was completely dry, I applied my vinyls to each nail & then went over top with Fingerpaints Peel Off Base Coat. I’ve found that using it helps adhere the flakies best. Without waiting, I then dipped my sponge (that comes with the flakies) into each pot & rubbed the flakies over top in certain spots. I then repeated it again using the other two pots of flakies. When I felt like I had filled in the vinyls enough, I removed them immediately, & finished off the design with top coat.

Just look at that macro! It looks like jewels on the nail. I’m seriously in love. My only regret is that I didn’t think to top it with matte top coat before I removed them. Can you imagine how pretty they would have looked matte?

what do you think of this design? Do you see mermaid nails or dragon nails? Let me know your thoughts in the comments below!

*PR SAMPLE* Some of these items were sent to me for review. However, all opinions are my own.

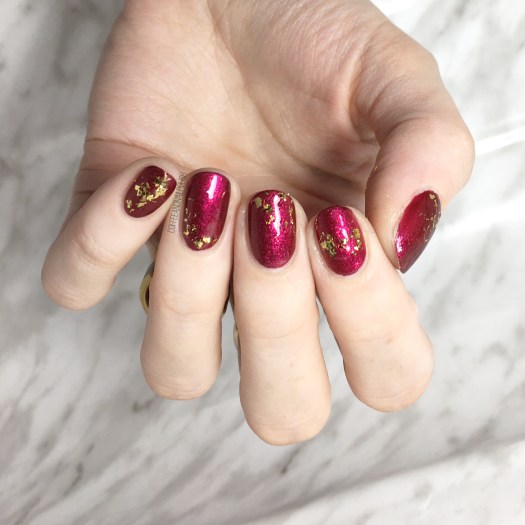
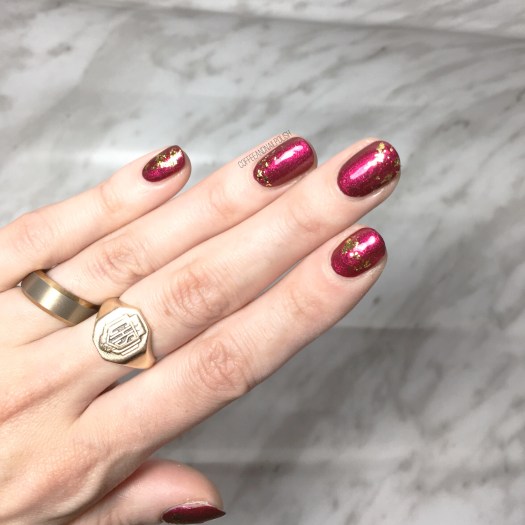
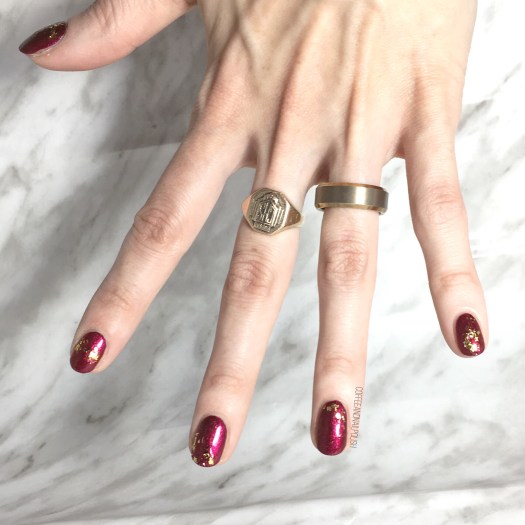
Gold Flakie Glitter Placement

Happy Saturday lovelies! Hope everyone is having a wonderful first week of 2018. Today I am super excited, not only because I have these super cute flakie nails to share, but I created a tutorial for you… a VIDEO tutorial! I’ve been toying with the idea of creating videos for a while, but kind of nervous how doing it. But 2018 is all about challenging myself when it comes to this blog! & honestly, it turns out wasn’t as scary as I thought it would be! It’s actually kind of fun. ♥️

<<
oducts used for this manicure:

  • Base Coat: Nailtek 2
  • Top Coat: Seche Vive
  • Morgan Taylor Don’t Toy With My Heart
  • Nailstuff.ca gold foil flakies
  • Dotting tool (mine is from Bundle Monster)

<

I always love a good glitter placement, & I thought these gold foil flakies from Nailstuff.ca paired so well with the red base of Morgan Taylor Don’t Toy With My Heart. It’s a little different trying to place flakies verses glitter from polish, but the end result looks just as gorgeous. I’ll definitely be trying this look with a few of the iridescent flakies I own.

A close up of these nails shows how cool the flakies look. I’m definitely going to be using this technique more often!

what do you think of this glitter placement design? I plan on making more tutorial videos, so let me know what you’d like to see & anything I can do to improve!

*PR SAMPLE* Some of these items were sent to me for review. However, all opinions are my own.

<These polishes were all gifted to me by Morgan Taylor as part of the Preen.Me #PreenMeVIP program>

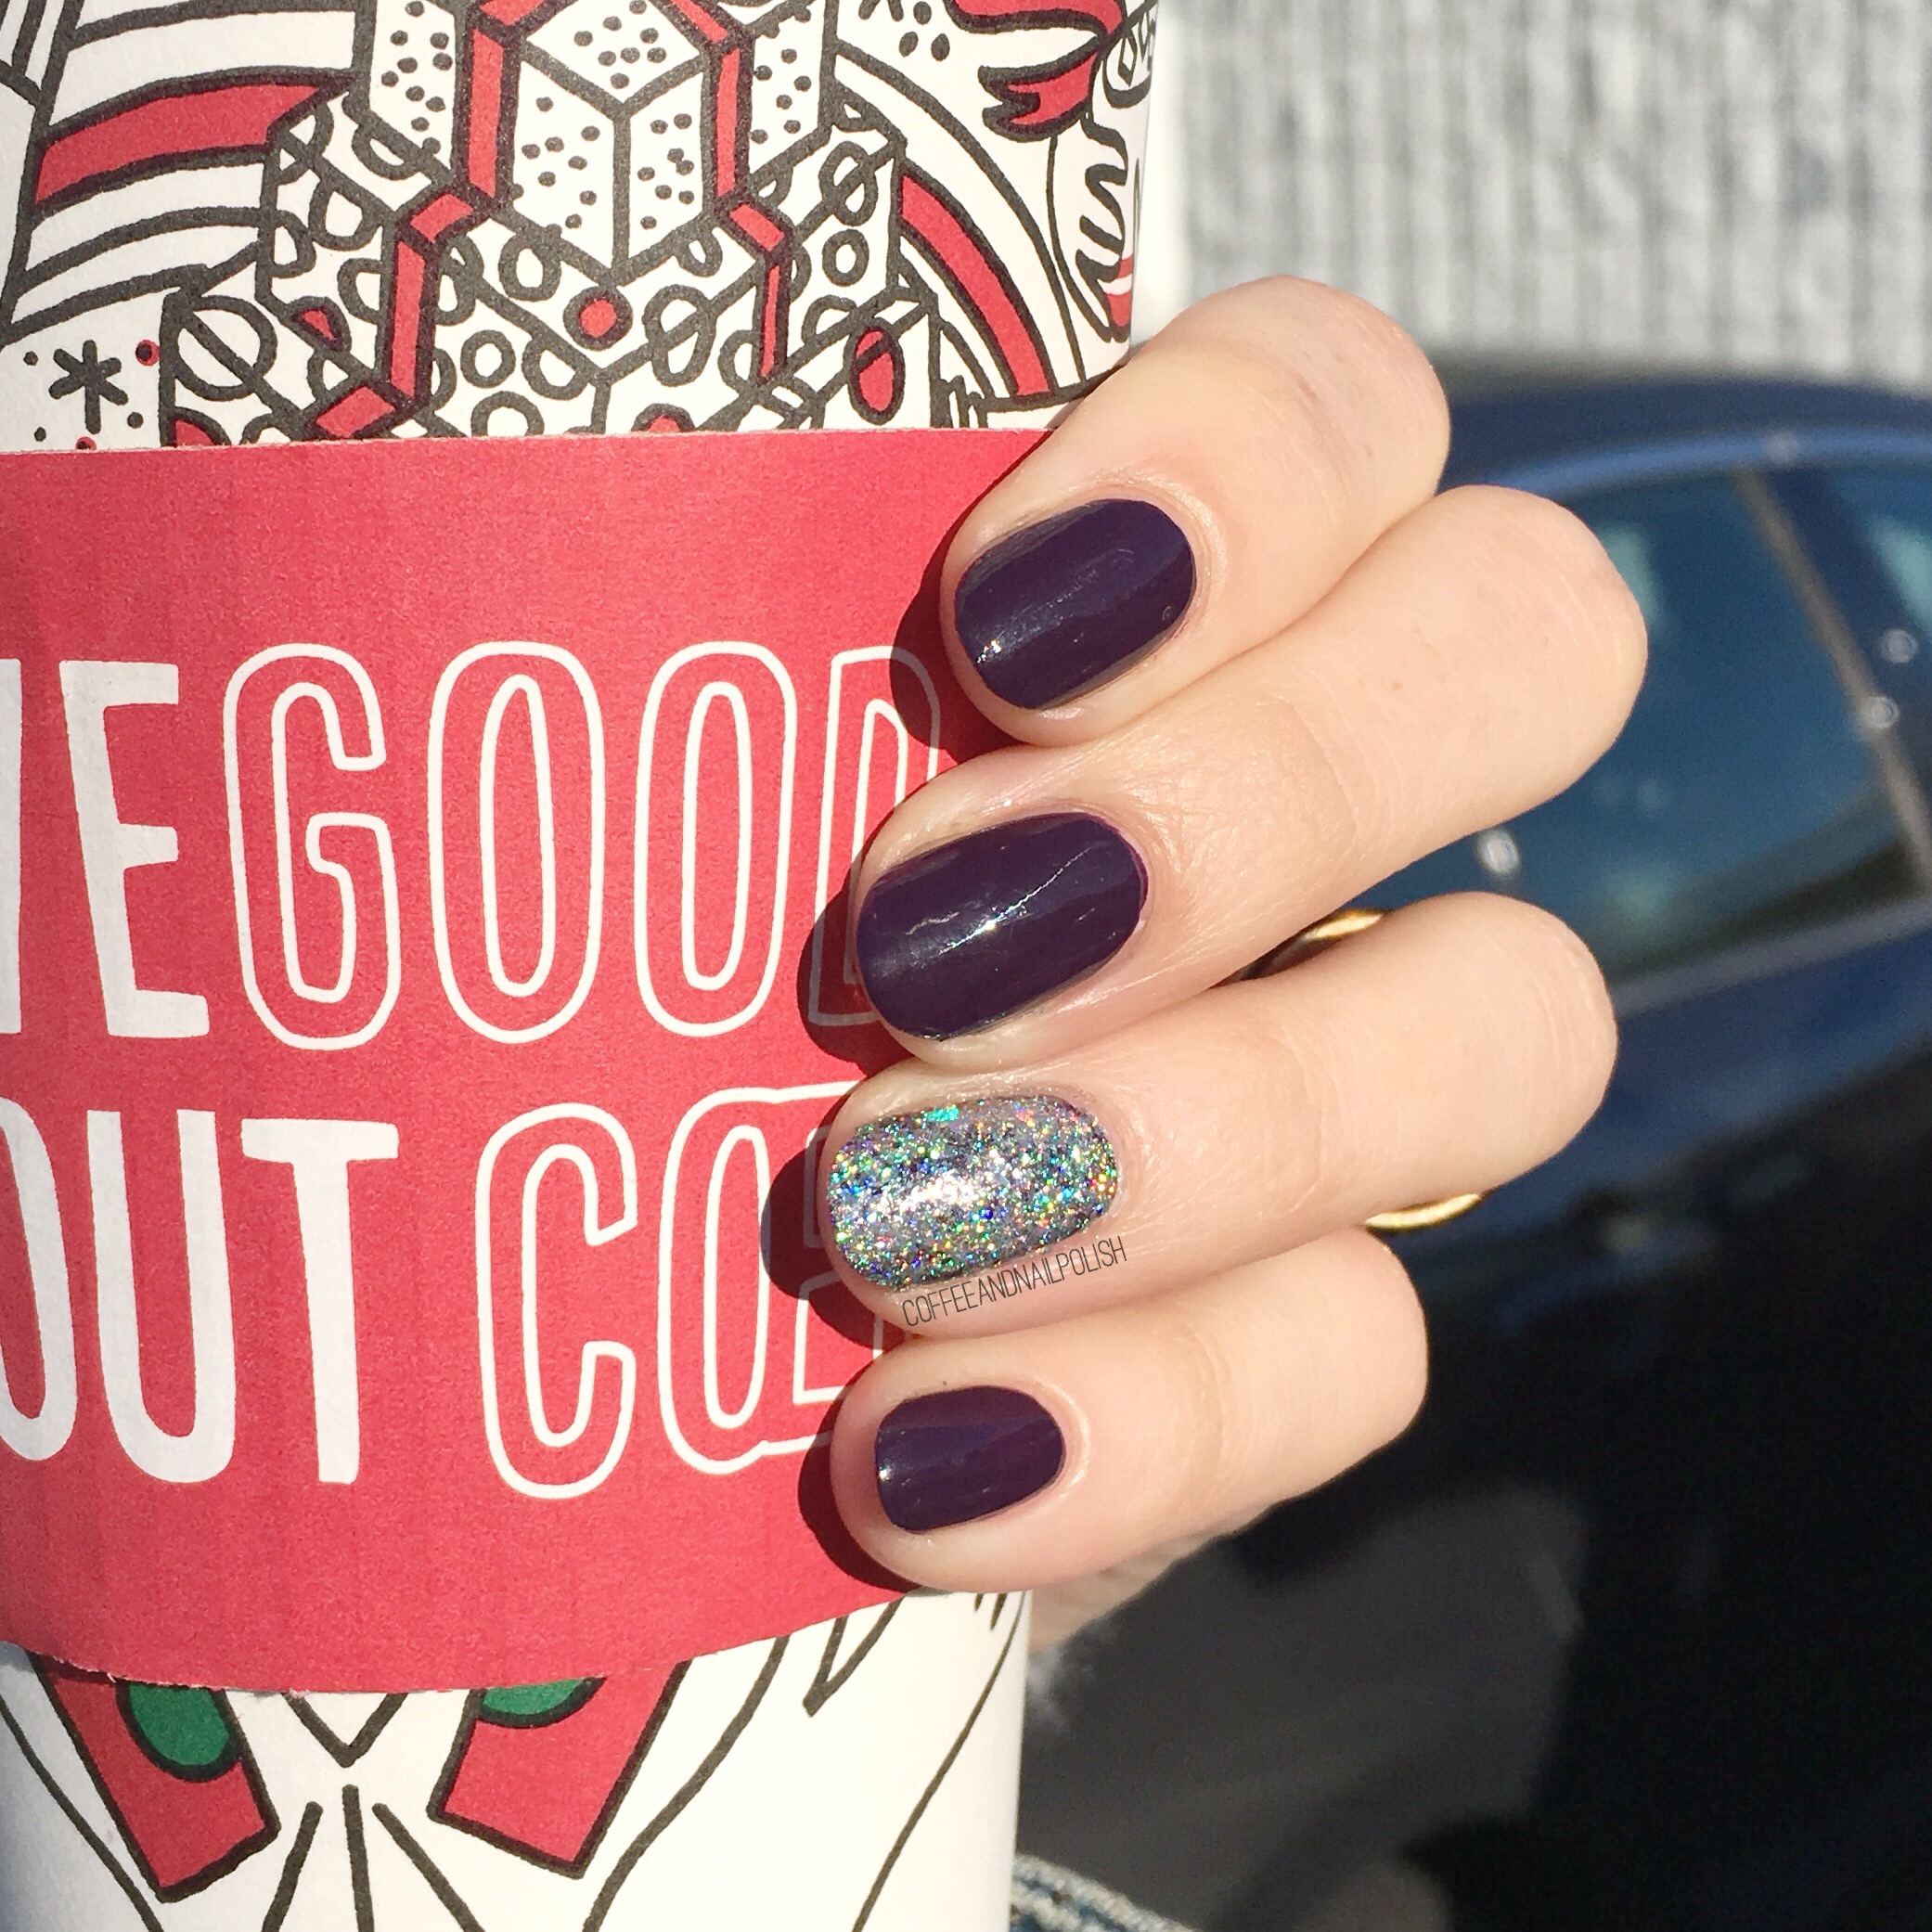
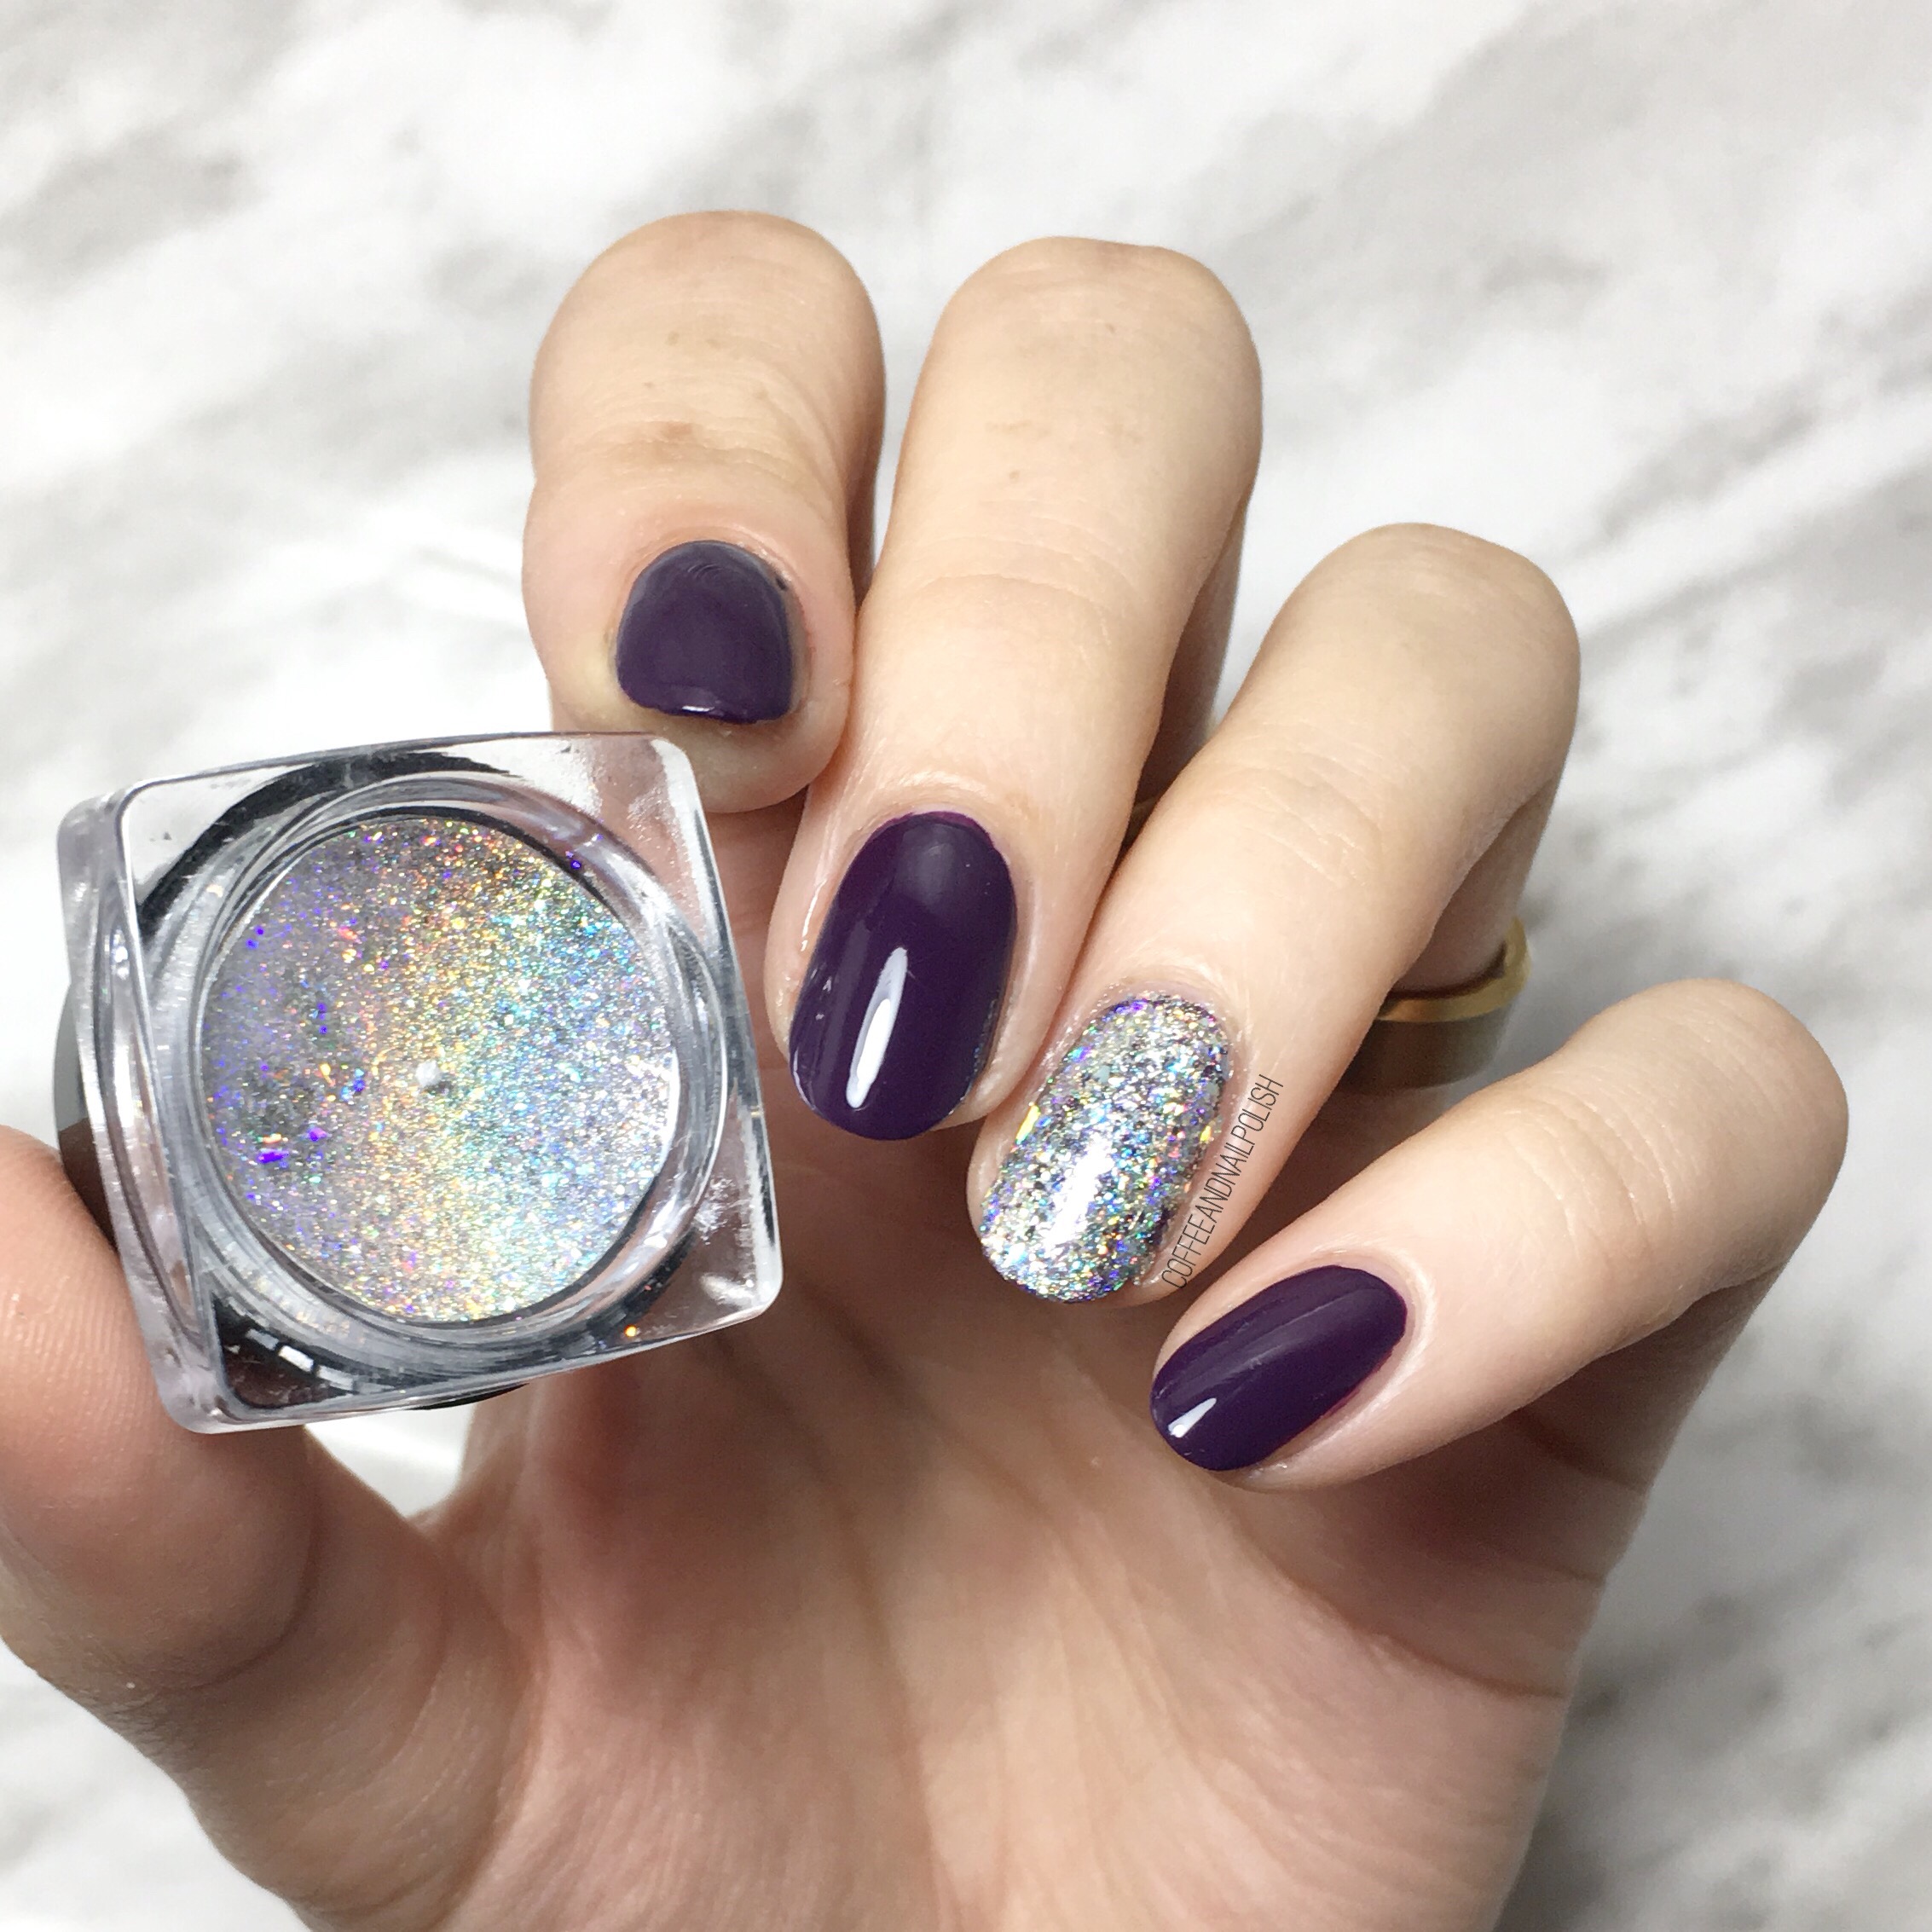
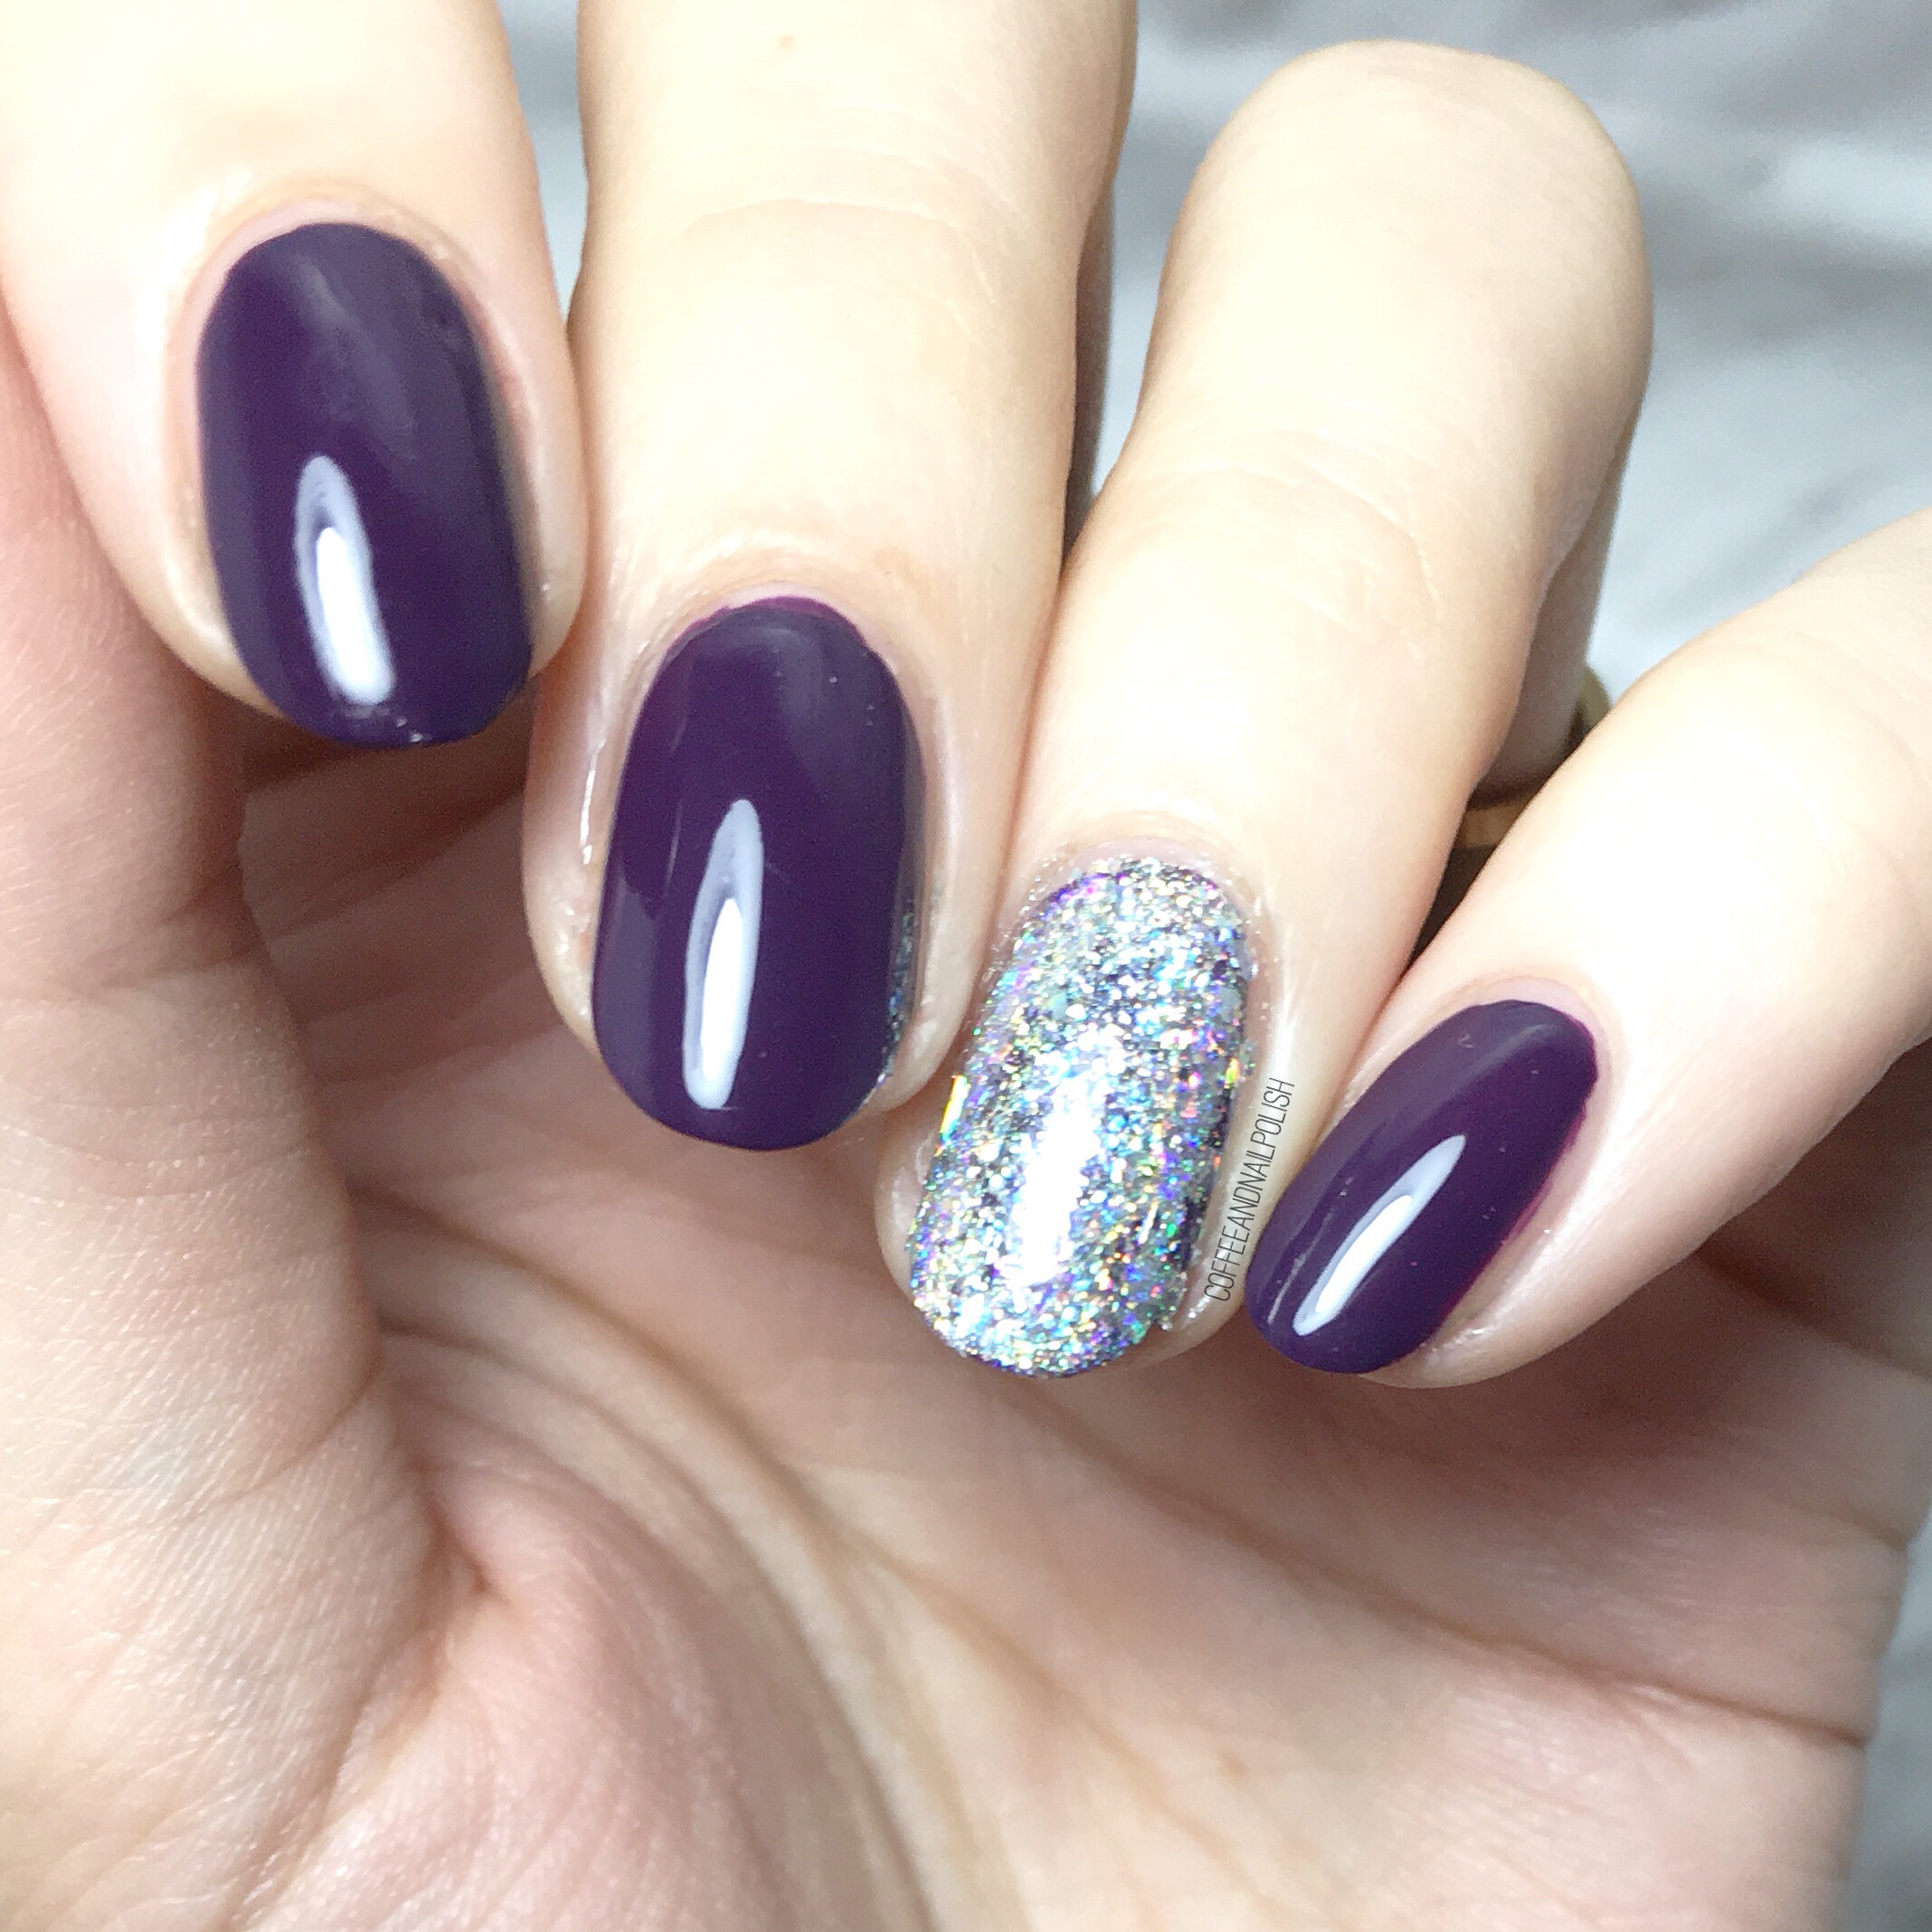
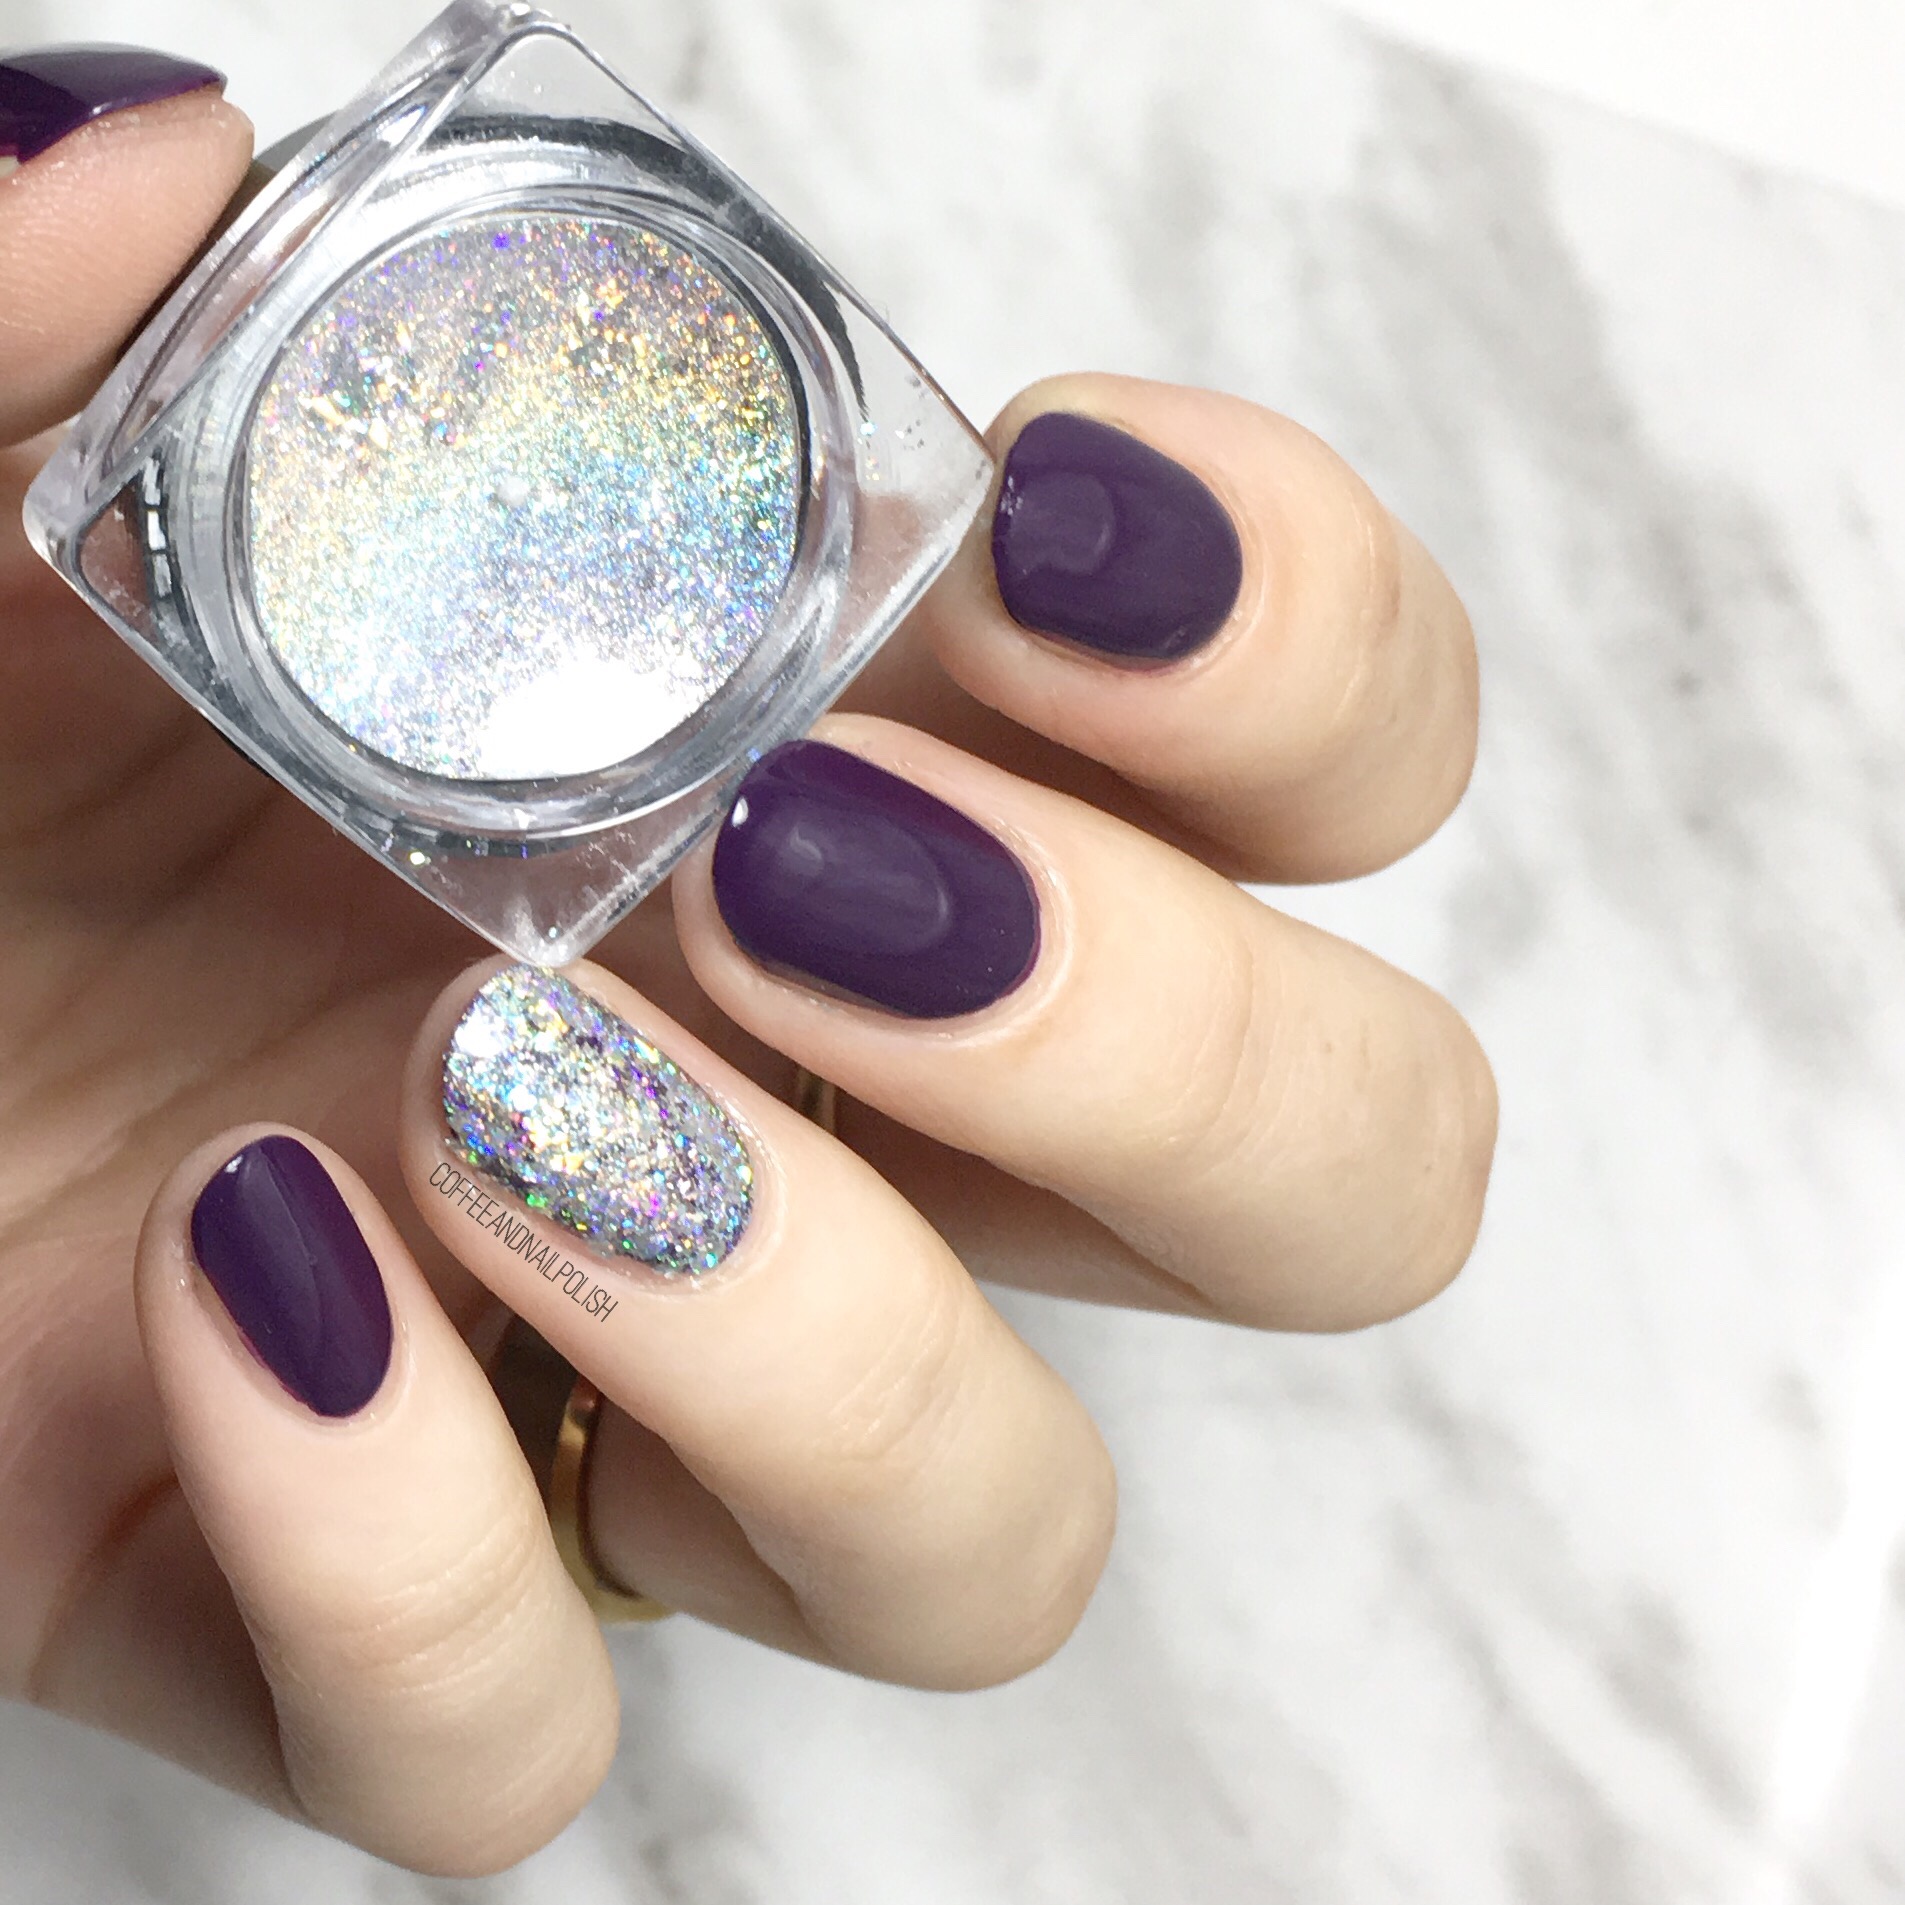
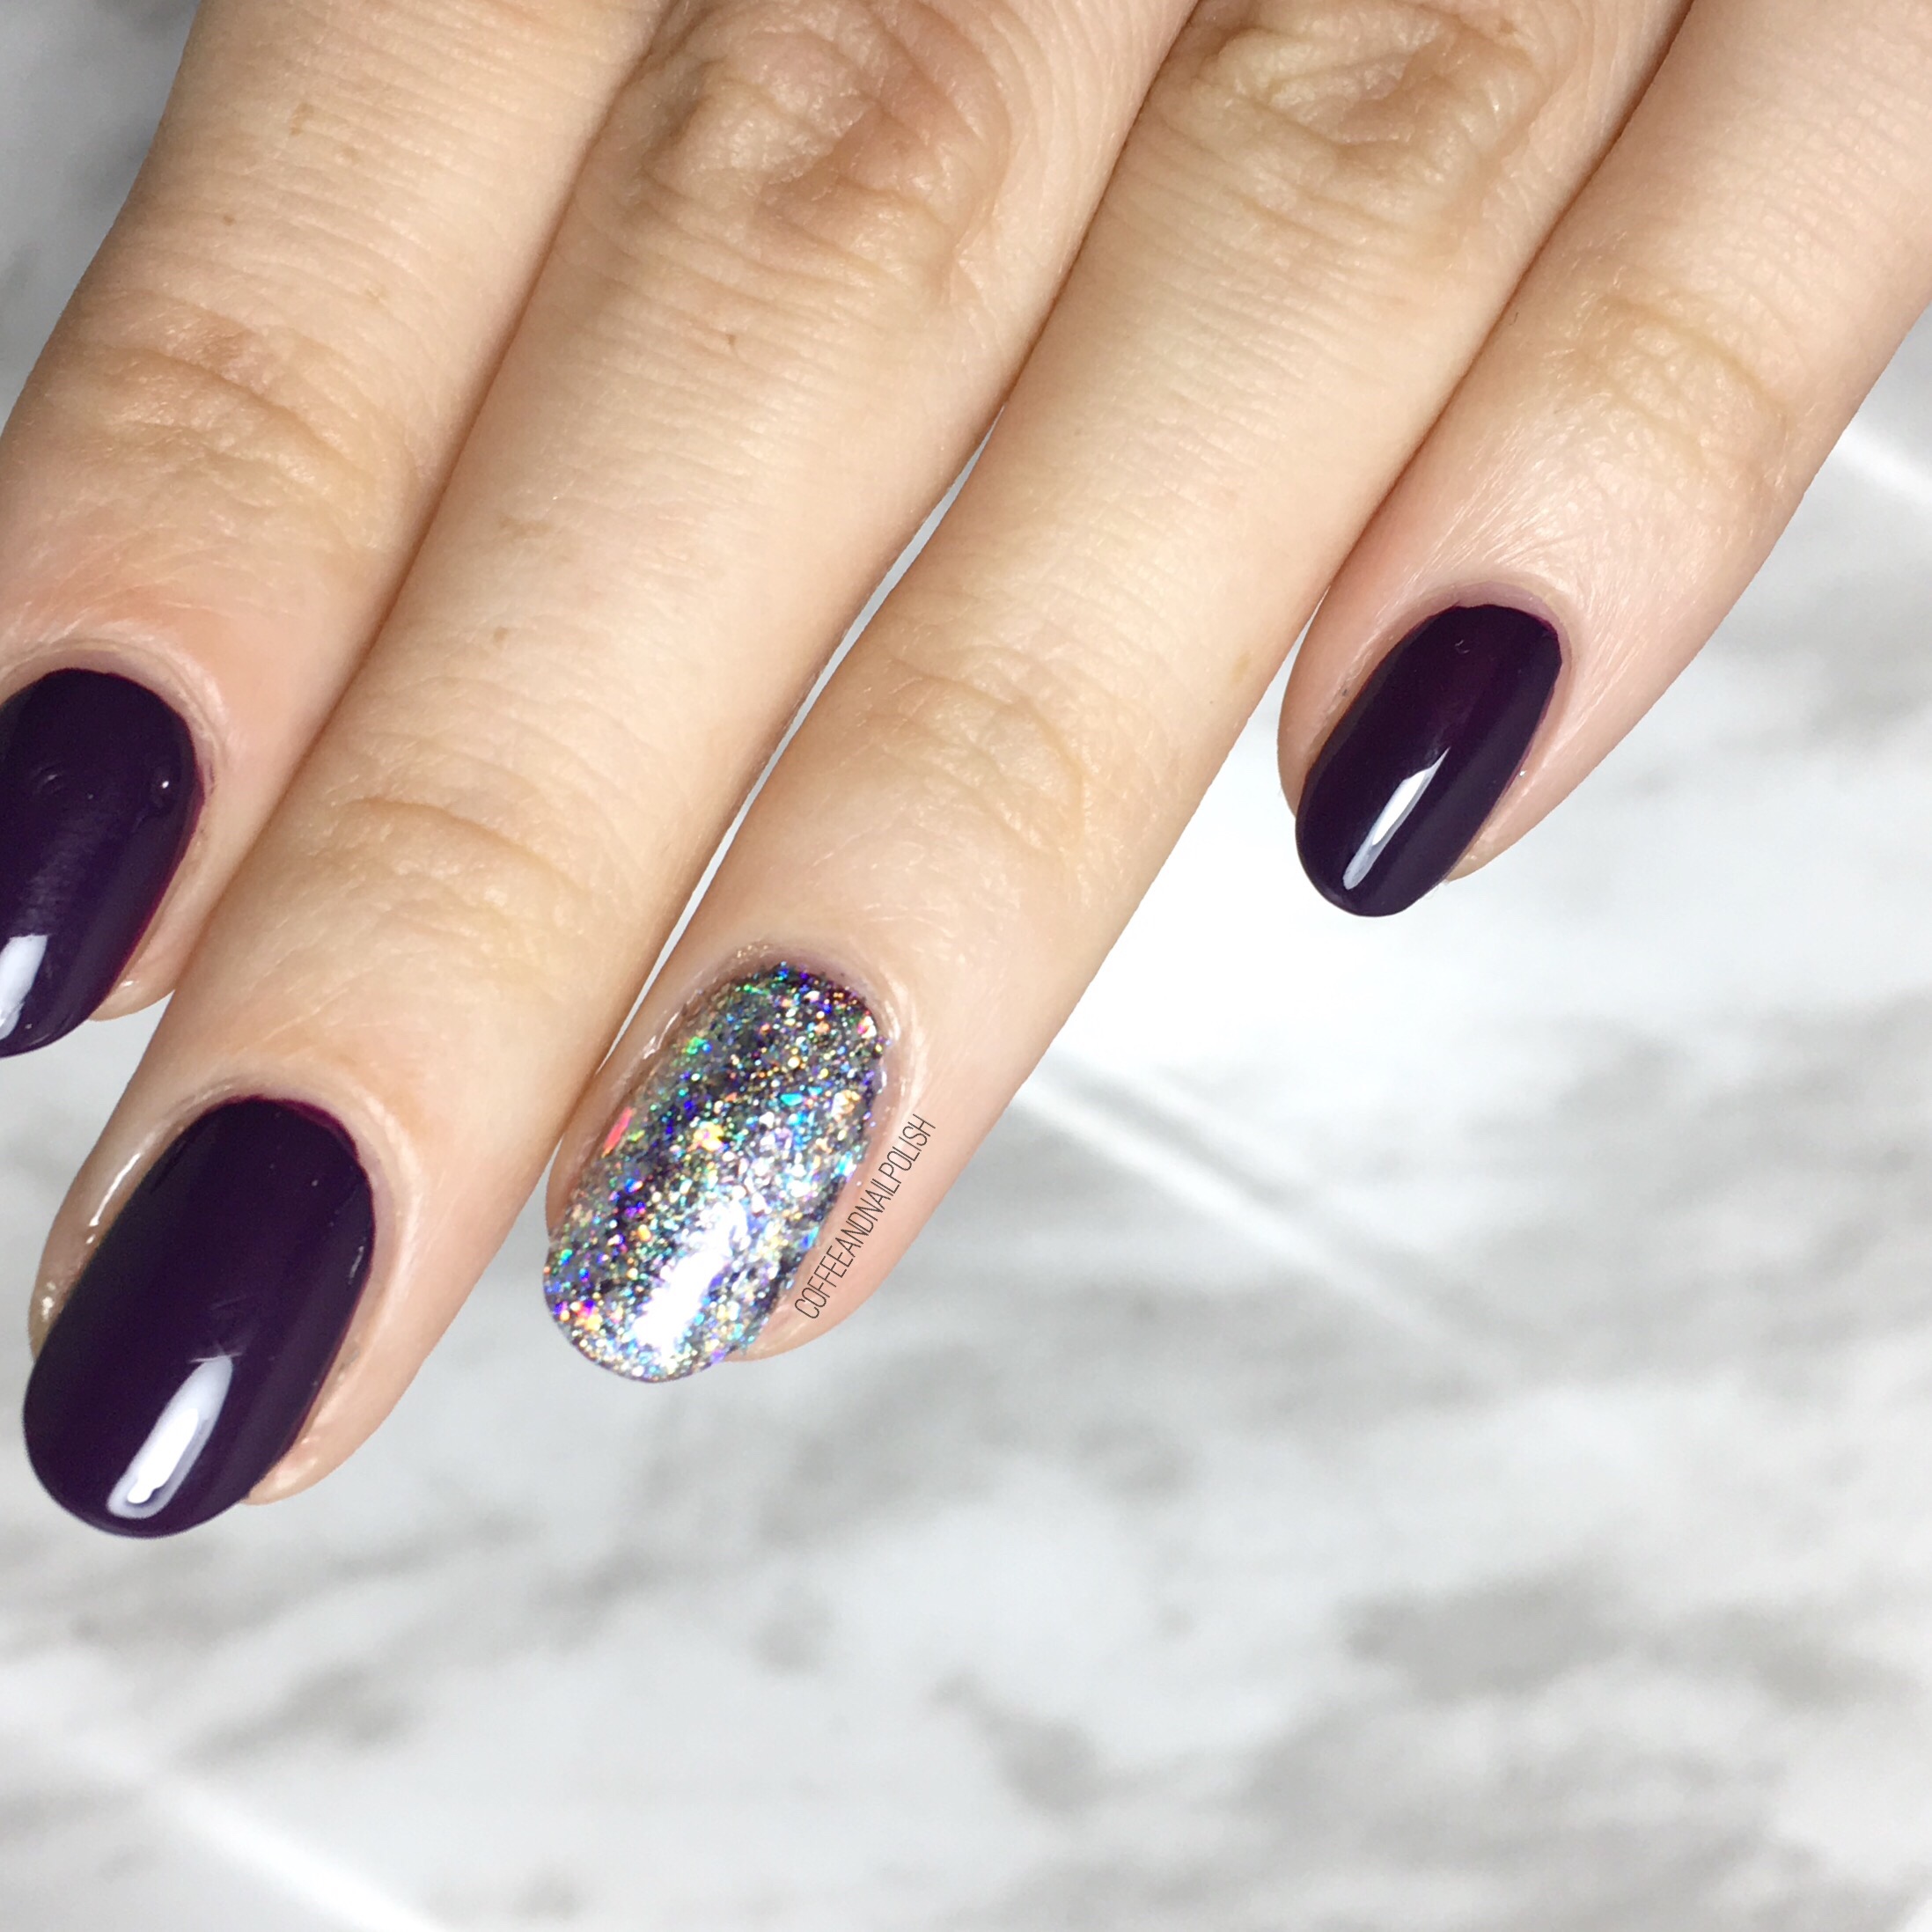
Holo Accent Nails using NailStuff.ca Holo Pigment! 

Happy Wednesday everyone! The week is already speeding by, which is crazy—halfway to the weekend. To get us over this mid week slump, today I’ve got another item I was so kindly sent to try out by NailStuff.ca: holo pigment flakies. 

This is my first time ever using any kind of pigment for the nails (I know, I’m so behind on the times) so I was super excited to give it a whirl & also totally unsure of how to go about it. I know these pigments work really well over gel nails, but I change my nails too often for that so I decided to create these holo nails using just nail polish! So after watch a bunch of YouTube & Instagram videos, I felt pretty confident I could do this! 

For this manicure, the polishes I used were:

  • Base Coat: Essie Grow Stronger
  • Top Coat: Seche Vive
  • L’Oréal Pino Purple
  • NailStuff.ca Holo Pigment Flakies
  • Fingerpaints Peel Off Base Coat
  • Edge Perfection Cuticle Barrier  

To accomplish this look: 

  • I painted all my nails with L’Oréal Pino Purple (including my ring finger.) 
  • I applied top coat to all my fingers except my ring finger & on that nail I applied Fingerpaints Peel Off Base Coat. (I originally tried used just wet nail polish but found the flakies didn’t stick as well for me.)
  • Next I applied my Edge Perfection Cuticle Barrier around my ring finger & let it dry completely. 
  • I then took the small eyeshadow applicator that comes with the flakies, & patted them down onto the nail & tried to rub them in some. It took about 2 applications to completely cover my base. (You can see at the edge of my nails where I missed a few spots.)
  • Seal in flakies with top coat (I used Seche Vive for that shine.) 

Super simple & only slightly messy. I did end up getting holo flakies in my bed (where I do my nails pretty much always) which in turn ended up sticking to my son for a couple of days but nothing wrong with a little holo glitter! 

I will say, my second attempt using a sticky base coat over my polish worked much better (as opposed to using just my base of polish). The first time I tried half the flakies came off with my top coat, but it could be my polish had dried too much for the flakies to really stick. 

Have you used holo flakies before? Any tips  for application that you’ve discovered? Leave all your thoughts below! 

*PR SAMPLE* Some of these items were sent to me for review. However, all opinions are my own. 

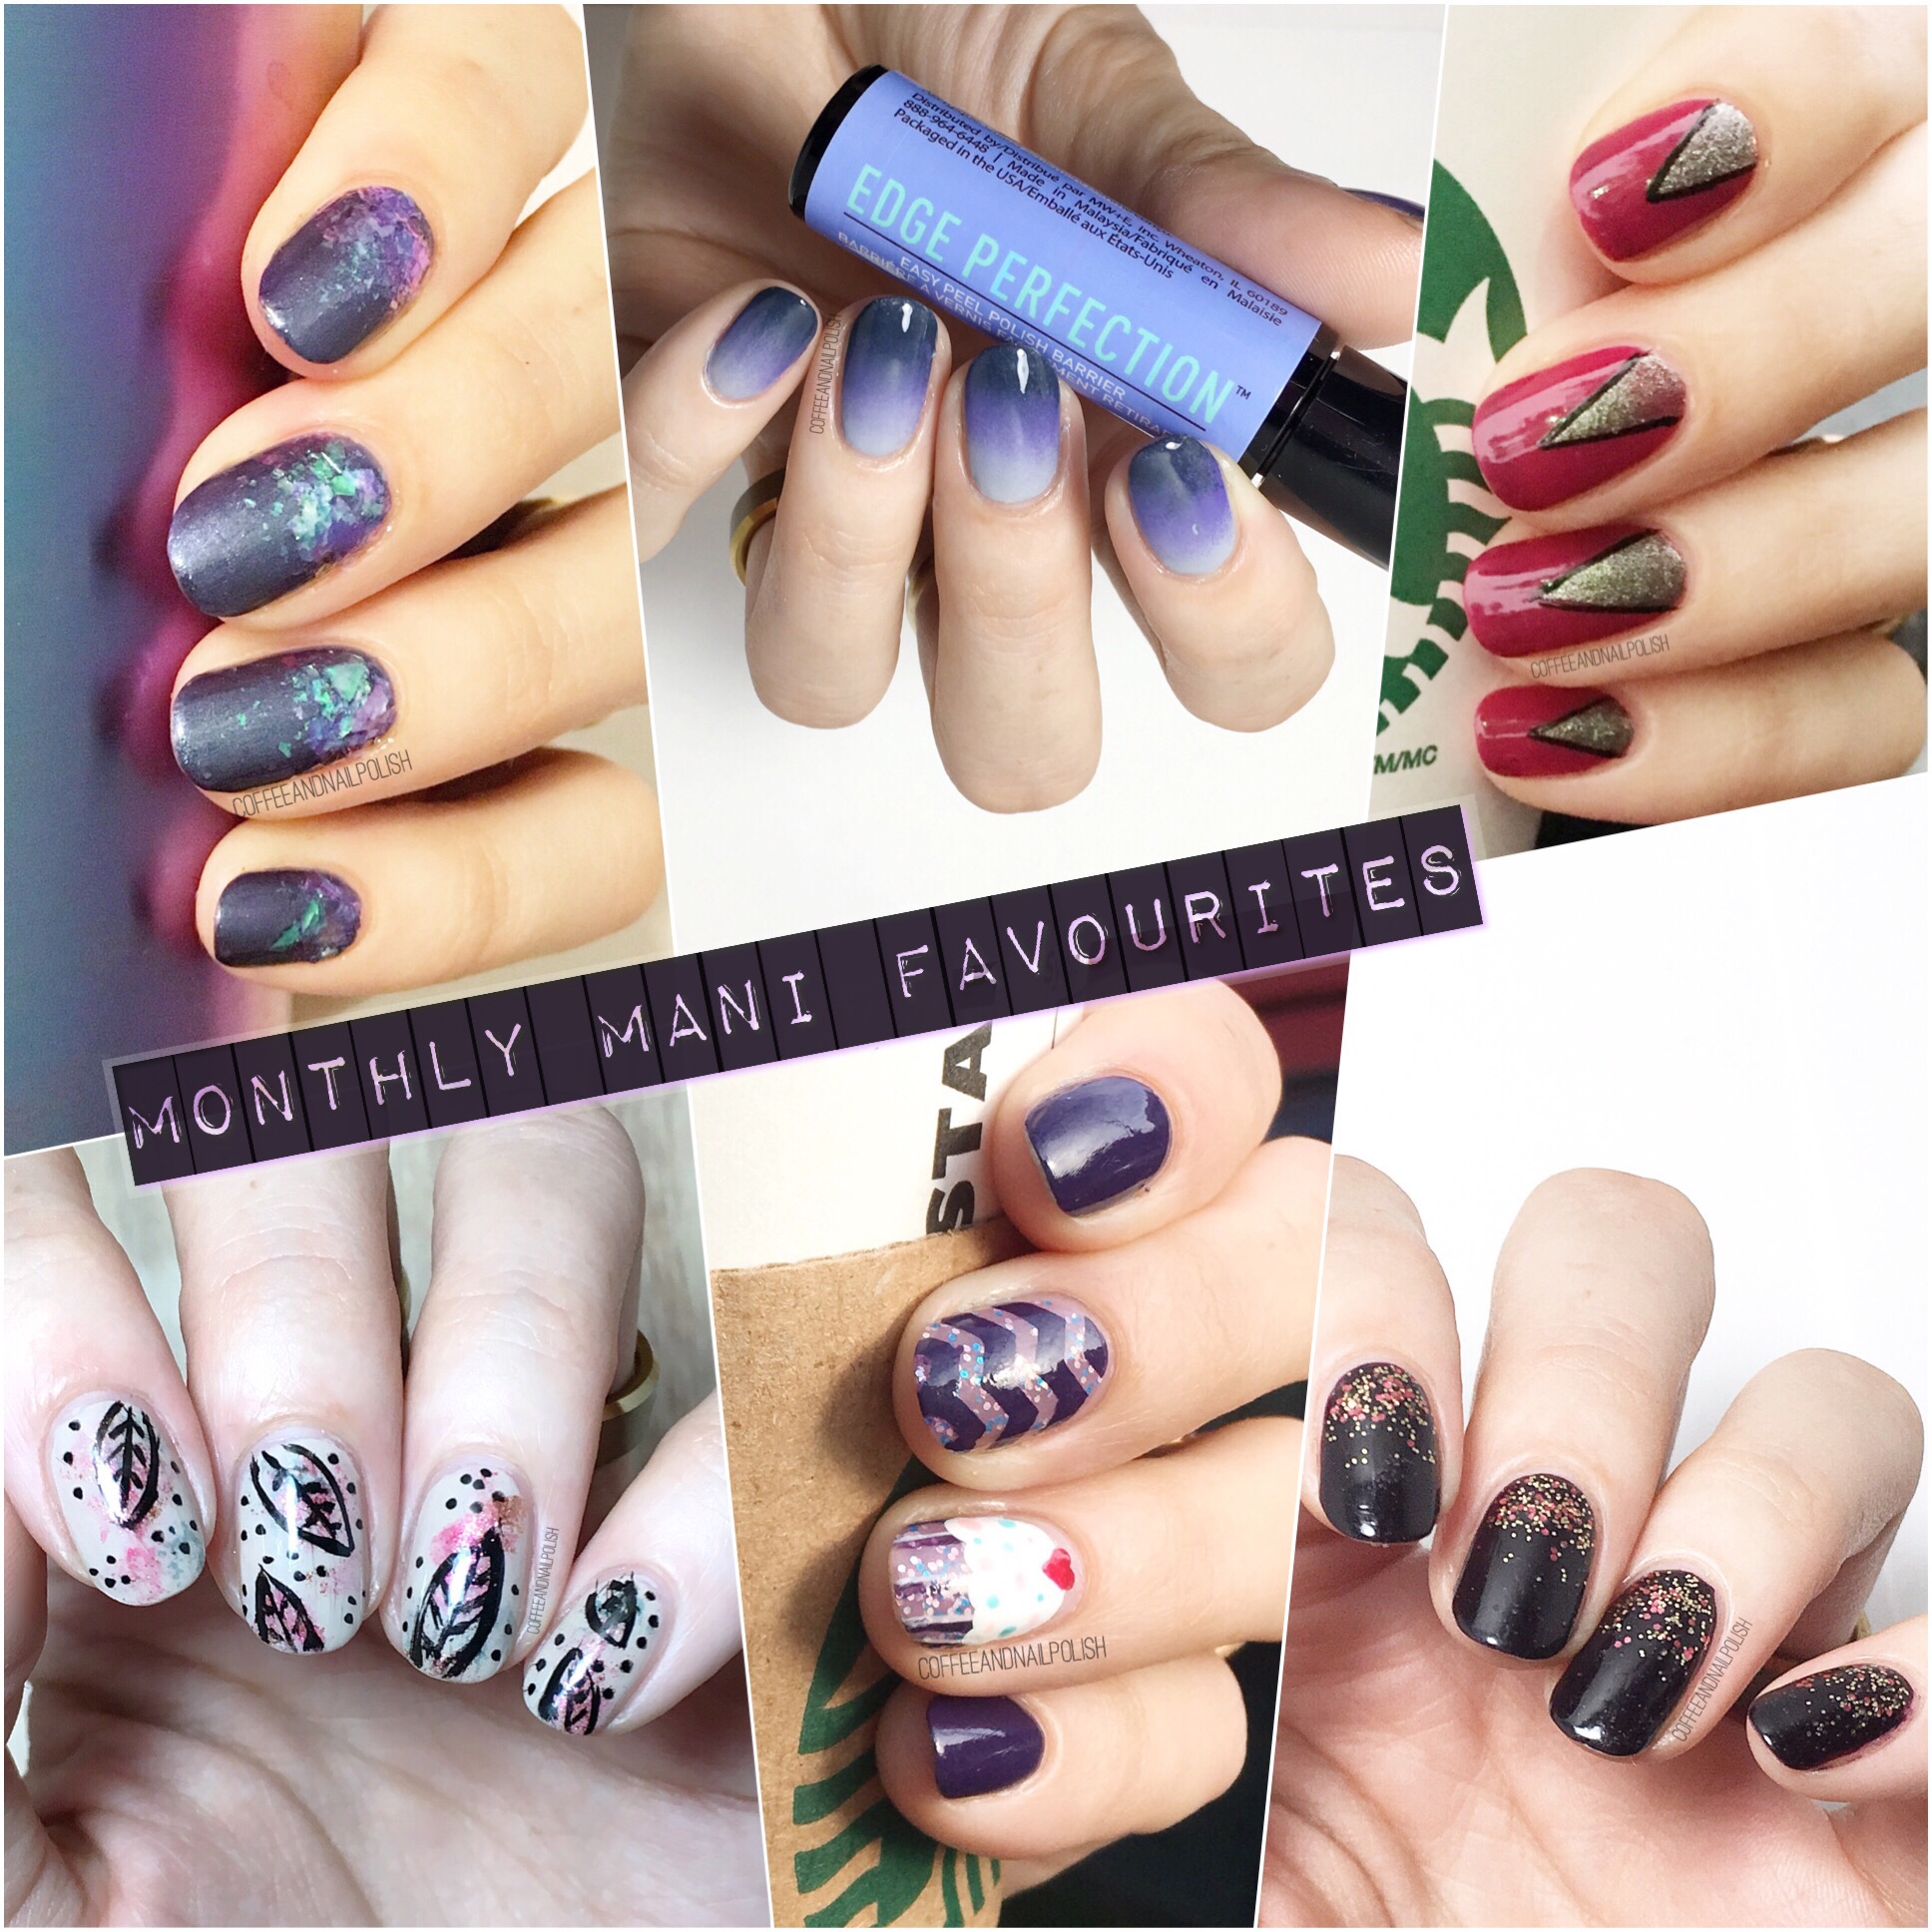
October Monthly Mani Favourites 💅🏻


Can you believe that October is over? I feel like I just blinked, & suddenly it was over! Now comes November & the beginning hints of the Christmas season. But before we start thinking ahead… let’s look back on my favourite manicures from the last month! 

Did you favourite make the cut? What designs  are you looking forward to seeing in November? Let me know in the comments below!