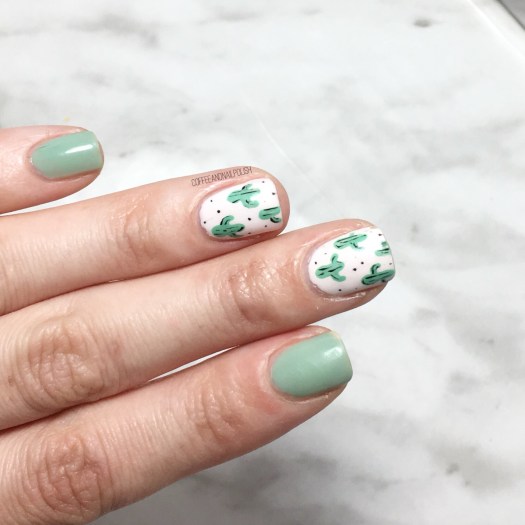
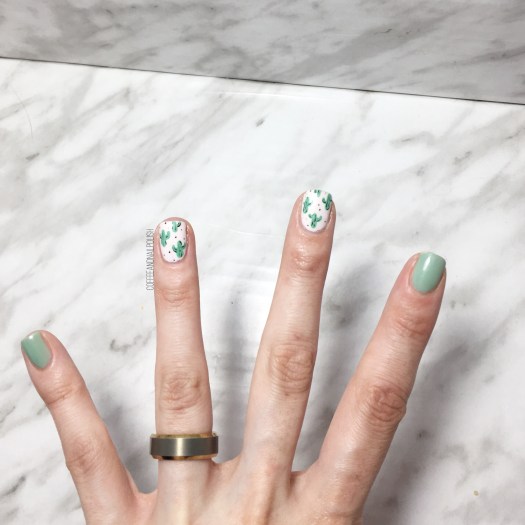
Blue on Blue Dotticure

Good morning lovelies & happiest of Mondays! I hope the weather where you are is nicer than here on the East Coast — it’s raining, again.

My favourite.

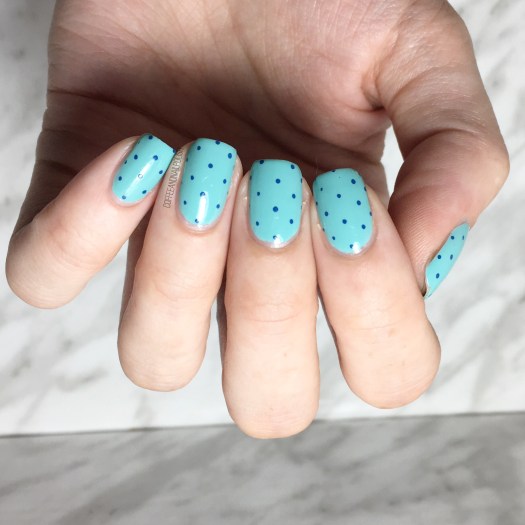
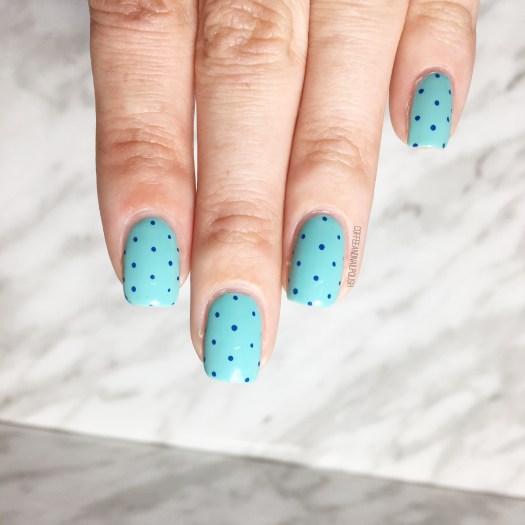
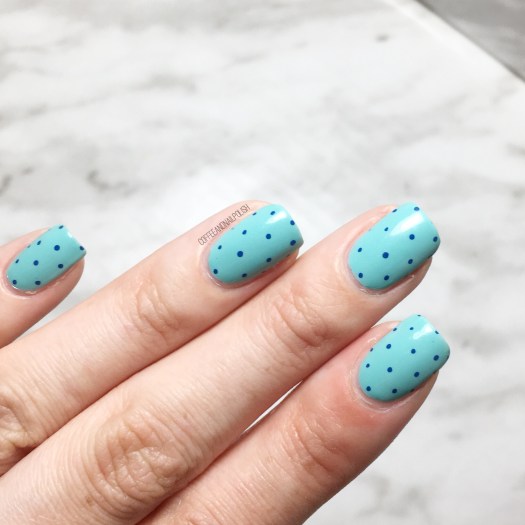
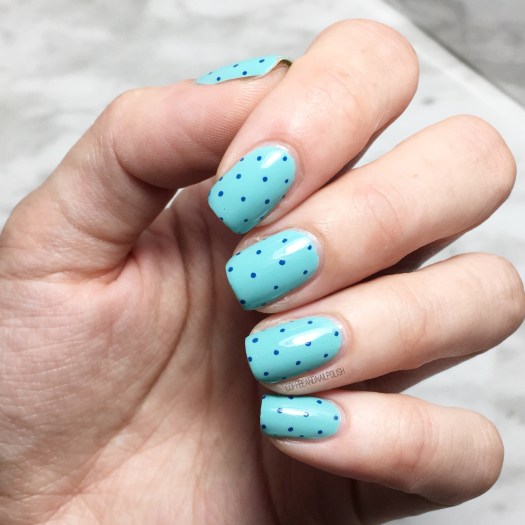
Today I’m showing off a quick & simple nail art look that I did last week. Now that the countdown for baby #2 is down to days, I’ve been trying to keep my manicures quick & simple. & there is nothing I love more when I want quick nails than a dotticure!

The polishes I used for this manicure were:

  • Base Coat: Sally Hansen  Green Tea & Bamboo Strengthener
  • Top Coat: Essie Speed Setter
  • China Glaze For Audrey
  • Sally Hansen I ♥️ Nail Art Pen in Navy

I’ve mentioned before how much I love my Sally Hansen nail art pens for creating dotticures. I find they’re the easiest because you don’t have to constantly need to reapply polish to your dotting tool, you just need to touch the nail. Obviously, that’s for petite polka dots as opposed to bigger dots.

This was also my first time wearing China Glaze For Audrey in absolute ages & I forgot how pretty it is. Fun fact: For Audrey was the very first China Glaze shade I ever bought (shortly after our very first Sally Beauty opened) & I bought it completely based on the fact Breakfast At Tiffany’s is one of my favourite movies.

What do we think about this dotticure? Do you have a favourite polka dot combination? Share your favourites down in the comments below!

Marble Fluid Nails

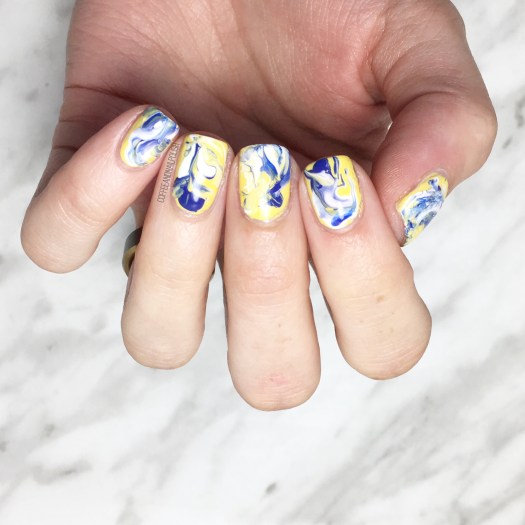
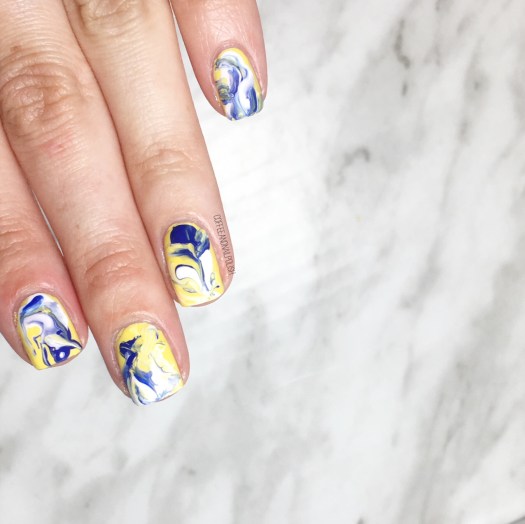
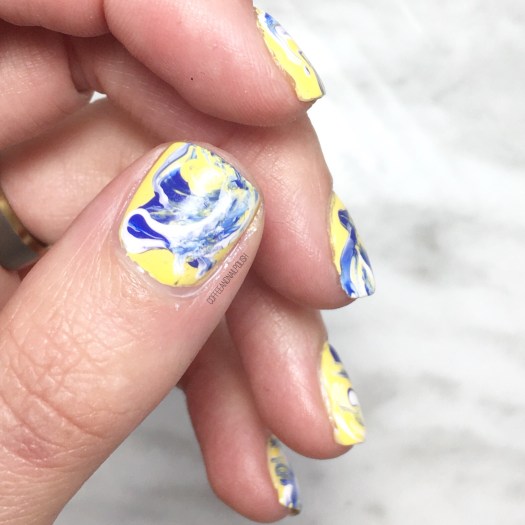
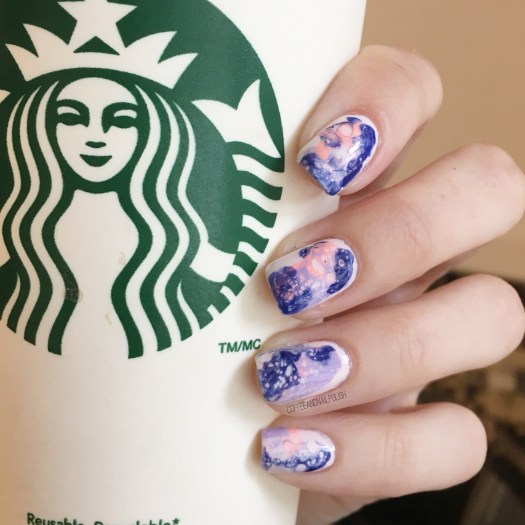
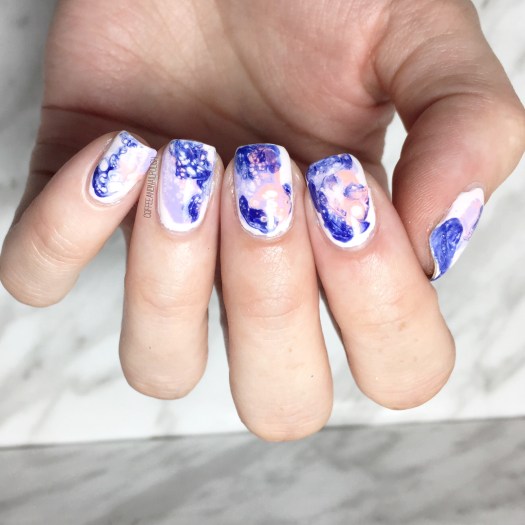
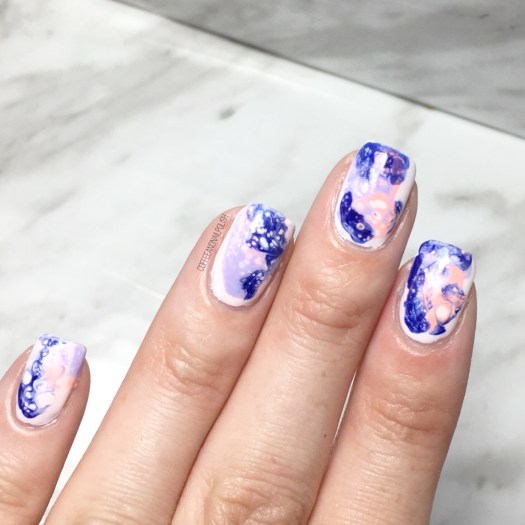
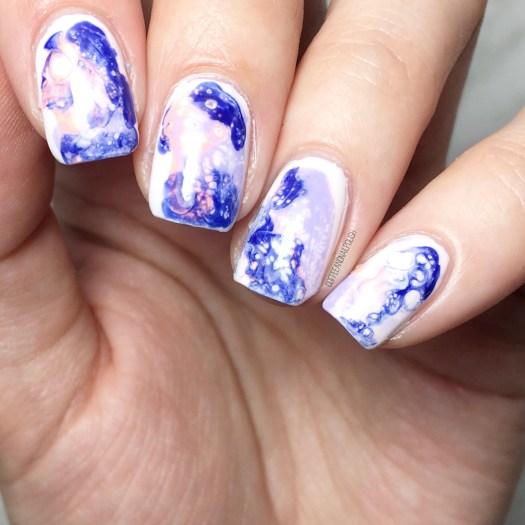
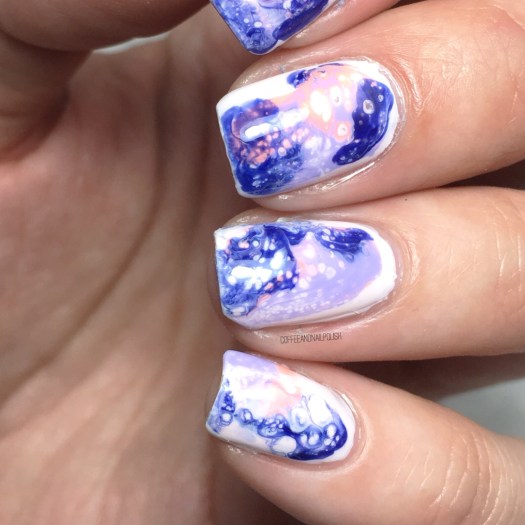
Good morning lovelies & happy Friday! Who else is excited for the weekend!? Today I have some brand new nails with a new to me technique I’ve been wanting to try for AGES: fluid nails.

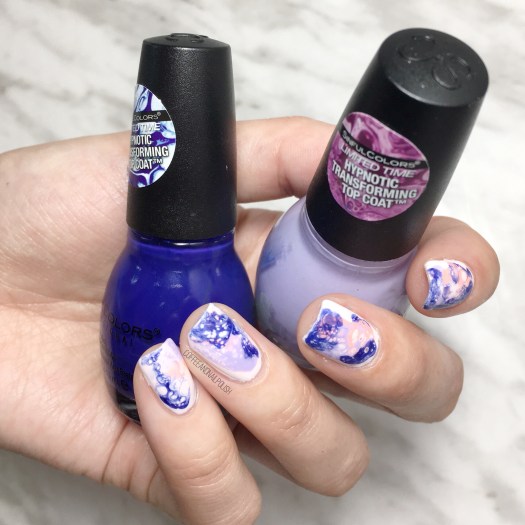
This technique has been popping up on Instagram for a while & I’ve been obsessed with how they looked just as long — I even went out & bought a few of the Sinful Colours Hypnotic Transforming Top Coats that were released a few years ago, but was dawdling on actually giving the technique a try!

The polishes I used for this design were:

  • Base Coat: Sally Hansen Bamboo & Green Tea Strengthner
  • Top Coat: Essie Speed Setter
  • Sally Hansen Miracle Gel Pretty Peony
  • Sally Hansen Miracle Gel Neons Peach Please
  • Sinful Colors Hypnotic Transforming Top Coat Rebel Rebel
  • Sinful Colors Hypnotic Transforming Top Coat Purpunk
  • Stamper (I used my clear stamper from Nailsuff.ca)

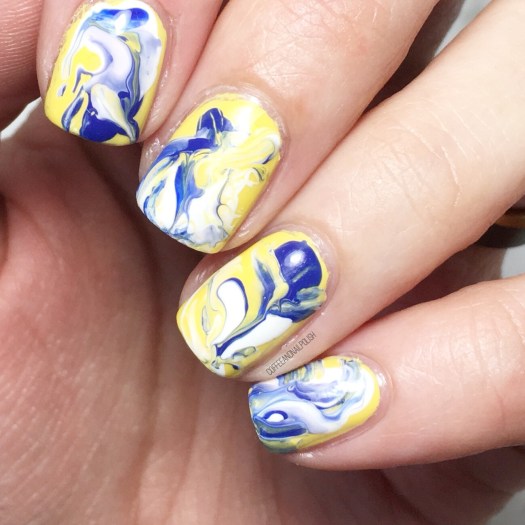
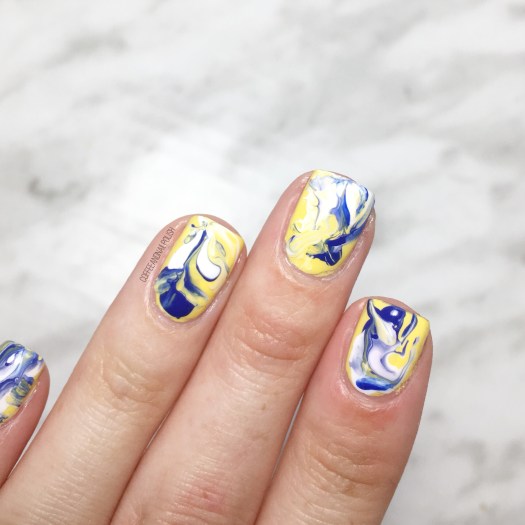
Most of the tutorials I saw involved creating decals to make your cells for the fluid look, but being lazy (& tired) I decided to see if I could use the smoosh technique to get a similar look. I painted my nails my base colour of choice & then applied drops of polish including my Sinful Colors Hypnotic Transforming Top Coats & then quickly pressed down using a stamper to smoosh my shades together. & it worked!

I was a little careful with application to keep mess to a minimal (couldn’t find my Edge Perfection & wasn’t in the mood for a ton of clean up) but you could definitely make the fluid look cover more of the nail if you applied more polish & smooshed down harder. I will definitely be trying this look again & seeing if I can do a fuller nail look. However, that being said my pinky was the first nail I did & it turned out my favourite!

Have you tried out the fluid nail art look yet? I know I’m about 2 years behind, but I’m so glad I finally gave it a try & finally used these awesome spotted polishes I’ve had in my stash forever!

What do you think of this look? Let me know in the comments below!

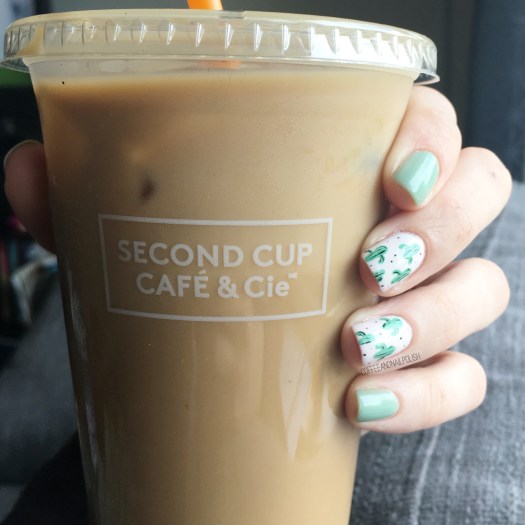
(Even More) Cactus Nails

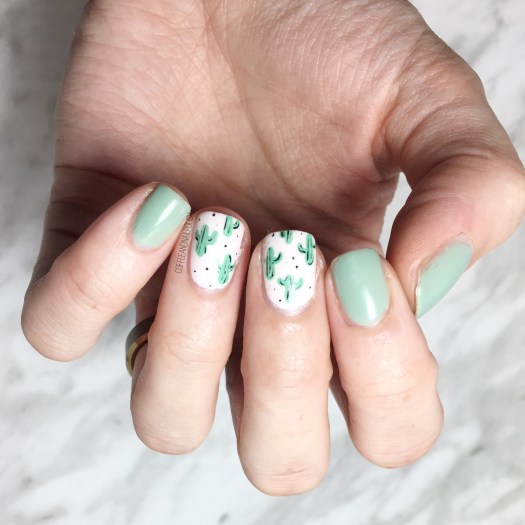
Good morning lovelies. I hope you’re not sick of cactus nails yet! I was inspired by my brand new make up from my previous post, so obviously I had to create some nails to match!

Cactus pattern nails have become a serious favourite design of mine to do, & I love how each nail design always turns out just a little bit different.

For this manicure, the polishes I used were:

  • Base Coat: OPI Nail Envy
  • Top Coat: Seche Vive
  • Essie Turquoise & Caicos
  • Sally Hansen Miracle Gel Get Mod
  • Essie First Timer
  • Sally Hansen Hard As Nails Black Heart
  • Nailstuff.ca 4mm micro detail brush {PR sample}
  • Nailstuff.ca dotting tool {PR sample}

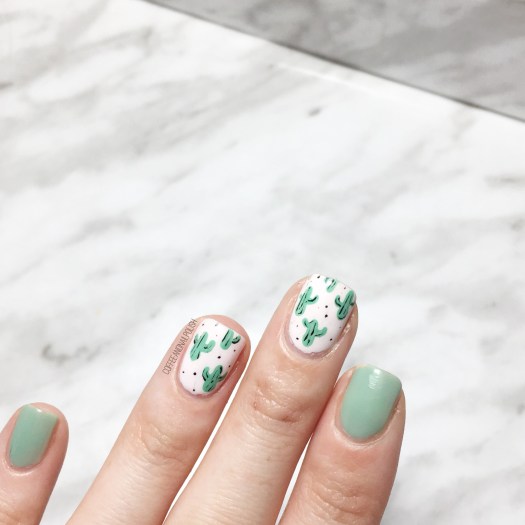
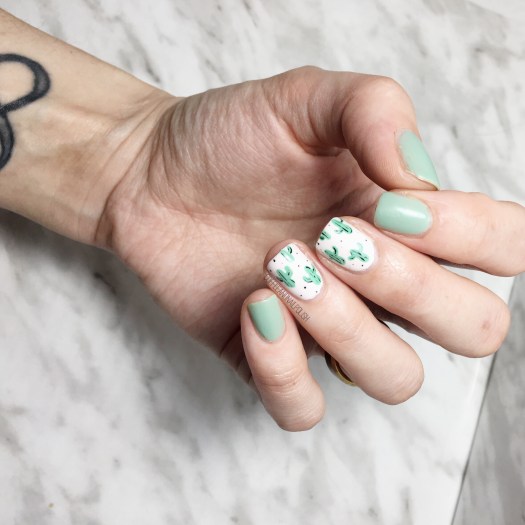
How cute are these? I know I’m slightly bias, but I really like how these turned out. I think adding the black detailing really makes the design pop out more on the nail & reminds me of a pillow I have. Originally I was going to try & do some stamping, but I couldn’t find the plate I was looking for, so freehanding it is! & using my super tiny detail brush from NailStuff.ca was perfect for this tiny little design.

what do you think of this cactus design? Are you sick of cactus yet? Let me know what designs you’d like to see next by commenting down below!

Gradient Cactus Nails

Good afternoon & happy May everyone! Who else excited for warmer days. I feel like I’m saying this every post, but I’m just. so. ready. This winter has felt just so darn long & I’m craving neons & brights.

I was also craving a gradient as it felt like absolute ages since I had created one, so I decided to go with a blue toned look. & to finish off the look I added these absolutely adorable cactus stickers that Victoria from NailStuff.ca sent to me because she knows my love for cacti! 🌵 Have you checked out her collection of nail stickers & nail decals? I’m obsessed. So many fun designs for easy nail art this Summer.

For this manicure, the polishes I used were:

  • Base Coat: OPI Nail Envy
  • Top Coat: Seche Vive
  • Essie Fashion Playground
  • Sally Hansen Miracle Gel Sugar Fix {PR sample}
  • China Glaze I’ve Got A Blue Attitude
  • Sally Hansen MG Make It N-Ice {PR sample}
  • Edge Perfection Cuticle Barrier {PR sample}
  • Cacti Nail Stickers {gift from Nailstuff.ca}

My gradient skills were a little rusty, but I love this look so much. The colours used almost give the gradient a thermal polish feel & obviously I couldn’t do a gradient without adding a little glitter. & finishing off the look with the stickers just made them a little more fun!

What do you think of this look? Share your thoughts down in the comments below!
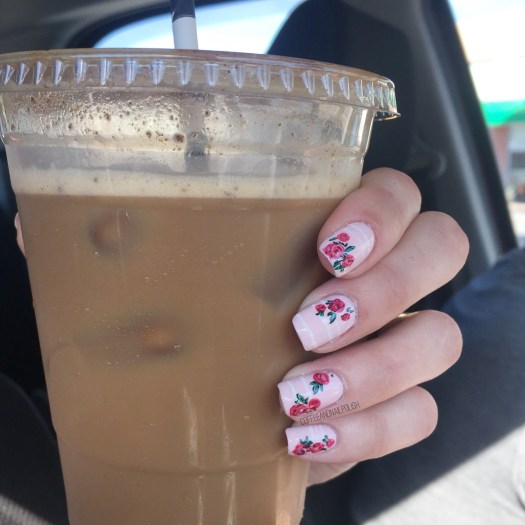
Mix & Match Spring Nails

Good morning lovelies & happy Wednesday. It’s a new day & I finally have new nails to share. This look is what I created over my Swatch of Julep Alyssa from my previous post & I’ve been wearing it since Sunday! I really wanted something bright & Spring-y for my Easter festivities, & I loved the look so much I could bare to take it off yet!

For this manicure, the polishes I used were:

  • Base Coat: OPI Nail Envy
  • Top Coat: Seche Vive
  • Julep Alyssa (It Girl)
  • Essie Blanc
  • Essie Peach Side Babe
  • Sally Hansen Miracle Gel Orchid-ing Aside {PR sample}
  • NailStuff.ca Gold Mixed Decoration Nail Wheel {PR sample}
  • TheBaseCoat Drag Marble Nail Vinyls

Seriously loving the mix & match look of this design. The colours are Spring-y but not too Easter Egg-esque & the studs just give it a little something extra. Really, really loving the whole combination. I’m sure in a few weeks I’ll be all about neon (when I’m really craving Summer) but right now these semi-pastel shades are giving me life.

what do you think of this design? Share your thoughts down in the comments below.