Hello lovelies & happy Thursday!
It’s certainly been a while since I had some nail art to share! Actually, that’s a lie. I have a ton of nail art looks saved on my phone, but I’ve been struggling a lot lately with the motivation to keep posting. I love love love nail polish, & nail art, & blogging, but this year has really messed things up. I need to figure out a good blogging schedule for my free time, but right now it’s almost non-existent, hence my very sporadic posting schedule.
But new nails! Let’s get excited.

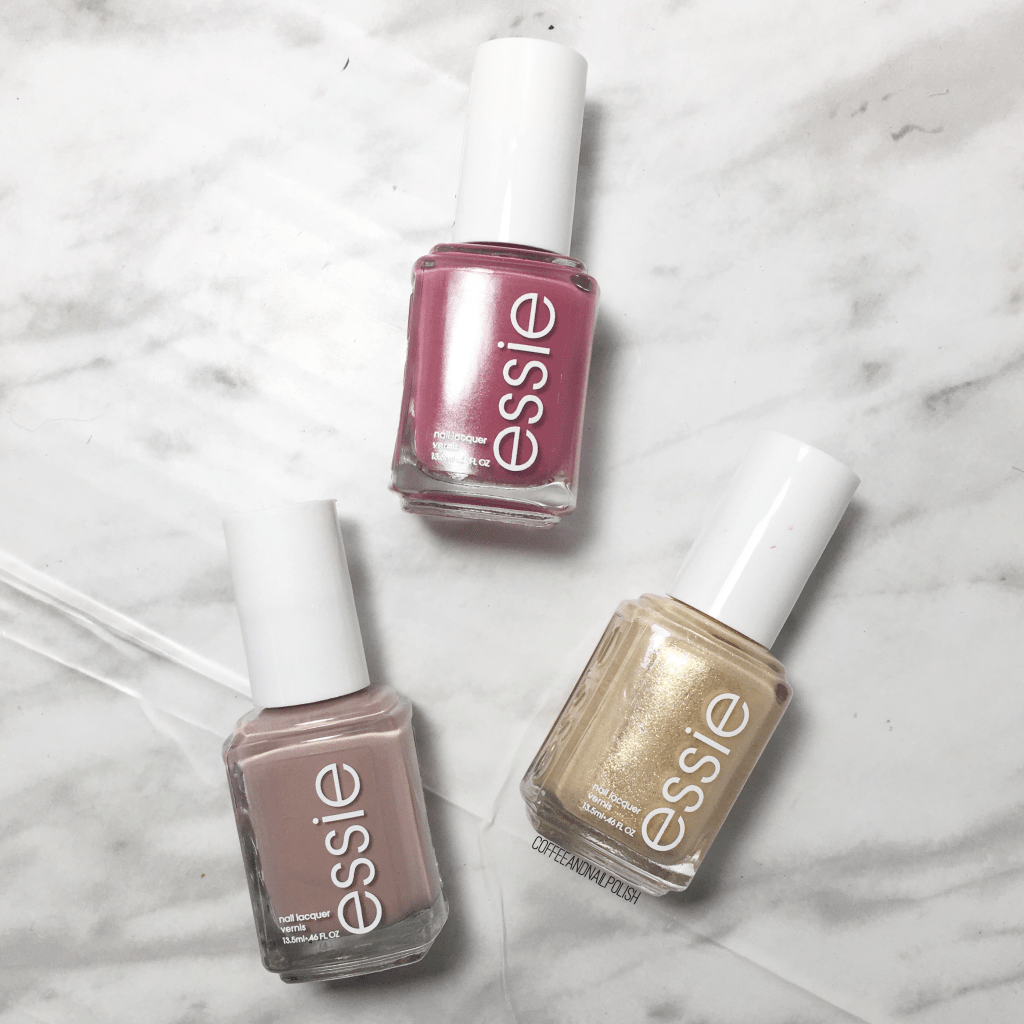
For this manicure, the polishes I used were:
- Base Coat: Essie Strong Start
- Top Coat: Essie Gel Setter
- China Glaze Boho Blue
- Essence Black is Back
- Essie Check Your Baggage
- Essie Fall for NYC
- Sally Hansen CSM Fire Island
- Essence The Green & The Grunge
- Essence Don’t Be Shy
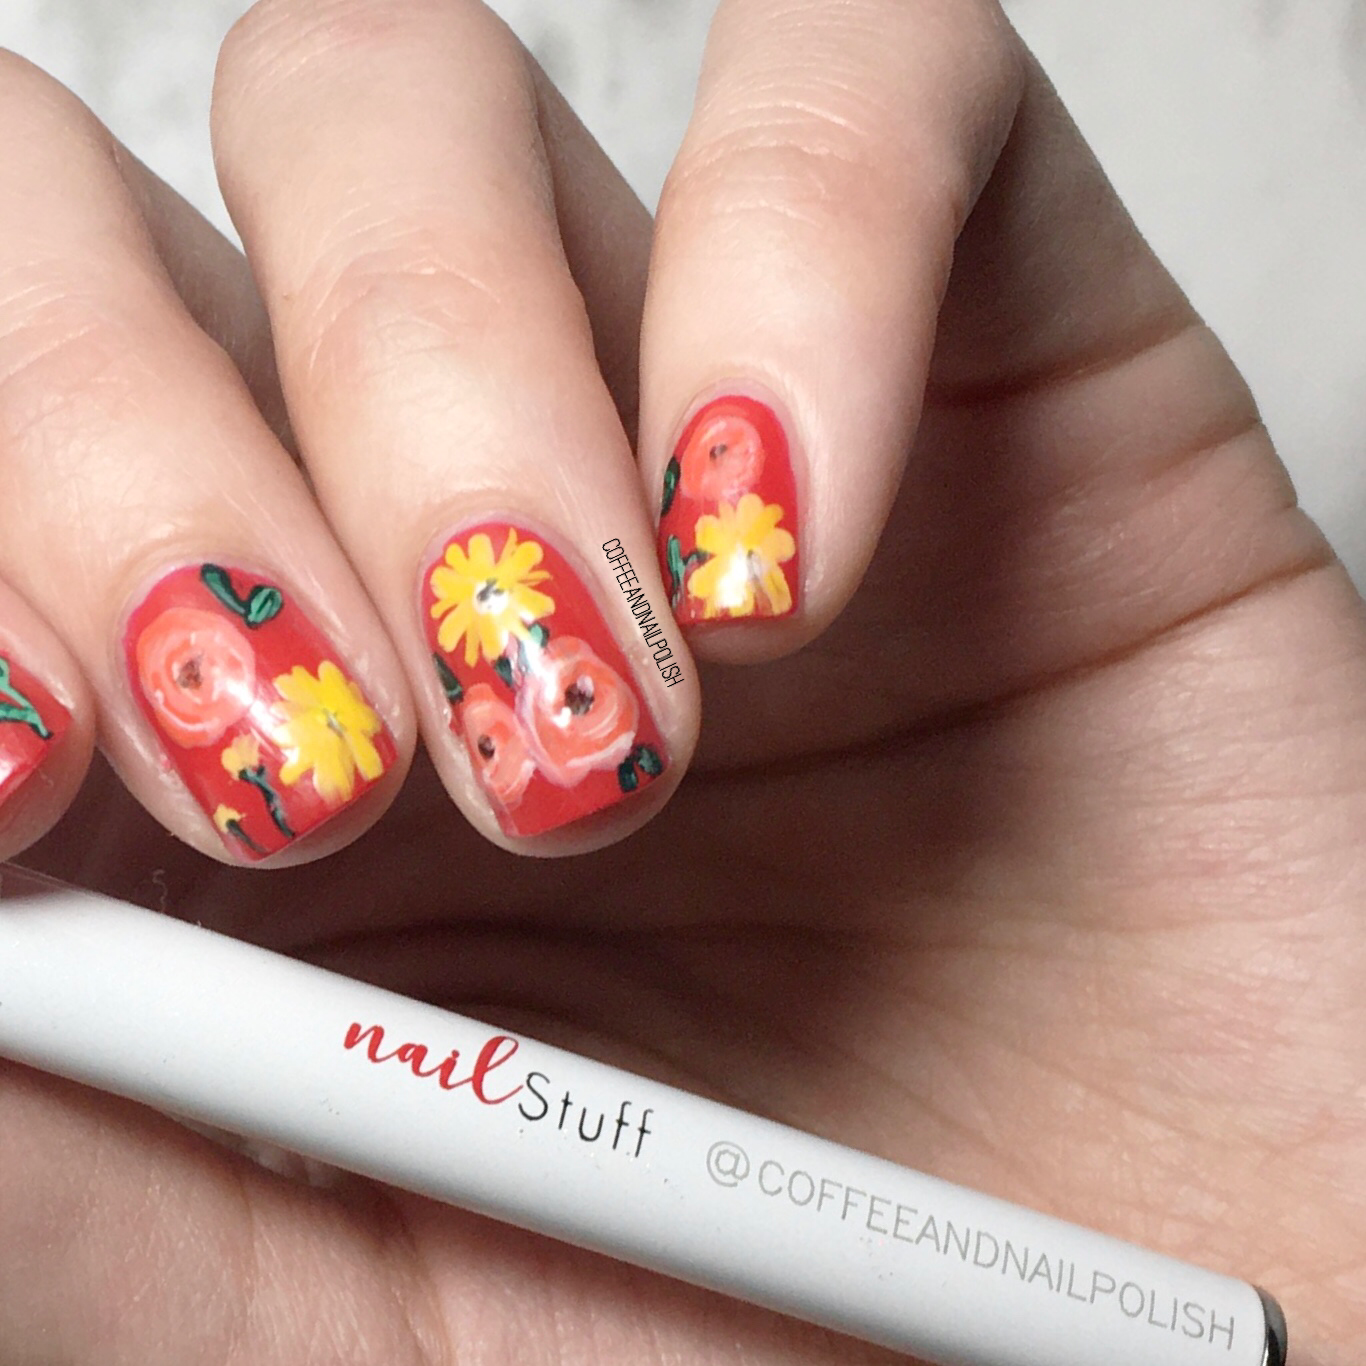
- NailStuff.ca 7mm detail brush (COFFEE10 to save 10%)
- NailStuff.ca Dotting Tool Trio

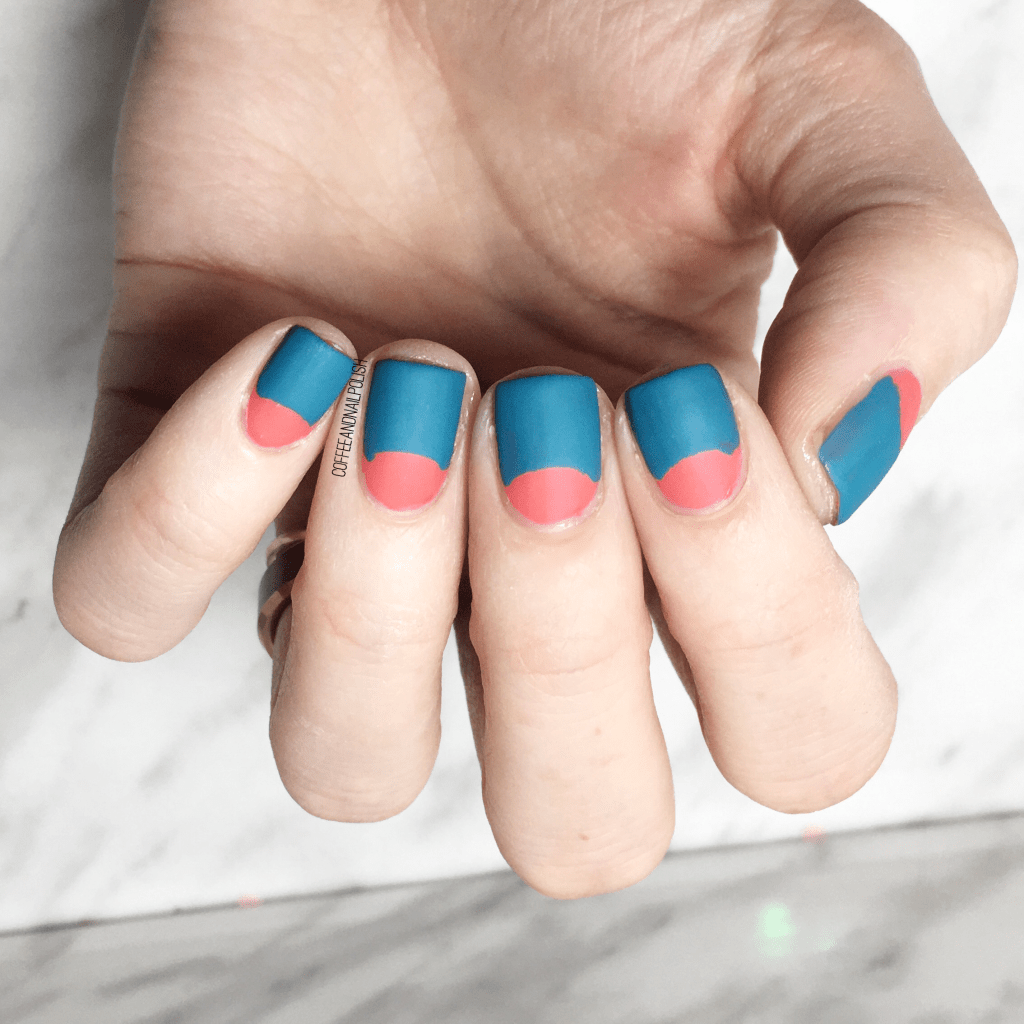
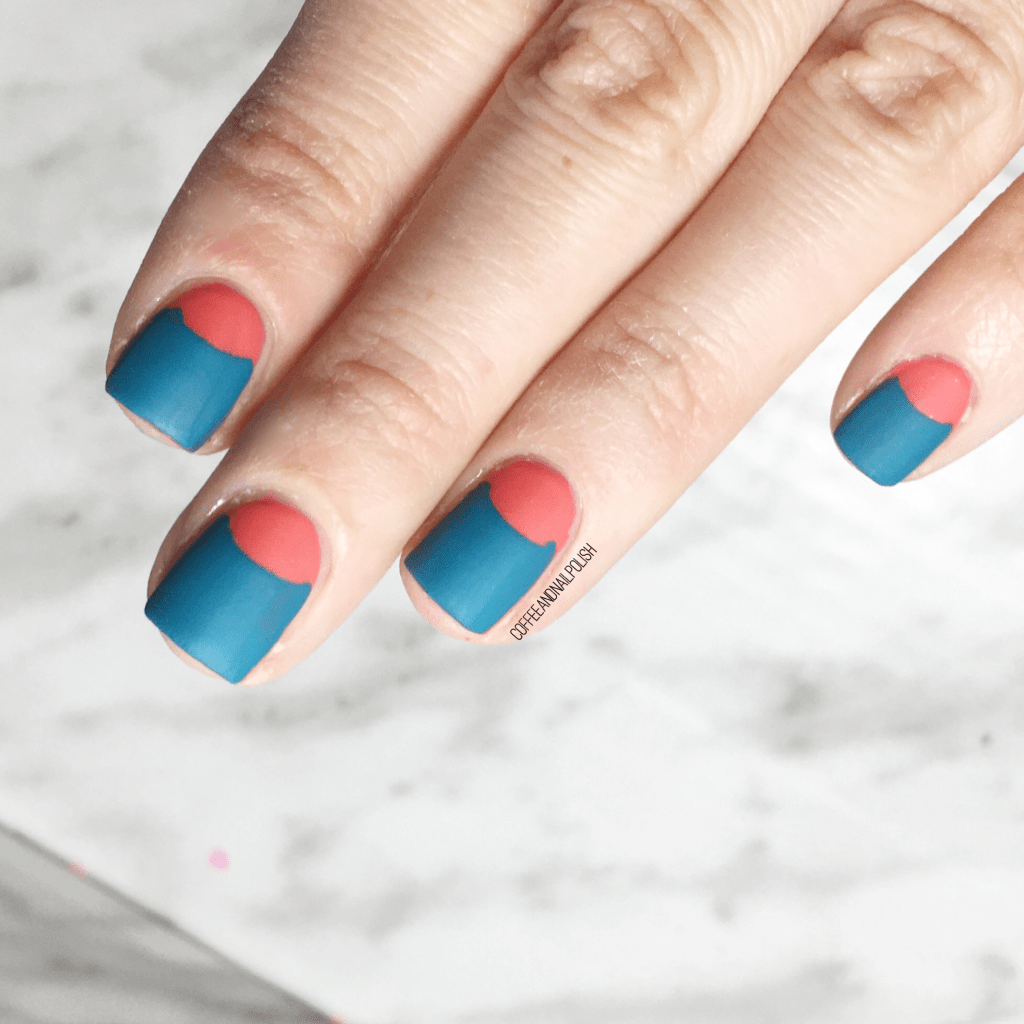
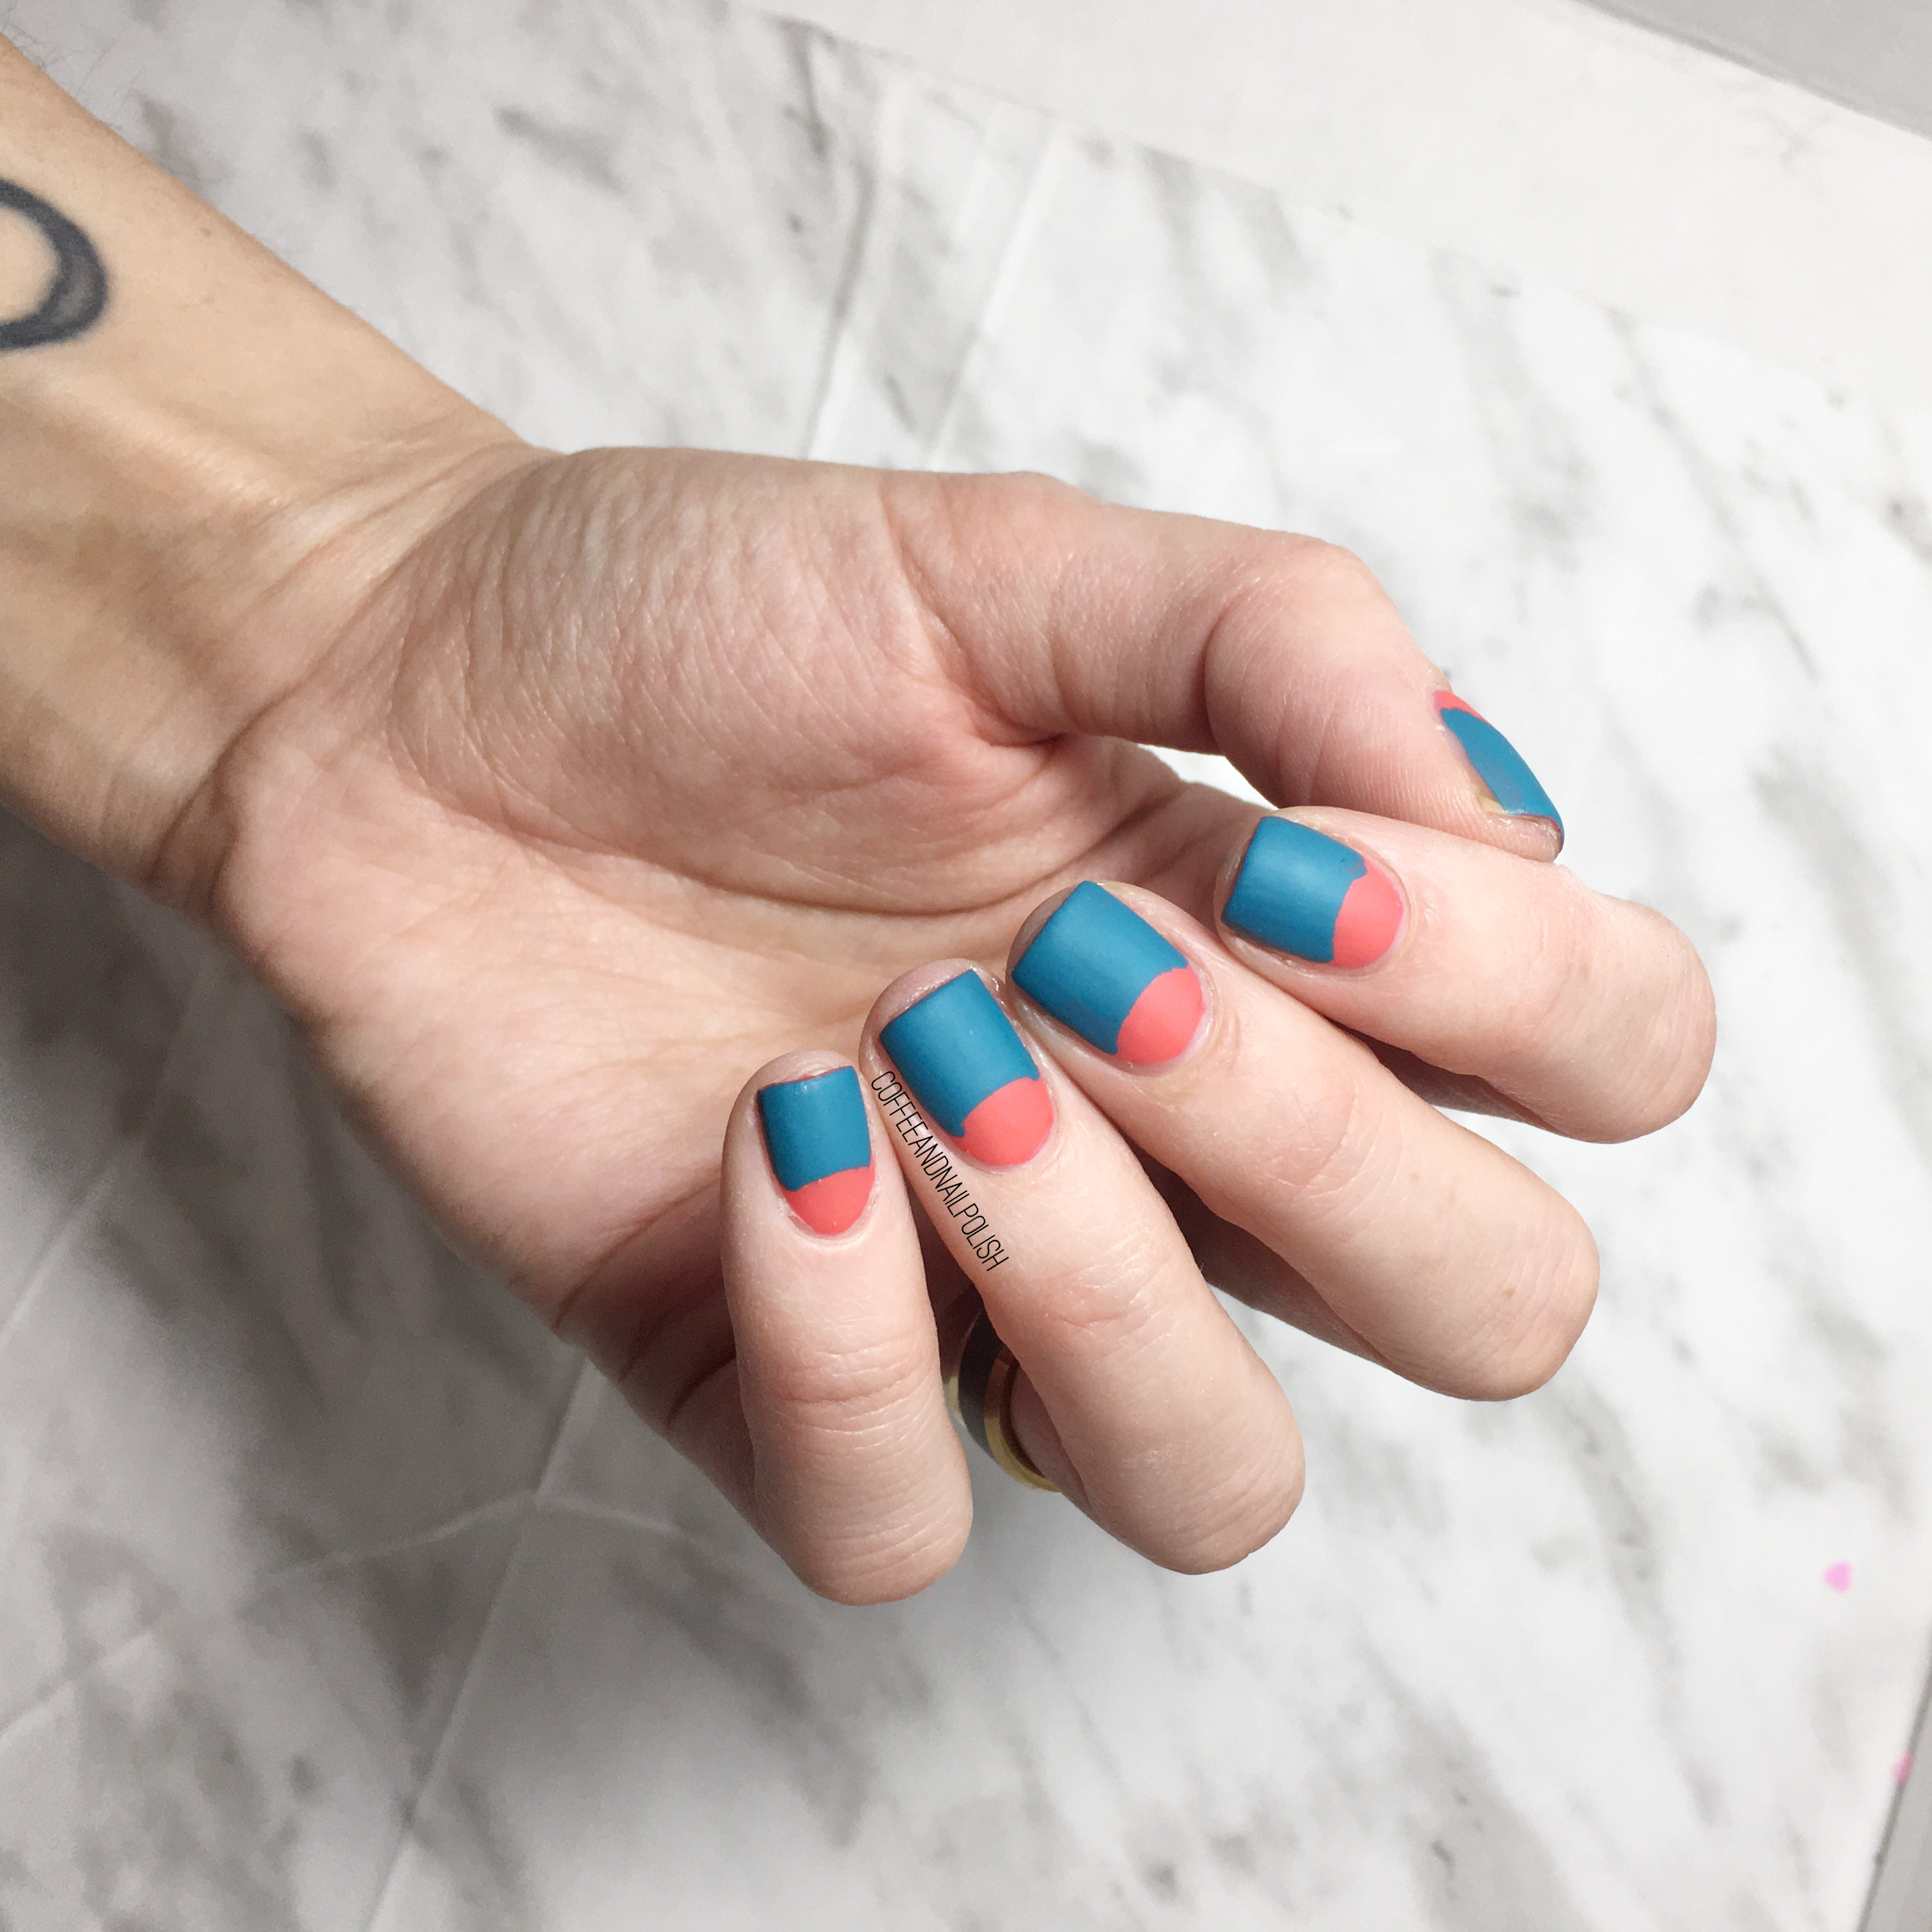
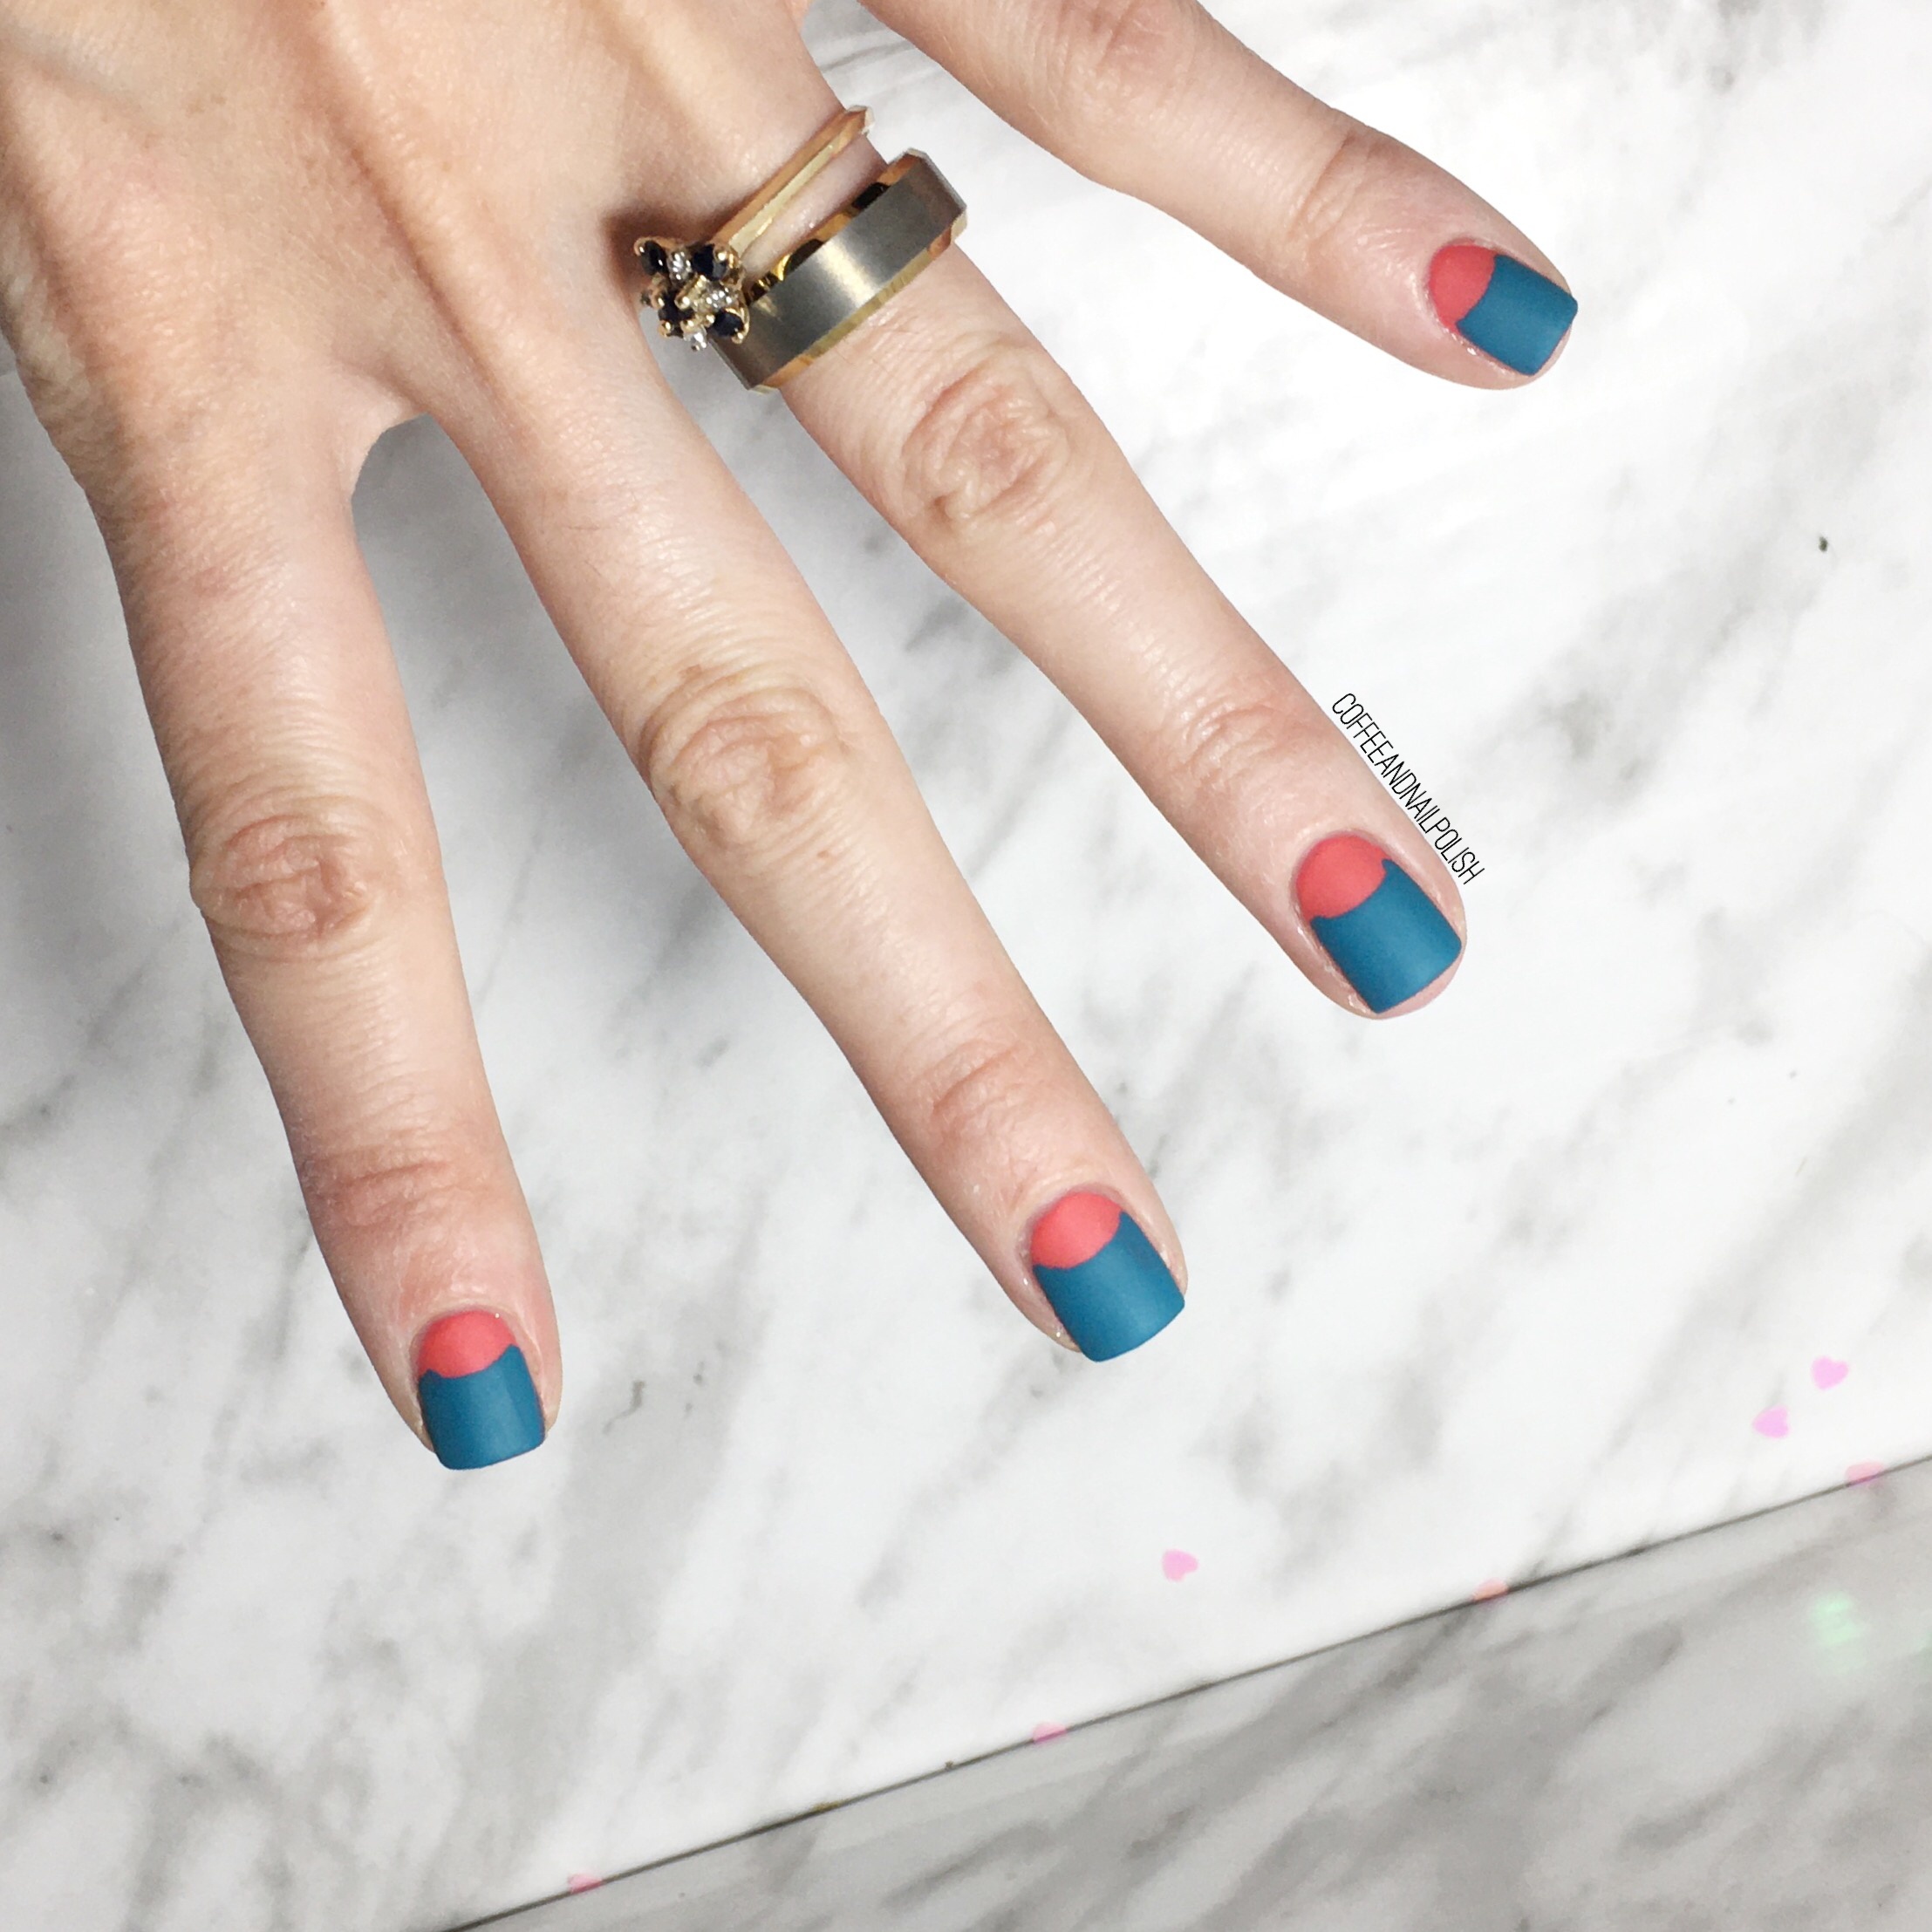
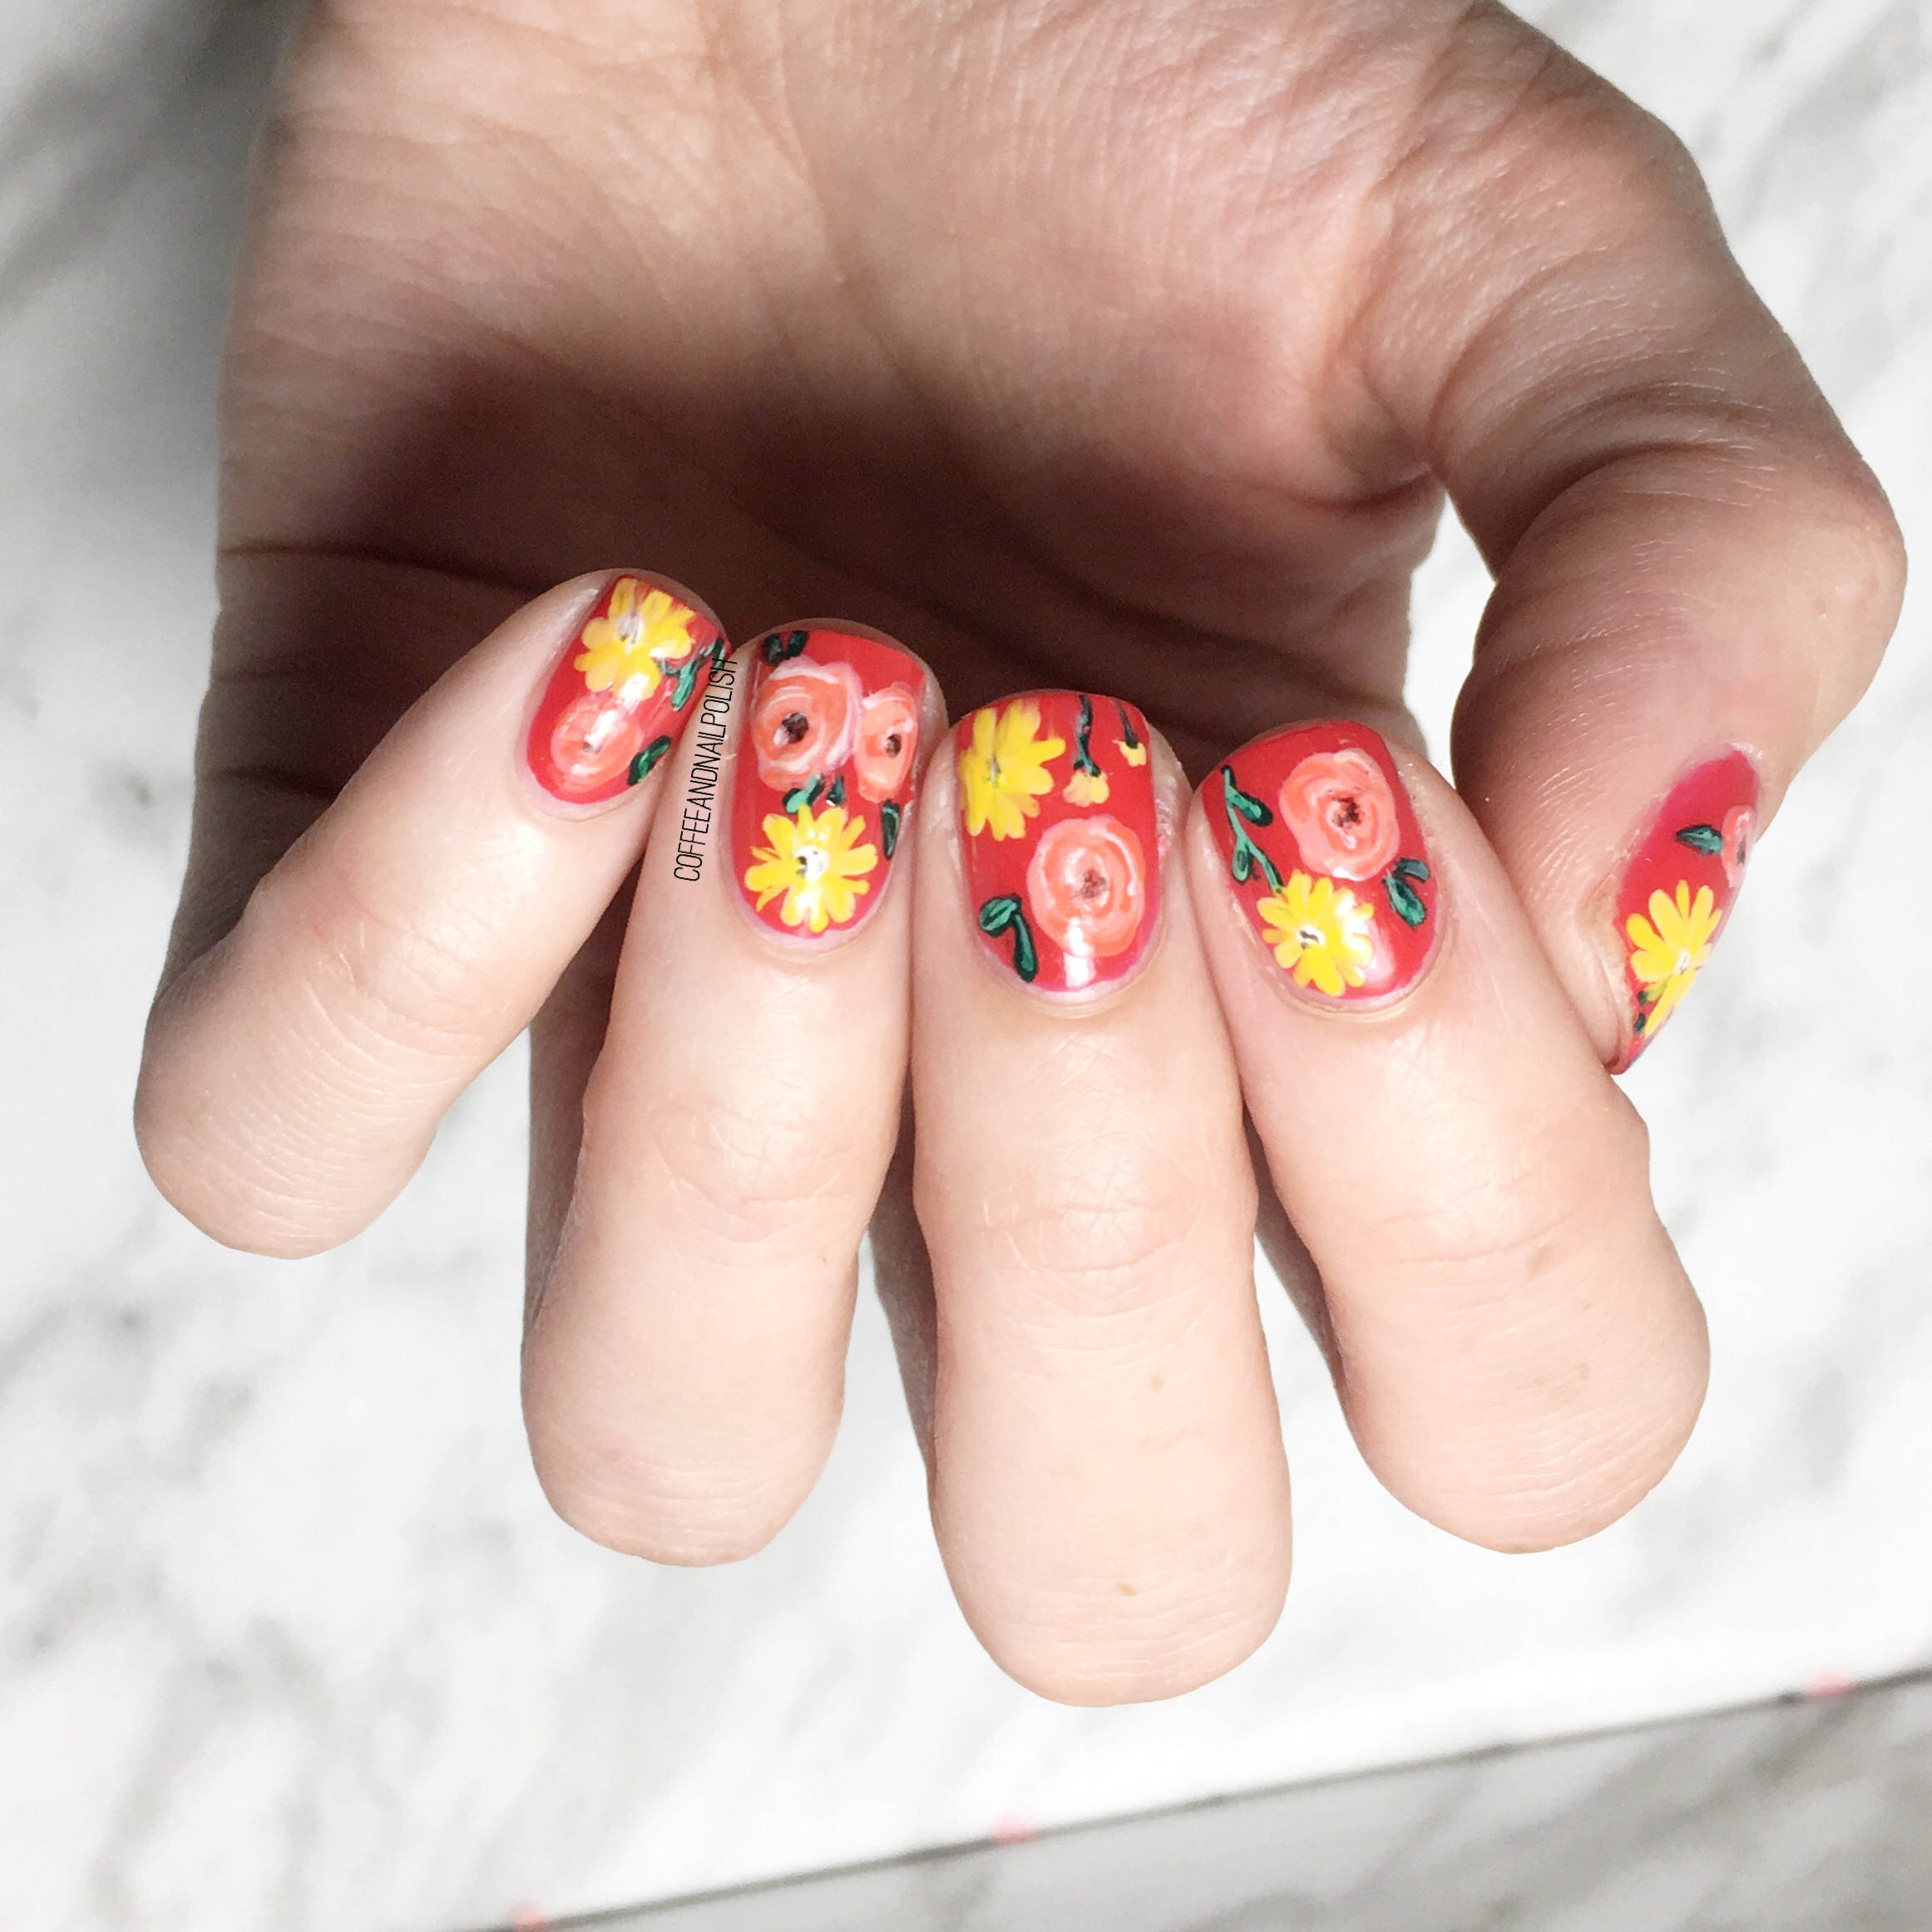
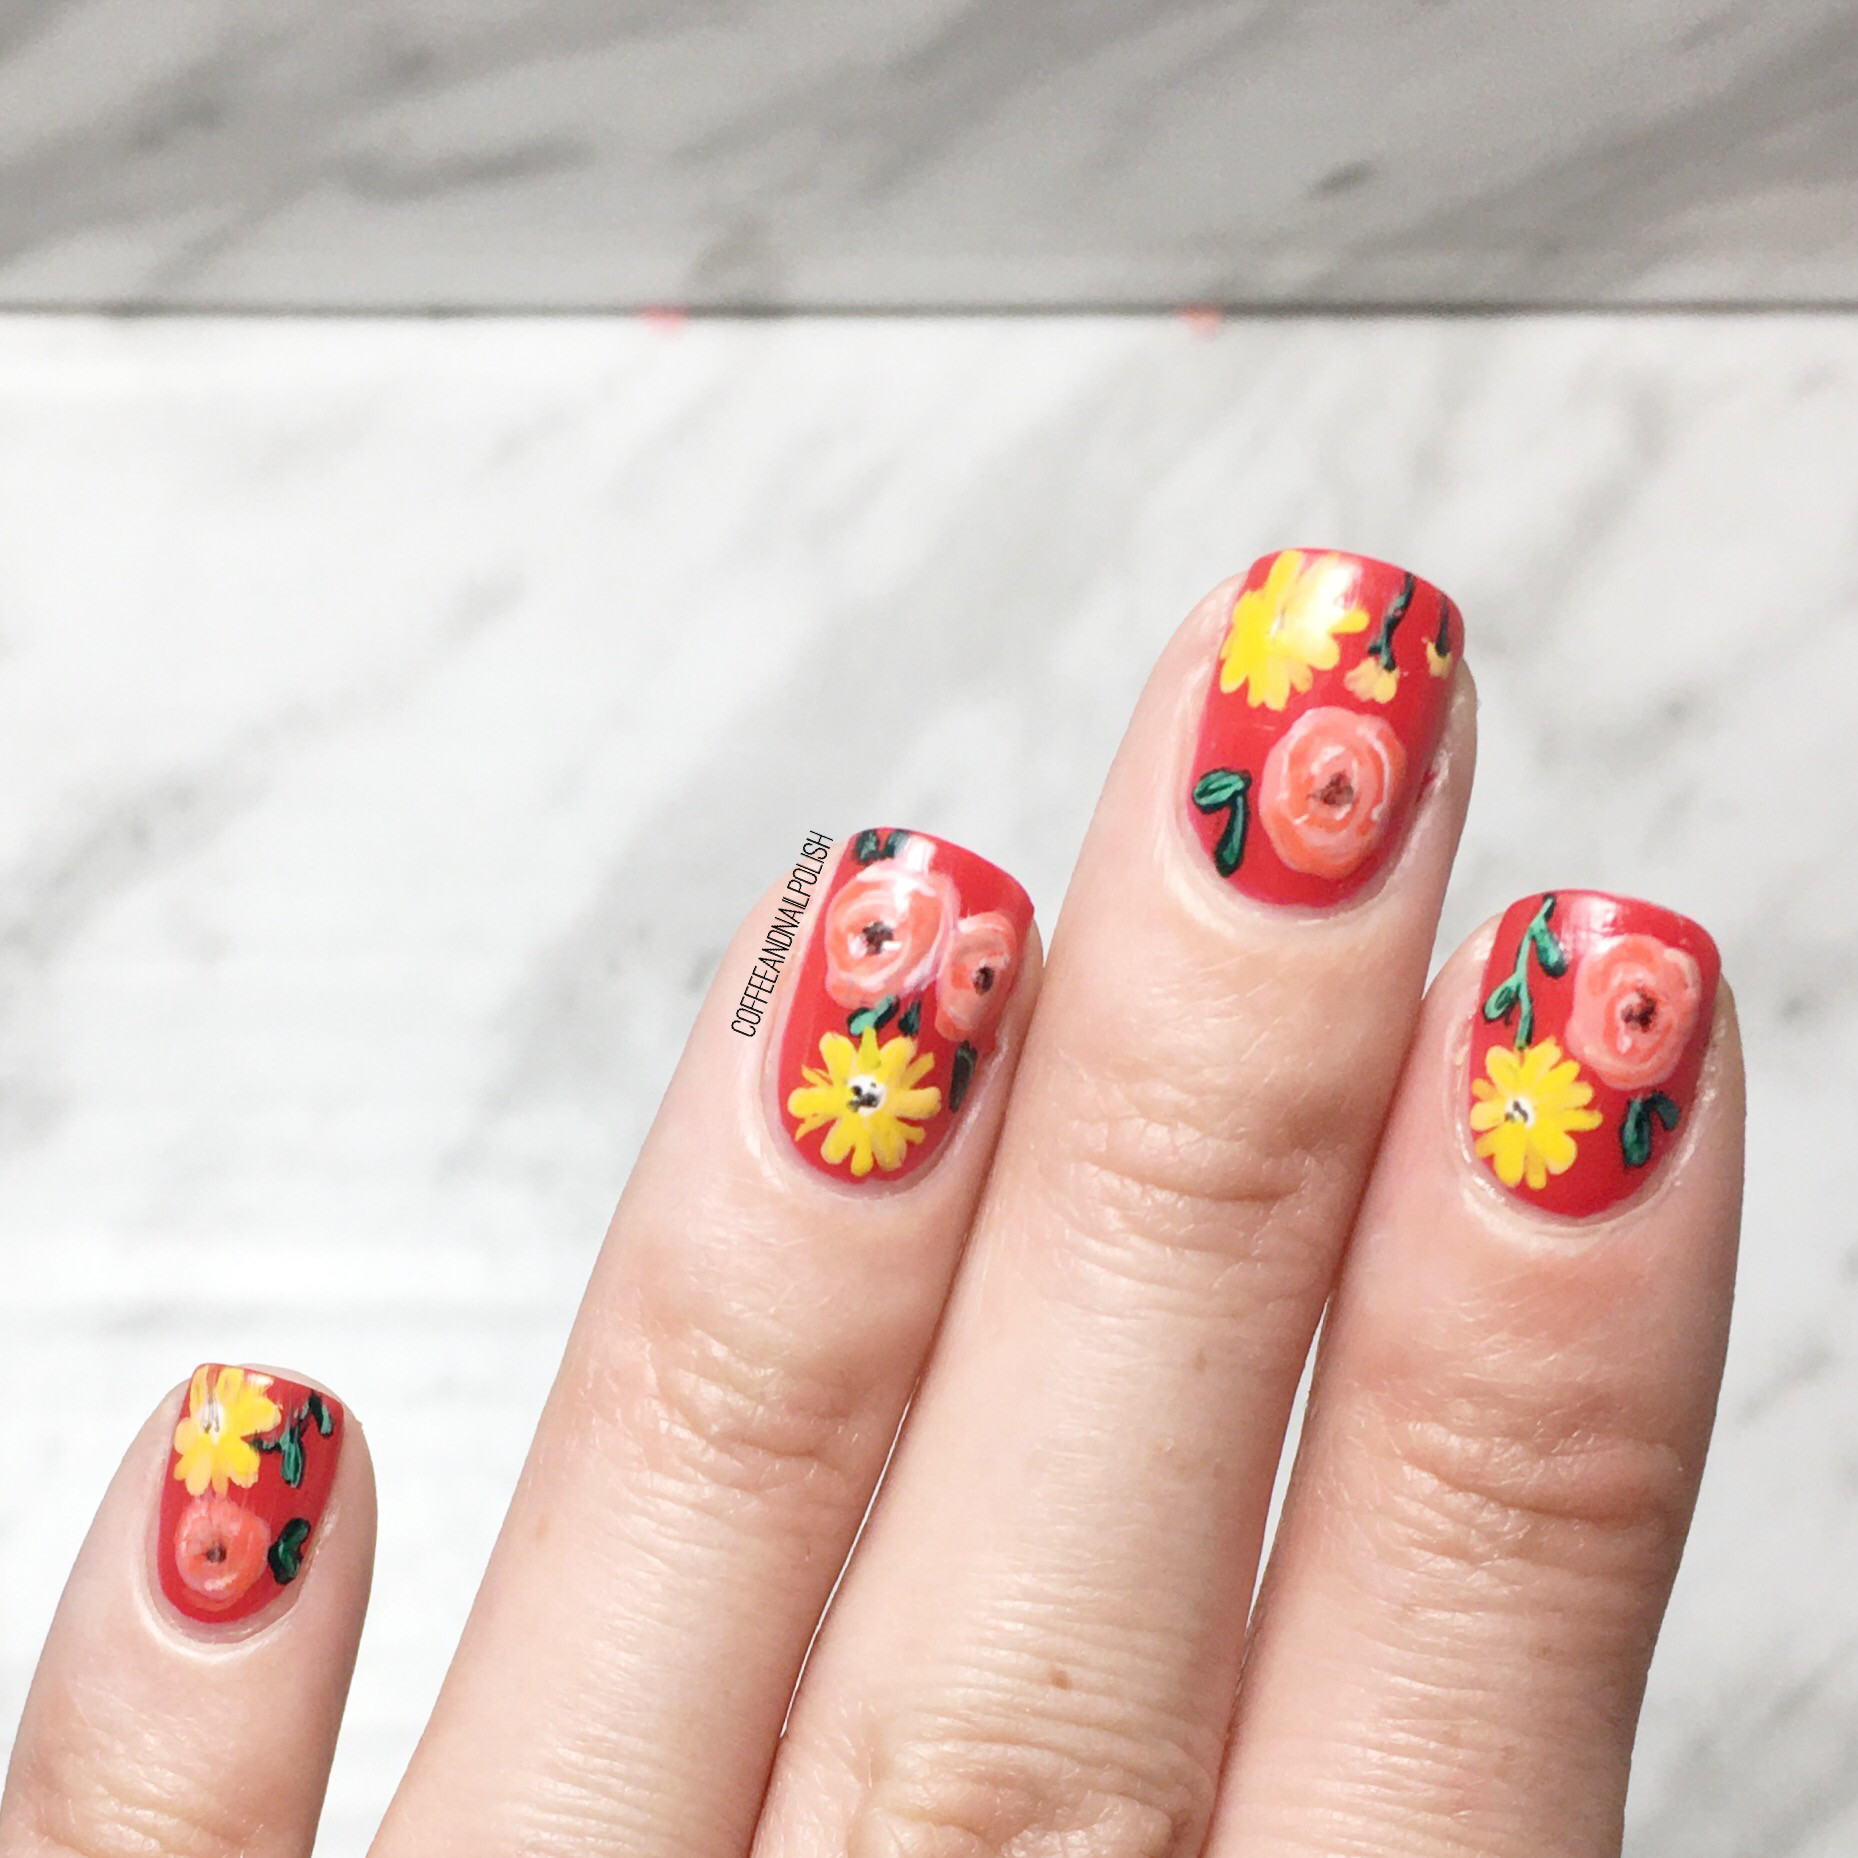
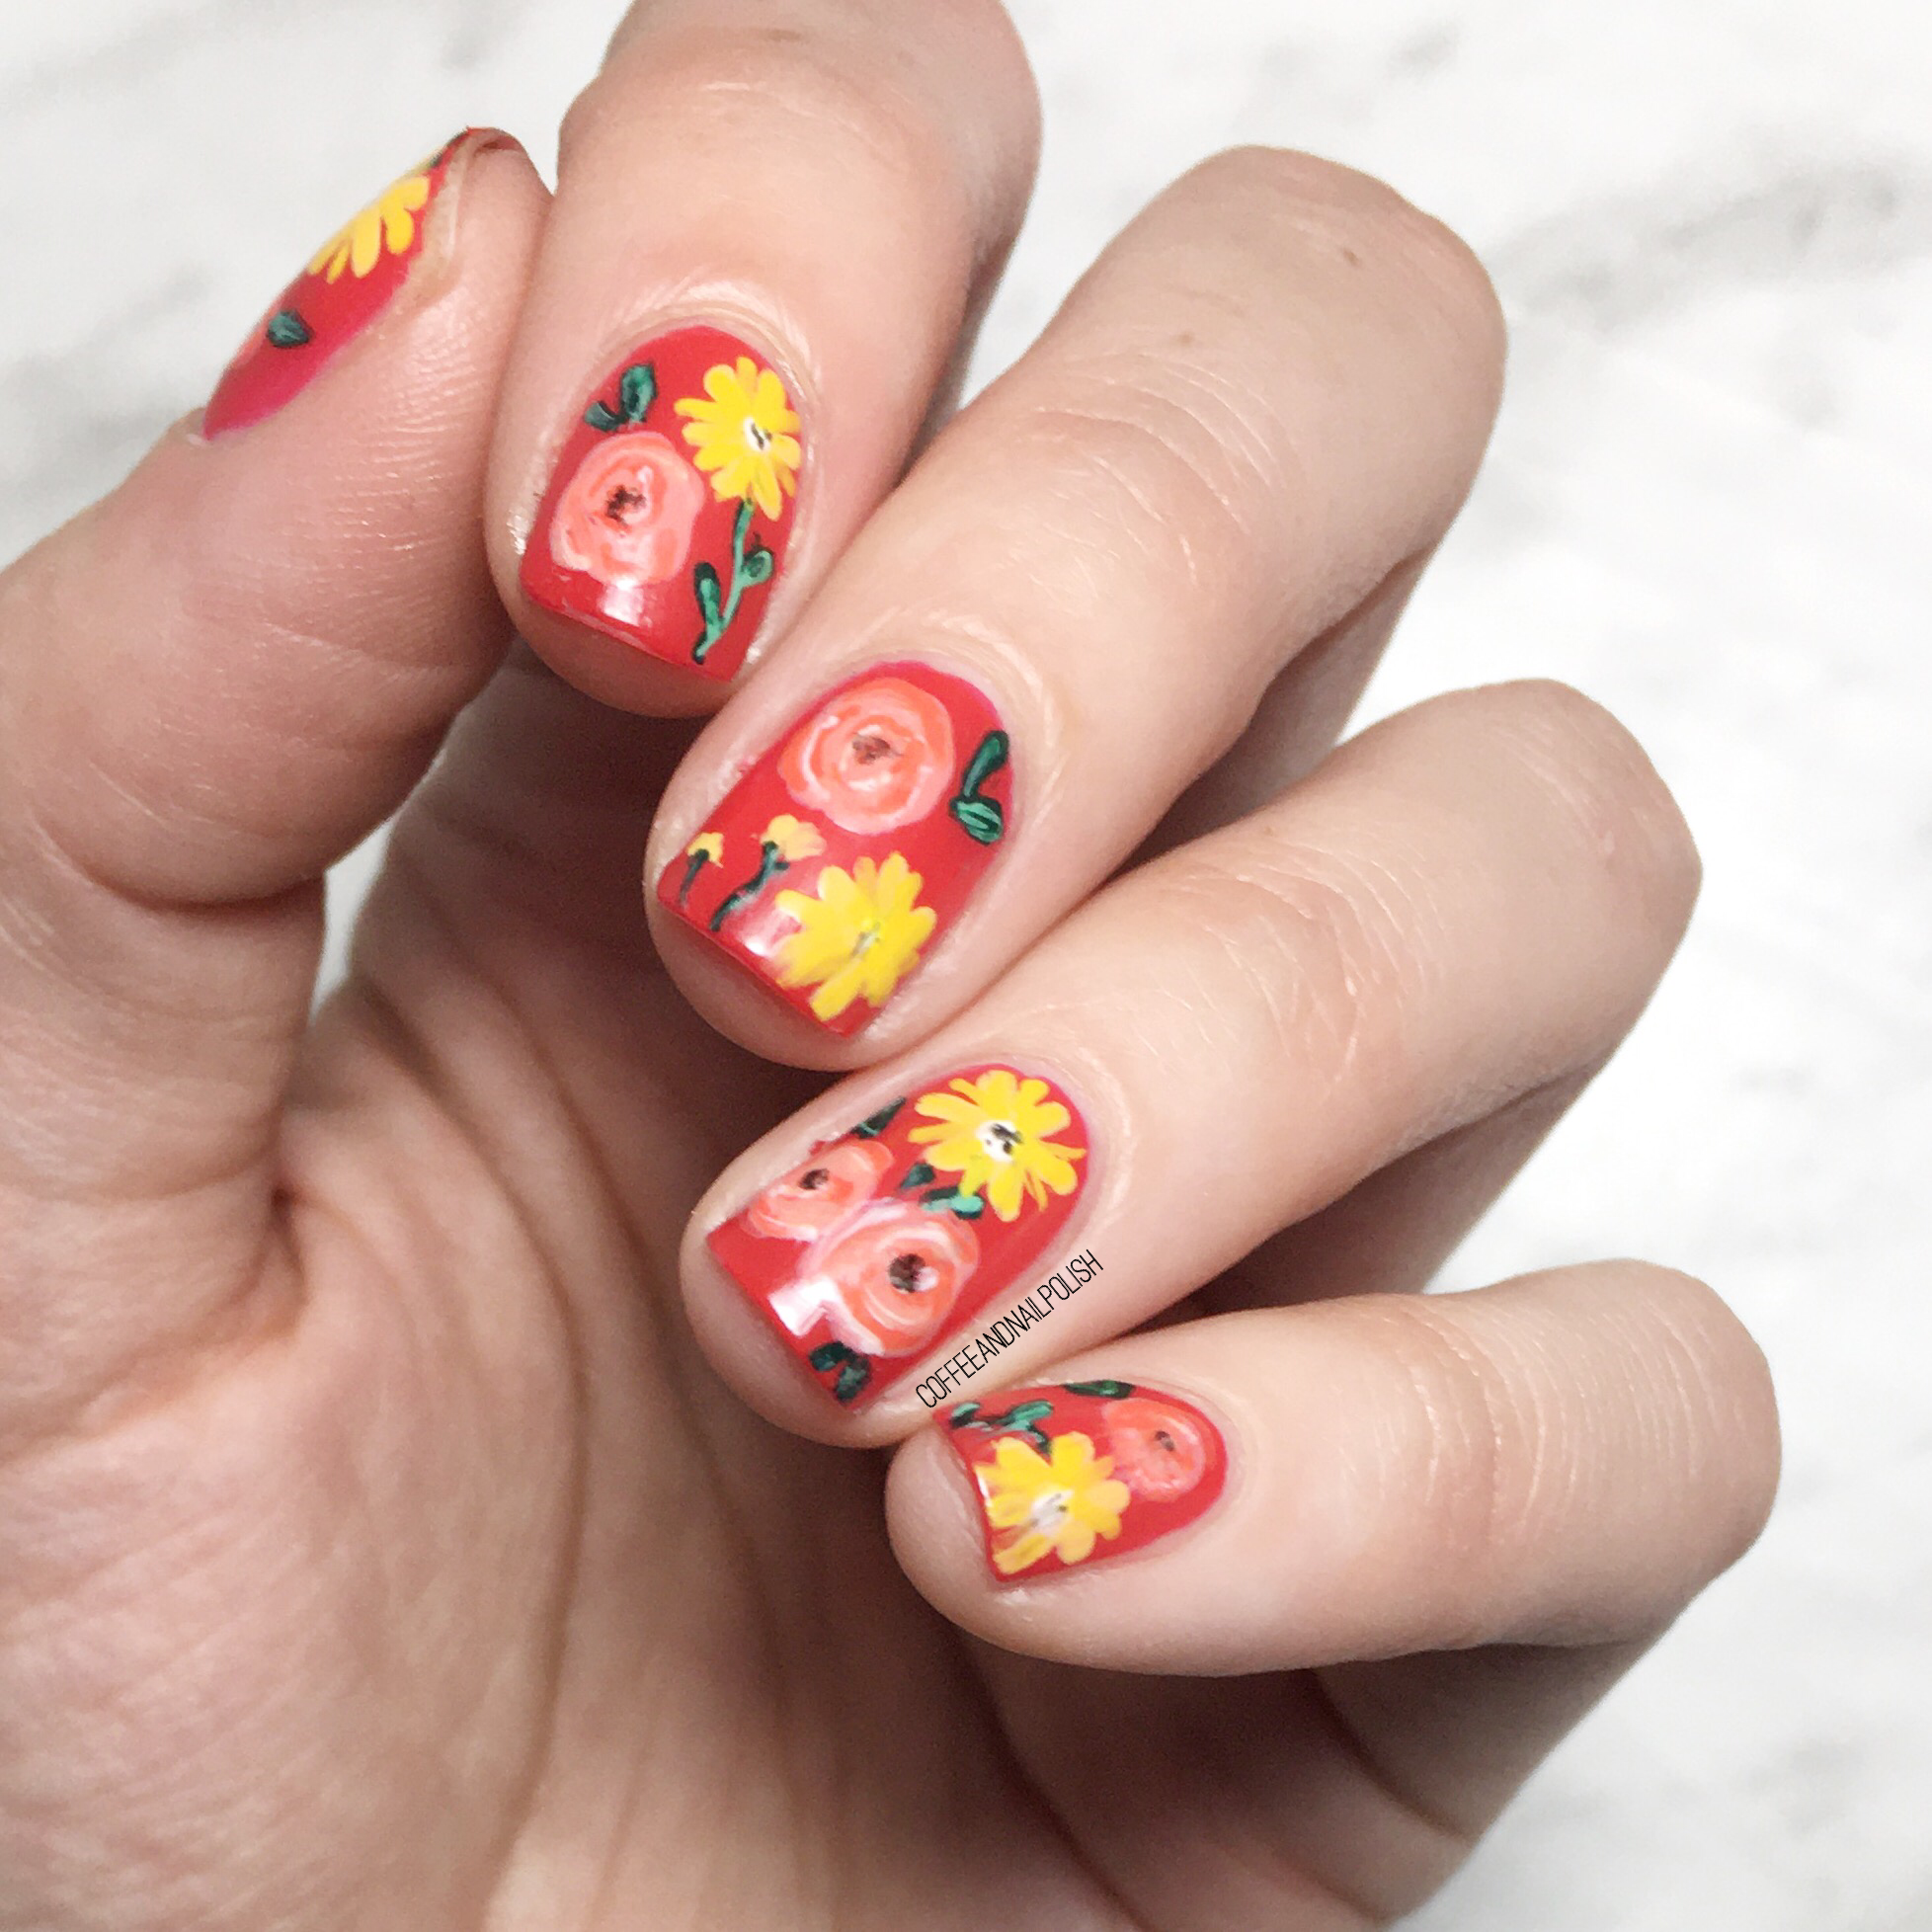
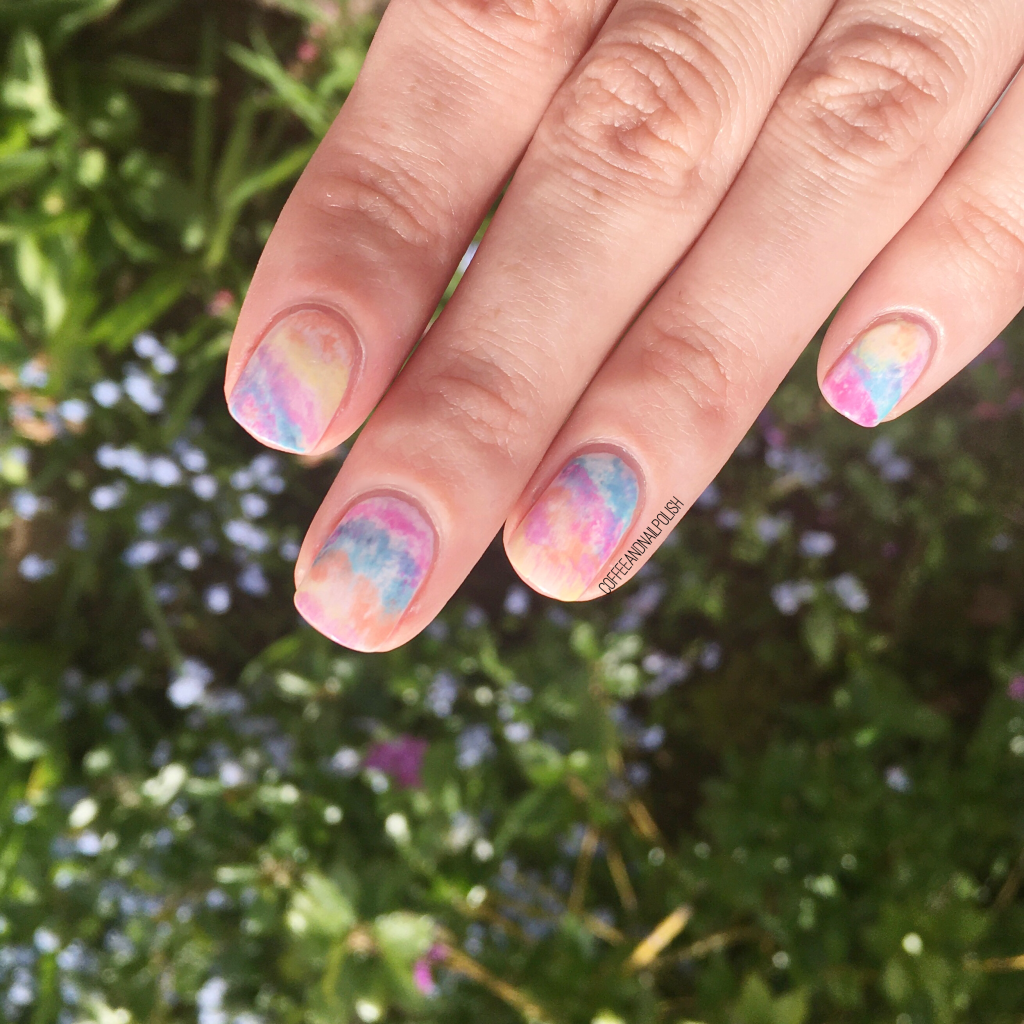
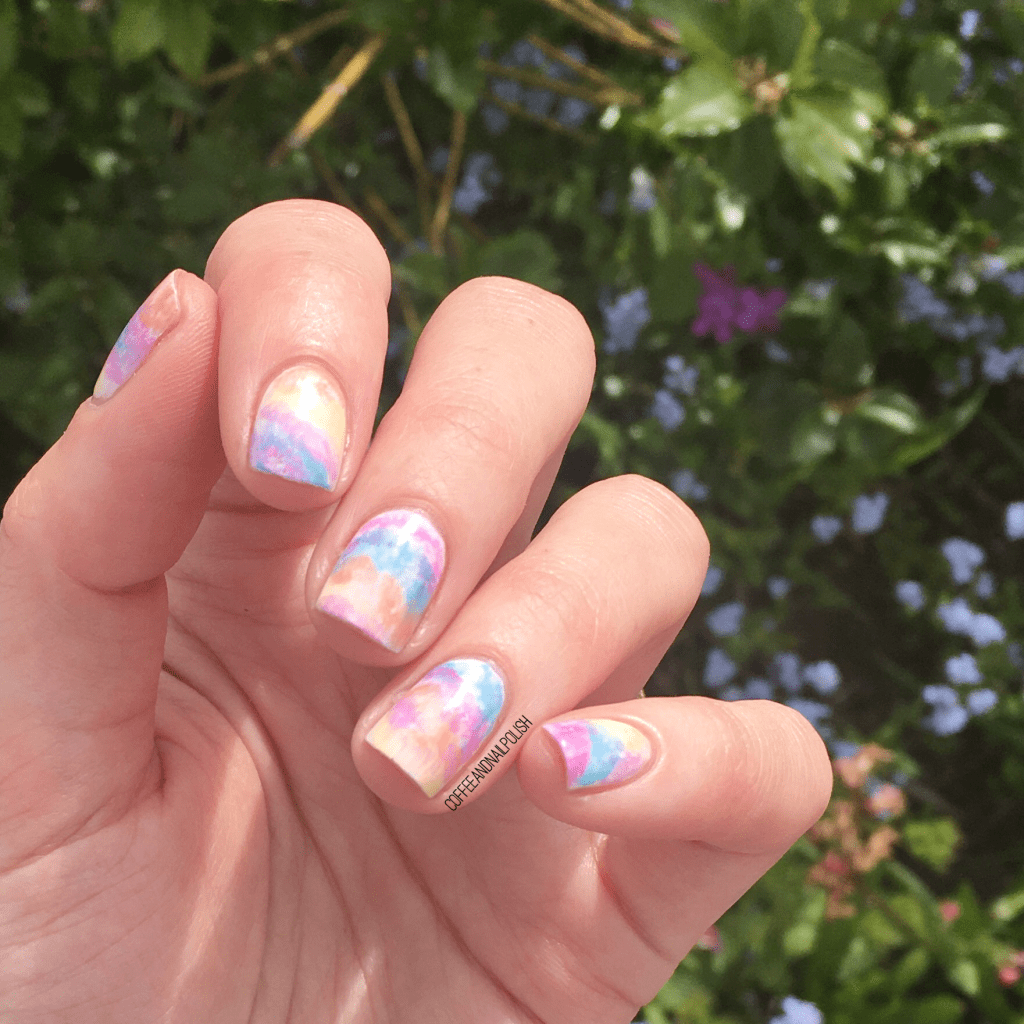
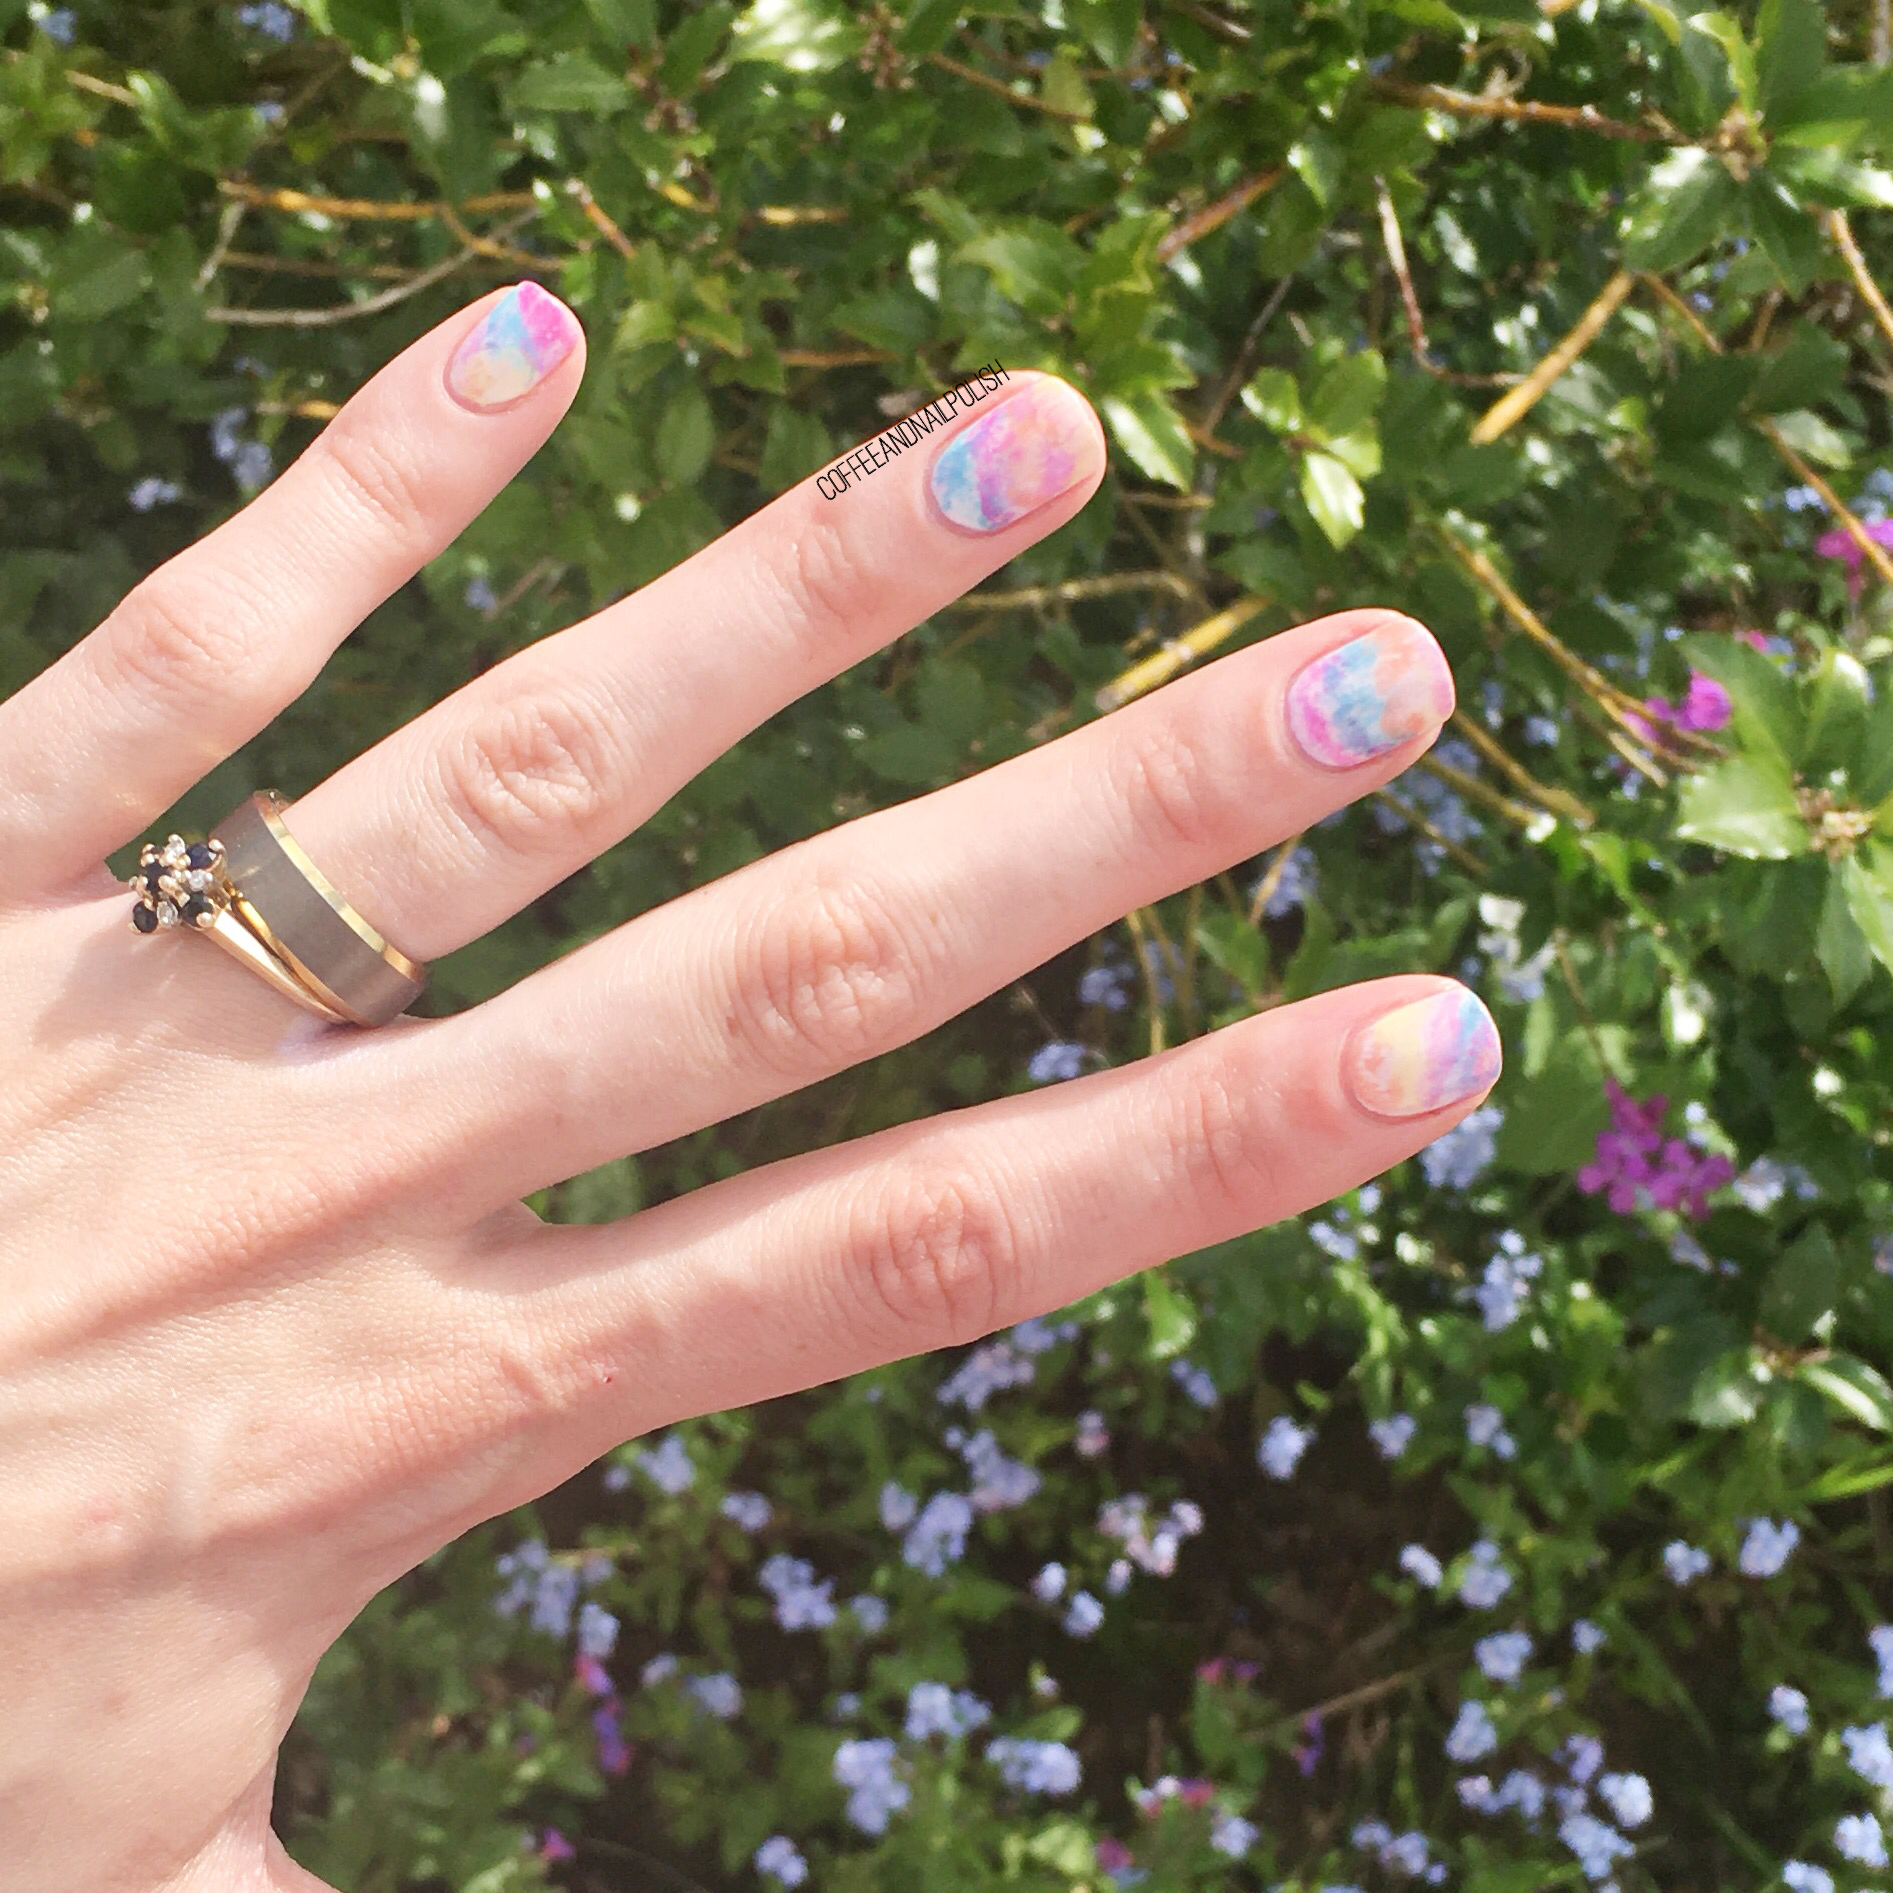
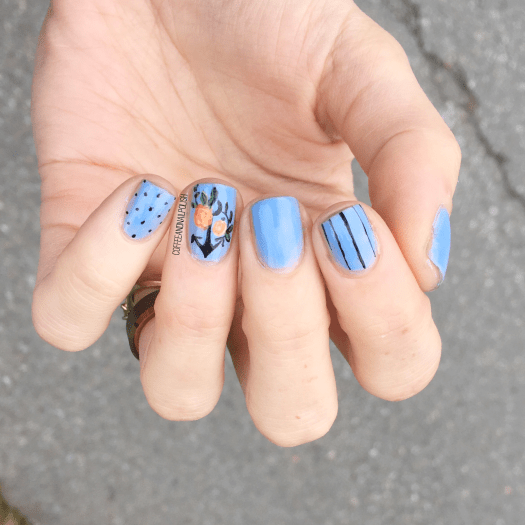
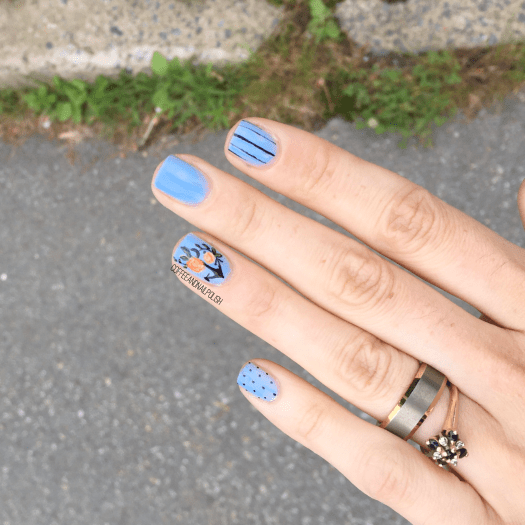
I’m so incredibly proud of the freehanding I did for this nail art look. I’ve never attempted a freehand anchor before, but I don’t think it ended up too bad! This idea is actually based on a tattoo I want to get in honour of my grandparents — the anchor for my Granddad who just passed, & the yellow roses for my Granny. My roses turned out a little more peachy than intended, but I think the overall look is lovely. 🌿⚓️🌼 & it pains me these didn’t last more than a day, because I absolutely adore them.

What do you think about this freehand look? Where do you get your nail art inspo? Let me know down in the comments below!