Easy Polka Dot Accent Nail

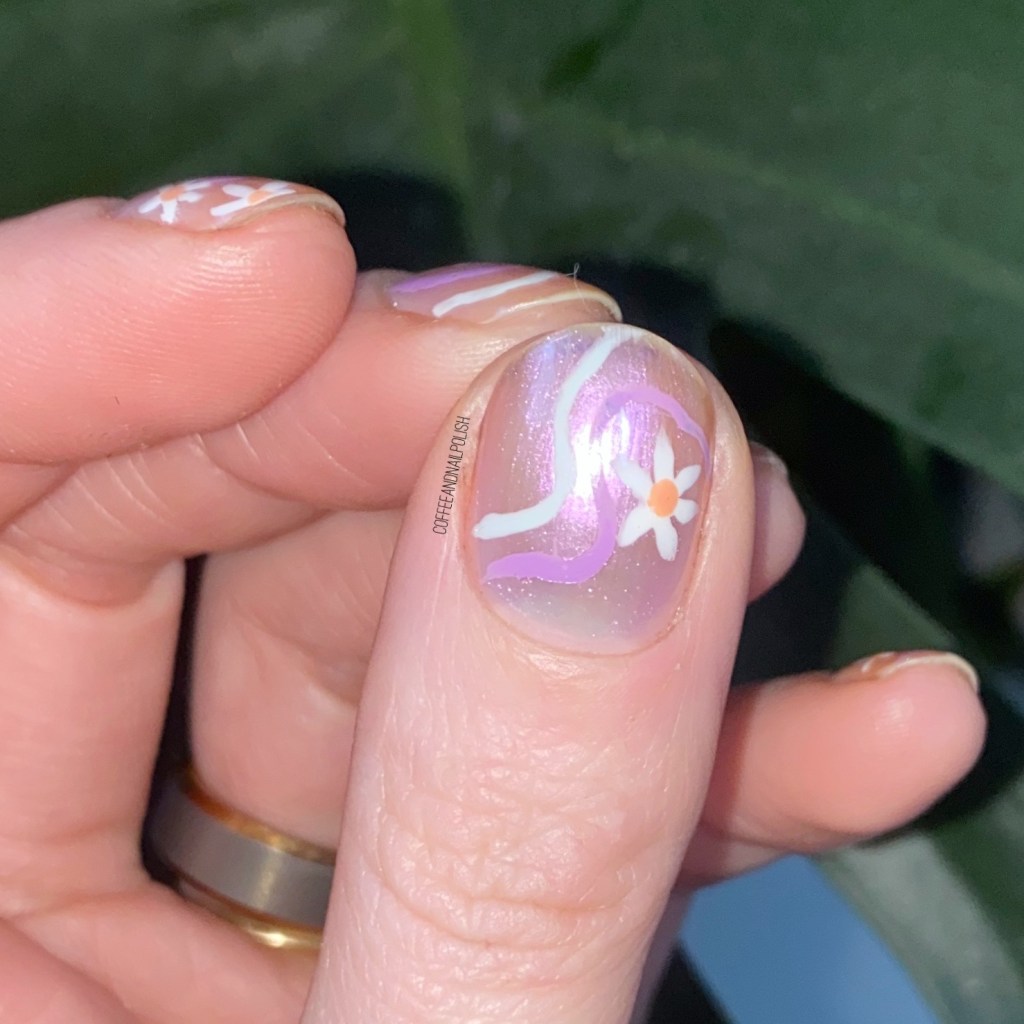
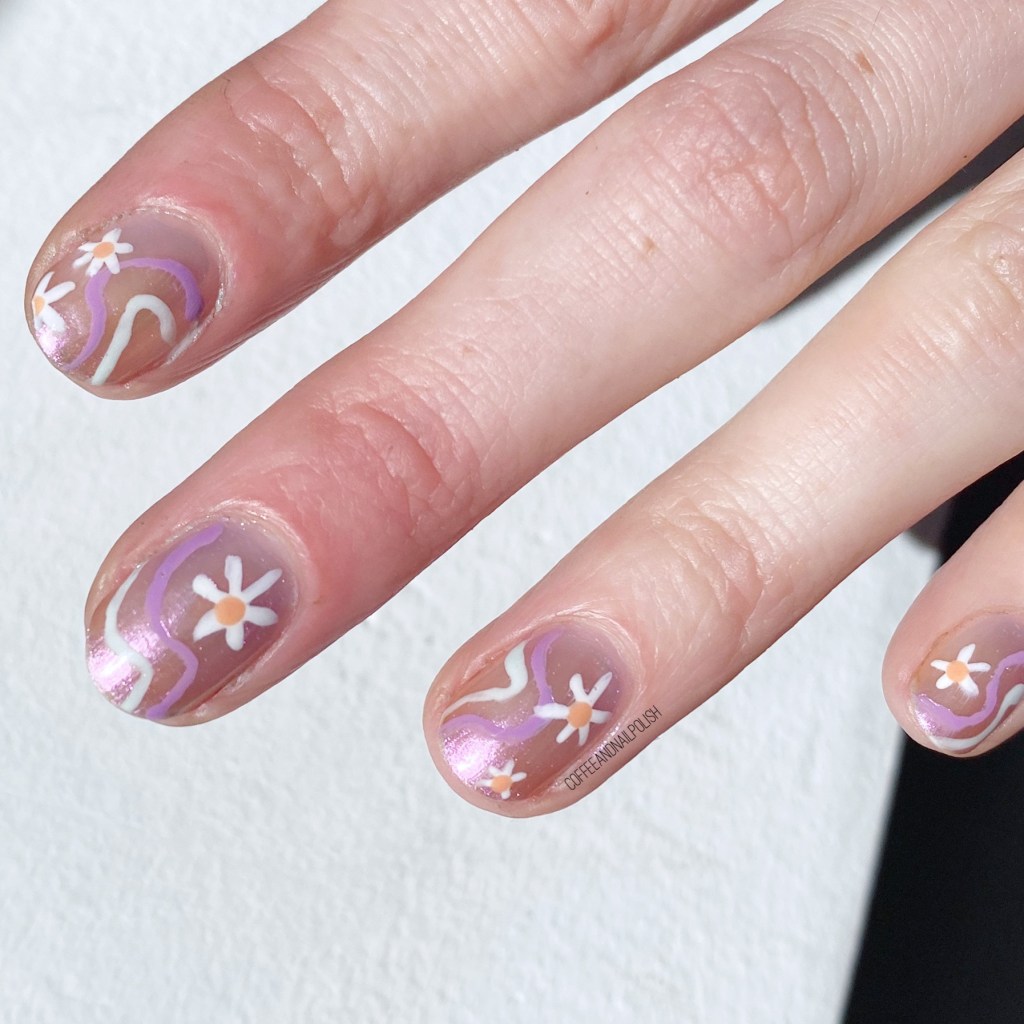
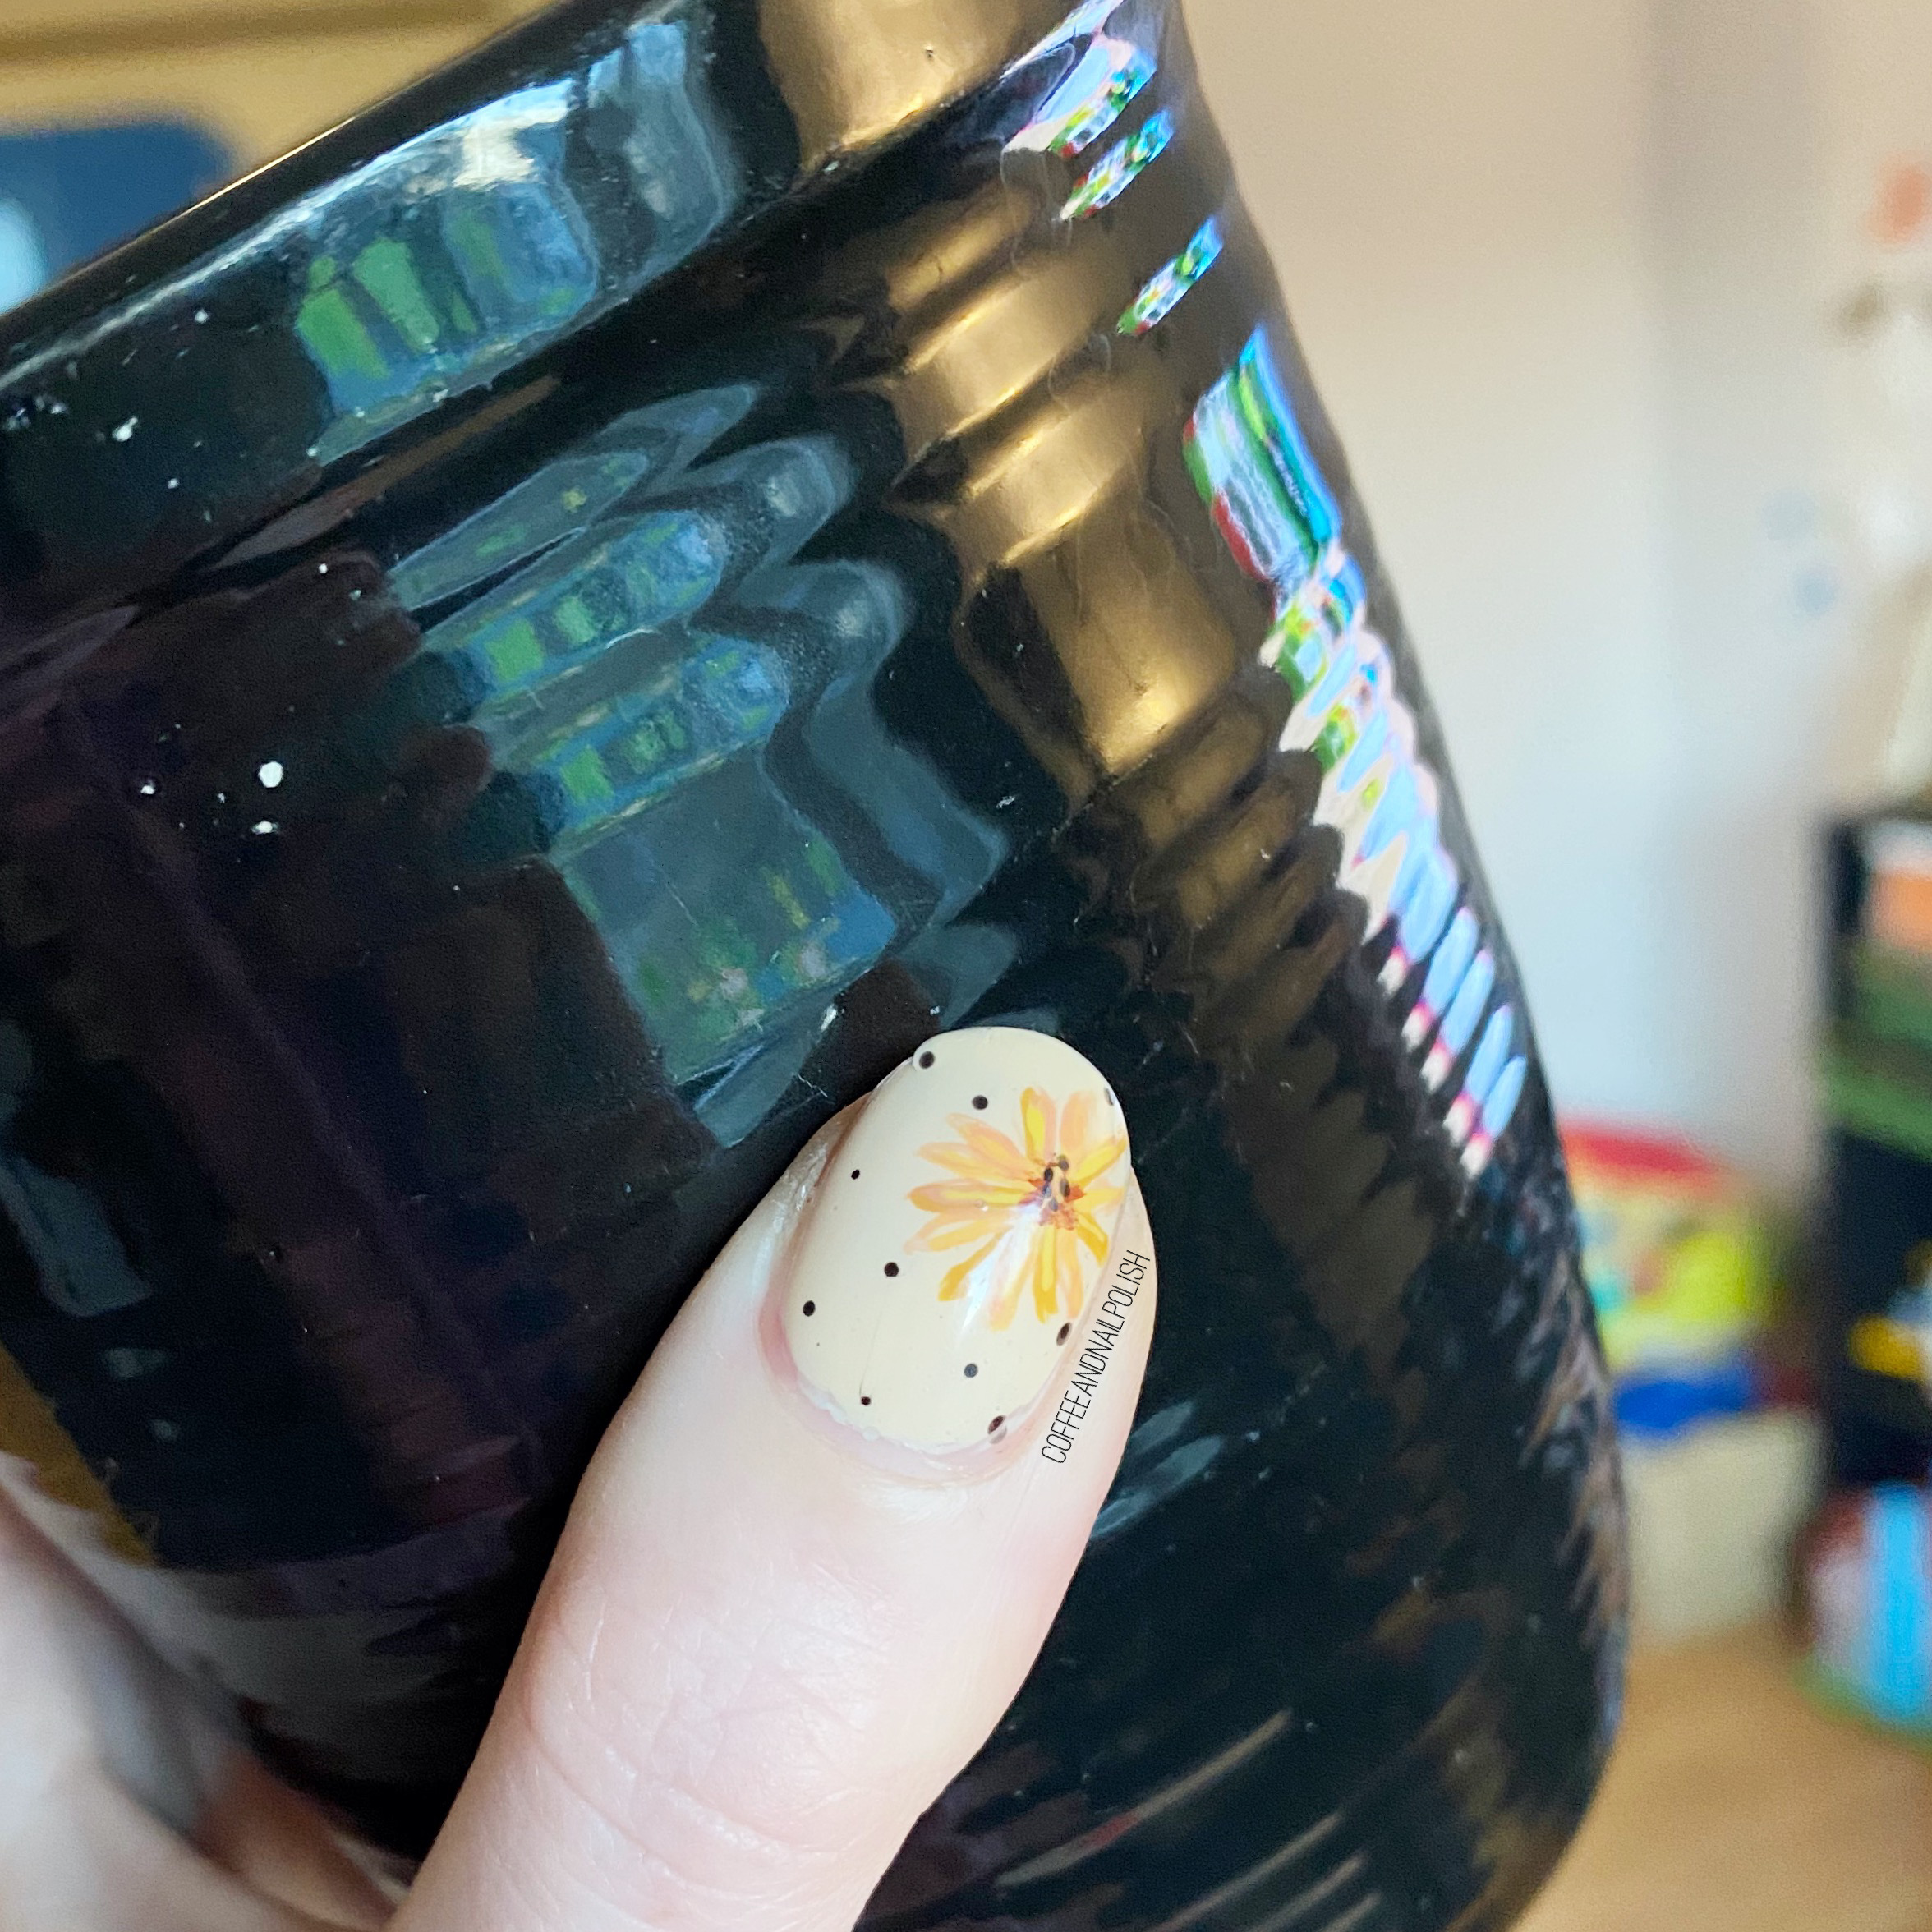
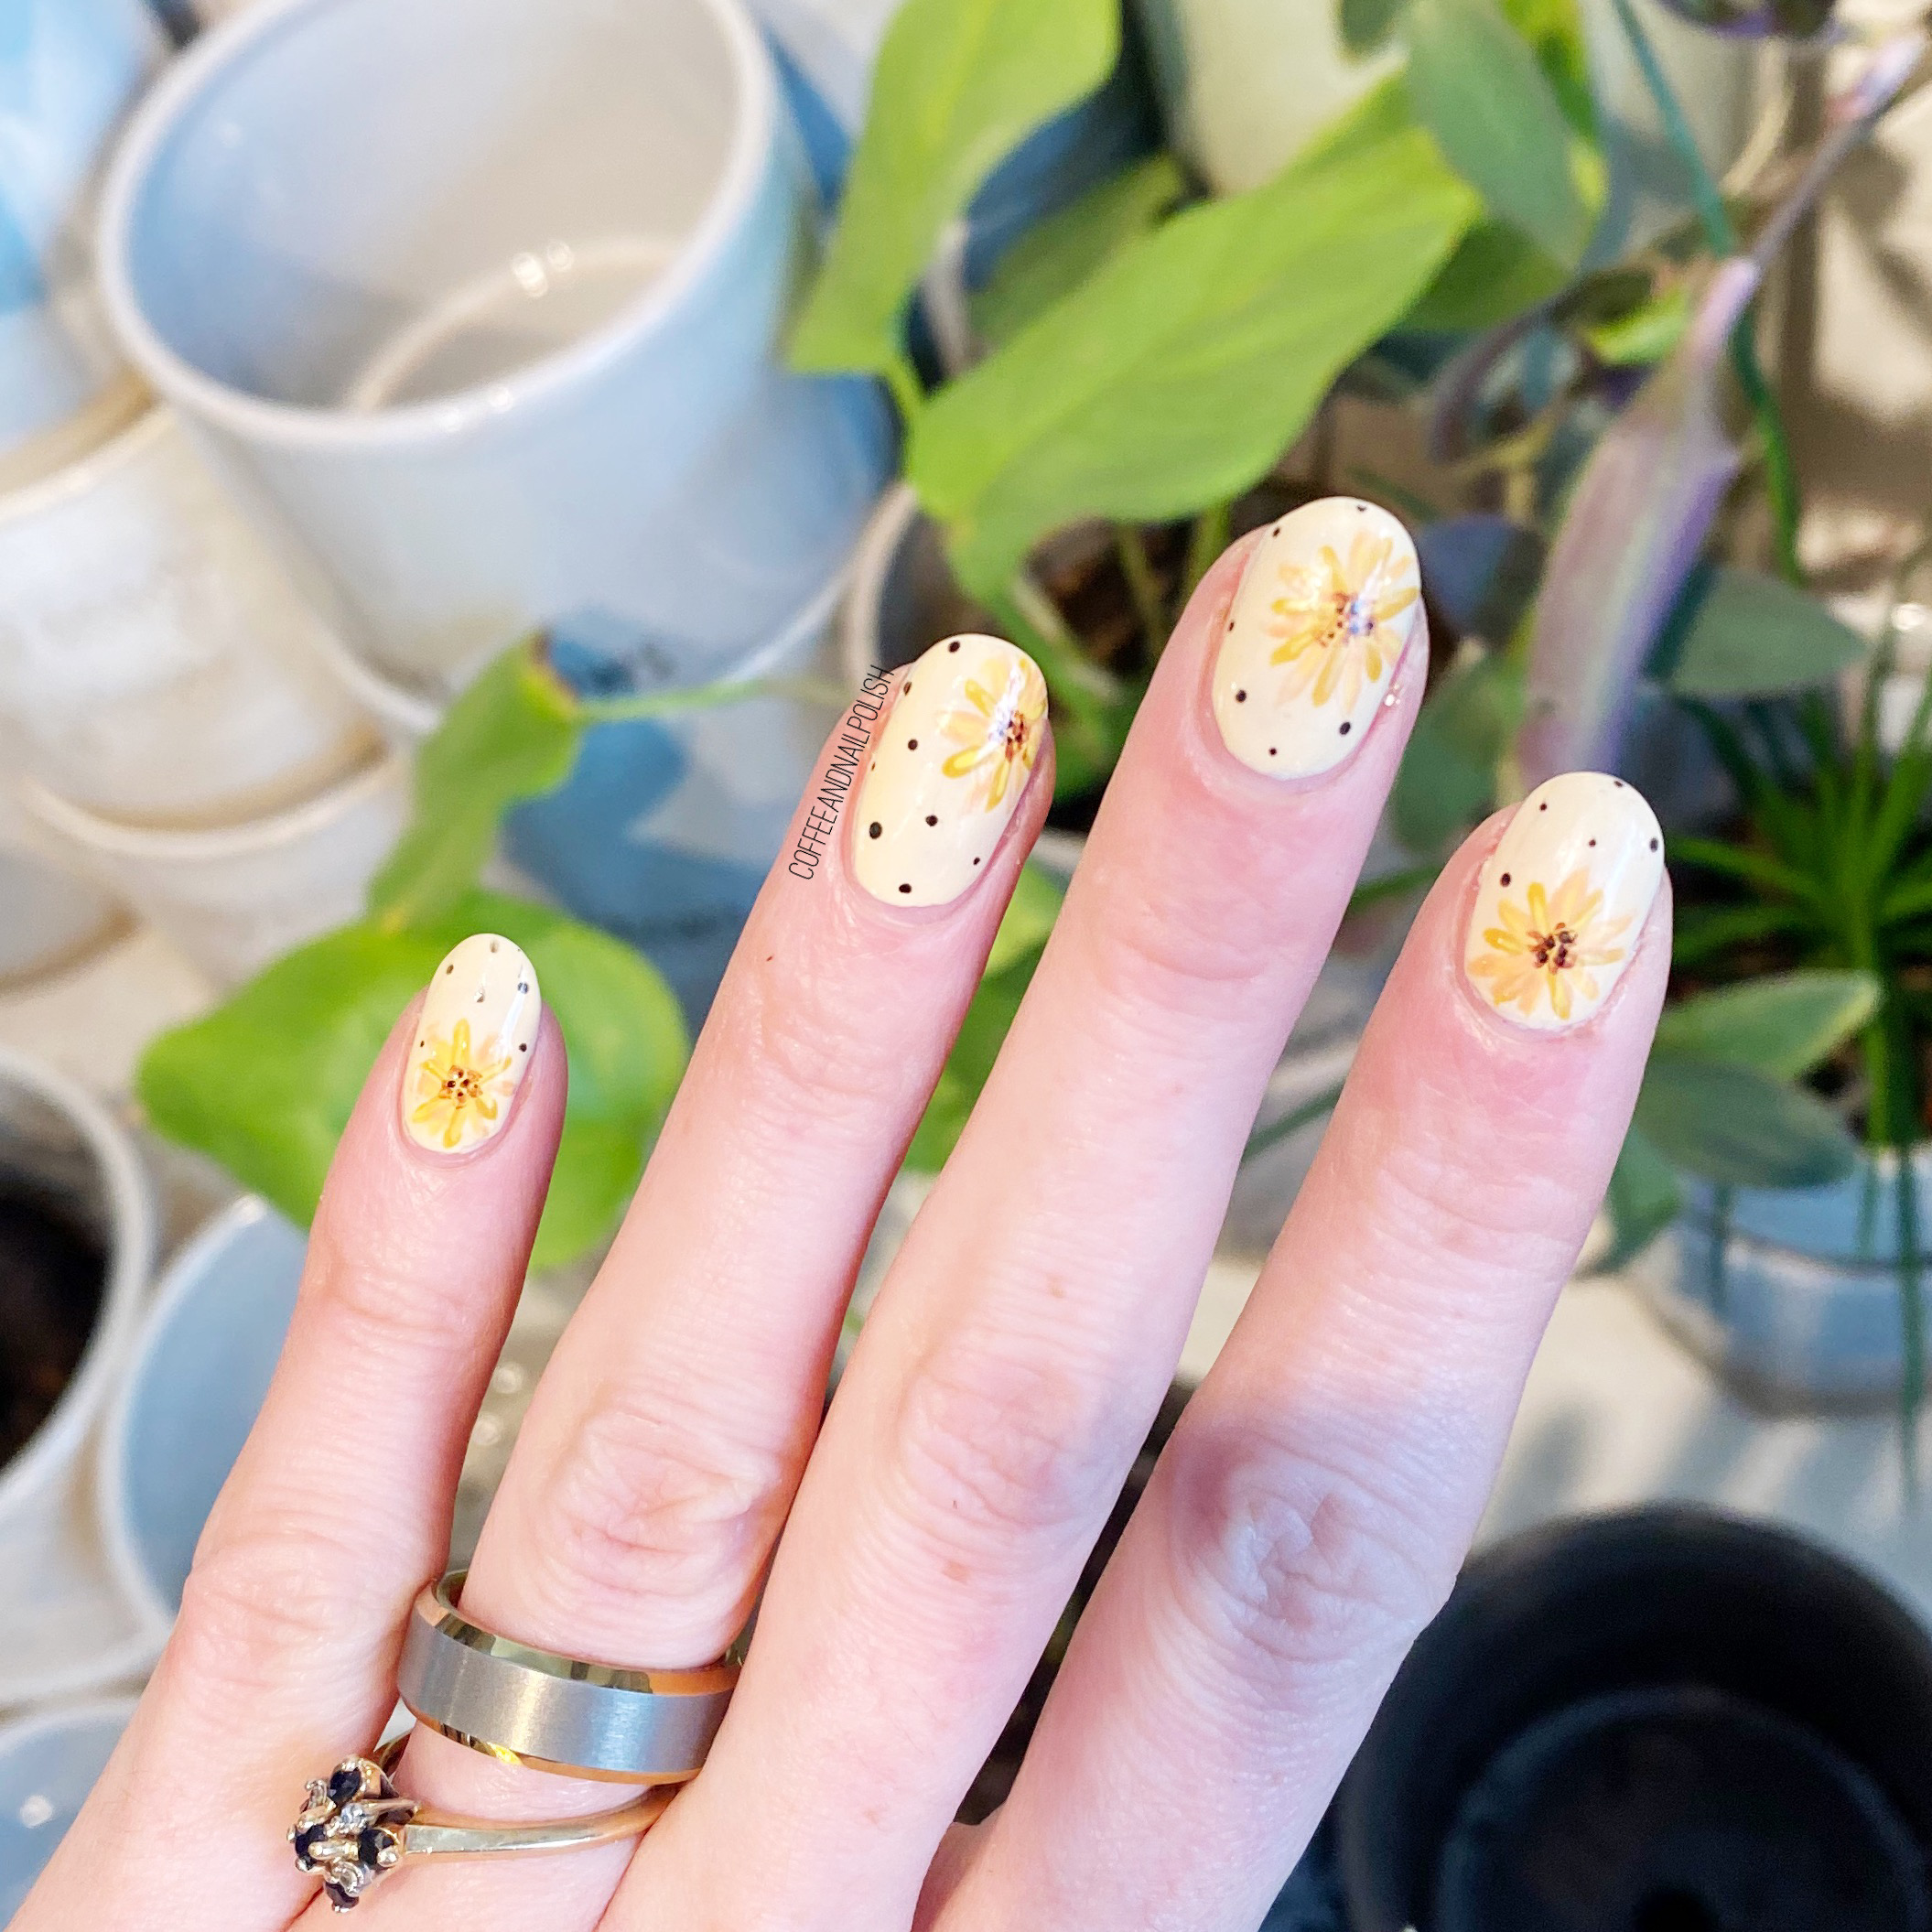
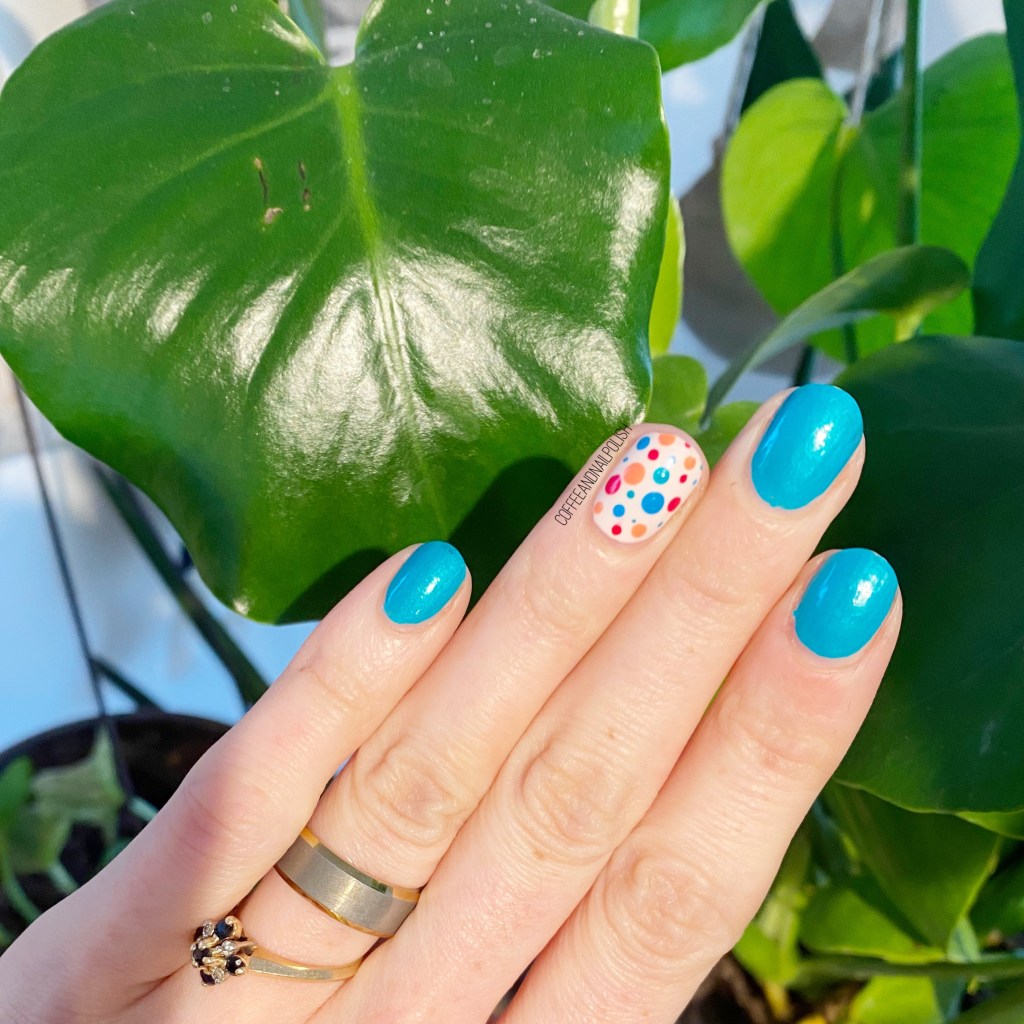
Hello lovelies & happy Friday. Today I’m sharing a fun, easy accent nail look.

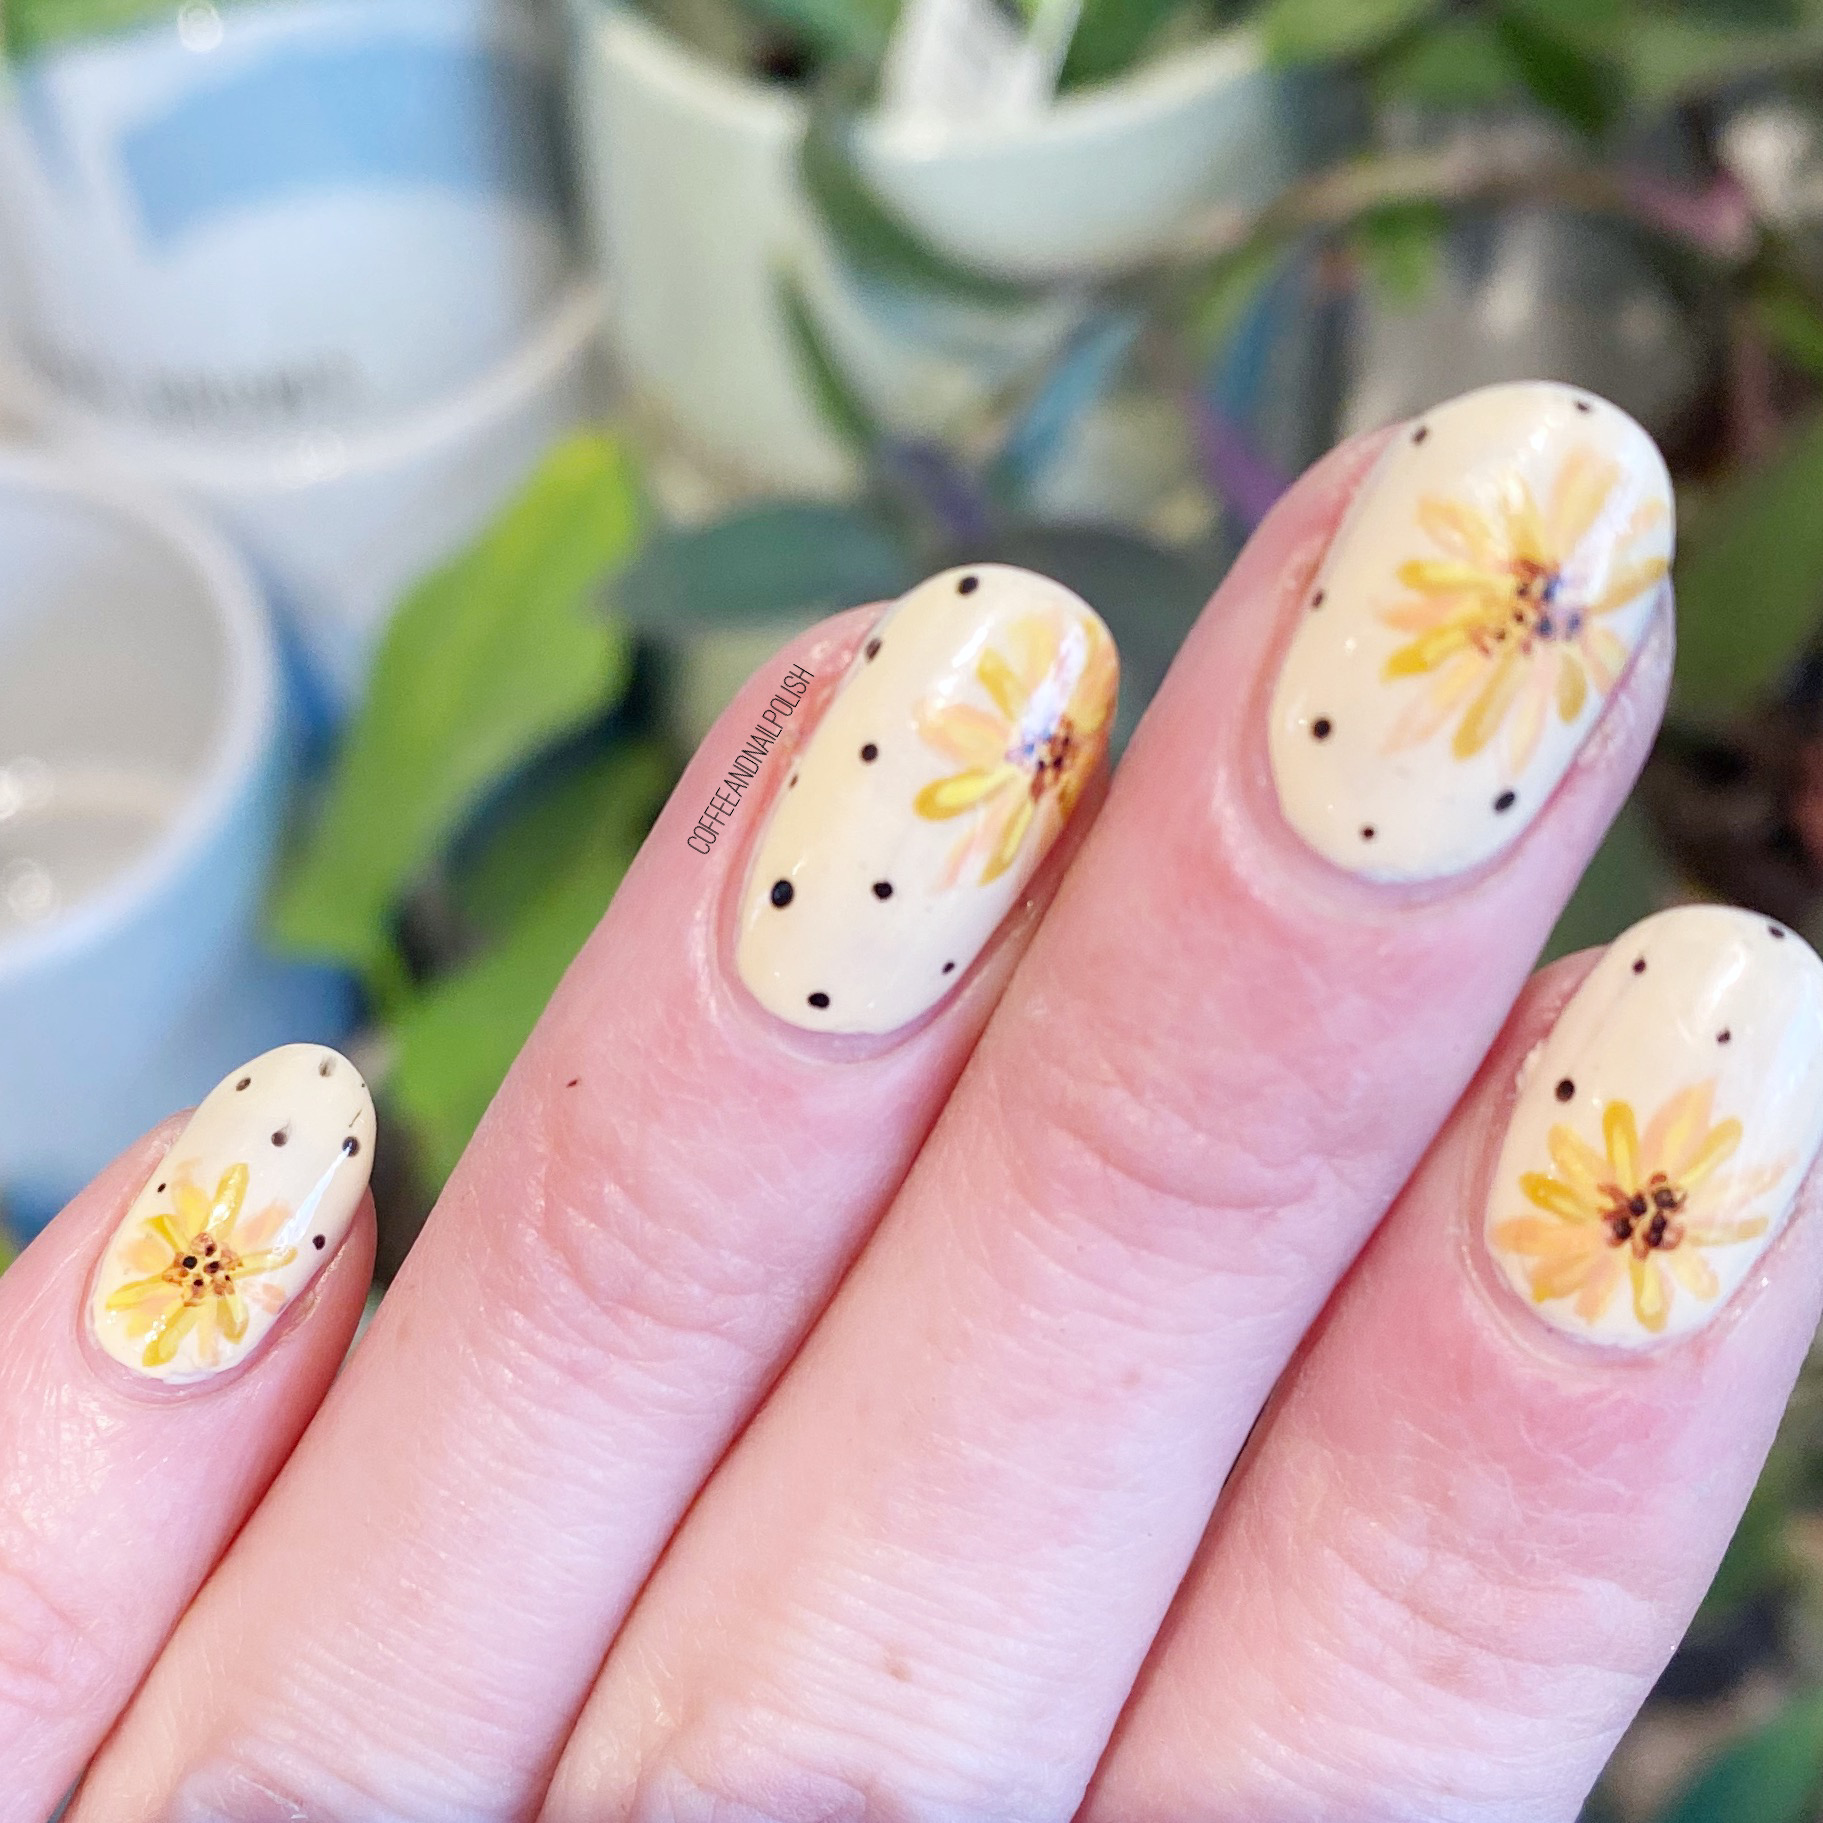
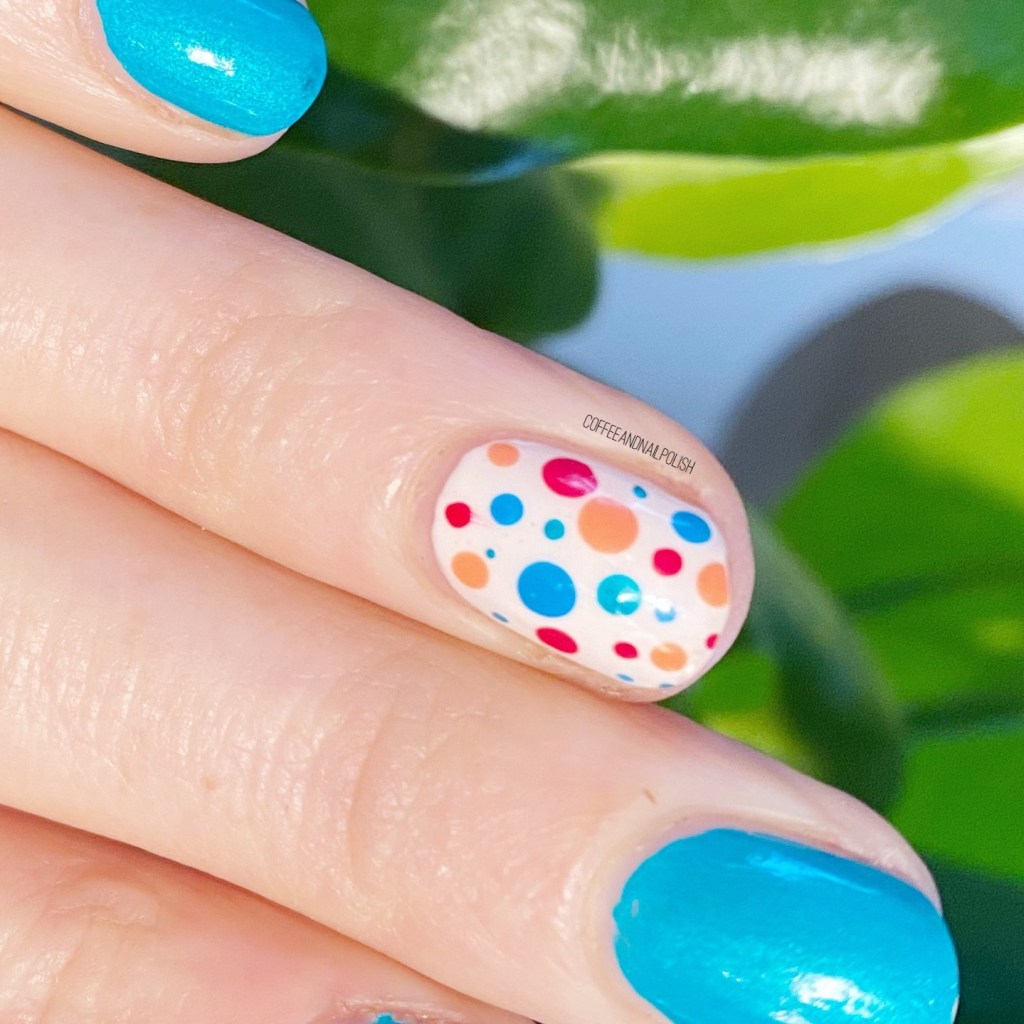
This look was actually inspired an old design I did in the early days of this blog. I loved the fun polka dots with the bright nail polish, & I decided to do an updated version. Obvious I switched up some polishes so these colour scheme turned out a bit different, but I think over all this was a really fun (almost Summer-y) look to wear.

The polishes I used for this manicure are: 

  • Base Coat: Sally Hansen Good. Kind. Pure Hardener
  • Top Coat: Essie Speed Setter
  • China Glaze Turned Up Turquoise
  • Sally Hansen Complete Salon Manicure Let’s Snow
  • Essie Strut Your Stuff
  • Essie Watermelon
  • Sally Hansen Miracle Gel Malibu Peach
  • NailStuff.ca Dotting Tool Trio

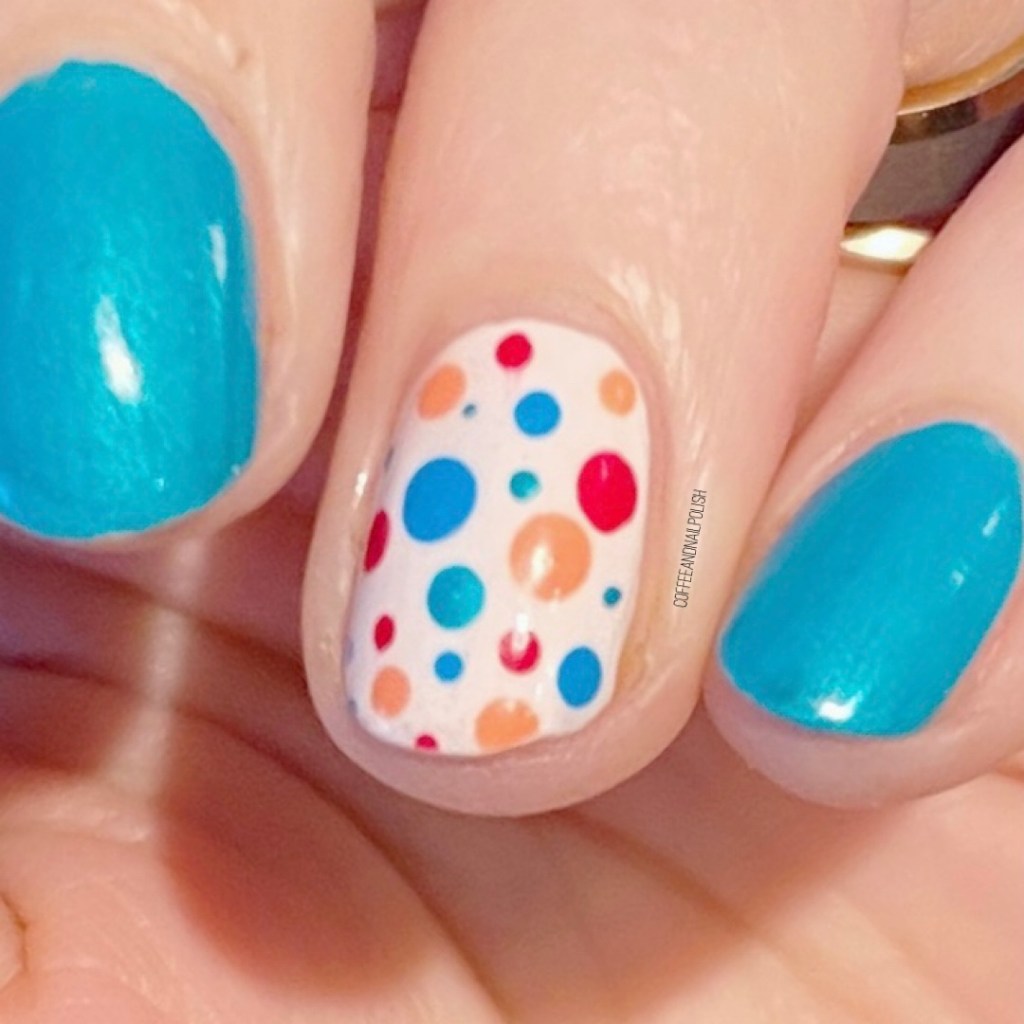
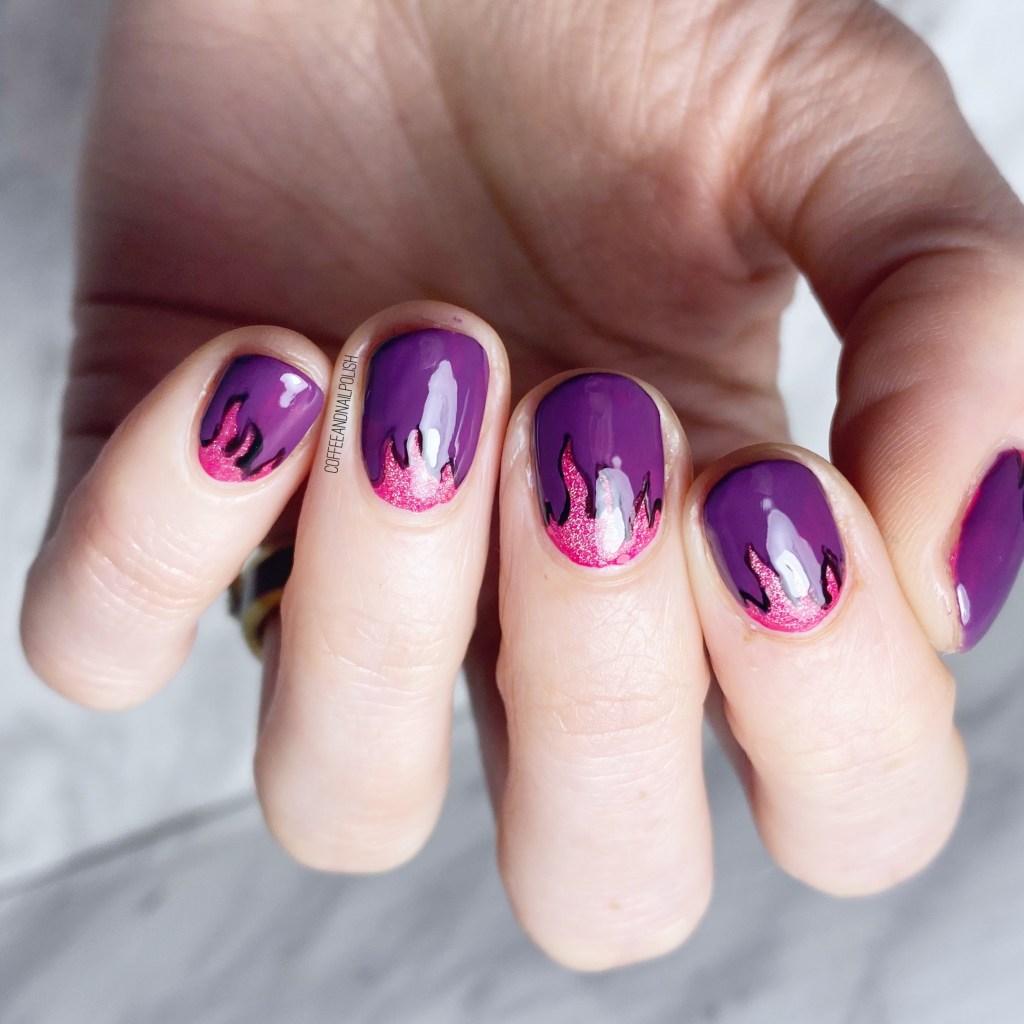
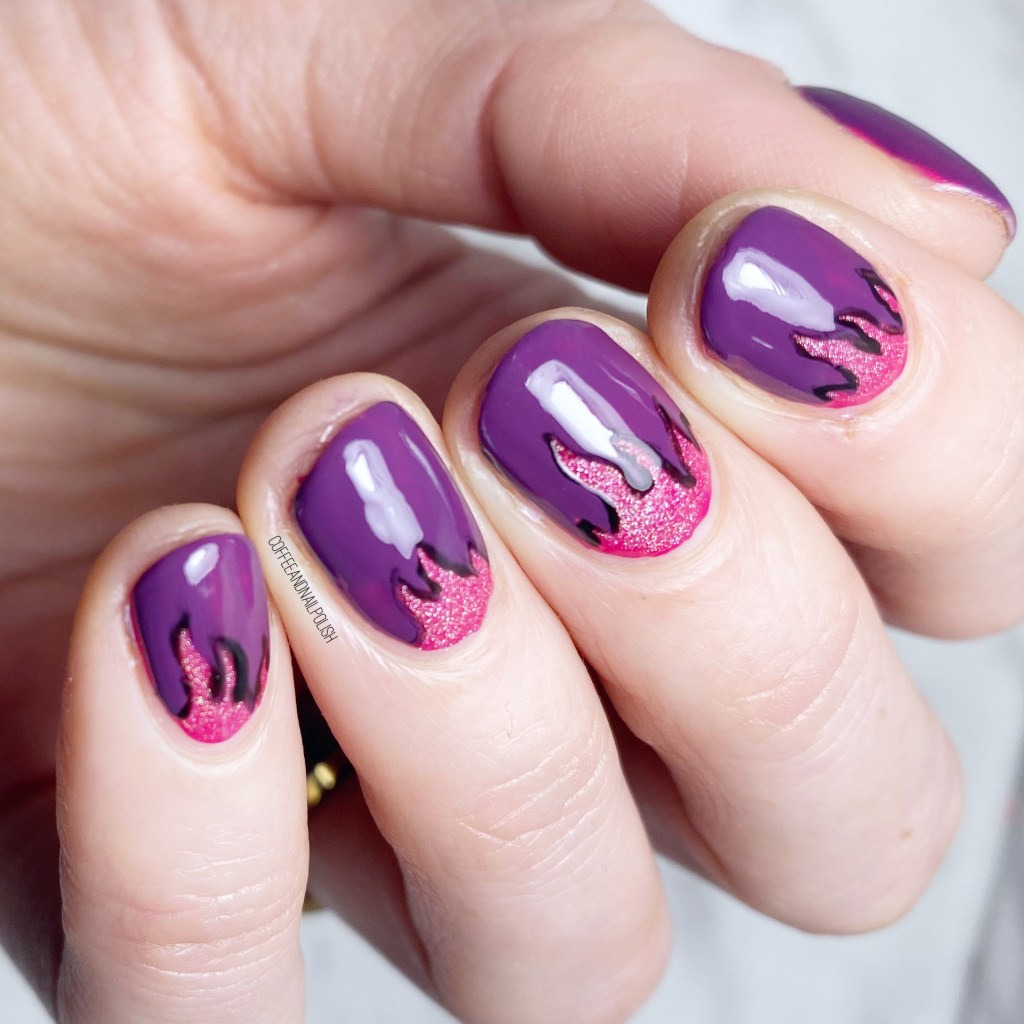
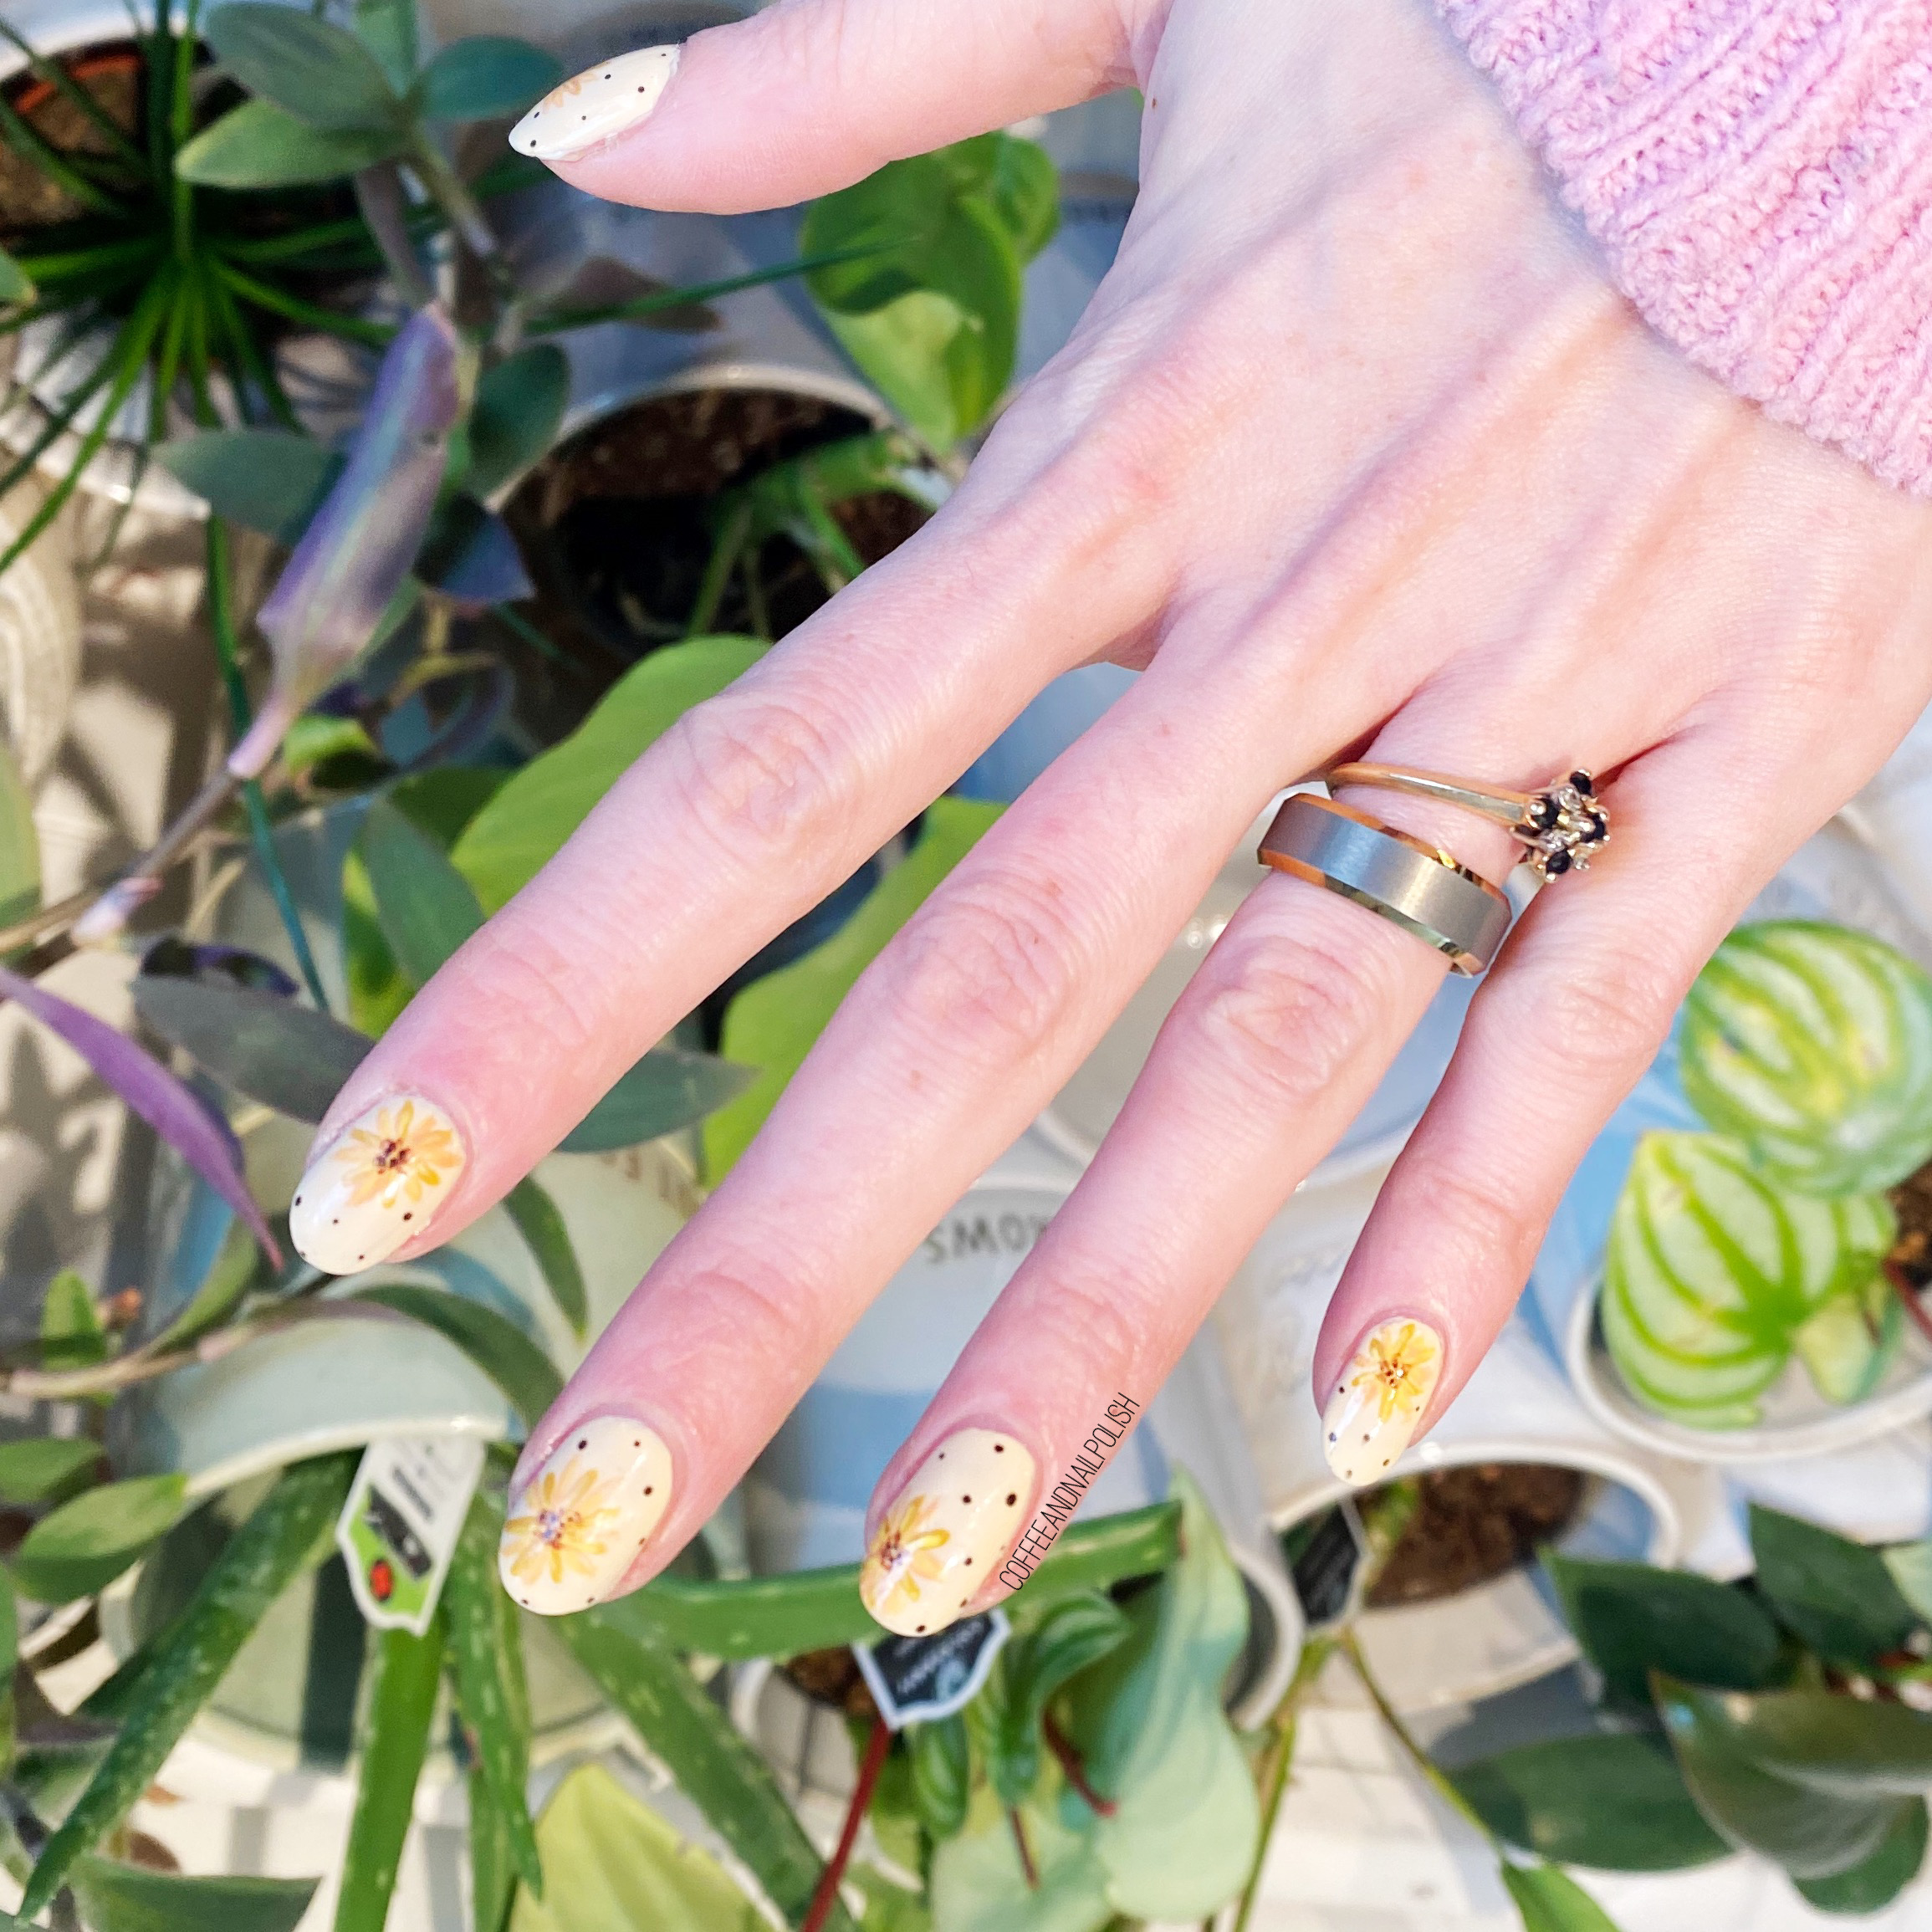
At first I wasn’t sure what I thought of this nail art look because the colour scheme is not my usual. But the look definitely grew on me — even if the colours are giving me slight Wonder Bread vibes. I do love a good polka dot accent nail — for a while that was one of the only nail art techniques I could do, so I wore it a lot.

What do you think of these funky polka dots accent nails? Let me know all your thoughts down in the comments below.

Spring-y Pastel Sponge (Happy 8th Birthday Coffee & Nail Polish)

Hello lovelies & happy Wednesday!

Sorry for being MIA this week, so far. It’s been rough — the kids have been & fighting some viruses which has led to a couple hospital trips. I actually originally had planned on posting this look yesterday, but spent the previous evening in the ER with my daughter (she’s fine!), & didn’t get home until 7am.

So not a lot of nail posting was happening yesterday. Just napping. & a very sleepy day at work.

But I did do these fun pastel sponging nails with the intention of sharing for my 8th Blog-iversary yesterday, so I really wanted to share these with you! Especially because they’re pretty, & springy, with just a sprinkling of holo glitter.

The polishes I used for this manicure are: 

  • Base Coat: Sally Hansen Good. Kind. Pure Hardener
  • Top Coat: Essie Speed Setter
  • Sally Hansen Miracle Gel Sun-showers
  • Sally Hansen MG She’ll-ebration
  • Londontown Lakur Mint No Chip
  • Essie Playdate
  • OPI Gelato on my Mind
  • China Glaze Fairy Dust
  • Latex Free Make Up Sponge

Such an easy look to do, & I always love these spongy designs for Spring. They make a great base for other nail art designs, or they’re just pretty on their own! & a layer of China Glaze Fairy Dust is pretty much mandatory, especially when sunny days are expected.

I’ve been doing these sponge nails a long, long time. When I was looking for a nail design to celebrate my blog-iversary, I wanted a look I’ve been doing a while, & this one just felt right!

Can you believe this blog has been around for 8 years now? While I’ve been blogging since it became a thing, 2003 or so, I don’t think I’ve had a continuous blog for this long. So it’s so exciting! & here is to many more years—as many years to come as the internet will have me.

Have a lovely day 💕

Y2K inspired Swirls & Daisies

Hello lovelies! & happy Friday! & happy April 1st — I promise there are no April Fools Day jokes today.

Todays look is a fun one! It’s half inspired by the fact that 2000 style is now making a resurgence & half inspired by discovering the show Popular on YouTube, which I was obsessed with in Junior High.

I also found some frosty sheer shades during my last trip to Shoppers (on sale for $2.99!) that I very much reminded me of my teen nail polish collection.

The polishes I used for this manicure are: 

  • Base Coat: Sally Hansen Good. Kind. Pure Hardener
  • Top Coat: Essie Speed Setter
  • Sally Hansen Xtreme Wear Iris Illusion
  • Essie Play Date
  • Londontown Lakur Mint no Chip
  • Sally Hansen Miracle Gel Get Mod
  • Essie Set in Sandstone
  • NailStuff.ca 16mm Striper Brush

Not going to lie, wearing these reminds me of my days going to Claire’s & picking up funky tattoo street necklaces, platform sneakers, & begging my parents for one of those inflatable chairs that were kind of see-through — which I did eventually get, although I think it bust a leak in the first week I had it.

This was a super easy look, & even though that Iris Illusion took 3 coats, & still isn’t opaque, I feel like that’s the whole point of this shade. I had tried it out over some white undies, & honestly it looked horrible. I much prefer this kind of naked, kind of not state that it gives you — it makes a great base for nail art!

What do you think about this nail art look? Are you feeling the 90s/2000s trends that are coming back?

I’m not sure how I feel about the returning fashion trends—I should have saved my old clothes—but I am excited about the return of flare jeans! Not that I ever stopped wearing them, but I’m happy to be on trend again!

Have a great Friday loves!

Glam Nails Challenge March — Flames 🔥

Hello lovelies & happy Monday!

A brand new week, (almost) a brand new month, & look at that… my nails are looking brand new too. Unfortunately, I had a pretty nasty break on my ring finger, so that means I’m back to rocking some serious shorties. But we have just two prompts left for Glam Nails Challenge March & I’m going to end this month strong!

The second to last prompt for this month is flames, which is a nail art design I have never, ever done. So I was both excited & nervous. Thankfully, I had some old flame nail vinyls, which made creating this look that much easier!

The polishes I used for this manicure are: 

  • Base Coat: Sally Hansen Good. Kind. Pure Hardener 
  • Top Coat: Essie Speed Setter
  • Essie Watermelon
  • Starrily Eclipse
  • Sally Hansen Complete Salon Manicure Trouble Maker
  • Sally Hansen Miracle Gel Blacky-O
  • NailStuff.ca 4mm Micro Detail Brush
  • URSugar Flame Nail Vinyls

How much fun are these holo flames? I was really feeling this base, & thought that this holo pink would be perfect for flames. I added the black tracing of the flames because I thought it would really emphasize the look of everything.

& I think it worked! The flames really pop against the nail. & I’m really happy with the outcome.

What do you think about these flame nails for Glam Nails Challenge March? Can you believe this month is almost over & we only have one prompt left?

Yellow Spring Flower 🌻🌼

Hello lovelies & happy Friday!

It’s rainy, and yucky here, but it could be worse — it could be snow. So I will take the rain. Today I have a pretty floral look to share with you to brighten up your day. They’re a bit Sunflower-esque. This nail design was actually prompted by a co-worker of mine who told me I should do yellow nails with yellow flowers. & so this design was spawned.

The polishes I used for this manicure are: 

  • Base Coat: Sally Hansen Good. Kind. Pure Hardener 
  • Top Coat: Essie Speed Setter
  • Sally Hansen Miracle Gel Sun-Showers
  • Essie Check My Baggage
  • Essie Sandstone
  • Essie Fall for NYC
  • China Glaze Autumn’s Up
  • China Glaze Loves You A Latte
  • Starrily Vantablack
  • NailStuff.ca 4mm Micro Detail Brush
  • NailStuff.ca Dotting Tool Trio

These turned out so dainty & pretty, I love them.

Now that Spring is coming, I hope, I just want to wear all my florals. I’ve been breaking out my floral shirts, & even a few dresses on those warmer days. &, obviously, on my nails because floral nails always fit — even on snowy, or rainy, days.

What do you think about this yellow on yellow floral? Let me know all your thoughts down in the comments, & let me know what floral you would like to see me do next!