SWATCH SUNDAY — Essie Throw in the Towel 🕶️ (2020 Sunny Business collection)

Contains PR

Hello lovelies & happy Sunday! It’s a sunny, hot & humid Sunday here — & we are still without some much needed rain unfortunately.

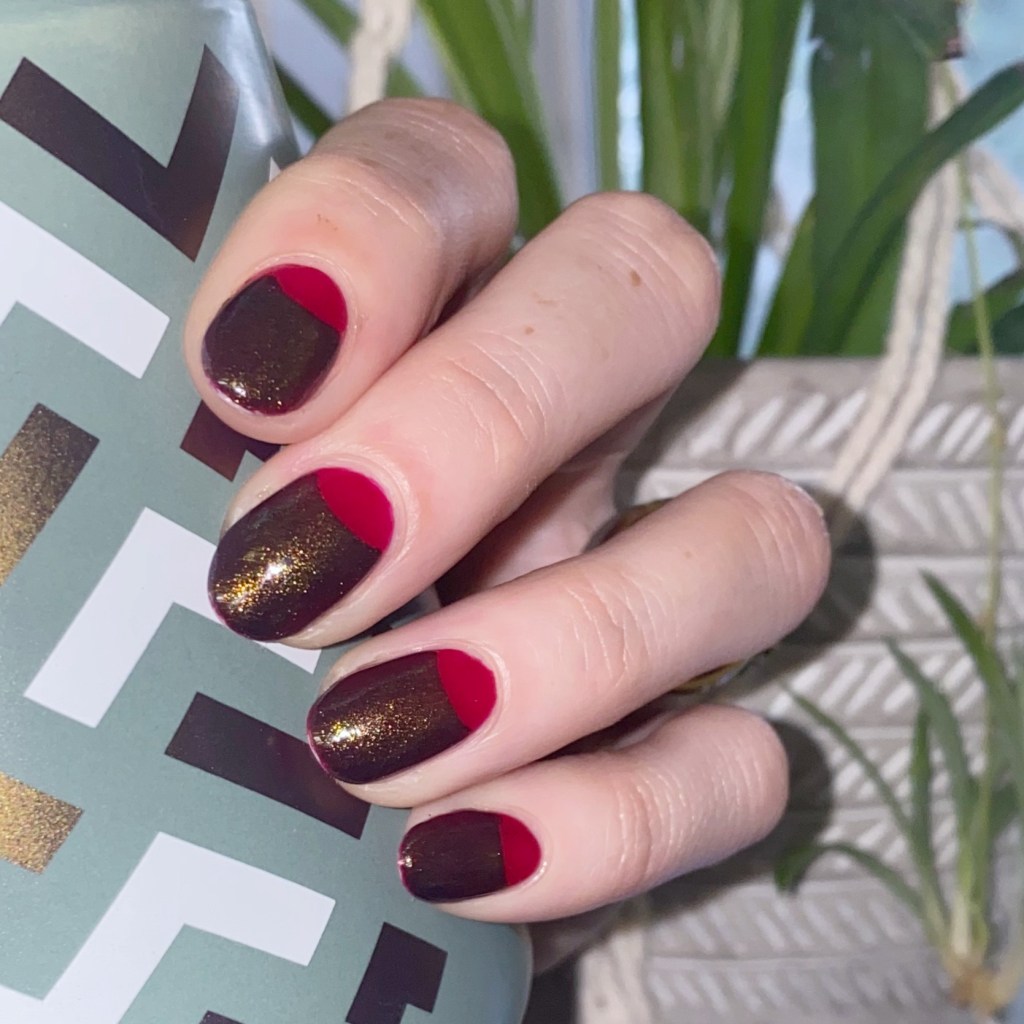
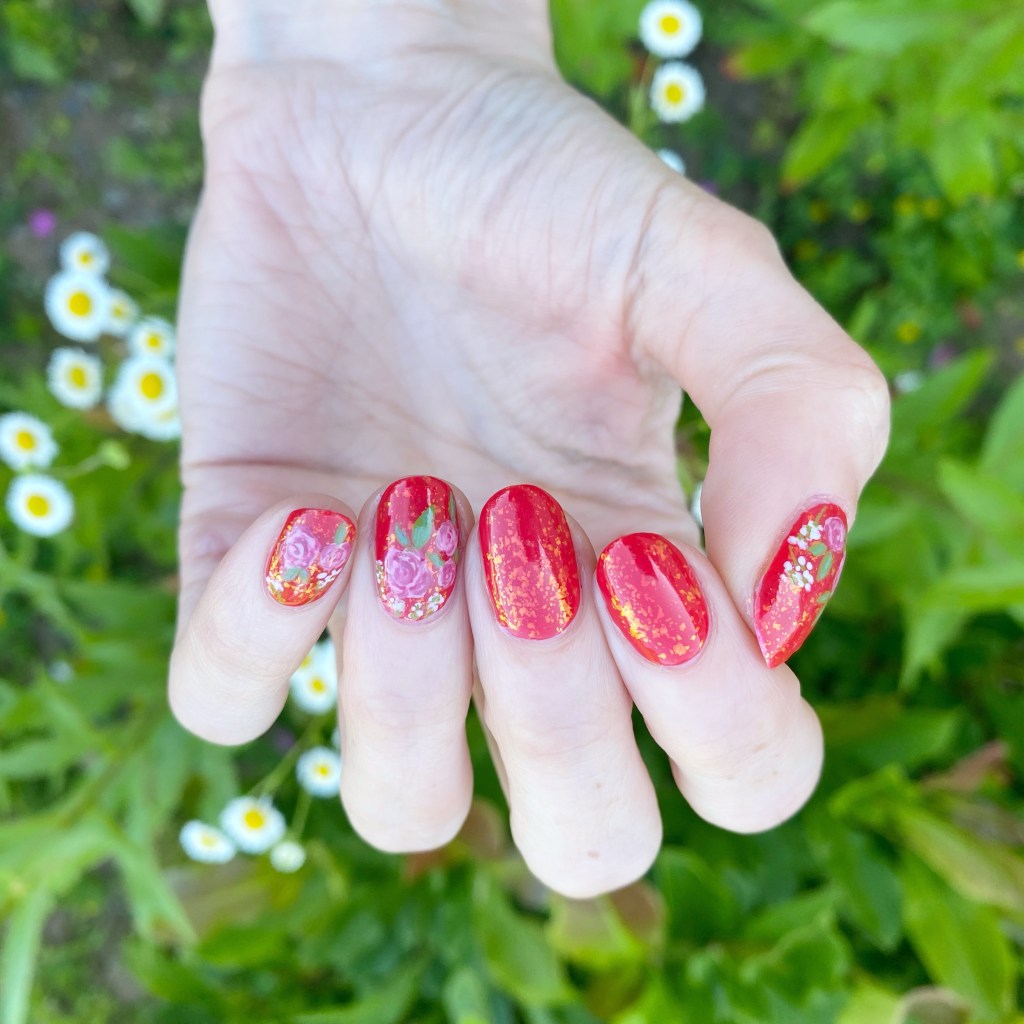
Today though, I’m sharing a bright & summery nail polish shade with you, that I kindly received gifted from Essie. This is Essie Throw in the Towel.
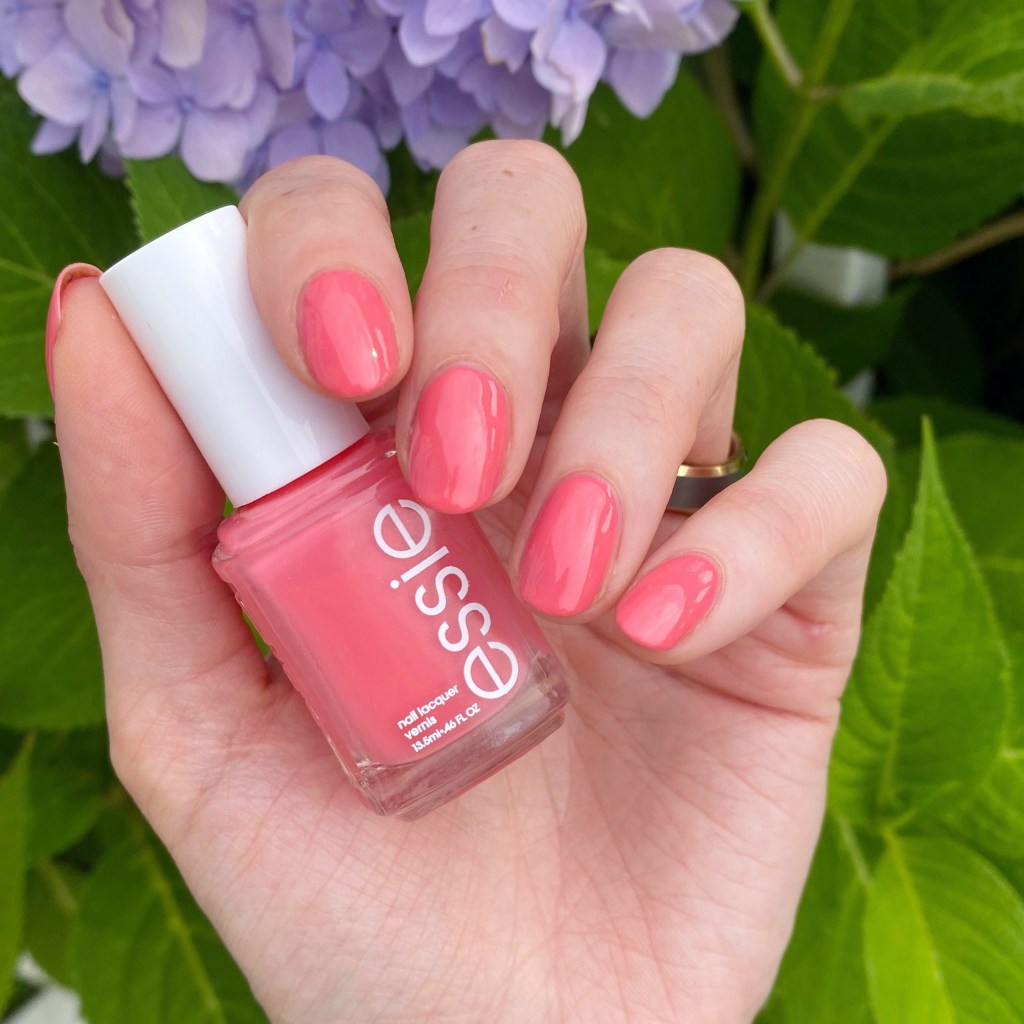
2 coats + top coat

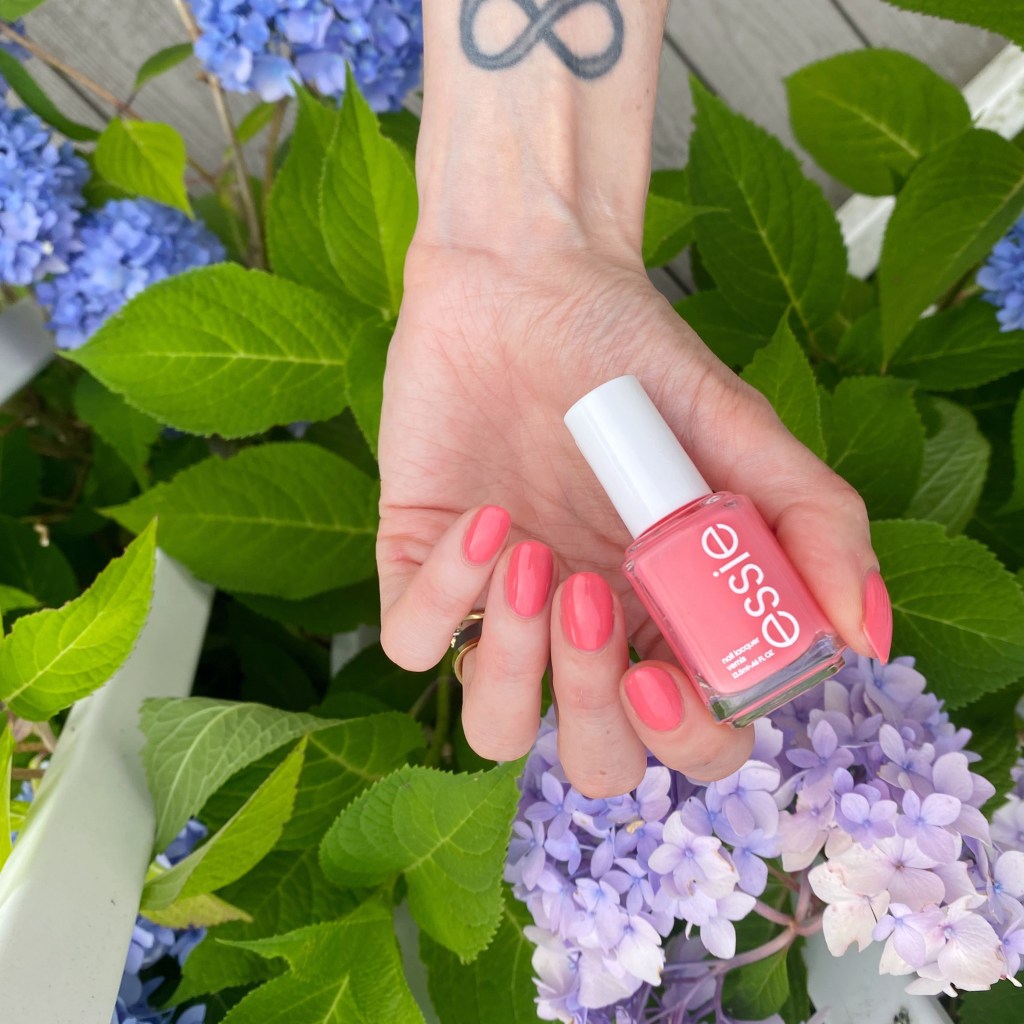
This beautiful bright coral pink is gorgeous Summery shade! The formula was a bit on the thin side, but built easily to opacity. My nails are on the shorter side right now, so if they were longer I would probably do three coats to avoid visible nail line.

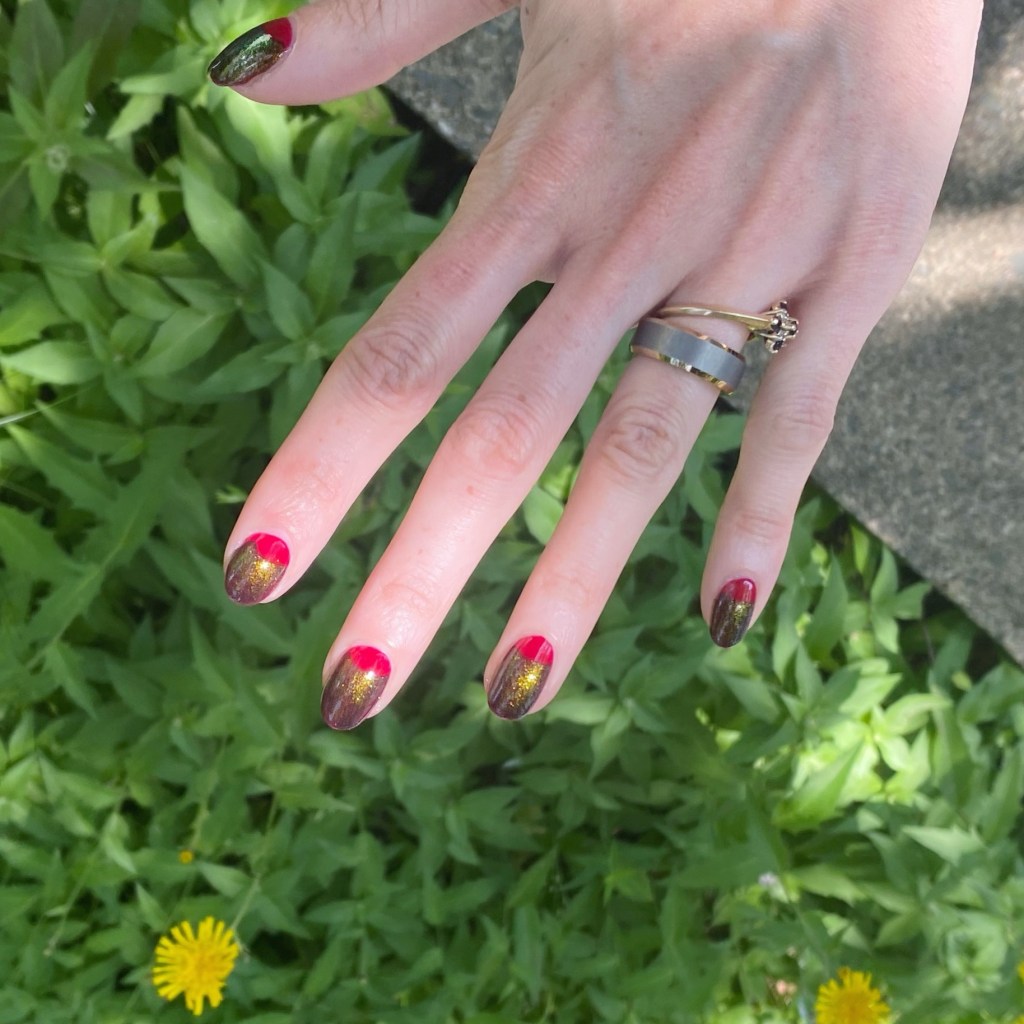
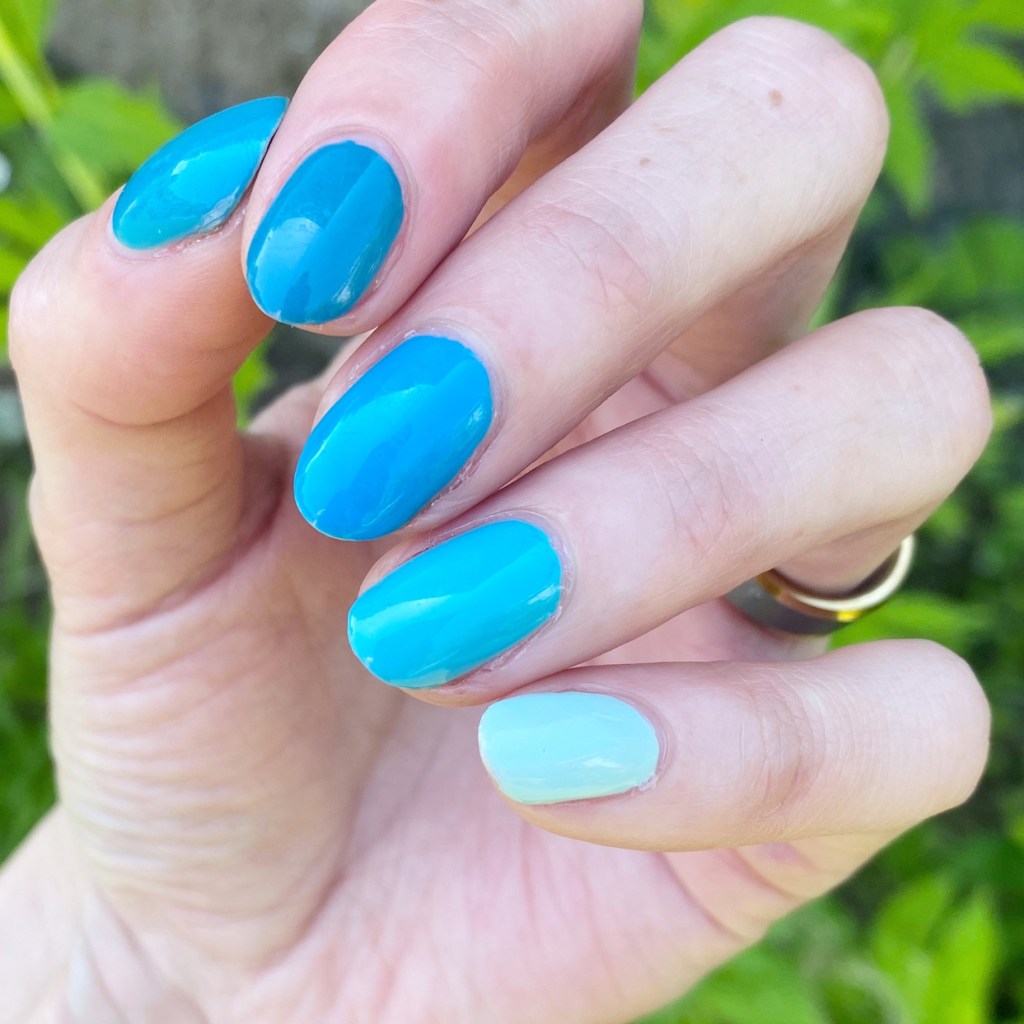
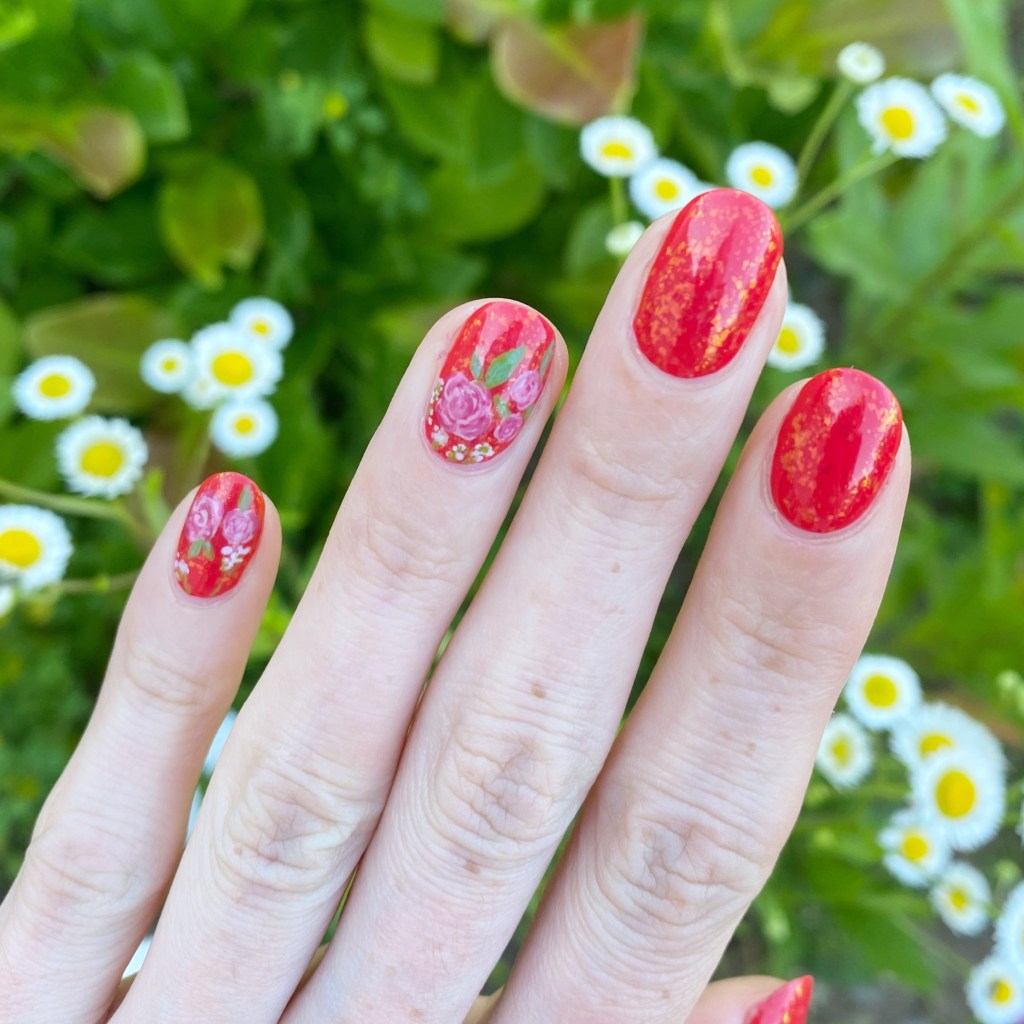
The colour is very vibrant & eye catching, which I love. I used to be all about the corals on my nails in the early days of my nail addiction, but started leaning towards more blues & purples — & I’m realizing now how much I love a bright coral on me!

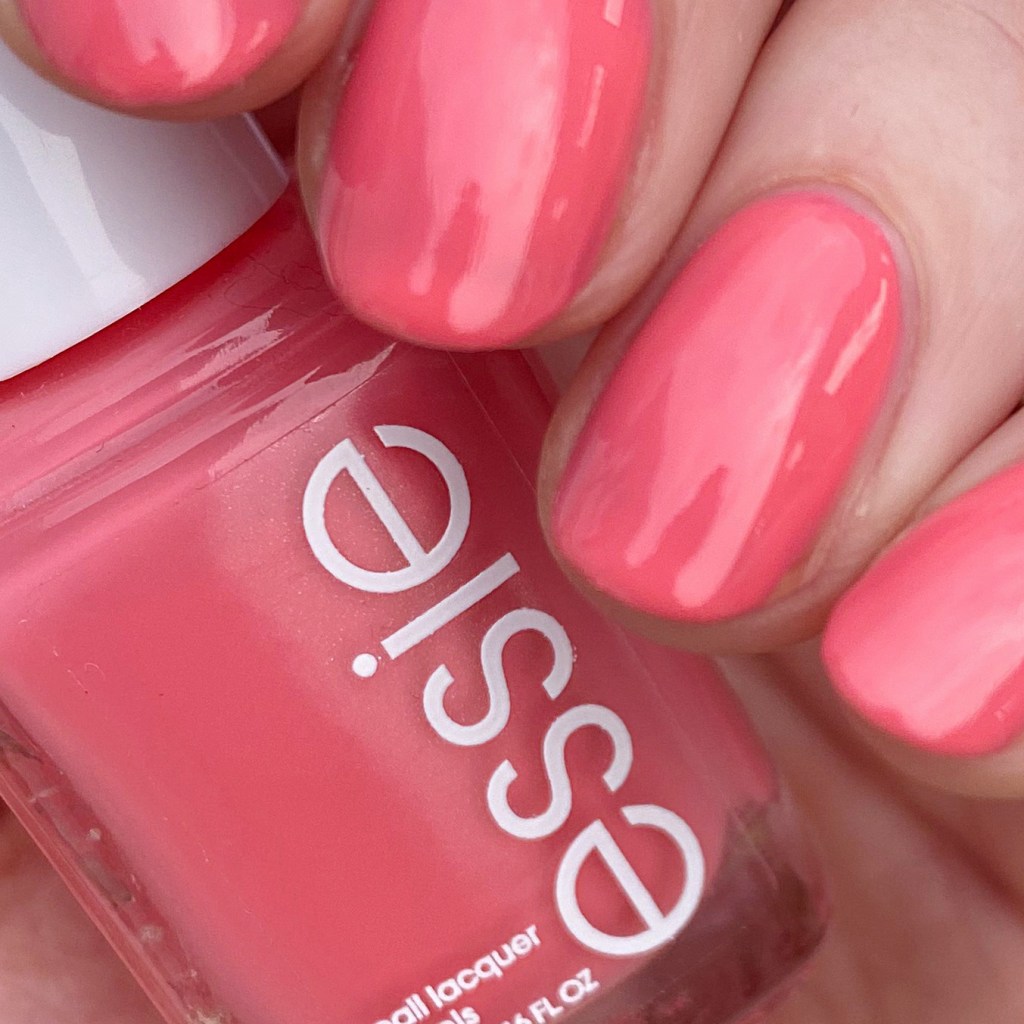
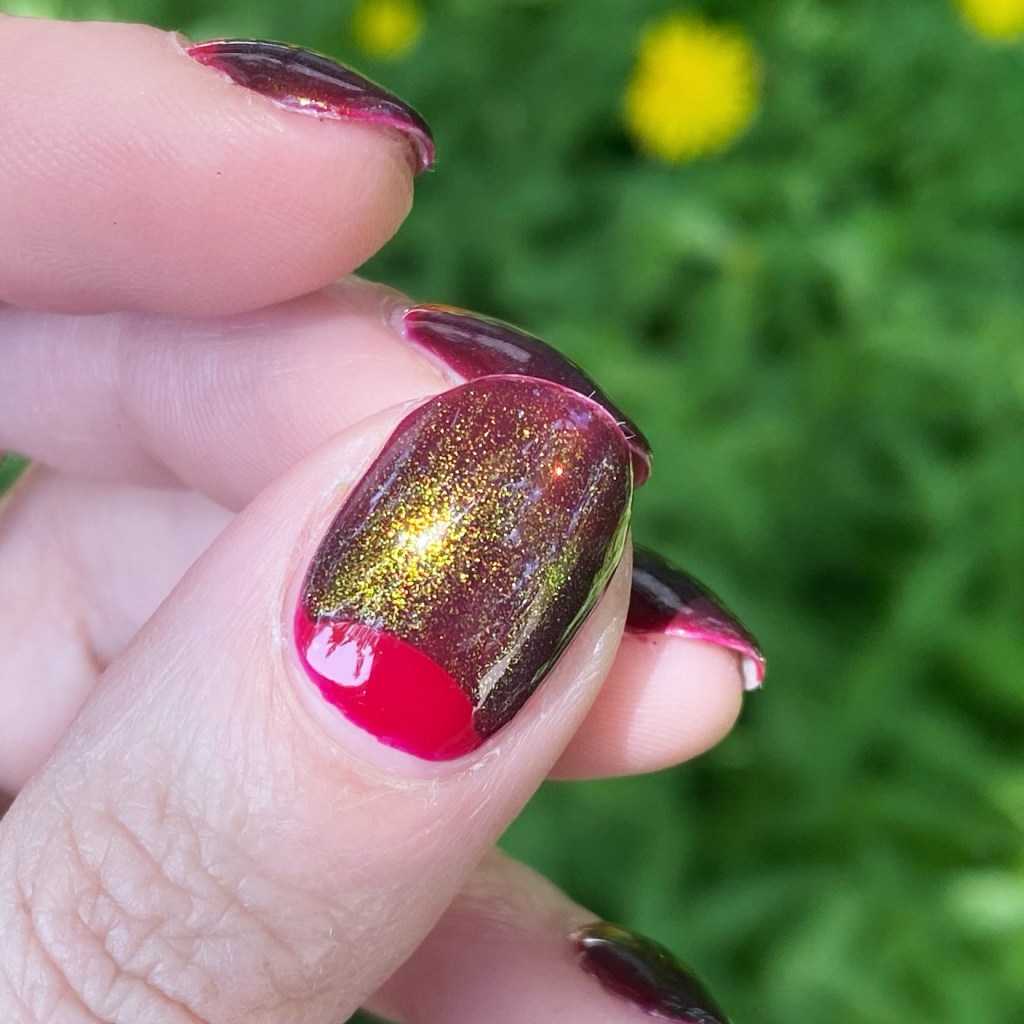
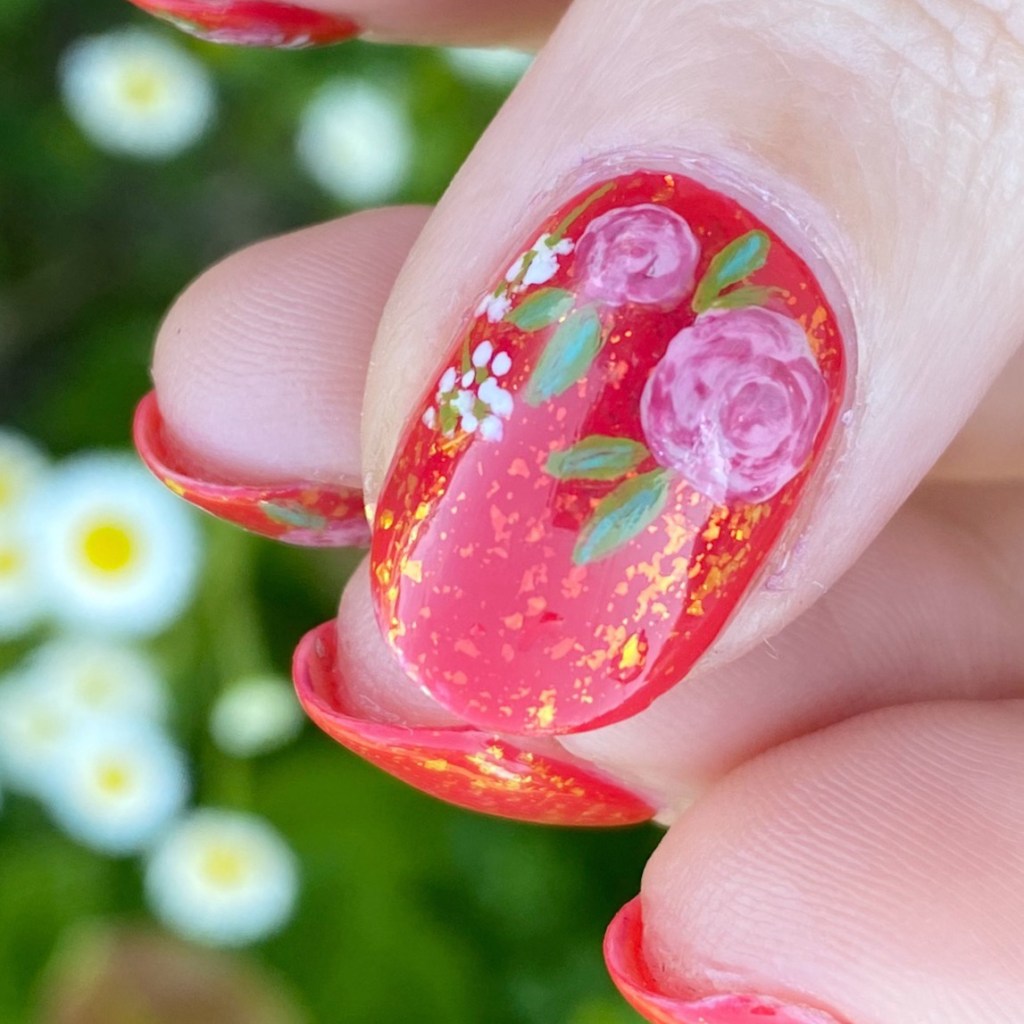
You can definitely see in my close up that this shade is a big on the sheer side, but it doesn’t make me love it any less. It’s light enough I don’t find that too distracting.

Essie Throw in the Towel is part of the Essie core collection, so you can purchase it anywhere you buy your Essie nail polishes. In Canada, it usually ranges anywhere between $9.99 CAD to $14.99 CAD.

What do you think about Essie Throw in the Towel? Do you love this bright coral pink as much as I do? Doesn’t it just scream Summer? Let me know all your thoughts in the comments below!

Happy Sunday!

🖤

Villain-esque Half Moons

Hello loves & happy Friday! & happy first day of August — how crazy is that?

How is everyone enjoying their week so far? I’ve been enjoying the very warm temperatures while simultaneously dreaming about pumpkin spice lattes & Halloween costumes. I’m a complicated girl, what can I say. I’ve also found myself thinking about Autumn-y nails & nail designs.

Today’s look, I guess, you could call somewhat Autumn inspired. I was thinking about a red on red half moon idea… but then added some shifty top coat, & they turned into something different entirely. I’m calling them villain-esque, because they totally look the part.

The polishes I used for this manicure are: 

  • Top Coat: Essie Good To Go Top Coat
  • Base Coat: China Glaze Calcium Gel Fortifier
  • Butter London Saucy Jack
  • Essie Tailored By Twilight *pr
  • Sally Hansen Miracle Gel Top Coat Moonlight
  • Paper hole reinforcements

What do you think about this combination? I really like the dark red over the light red, but the addition of the golden shimmer topper really gives it an extra something. Obviously, this look is a little dark for the hot days of August… but I’m a risk taker.

Also I will never not love a half moon manicure. It’s also reminding me I really, really need to play with my nail vinyls more. I have so many just sitting untouched in my folder, waiting to be used. I need to rectify that soon (&maybe get some new ones that are fall themed for the ‘ber months.)

What do you think about these half moons? Do you like this design as much as I do? Are you a fan of the half moons for easy nail art?

Happy Friday! Enjoy your weekend!

♥︎


Teal Ombré Nails

Hello lovelies & happy Wednesday. I hope everyone is having a beautiful Summer day on this last week of July. Truly crazy how quickly this Summer is slipping by, but I’m trying my best to enjoy it. However — only 27 days until Starbucks releases their PSL, which we all know is the official start of Autumn haha.

Today though I have a cute simple nail art look to share. It’s been absolute ages since I last shared an ombre skittle look. so I thought it was time to pull it out again. The colour scheme was inspired by my 8 year old who told me I should wear teal nails. What do you think — did I nail it?

The polishes I used for this manicure are: 

  • Top Coat: Essie Gel Setter Top Coat 
  • Base Coat: China Glaze Calcium Gel Fortifier
  • Essie Mint Candy Apple (pinky)
  • Essie In The Cab-Ana
  • Essie Off Beat Chic *pr
  • Essie Revenge’s A Beach
  • Essie Garden Variety

I’ve always loved these ombre tone skittles because they’re just to easy. The hardest part is just pairing the colours together, & making sure you have that light to dark effect on your nails. Surprisingly — okay, maybe not so surprising — I had enough Essie’s to easy accomplish this look.

What do you think of this simple teal ombre skittle look? Are you a fan of these Muti shade designs? Let me know all your thoughts in the comments below, & which colour you would rock an ombre look like this using!

Happy Wednesday.

♥︎

Pink Roses & Baby’s Breath Bouquet Manicure

Hello loves & happy Friday! I hope everyone is enjoying their week so far. It’s been a beautiful week here so far, but honestly I won’t like — the nights have been giving Autumn. It’s been cool, & nice, & has me craving pumpkin everything. I’m just such a basic girl, & I’m okay with that.

But, I won’t jump into the Autumn vibe nails quite yet — I’ll wait until Starbucks releases their PSL at least. So I have some pretty floral nails to share with you.

The polishes I used for this manicure are: 

  • Top Coat: Essie Gel Setter Top Coat 
  • Base Coat: China Glaze Calcium Gel Fortifier
  • Essie Gel Couture Electric Geometric *pr
  • Essie Shine of the Times
  • Essie Princess Charming
  • Essie Mrs. Always Right
  • Essie Gel Couture Gossamer Garments *pr
  • Essie Wind in the Willow *pr
  • Essie Bustling Bazaar
  • OPI I Cannoli Wear OPI
  • Nailstuff.ca Mermaid Tail 7mm liner brush
  • NailStuff.ca Dotting Tool 

I absolutely love these. I love the base with the glitter. I love how my roses turned out. I love the little bit of babies breath. I just think the whole design came together beautifully, & I truly adore them.

Also, my 10 year wedding anniversary is coming up this September, & I think I’m going to recreate my wedding nails (again) 10 years later. I did it back in 2018 so I thought it would be fun to do now… what do you think? Would you like to see me do another recreation of my original wedding nails, or maybe what I would do now if I were to paint my nails to get married?

Let me know what you think!

Do you love these romantic roses? Let me know all your thoughts down in the comments below. Happy Friday!

♥︎

Throwback Blue Dotticure

Good morning lovelies & happy Wednesday. I feel like it’s been a while since I did a Wednesday post. The last couple months have thrown my usual posting schedule all out of whack, but I’m really trying to get back to regular programming. (That includes regularly painting nail art on my nails instead of just wearing a single colour.)

Today’s look is another throw back to the early days of my blog, when I didn’t know much about nail art (or how to do it) but I did love polka dots. You can never go wrong with a polka dot design, so that’s what we’re rocking today!

The polishes I used for this manicure are: 

  • Top Coat: Essie Gel Setter Top Coat 
  • Base Coat: China Glaze Calcium Gel Fortifier
  • Essie Bikini So Teeny
  • Madam Glam Nail Art Pen Black *pr
  • Madam Glam Nail Art Pen White *pr
  • Madam Glam Nail Art Pen Silver *pr

Look how cute these perfect little polka dots turned out! It’s been a few months since Madam Glam so graciously sent me their nail art pens, & I just adore how easy they make polka dots nails. I’m still trying to perfect other nail art with them, but I can’t recommend them enough for creating perfect little polka dots like for this gradient dotticure. Plus — you don’t have to worry about cleaning off your dotting tool between colours.

What do you think of my gradient dotticure look? Do you love the throwback as much as I do? Do you remember when polka dot designs were the most popular look I would show off on my blog? Let me know all your thoughts down in the comments below!

♥︎