SWATCH SUNDAY— Essie Viva Antigua! (Summer 2016)

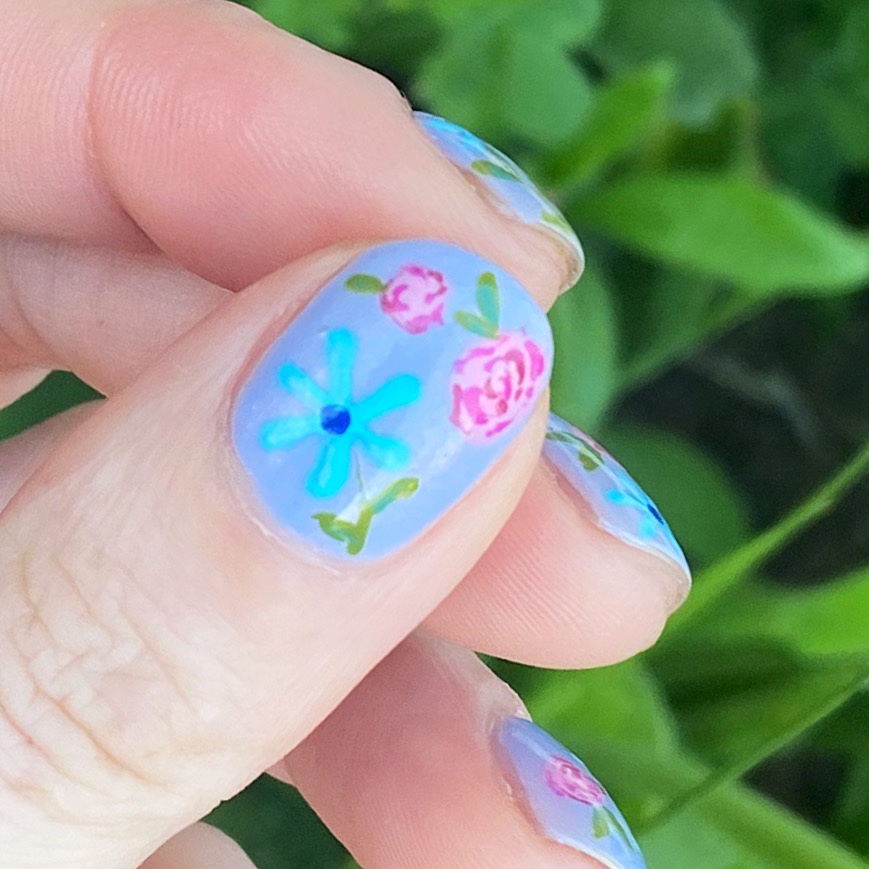
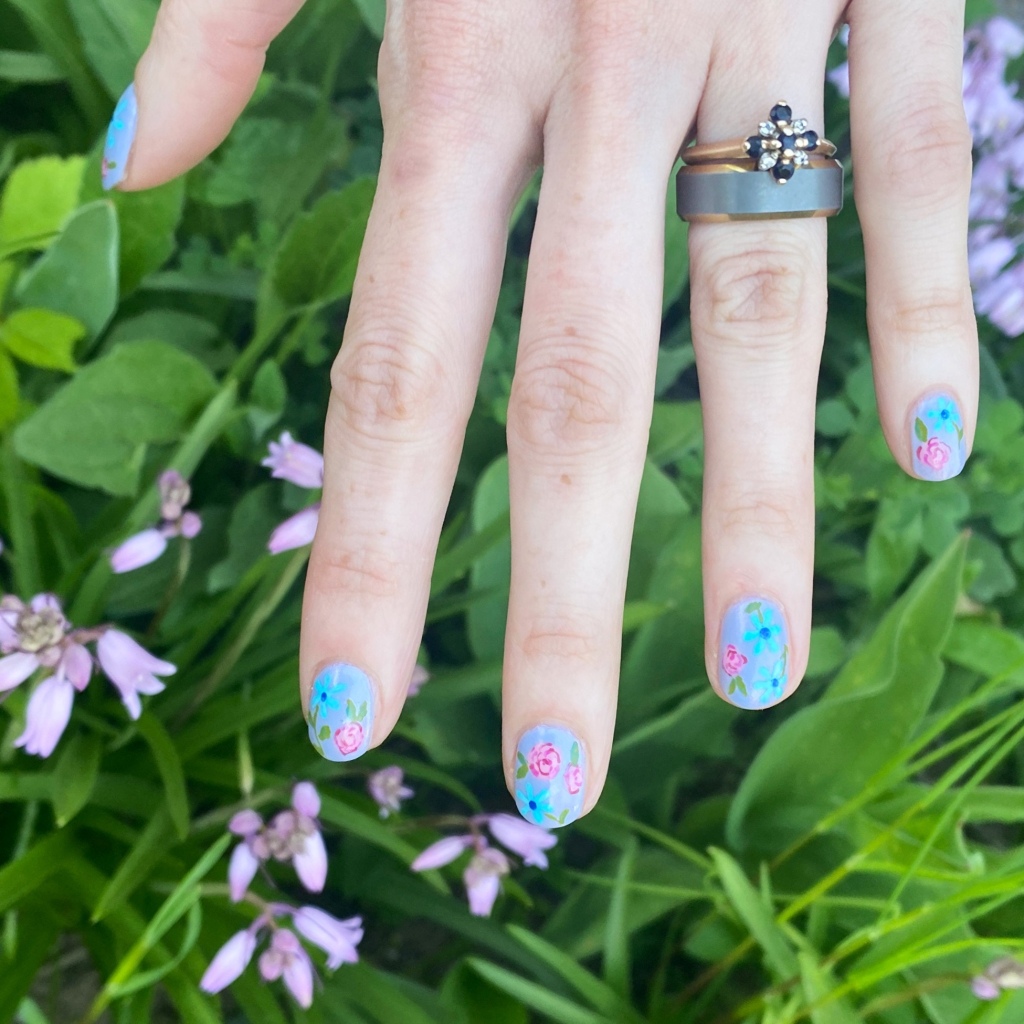
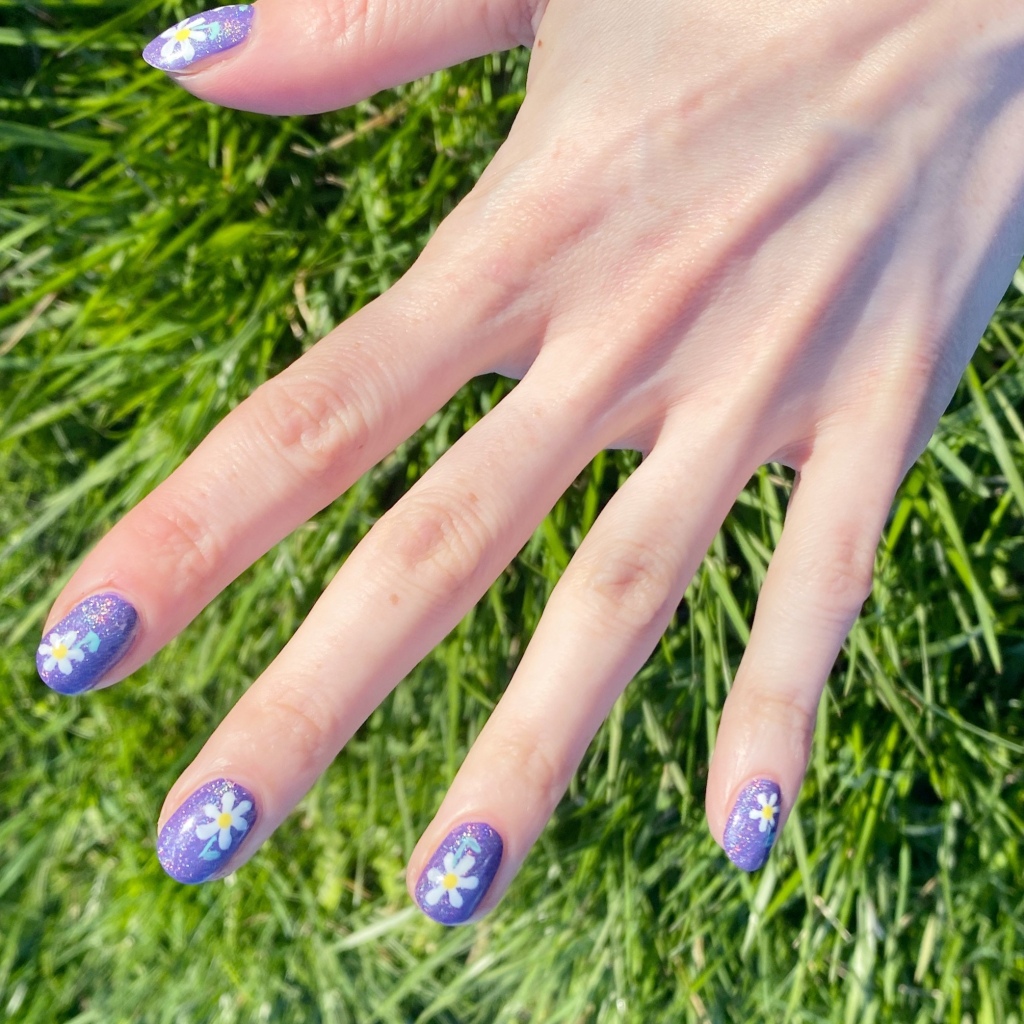
Good morning, happy Sunday! It’s been a beautiful, warm & busy week for me — hence the lack of nail art posts! I was super busy at work, plus prepping for my little girls birthday party yesterday, so I had no time for any nail art at all! It’s been kind of crazy!

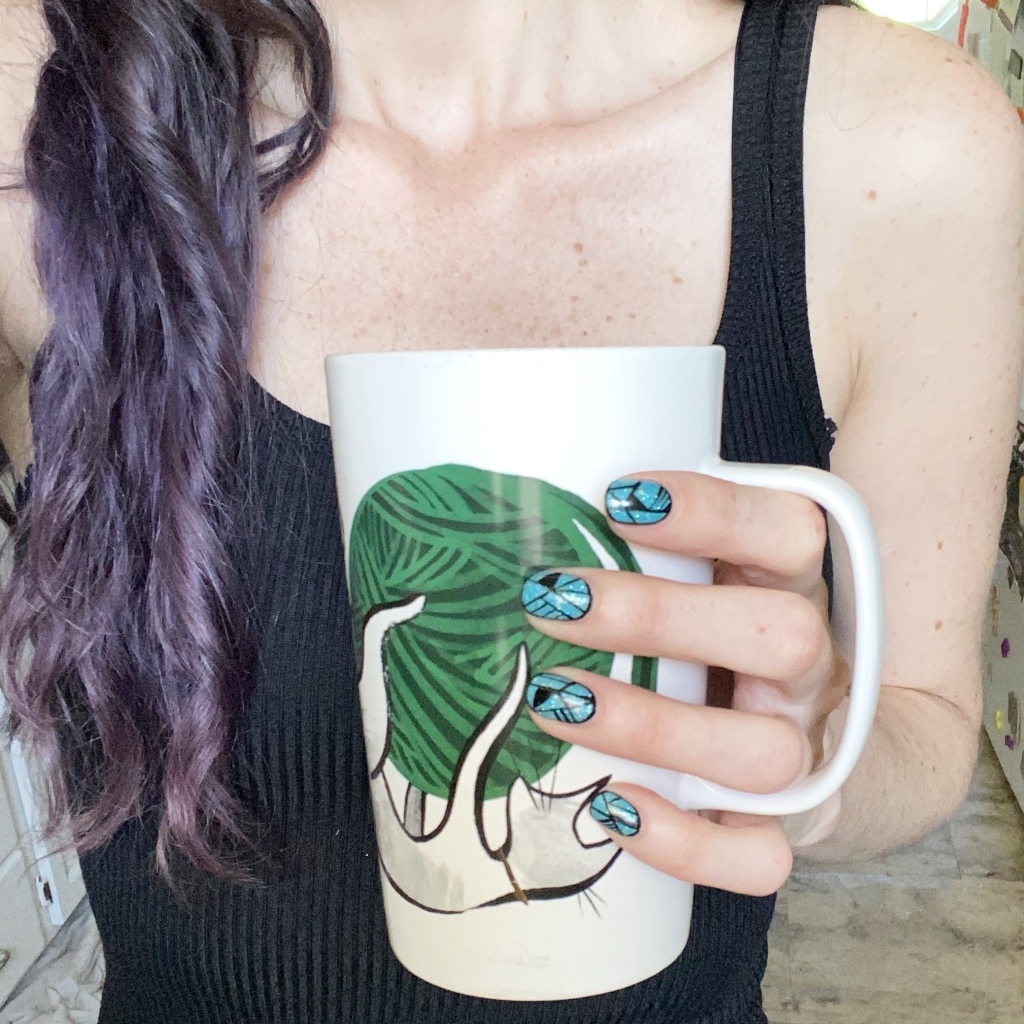
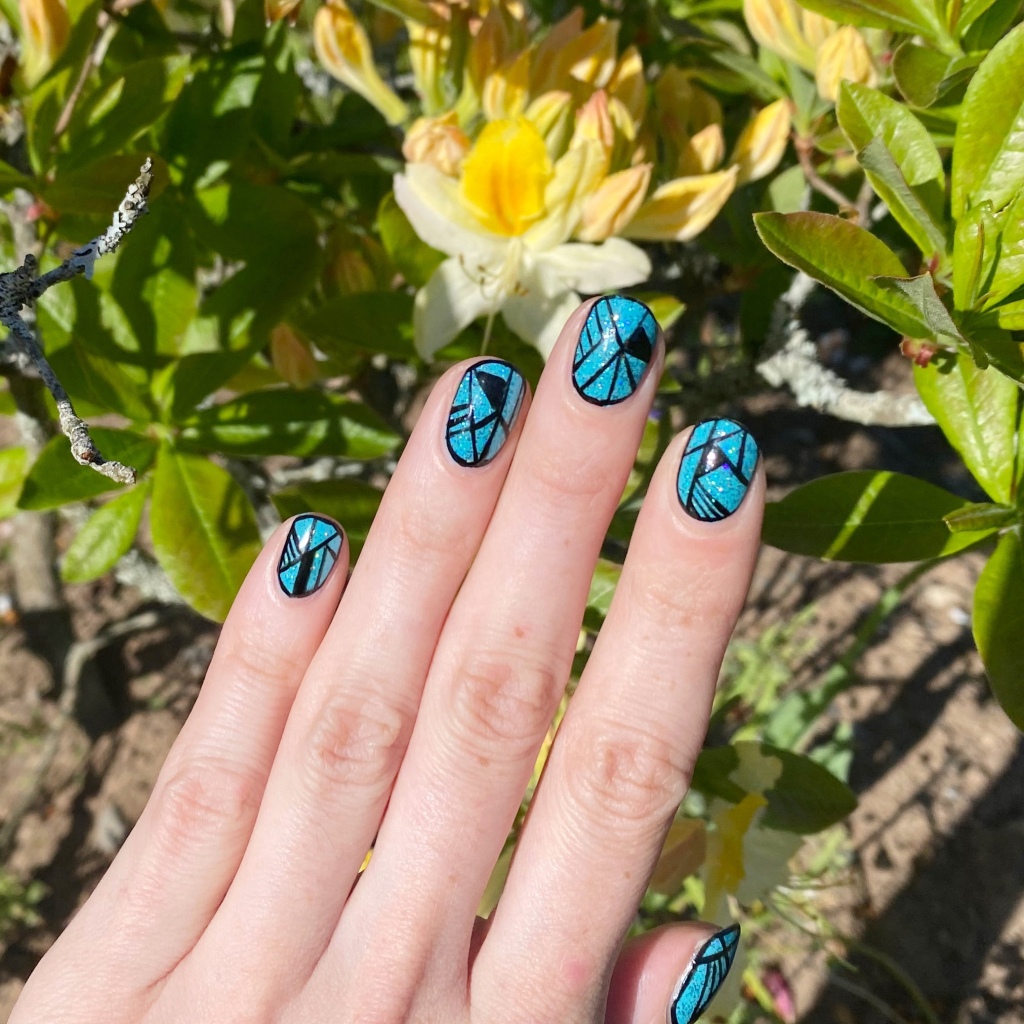
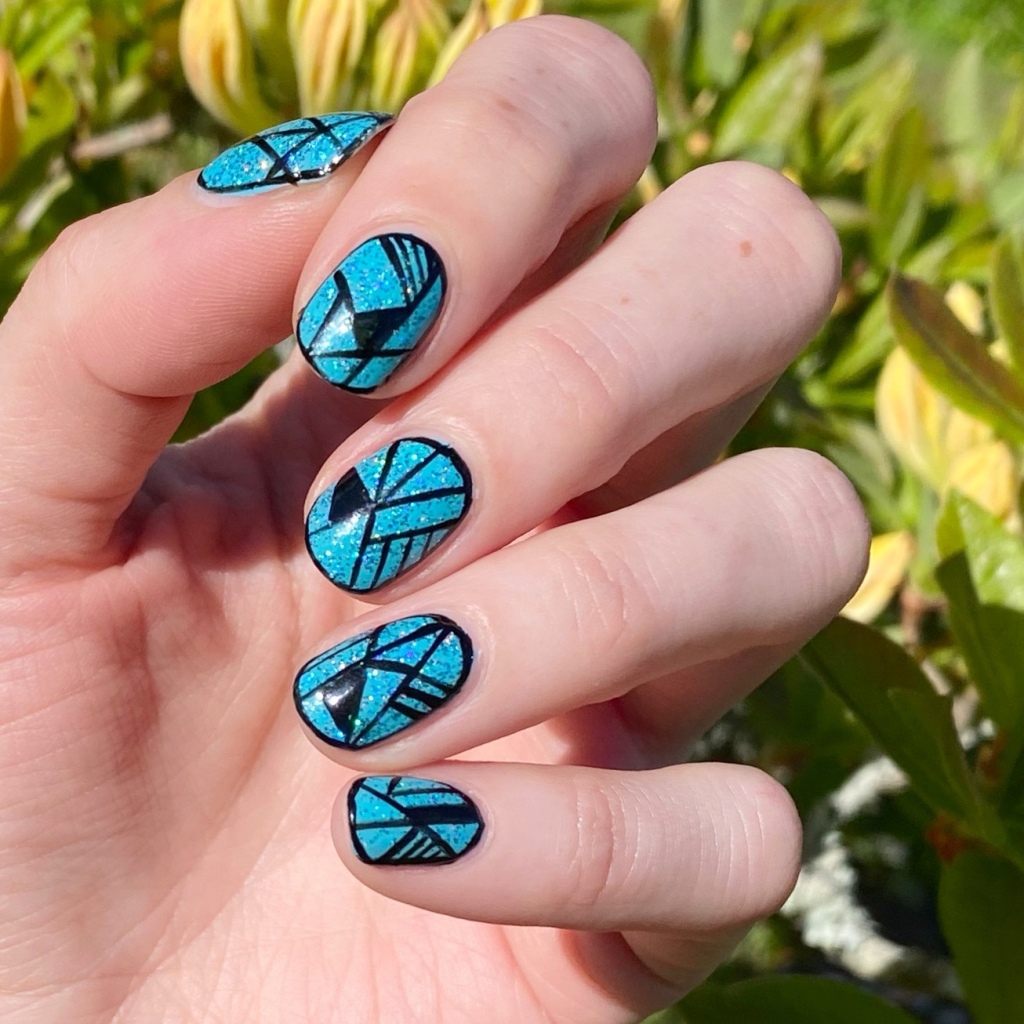
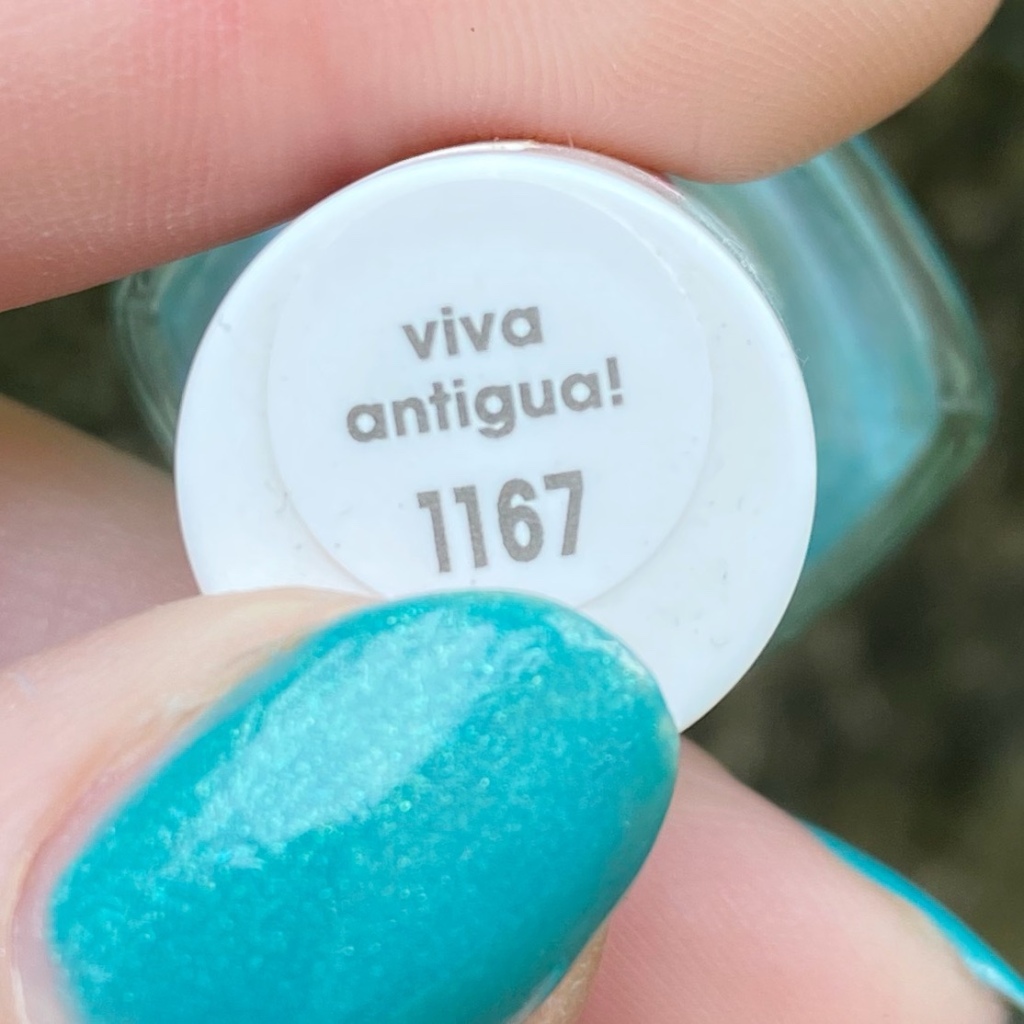
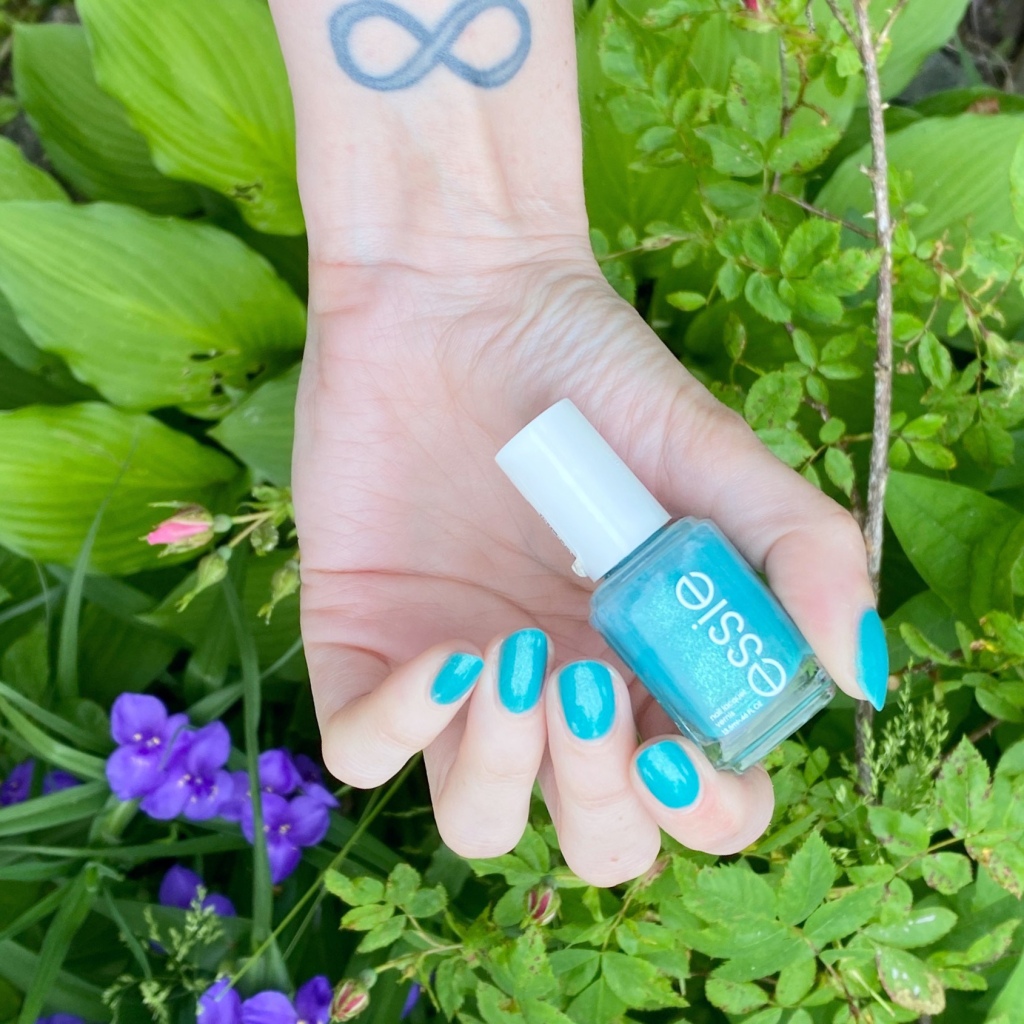
But today I’ve got some swatches to share of an Essie shade from 2016 that I remember I was absolutely obsessed with when I first purchased it. This is Essie Viva Antigua!

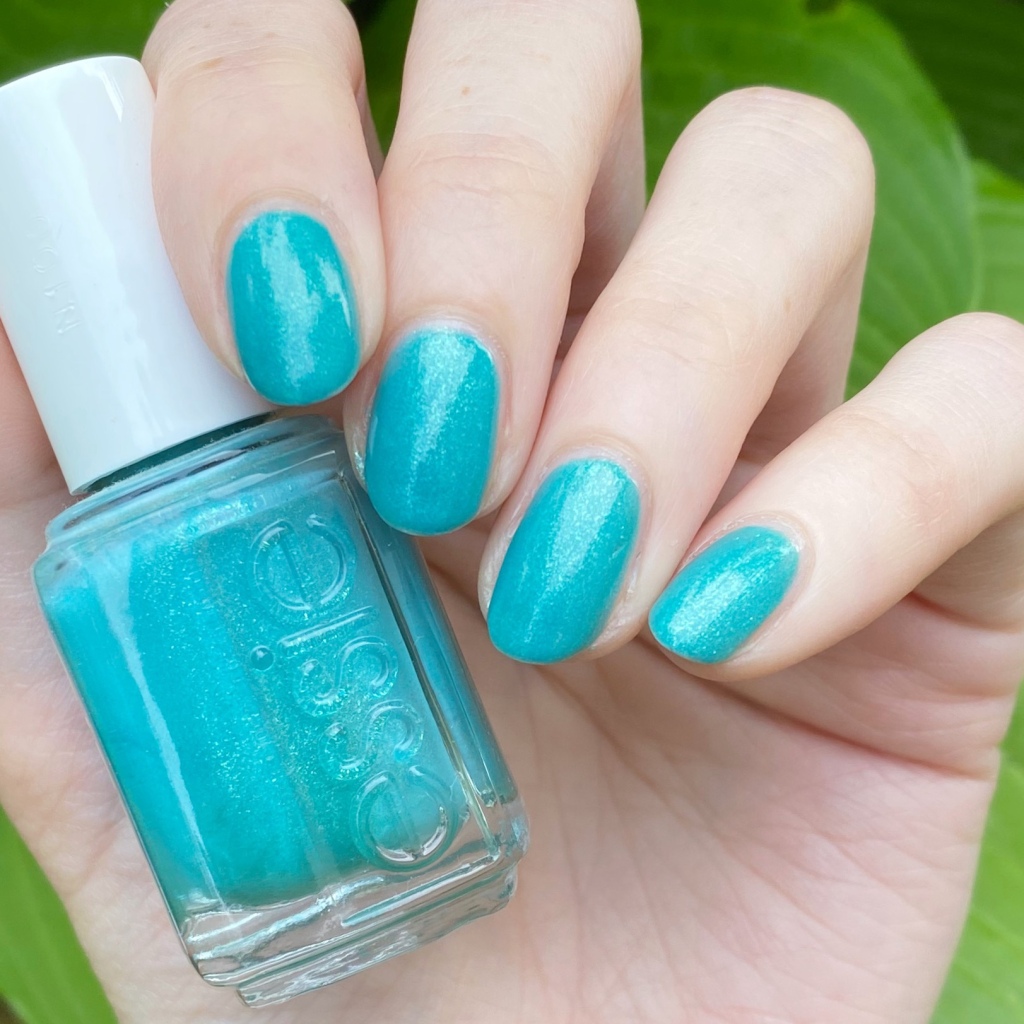
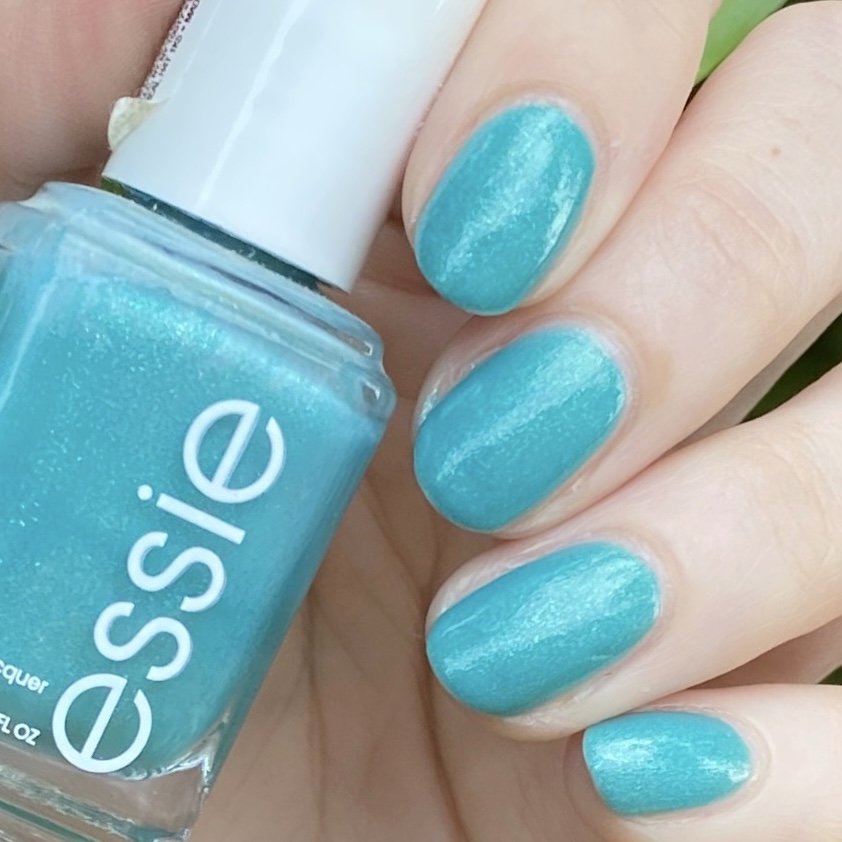
2 coats + Essie Gel Setter

This beautiful turquoise has a relatively thin formula which is perfect for showing off the glass flakes scattered throughout. It was super easy to apply, no issues with formula — which is pretty much perfect! It also dries down super quickly, even without applying your top coat.

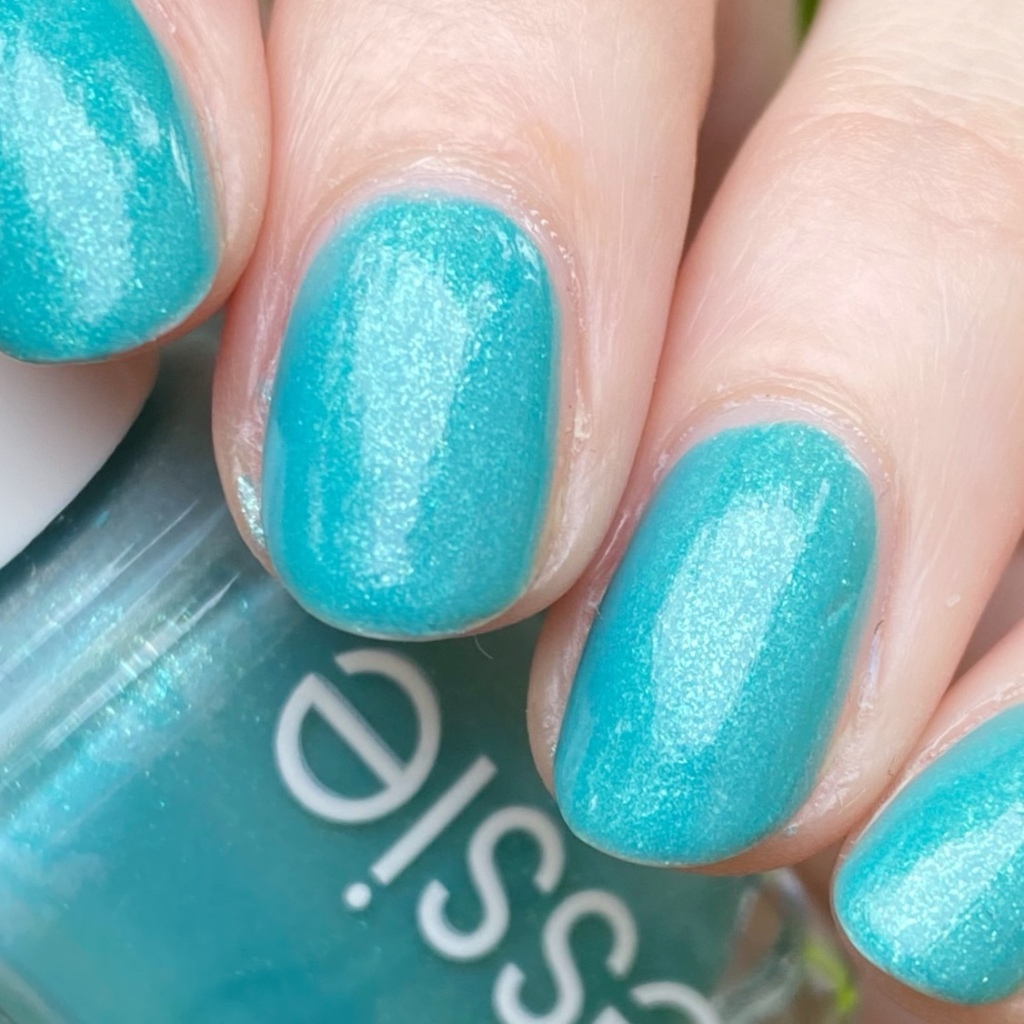
Look at that glass flake finish! Doesn’t it just remind you of tropical waters? I was obsessed back in 2016 when I first bought this beauty, & I’m obsessed with it now. It’s such a beautiful fun colour with a very unique finish.

& it totally screams Summer, don’t you think?

What do you think about Essie Viva Antigua! from the Summer 2016 collection? Do you remember this unique fun shade, or have it in your stash? Let me know all your thoughts down in the comments below.

Holo & Graphic Geometric Lines

Hello lovelies & happy Thursday! It’s a beautiful, warm sunny day & I’m enjoying every second of it. & the sunshine is making me crave a lot of sparkle. ✨

It’s been a while since I rocked some graphic geometric lines, so I pulled out a Quo by Orly striper I recently found at the thrift store (it had never been used — I was pumped!) & I created this geometric look. & I think the black over the lighter blue is so striking — I just love it!

The polishes I used for this manicure are: 

  • Base Coat: China Glaze Calcium Gel Fortifer
  • Top Coat: Seche Vive
  • Essie In The Cab-Ana
  • Color Club Bougie Baby
  • Quo By Orly Striper Black

These almost look like stained glass, but with only one colour. I think they turned out really pretty. I also can’t stop adding glitter — in particular holographic glitter — to all my base colours.

When I do geometric line designs like this, I’m really not particular in what I’m doing — I kind of just go with what I’m feeling. I originally had just line straight lines, but it felt like something was missing so I added the outline around my nail, & it felt like it brought everything together! & surprisingly, it really wasn’t that hard to do at all.

What do you think about this geometric lines design? Are you feeling the sparkly holo & the crisp black lines? Would you wear a design like this? Let me know all your thoughts down in the comments below & what colour you would wear as your base on a design like this!

Enjoy your Thursday! ♥︎

Pretty Floral Shorties 🌿🌸

Hello darlings, happy Friday!

I know what you’re thinking — two blog posts in a row? You girl was feeling productive after feeling not so productive in the beginning of the week, so we’re going to roll with it. Today I have another short nail design to share with you, & yes — it’s more floral. Let’s be honest, I’m (most likely) going to be sharing something floral related at least once a week going forward as it’s a nail art comfort zone for me. So I hope you won’t get tired of them too quickly!

The polishes I used for this manicure are: 

  • Base Coat: China Glaze Calcium Gel Fortifer
  • Top Coat: Seche Vive
  • Sally Hansen InstaDri Luxe Finish Lavish Lilac
  • Sally Hansen InstaDri Cotton Candy
  • OPI Nature Strong Emflowered
  • Sally Hansen Good. Kind. Pure. Peony Origins
  • Sally Hansen Good. Kind. Pure Eco-Rose
  • Sally Hansen Good Kind Pure Blue Moonstone
  • Essie In the Cab-Ana
  • Sally Hansen Miracle Gel How You Bluein’
  • Essie Willow in the Wind
  • Nailtural Keep Palm, Swim On
  • NailStuff.ca Dotting Tool Trio
    Nailstuff.ca Mermaid Tail 7mm liner brush

Okay, seriously, how pretty did this floral turn out?

I know, I know — I say that every single time I create a floral design, but that’s because I’m still amazed after all this time when my nails turn out so pretty! I mean, sometimes when I’m going into them I’m not entirely sure they’re going to work out — & there have definitely been times when they didn’t!–so I get so happy when I end up with a beautiful design that I’m happy with.

What do you think of this floral design? Do you like pretty floral looks like this? As I mentioned, I foresee this being a design I repeat at least weekly going forward for the next little while. Even when I’m not inspired to necessarily do my nails, I’m always inspired to create a pretty floral!

Thermal Floral 🌸🌿

Don’t hate me! I know it’s been quiet around here & I seriously suck. It’s been a busy month, & as a result blogging has been a bit paused lately. But I’m trying my best to come back! & I have a bunch of manicures saved up to share!

Today — floral. Yes, again. 🌿🌸 I’m obsessed, what can I say.

The polishes I used for this manicure are: 

  • Base Coat: China Glaze Calcium Gel Fortifer
  • Top Coat: Seche Vive
  • Cadillacquer Nostalgia (Thermal)
  • Sally Hansen I 💗 Nail Art Pen Pink
  • OPI Nature Strong Emflowered
  • Essie Swoon in the Lagoon
  • OPI Nature Strong Make My Daisy
  • Essie Willow in the Wind
  • Sally Hansen I 💗 Nail Art Pen in green
  • OPI Gelato On My Mind
  • Essie All the Wave
  • Sally Hansen I 💗 Nail Art Pen Purple
  • Nailstuff.ca Mermaid Tail 7mm liner brush
  • NailStuff.ca Dotting Tool Trio

Originally I didn’t plan on painting floral in every finger, but once I started I just kept going & created this cute little garden on my nails. I’m so happy I did, too, because the look is just so Spring-y & fresh. I also love that the base is a thermal, so it changes depending on the temperature of your fingers.

What do you think about this floral design? Is it feel warm & Spring like where you are? Let me know all your thoughts down in the comments below! & tell me what your favourite Spring polish is right now.

🖤

Simple Spring Daisies 🌿🌼

Hello lovelies & happy Tuesday!

After a rainy, cold start to the week — today is supposed to feel a lot more Spring like today which has me super excited! So naturally, let’s share some Spring-y nail art to match the weather. & you can never go wrong with some pretty daisies! All the flowers in my garden are starting to pop up, so I’m all about the floral right now.

The polishes I used for this manicure are: 

  • Base Coat: China Glaze Calcium Gel Fortifer
  • Top Coat: Seche Vive
  • Essie Expressie IRL
  • Franken Holographic Top Coat
  • OPI I Cannoli Wear OPI
  • OPI Nature Strong Make My Daisy
  • OPI Nature Strong Cactus What You Preach
  • NailStuff.ca 7mm Liner Brush Mermaid Tail Brush
  • NailStuff.ca Dotting Tool Trio

I love doing daisies, but sometimes I feel like they don’t turn out very cute. But this design turned out super cute, & I’m so happy about it! Daisies are my all time favourite flower, so I love recreating them on my nails.

Daisies also just scream Spring, & I’m ready for it. I’m ready for daisies in my garden, & those warmer days.

What do you think about my daisy nails? Are you a fan of this design? Let me know all your thoughts down in the comments below, & let me know what your favourite Spring flower is!

♥︎