*contains PR
Good morning lovelies & happy Monday! It’s a beautiful but oh so chilly morning. It’s also officially the countdown to Halloween, so my goal is to share a Halloween themed nail look every day leading up to Halloween.
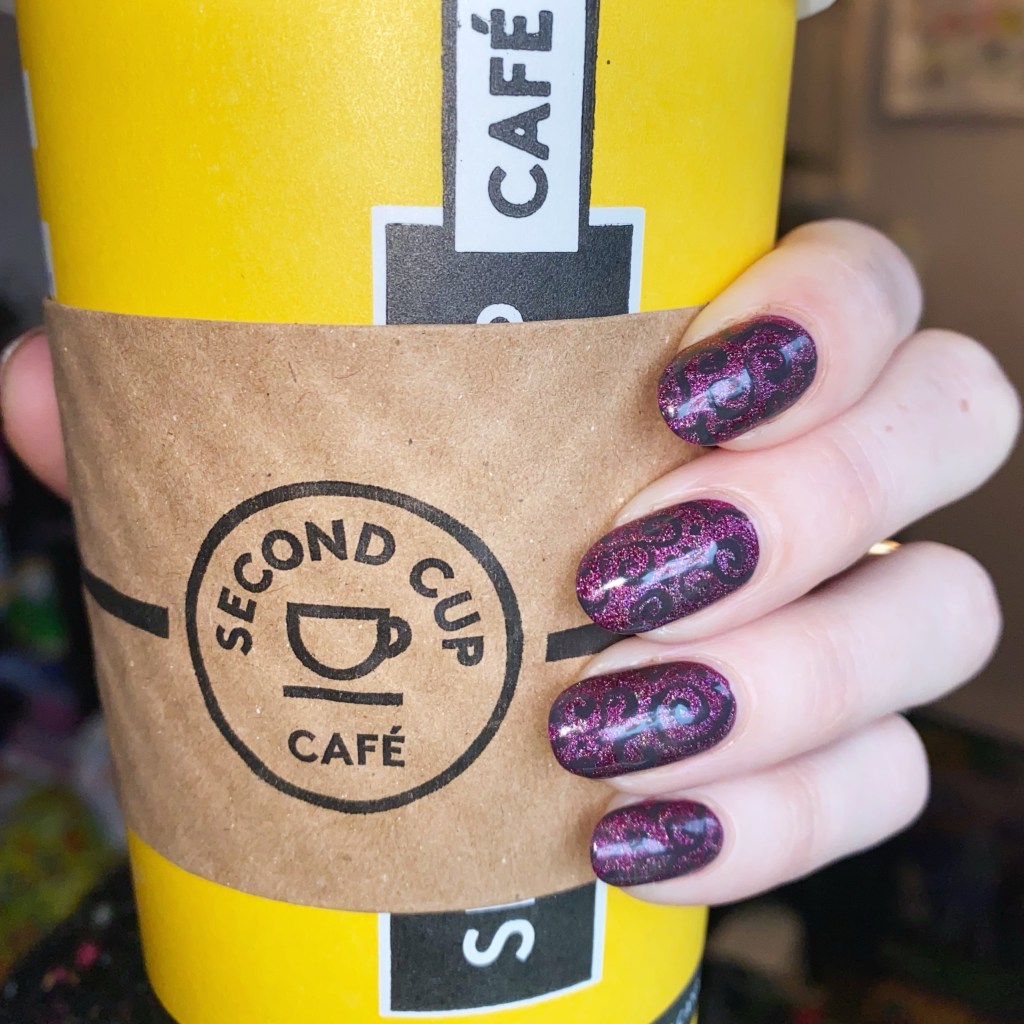
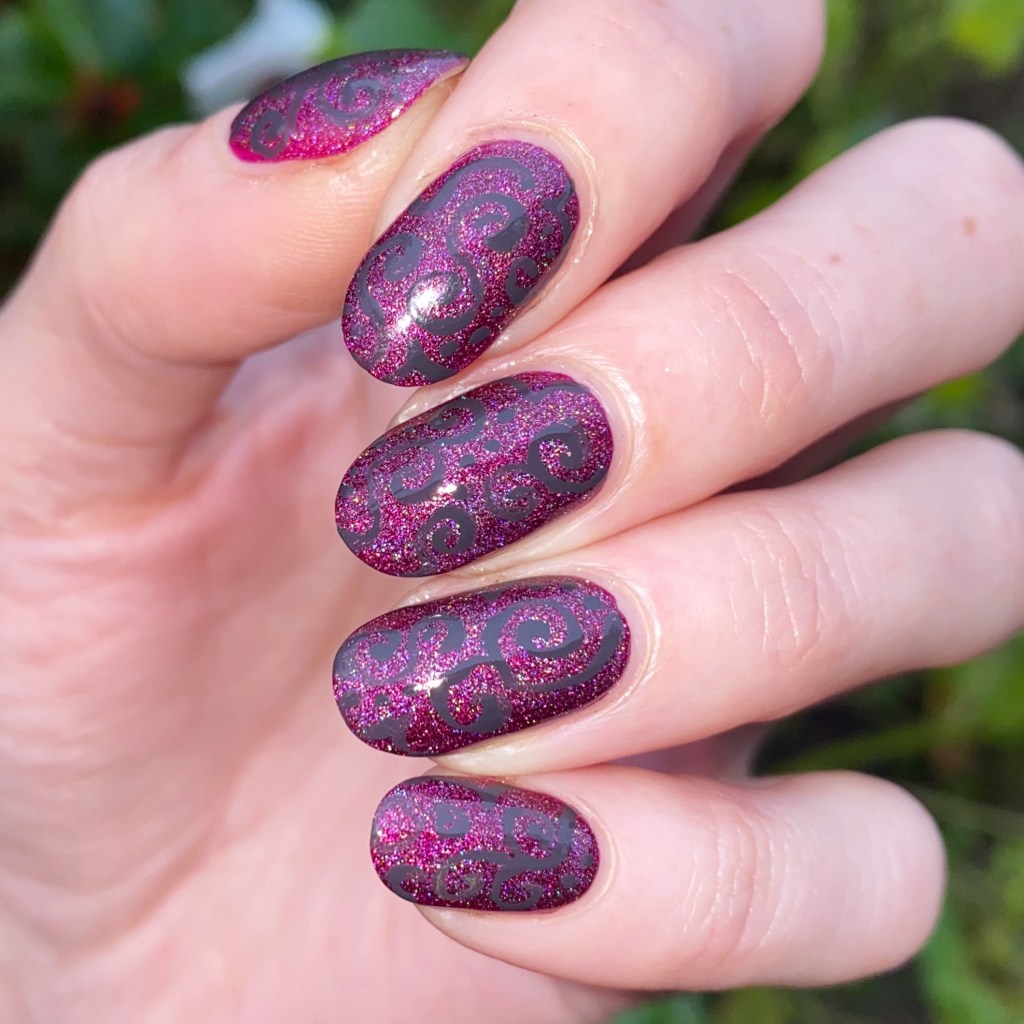
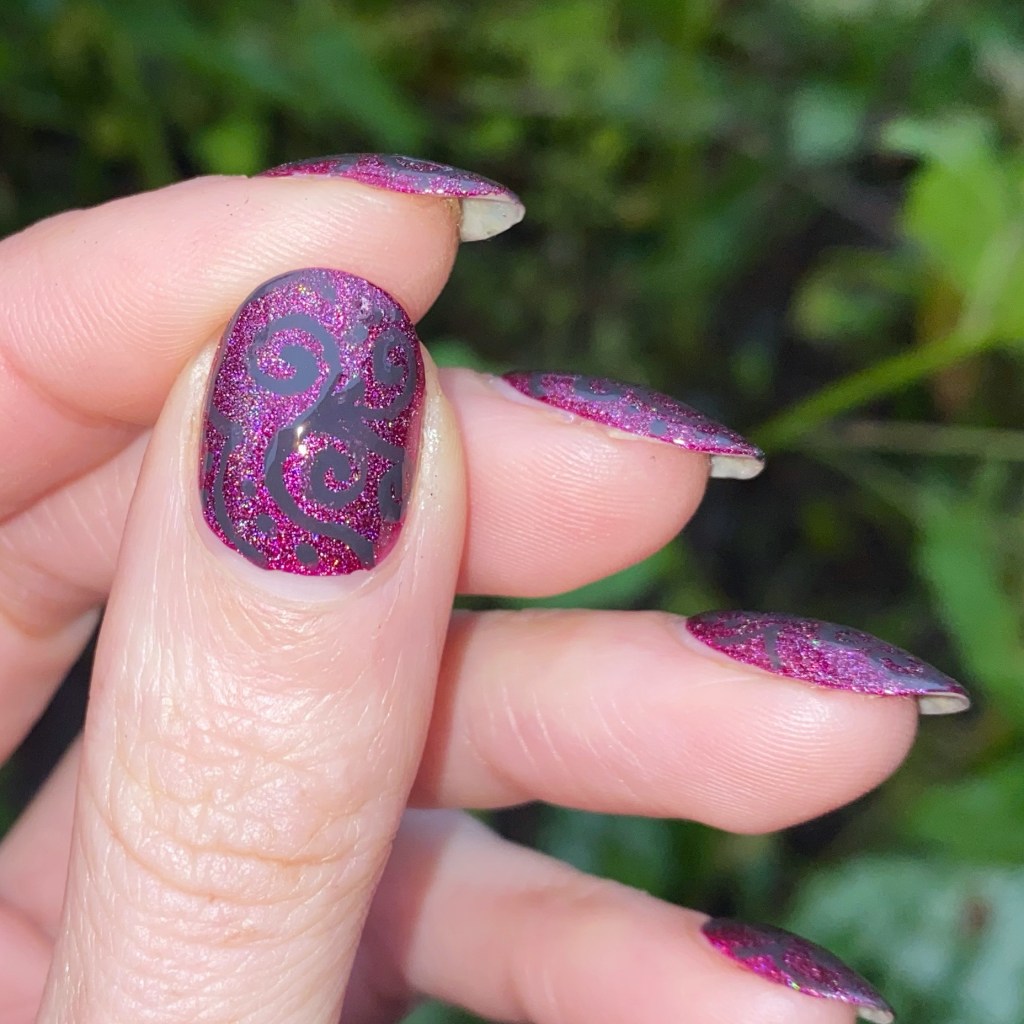
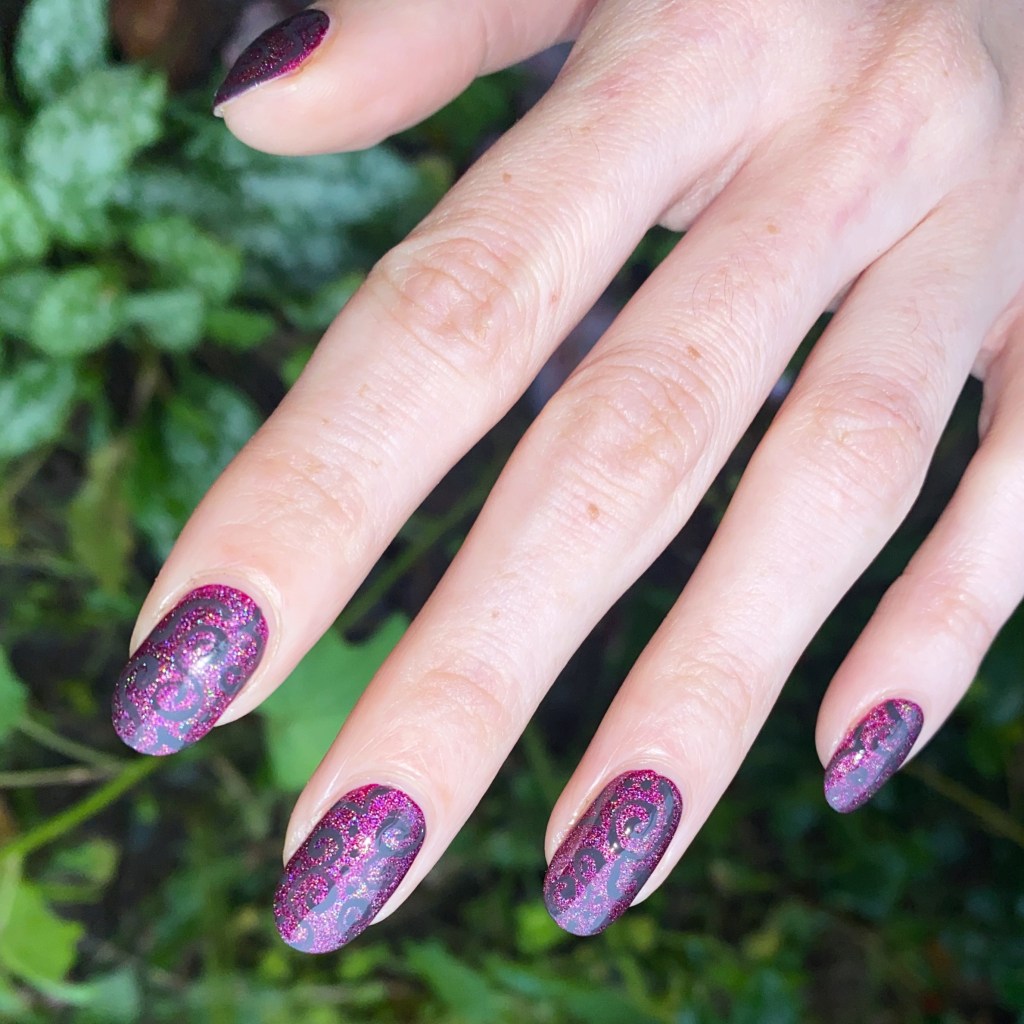
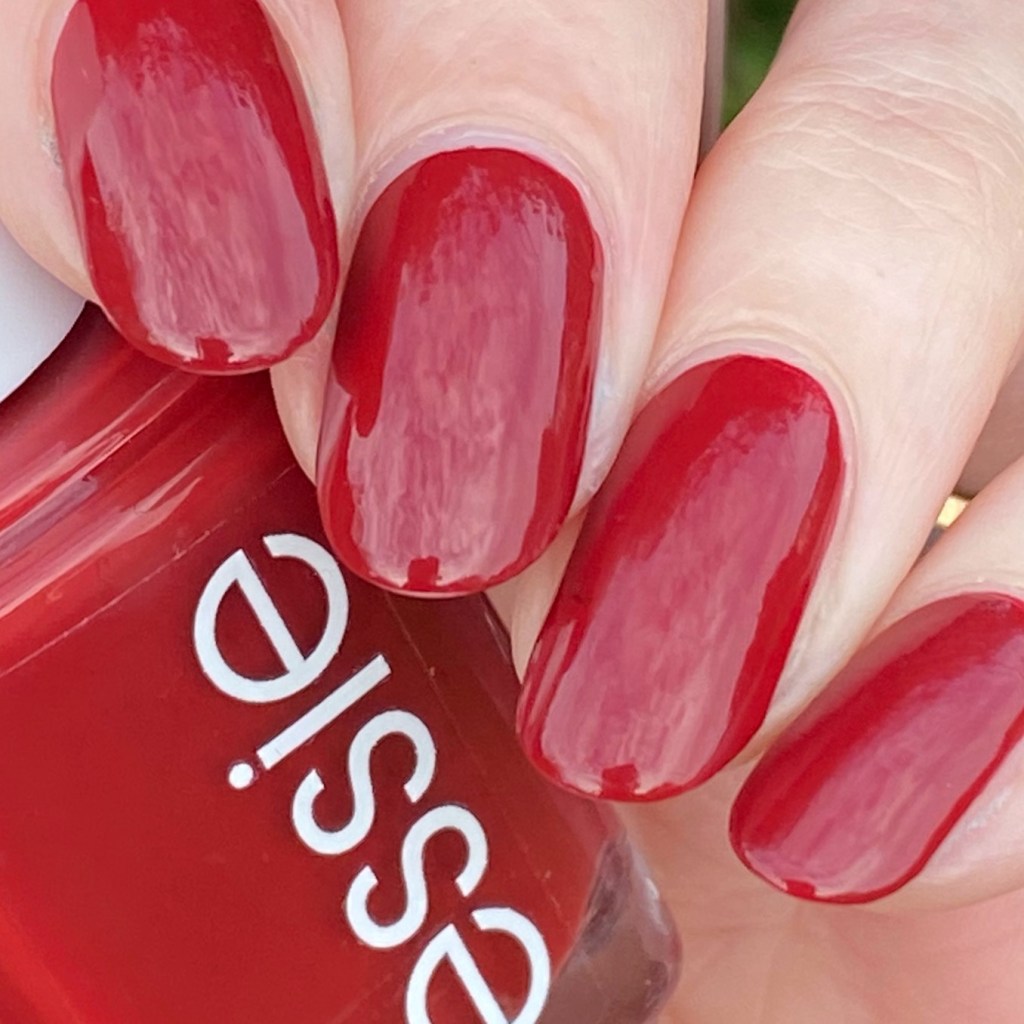
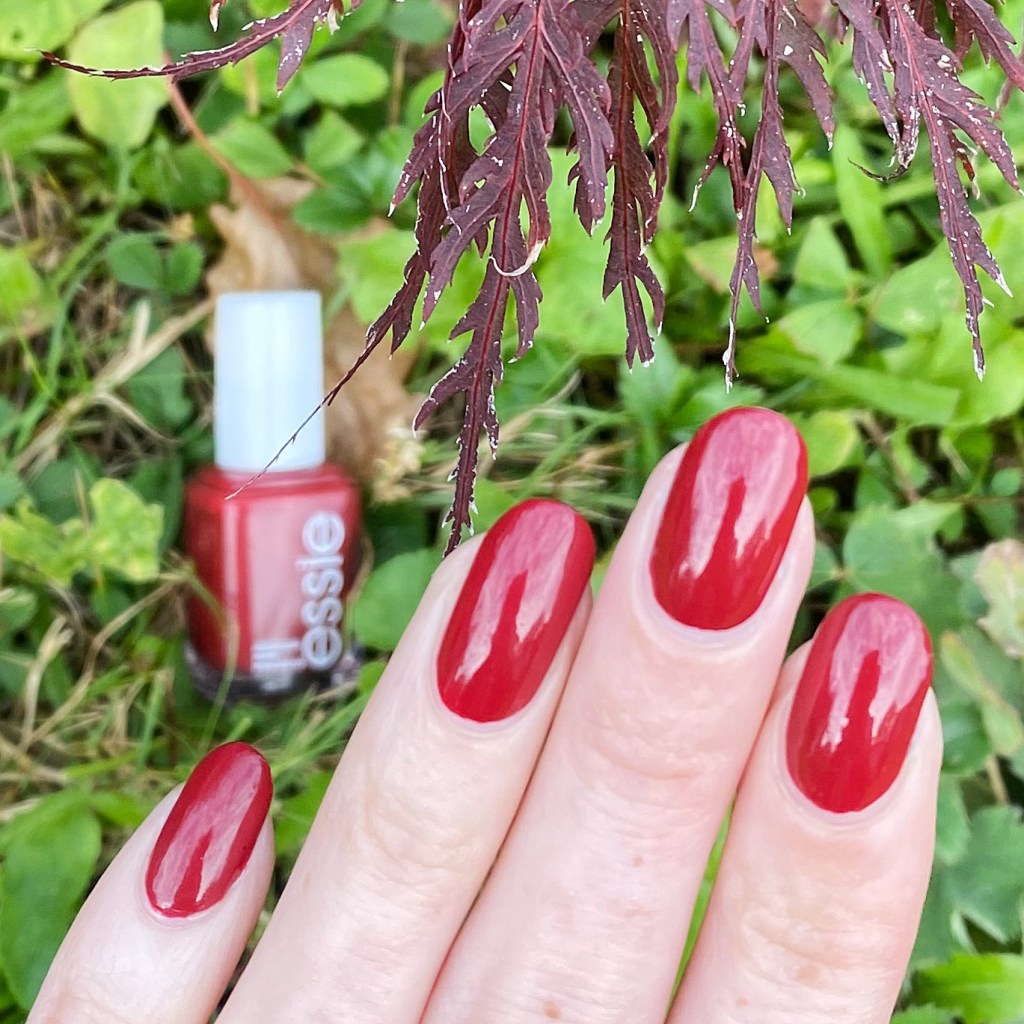
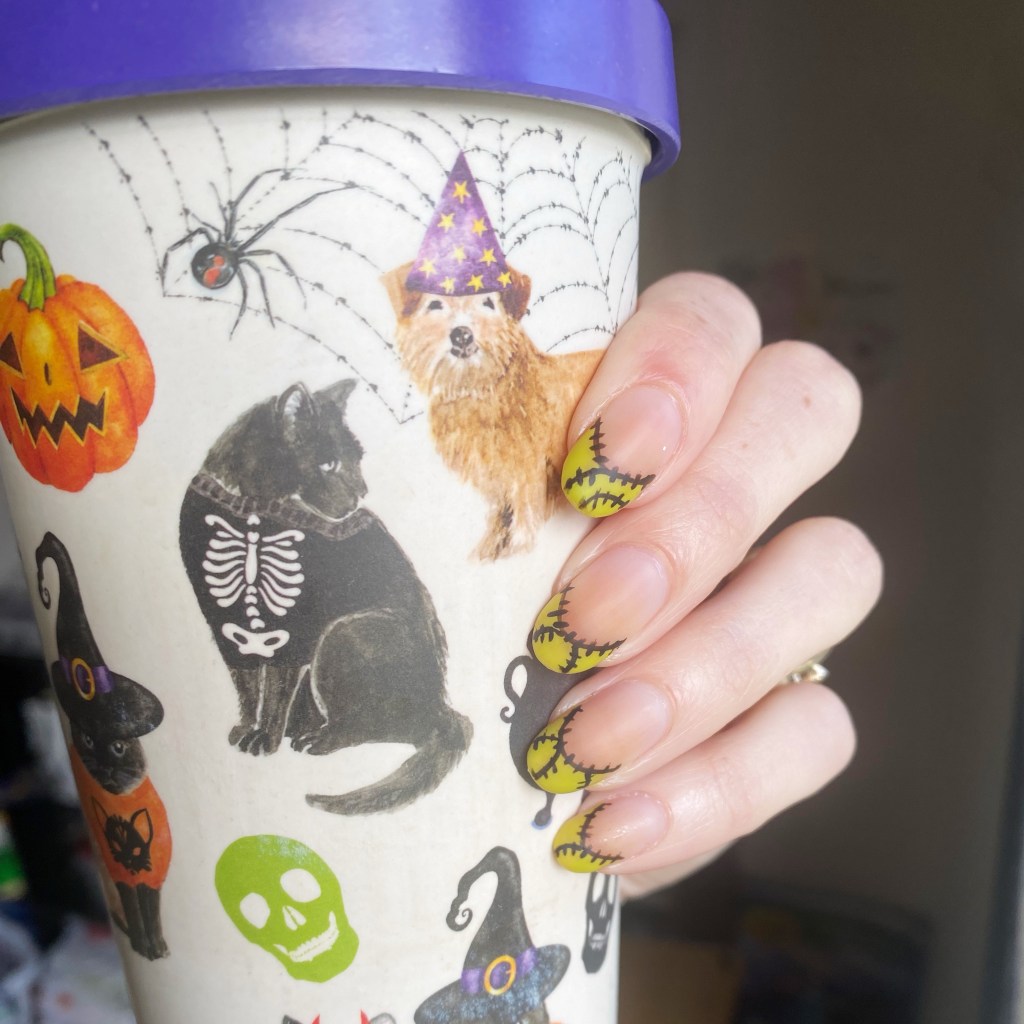
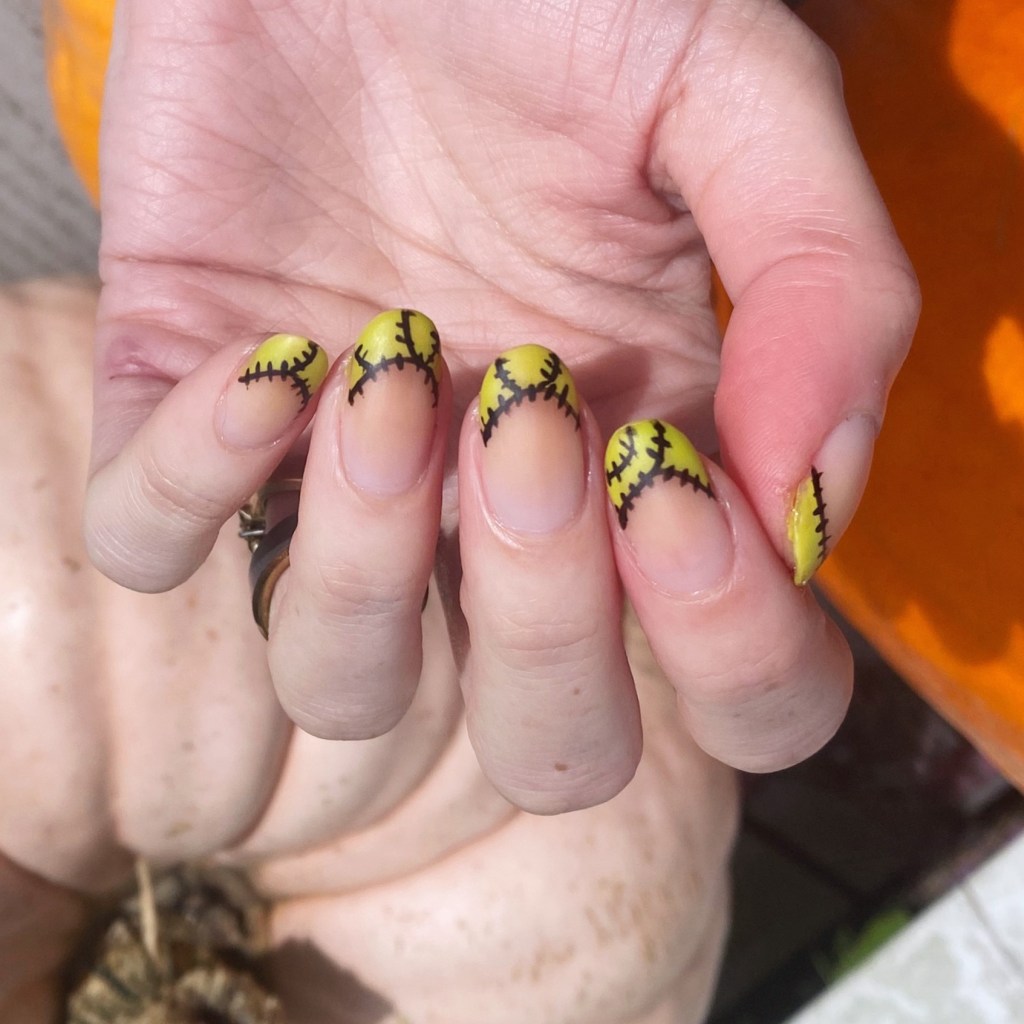
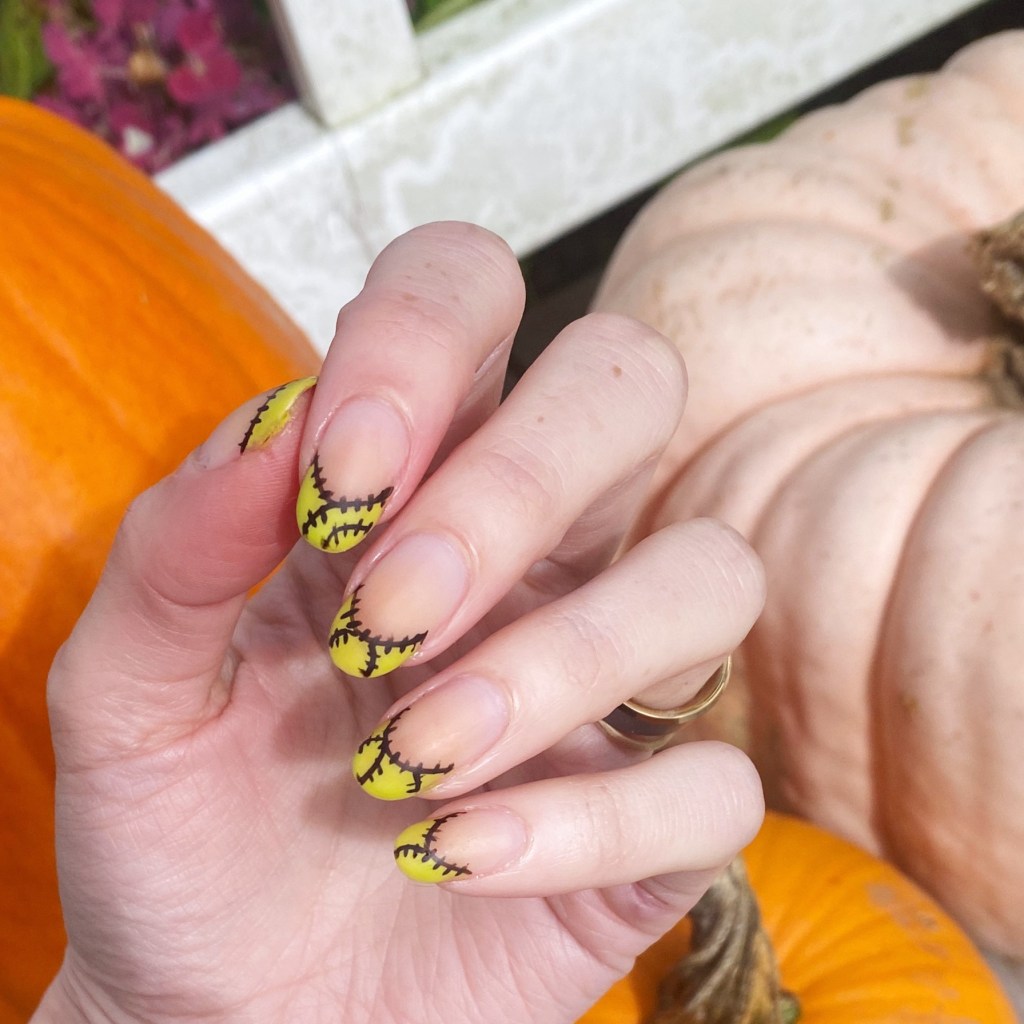
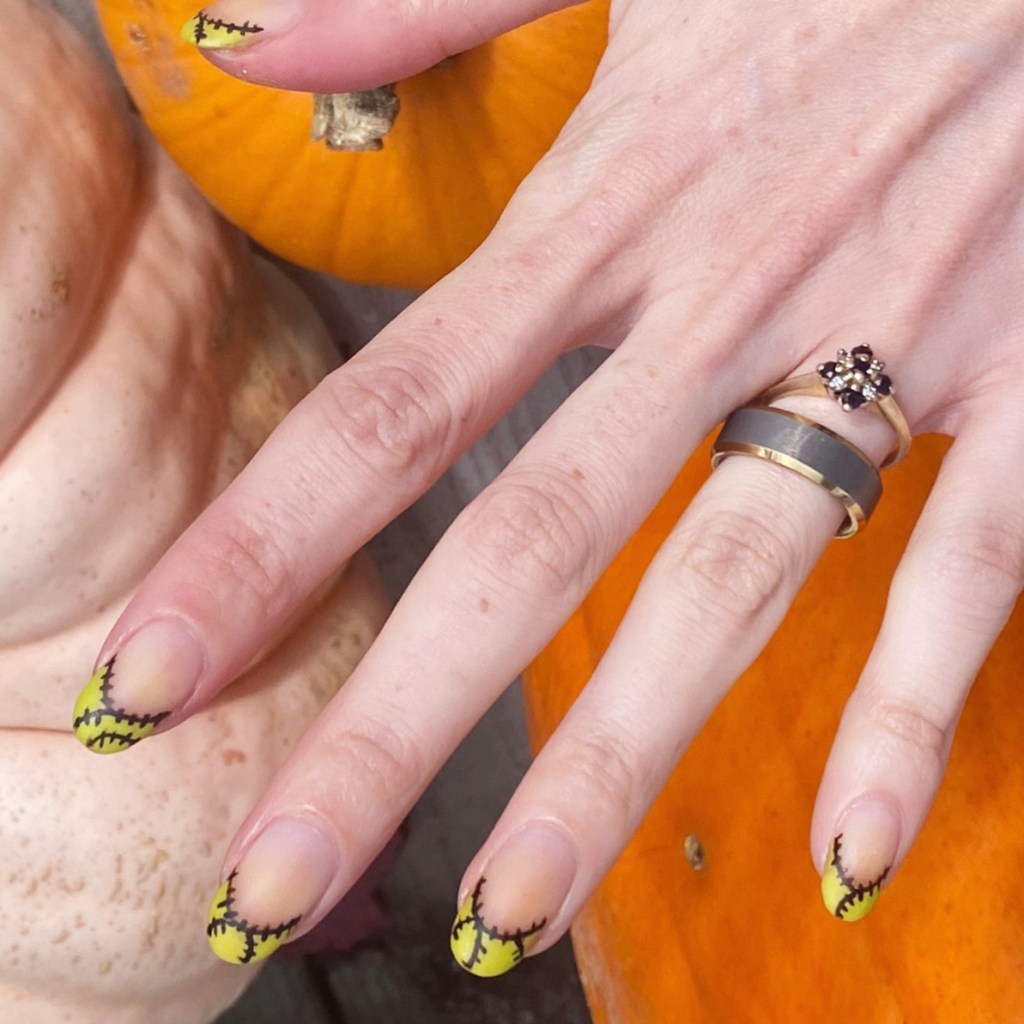
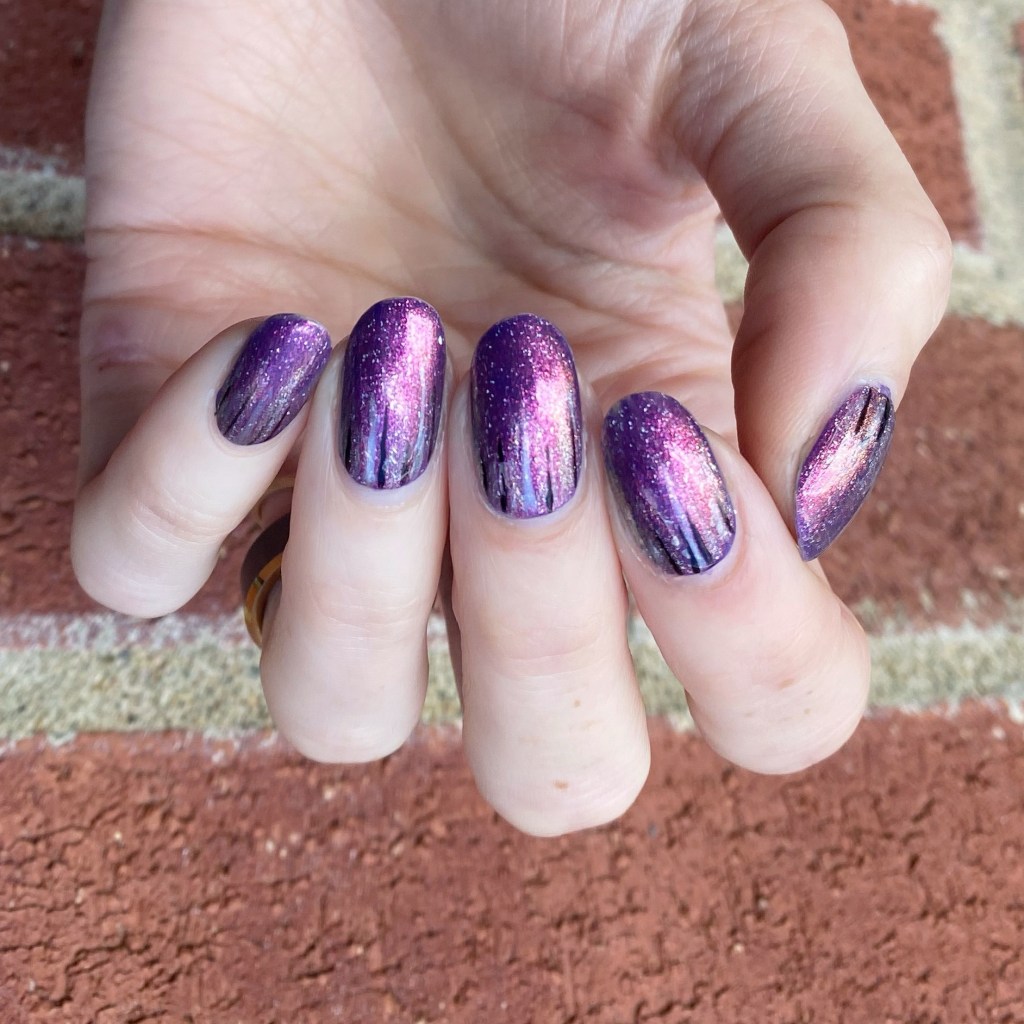
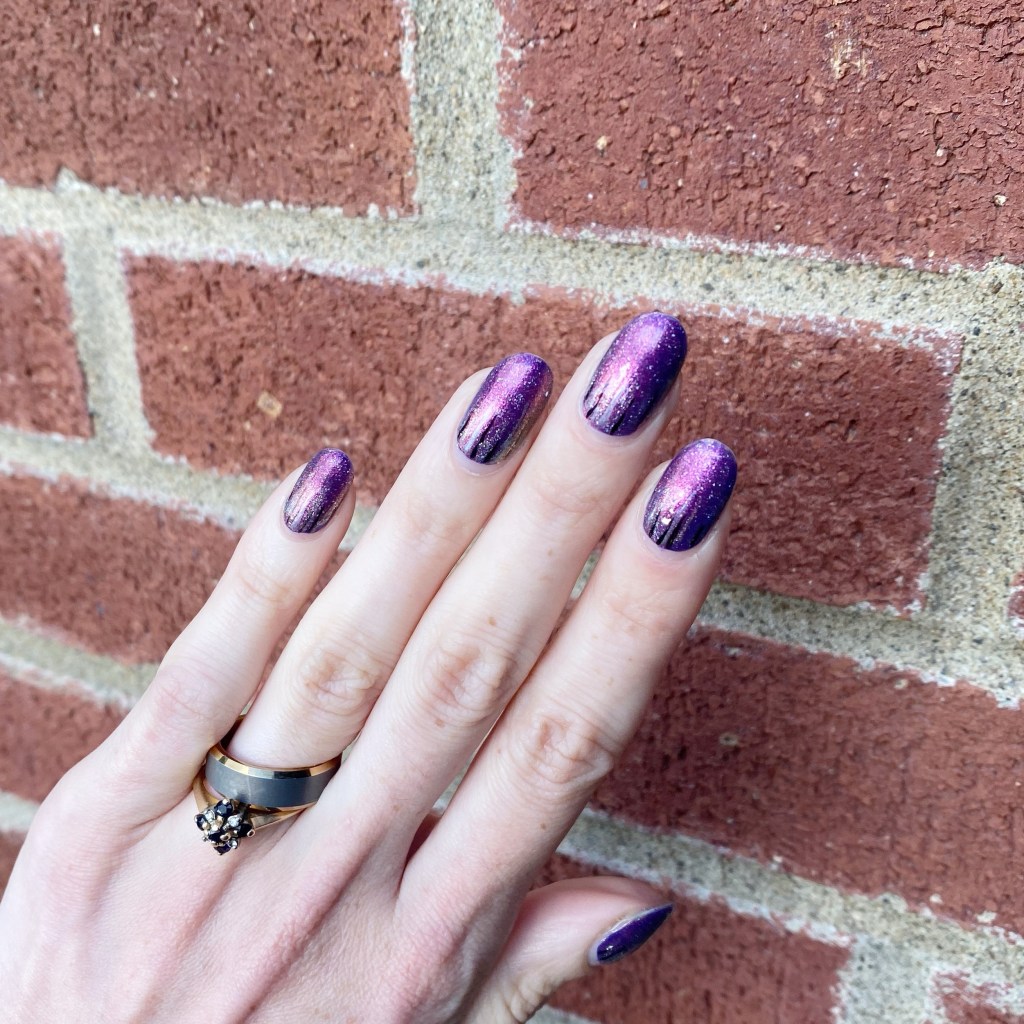
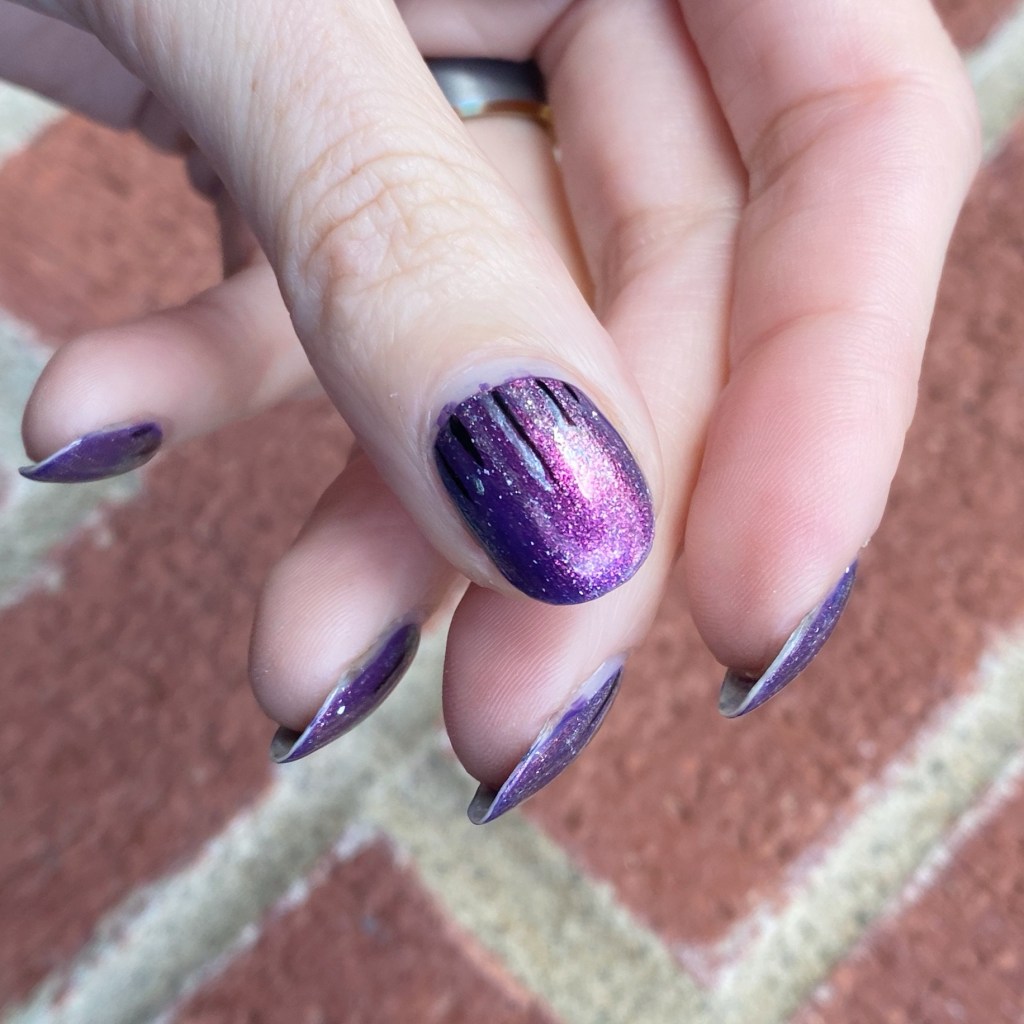
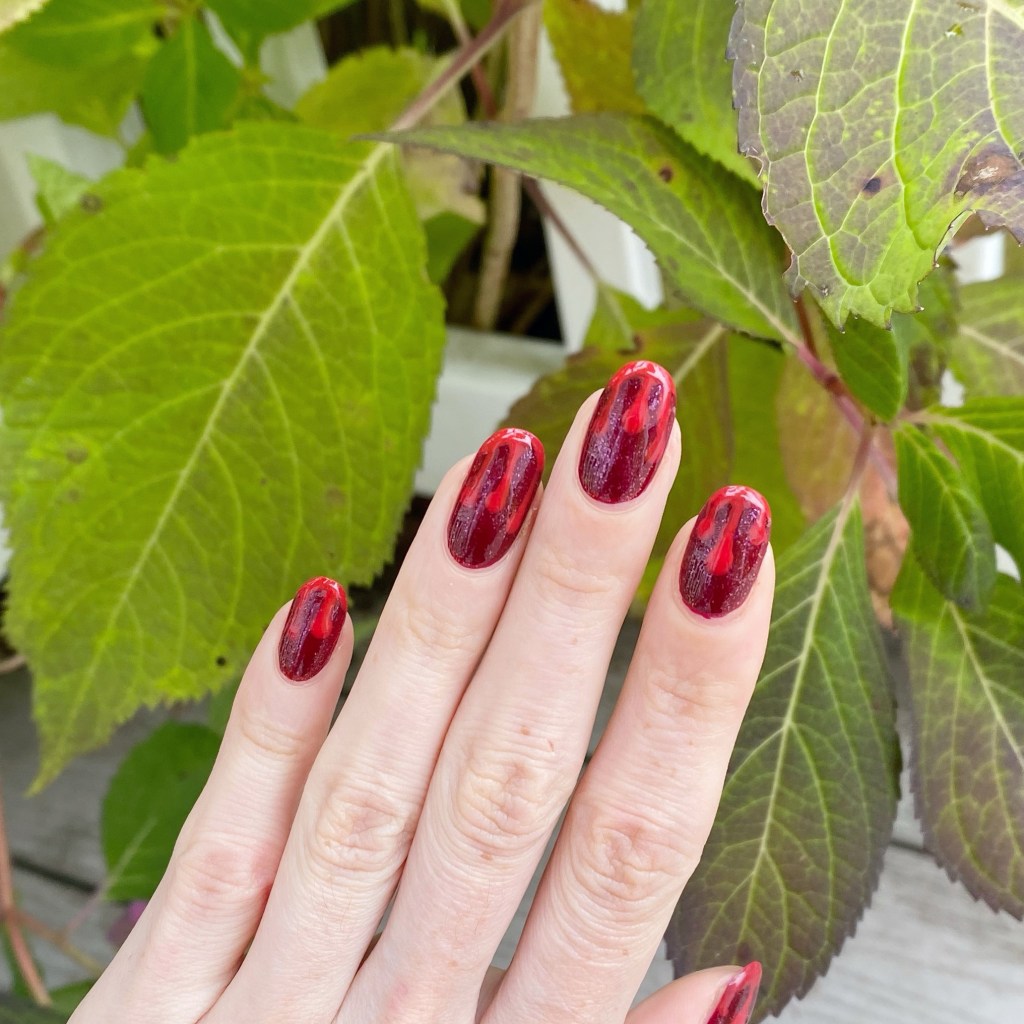
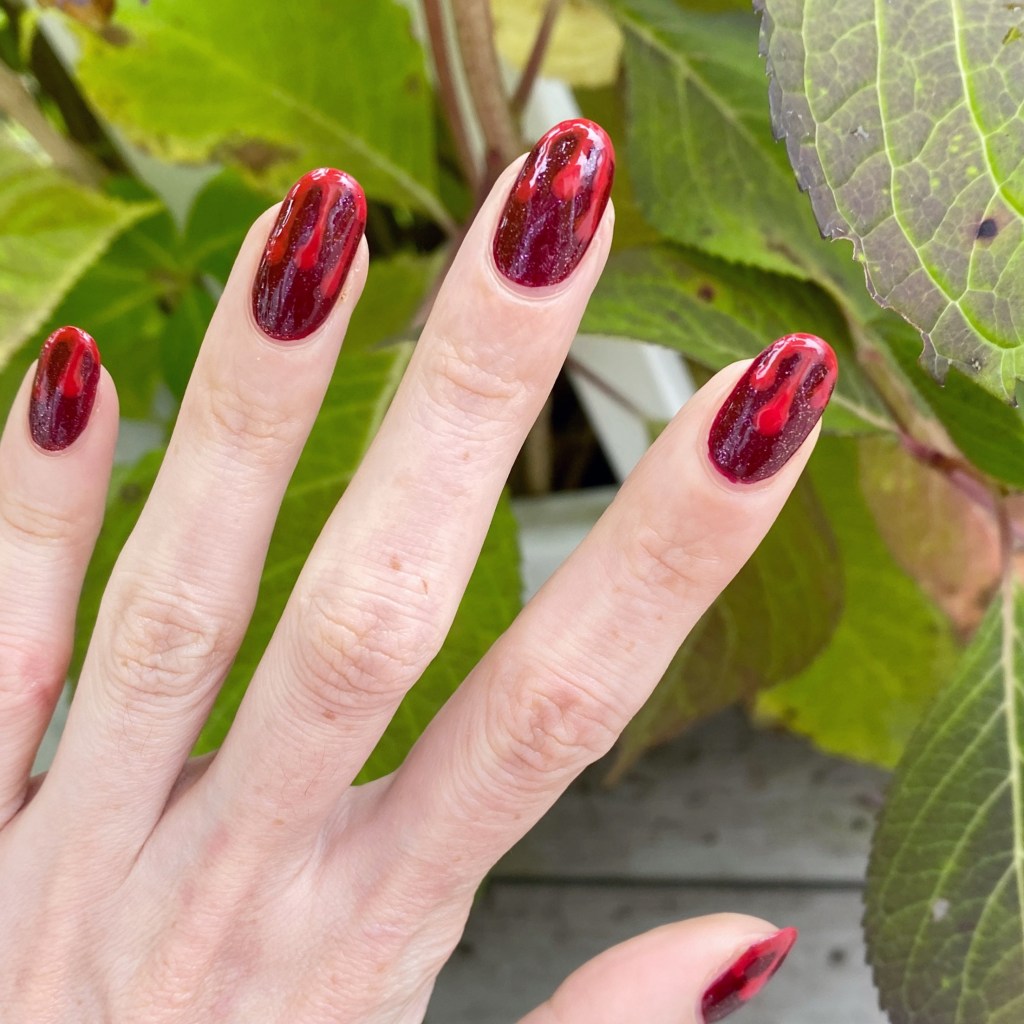
& my first Halloween look to share are some freehand drippy blood nails!

The polishes I used for this manicure are:
- Base Coat: NailStuff Essentials Base Coat *
- Top Coat: Nail Stuff Essentials Quick Dry Top Coat *
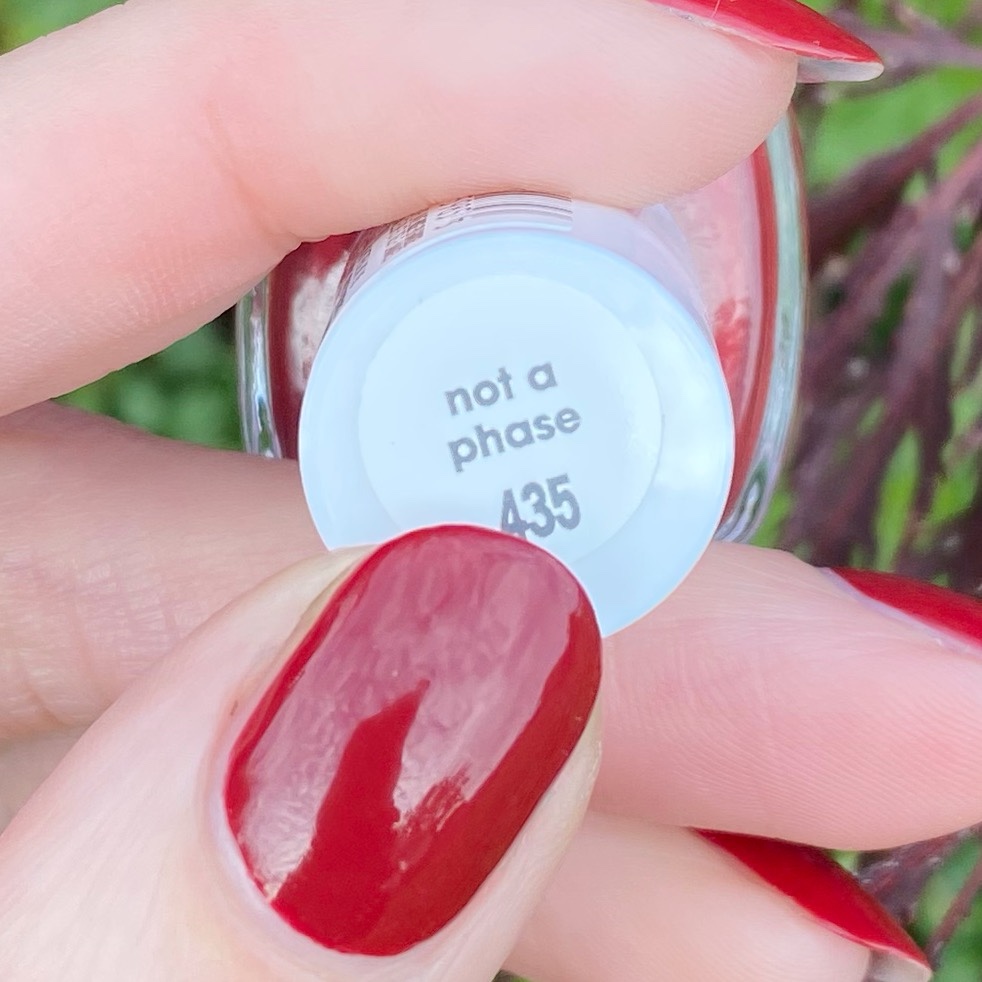
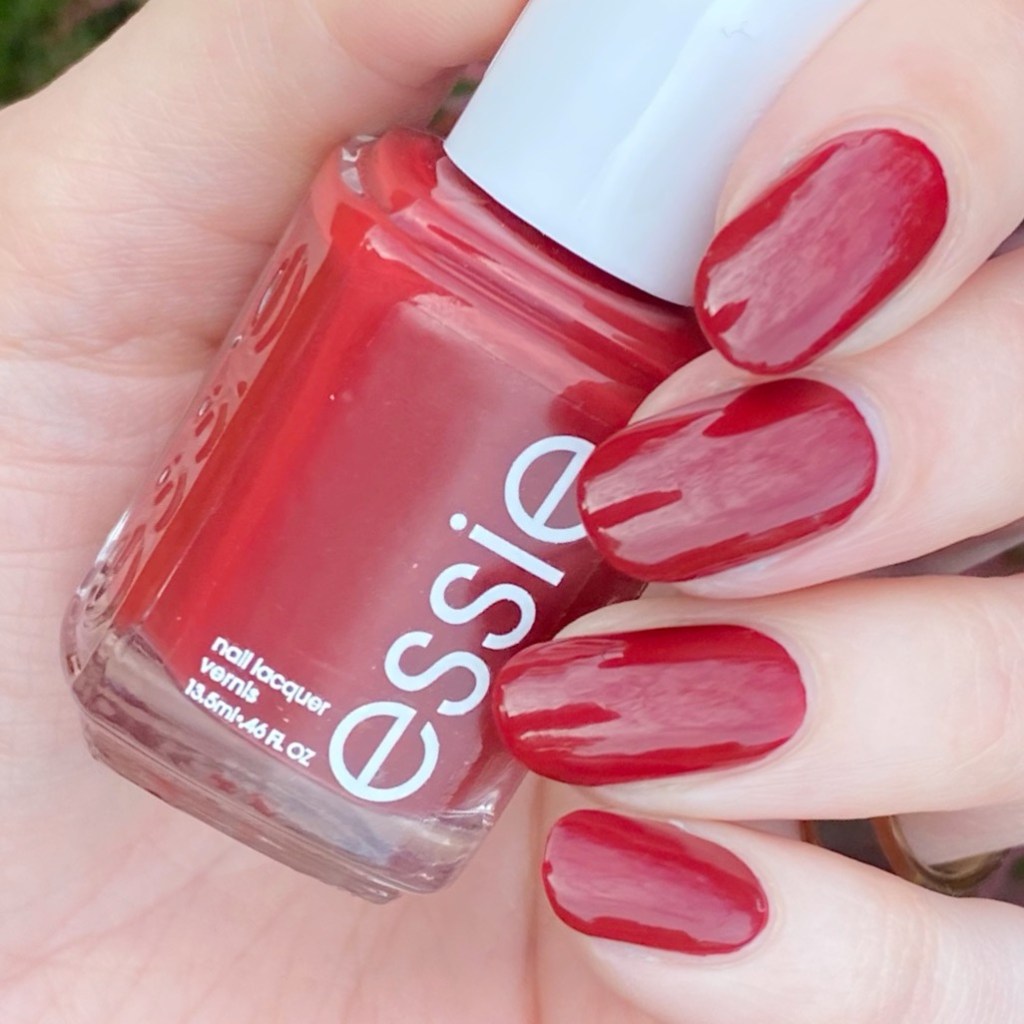
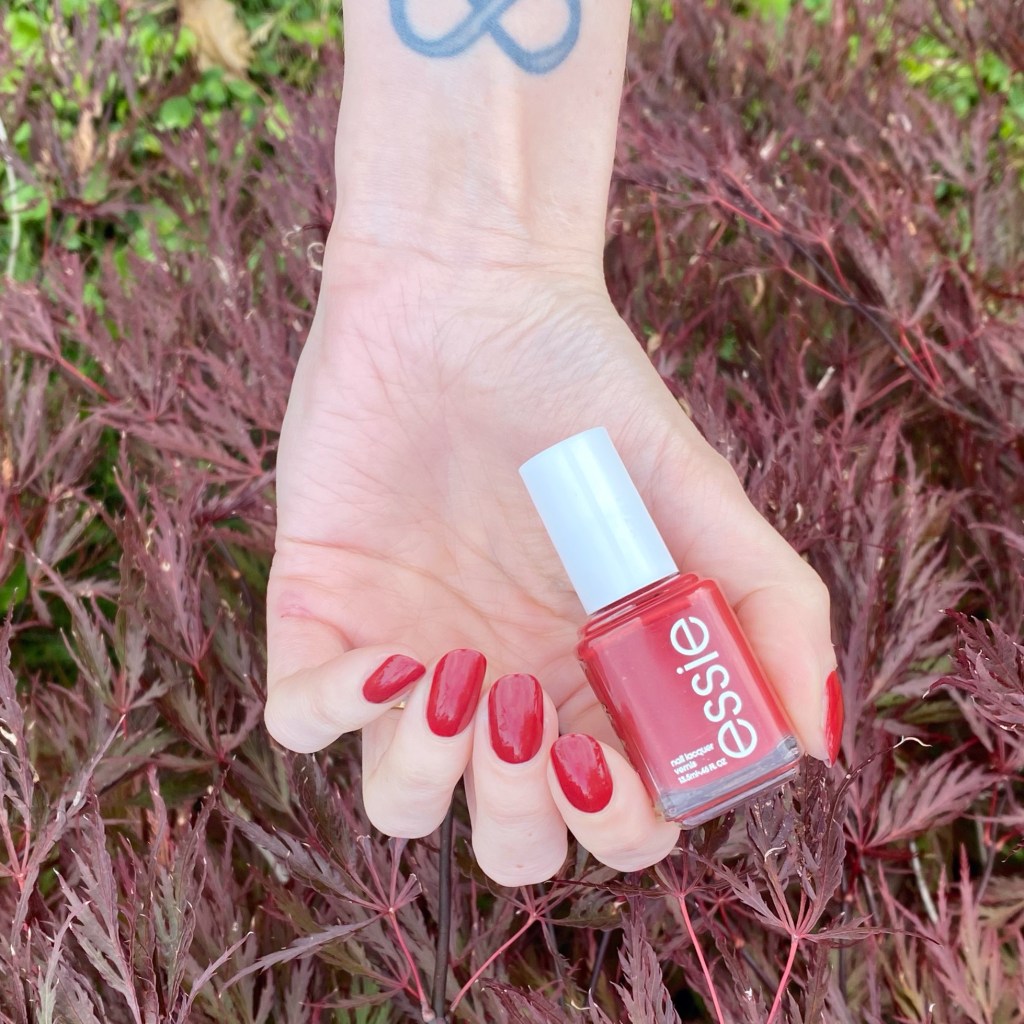
- Essie Bourdeax *
- Ella + Mila Everglow *
- Essie Gel Couture Rock the Runway *
- Nailstuff.ca Mermaid Tail 7mm liner brush
- NailStuff.ca Dotting Tool Trio
*gifted

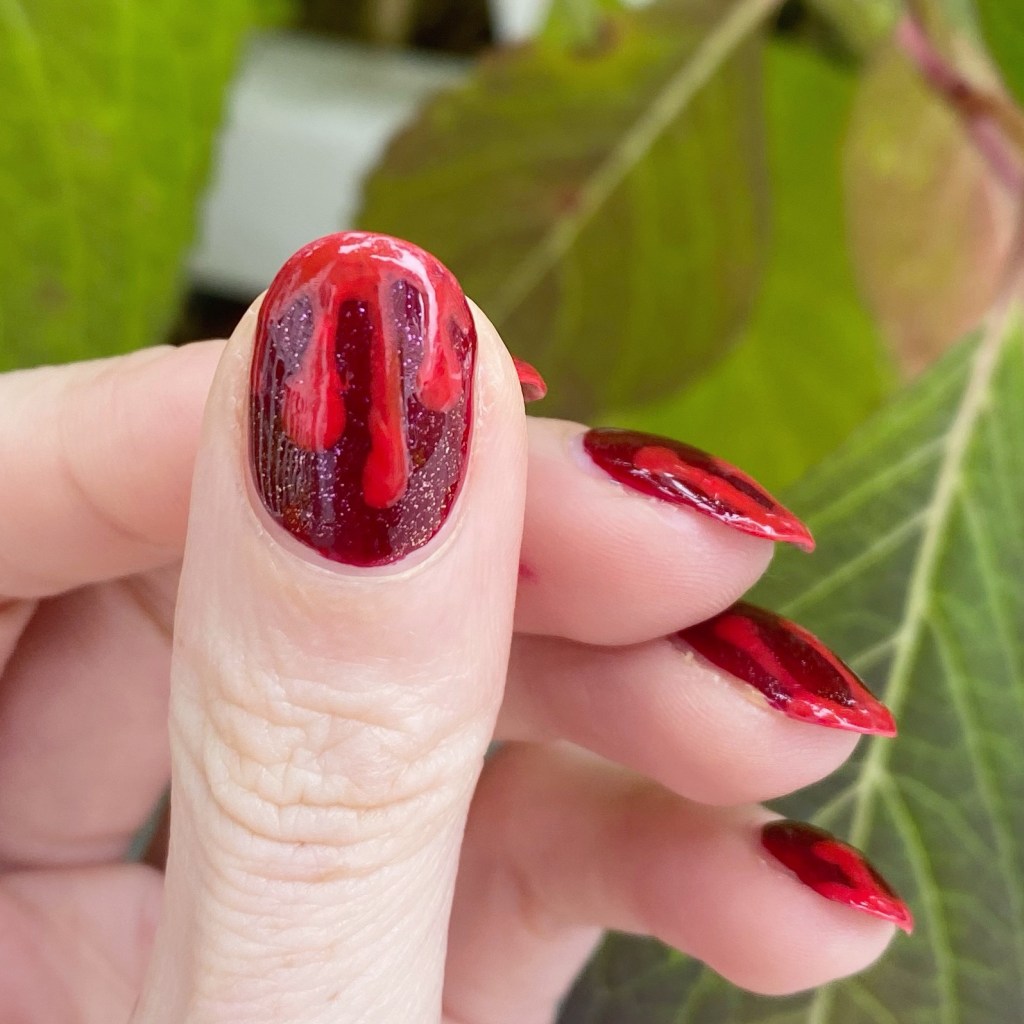
I always love when people post their drippy blood nails, so I had to give it a try. The red on red also looks very cool! These would be an awesome manicure to wear if you were doing like a vampire costume. Kind of reminds me of Drusilla from Buffy!
What do you think of my drippy blood nails for Halloween? Have you picked your Halloween nails yet? Let me know all your thoughts & let me know what you’ll be wearing.
Have a great Monday!
♥︎