Born Pretty Store Review — Origami Pattern Stamping Plate Harunouta L040 item #39127


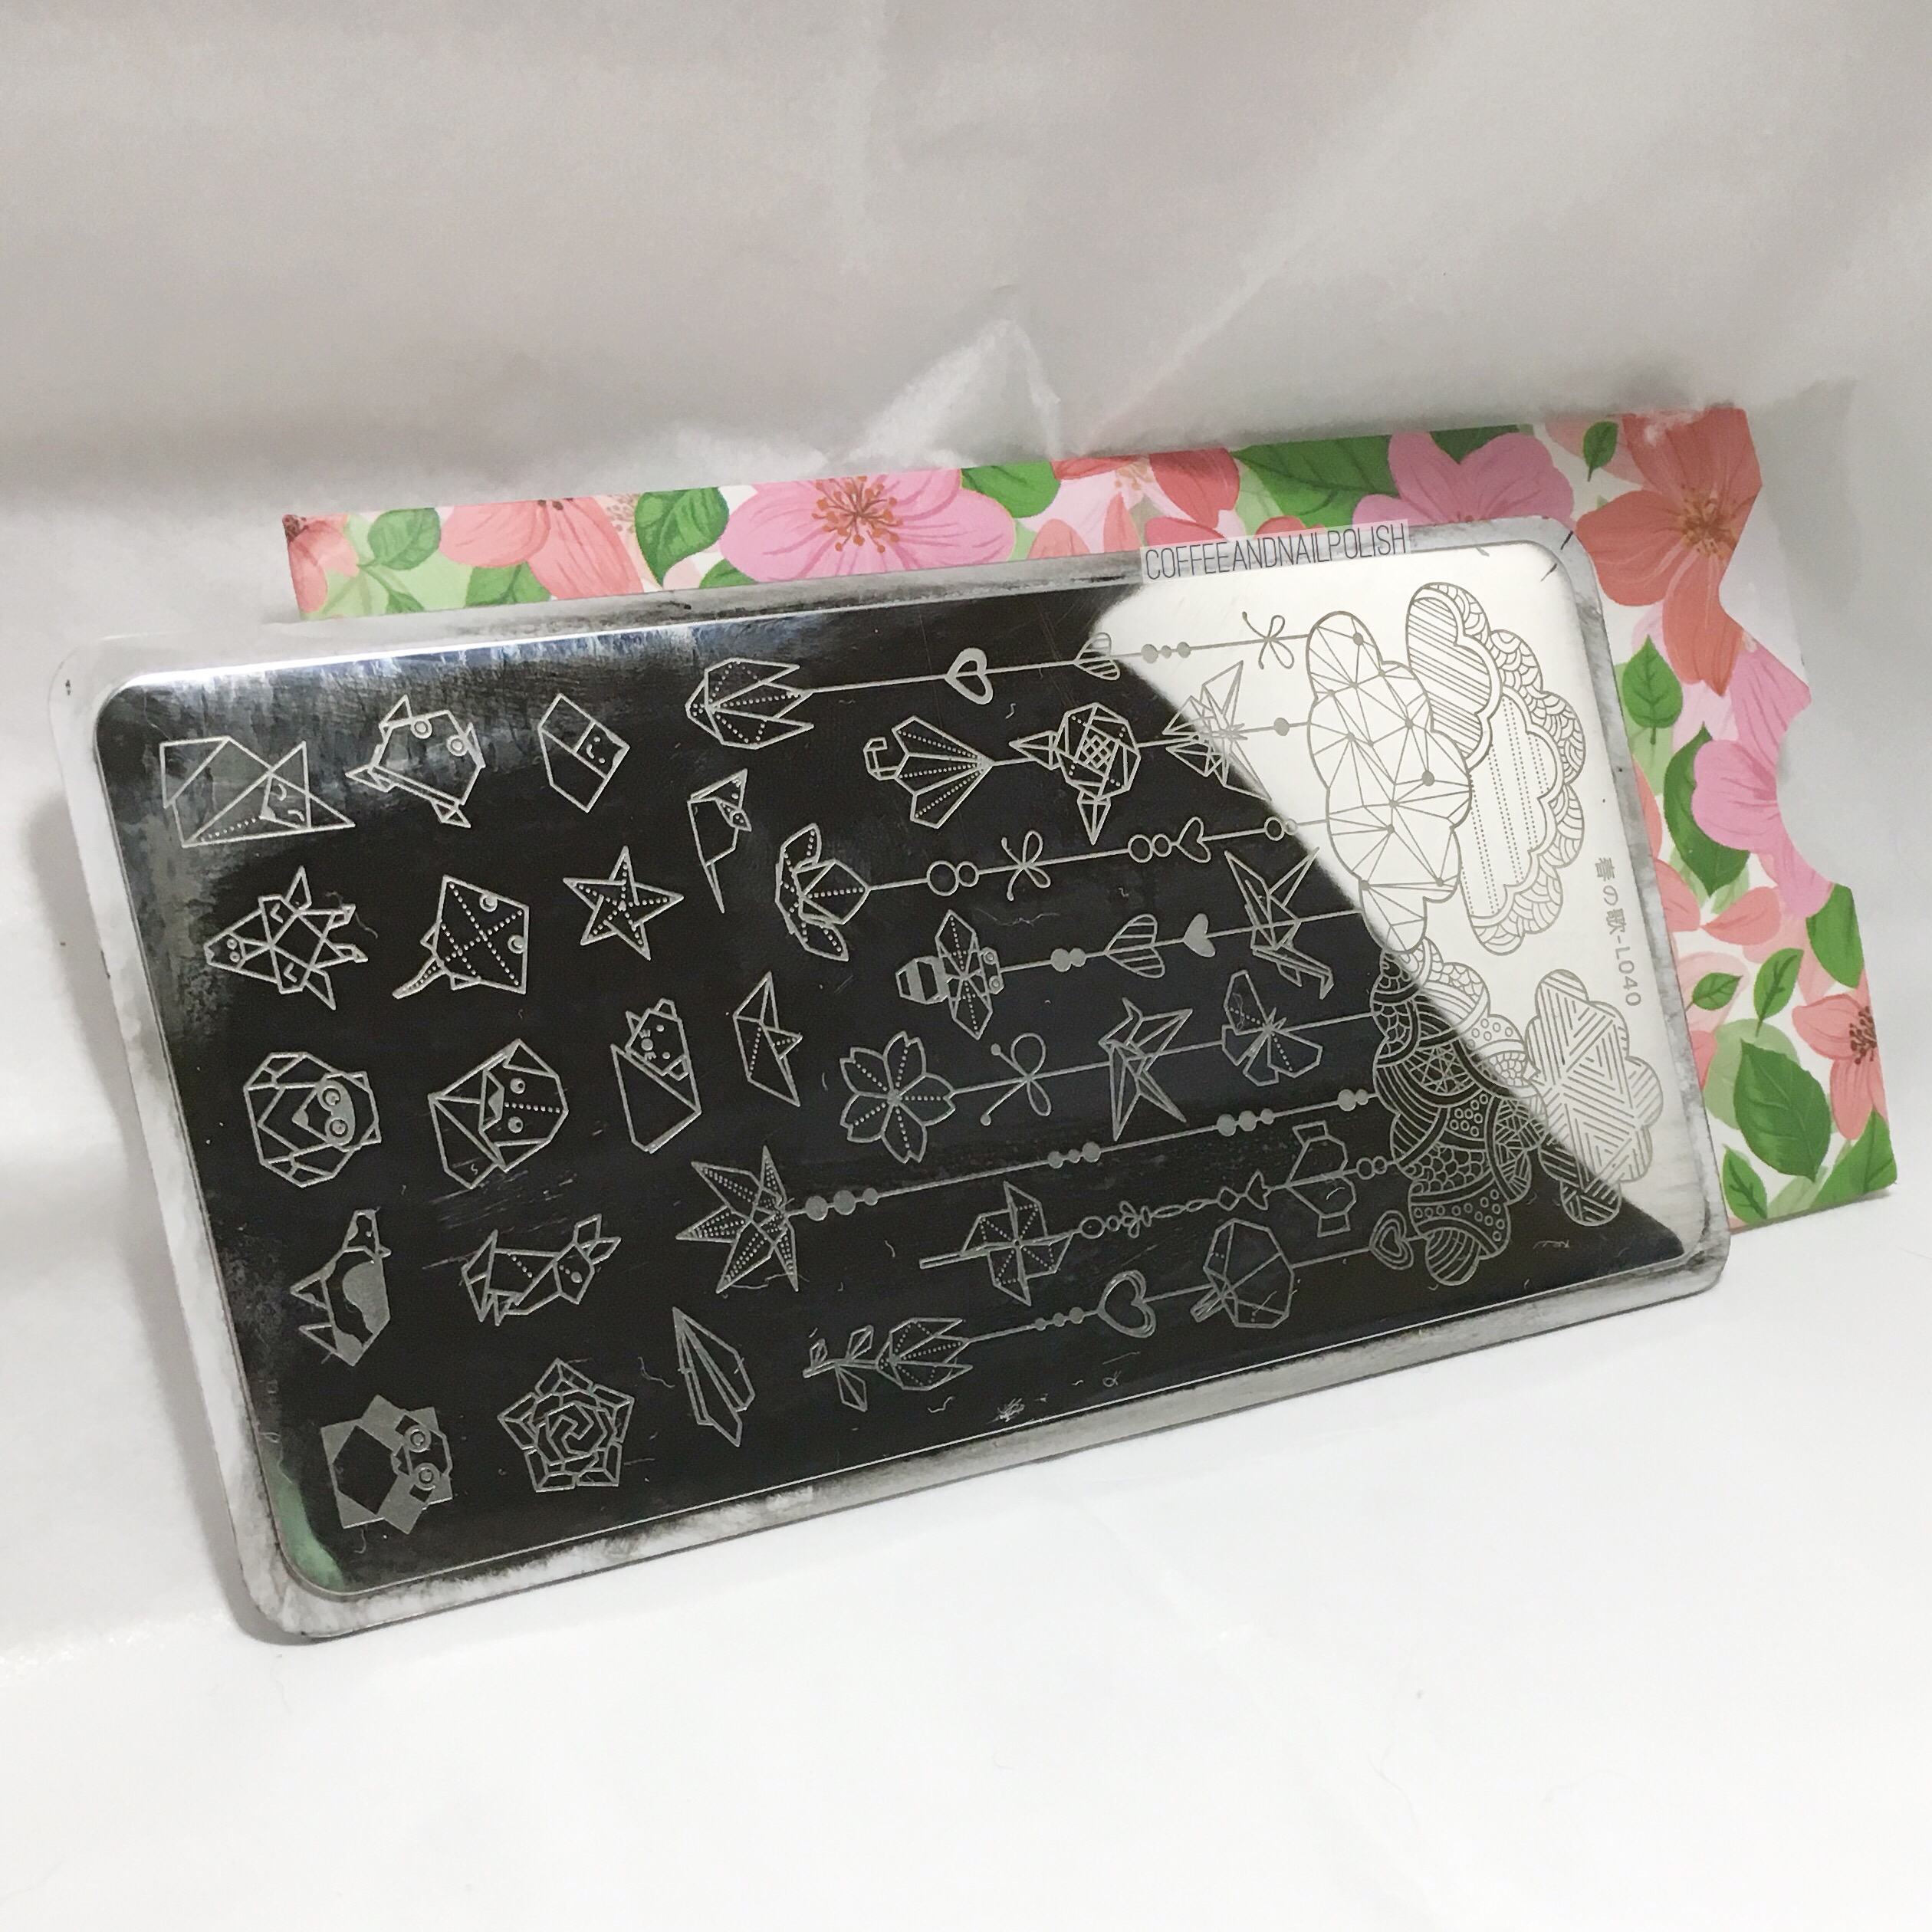
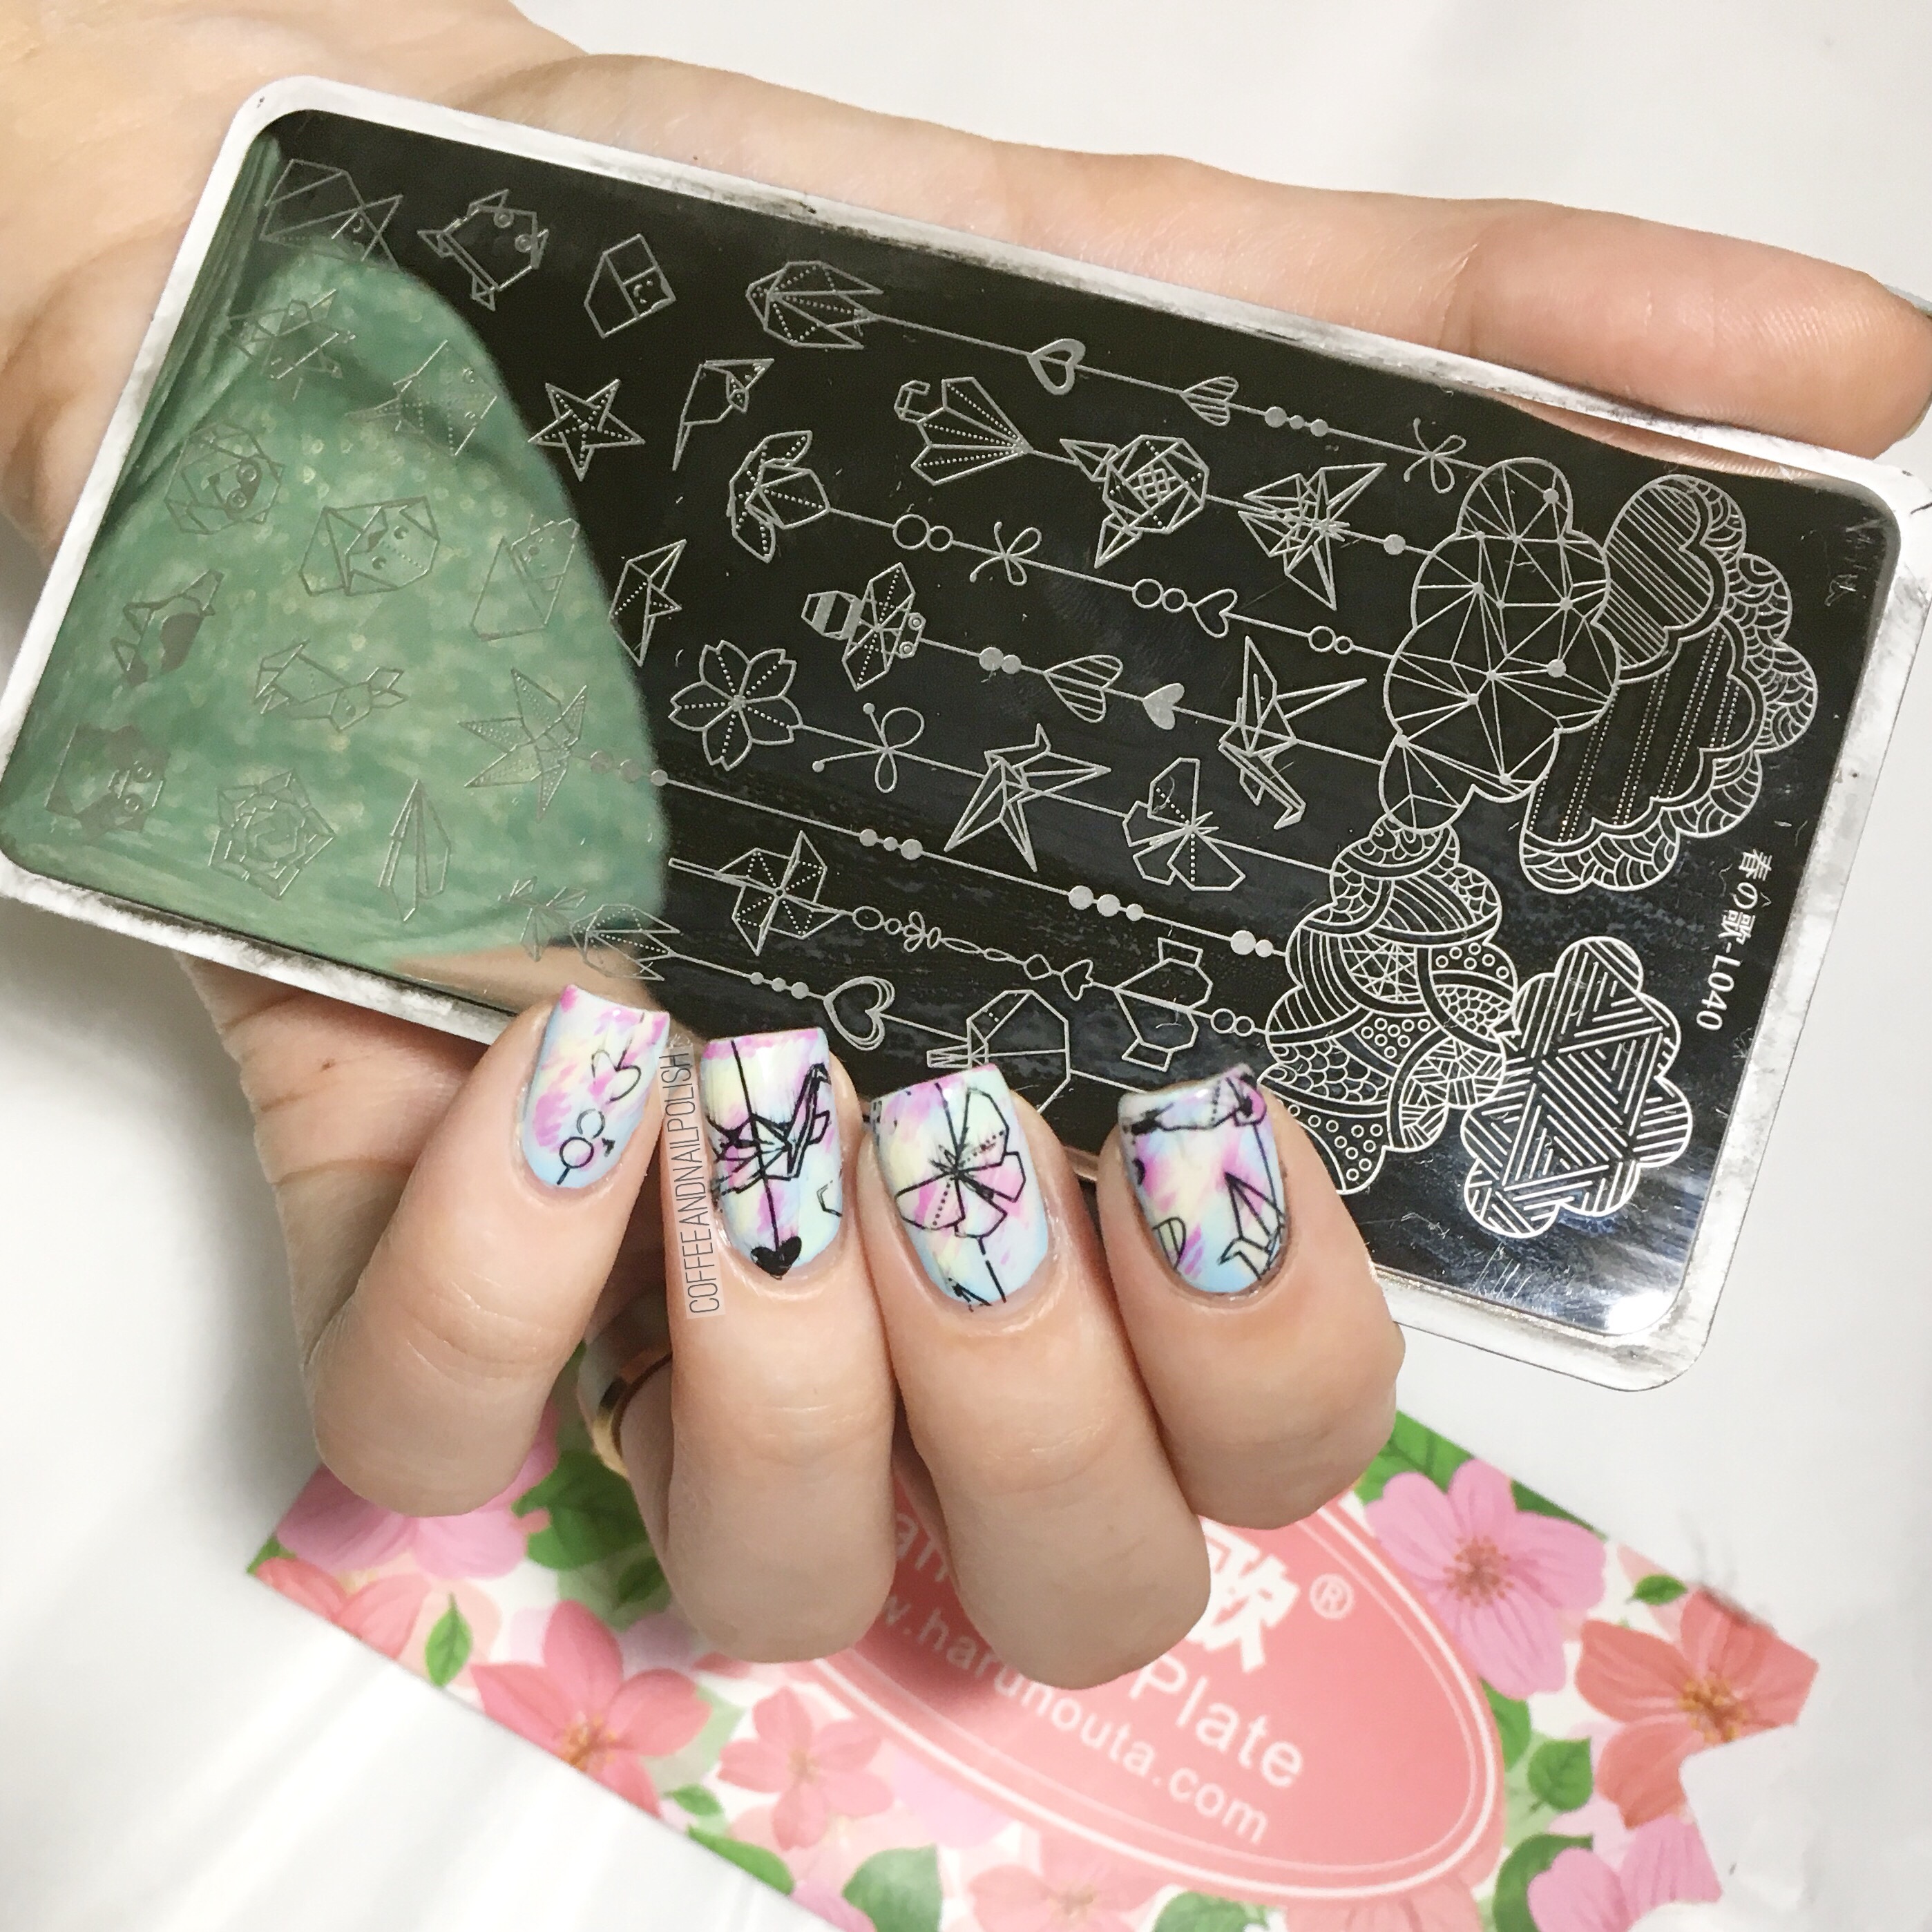
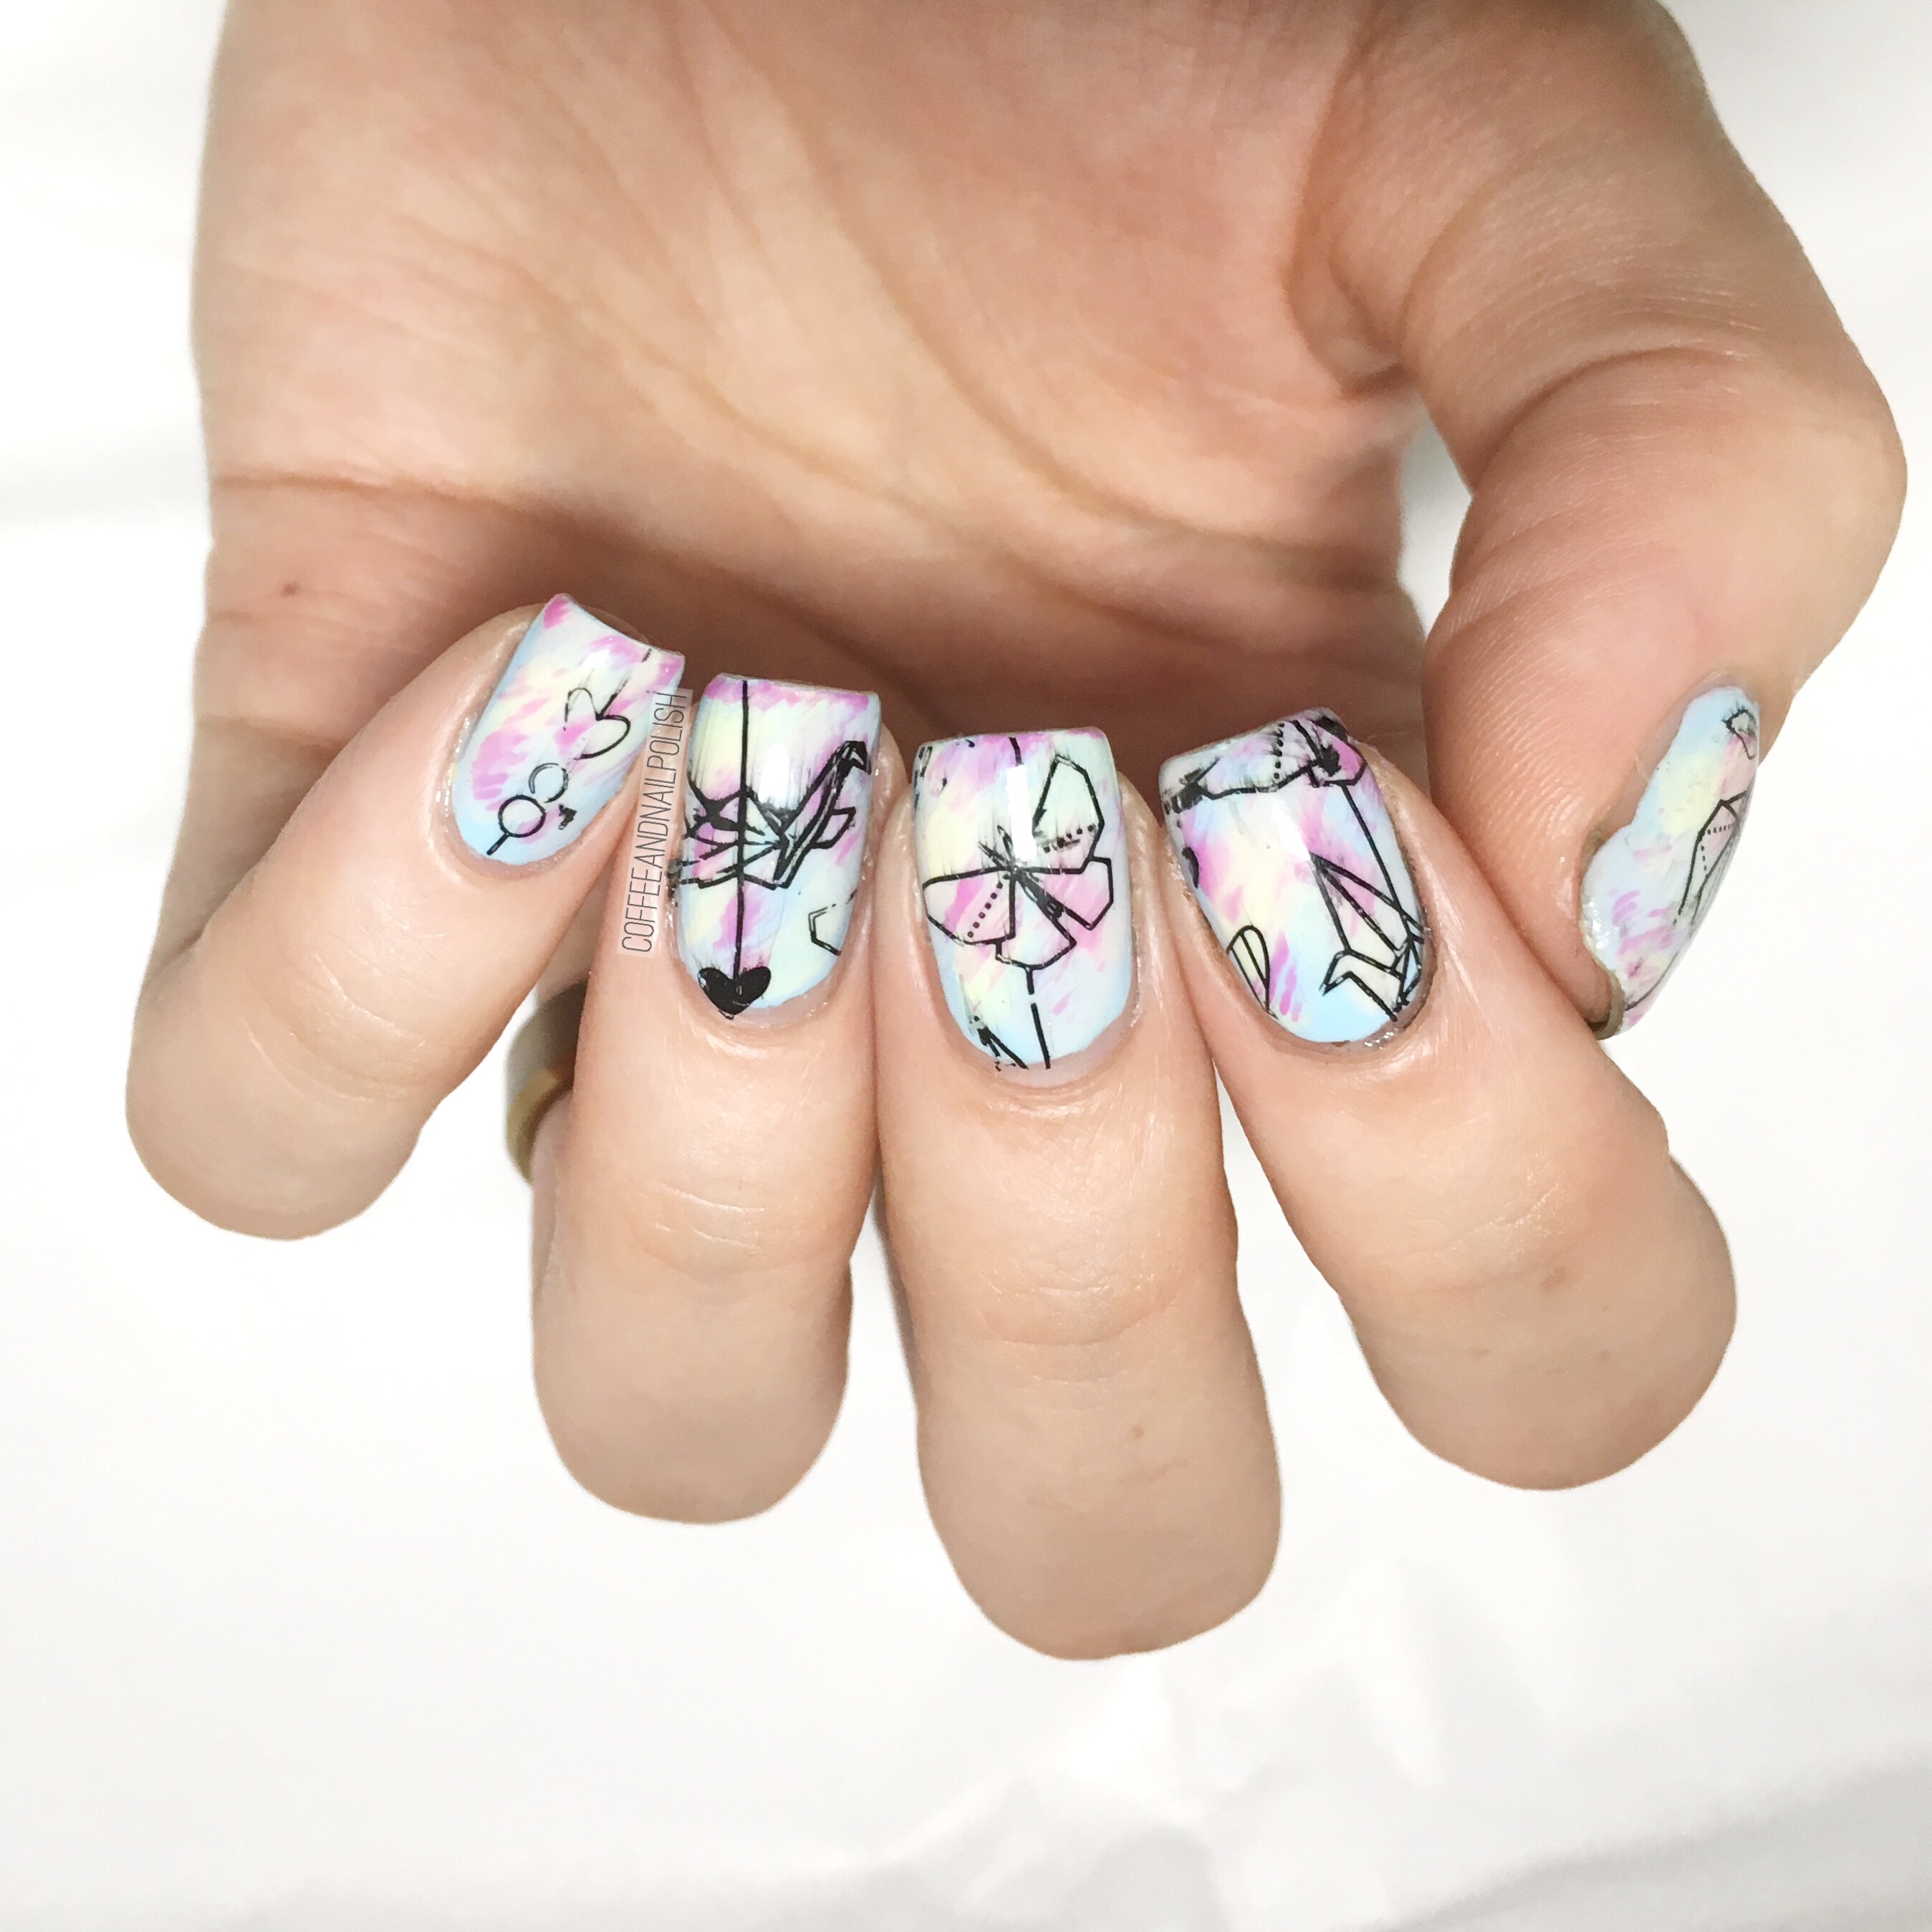
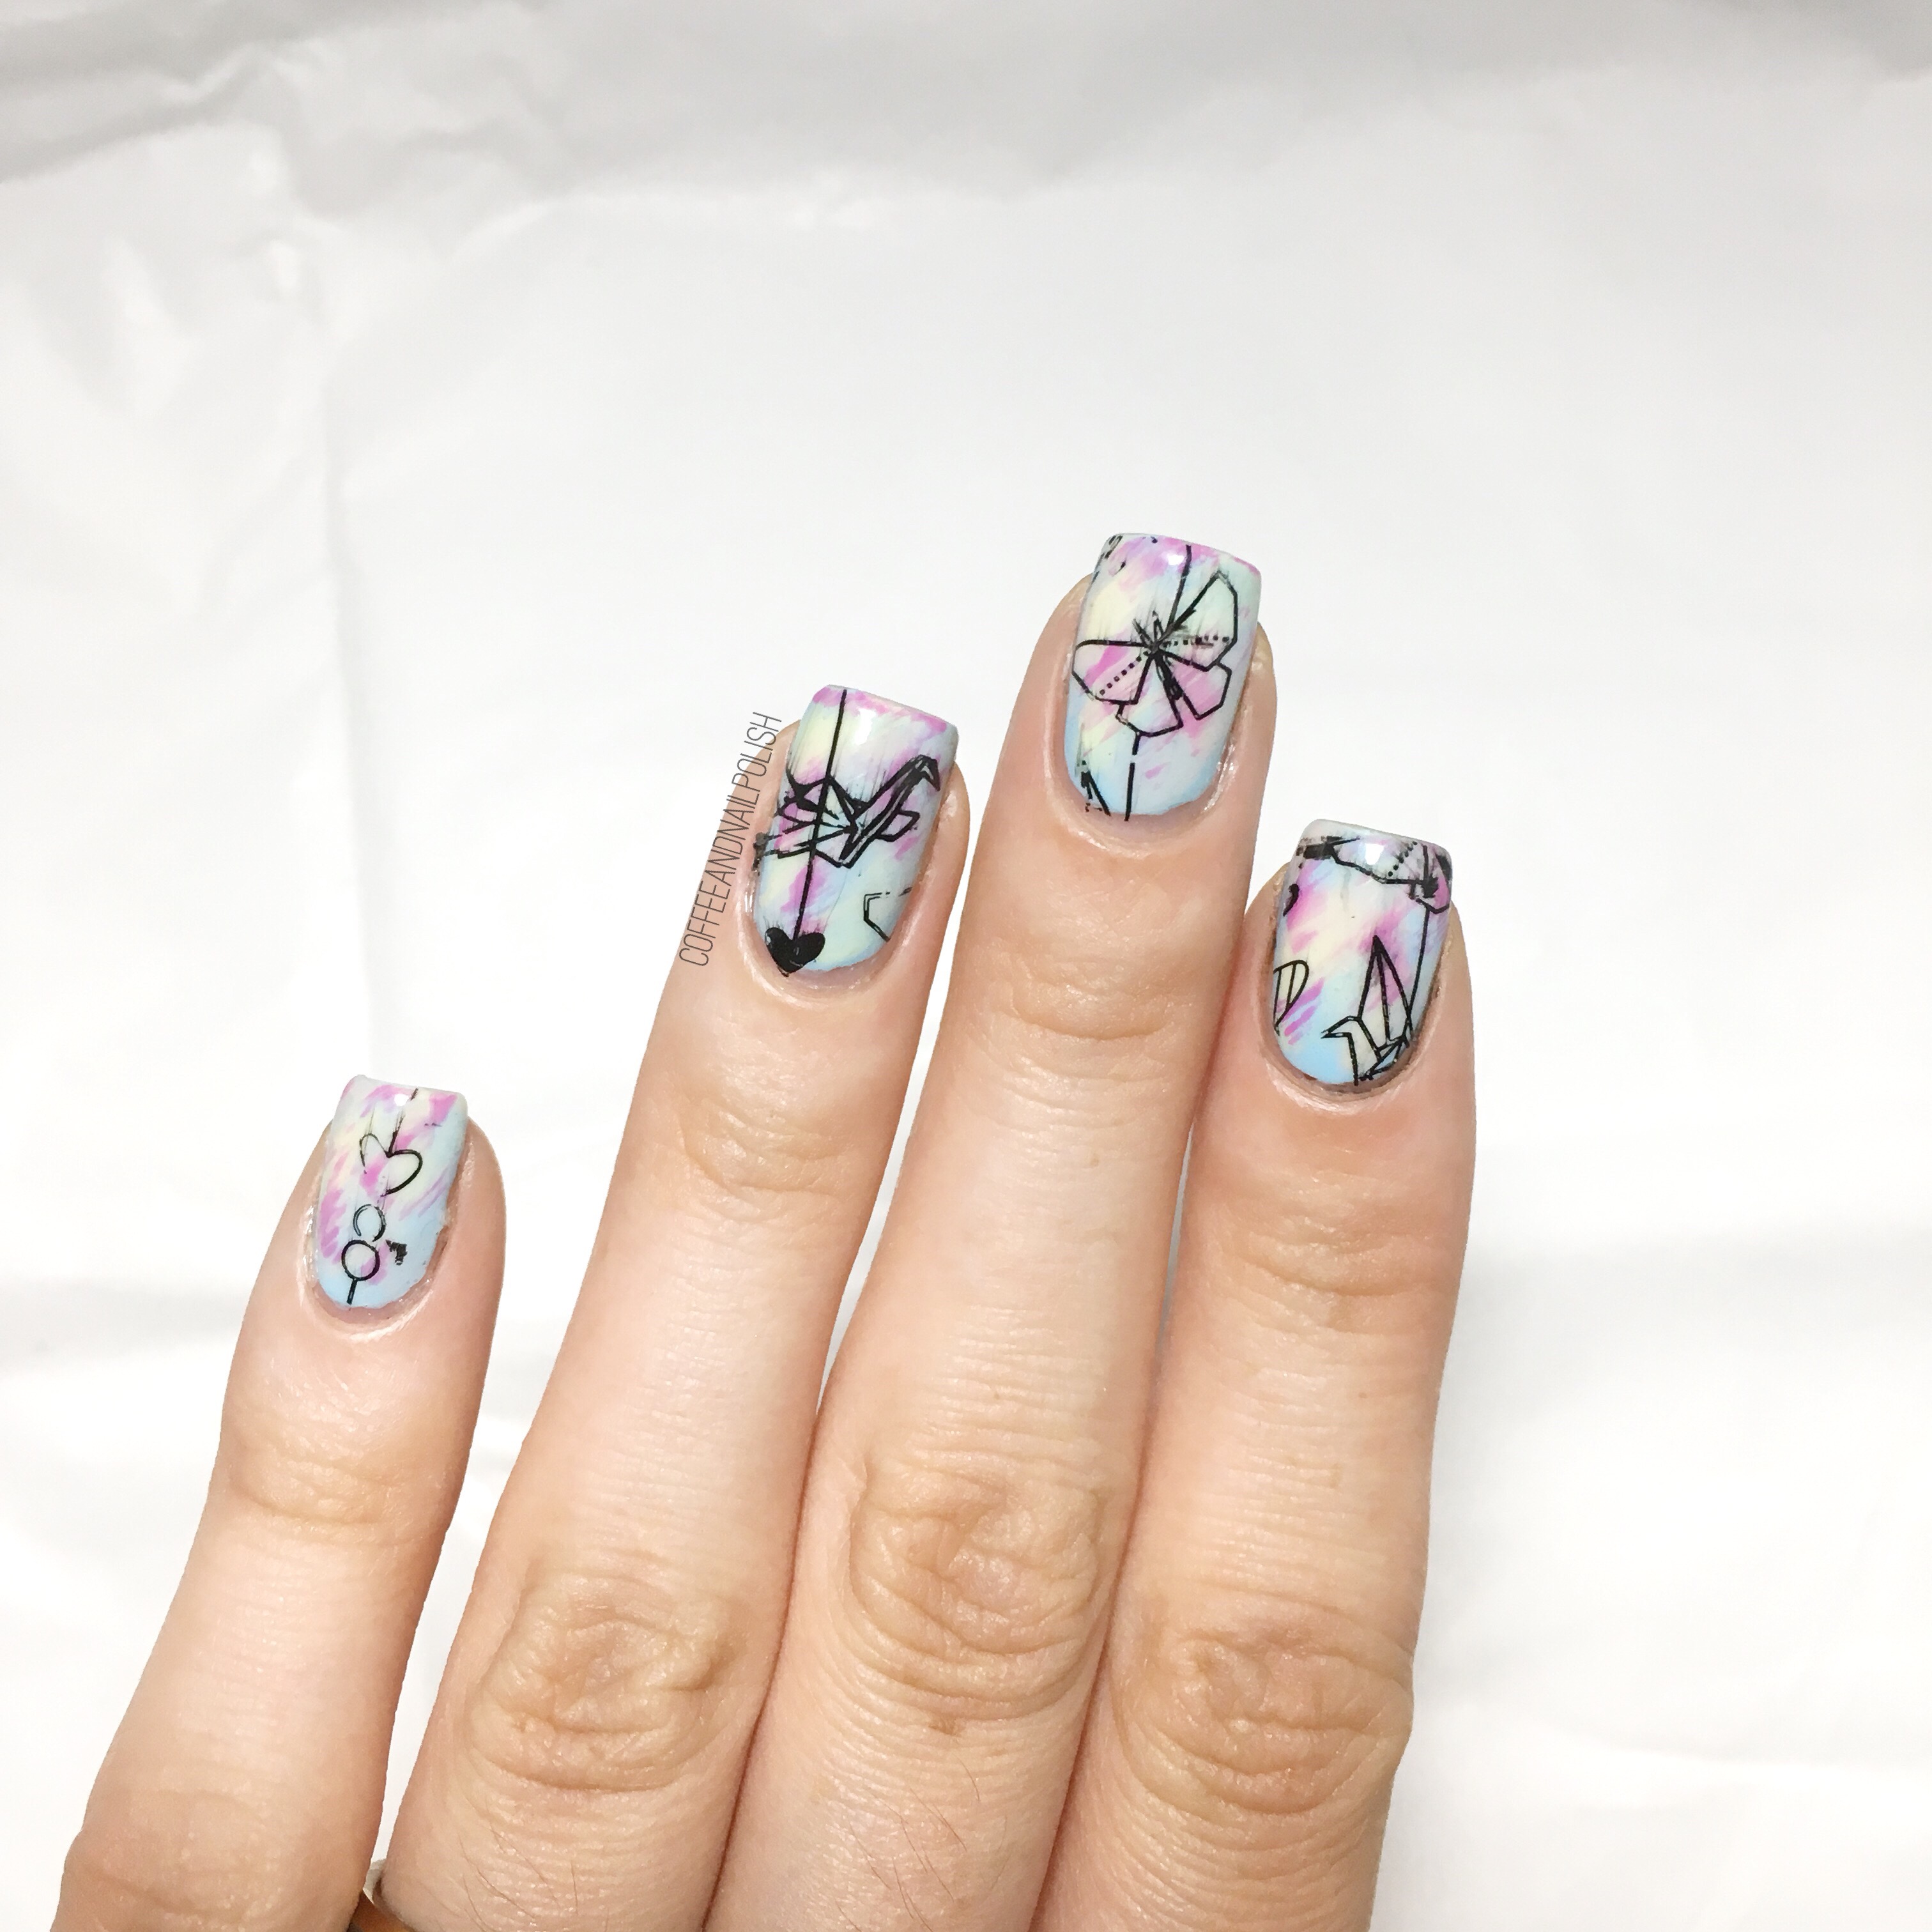
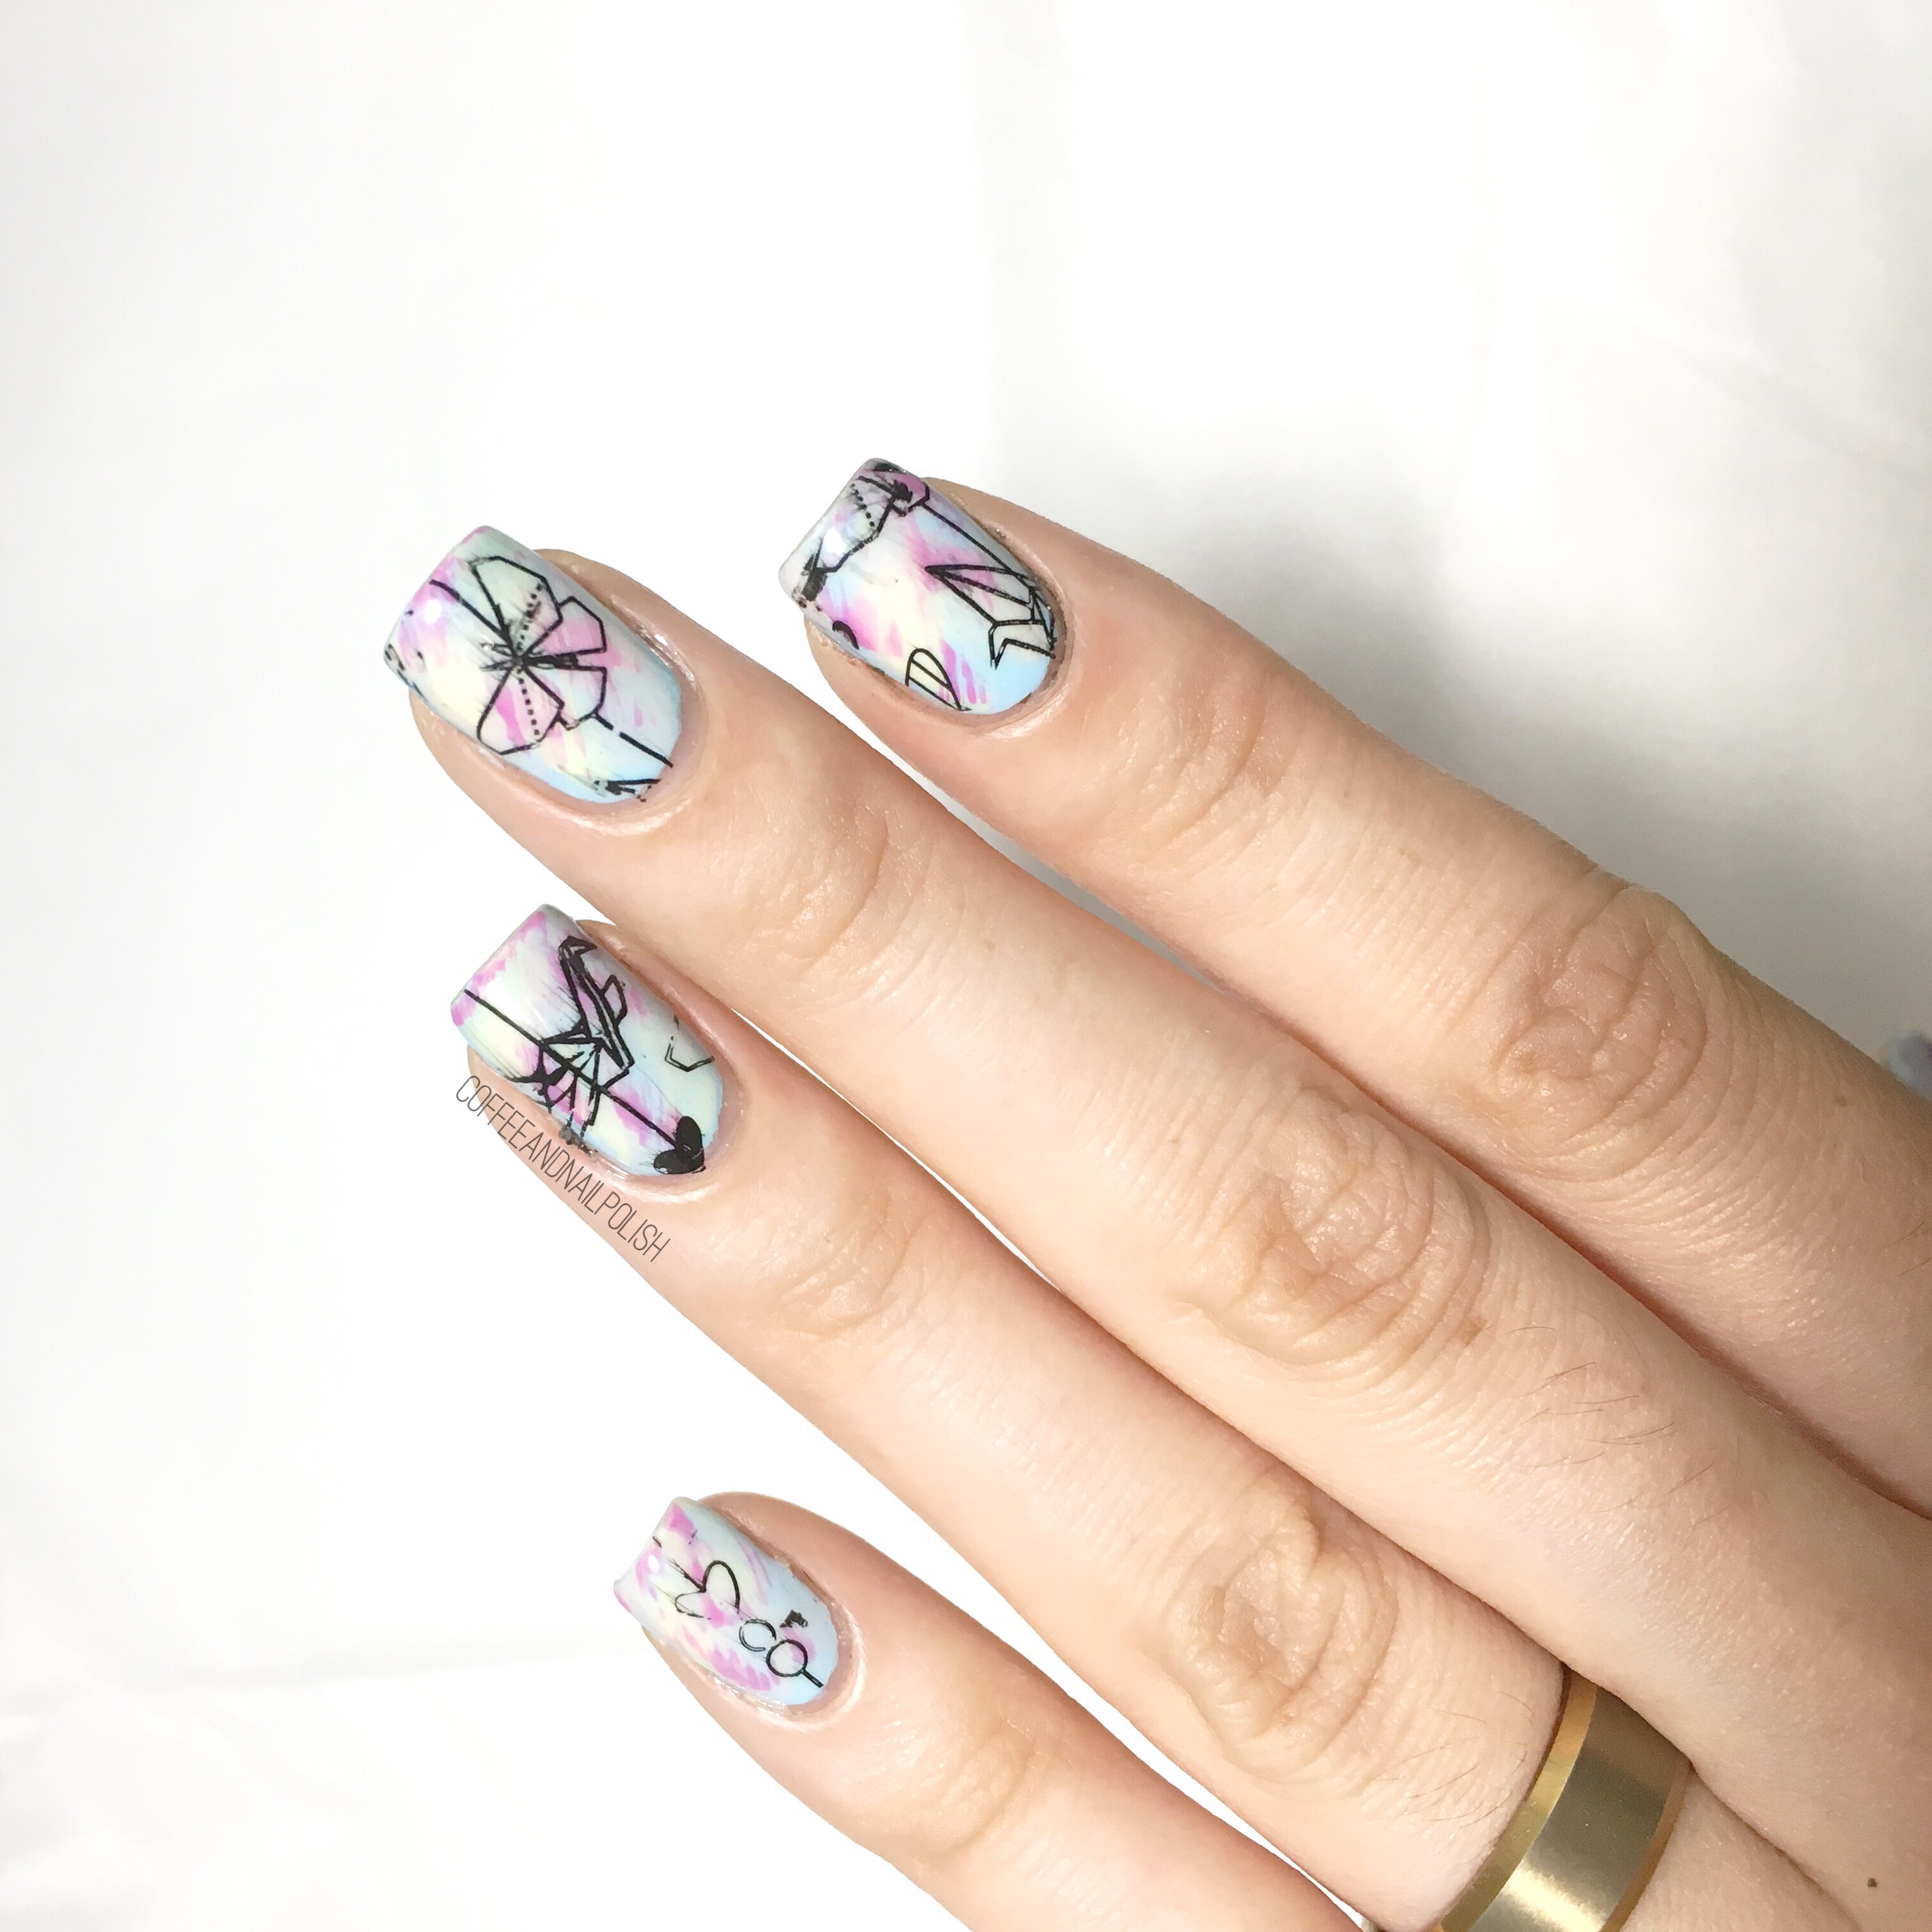
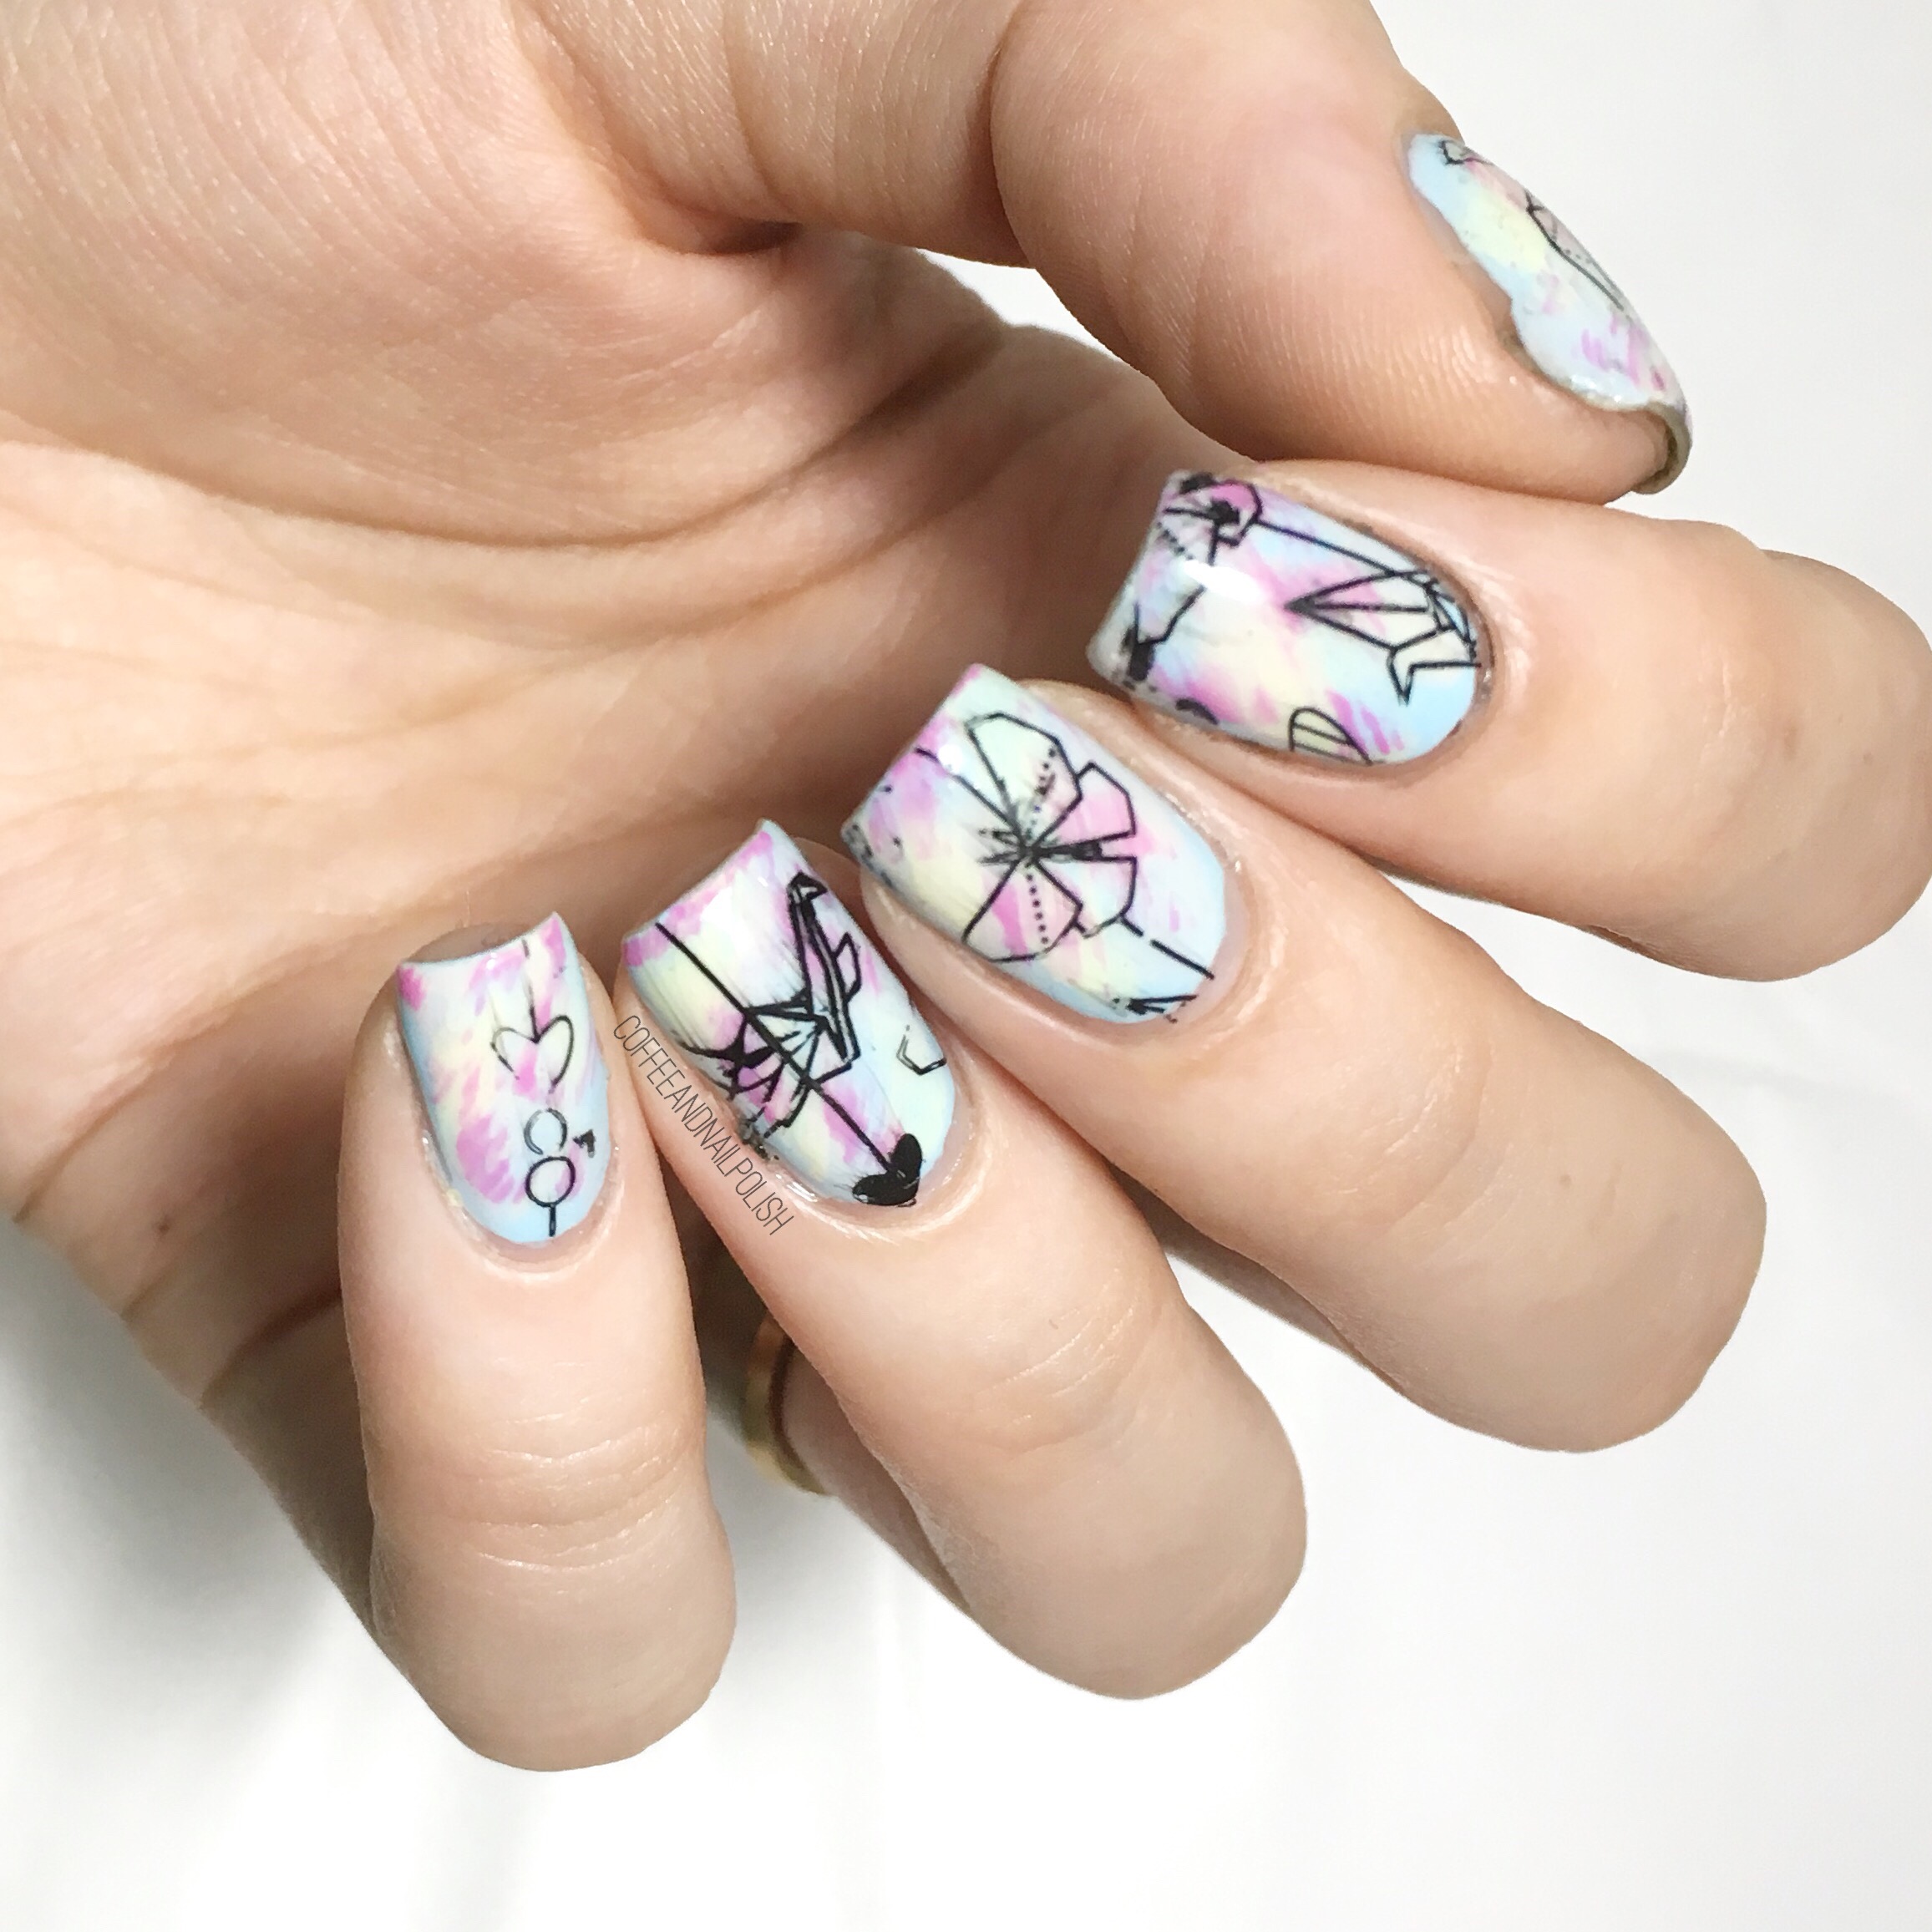
Happy Monday! Today I have a new manicure featuring another stamping plate so kindly sent to me for review from Born Pretty Store. This time, I’m reviewing the Origami Pattern Manicure Stamping Plate Harunouta L040 item #39127. This plate called to me because of all the gorgeous origami shapes. & the arrival of the plate was just in time that I could wear these nails to my sister in laws baby shower this past weekend! 


For this manicure, I used: 

  • Base Coat: L’Oréal All in One
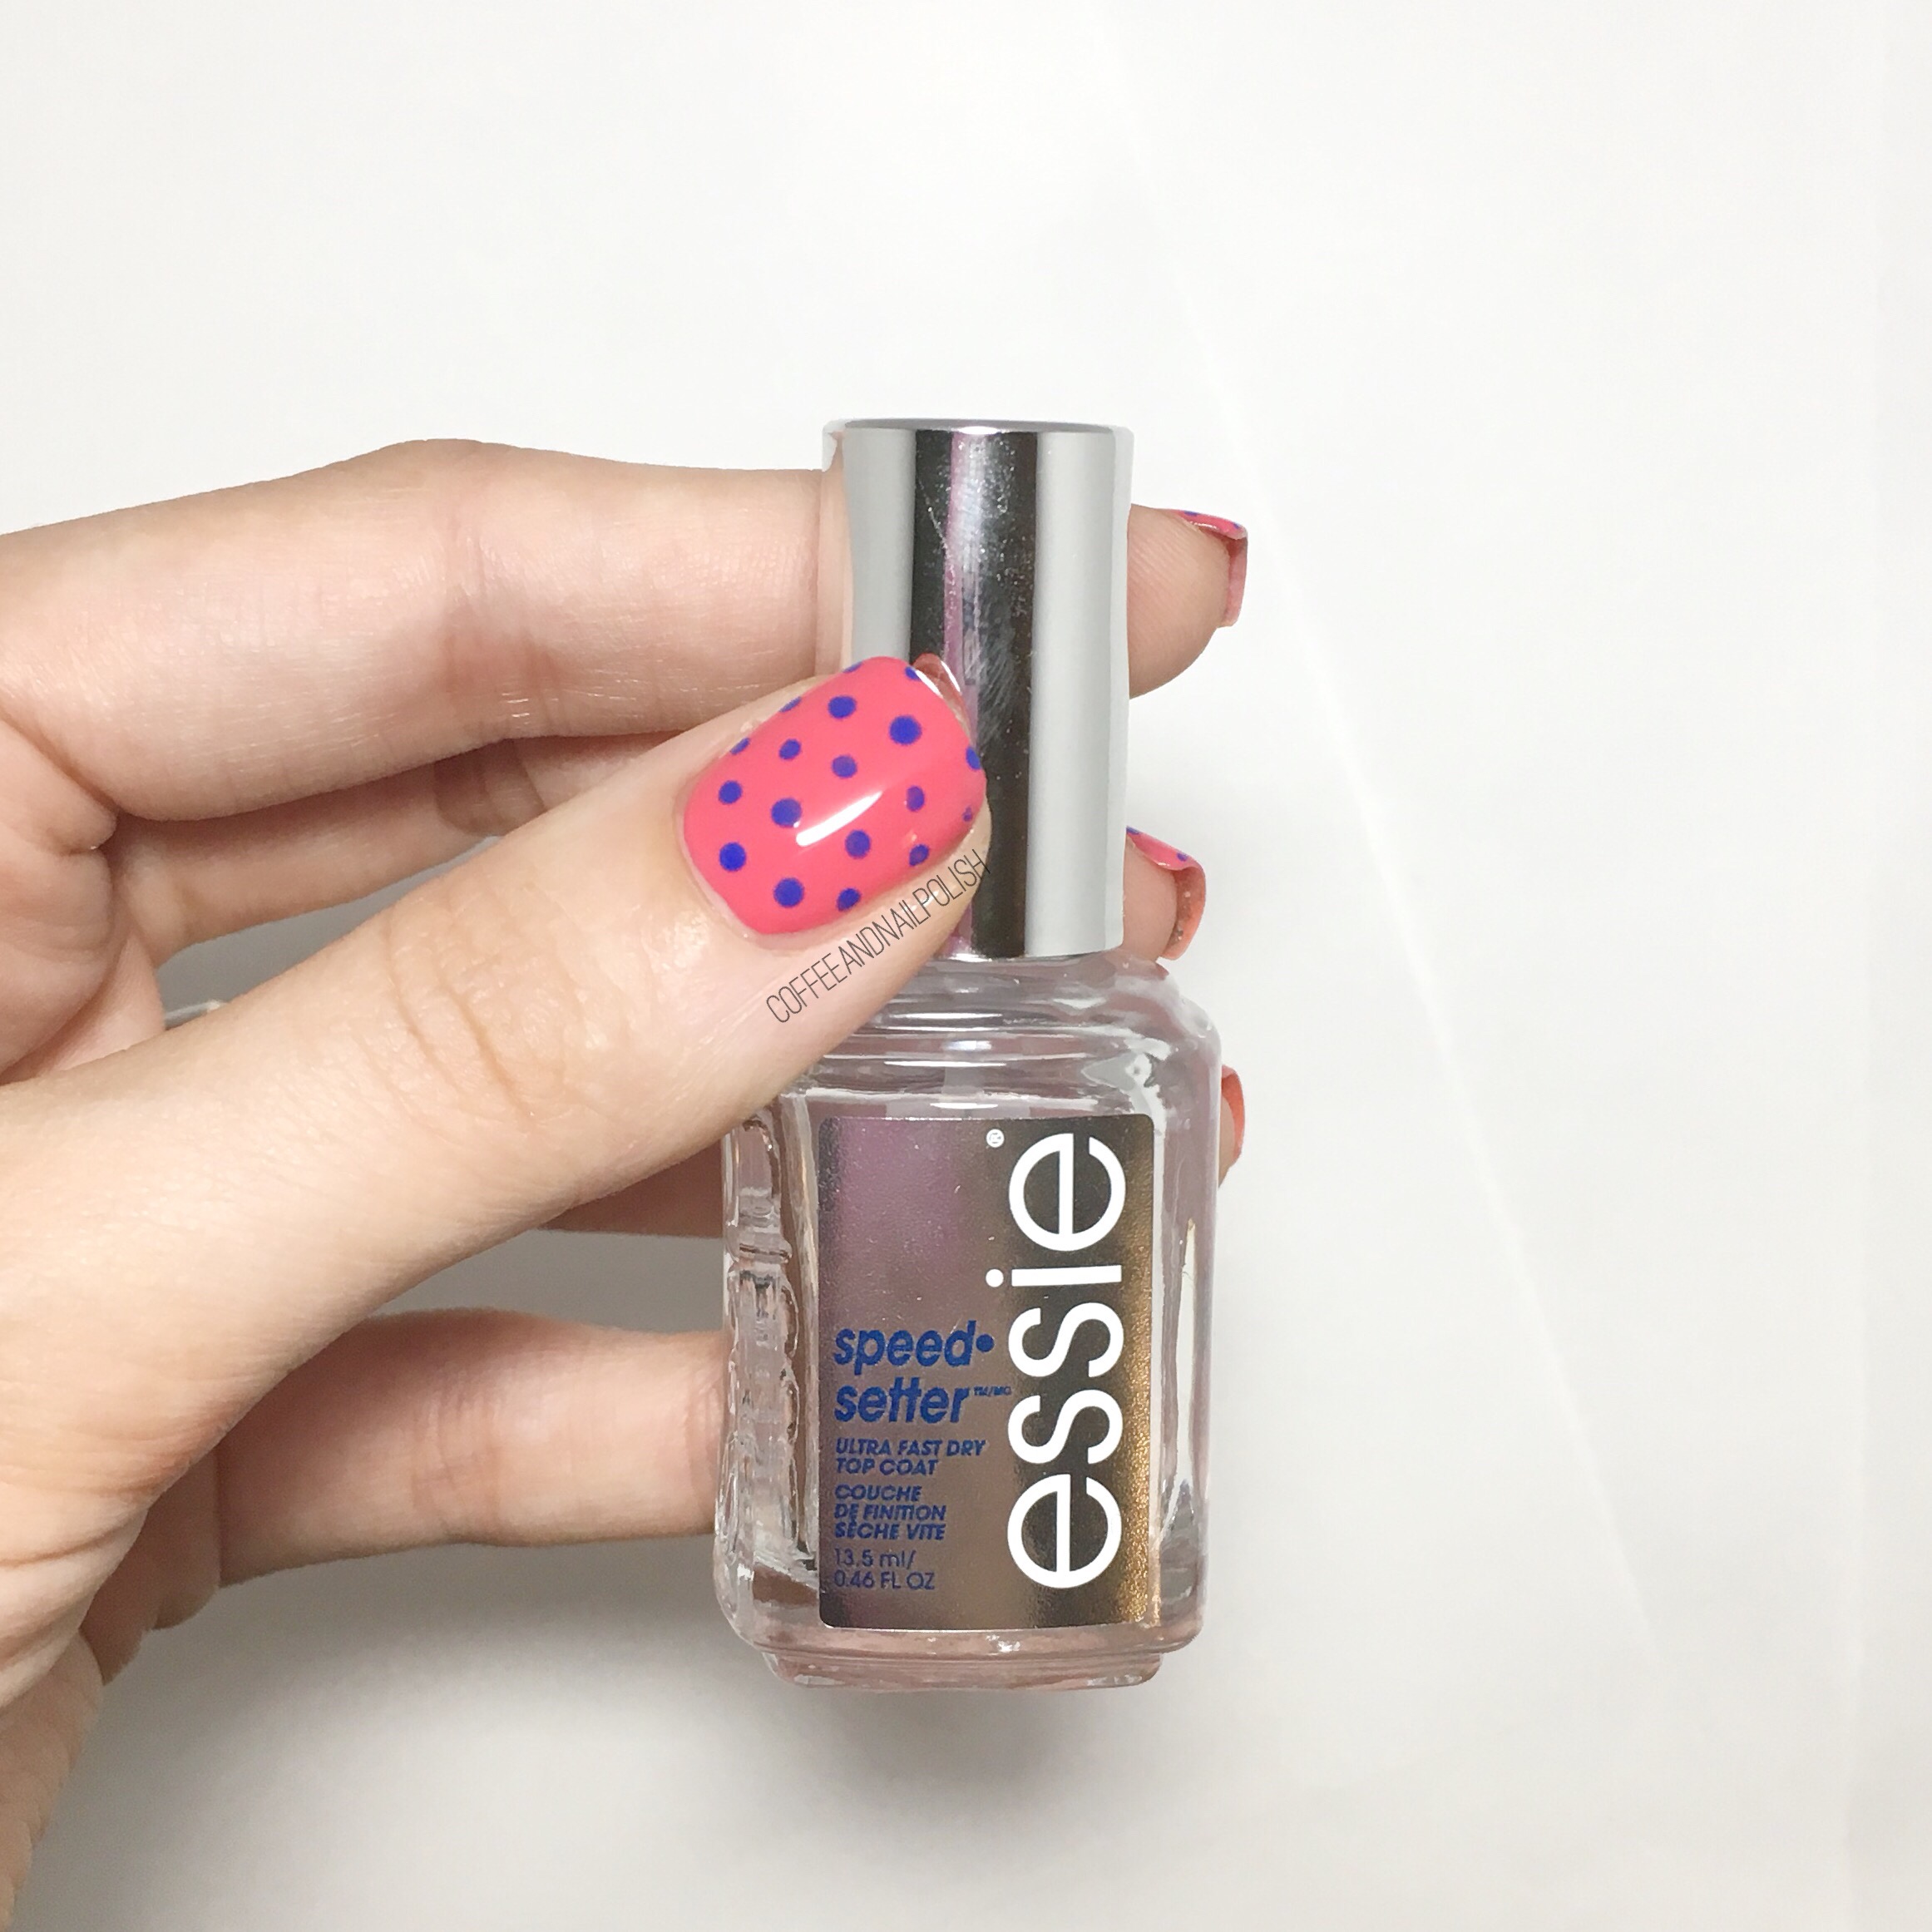
  • Top Coat: Essie Speed Setter
  • Revlon Gel Envy To The Chapel
  • Essie Chillato
  • Ardene Fluffy Tutu
  • Born Pretty Store Black Stamping polish (from this set)
  • Origami Pattern Stamping Plate Harunouta L040 item #39127
  • Born Pretty Store Clear Jelly Stamper

I think I’m finally getting the hang of stamping. The images are so delicate that you really have to move quickly (or the stamping polish dries) but I’m figuring it out! I’ve used Essence Back to Black for stamping before & it worked really well but my bottle was all used up so I’m going to get a new bottle & try stamping with that to see how it does. I definitely had more practice using this plate, so it went a lot easier. 

I love how adorable all of these images are! You have the hanging pictures, the individual pictures & then the cool geometric cloud images. So many different ideas & manicures that you can create! Like I mentioned, I wore these for a baby shower but I could see this being perfect for lots of occasions (or just for fun everyday). 

I still consider myself a stamping newbie, so while this plate was a little difficult for me after a little fiddling & practice I think I came up with a very pretty manicure! This plate could definitely be suitable for someone still new to stamping, as well as those pros out there I hope to someday join!

If you’re interested in ordering this plate (or something else) from Born Pretty Store feel free to use my discount code COFFK31 to save 10% off any regular price items! I’ve been ordering from them for years, & I love the wide variety of products you can find for all your nail polish addict needs! 

Stay tuned because I still have 2 more Born Pretty Store reviews coming your way! 

Saran Wrap Splatter–Summer Edition!

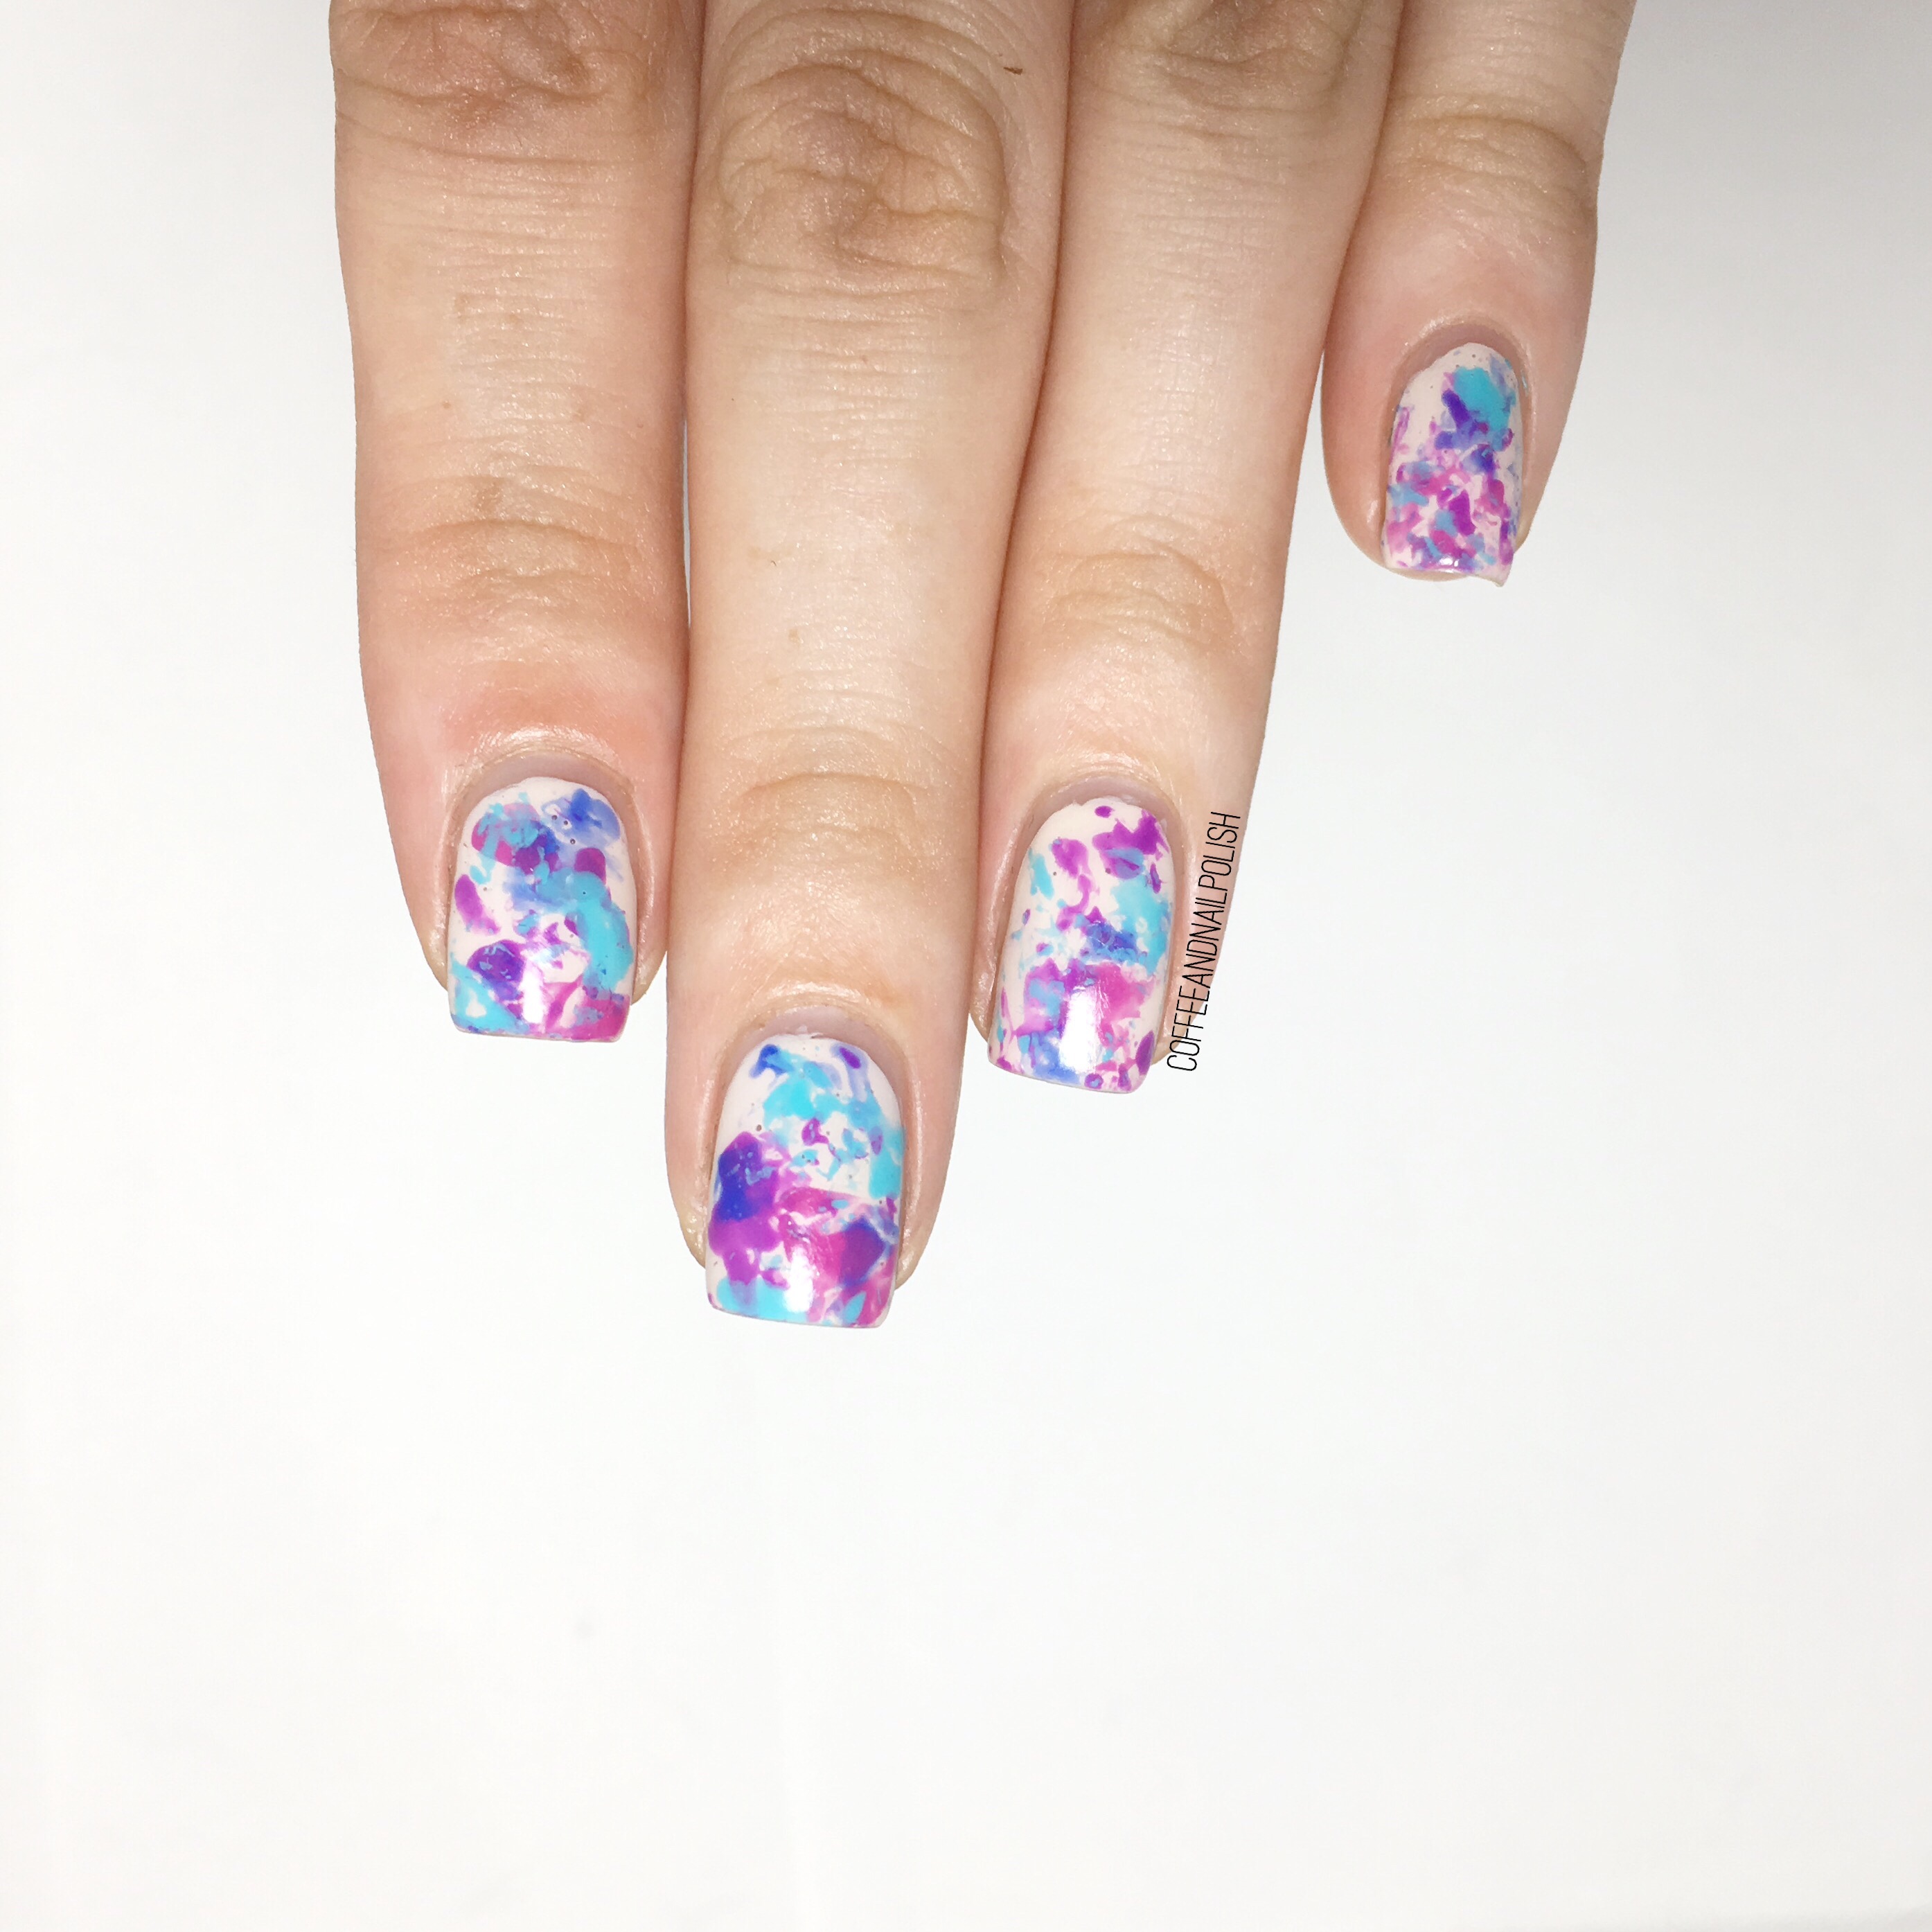
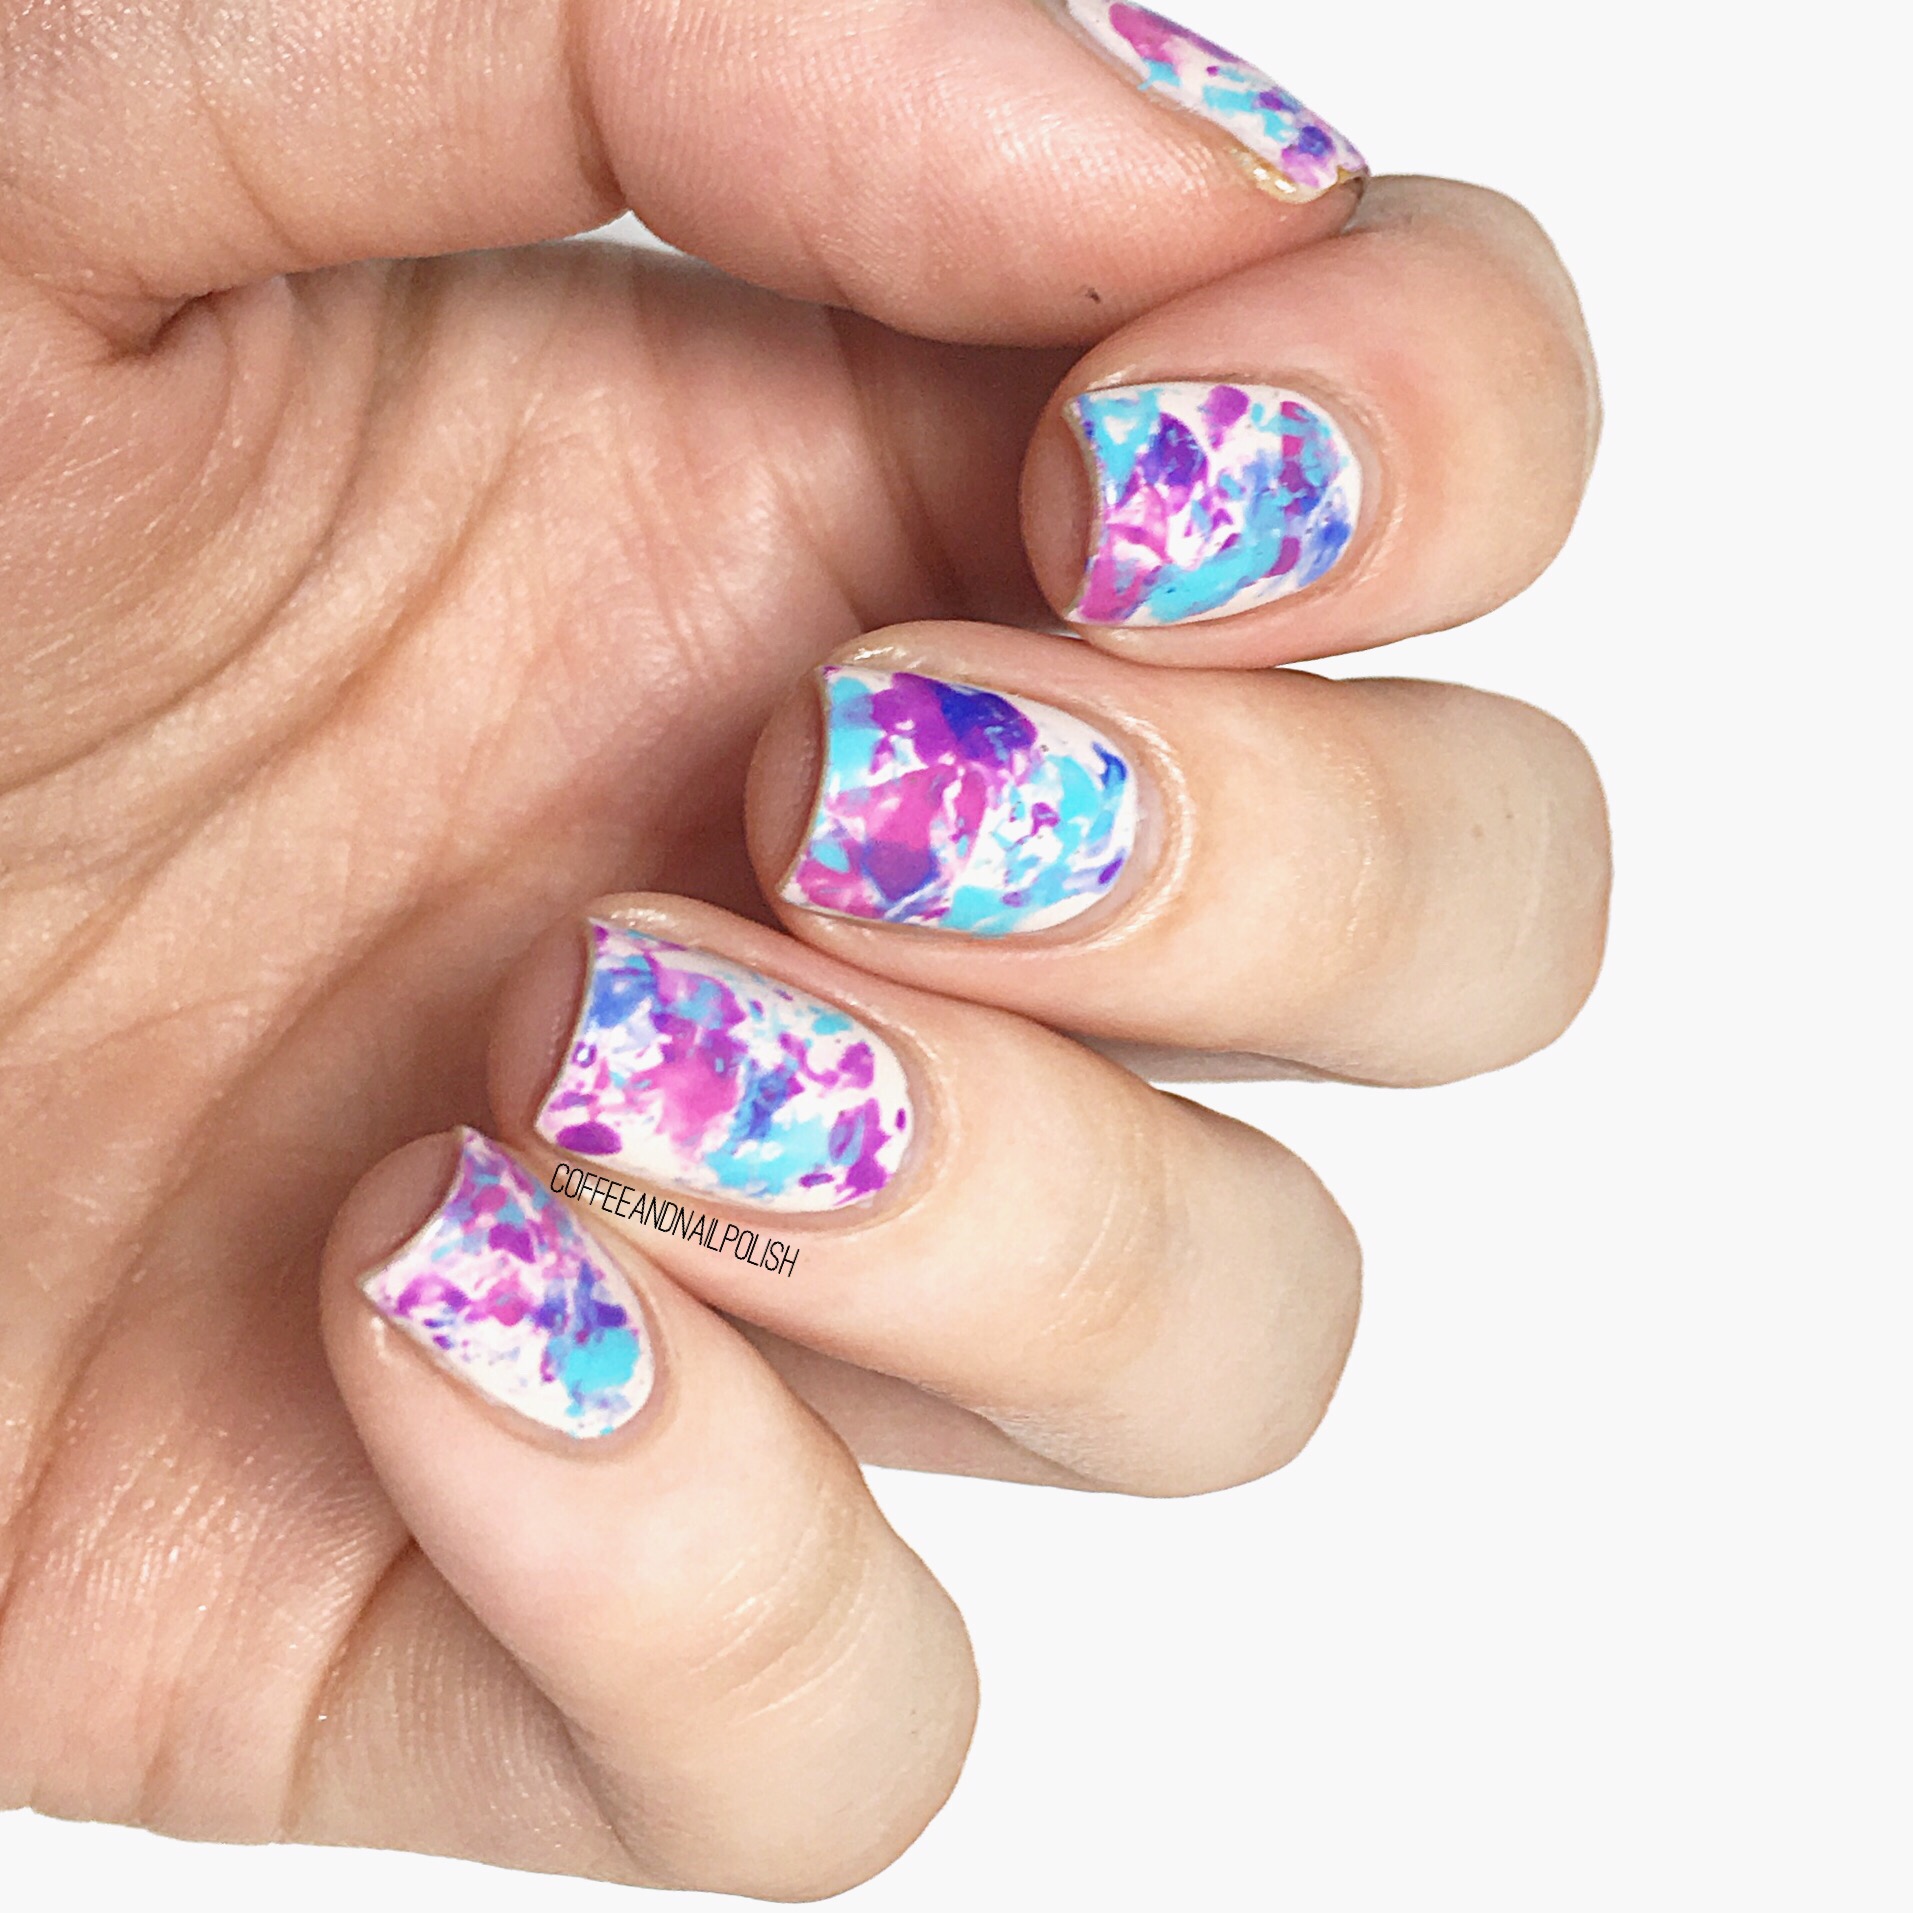
It’s officially Summer, & even though the weather here in Halifax is being less than agreeable (go away clouds), I just want to wear pretty dresses & sandals & enjoy the sunshine. In the meantime, I decided some bright Saran Wrap splatter nails would be appropriate. Maybe it will even encourage the sun to stick around longer than a few hours! 


For this manicure, I used:

  • Base Coat: L’Oréal All in One Base Coat
  • Top Coat: Essie Speed Setter
  • Hard Candy Coconut
  • Sally Hansen Boho Blue
  • Ardene Whacky
  • Maybelline Color Show Fiery Tulip

I seriously love how these turned out–the blues & purple work so well together. My barista even complimented me on my nails, which always makes me feel good when someone other than my husband notices. I am just never disappointed when I pull out the plastic wrap for this design! Sometimes it can be messy, but always easy to clean up (way easier than cleaning up a classic splatter manicure!) & the end result is just so much fun. 

What do you think of my Saran Wrap design? What’s your favourite Summer manicure design?  Let me know in the comments below! 

Jade Abstract Stripes

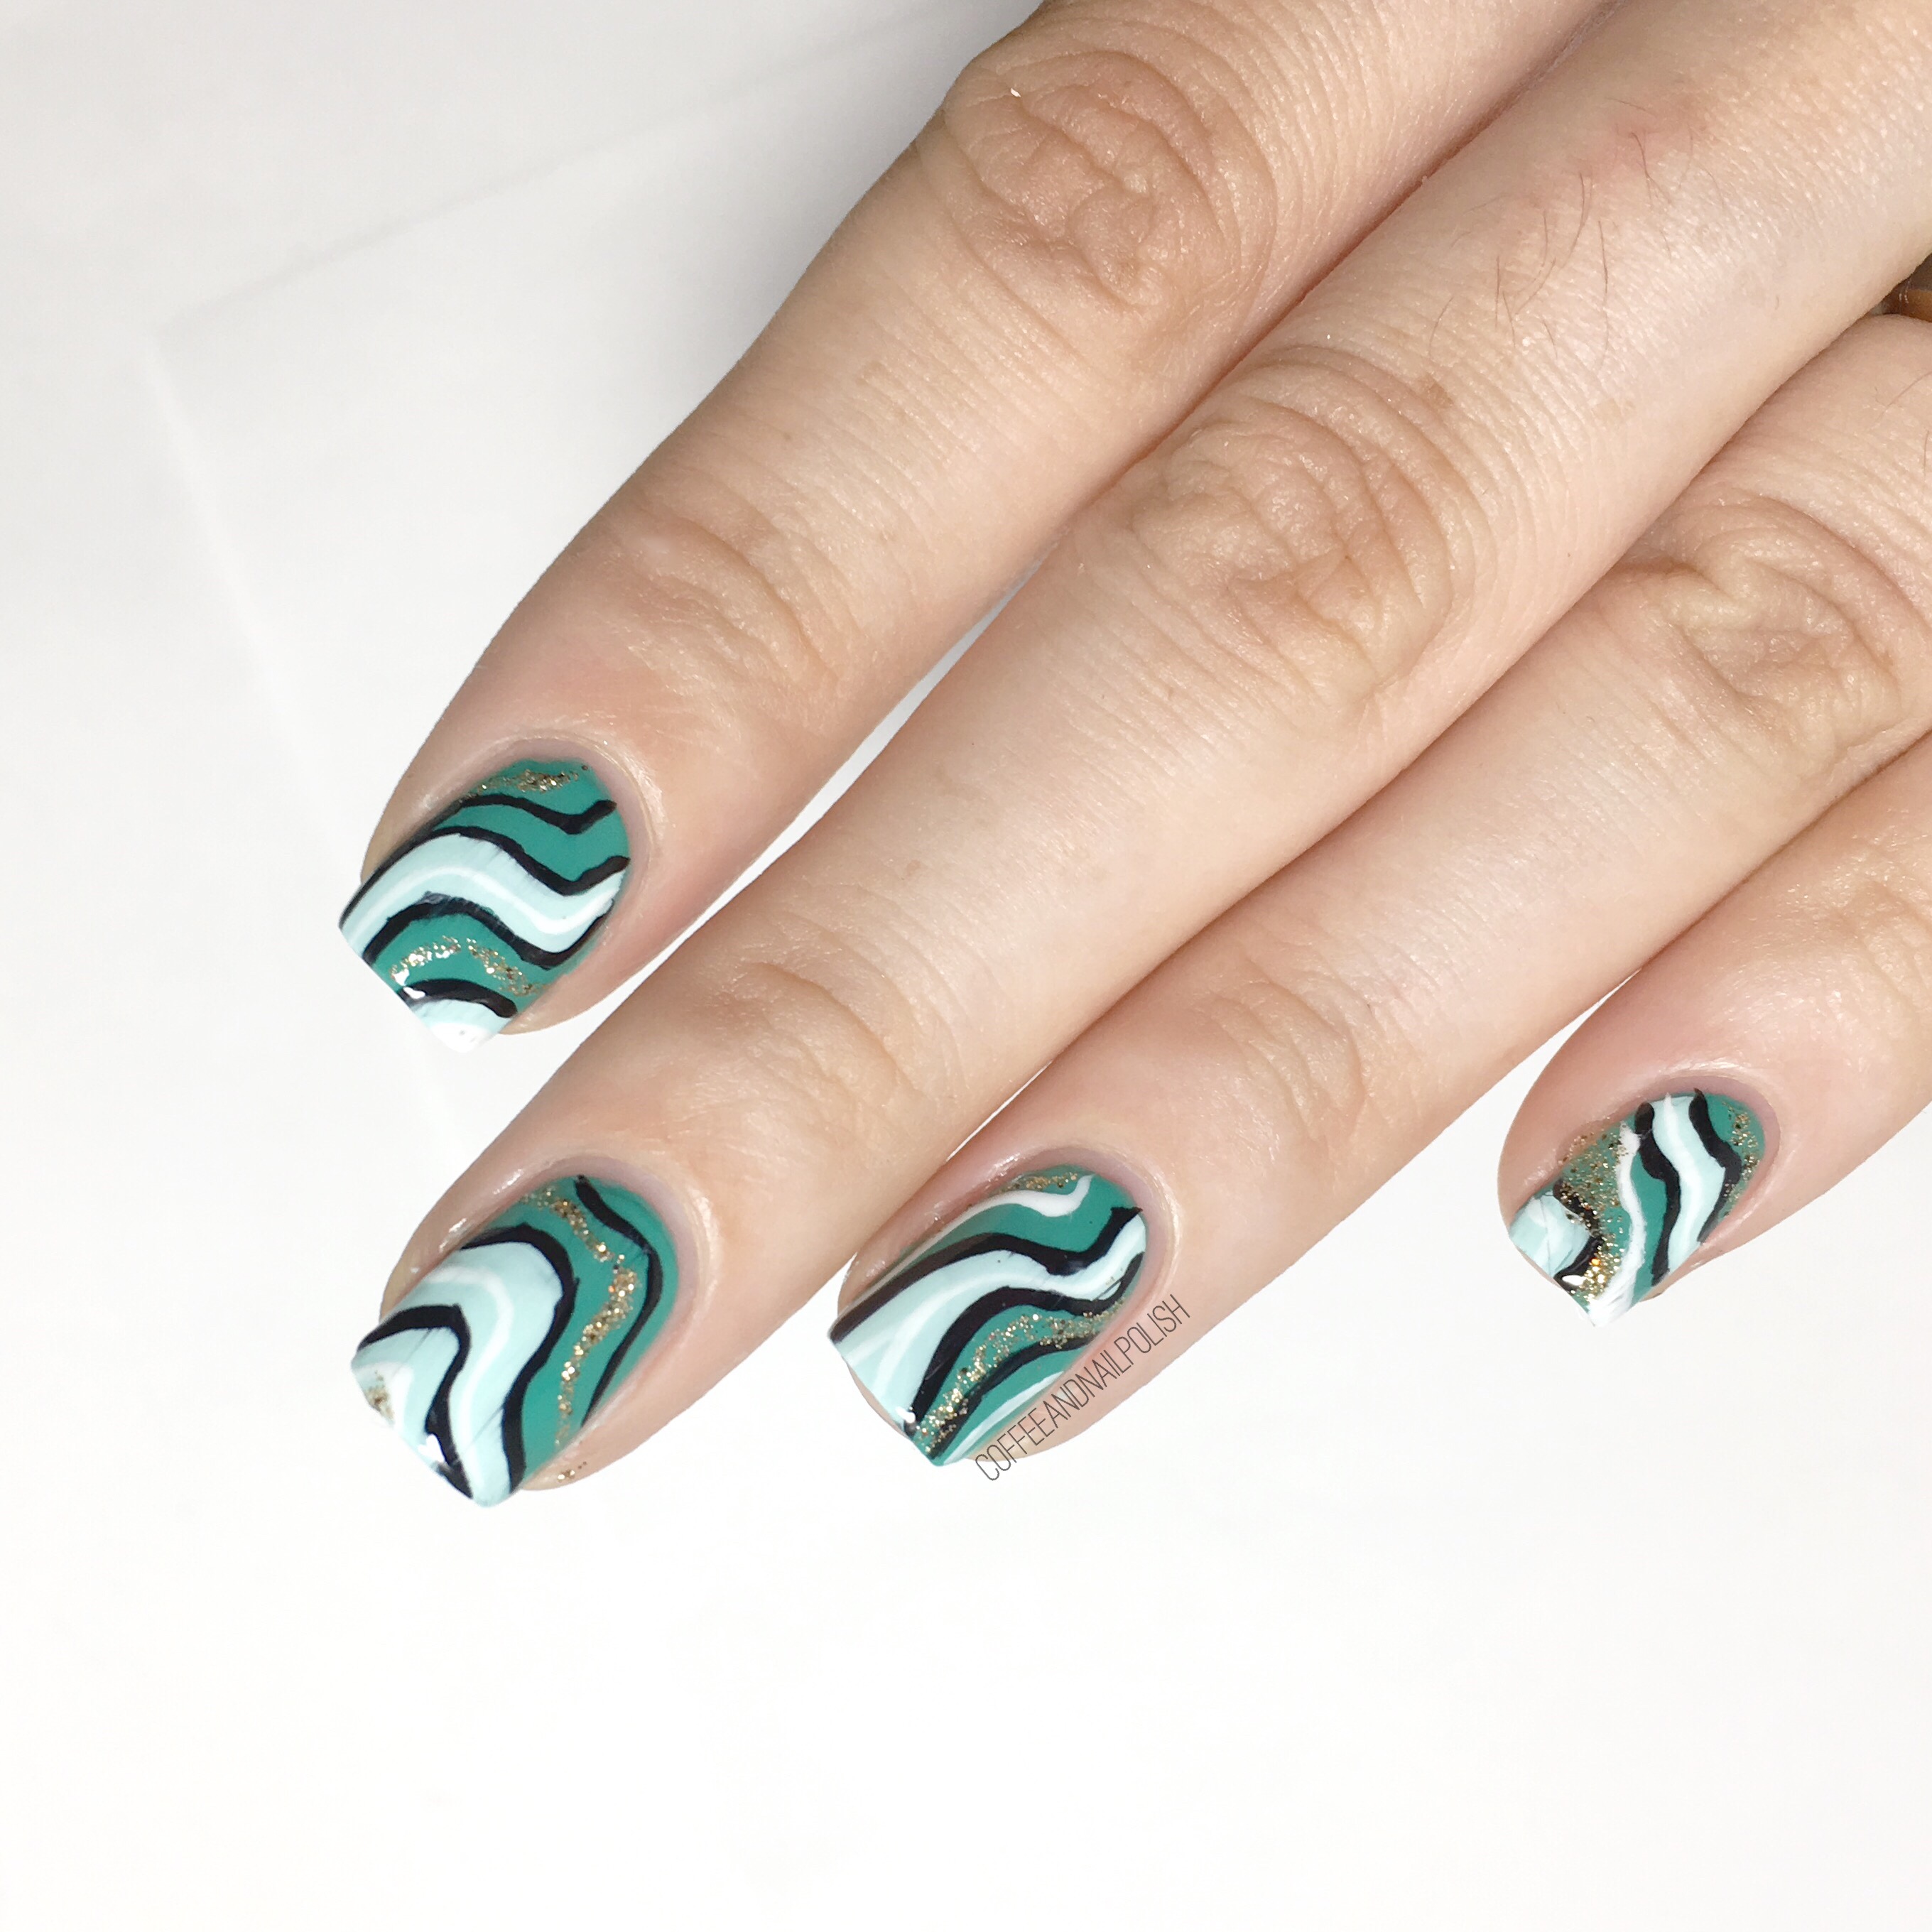
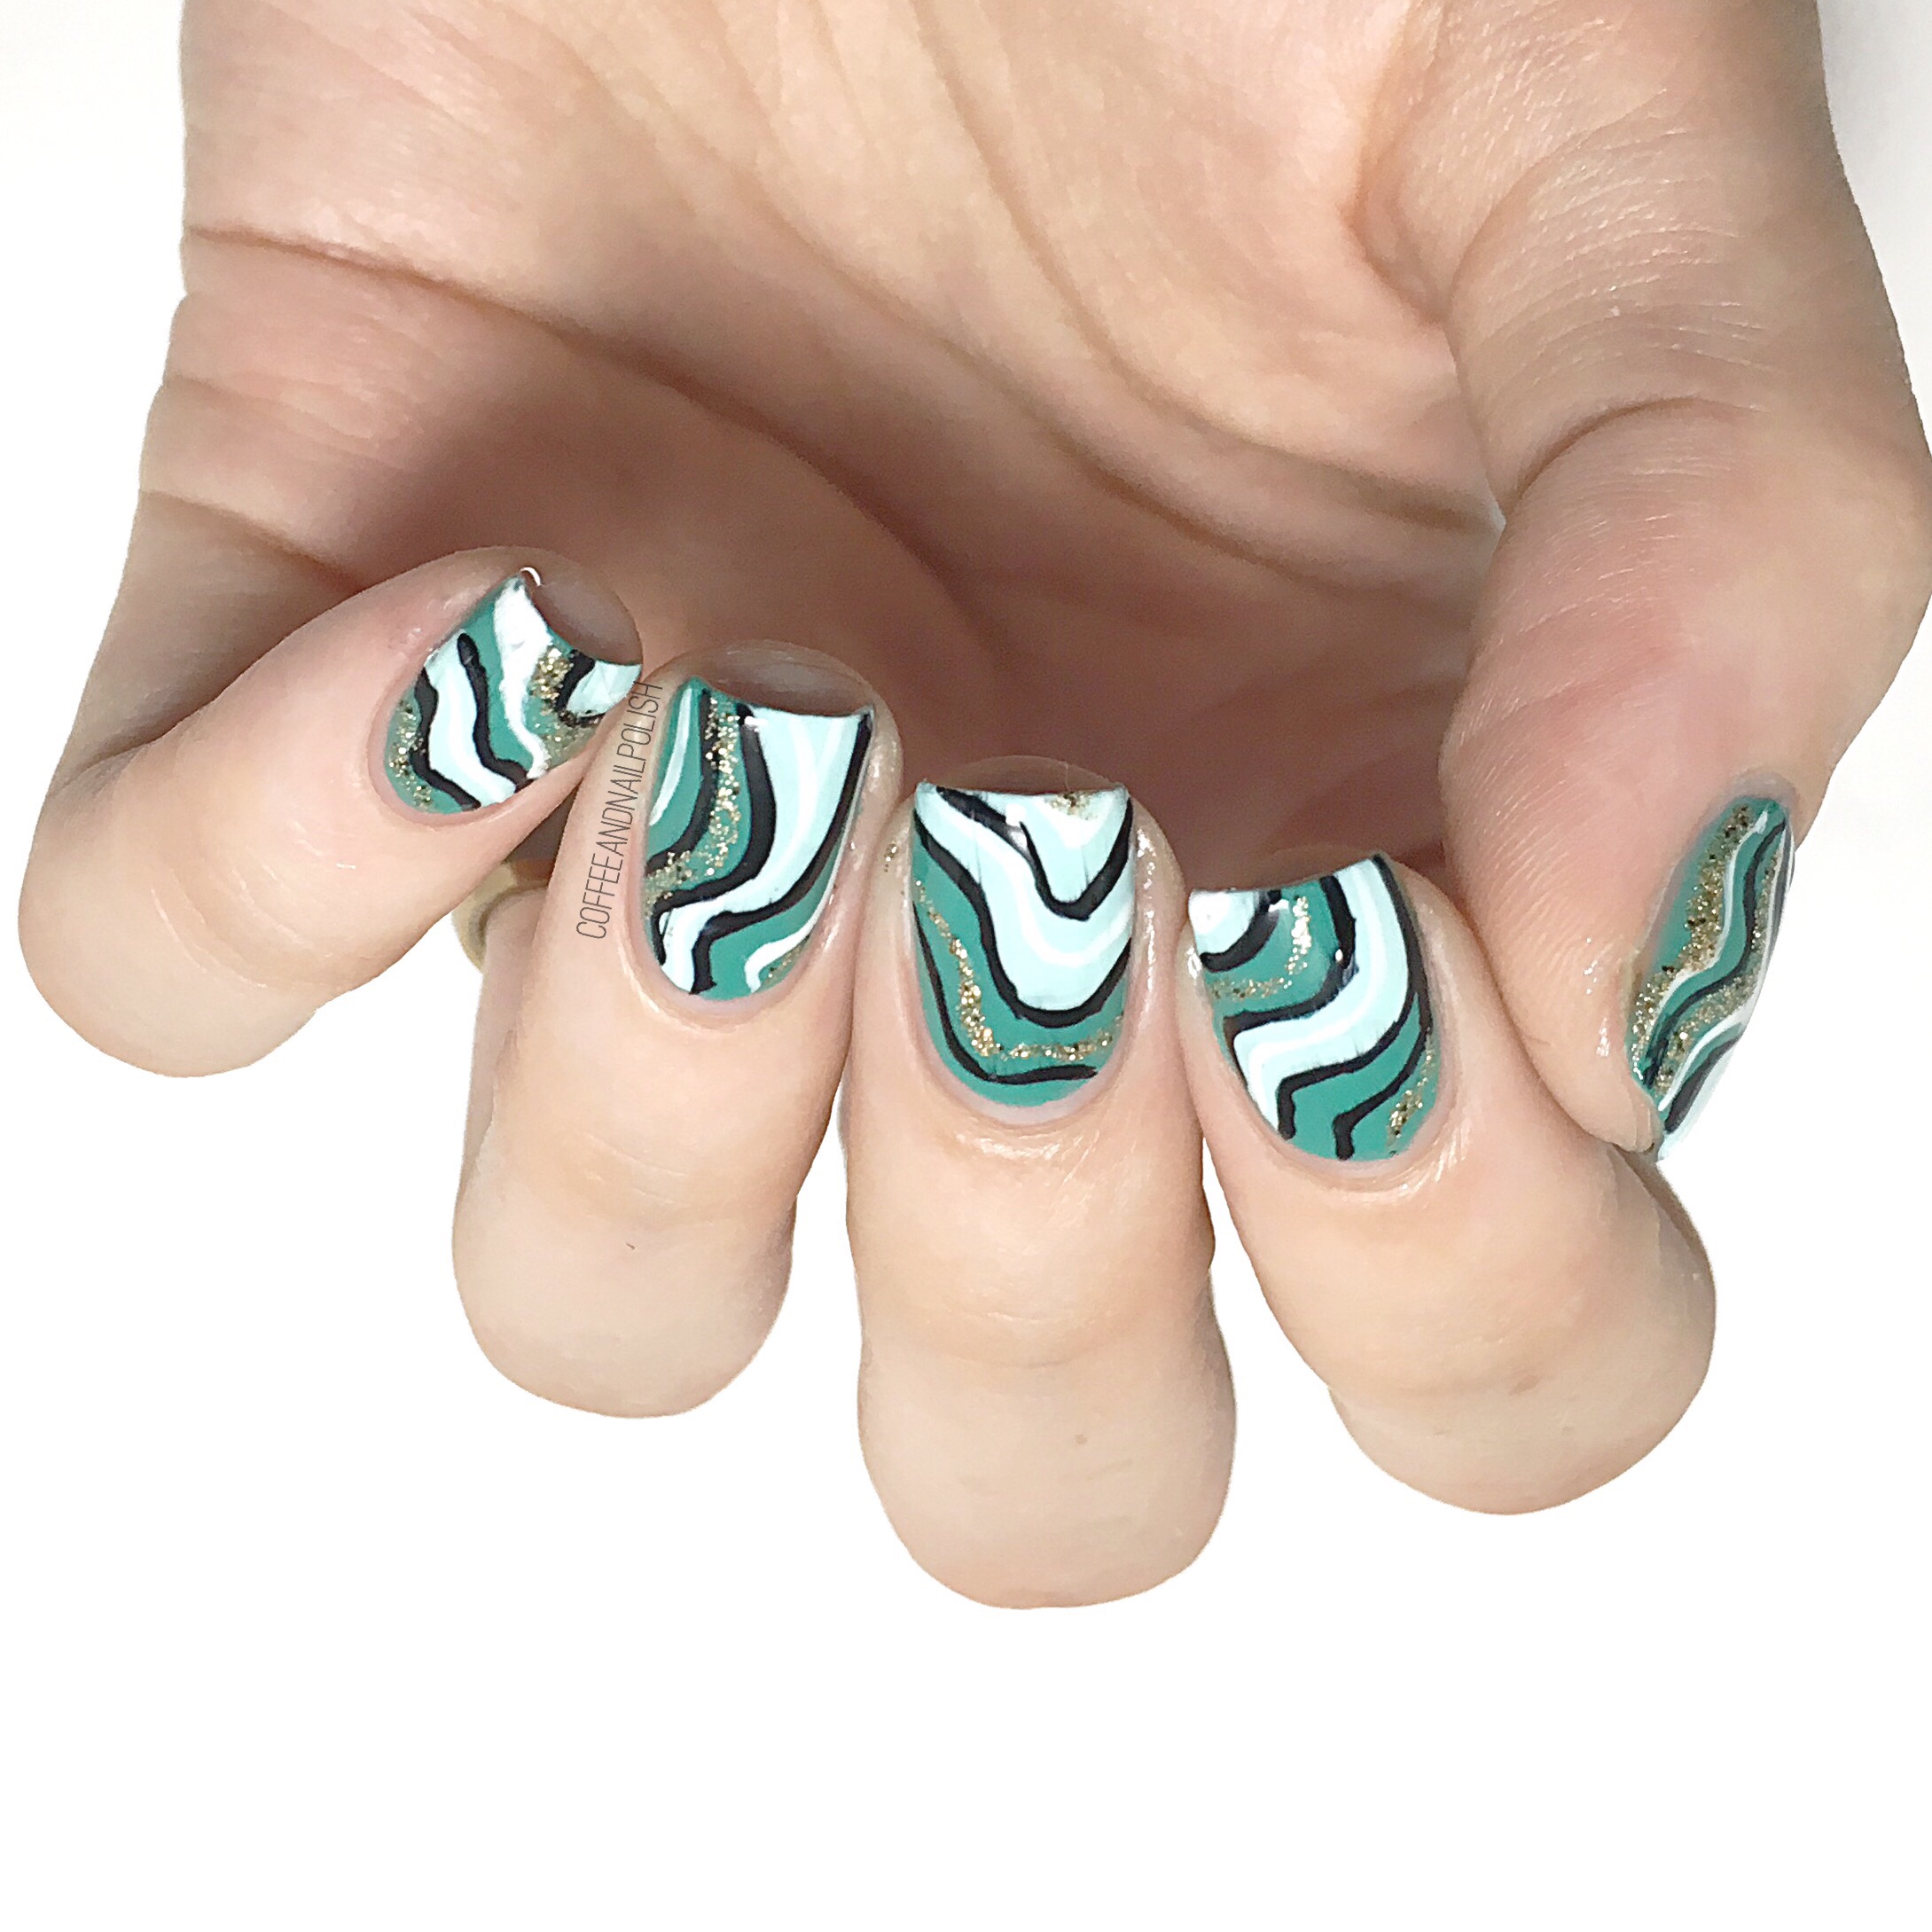
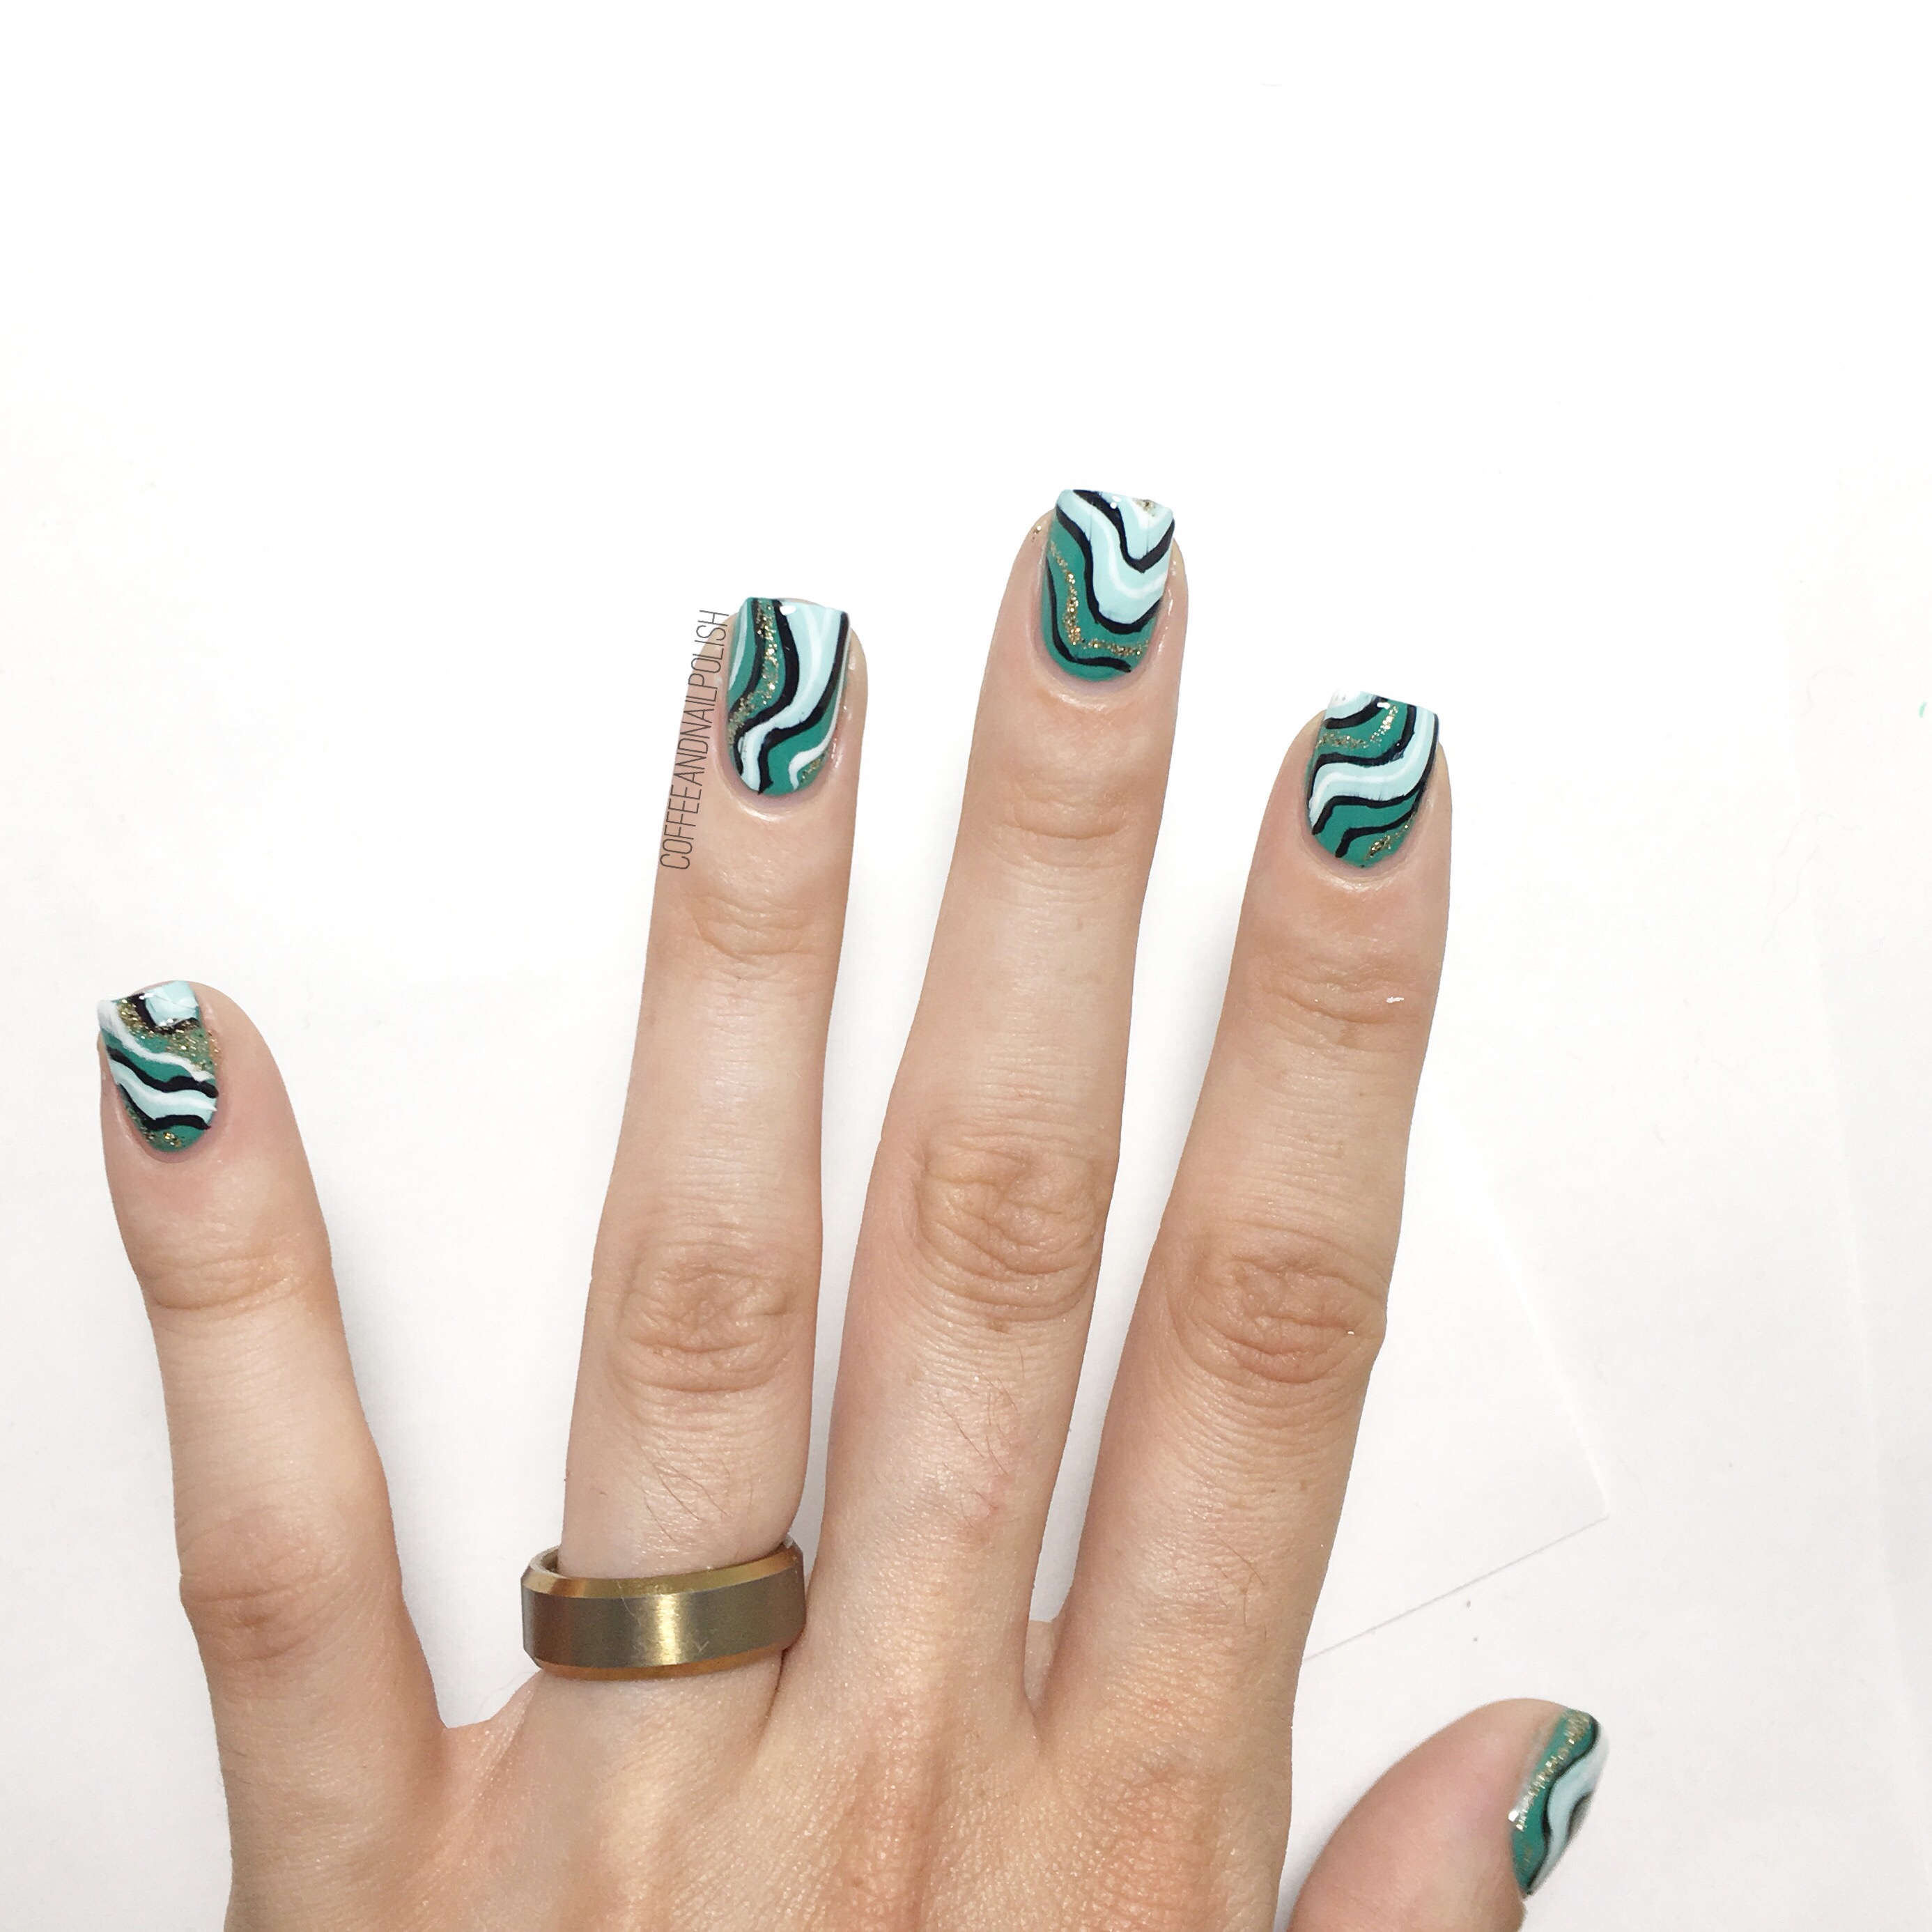
Today I’ve got some abstract stripes to share with you featuring another untried polish from the stash! I’m ashamed to admit I have way too many untried polishes, so I’m trying really hard to pull them out & actually wear them. Except it’s me, & I just end up going out & buying a new one that then adds to the collection haha. 🤦🏻‍♀️

Problem? I don’t have a nail polish problem. 

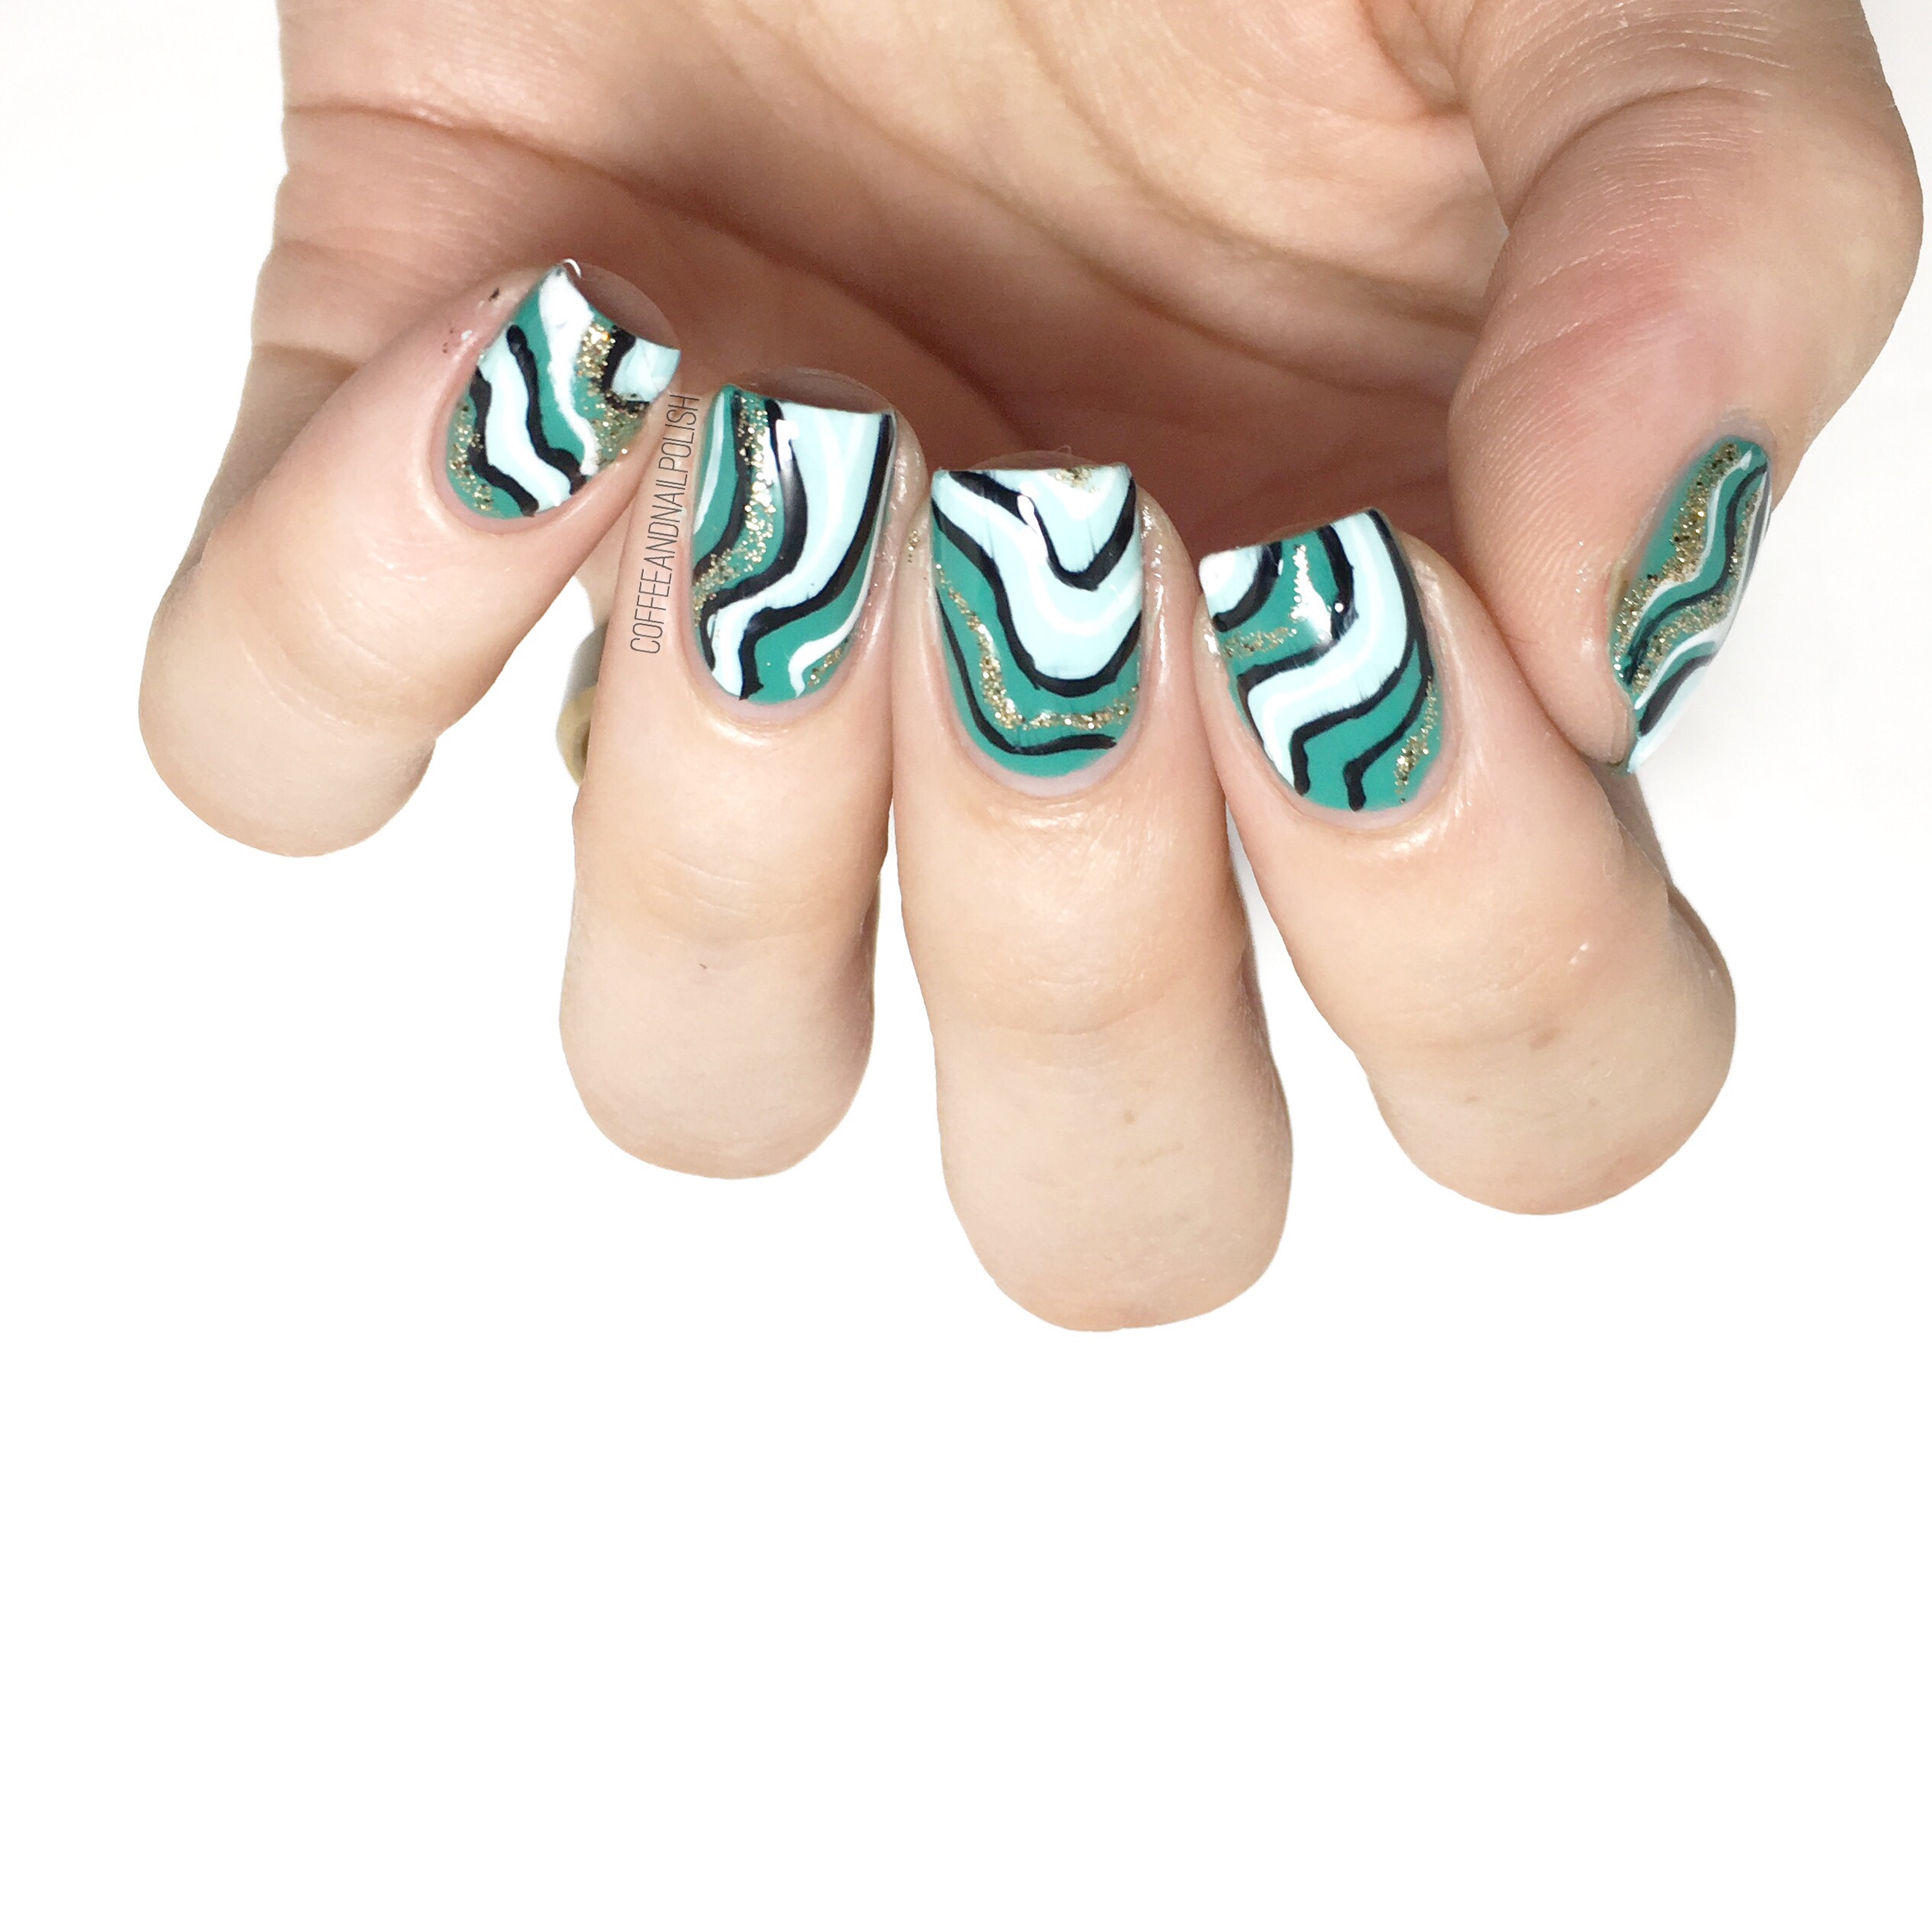
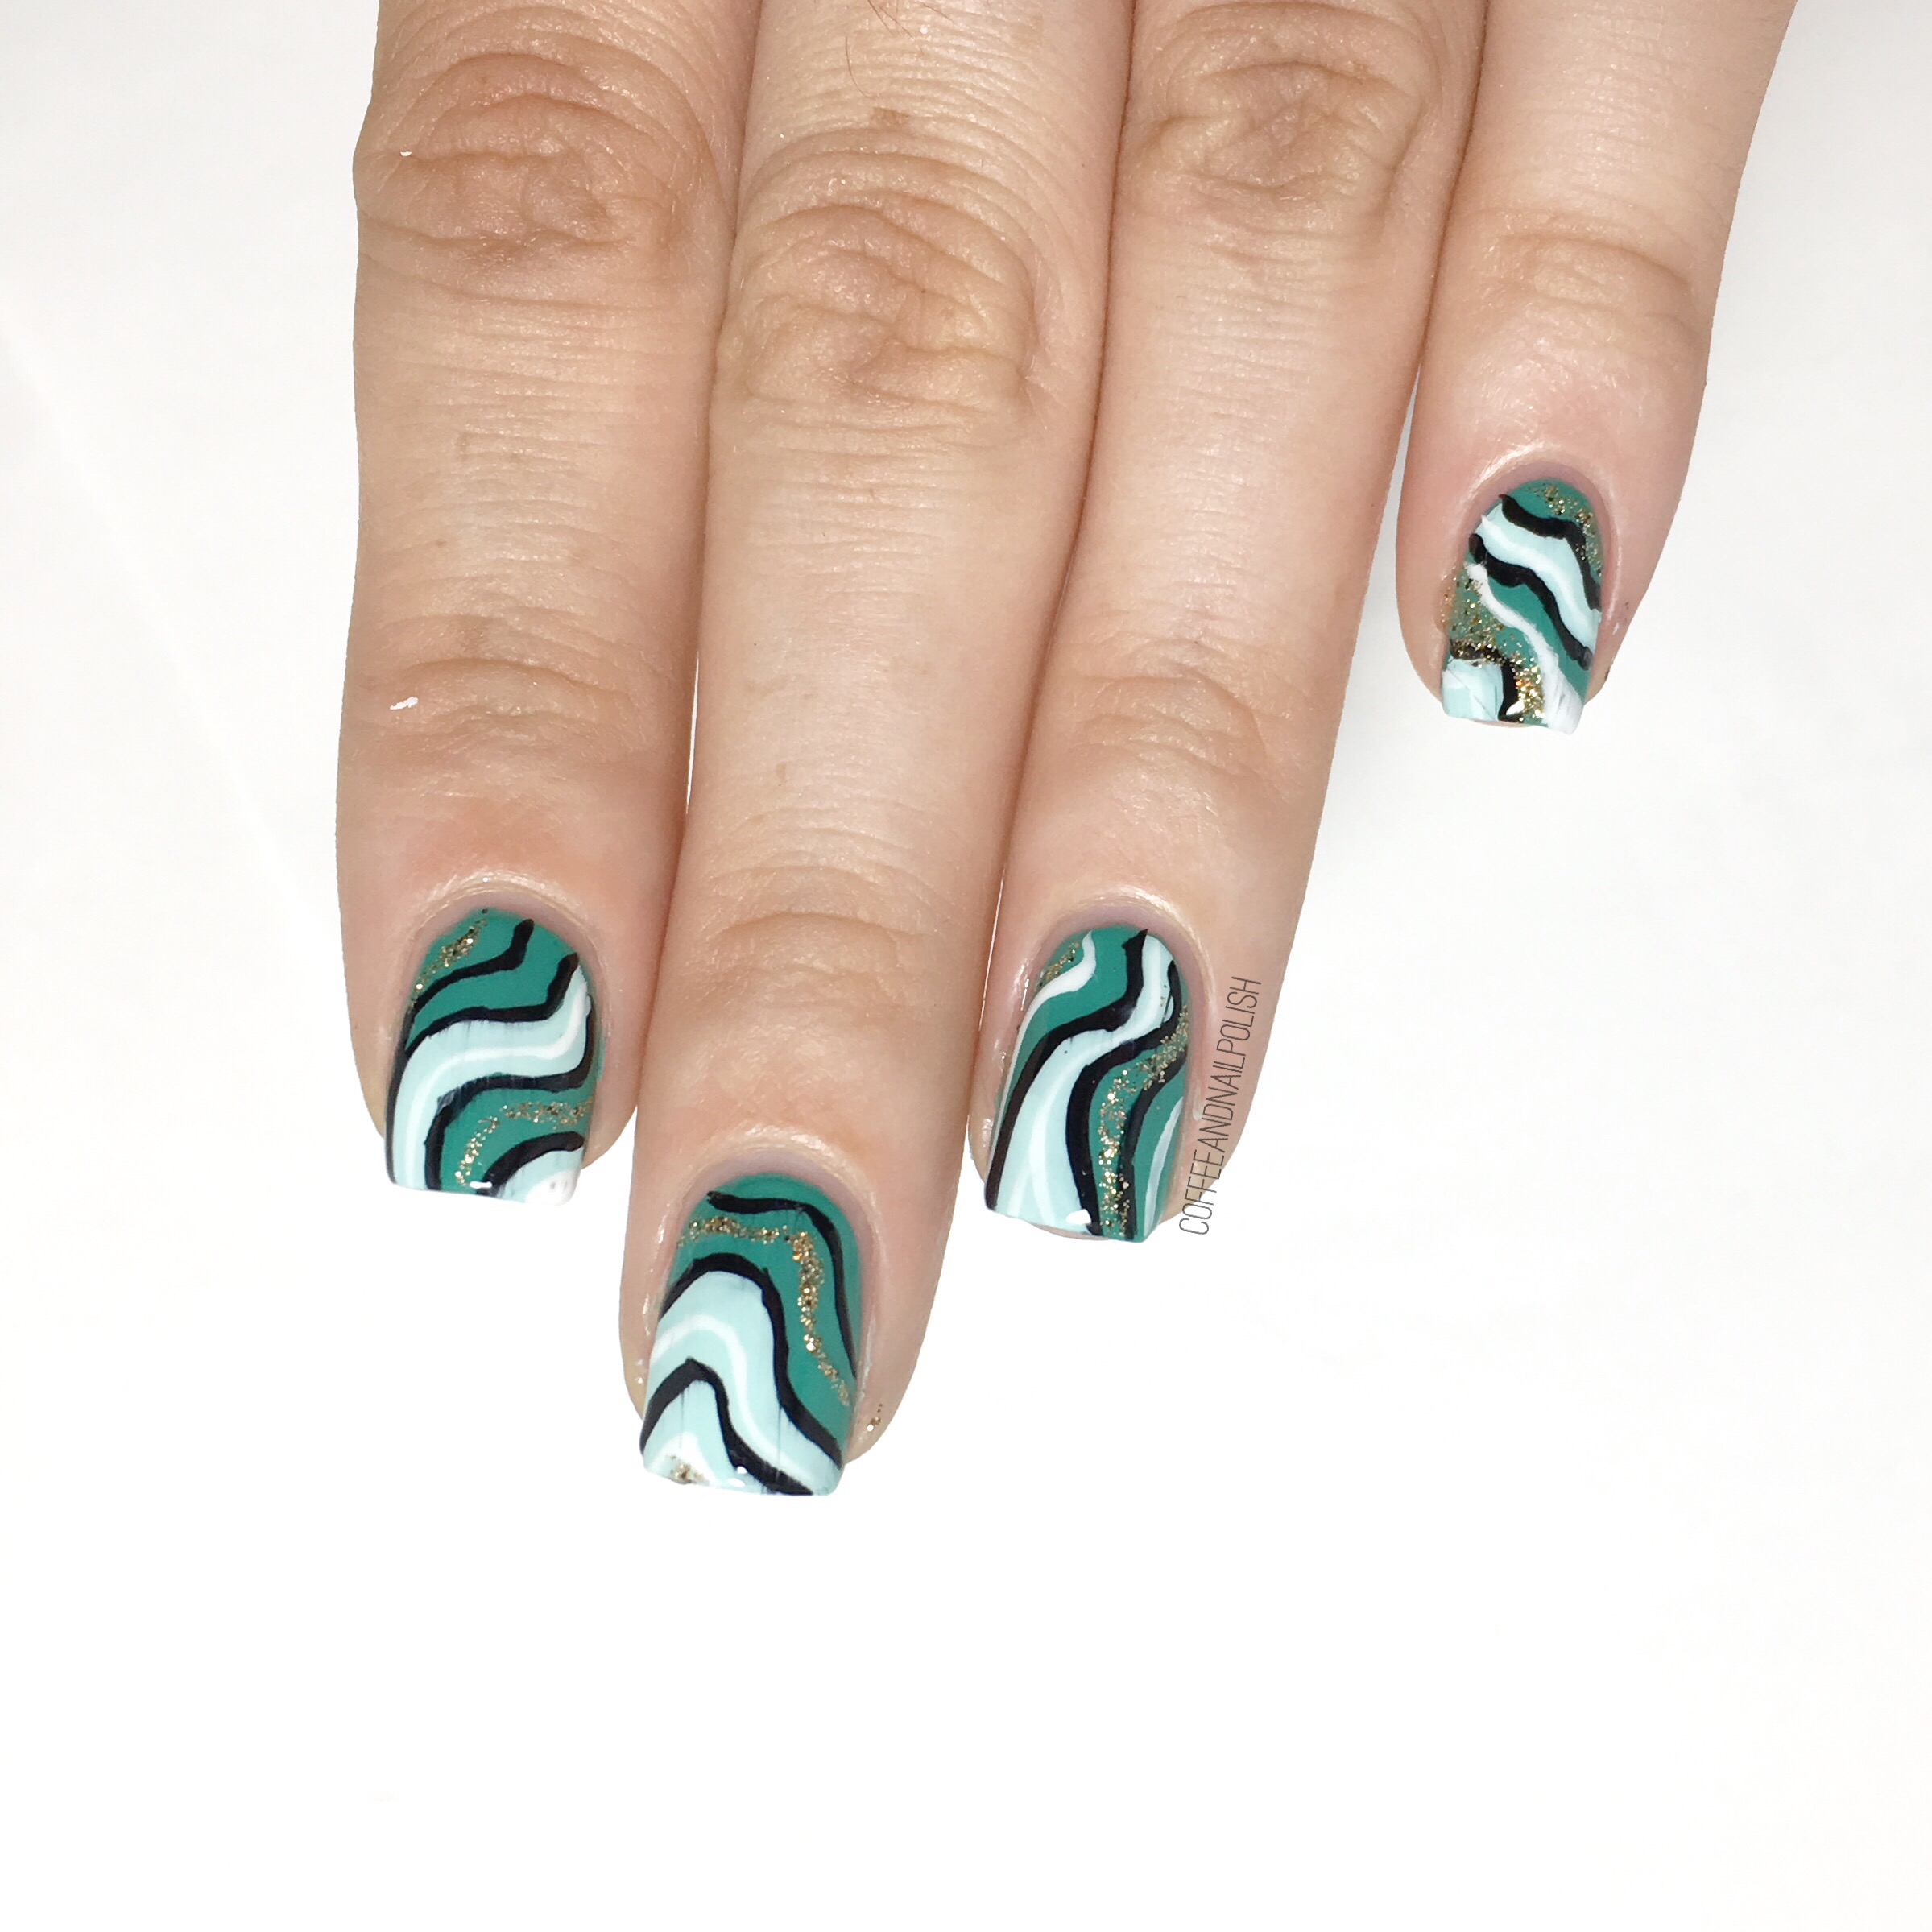
But today I’m wearing Deborah Lippmann She Drives Me Crazy which is a pretty jade green shade which my Mom picked up for me at Marshall’s.  The colour is obviously gorgeous, but I felt like it definitely needed something added, so I came up with these abstract stripes over top. 

For this manicure, the polishes I used were:

  • Base Coat: L’Oréal All in One
  • Top Coat: Essie Speed Setter
  • Deborah Lippmann She Drives Me Crazy
  • Essie Mint Candy Apple
  • Kiss Products Nail Art Striper in White
  • Kiss Products Nail Art Striper in Black
  • Quo by ORLY Nail Art Striper in Gold

This design never gets old to me.  It’s like floral or polka dots–easy to pull out when I’m too tired to think about what to do on my nails. It’s all about the colour palate. You have to make sure your secondary colour (in this case Essie Mint Candy Apple) falls within the same colour family as your base for the stripes to really just look awesome together. Also I need to stop forgetting to do a tutorial for this design because I keep promising one. Blame it on the fact I do my nails on the couch in my pjs  (bottle balanced between my knees) & not at a table like a normal person haha. But now that I have this fancy new iPhone, maybe I’ll finally be able to film a long promised tutorial. Crazier things have happened! 


Am I the only person who buys nail polish then proceeds to forget to wear it? What polishes do you currently have waiting to be worn?

I recently went through & reorganized my stash so I’m really trying to make a point to pull out those forgotten shades that I forgot I owned! Hopefully I’ll be able to incorporate more into my blog posts before I end up buying more! 

Flashback Inspired Prom Nails

Yep! I’m showing off more prom inspired nails. Last week I created some nails that I thought would be beautiful to wear to prom, & today I’m sharing a manicure inspired by one of my own prom dresses! I totally got nostalgic thinking about prom after my last post, & started looking through old prom pictures on Facebook & figured why not create a mani inspired by those pretty dresses. 

My inspiration above. 🔺 Can you believe me that dress only cost me $17 & I still adore it so much. Man, if only we had occasions to wear formal dresses more often! Now obviously this is a simple look, so I thought a simple line of holo would perfectly represent the sparkly sequin belt on my dress. 

For this manicure, I used:

  • Base Coat: L’Oréal One Stop Base
  • Top Coat: Essie Speed Setter
  • Layla Cosmetics Ocean Rush
  • Sally Hansen Insta-Dri Brisk Blue
  • Xroma Polish & Vinyls Skinny Straight Nail Vinyls

Who doesn’t love holo? This is a serious question… I would love to meet this person. I’d put Layla Cosmetics Ocean Rush on their nails, because it would definitely change their minds. I mean just look at it–even though it’s a small line of holo, it just shines.  You can see some serious rainbows. 

What do you think of these nails inspired by my very own prom dress? I hope you like them, because I may have accidentally clicked “like” on a prom picture of my high school boyfriend & I while trying to scroll through & find a picture of this dress on Facebook & that’s awkward. Haha. 

Would you ever create nails based on a favourite dress of yours? Let me know in the comments below! 💙

Turquoise Marble Stone Nails


Happy Friday! Today I’m sharing a gemstone/Turquoise stone design. I attempted a similar design three-ish years ago so it felt like a good chance to revisit this design! This is is also the first post using my brand new iPhone 6s. I just can’t get my over the picture quality–it’s awesome! 


For this manicure, I used:

  • Base Coat: Perfect Formula Pink Gel Coat
  • Top Coat: Cutex Quick Dry Top Coat
  • My Beauty Spot unnamed Teal
  • Essie Mint Candy Apple
  • Sally Hansen X-treme Wear Golden-I 
  • Layla Bubbley Effect in Black 

For this design, I kind of made up the technique on the fly. I started off with my base of teal. I then took a piece of crinkled up plastic bag, and dabbed on Mint Candy Apple & Golden-I & finished off with some top coat to seal in the base. After I felt like my base was dry enough (about 5-10 minutes) I grabbed my bottle of Layla Bubbley effect & added splots of the polish on each nail. I then went & ran that nail under water to remove some of the polish which left the black bubbles on the nail. Depending on how it turned out, I would add more black again and repeat the process. When I was happy with each nail, I finished off the whole design by sealing in with top coat. 

This is a super simple design, & it ended up being relatively quick to do. & definitely less clean up than using the traditional water spotted technique that you see for creating stone nails. However, because Layla Bubbley is a special effect polish, I’m not sure how well it would work with normal polish (I’m guessing probably not very well.) However, I’m thinking it might work out with acrylic paint which I’ll have to add to my list of things to do! If you try it out, let me know how it works out! 

So what do you think of these turquoise stone nails? Would you wear these? Let me know your thoughts in the comments below!