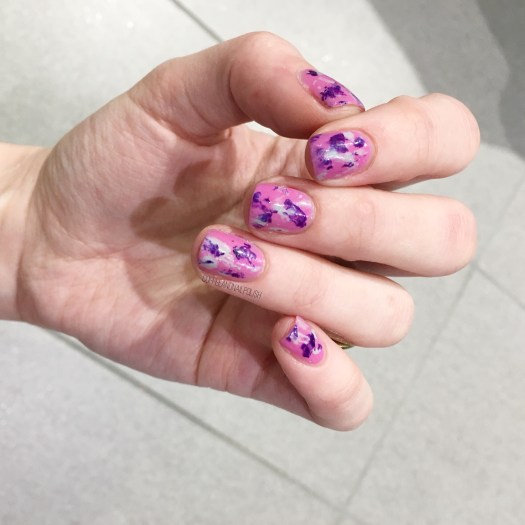
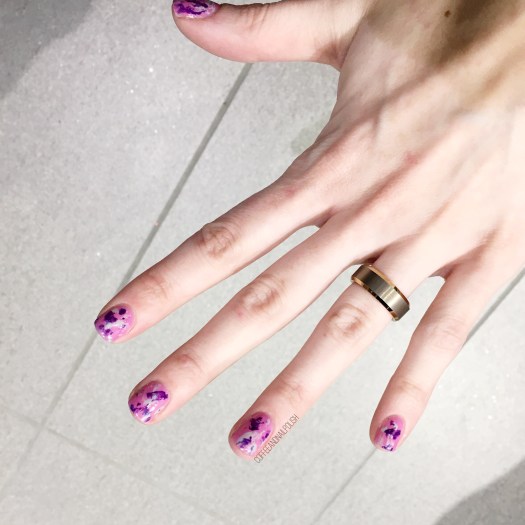
Purple Saran Wrap Splatter Nails

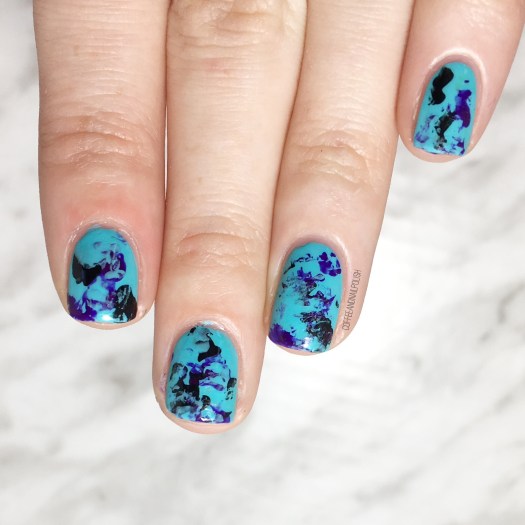
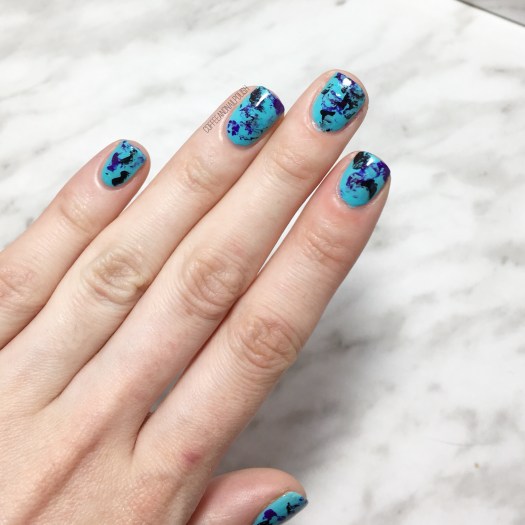
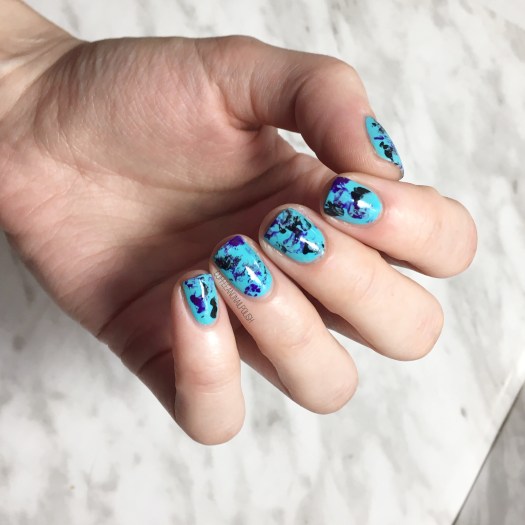
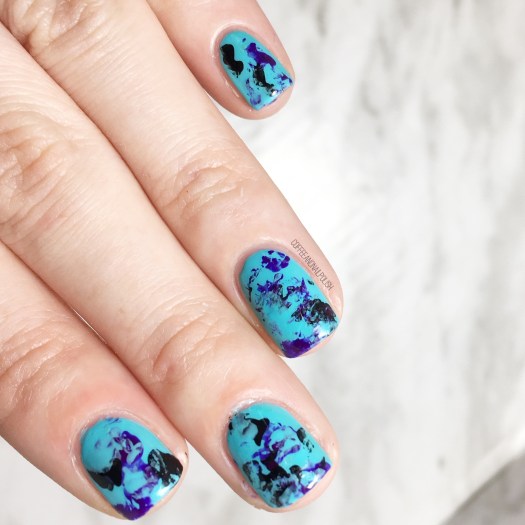
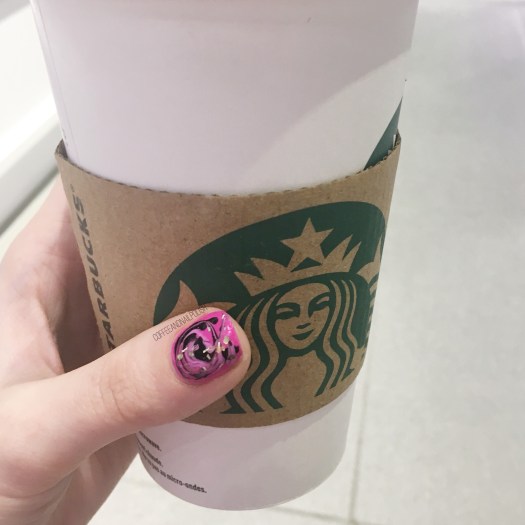
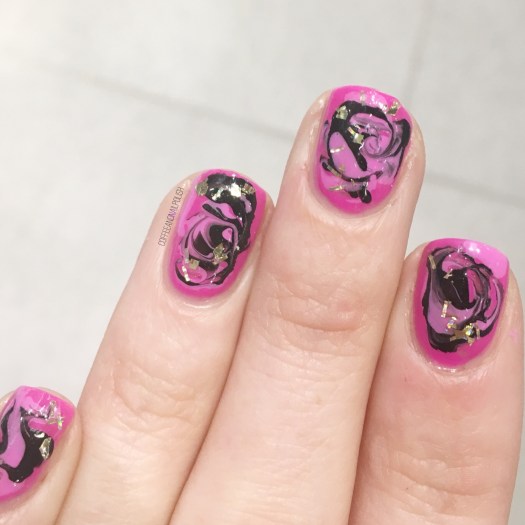
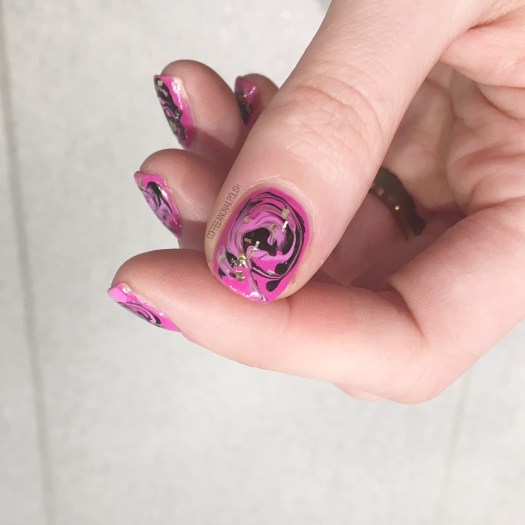
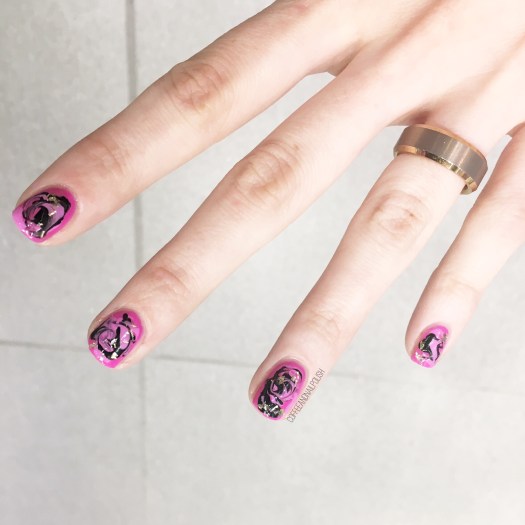
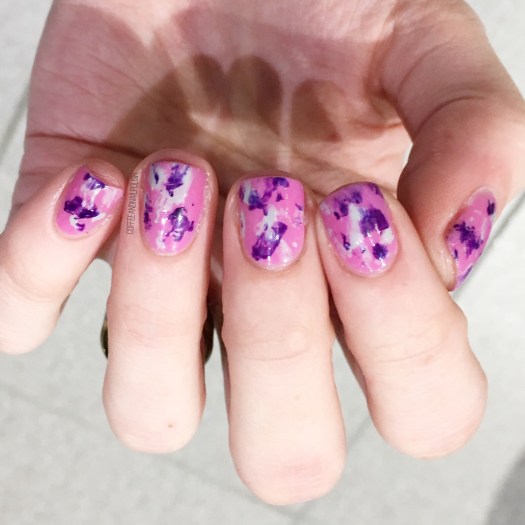
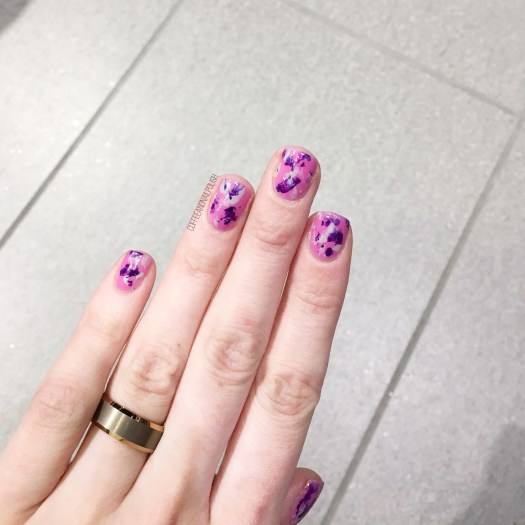
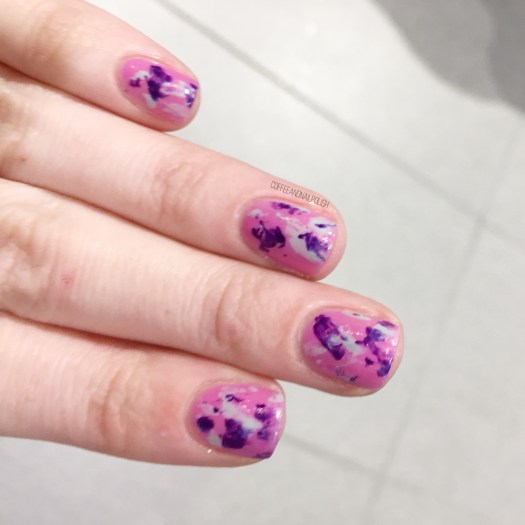
Good morning & happy Saturday! & happy March as well (how crazy is that?) Today I have another fun nail art look to share & it’s a super easy design that I just love: Saran Wrap splatter nails.

I think this is one of my favourite easy nail art looks, mostly because I literally takes no talent at all. Or tools for that matter! You just need polish, & some crinkled up Saran Wrap/plastic wrap, or even an old plastic shopping bag.

For this manicure, the polishes I used were:

  • Base Coat: OPI Nail Envy
  • Top Coat: Essie Speed Setter
  • Essie Splash of Grenadine
  • Color Club Disco Dress
  • Quo by ORLY Color Amp’d City of Angels
  • Crinkled up plastic bag

This technique honestly is one of my favourites & return to designs as it’s just so easy & relatively mess free. One of these days, maybe I’ll manage to do a video tutorial to show the just of it, but in the mean time you can check out my previous Saran Wrap designs for a run through of how to do them!

What do you think of this design? Have you tried the technique yet? Let me know what you think down in the comments below!

(Also guys… sorry about the picture quality… work lighting is not nail art friendly!)

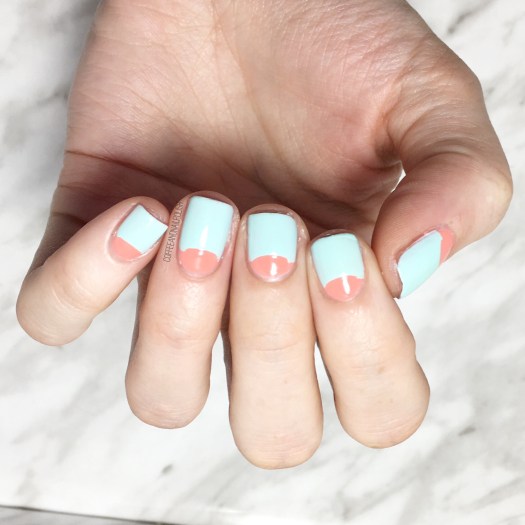
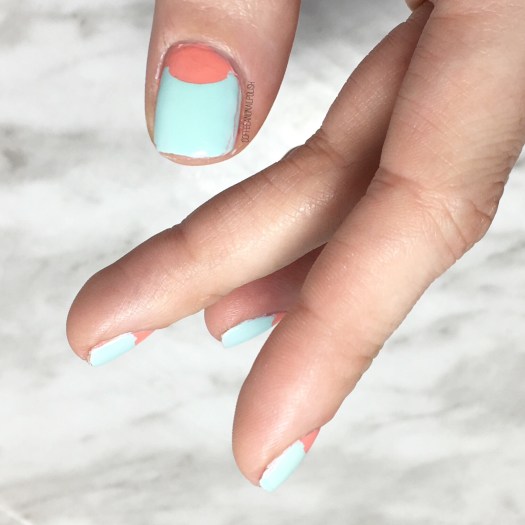
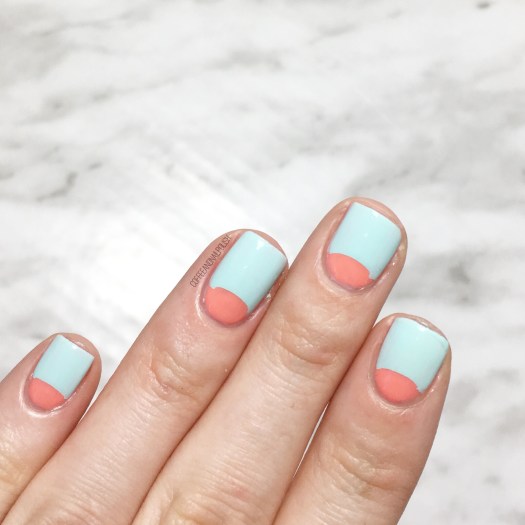
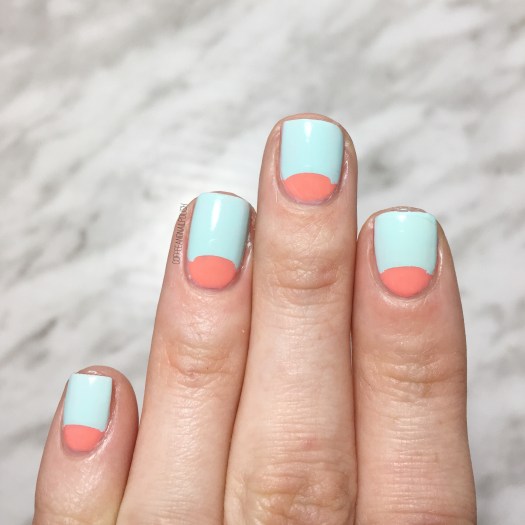
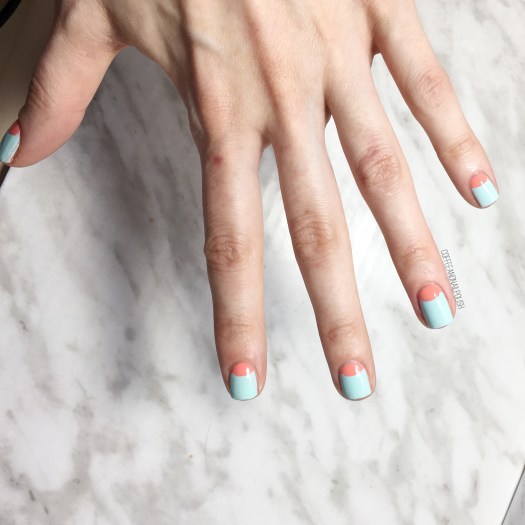
Spring-ish Chevron Moons

Good morning lovelies & happy Saturday! Today I’ve got a brand new design to share with you because I was finally able to do some real nail art. I know… I’ve been lacking in the nail art blogging work. Work & winter have been killing my nails so I’ve got some serious shorties to contend with & no real motivation to do my nails other than a single colour.

But I’ve started using Nail Envy (again…) so hopefully that will bring my nails to life again! & I’ll actually feel like creating some lovely nail art looks again.

For this manicure, the polishes I used were:

  • Base Coat: OPI Nail Envy
  • Top Coat: Essie Speed Setter
  • Essie High Class Affair
  • Essie Peach Daiquiri
  • Essie Cashmere Bathrobe
  • Essie Where’s My Chauffeur
  • The Base Coat Nail Vinyls Stacked Chevrons Vinyls.
  • NailStuff.ca small 7mm liner brush

Ooooh this look reminds me why I love chevron moons so much. Also, I wasn’t sure how I was going to feel about this colour combination — I wanted to try & do something that channeled Spring but also worked with all the snow we currently have — & I’m actually just so in love with how these colours compliment each other.

It makes me so sad that they chipped like an hour into work. Like, why is it always the nail art looks I love? I mean, it gives me an excuse to paint my nails again, but then I also need to get the energy to do them again, & that’s the true struggle.

Does anyone else struggle with nail art slumps? How do you cope? Let me know down in the comments below!

Pretty in Pink Holo Valentine’s Day Nails

Good morning lovelies & happy Tuesday. Also happy 2 days until Valentine’s Day… if you’re into that kinda thing. Haha.

I’m into any holiday that encourages pretty nails & I was feeling a little bit of holo. Especially since I have been a bit out of the nail art routine lately. So it felt like a good excuse to pull out a few of my favourite Wrenn Polish shades for some pink heart nail art! 💕

For this design, the polishes I used were:

  • Base Coat: Claire’s Miracle Base Coat
  • Top Coat: Essie Speed Setter
  • Wrenn Polish Passionfruit Pink
  • Wrenn Polish Enchanted
  • UR Sugar Nail Vinyls (Heart Pattern)

I really love the subtlety of this look. You have the pop of holo with Enchanted over the more soft base of Passionfruit Pink so the design really comes out best in motion. You get that little bit of rainbow which shows off your heart pattern. & even best… it’s super easy! All it takes is two polishes, a few nail vinyls, & bam! Easy & fancy nails.

This is a really fun look to wear for whatever your Valentine’s Day plans may be, whether it’s a romantic date with your love, margaritas with your besties, or eating an entire box of chocolate with your cat. Who doesn’t want to have pretty nails?

what do you think of this Valentine’s Day look? Do you already have your manicure planned? Share what you plan on wearing down in the comments below!

Pink Purple Blue Holo Gradient

Good morning everyone & happy Wednesday! Today I’m showing off some holo nails with this pinky purple blue holo gradient. Sometimes you just need to do something a little fun on your nails to jazz up your Wednesday!

This gradient was a spur of the moment decision & because of that I couldn’t find my usual sponges so I decided to try using a make up applicator. It didn’t turn out exactly like I wanted (or how I’ve seen other nail artists do it) but that’s okay because the holo kind of hides that fact! ✨Another reason everything is better with holo.

The polishes I used for this manicure:

  • Essie Grow Stronger
  • Essie Speed Setter Top Coat
  • Wrenn Polish Mesmerizing
  • Color Club Eternal Beauty
  • OPI Give Me Space
  • Small Sponge make-up applicator

Look. At. That. Holo. Also please ignore the cat hair on my finger haha. Even though my sponging if the gradient was kind of a fail, the holo really hides that fact which I love. Next time I would probably try this colour combo the old fashioned way, but for a quick spur of the moment design, I still think these turned out great. Plus it was super easy, & when you’re tired & doing your nails at 11:30 at night, sometimes that’s the only thing that really matters.

what do you think of this gradient. What is your favourite holo polish? Let me know down below in the comments!

💕

Dark & Simple Dotticure

Good morning lovelies & happy Wednesday! Today’s look is one of my favourite easy nail ideas–a simple dotticure. Seriously, is there any easier way to add a little fun to other wise boring nails then with a few carefully placed dots? (Especially when you stay up too late binge watching Netflix & forget all about doing your nails…)

For this manicure, I pulled out one of my beloved Sally Hansen nail art pens. I’m not sure if you can still purchase these (I haven’t looked in a while) but a few years ago I picked them up & they’re one of my favourite & easiest ways to create polka dots! There is something so easy about using a pen instead of a dotting tool for creating teeny, tiny polka dots.

For this manicure, the polishes I used were:

  • Base Coat: Essie Grow Stronger
  • Top Coat: Essie Speed Setter
  • OPI Cosmo With A Twist
  • Sally Hansen I ♥️ Nail Art pen in Silver

What I love about this look is how easy it is. Paint nails. Let dry a few minutes. Dot with nail Art pen & seal with top coat. Bam, done! No tools even needed. & you don’t even need to worry about cleaning off your dotting tool & then re-dipping it into the polish, so finishing your nails is a whole lot faster. & the dots seem to end up being more similar than when I try to do the same look with a dotting tool.

so what do you think of this look? Are you a fan of dotticures? Share your thoughts down in the comments below! ♥️