Hello lovelies & happy Tuesday! Today I’ve gone some fun nail art to share with you, inspired by some brand new polishes I found at my local Winners. My mum gave me a gift card for Christmas, so I decided to venture out to see if I could find any fun polish goodies.
& I did!
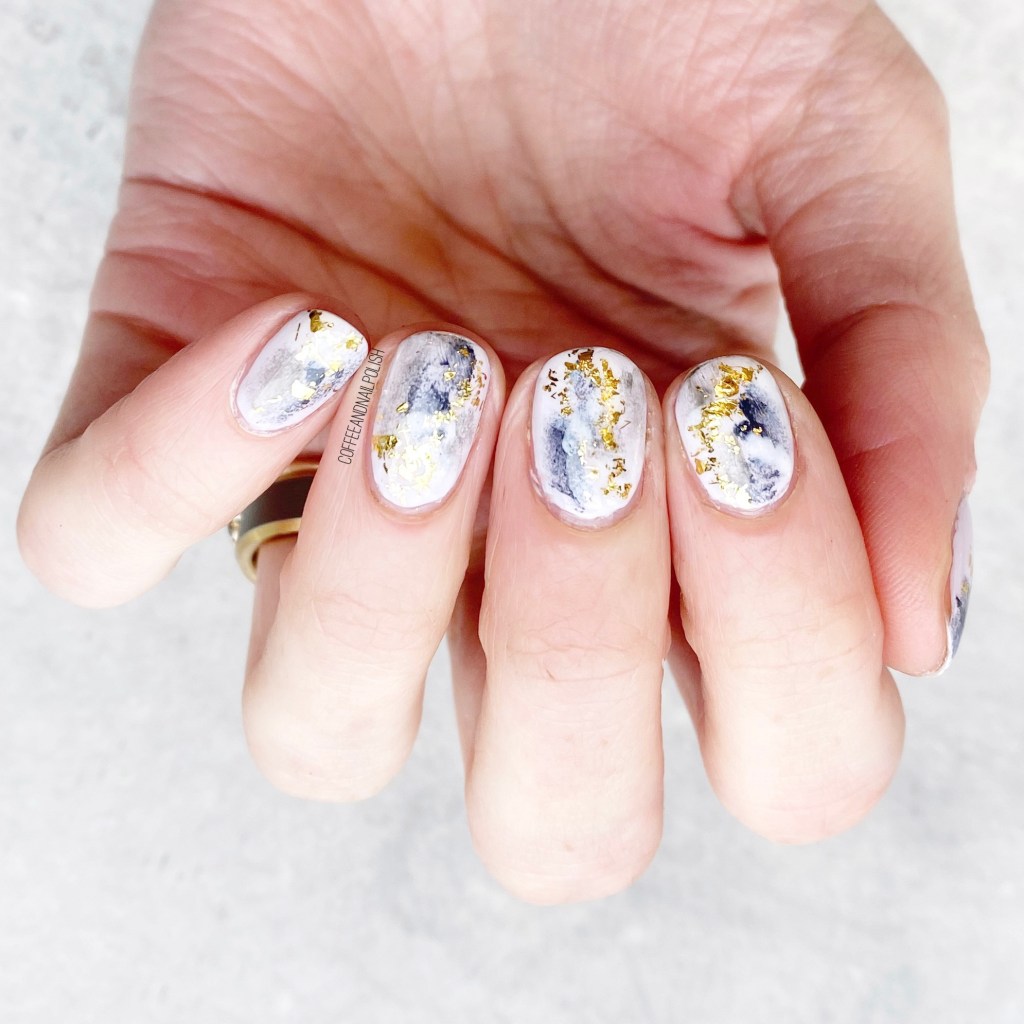
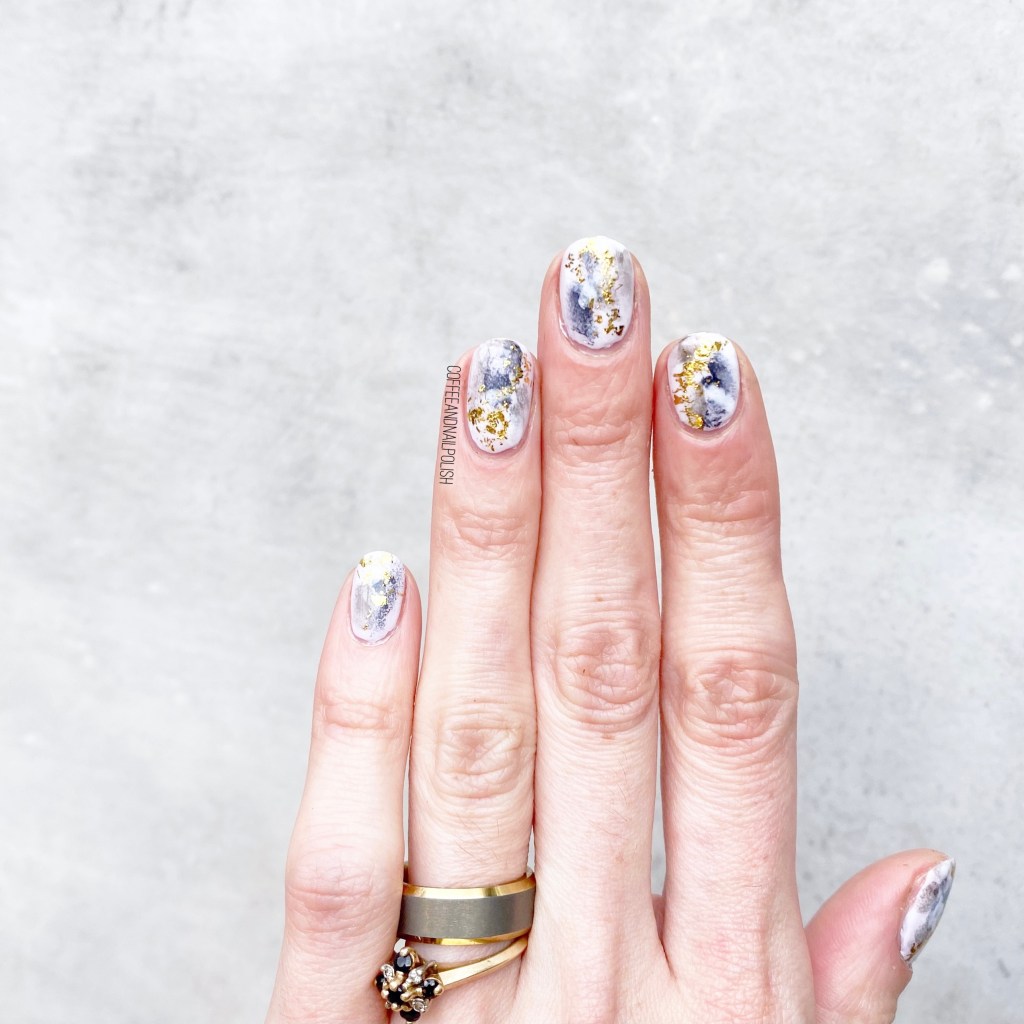
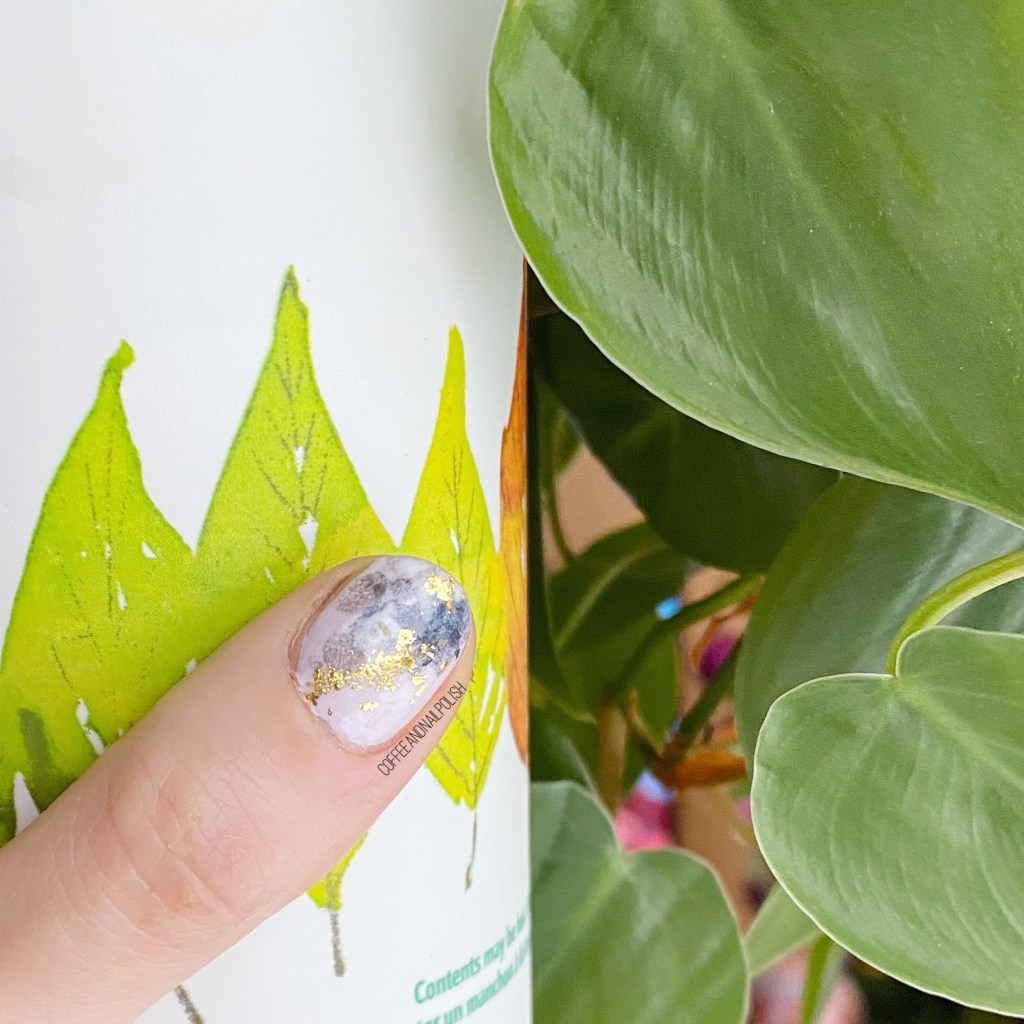
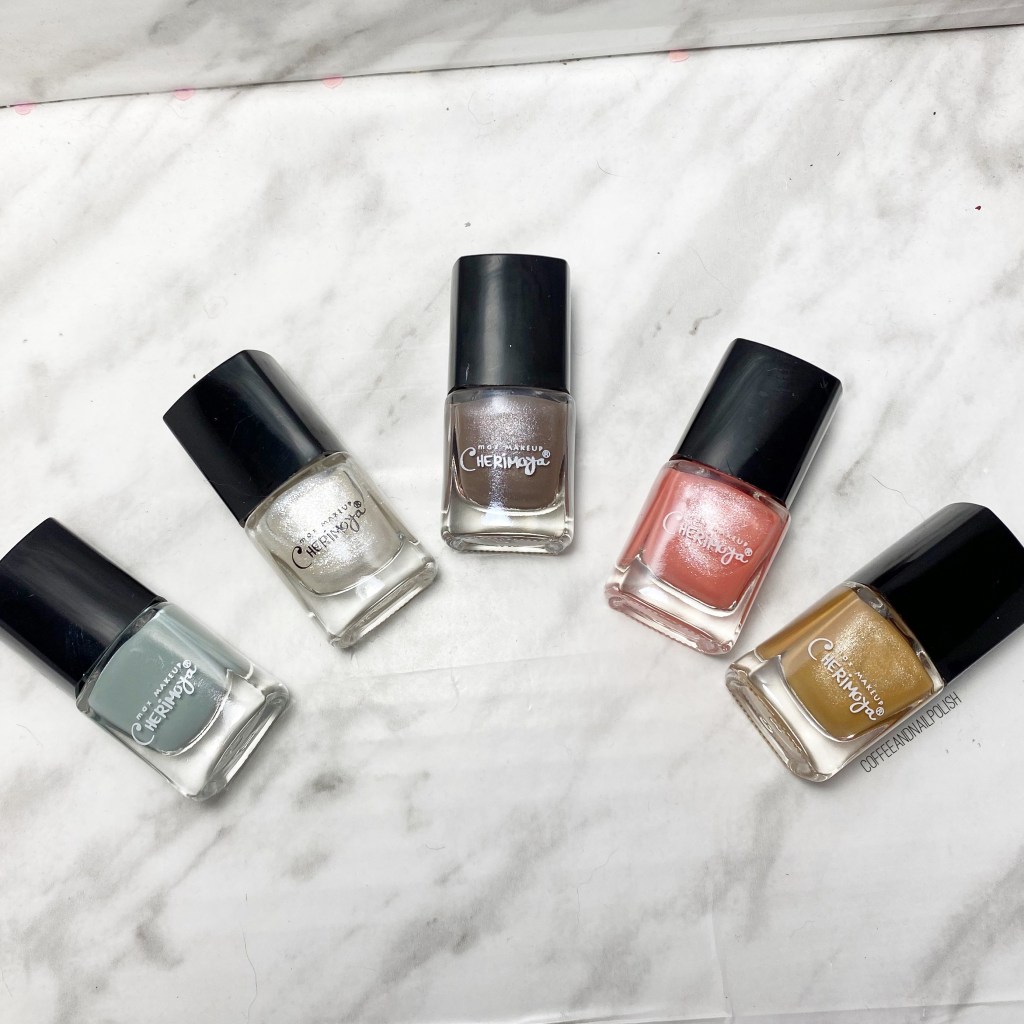
So naturally I needed to do some nail art. I decided to use a cute set from the brand Cherimoya called Hide & Go Chic. The internet has no picture of this set, or info, & the bottles are lacking names sadly. I ended up using 5 of the 6 shades that came in the collection.
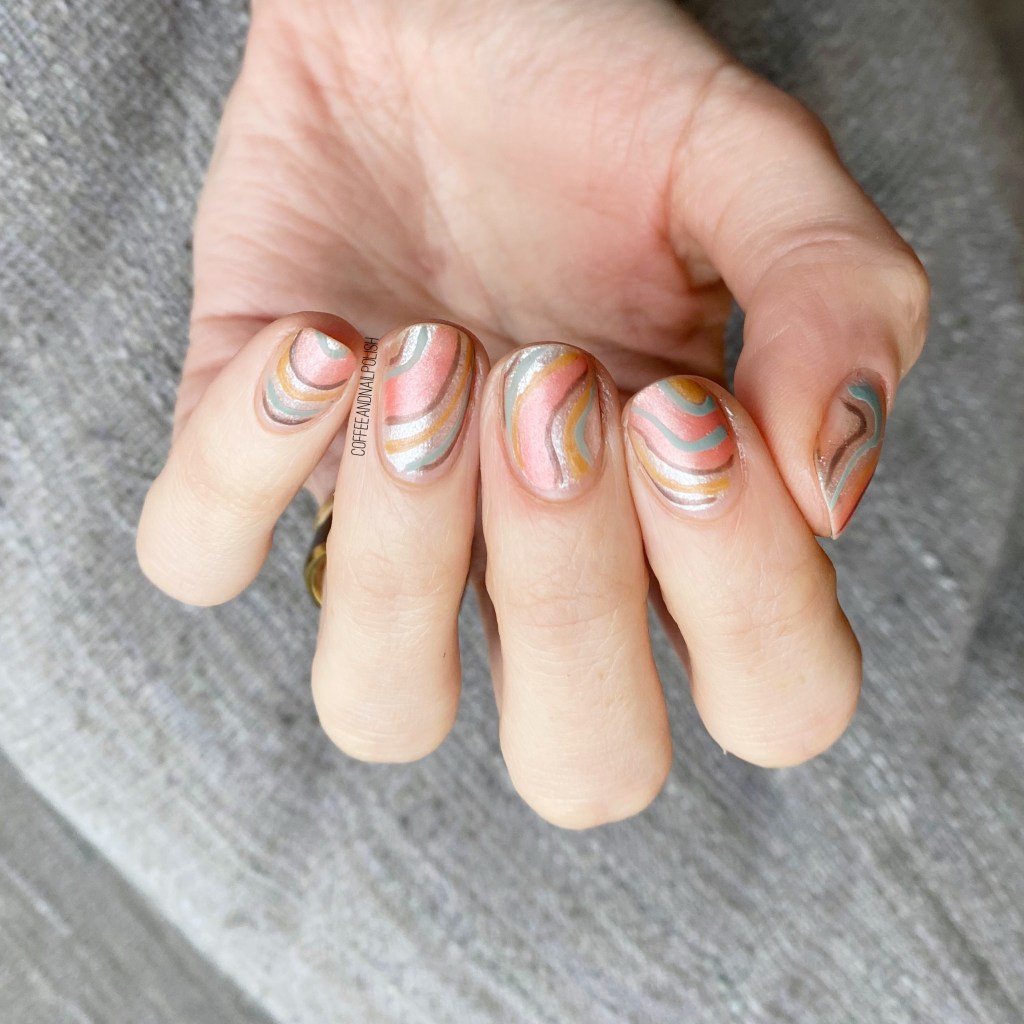
For this manicure, the polishes I used were:
- Base Coat: Sally Hansen Hard As Nails
- Top Coat: Sally Hansen Miracle Gel Shiny Top Coat
- Matte Top Coat: L’Oréal The Matte Velvet Top Coat
- Cherimoya shimmery dusty blue
- Cherimoya shimmery white
- Cherimoya shimmery brownish grey
- Cherimoya shimmery coral
- Cherimoya shimmery golden rod
- NailStuff.ca 11mm Mermaid Tail liner brush (COFFEE10 saves 10% off your purchase!)
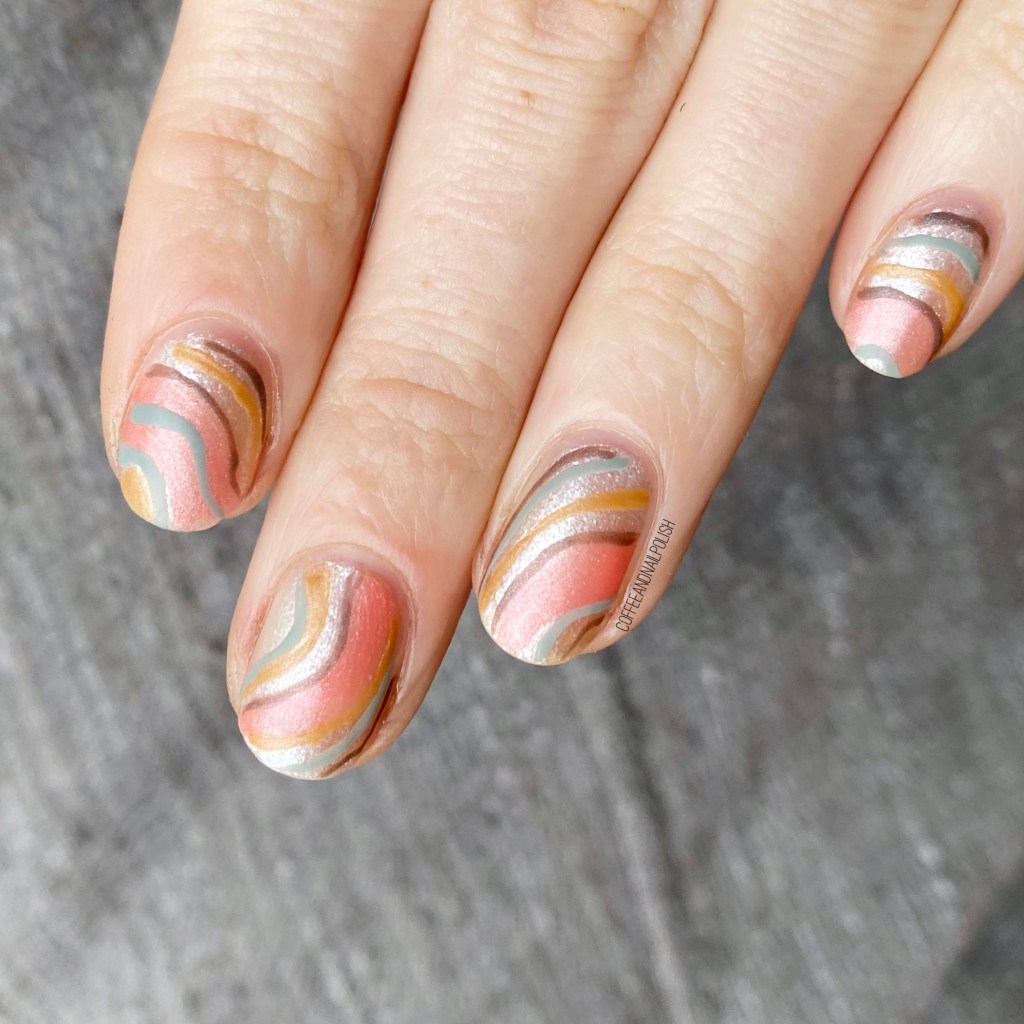

I’ve been seeing a lot of these swirly stripes designs all over Instagram, so I thought I needed to do another version of this fun design. I really liked these dusty, muted shades in this collection, & thought they would be perfect for a 70s inspired sort of swirly pattern.
At first, I had these shimmery stripes with glossy top coat, but after I added the matte top coat I feel like it completed the look. & I totally wish I had a dress or peasant blouse in this pattern. How pretty would that be?
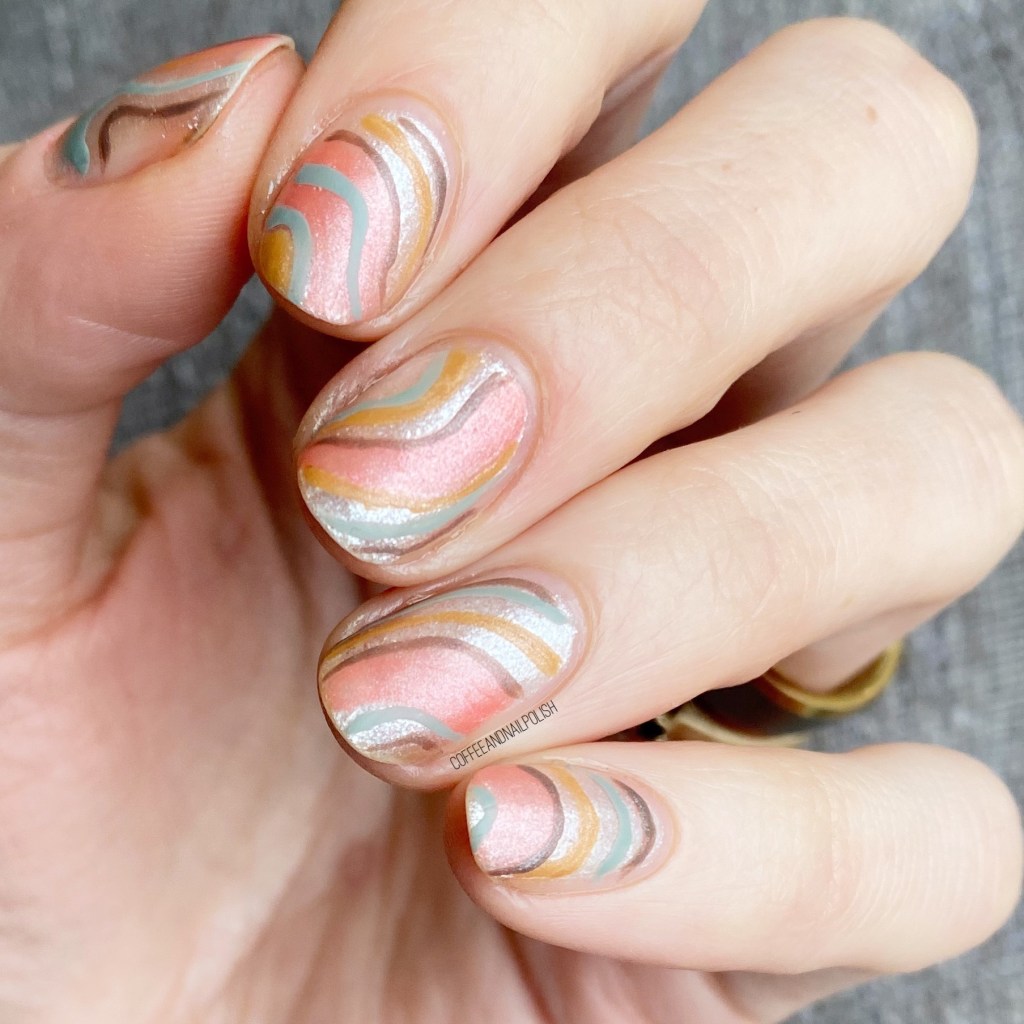

Also for a polish set that was only $5, I’m really in love with the shades. They’re probably more something I’ll use more for nail art versus wearing them on they’re own, but overall, all the shades are super cute. Especially the dusty blue & golden rod! Love those shades (especially for Spring… anyone else dreaming of Spring yet?)

What do you think about this design? Are you digging these shades as much as I am? Let me know what you think down in the comments below!