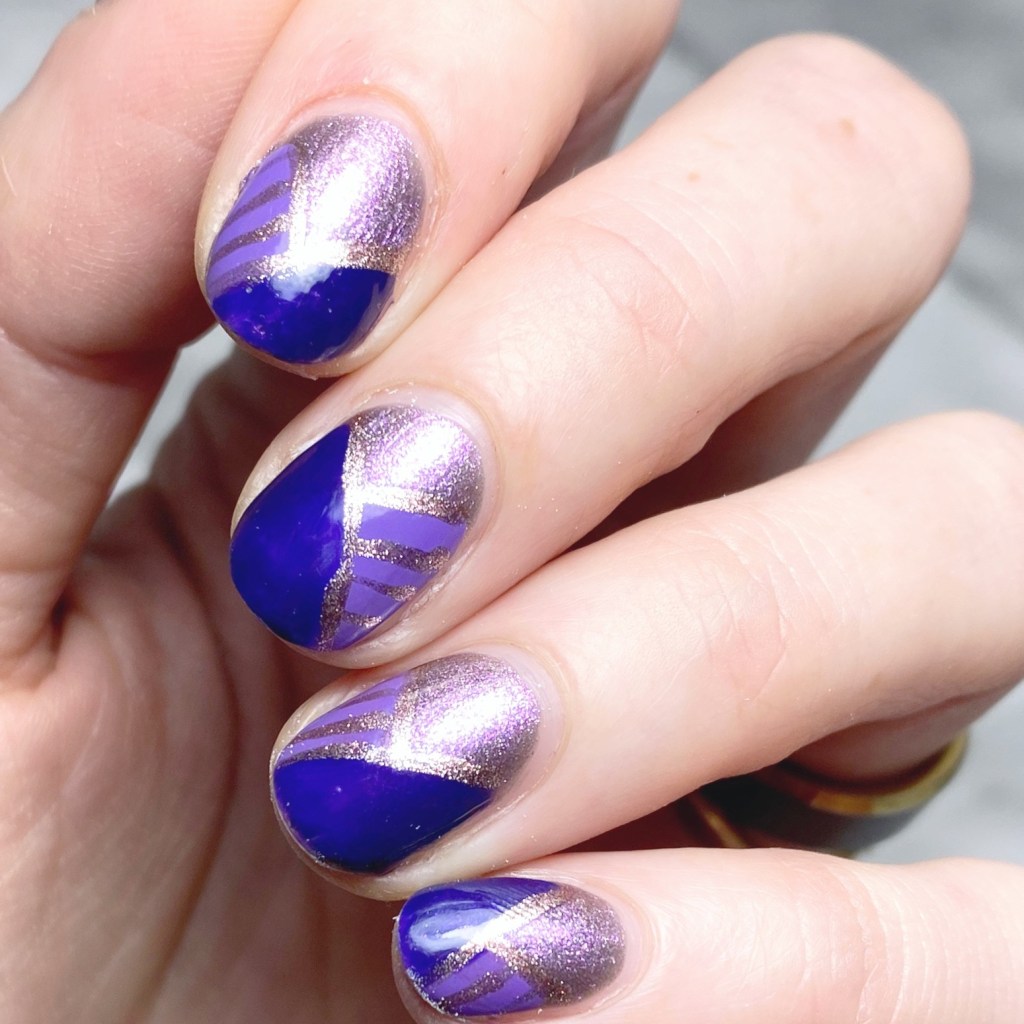
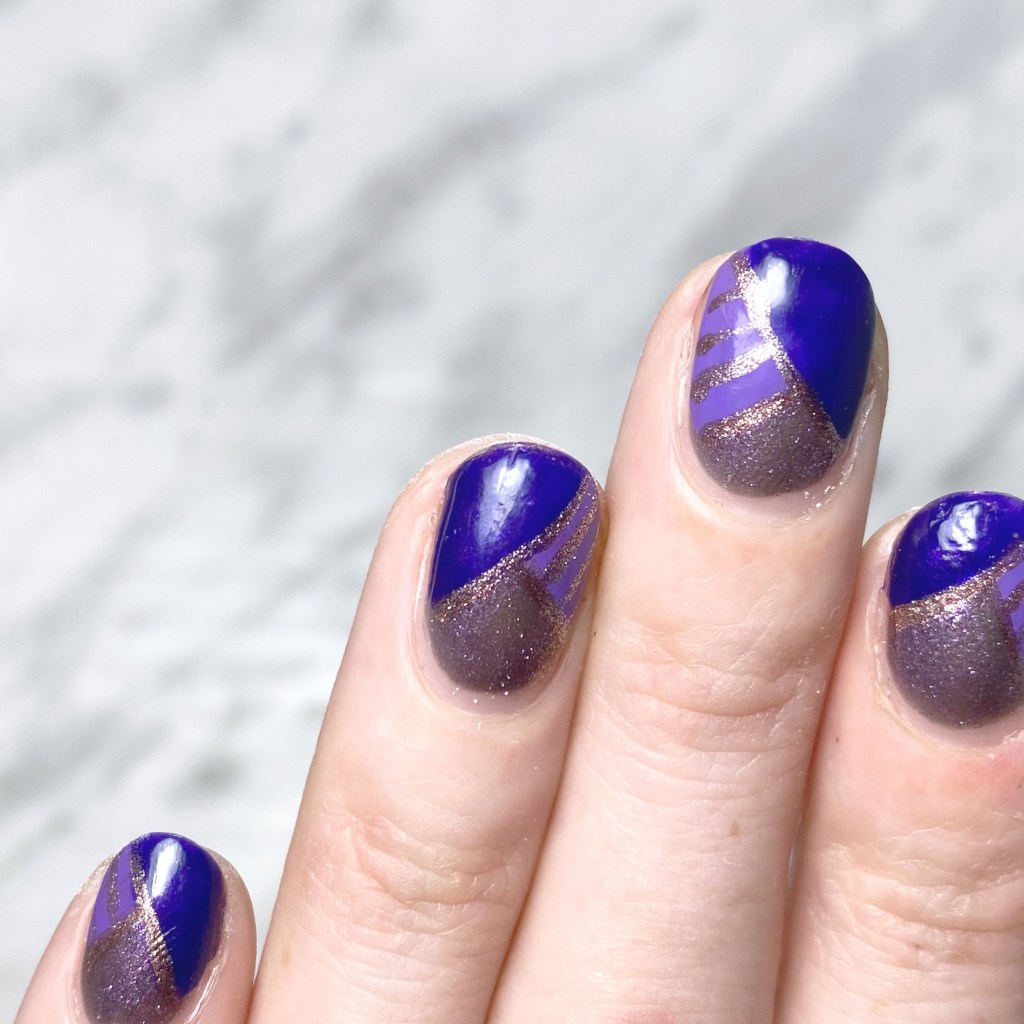
Purple & Gold Colour Blocking

Hello beauties & happy Thursday! I hope everyone is having a lovely week so far. Mine has been busy, & we’re anxiously awaiting another snowstorm. But at least I have some cute nails to show off!

Today’s look was kind of an experiment, I guess. I was just playing around on my nails, but I liked them so much I decided to wear them as a full manicure. I love when that happens! Especially because I am in a nail art rut right now, & struggling with ideas.
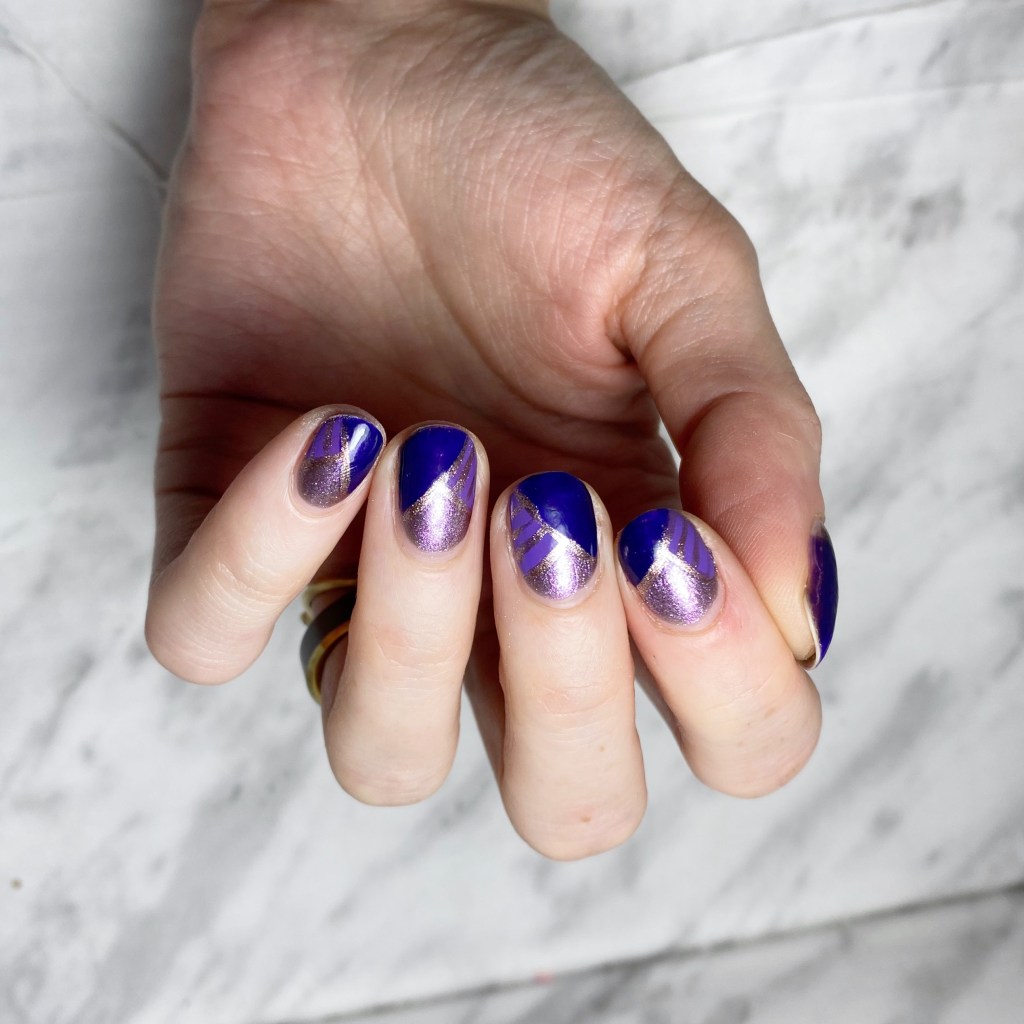
The polishes I used for this manicure are: 

  • Base Coat: Essie Hard To Resist Glow & Shine 
  • Top Coat: Seche Vite Fast Dry Top Coat
  • Quo by ORLY Breathable You’re A Gem
  • Quo by ORLY Colour Amp’d Venice
  • Quo by ORLY Colour Amp’d Stadium Way
  • Quo by ORLY Breathable Fairy Godmother
  • NailStuff.ca 16mm Striper Brush

This feels very regal, like something you would see on the dress of Victorian royalty. The colours, & the gold accents — it all feels very royal. It’s a fun look, & relatively quick to do. I also haven’t really dug into my old Quo by ORLY polishes in a while, so I was happy to pull out a few I haven’t worn in a while.

Purple & gold is always a solid colour combination.
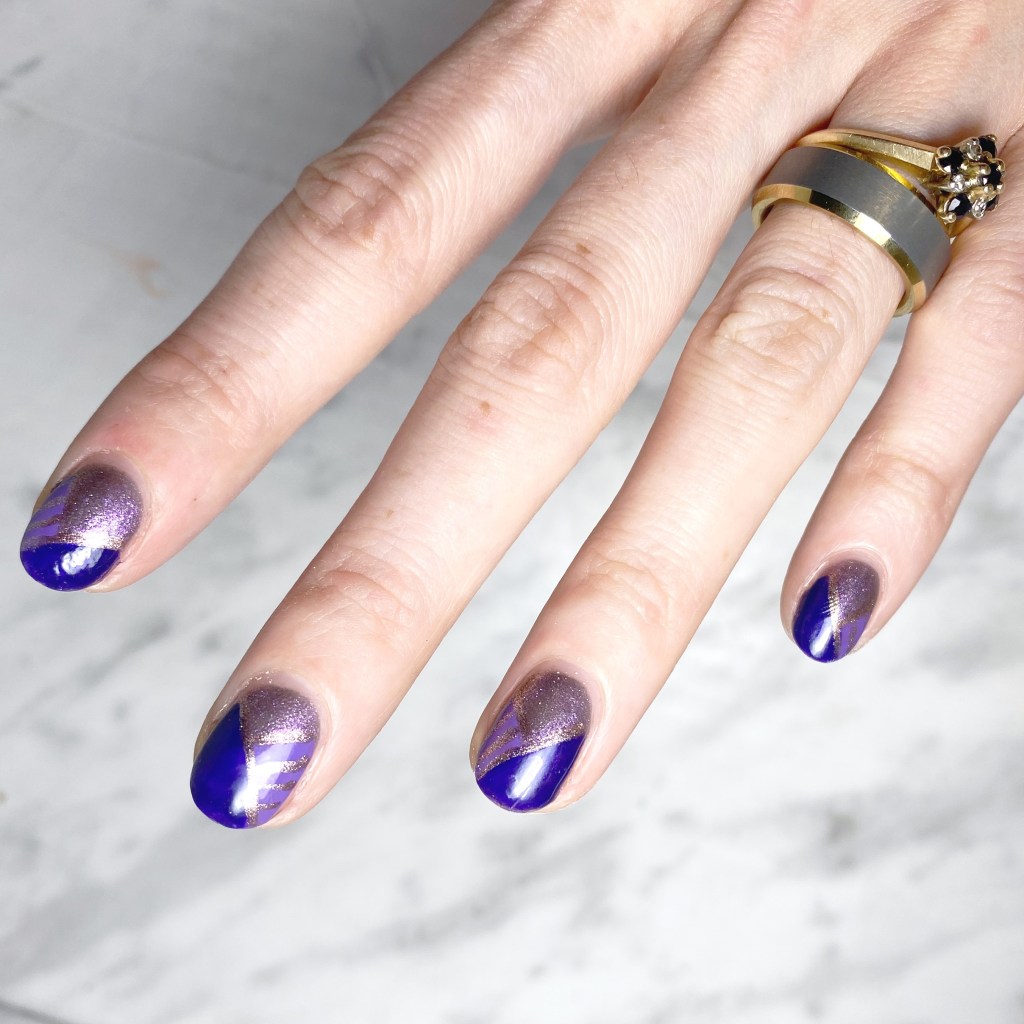
What do you think about this colour combination & nail art look? Are you a fan of this purple & gold combination? Let me know all your thoughts down below, & let me know what you’re wearing on your nails lately.

I’ve been starting to feel myself drawn to neon lately, so I would be prepared for some fun neon looks in the future!

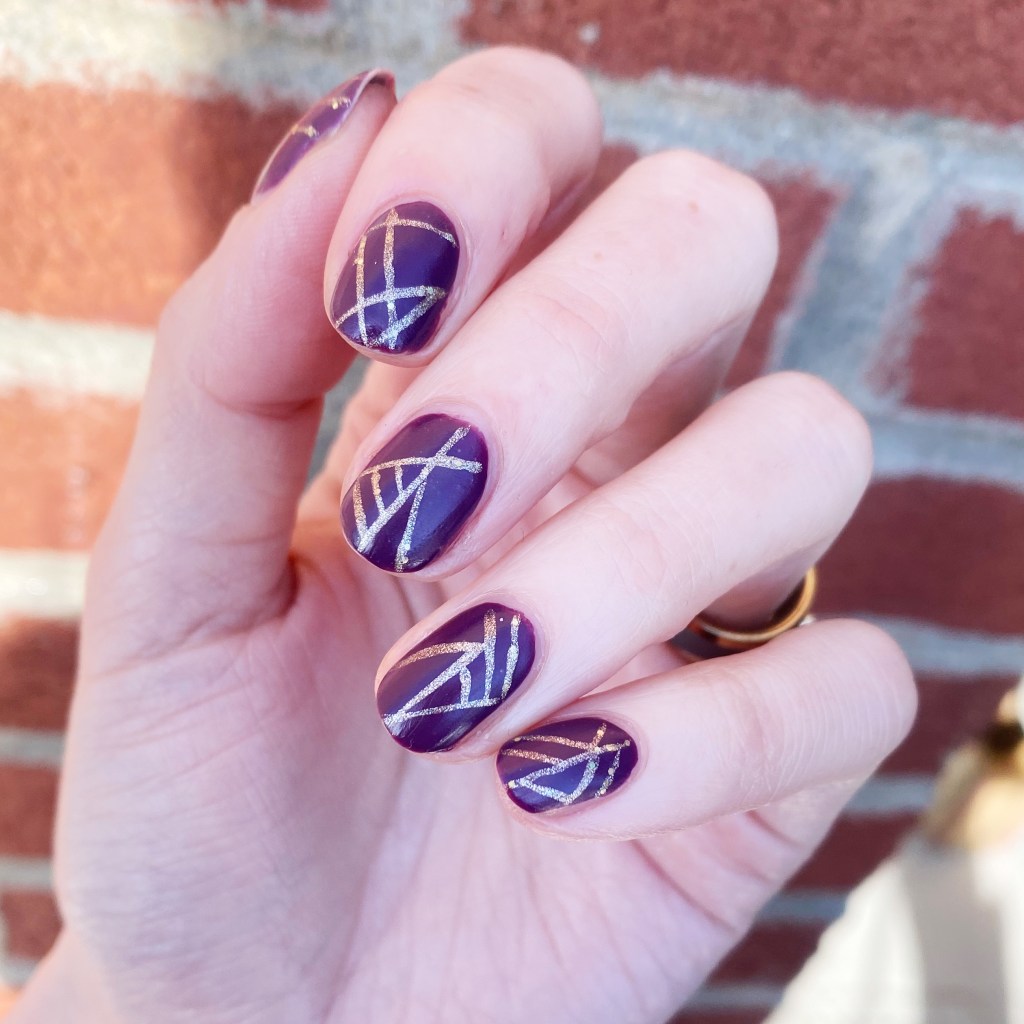
Purple & Gold Matte Geometric Stripes

Hello loves & Happy Tuesday.

Anyone else feeling the full on February blahs? I feel like it’s translating to my nails, because post-Valentine’s Day, I’m struggling to think of what to wear on my nails! Too early to go too hard on the Spring looks, but I don’t really want to do Winter designs either.

I am feeling stumped.

But you know what never fairs me? My striper brush. I had painted my nails & thought about doing a single gold line — like this — but decided I was feeling something a bit more abstract so that’s what we went with! & I love how they turned out, especially with the addition of the matte top coat.

The polishes I used for this manicure are: 

  • Base Coat: Essie Hard To Resist Glow & Shine 
  • Top Coat: Seche Vite Fast Dry Top Coat
  • Matte Top Coat: Sally Hansen Miracle Gel Matte Top Coat
  • Sally Hansen Complete Salon Manicure Trouble Maker
  • Sally Hansen Miracle Gel Goldie Rocks
  • NailStuff.ca 16mm Striper Brush

How beautiful is this dark purple & gold together? I’m kind of sad that Trouble Maker was discontinued from the Sally Hansen CSM line, because it’s such a beautiful perfect purple. & my bottle is starting to sadly get low. That’s the hardest part of being a nail polish addict… you find those polishes that you love to wear so much, & they never stick around forever. Although Essie Kimono Over is a close second in my heart, so at least I still have her for my dark purple craving days!

What do you think about this purple & gold geometric look? Are you a fan of these kinds of designs, or do you prefer a bit more complicated nail art? Let me know all your thoughts down in the comments below, & what nail art you think that February calls for!

Have a lovely day!♥︎

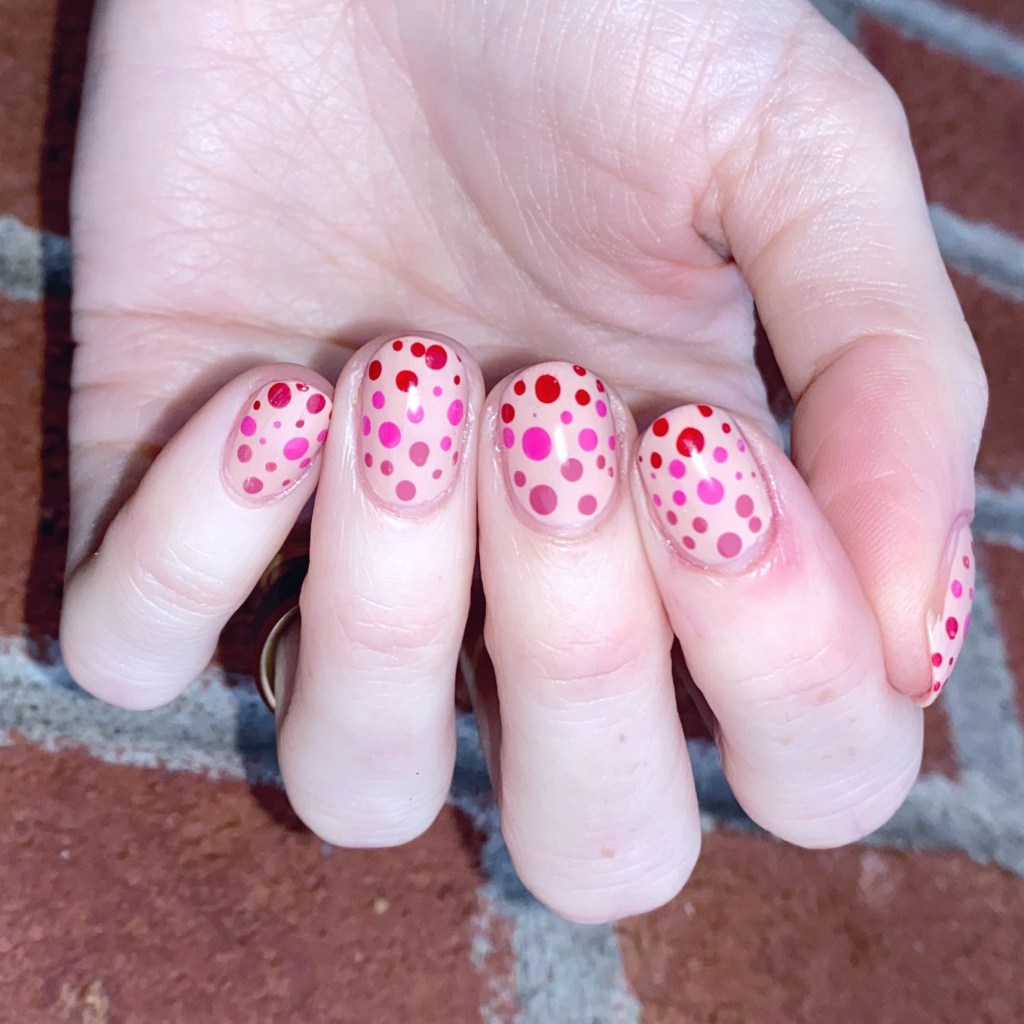
Valentine’s Gradient Dotticure

Hello beauties & happy Thursday! & what a gorgeous & sunny Thursday it is here on the East Coast — too bad we’re going to hit another Winter storm tomorrow.

Is it Spring yet?

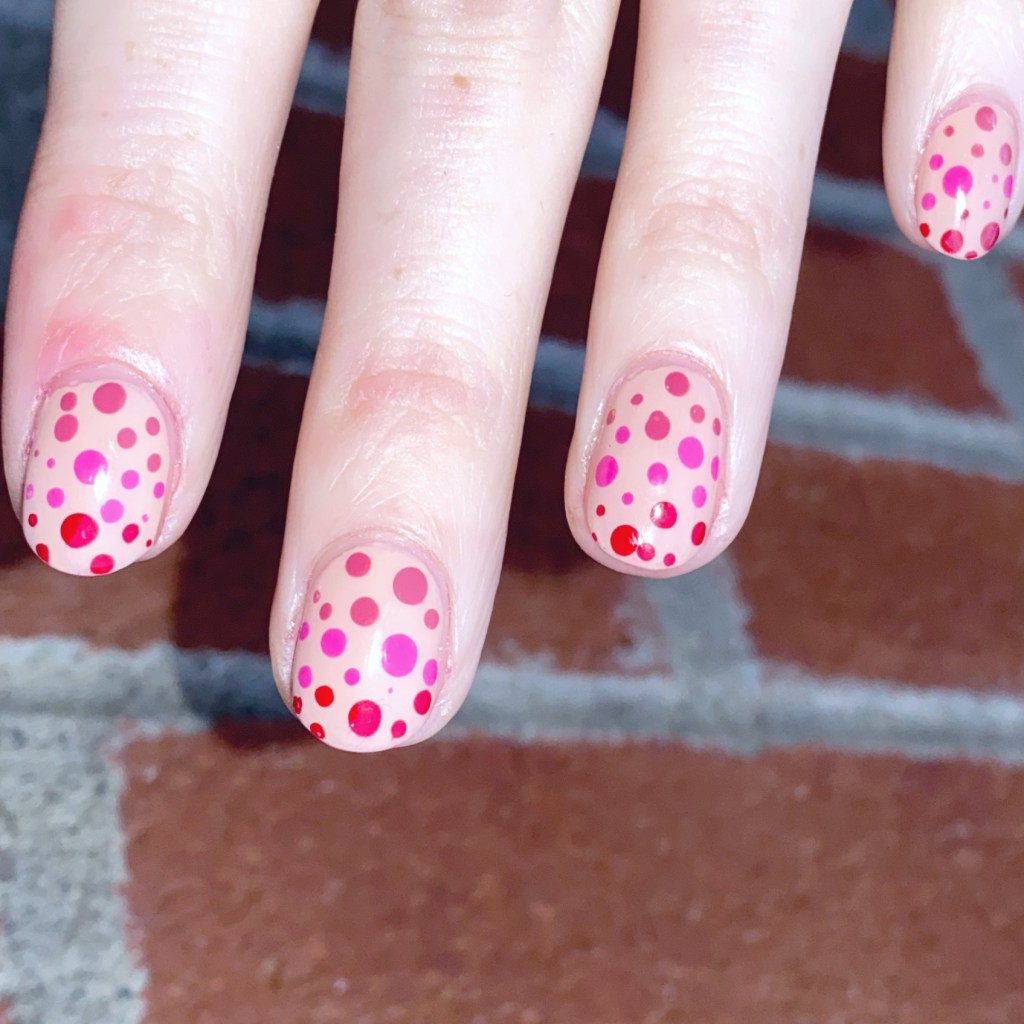
Today though, I’m concentrating on some more Valentine’s Day inspired nails with a fun (& easy) gradient dotticure. I wanted something pink & fun leading up to the big day, but didn’t necessarily want to go fun on hearts with this look. So I thought why not capture the essence of the holiday with the colours I was feeling, without out right saying Valentine’s. & besides, what is more fun than a dotticure.

The polishes I used for this manicure are: 

  • Base Coat: Essie Hard To Resist Glow & Shine 
  • Top Coat: Seche Vite Fast Dry Top Coat
  • Sally Hansen Good. Kind. Pure. Almond Tan
  • Sally Hansen GKP Eco Rose
  • Sally Hansen GKP Peony Origins
  • Sally Hansen GKP Pomegranate Punch
  • Dotting tool (NailStuff.ca — Dotting Tool Trio)

I wanted a really neutral base shade, that wasn’t white & wasn’t completely naked, which is why I picked Sally Hansen Good. Kind. Pure in Almond Tan. I feel like it’s pretty close to my natural colouring. & then I figured, why not just keep the Good. Kind. Pure. train going with a few more of my favourite pink-y shades from my stash. & bam! A fun gradient dotticure which is perfect for a Valentine’s date night, or to enjoy 50% off chocolate on the 15th. Either way, it was a super easy design to do, so I was excited to wear it!

What do you think about this gradient dotticure design? Are you a fan of these funky easy designs, or do you prefer something a little more complicated? Let me know what you think, & what colour combination you would rock this design in!

Have a happy Thursday loves ♥︎

Hot Pink & Polka Dots

Hello beauties & happy Tuesday! A very, very snowy Tuesday here. The weather definitely cannot make up its mind lately.

Today I have a pretty design to share that I actually did a little while ago, but didn’t get a chance to share. I thought that it would be gorgeous for a pre-Valentine’s Day design, so I wanted to share.

The polishes I used for this manicure are:

  • Base Coat: Essie Hard To Resist Glow & Shine 
  • Top Coat: Seche Vite Fast Dry Top Coat
  • Essie Swoon in the Lagoon
  • Sally Hansen Miracle Gel Blacky-O
  • Dotting tool (I always use mine from NailStuff.ca — Dotting Tool Trio)

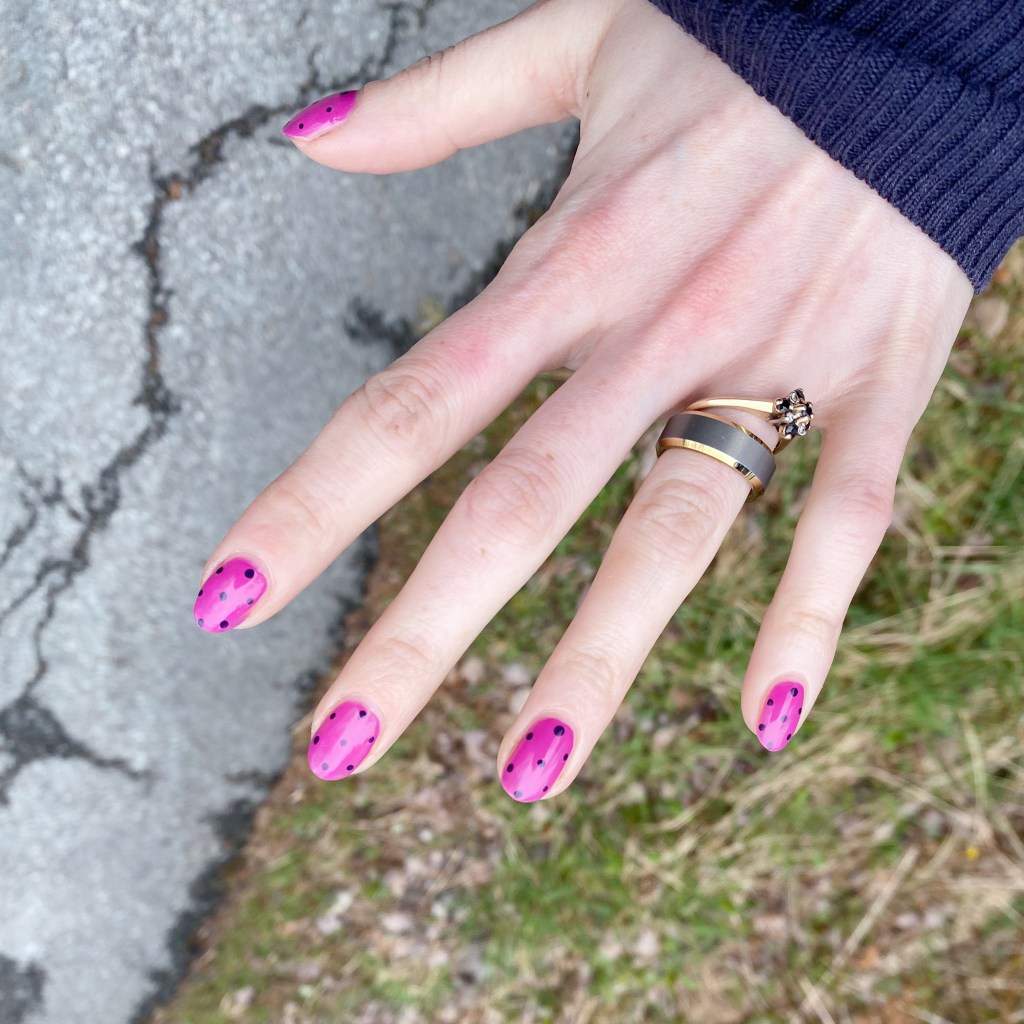
Gosh I love a good polka dot design. It’s literally the easiest & quickest nail art I think you can do — & it always looks so put together. This is definitely a great nail art look for anyone wanting fun nails, without wanting to put an hour+ into painting something.

What do you think about this nail art look? Is this a nice prelude to February & the Valentine’s Day looks to come? Let me know all your thoughts down below!

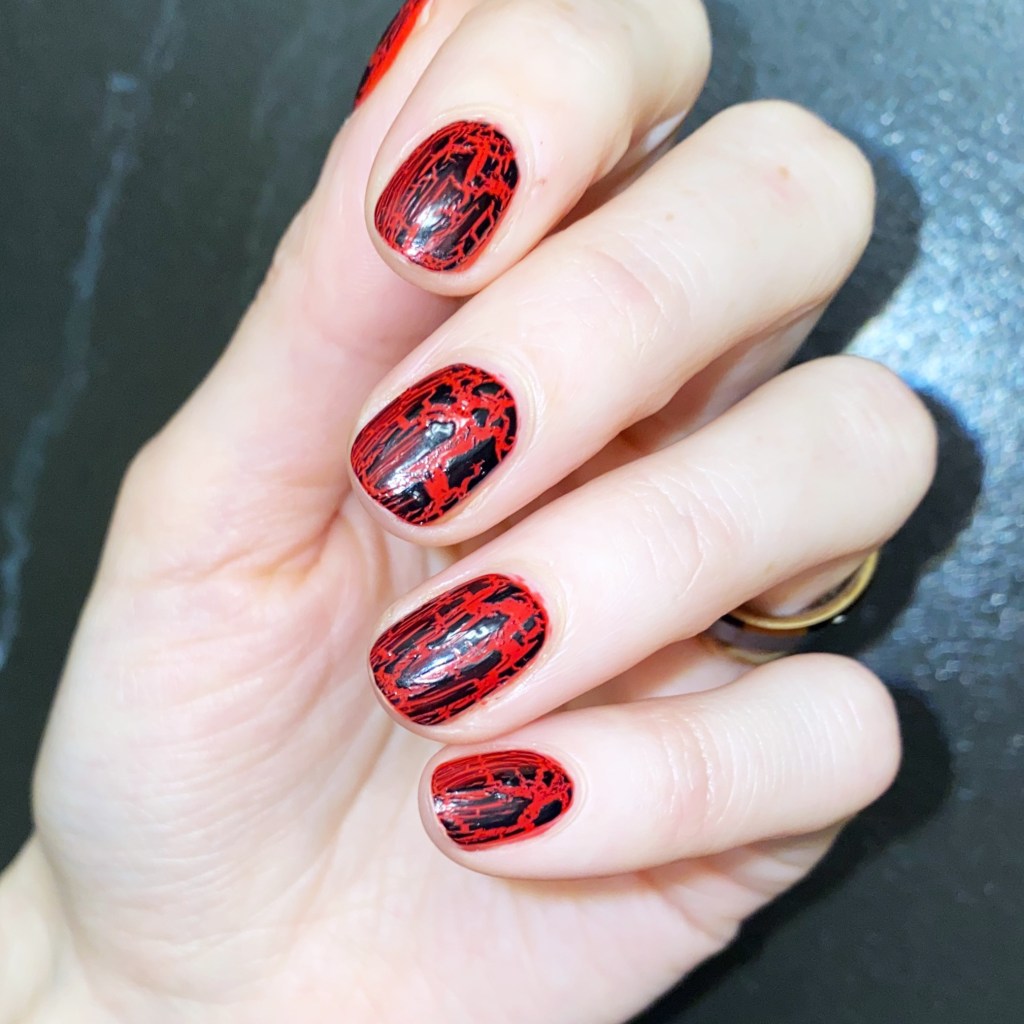
Embracing the Nostalgia with Crackle Nail Polish

Hello lovelies & happy Thursday. I decided to throw things back a bit (& embrace the crazy nostalgia taking over my life thanks to my very own mid-2006 emo playlist) with a fun look featuring a very nostalgic nail polish finish— crackle.

For anyone not around during the early 2010s, crackle nail polishes became huge around 2012, & by 2013 everyone & their mom was coming out with their own version of the crackle (or shatter) effect. Black was the beginning shade I remember being everywhere, followed by a whole assortment of different colours & finishes.

Recently I was going through my stash, & found a bottle of Avon Mosiac Effects Top Coat — aka their version of the crackle nail Polish — & decided to give it a little shake to see if it was still good. Sure enough, the formula is still perfect! So I had to give it a try to see how it looked after all this time.

The polishes I used for this manicure are: 

  • Base Coat: Essie Hard To Resist Glow & Shine 
  • Top Coat: Seche Vite Fast Dry Top Coat
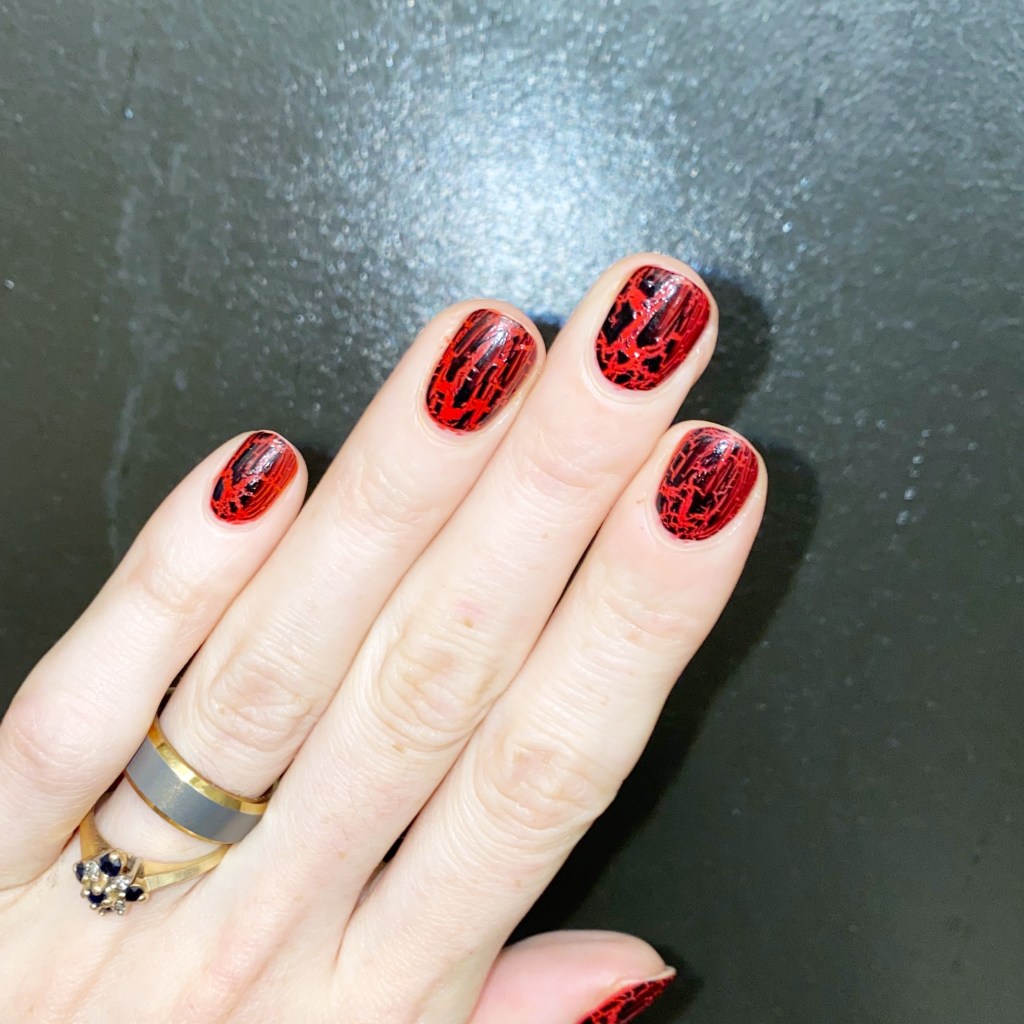
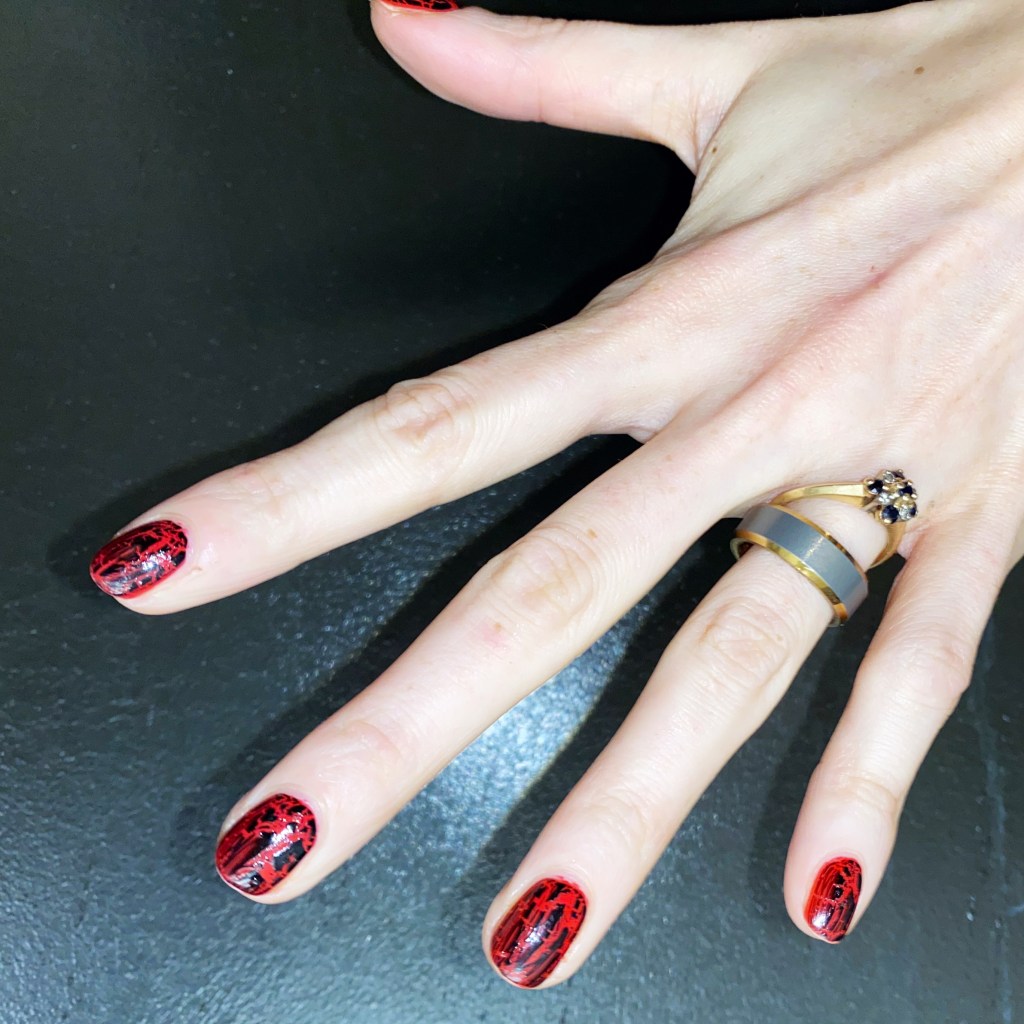
  • Illamasqua Aorta
  • Avon Mosiac Effects Top Coat Black

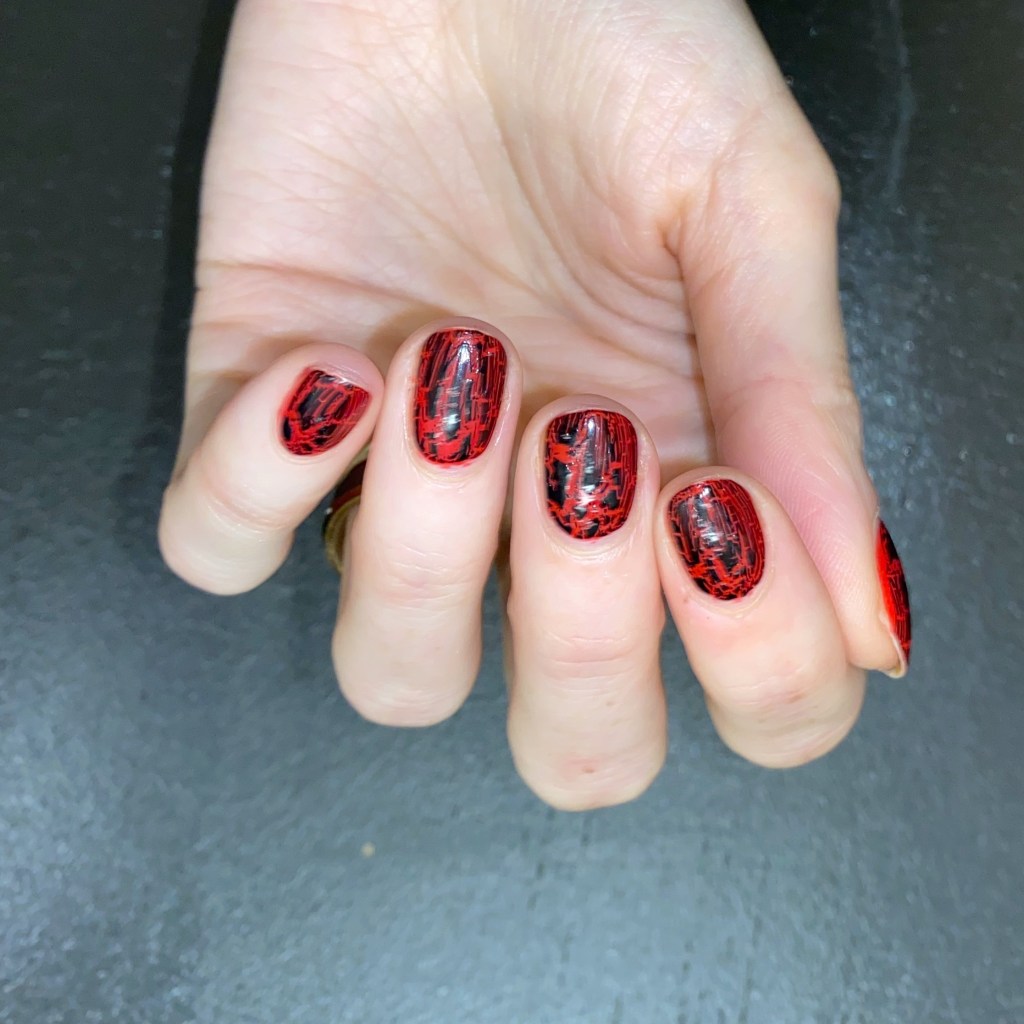
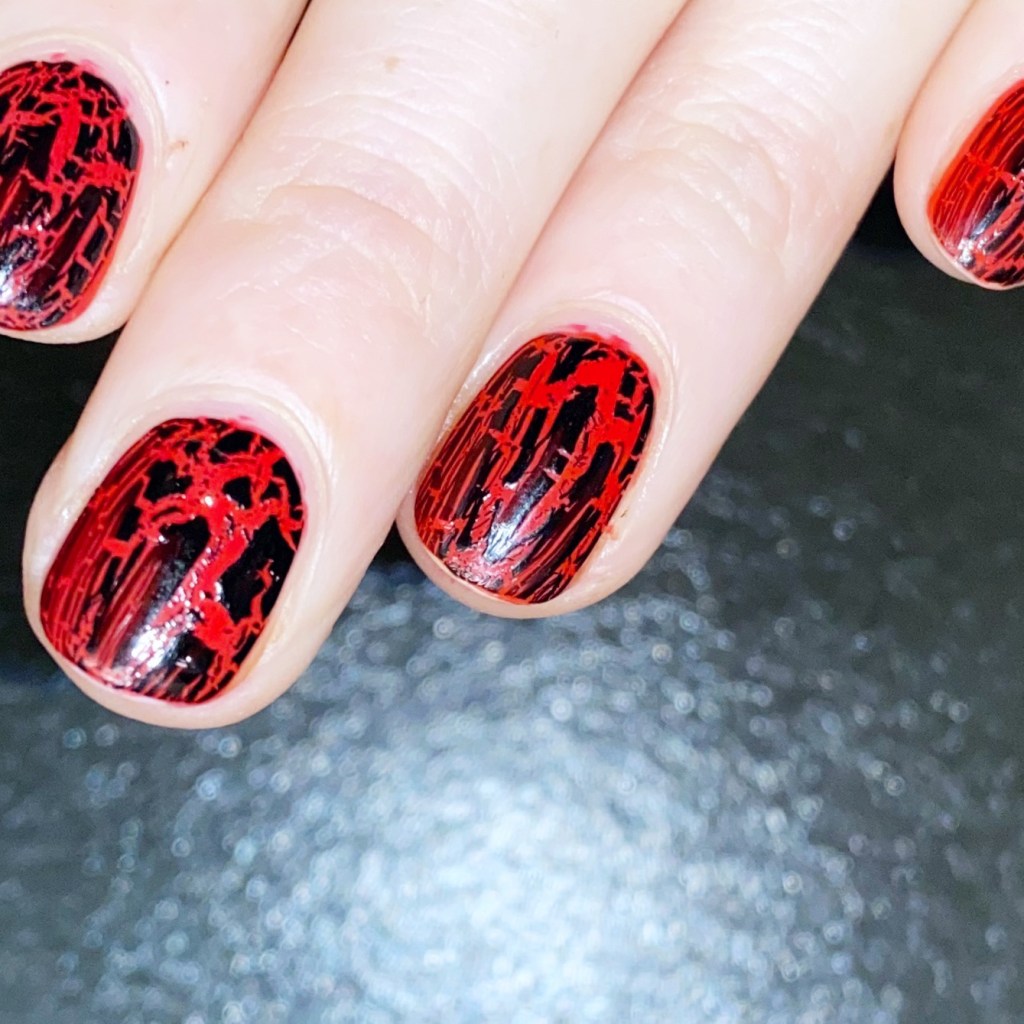
I still have a couple crackle/shatter shades left in my stash, although most have long since dried up to be unusable. For this look, what you’re seeing is one rather thick coat over my base shade. I waited about 5 minutes for the cracked effect to set before applying my top coat, & I thought the end result was pretty perfect. I prefer my cracks to be larger so you can see more of the base shade underneath.

Is crackle/shatter nail polish going to make a comeback? I don’t know. I feel like these shades are so controversial, even 11 years later. You either love them, or hate them, & obviously I am firmly planted on the love side. I also think it’s a nostalgia thing, as I remember crackle being the first “nail art” trend I really feel in love with.

What do you think? Do you think crackle is due for its revival? Let me know all your thoughts down in the comments below.