Hello lovelies & happy first day of Summer to those in the northern hemisphere! & it actually feels very Summer like today, which is very exciting. I’m definitely here for it, & all things Summer related.
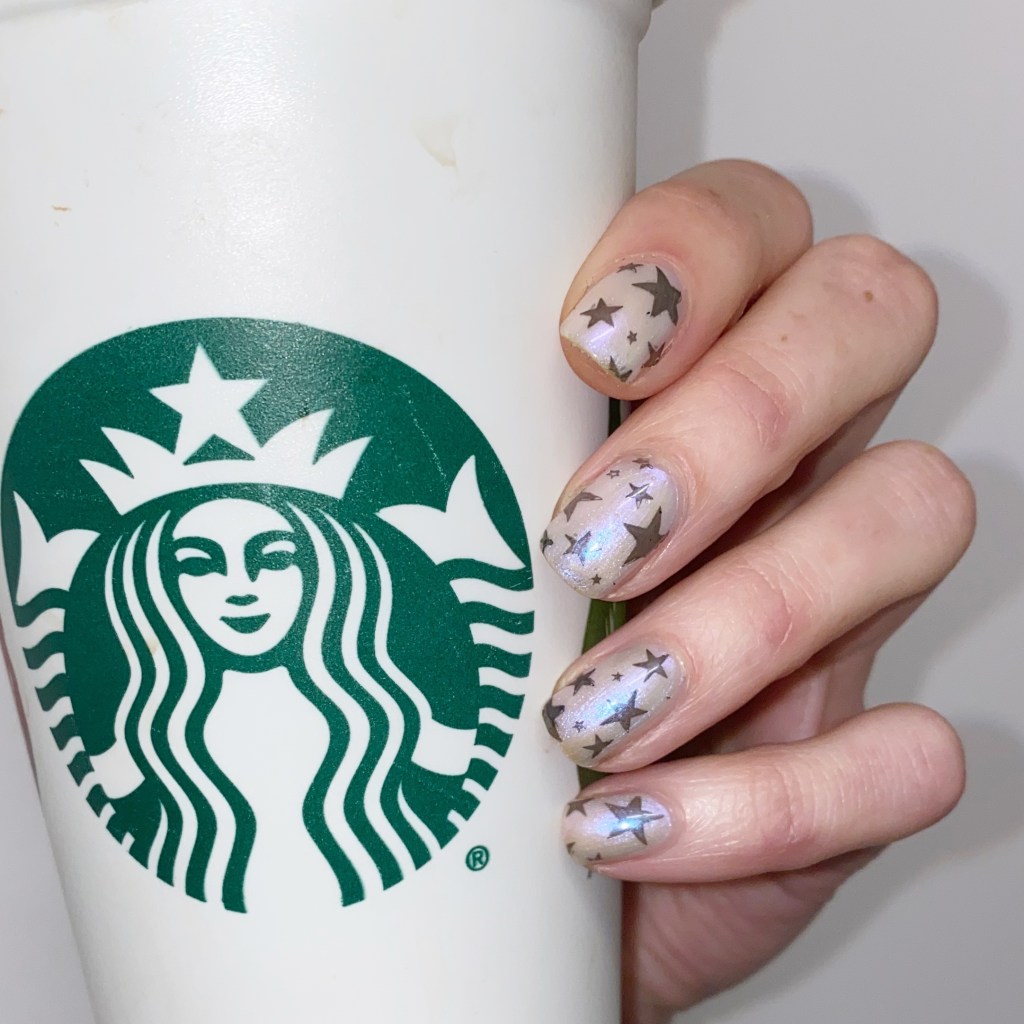
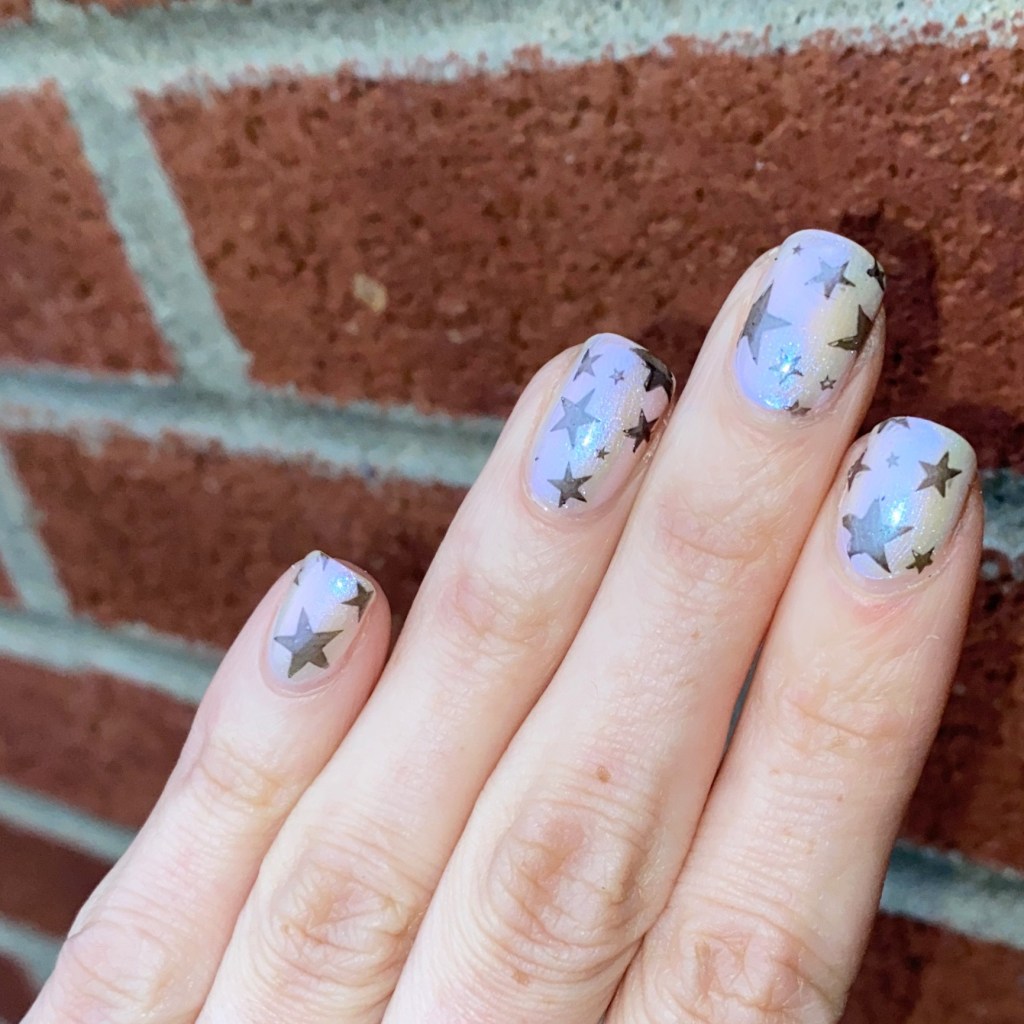
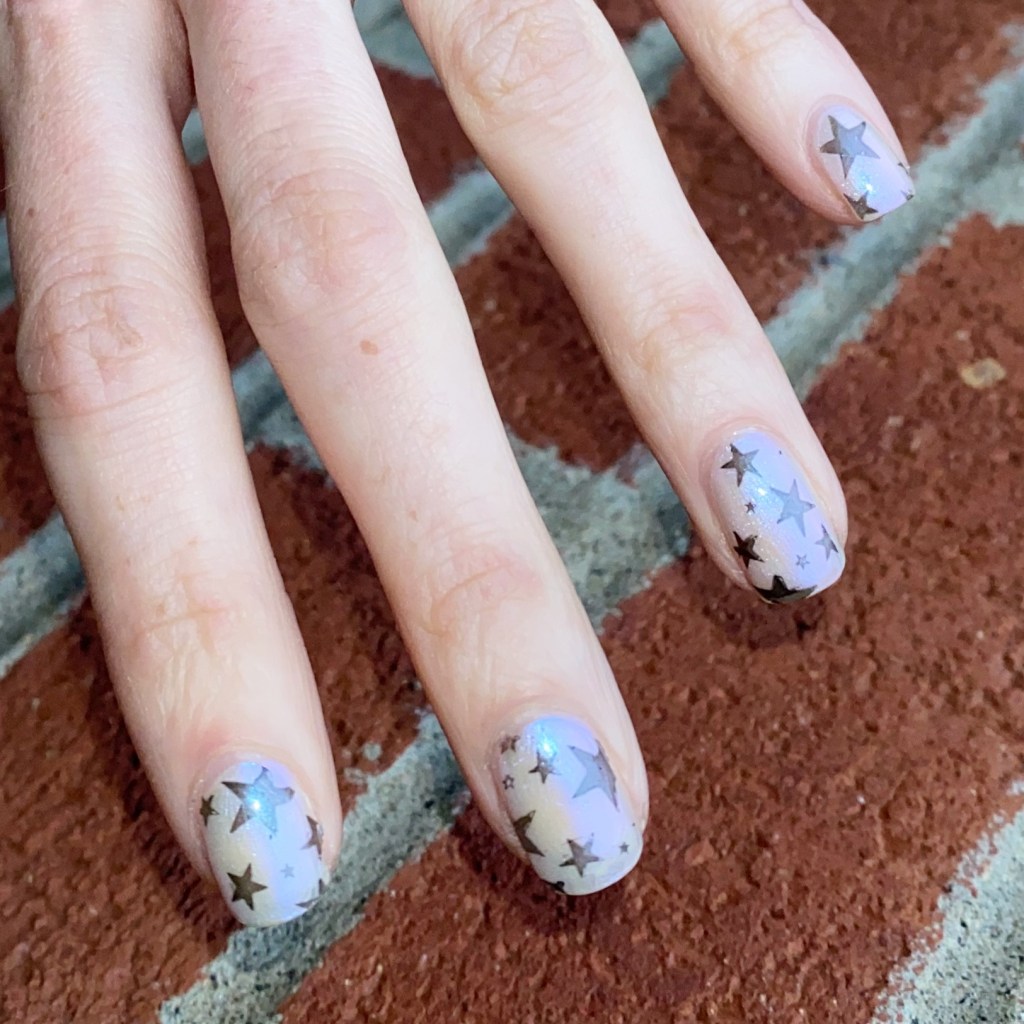
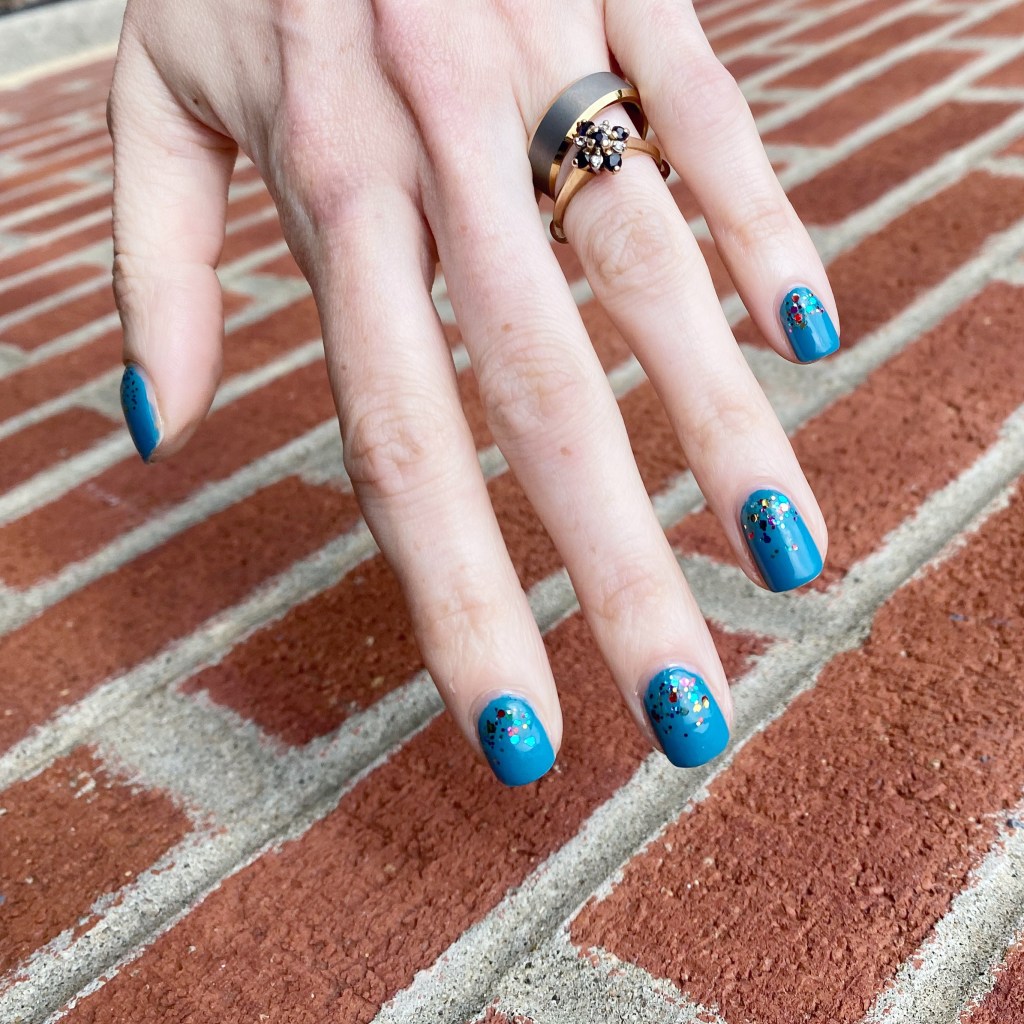
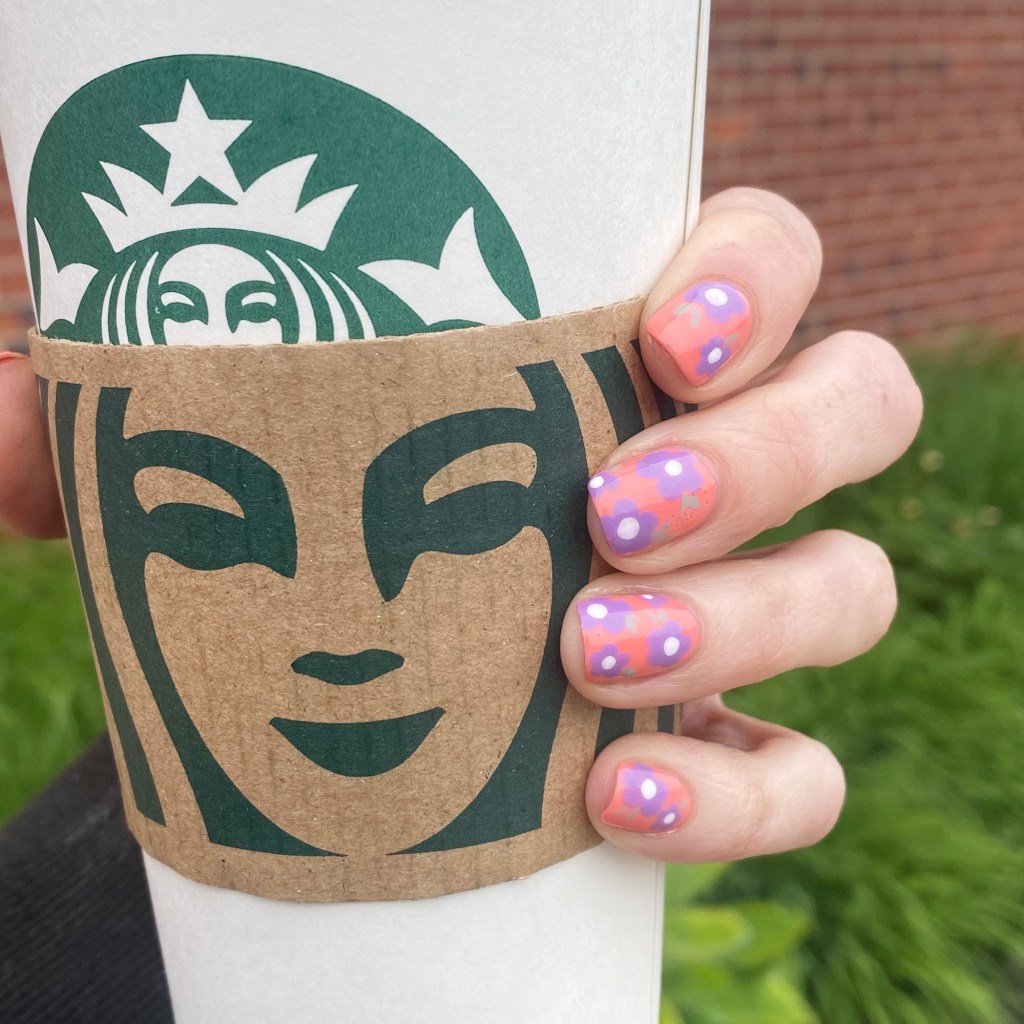
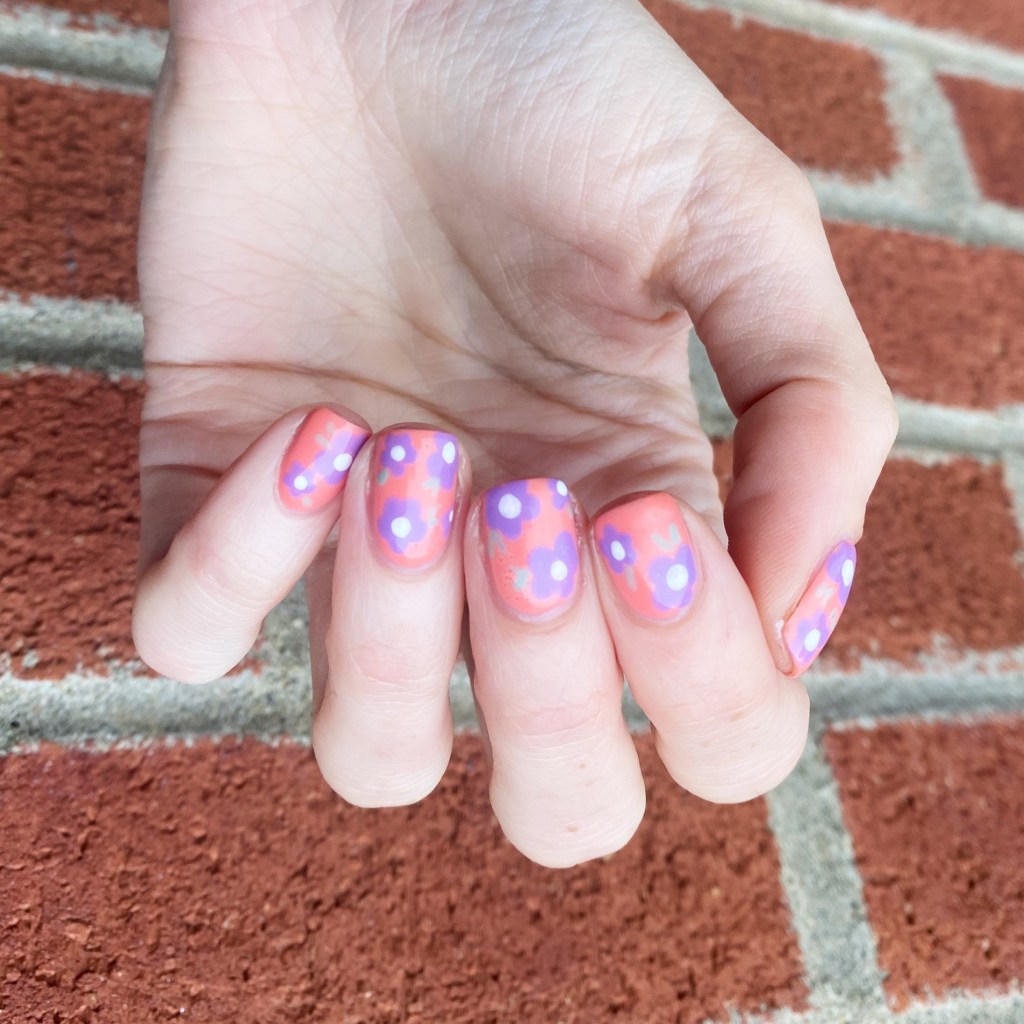
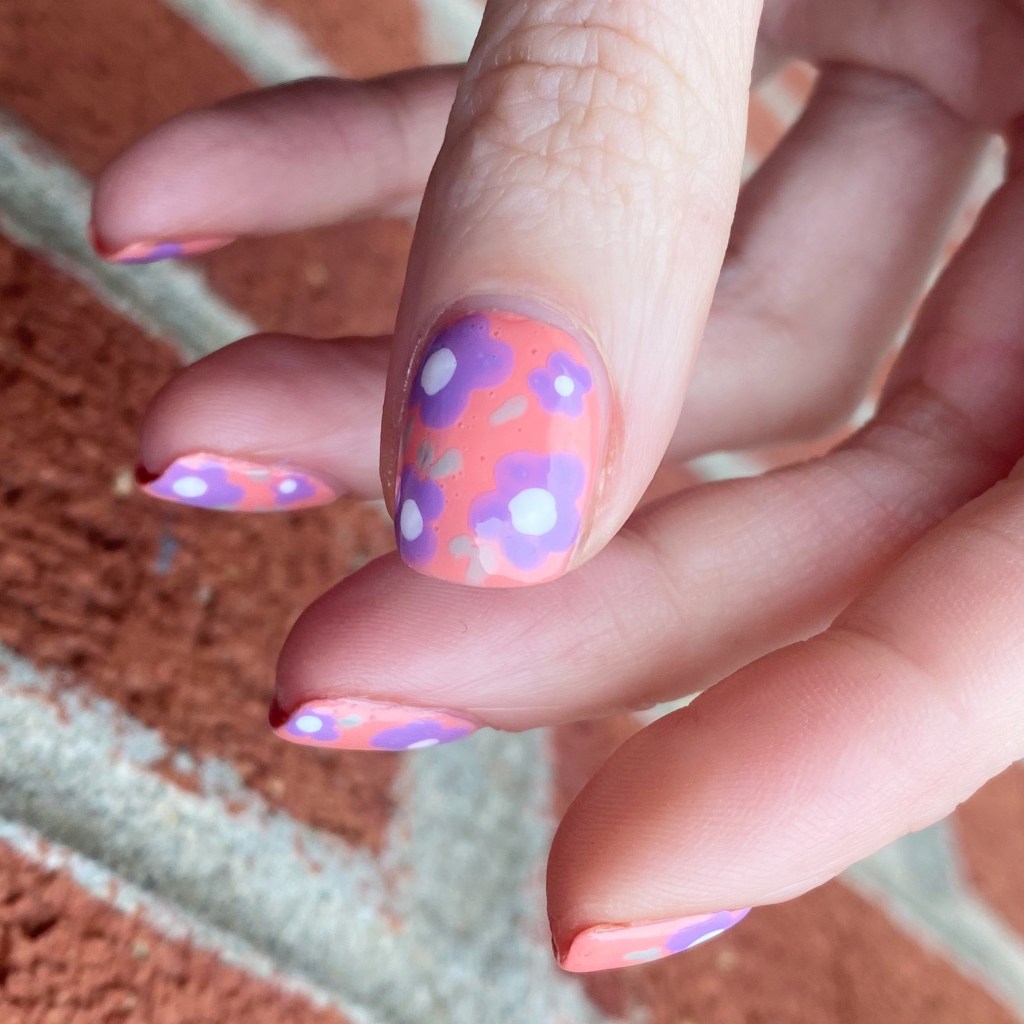
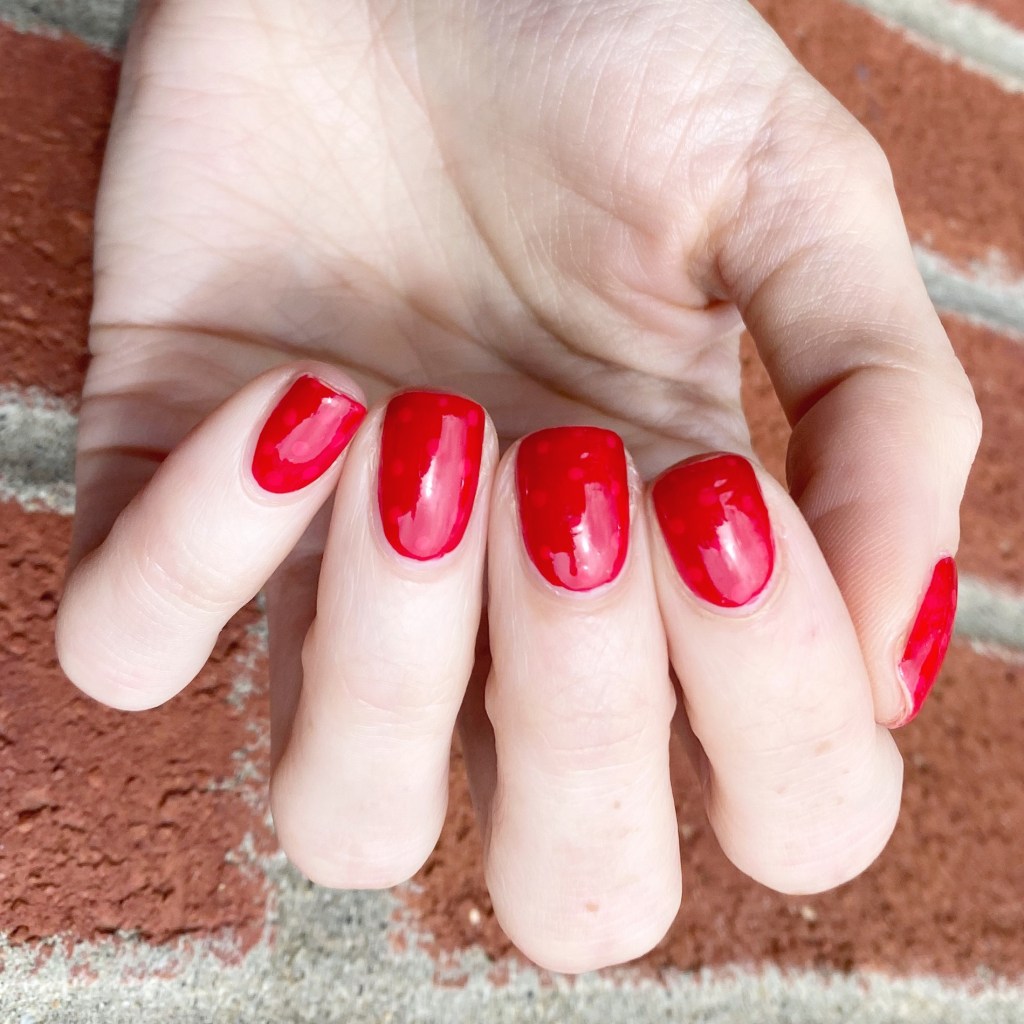
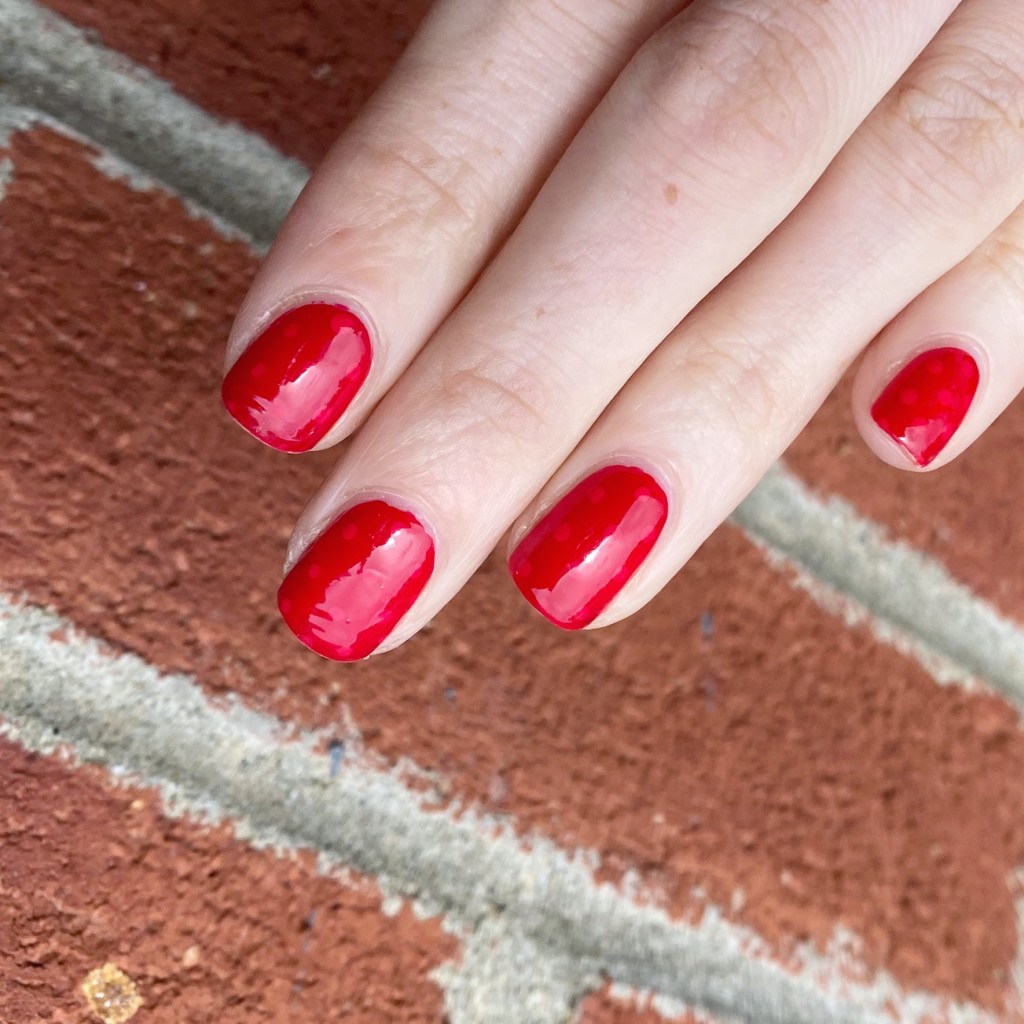
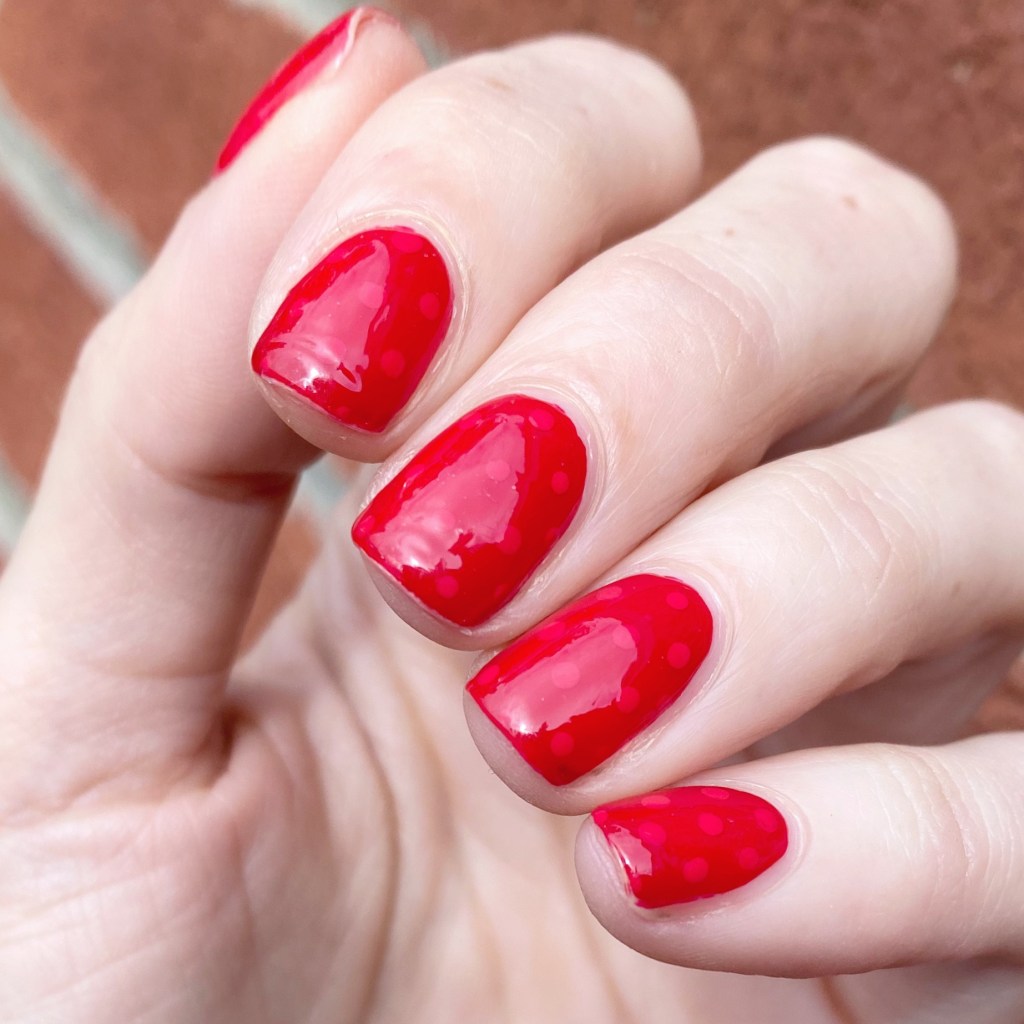
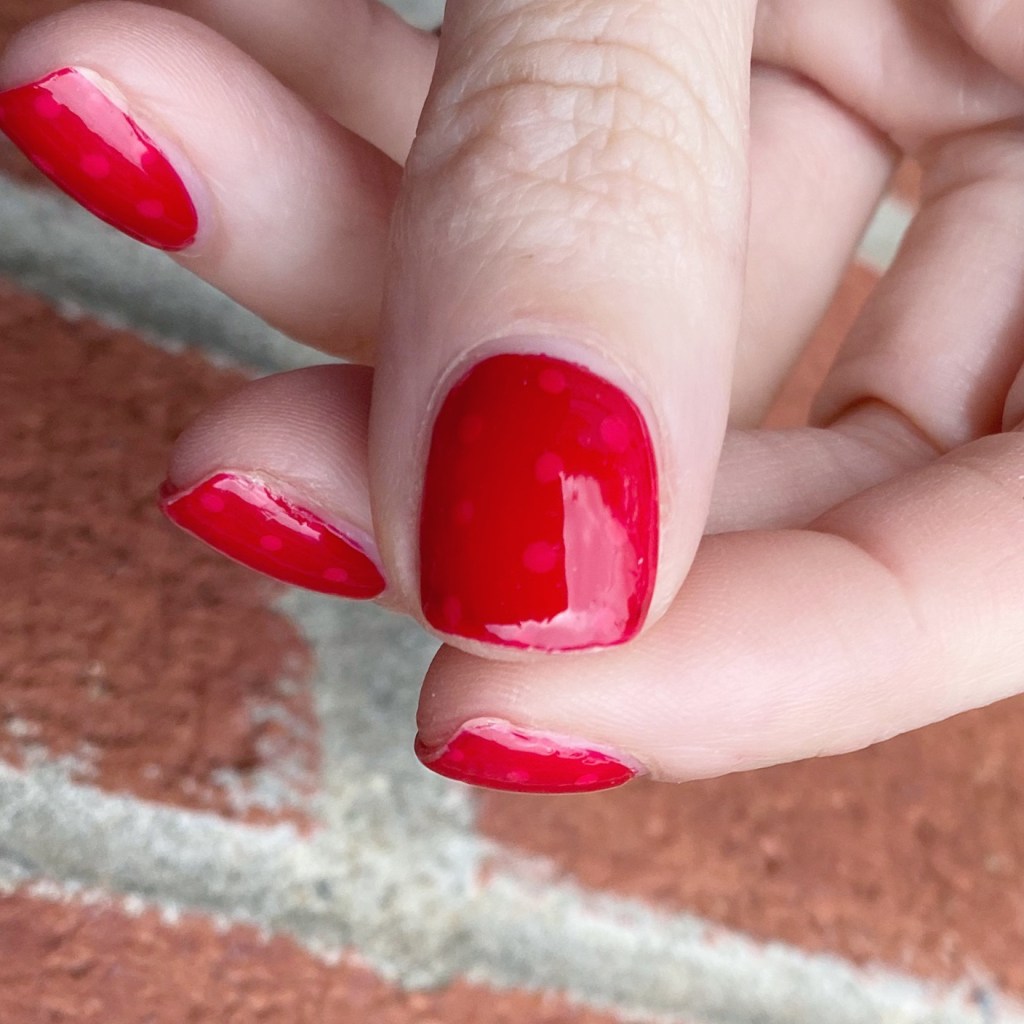
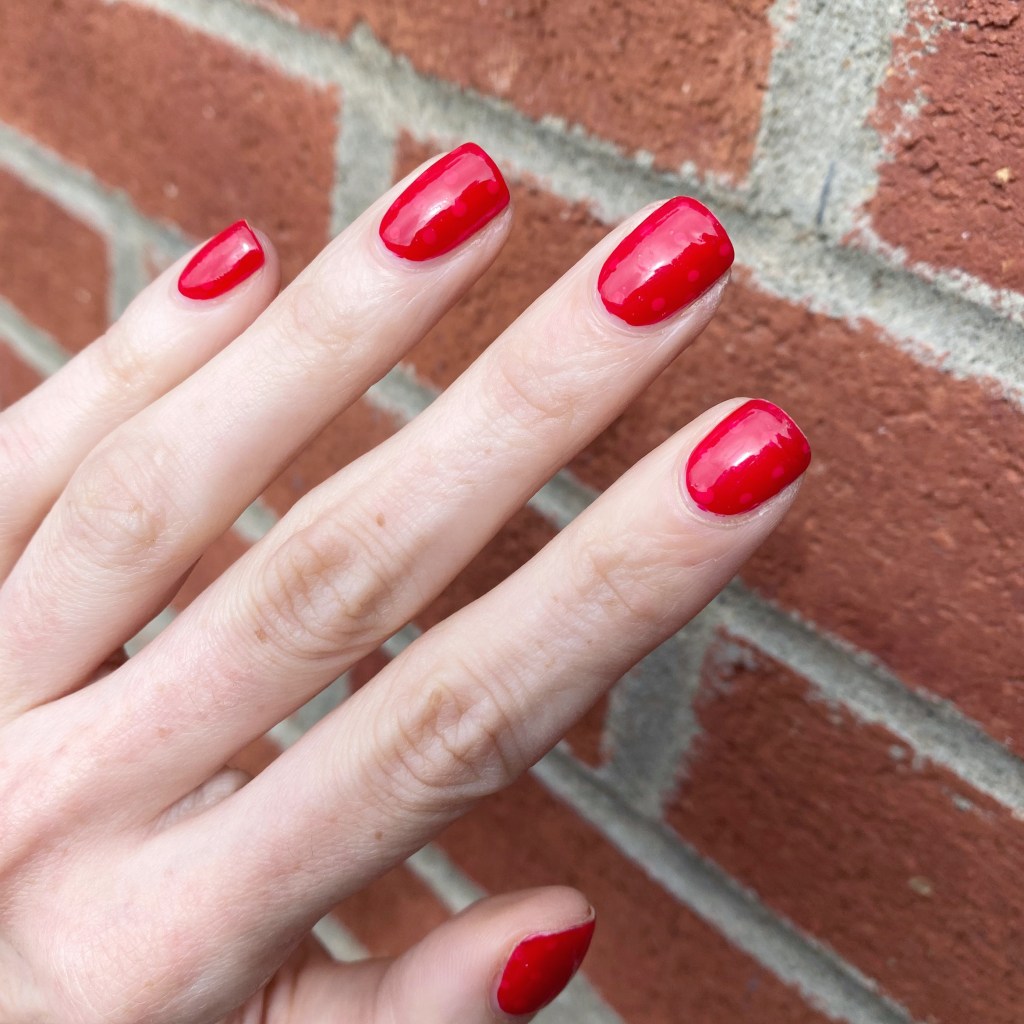
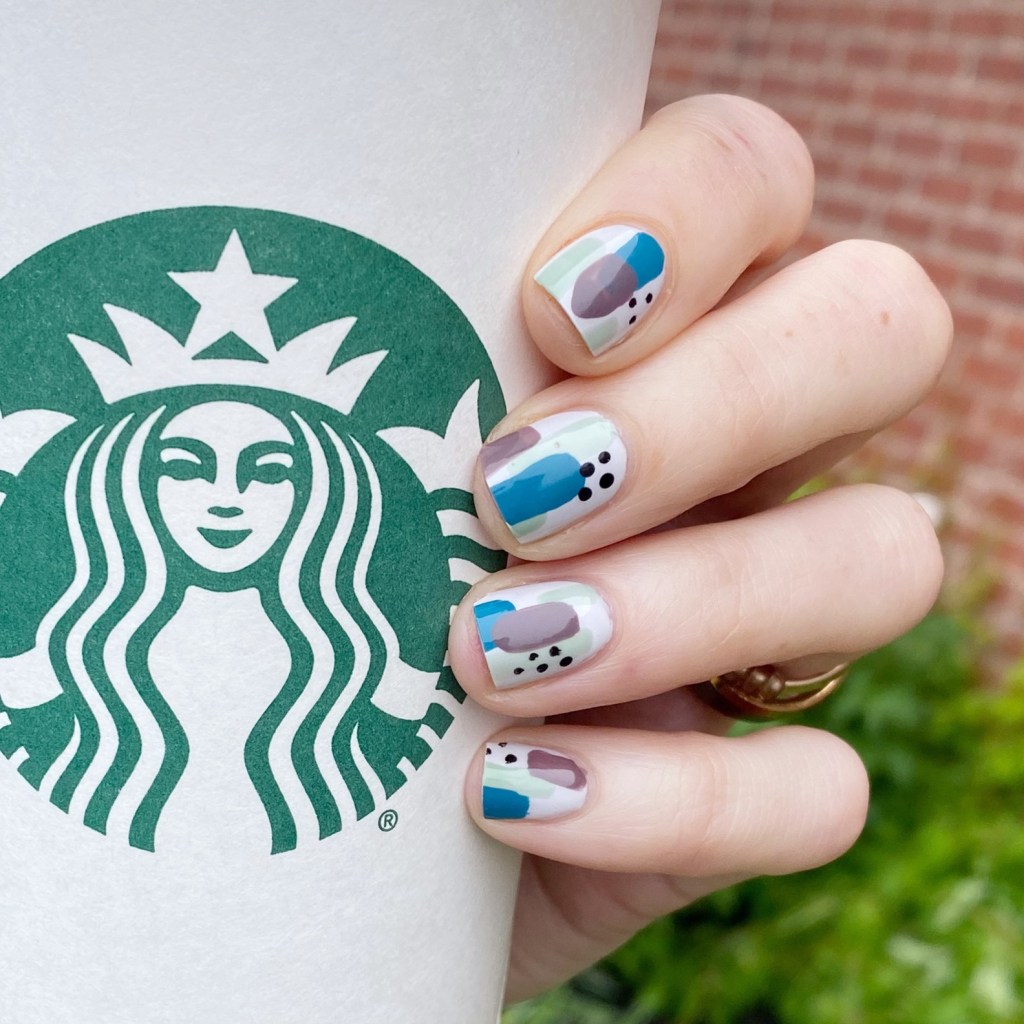
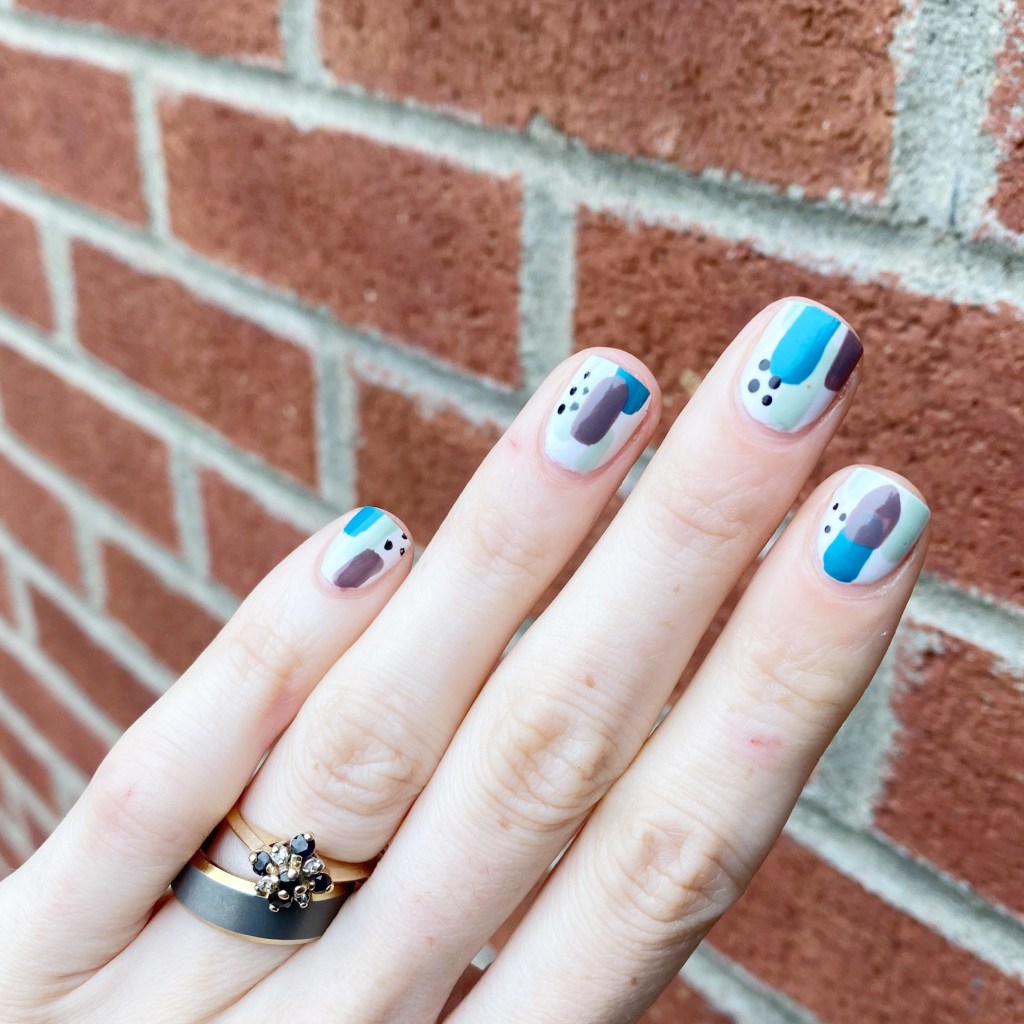
Todays look is a quick abstract design I applied over my base of OPI I Cannoli Wear OPI from my Swatch Sunday post for this week. I wanted to extend my wear another day or so, & decided an abstract look was the perfect way to do that!

The polishes I used for this manicure are:
- Base Coat: Londontown KUR Nail Hardener & Base Coat
- Top Coat: Seche Vive Fast Dry
- OPI I Cannoli Wear OPI
- Essie Revenge’s A Beach
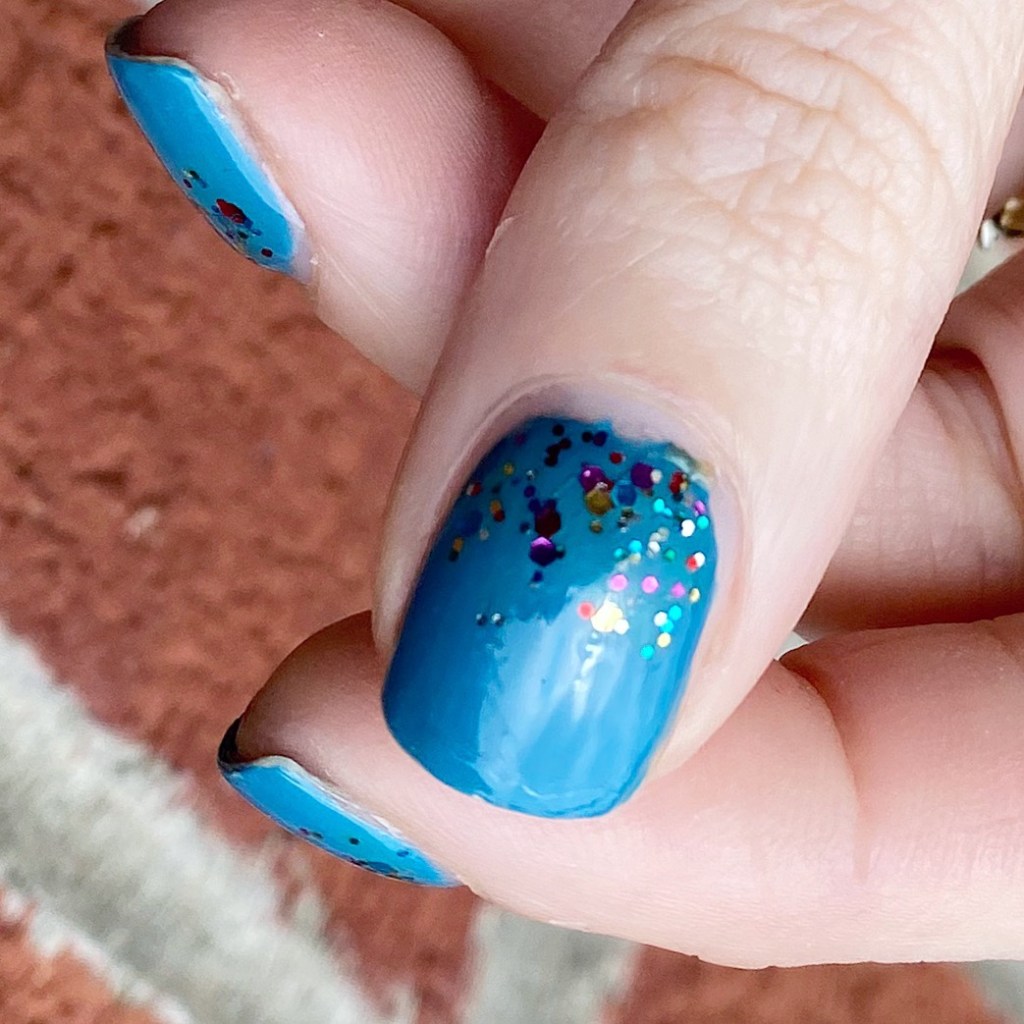
- Essie Turquoise & Caicos
- Essie Merino Cool
- OPI Who You Callin’ Bossy?!
- Small dotting tool — NailStuff.ca Dotting Tool


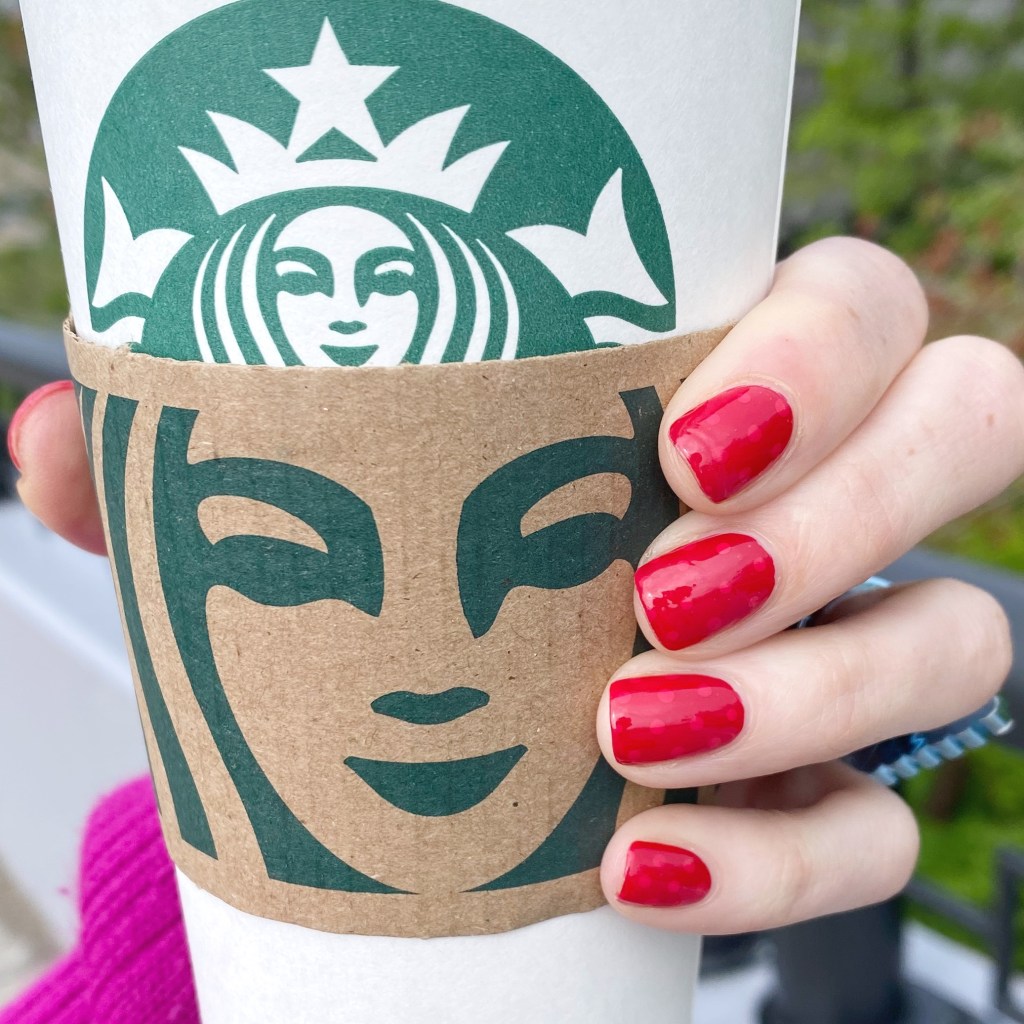
As you can see, I’m rocking extra shorties right now thanks to a break on my ring finger at work on Saturday.
Normally I would be upset about it, but I’m kind of enjoying shorter nails right now. I find when my nails are square, I prefer a shorter length to them. Plus I love showing off that you can rock fun nail art no matter the length of your nails!

What do you think of these abstract shorties? Are you a fan of looks like these? Let me know all your thoughts down in the comments below, & what colour scheme you would choose.
Have a lovely Wednesday ☀️