Hello lovelies & happy Wednesday!
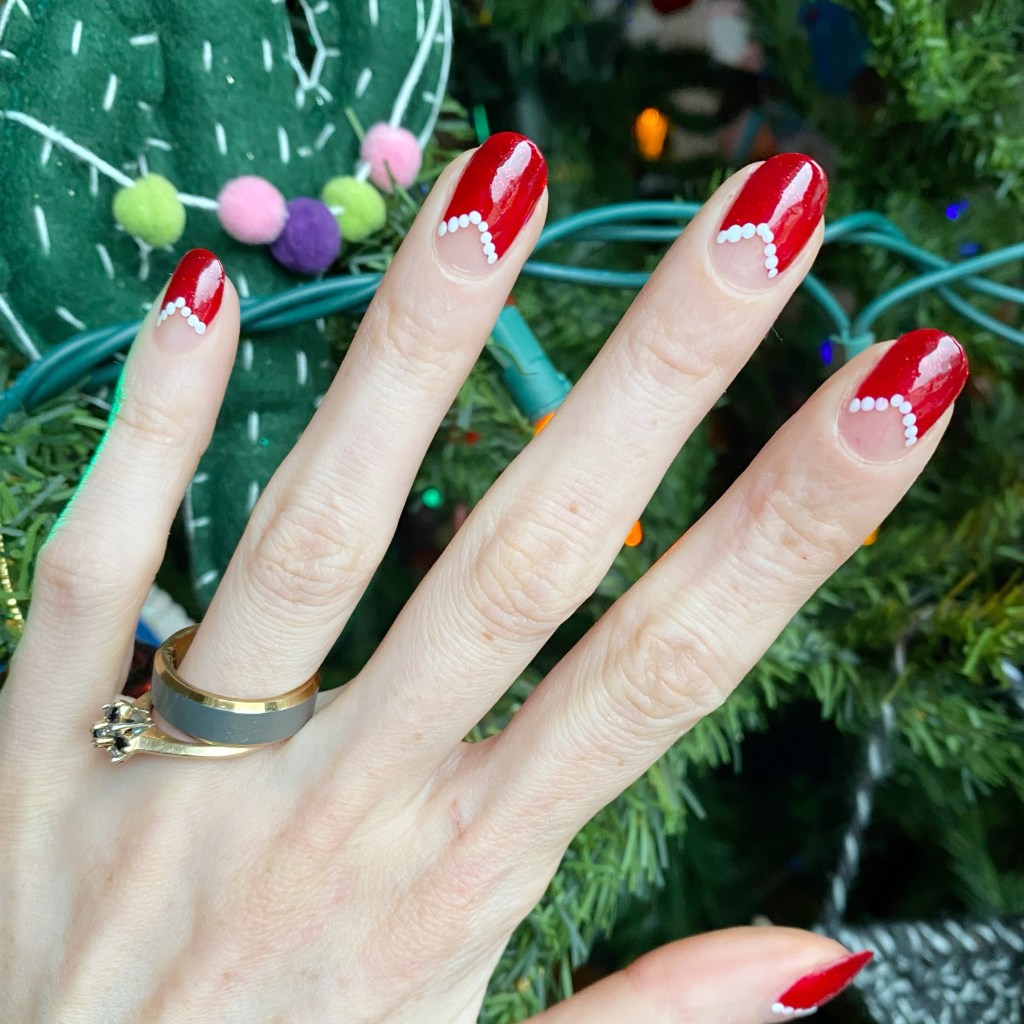
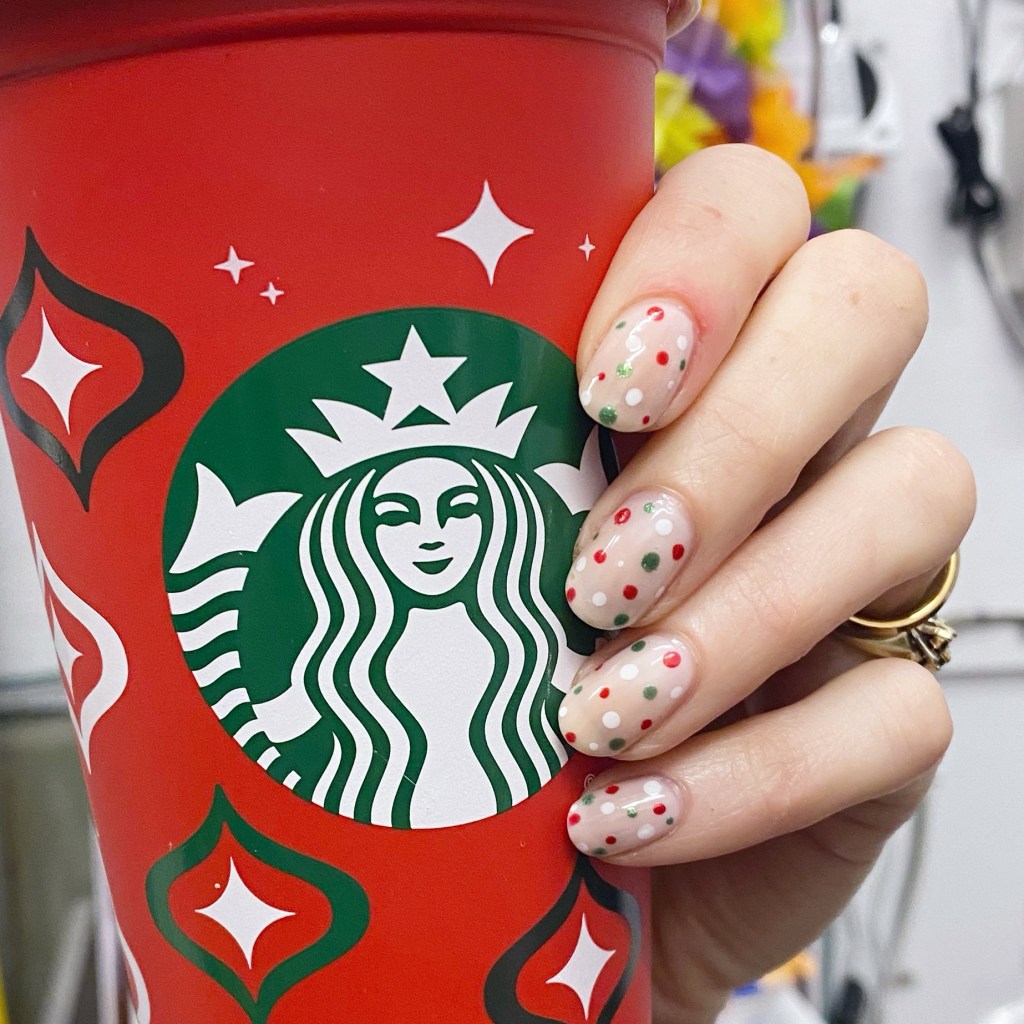
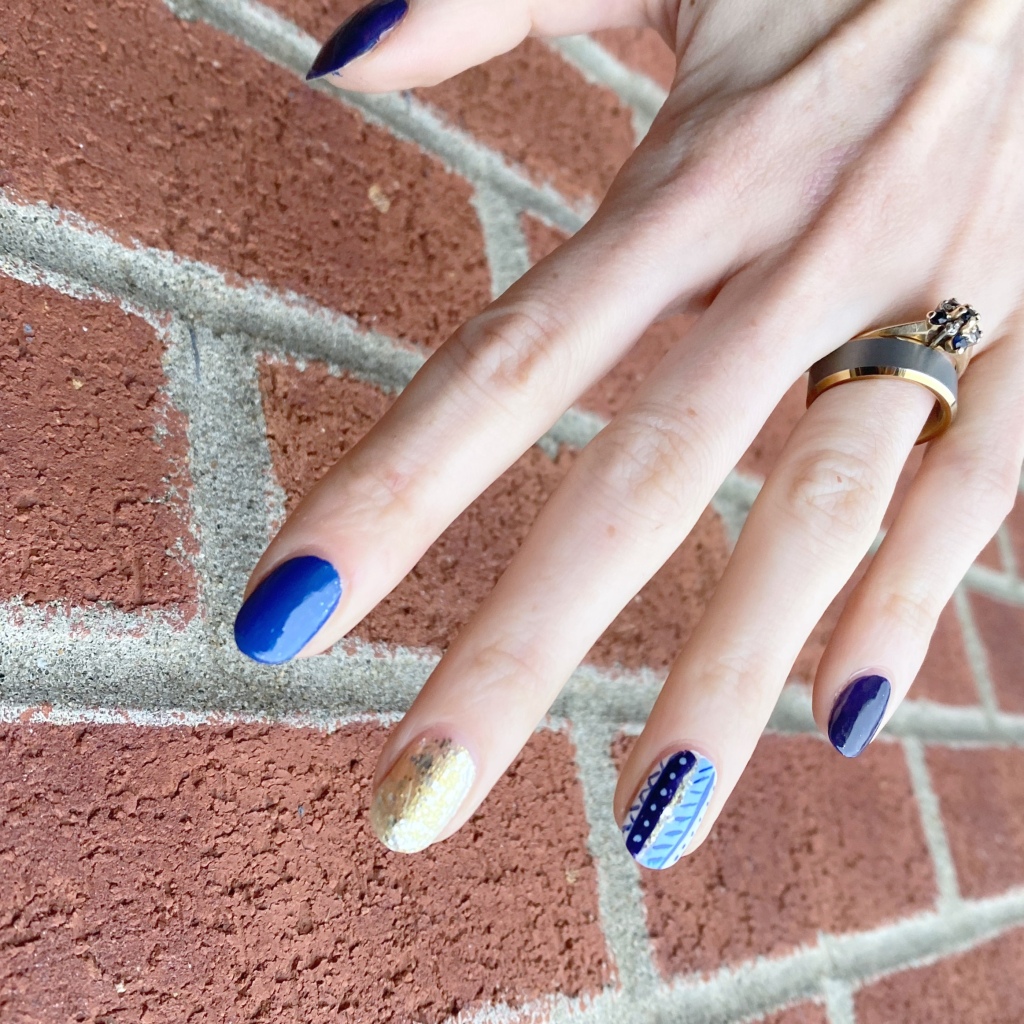
It’s a snowy, snowy Wednesday here on the East Coast — very festive & perfect for this time of year. I really want to go drive around & look at Christmas lights. But today, I’m keeping with my Glam Nails Challenge December manicures with the next prompt: reindeer. & I was super excited, because it finally gave me a chance to use some Christmas nail art stickers I recently picked up from my local Dollarama.
The polishes I used for this manicure are:
- Base Coat: China Glaze Calcium Gel Fortifer
- Top Coat: Seche Vive
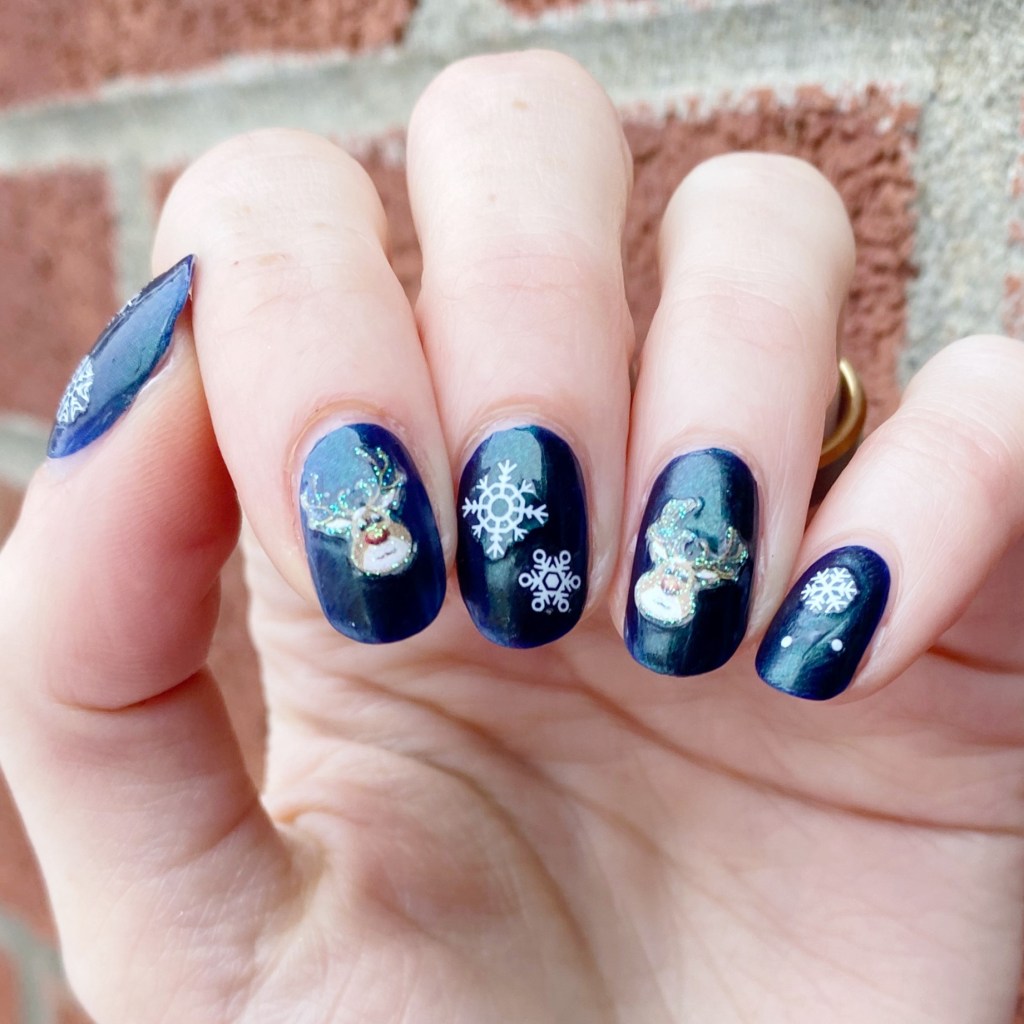
- Sally Hansen Miracle Gel Under the Tree
- Dollarama Christmas nail art stickers
- Nailstuff.ca Snowflake stickers (no longer available but she does have a bunch of new Christmas stickers recently listed!)
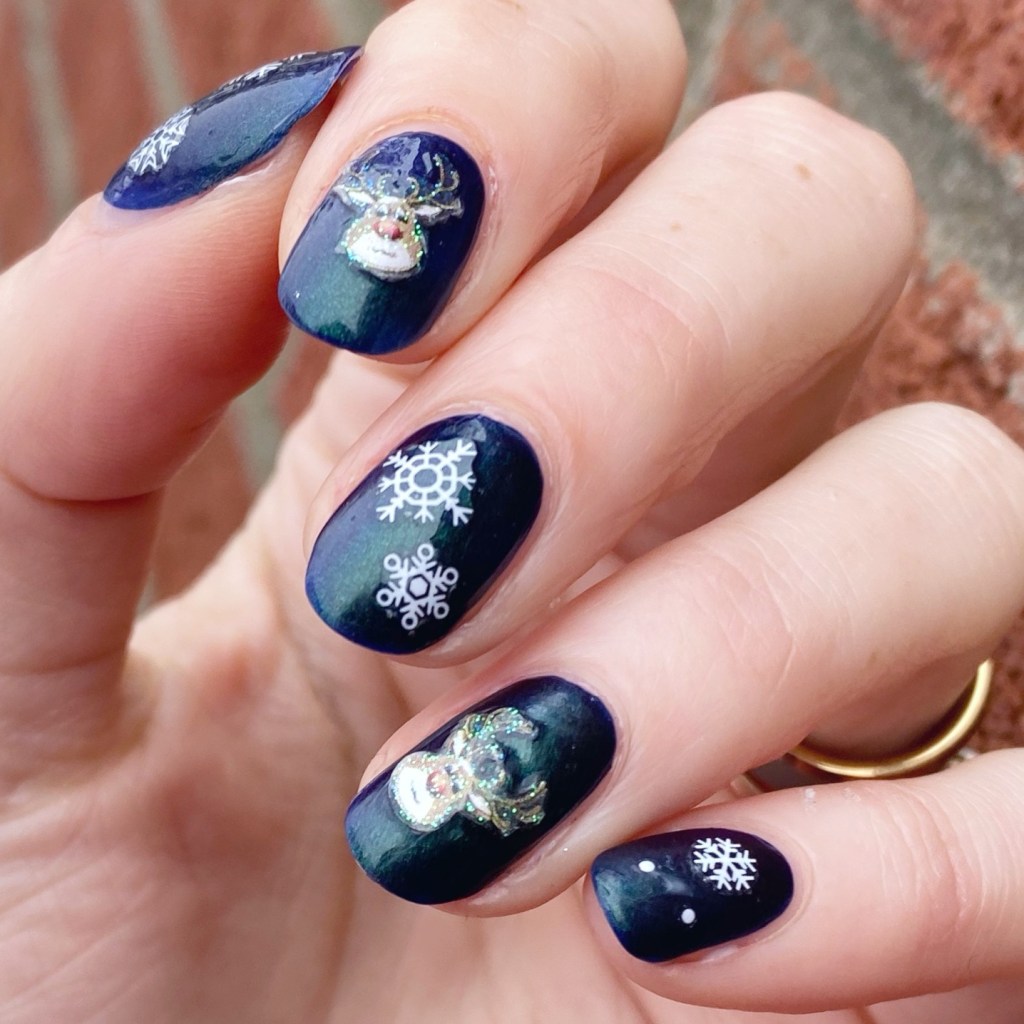
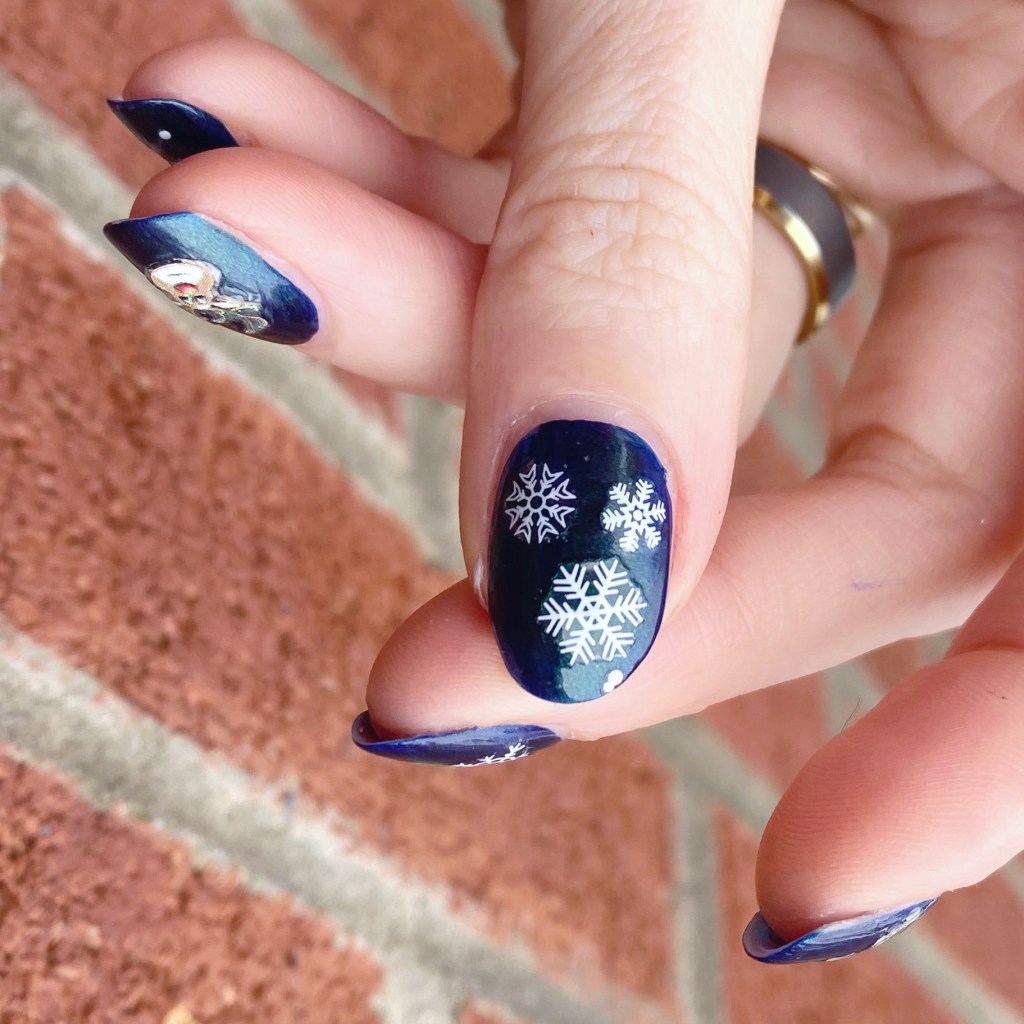
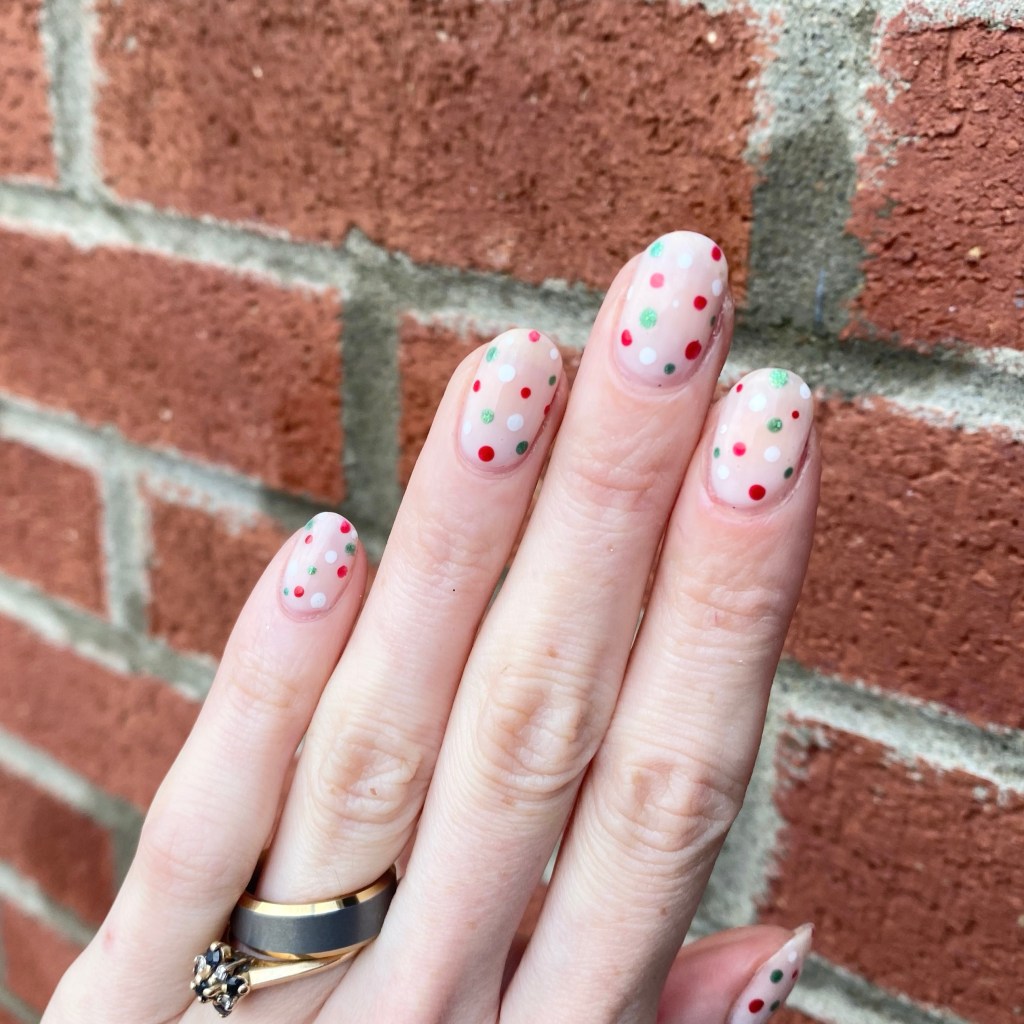
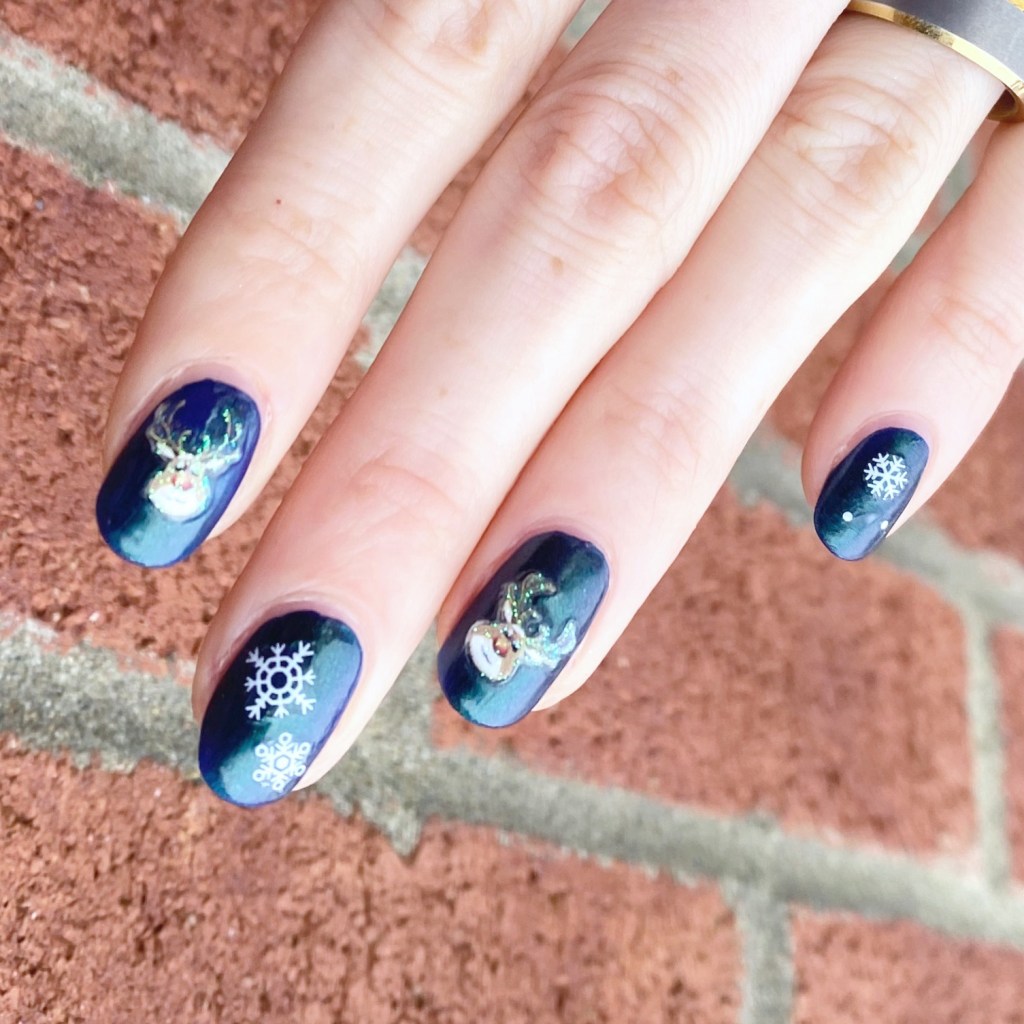
So you might remember how obsessed with the Halloween stickers that I had picked up at my local Dollarama, so I was super pumped when I saw new Christmas nail art stickers. I knew these Reindeer stickers would be perfect for this prompt! They are just so cute. Sadly, they didn’t seem to hold up on the nail as well as my Halloween ones, but they did (mostly) last the day at work.

What do you think about these fun reindeer nails? Are you fan of nail art stickers for fun nail art looks? Let me know your thoughts down in the comments below, & let me know what your favourite nail art sticker brand is! I’m always looking to add new ones to my stash.
Don’t forget to check out the hashtag #GlamNailsChallengeDec on instagram to see all the other fun reindeer designs.
Happy Wednesday! ♥︎