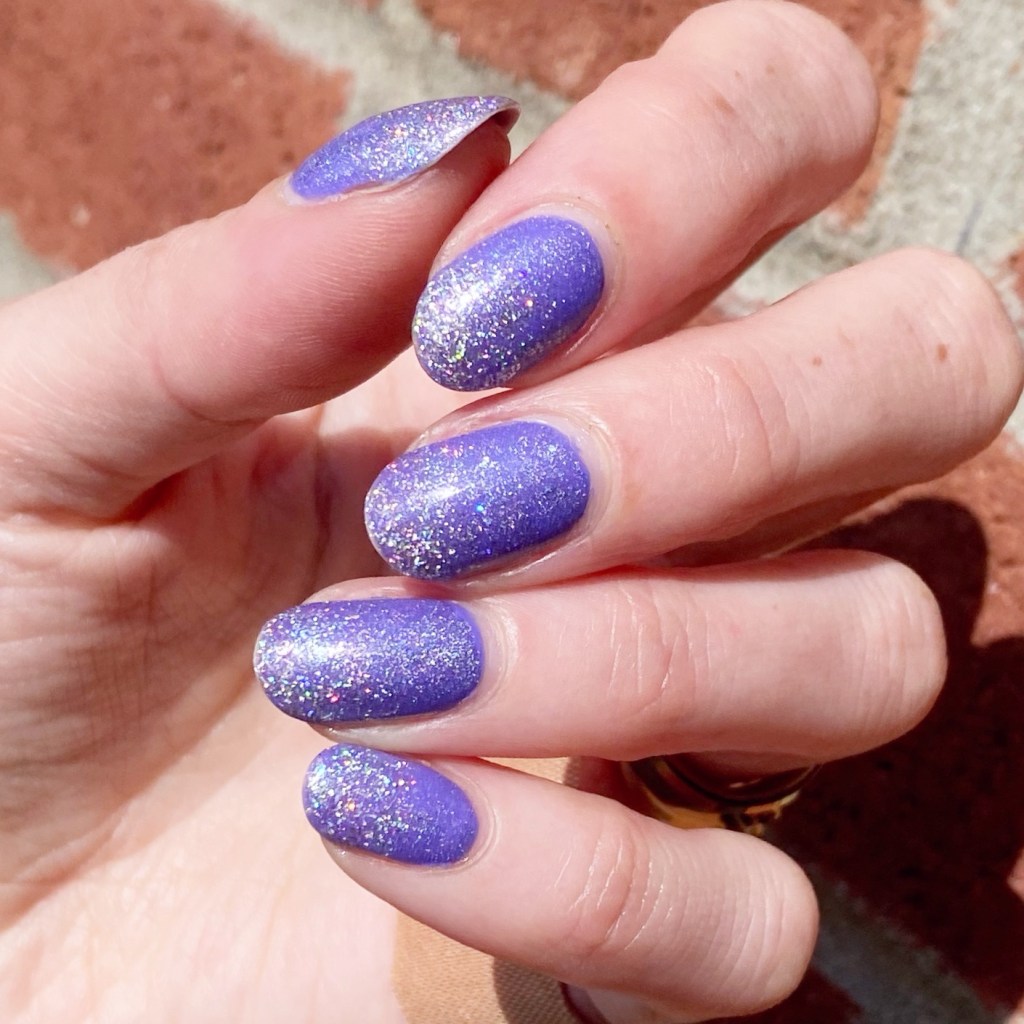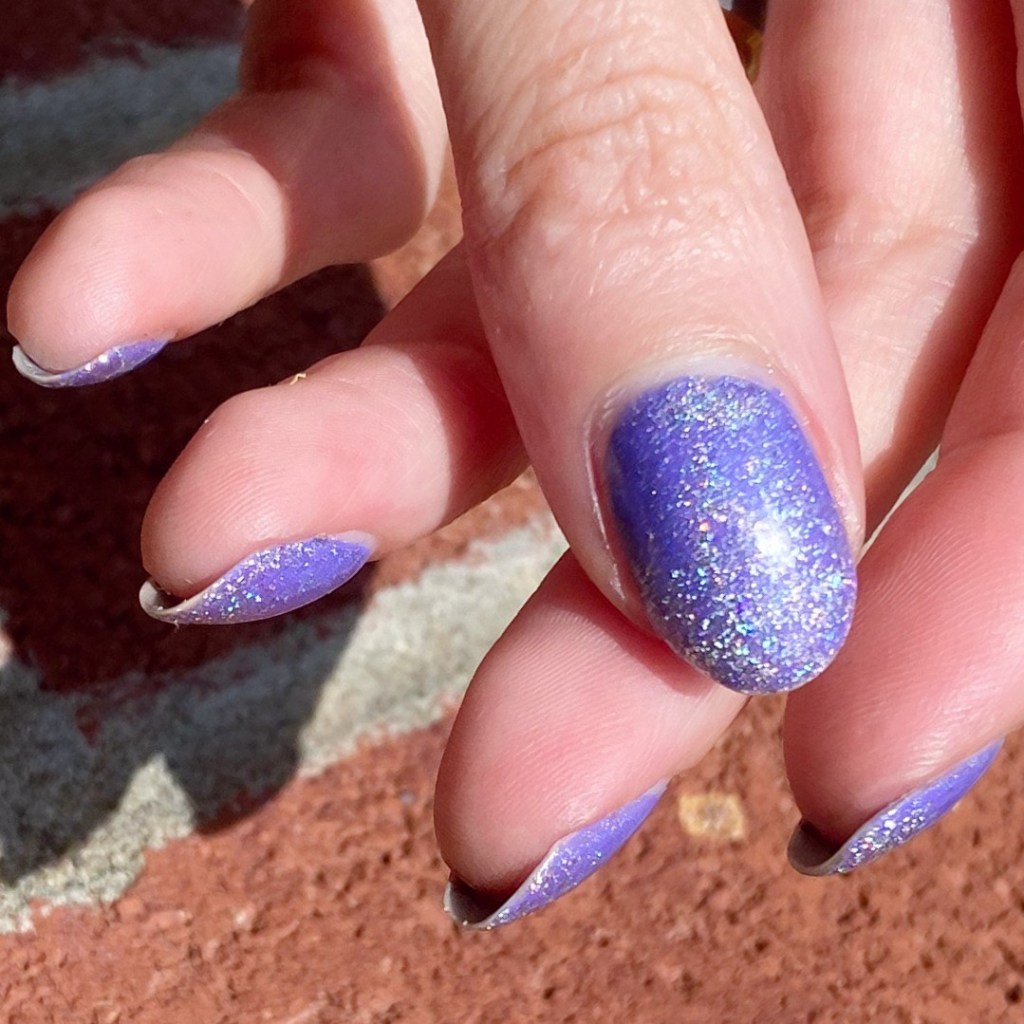
Purple Holographic Glitter Gradient 💜✨

Happy Wednesday lovelies.

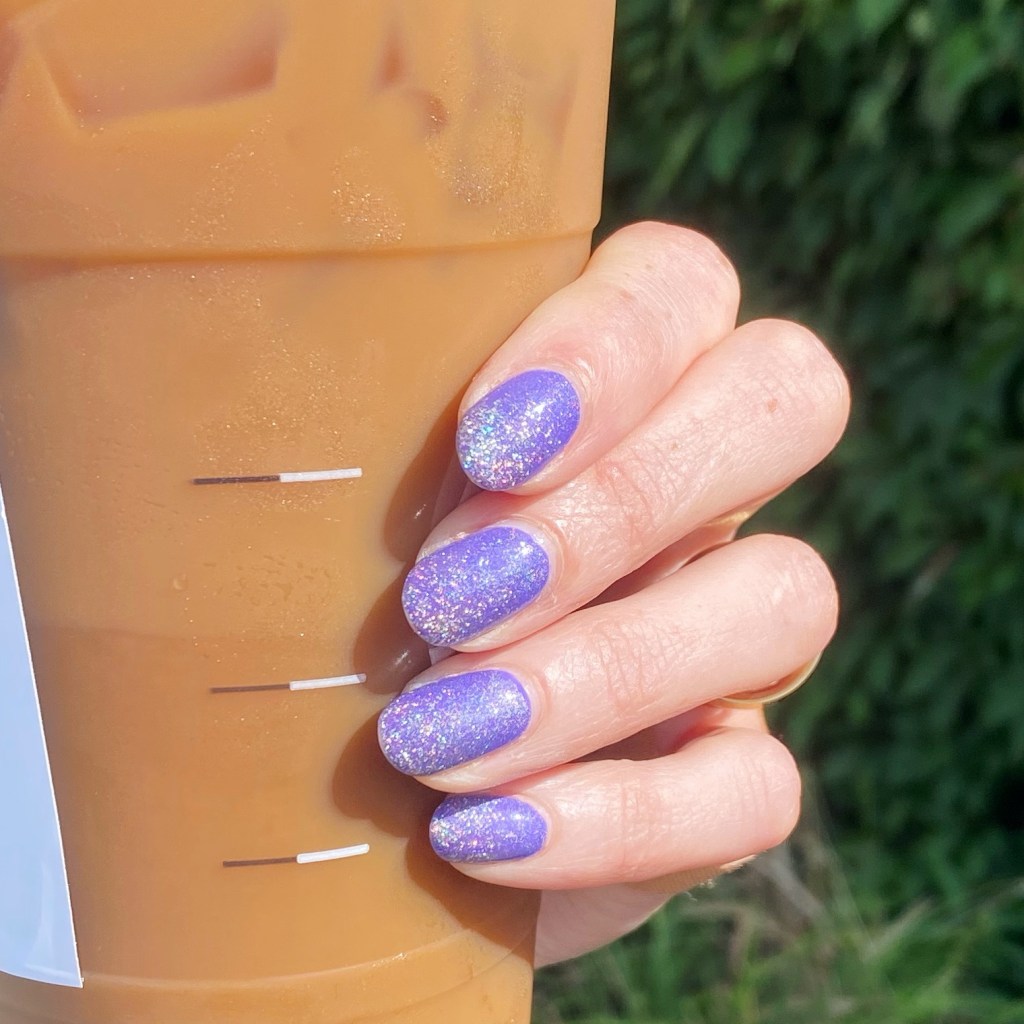
The sun is shining, & that is more than enough reason for some holographic nails! I was feeling some serious glitter, & I think this manicure achieved that.

The polishes I used for this manicure are: 

  • Base Coat: Essie Here to Stay
  • Top Coat: Essie Gel Setter
  • Color Club Pucci-Licios
  • Nubar Treasure
  • Color Club Top Shelf
  • Starrily Space Debris

Look at that sparkle! ✨ yes, I have quite a few polishes layered to achieve this look, but it’s totally worth it. It’s been a rough week & a half, so a little extra sparkle is totally what the universe ordered. It makes me smile, & feel extra pretty.

What I love is I didn’t even need any tools to achieve this — just a little patience to apply the glitter to my tips! Definitely obsessed with the over all sparkle, especially when I’m in the sunshine.
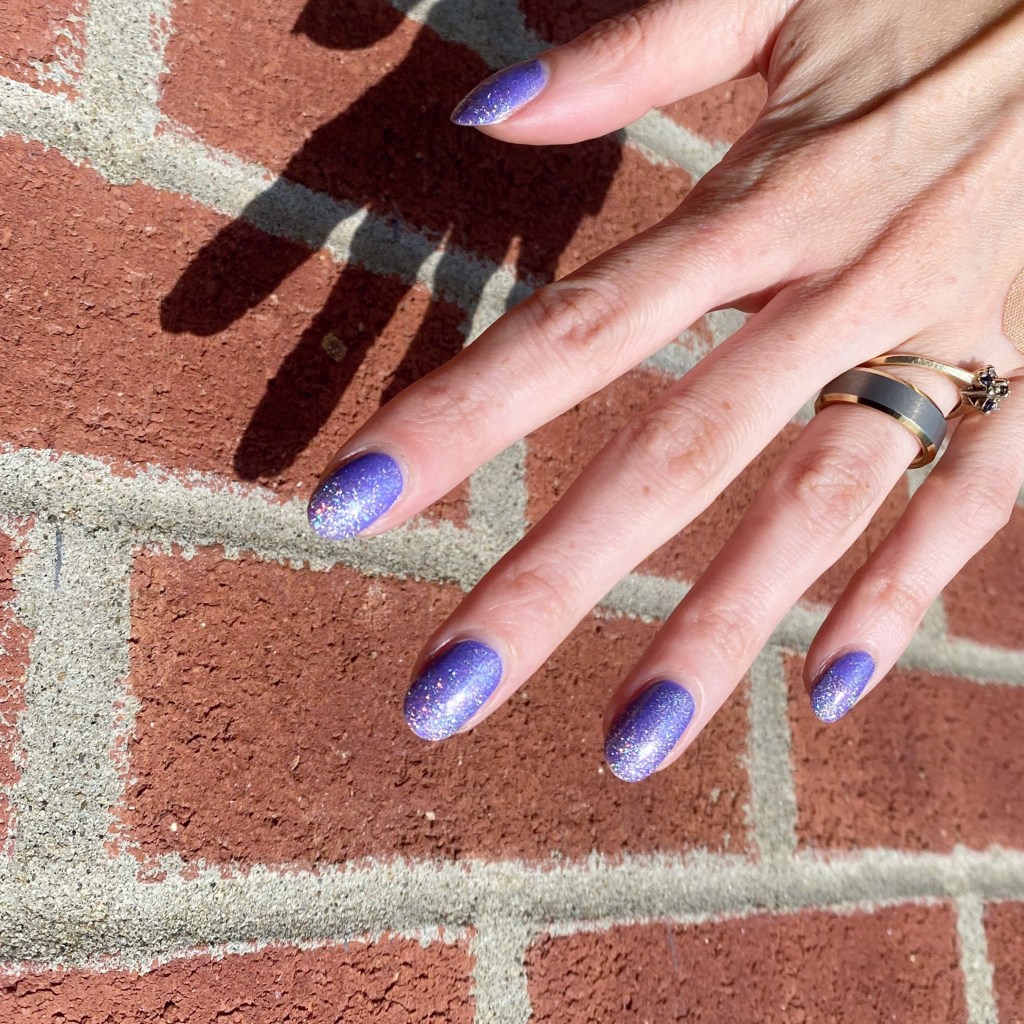
How do we feel about these extra sparkly gradient nails? Are we a fan? Let me know all your thoughts down in the comments below!

Have a lovely day!

💜
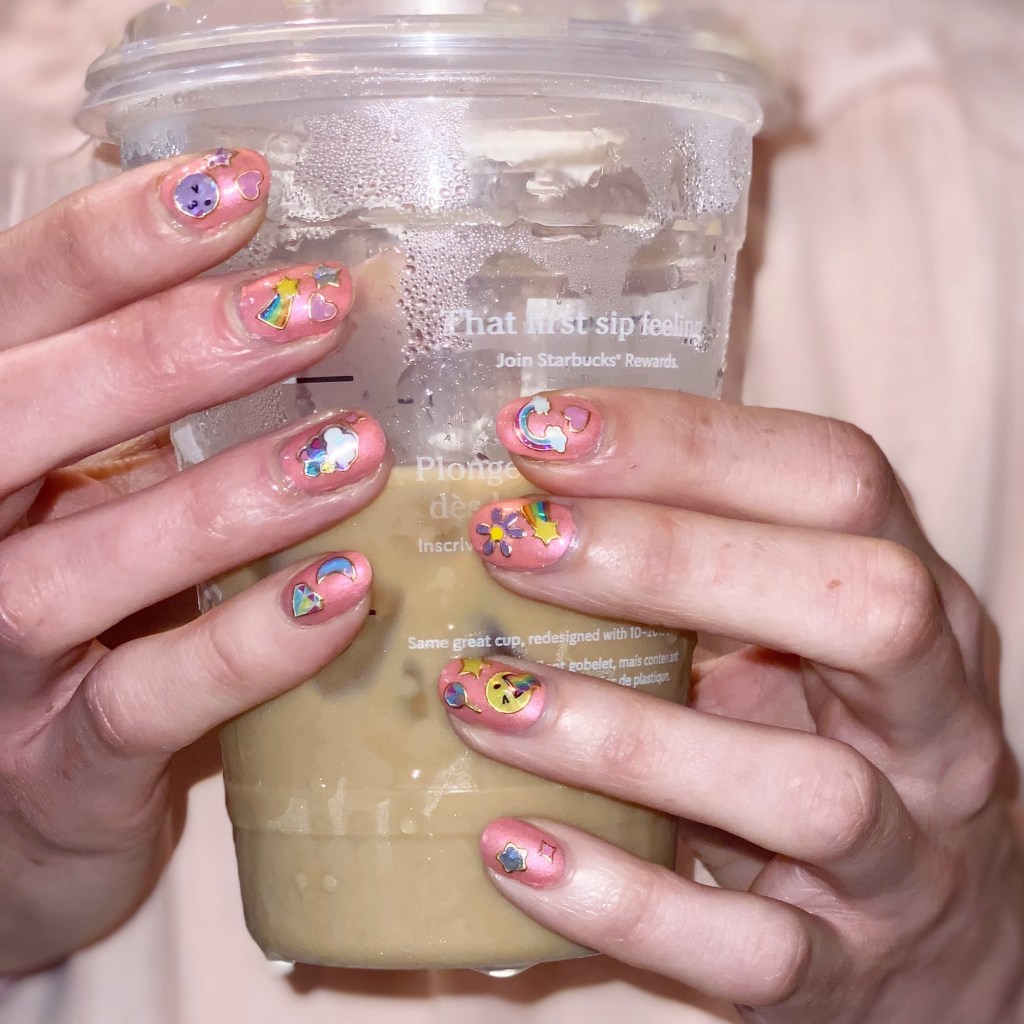
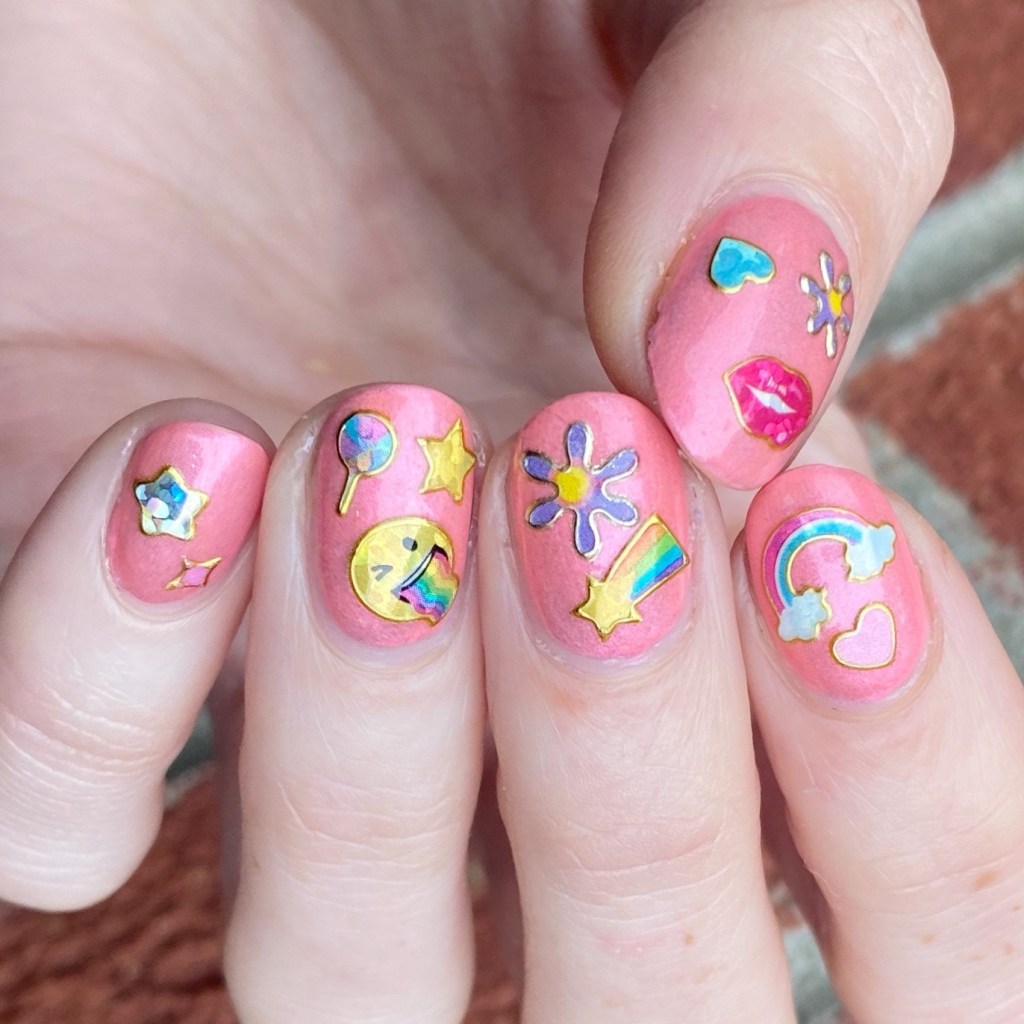
Emoji Inspired Nails 💋💗🌈🌸 (Easy Nail Art)

Hello lovelies & happy Thursday! It’s hot, sunny & beautiful lately & feels just like the kind of Summer days I like.

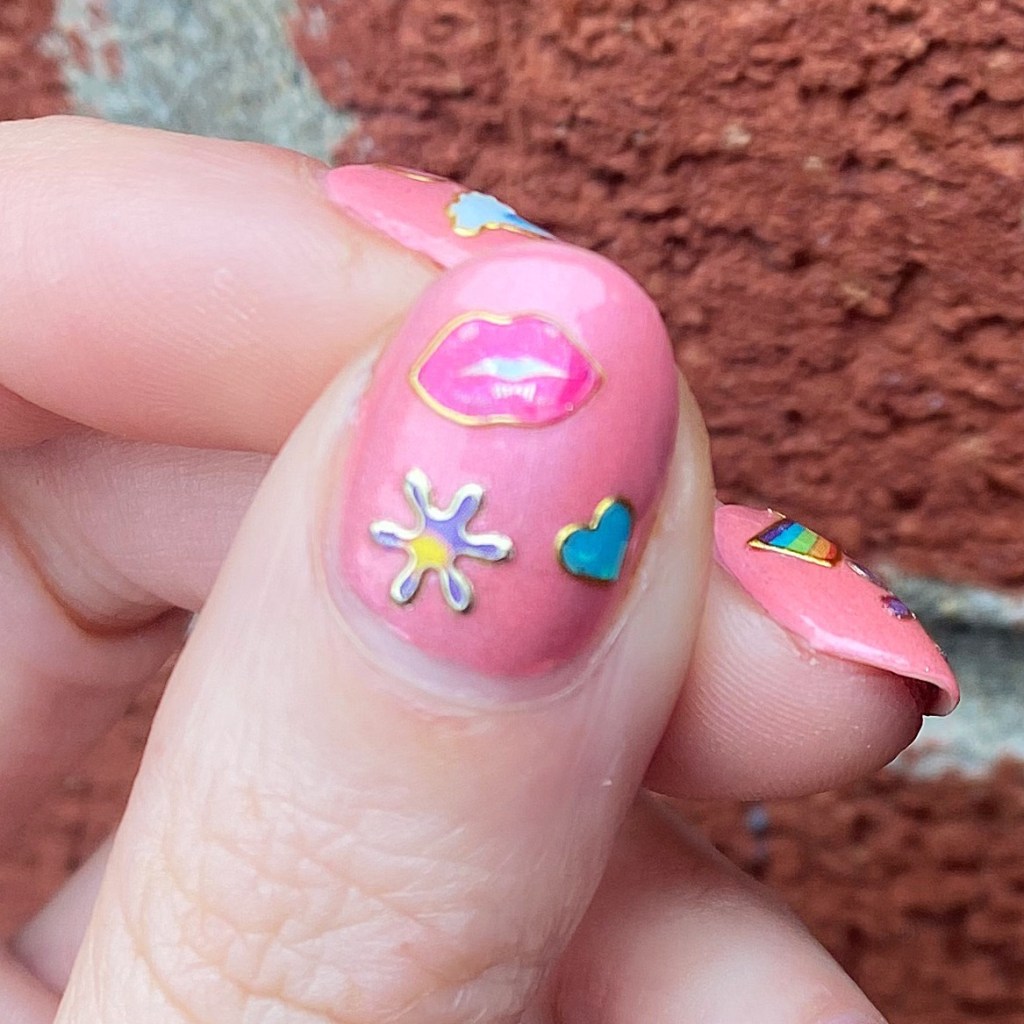
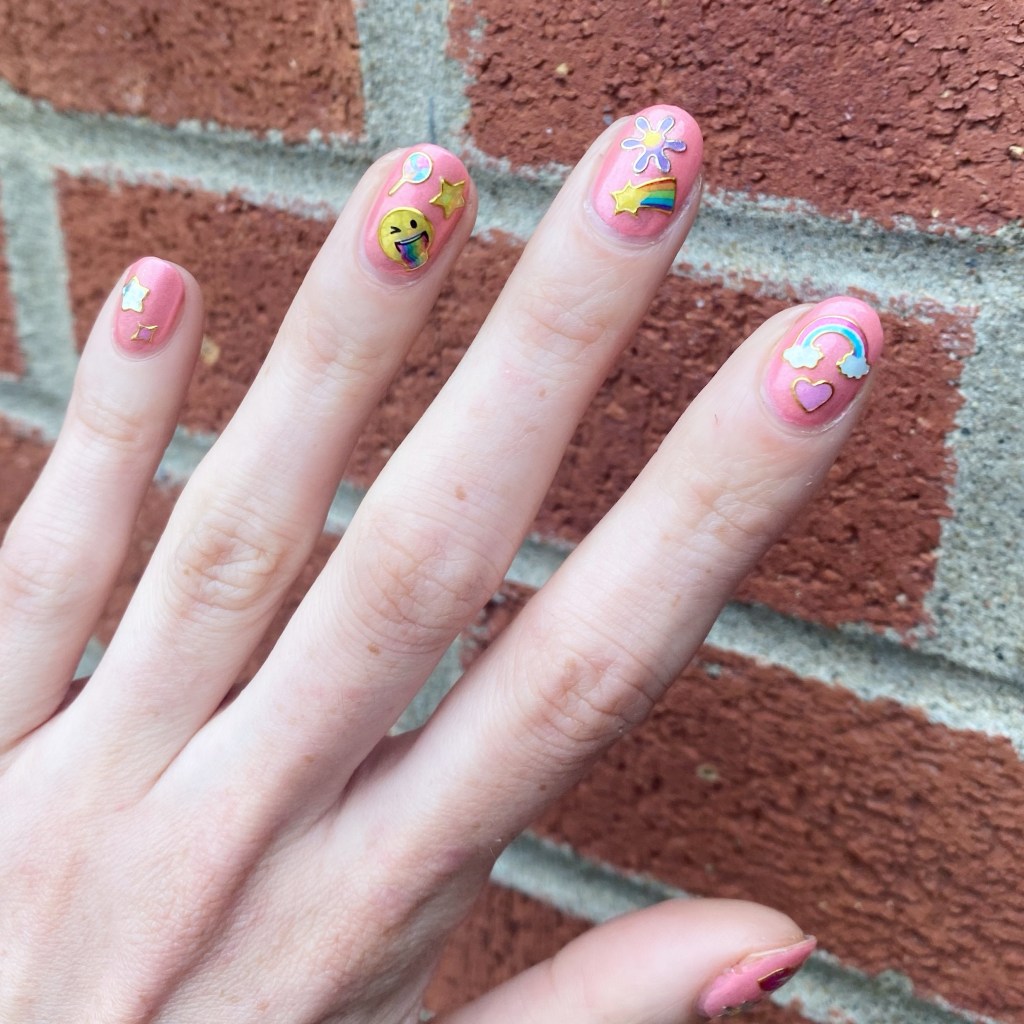
Today I’m sharing a new manicure & a bit of a nail art hack. I’ve posted before about my absolute love of nail art stickers.

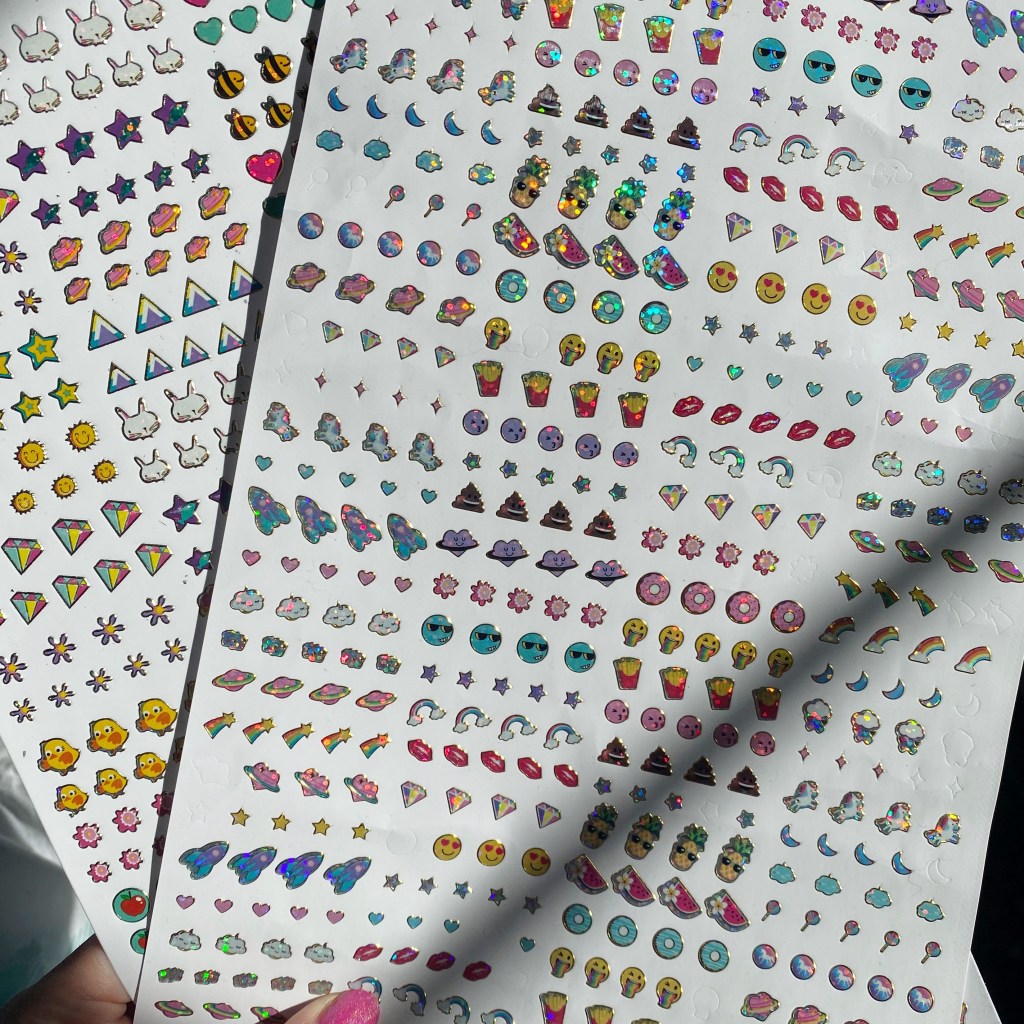
Recently I was in my local Dollarama & found these massive sheets of small foil emoji inspired stickers for $1.25 & thought they would be perfect for stick on earrings for my daughter. But then I realized they were the perfect size to potentially work for nail art stickers & so naturally I bought 2.

The polishes I used for this manicure are: 

  • Base Coat: Essie Here to Stay
  • Top Coat: Essie Gel Setter
  • China Glaze Thistle Do Nicely
  • China Glaze Everglaze Optimal Opal
  • Dollarama Small Foil Emoji Stickers

Okay I’m really really impressed with how easily these stuck to my nails, & adhered to my already dry base. They were fairly flexible & easy to stick on the nail, or adjust slightly if needed. I used tweezers to pull them from my sheet, & attach them to my nails, & most of the stickers I picked were easy to apply.

For removal, it was just as easy to take off. I did have a few stickers which were lifting by the end of the day, but that could be avoided with a thicker top coat.

Over all, I think these stickers were perfect for easy nail art at a great low price. Obviously, I want to support small businesses that sell nail art stickers, but times are tough right now, & I think everyone deserves to have beautiful nails so if you can find cute stickers to use on your nails at an affordable price — you should totally take advantage of it!

Would you want me to do a post featuring other Dollar Store items I’ve found for doing your nails? Let me know down in the comments below!

Happy Thursday!

Purple-y Leopard Print

Hello lovelies & happy Tuesday! It’s hot hot hot out there — feeling close to 40 degrees C today with humidity — so going to need to keep well hydrated!

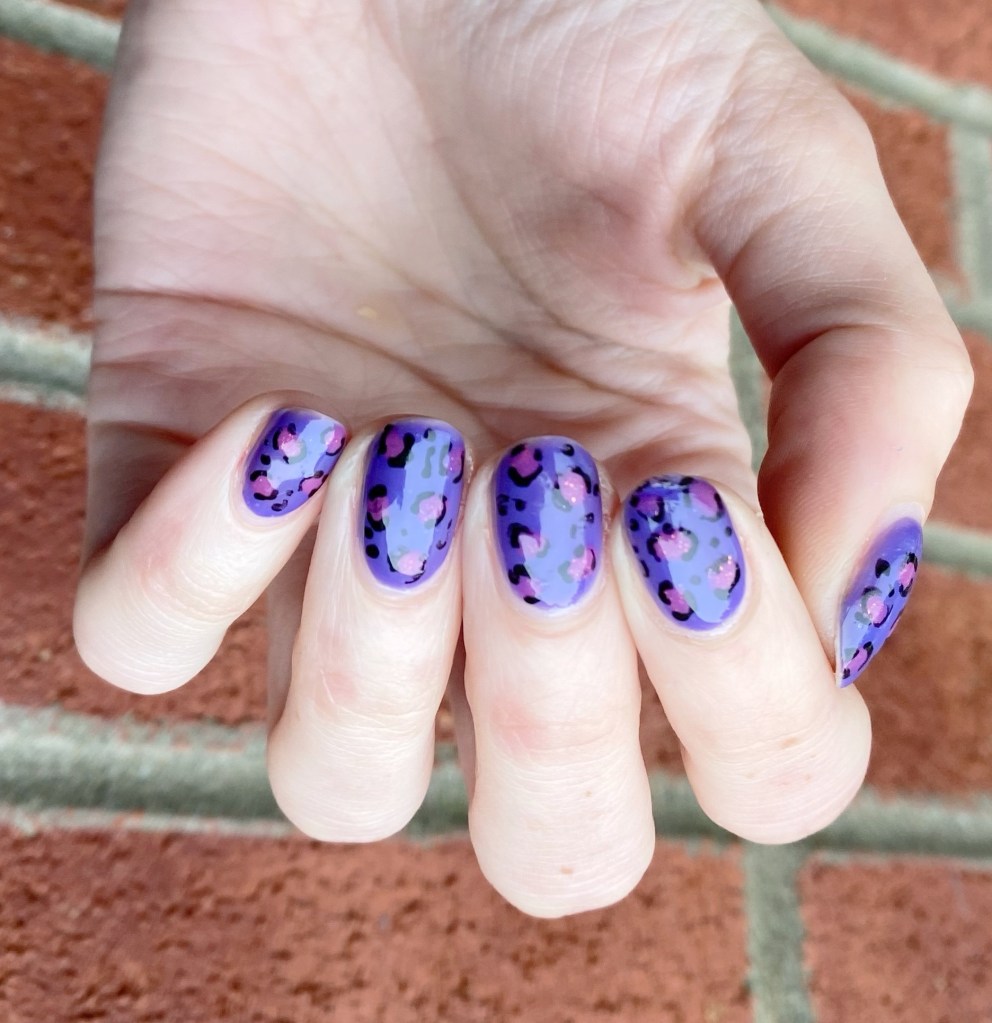
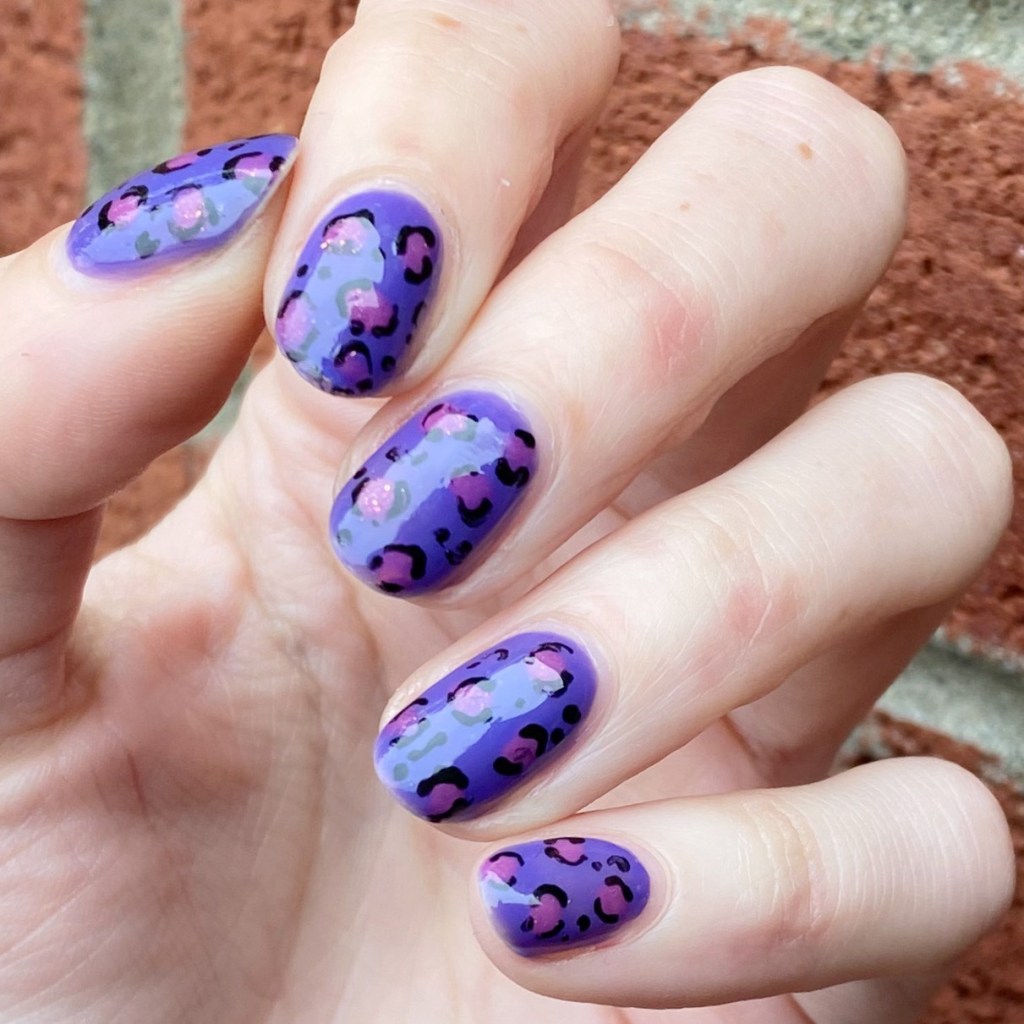
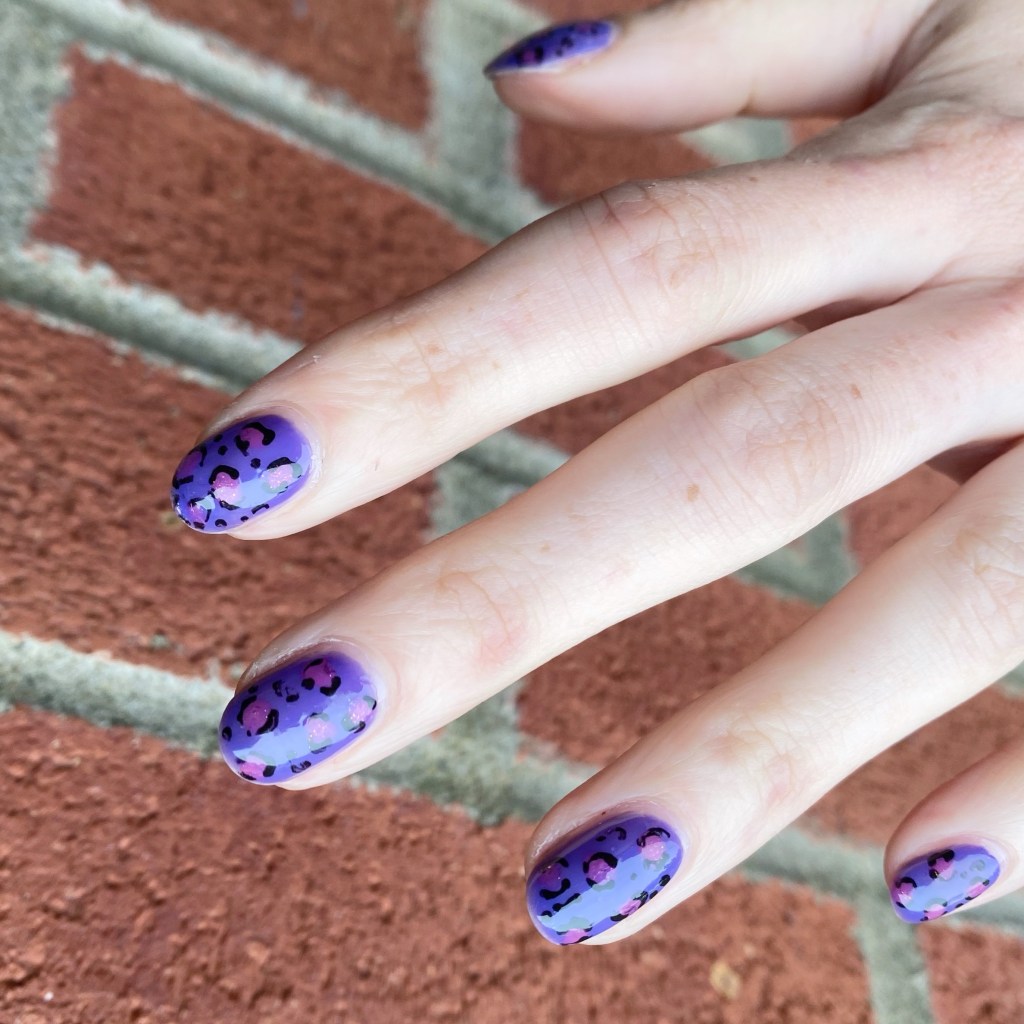
Today I’m sharing an old classic when it comes to nail art: leopard print. It’s been a while since I wore any leopard on my nails (last September) so I thought I was due!

The polishes I used for this manicure are: 

  • Base Coat: Essie Here to Stay
  • Top Coat: Essie Gel Setter
  • Olive & June House of O&J *Gifted
  • Olive & June How Do You Spell Bougainvillea? *Gifted
  • Olive & June Starshower *Gifted
  • Sally Hansen InstaDri Ghouls Night Out *Gifted
  • NailStuff.ca Dotting Tool Trio (tiniest size) *gifted
  • Nailstuff.ca Mermaid Tail 7mm liner brush *gifted

How cute is this leopard design? I love the colours together, the added sparkle from Starshower in the middle of my leopard spots — just everything. Plus leopard nails are so easy to do, I really should do them more often. I’ve always loved a good spotted pattern; the amount of leopard print clothing I have owned over the years is impressive.

What do you think about this leopard design? Are you a fan of patterned designs like this? As always, leave a comment down below! I love hearing what you think!

🖤

Dainty Red Dotticure ♥️

Good morning lovelies, happy Tuesday & happy July! We’re officially 1/2 way through the year, & that just seems insane to me. It’s officially Summer vacation for my kids, which means the free time to myself I have (when they’re not asleep) becomes much more limited!

So simple nail art becomes a bit more necessary. But simple does not need to mean boring, & I feel like today’s look is anything but boring!

The polishes I used for this manicure are: 

  • Base Coat: Essie Here to Stay
  • Top Coat: Essie Gel Setter
  • Essie She’s Pampered
  • Sally Hansen I ♥️ Nail Art pen in pink
  • Color Club Top Shelf
  • NailStuff.ca Dotting Tool Trio (tiniest size)

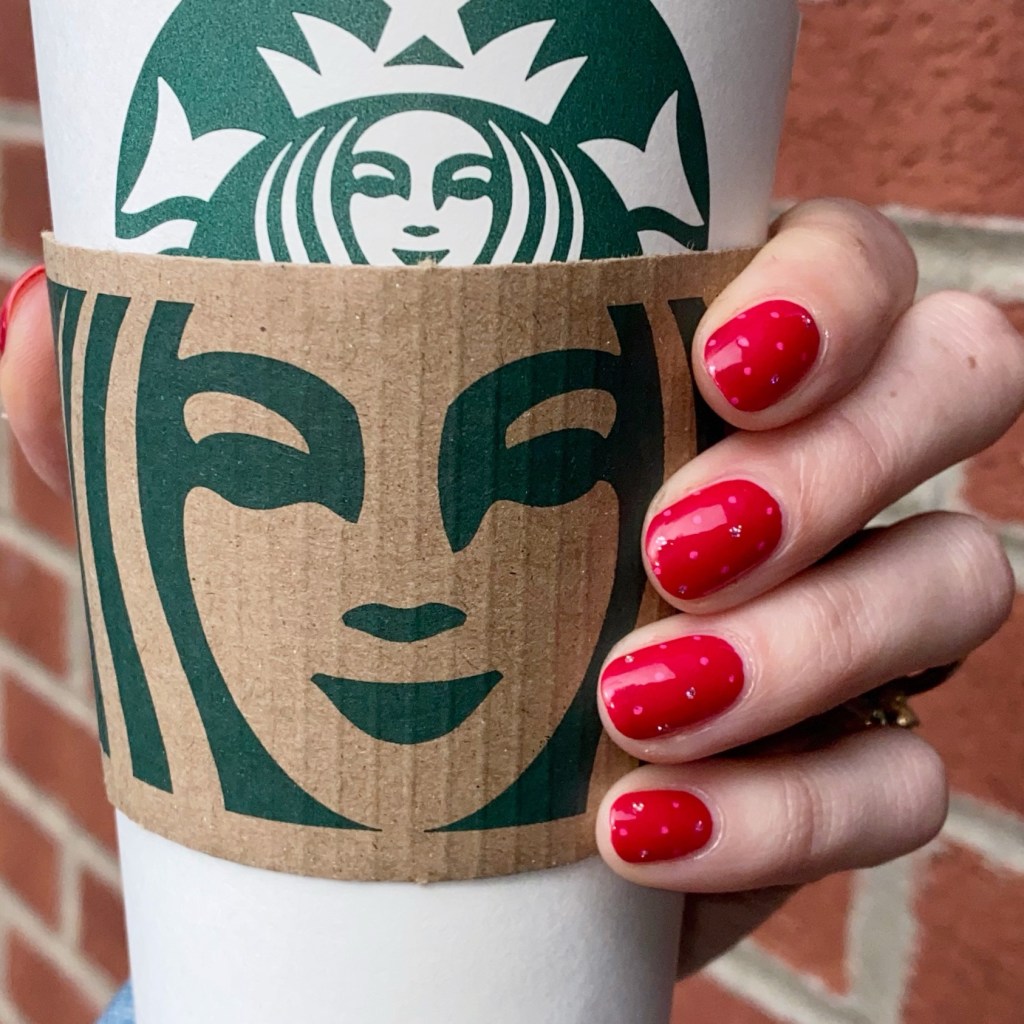
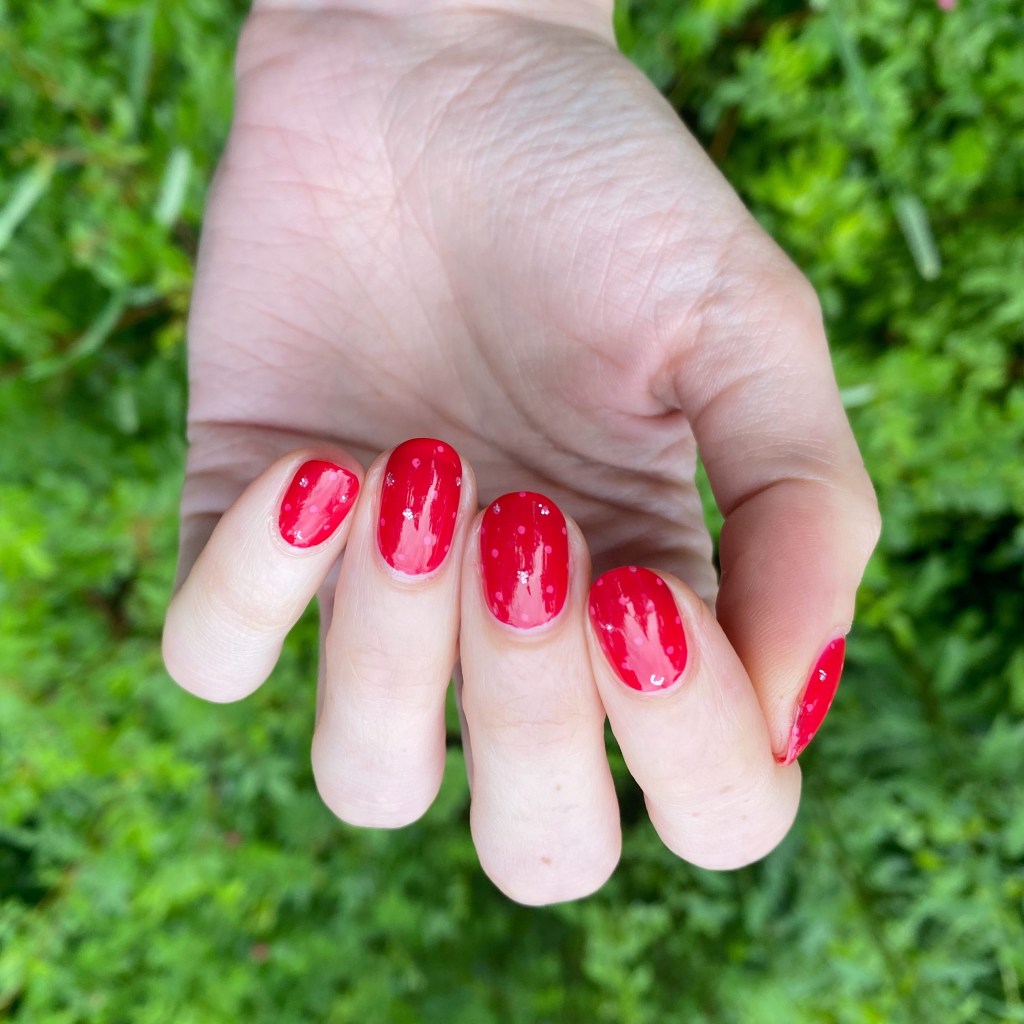
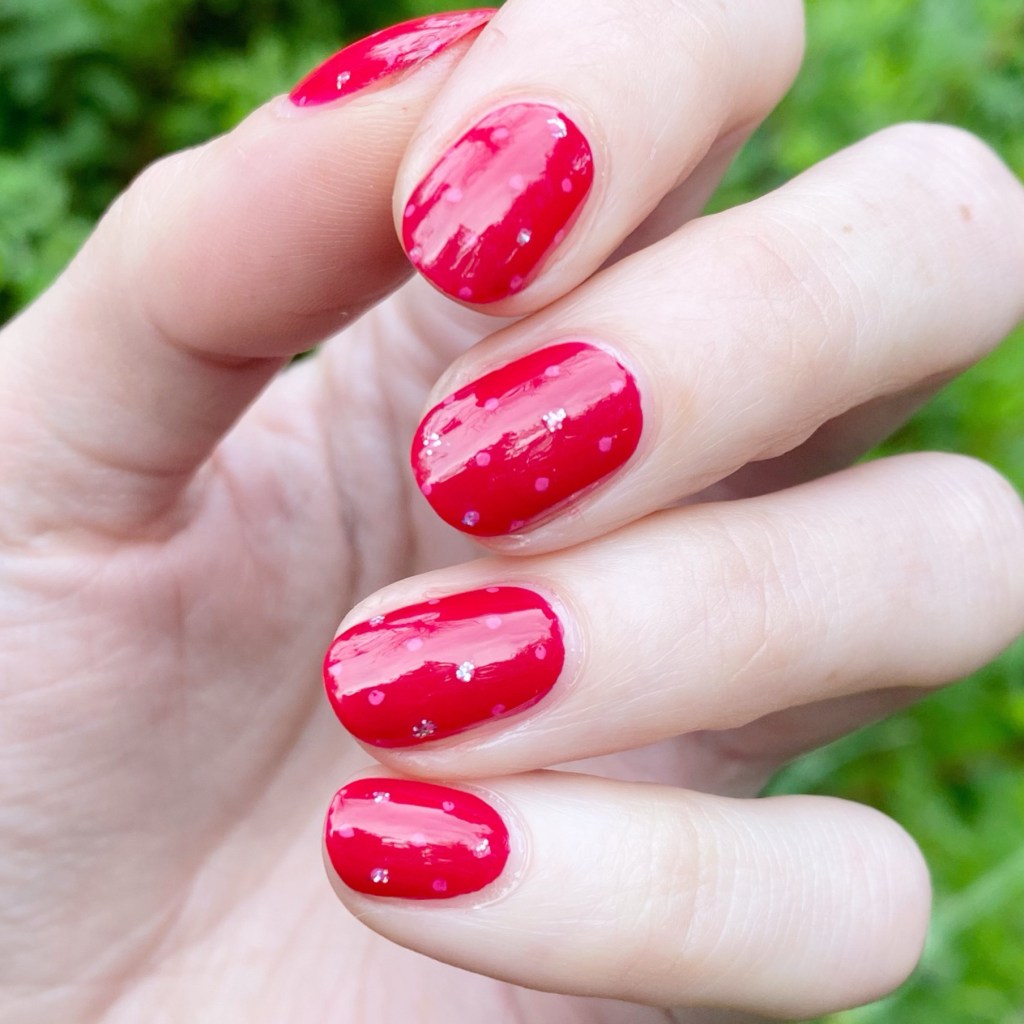
This beautiful polish is another thrift store score that I was not expecting, but I quite love. It looks much more pink in the bottle, but on my nail it’s giving all the way red. But I’ll never say no to a red nail polish — that is well established by now.

I added some pink polka dots over my base shade, with a colour sparkly ones just for fun! I think this look turned out chic & classic, but it’s also fun. From far away you get red nails, but up close you get the full fun look. & I love a nail art design like that! Polka dots were one of the first designs I ever taught myself, & they remain one of my favourites.

What do you think about this chic dainty dotticure? Are you a fan of a subtle look like this? Let me know what you think in the comments below & please — PLEASE — let me know any nail art looks you’d like to see me attempt!

🖤

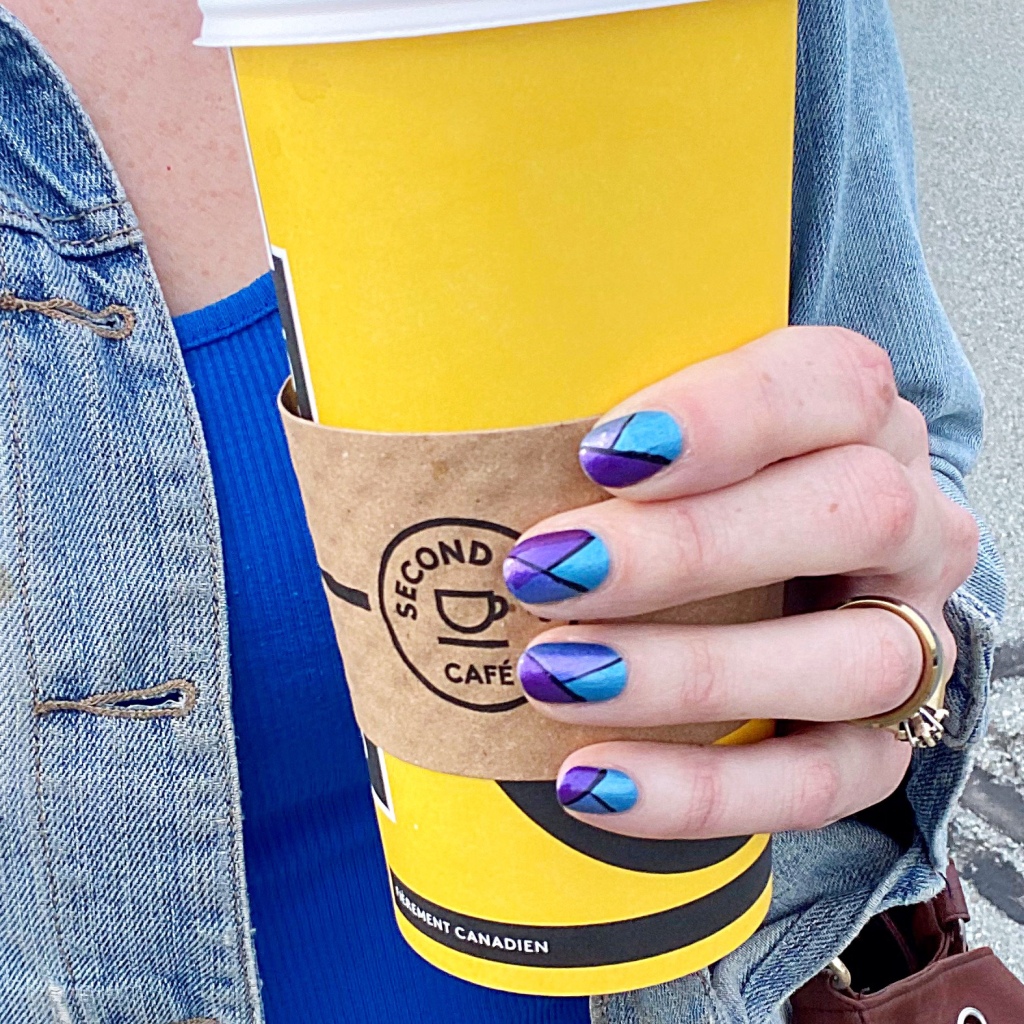
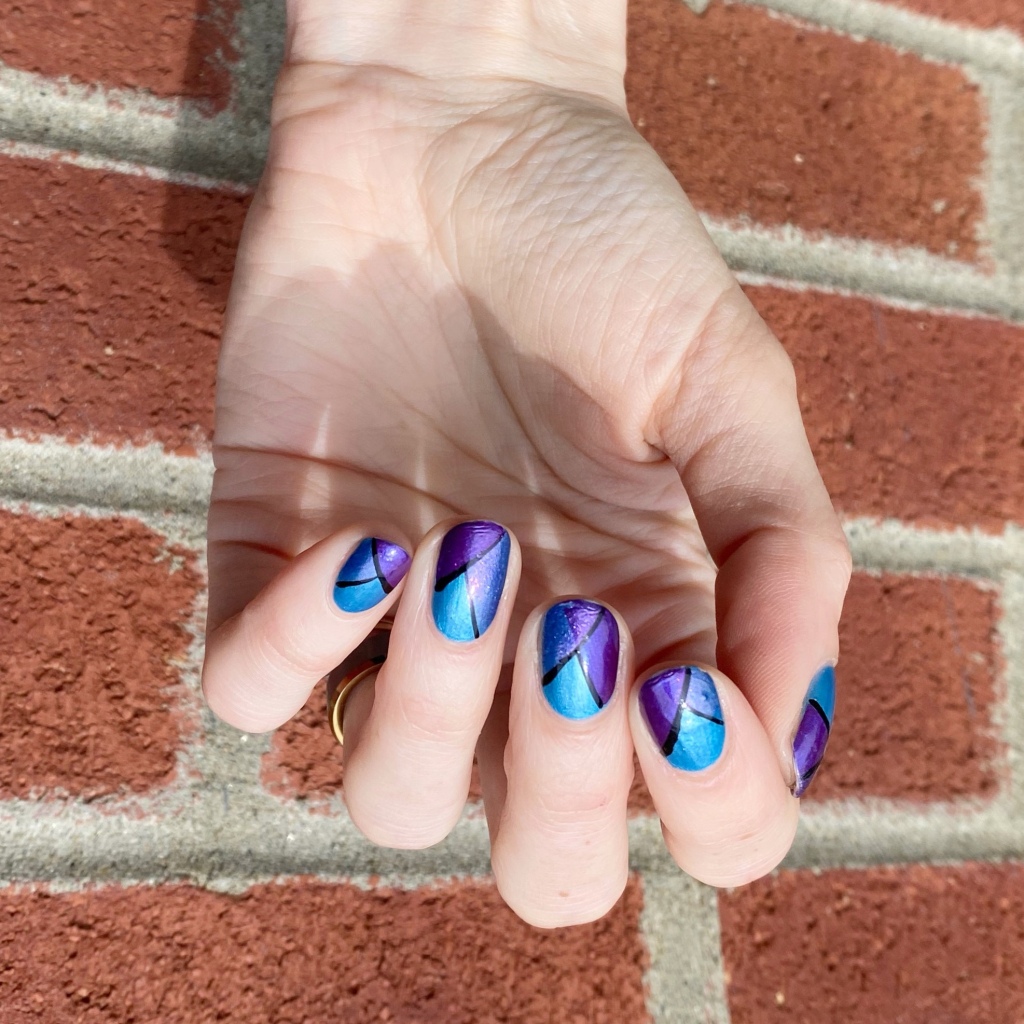
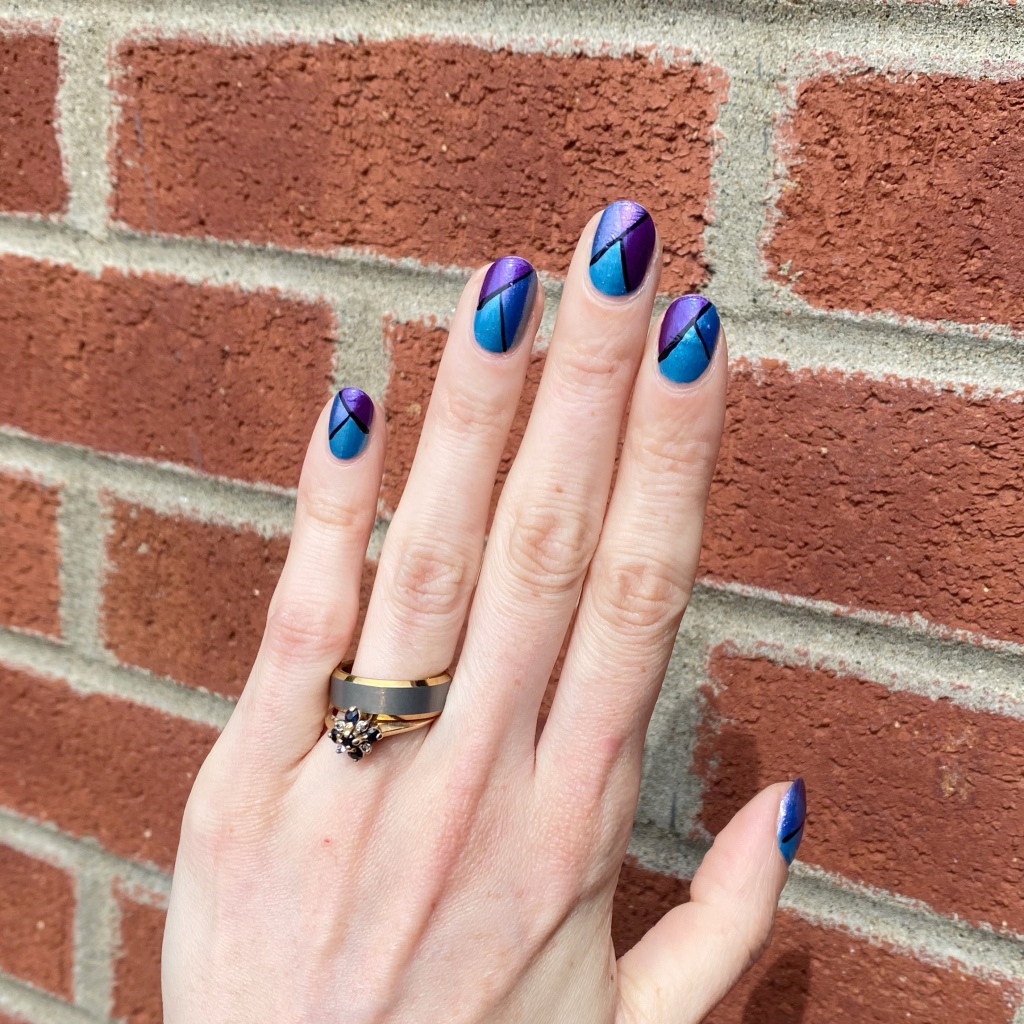
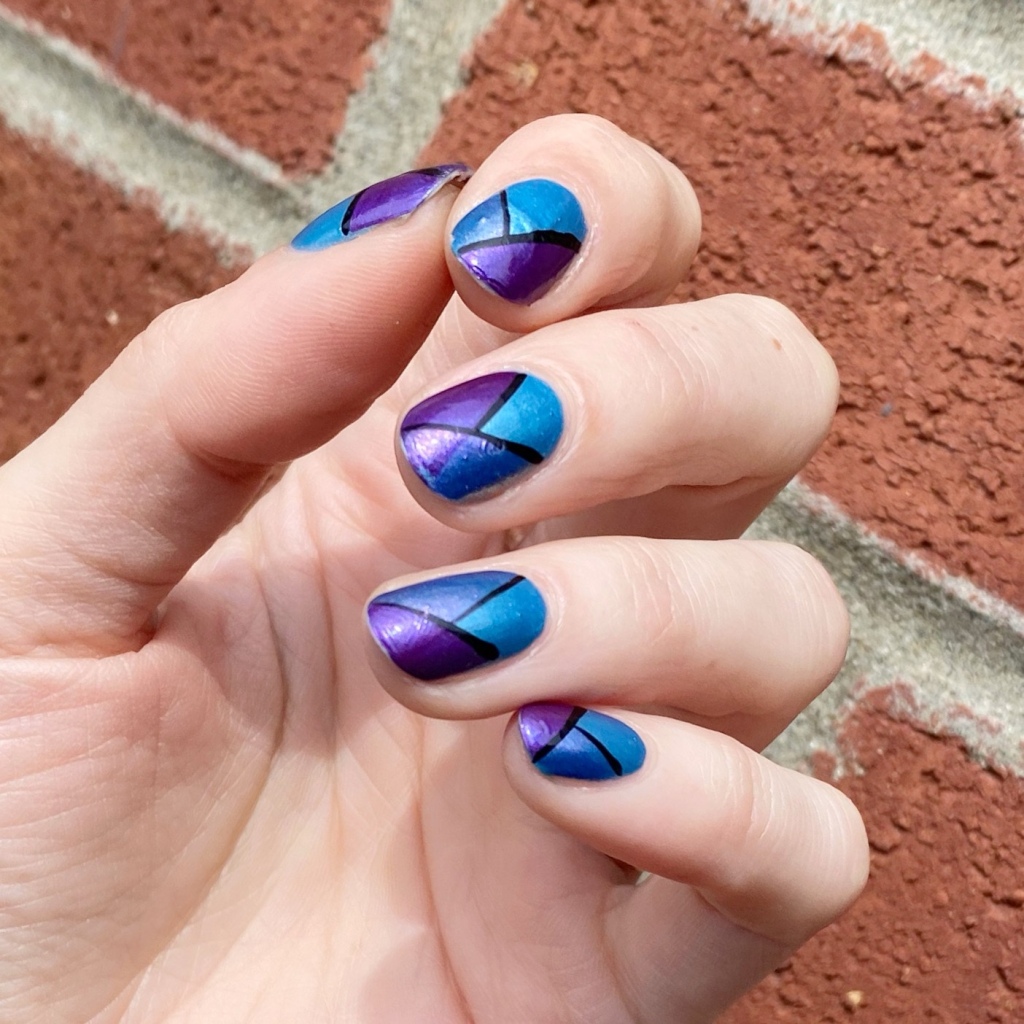
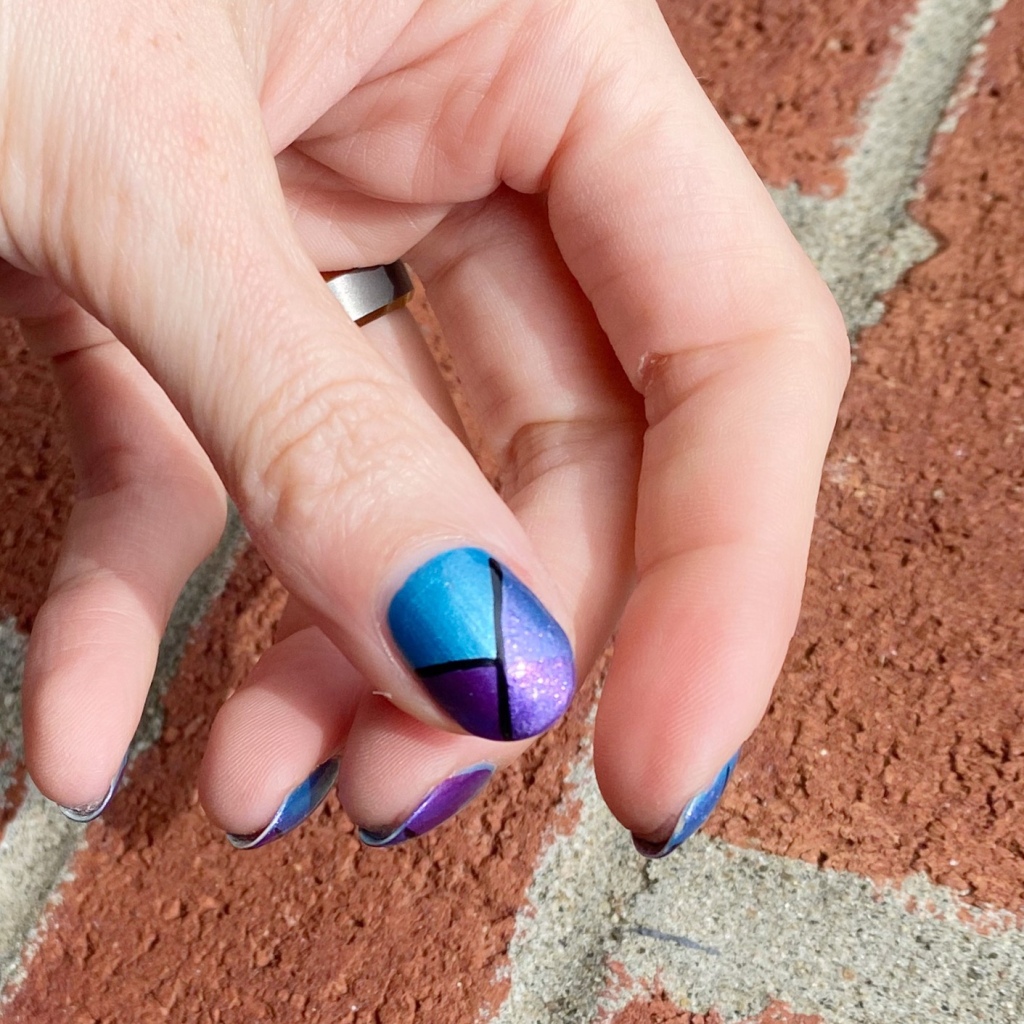
Blurple Colour Block Featuring OPI

Good morning lovelies & happy Tuesday… it’s been a while. This month has been so insane, & my nail painting has really fallen off. Trying my best to get back into it though, & today I have some fun (& relatively simple!) nail art to share with you.

The polishes I used for this manicure are: 

  • Base Coat: Essie Here to Stay
  • Top Coat: Essie Gel Setter
  • OPI Dining al Frisco
  • OPI Infinite Shine Sound of Vibrance
  • OPI Infinite Shine Shaking My Sugar Plums
  • Quo by Orly Striper Black

How good are these blues & purples together? I definitely feel like those are my colours lately, right down to my hair colour. But I just love a good colour block, & this design is so easy to do — & you don’t even need any nail art tools!

You definitely could use nail vinyls or tape if you’re not comfortable freehanding though. I like going over my lines with the black though, because I feel like it hides any mistakes you might have done, plus makes the blue really pop!

What do you think of this colour block featuring some fun OPI shades from my stash? Do you love how these shades pair together as much as me? Let me know your thoughts down in the comments below & what you’d like to see next?

Happy Tuesday!

🖤