Hello lovelies & happy Thursday! It’s hot, sunny & beautiful lately & feels just like the kind of Summer days I like.
Today I’m sharing a new manicure & a bit of a nail art hack. I’ve posted before about my absolute love of nail art stickers.
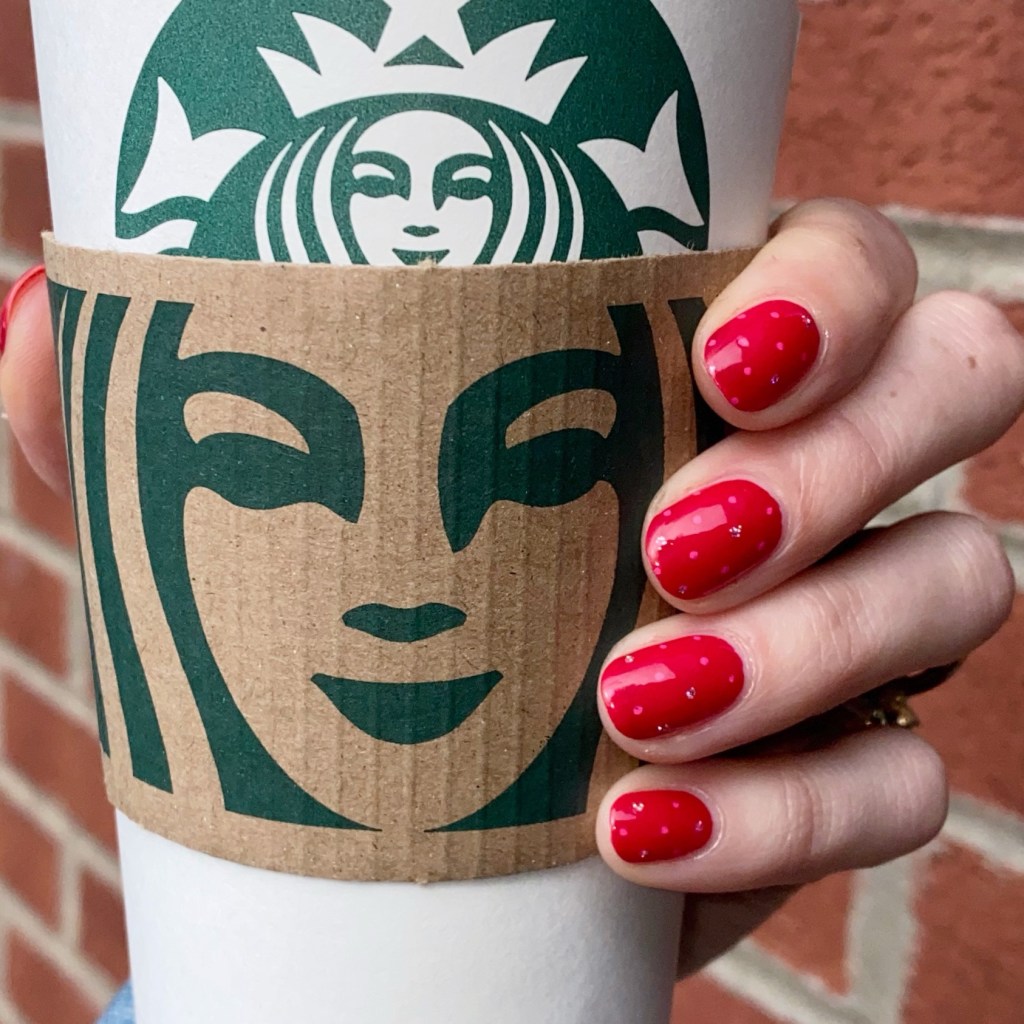
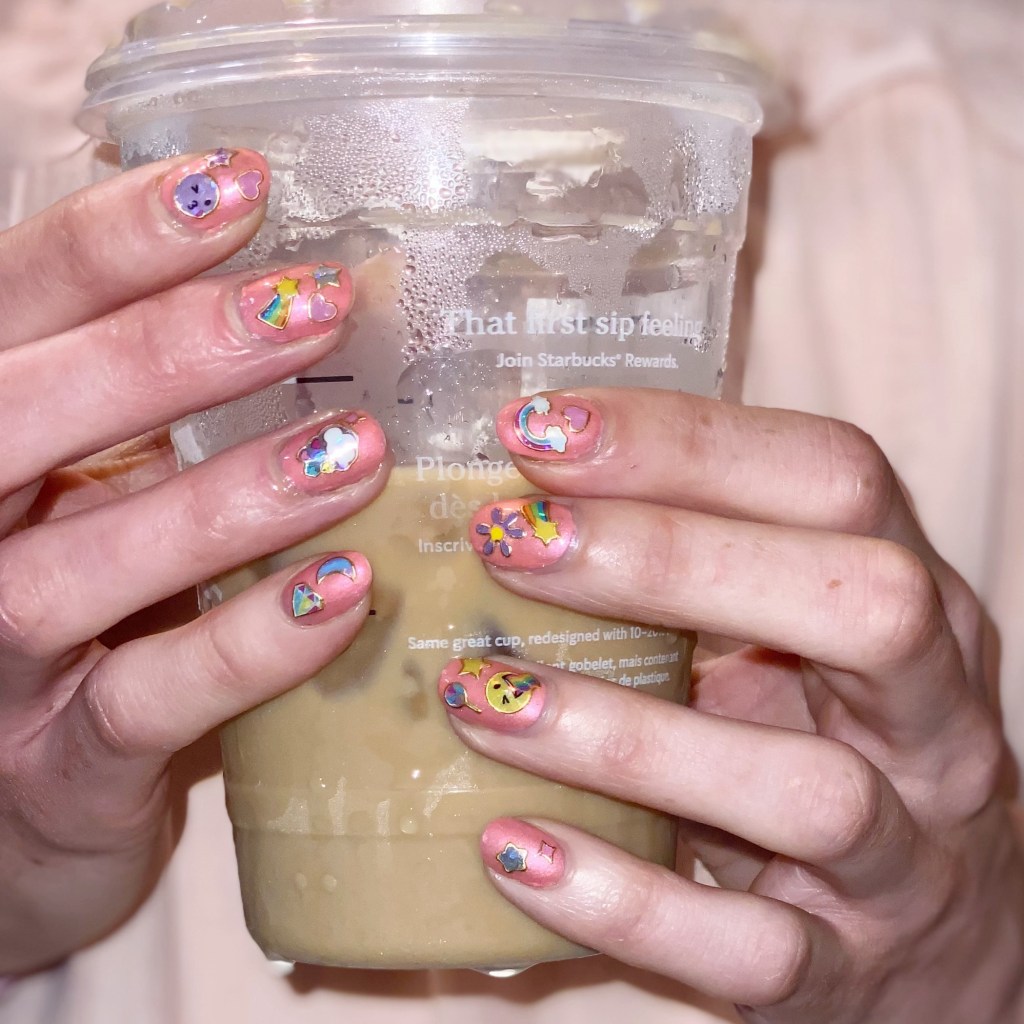
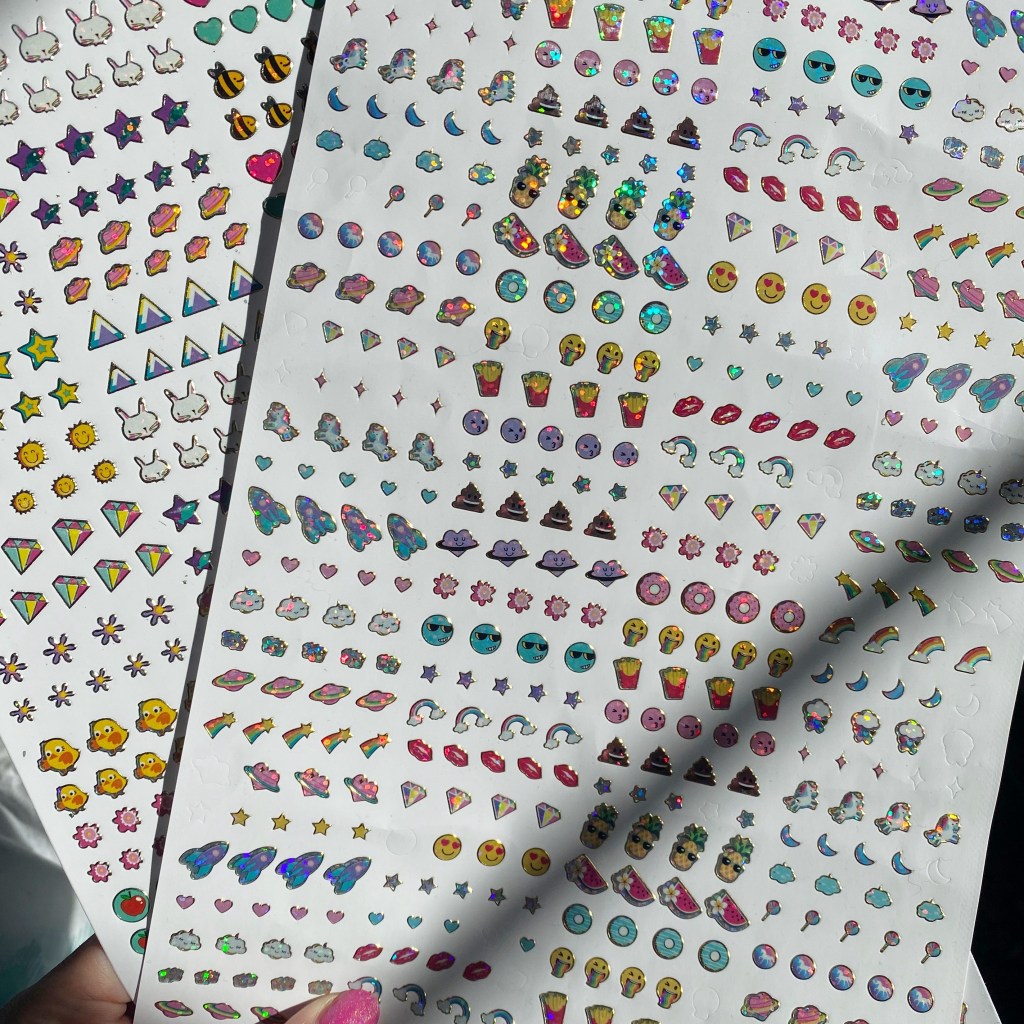
Recently I was in my local Dollarama & found these massive sheets of small foil emoji inspired stickers for $1.25 & thought they would be perfect for stick on earrings for my daughter. But then I realized they were the perfect size to potentially work for nail art stickers & so naturally I bought 2.


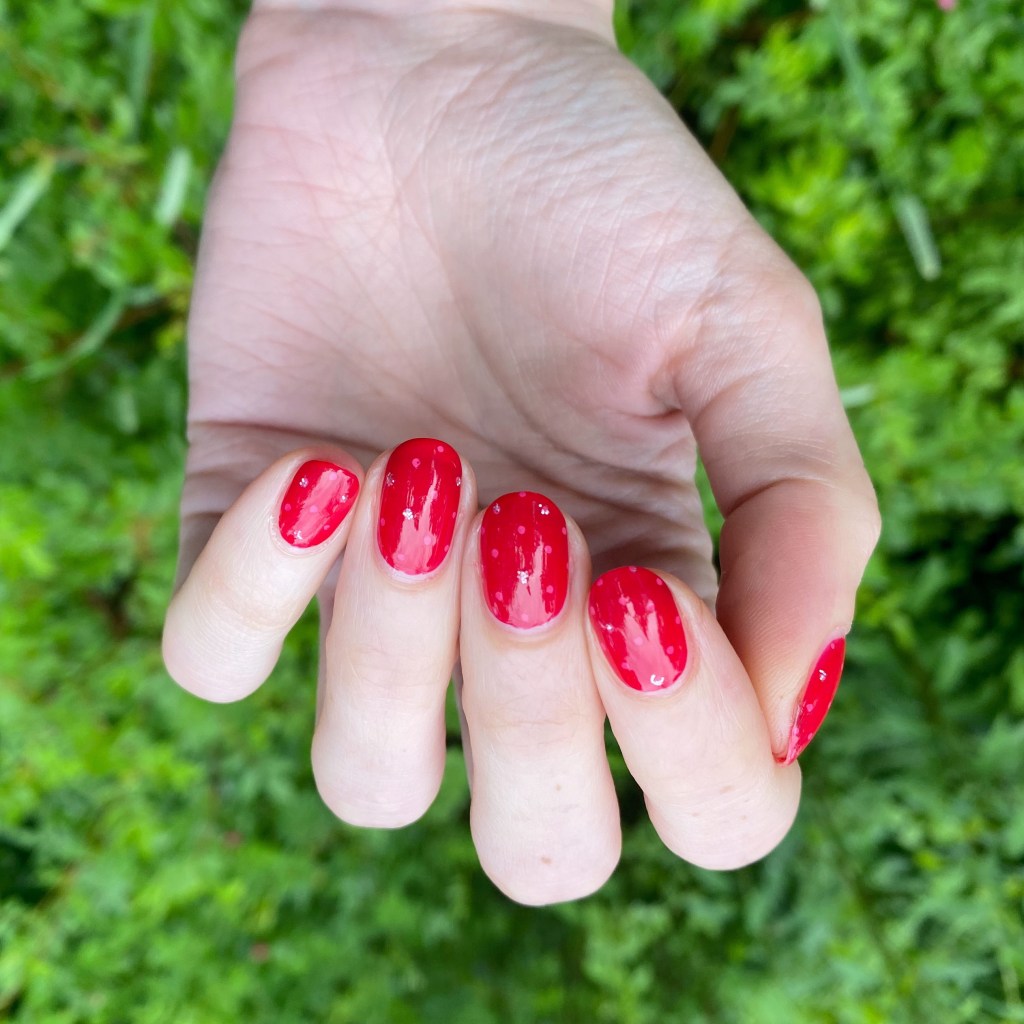
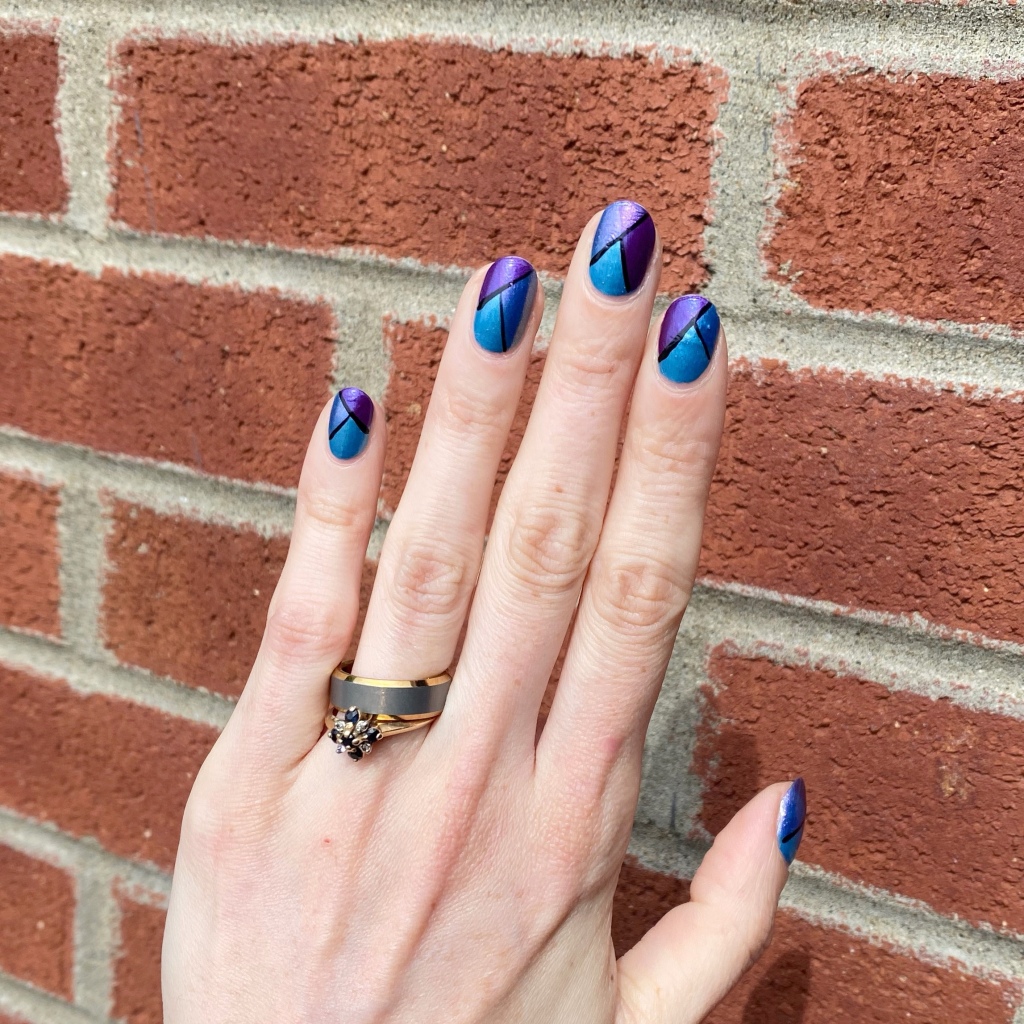
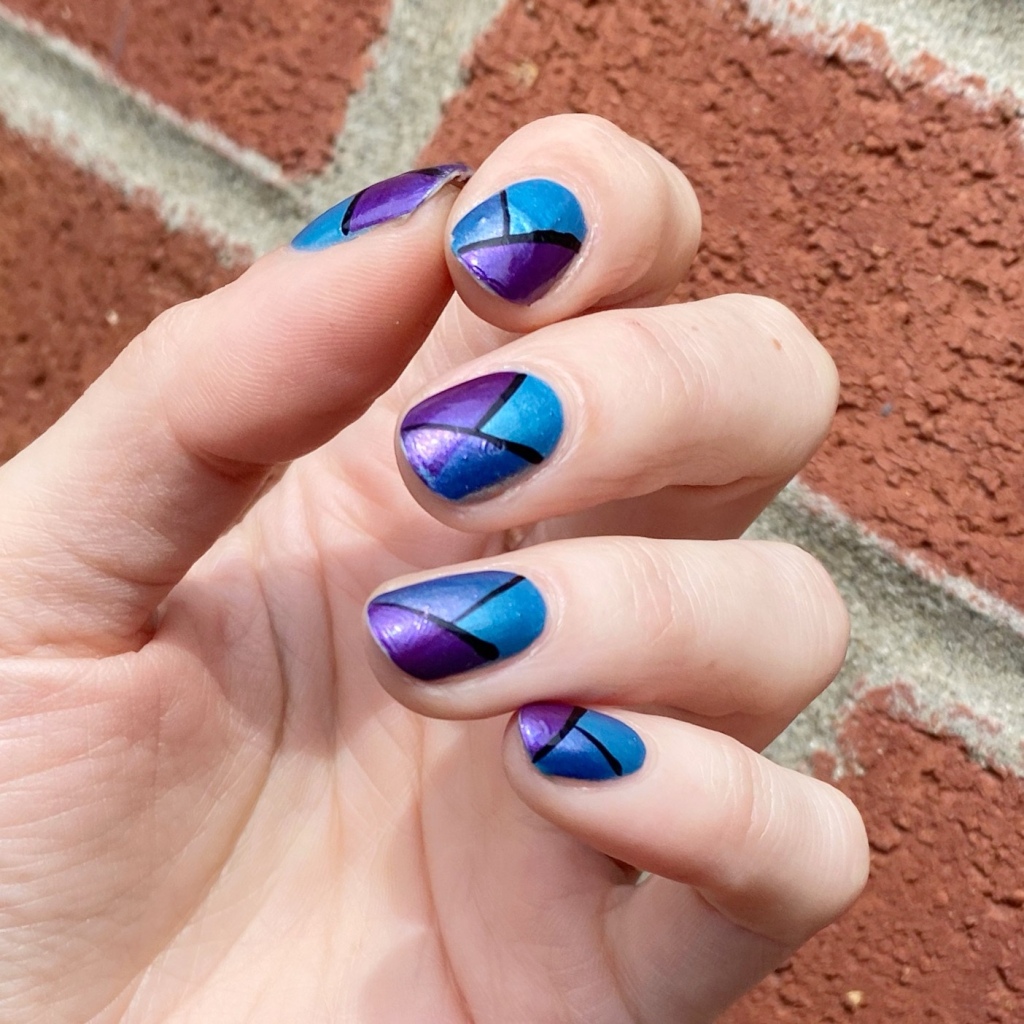
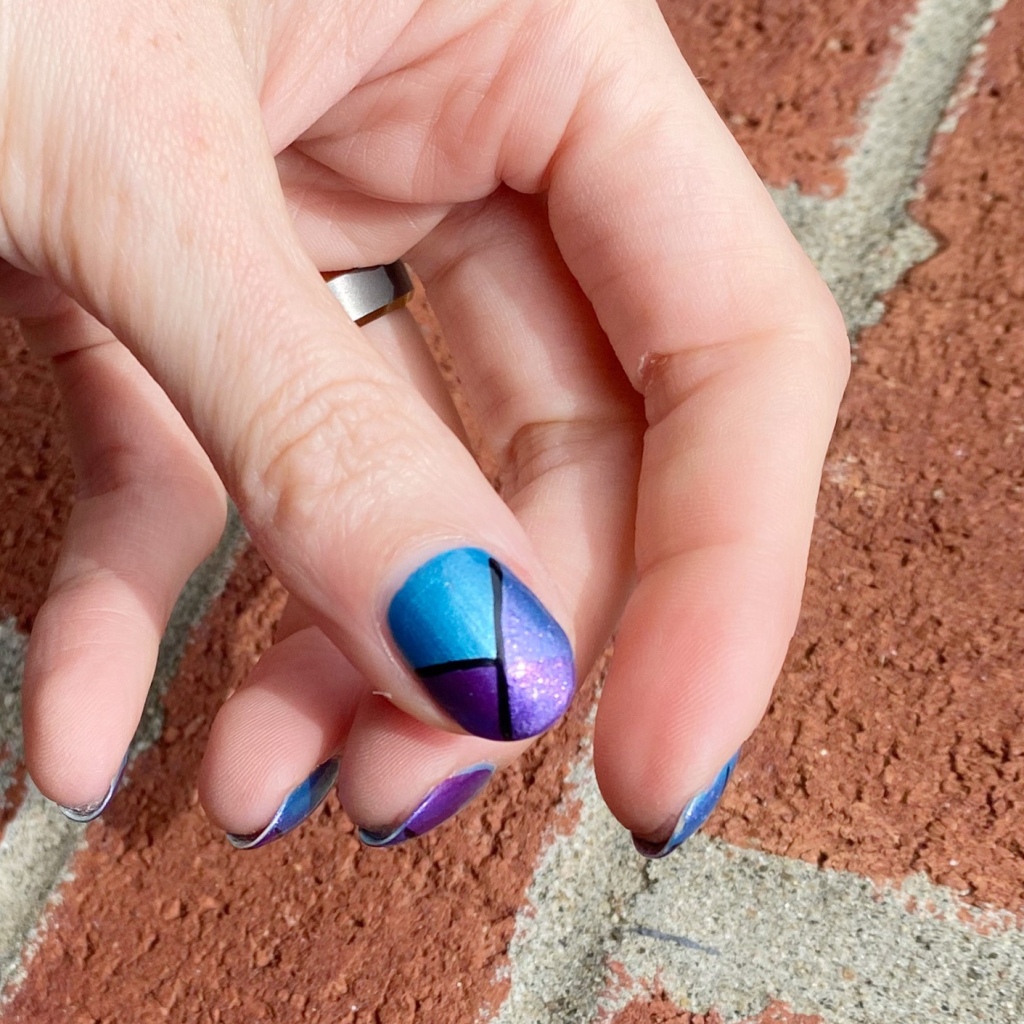
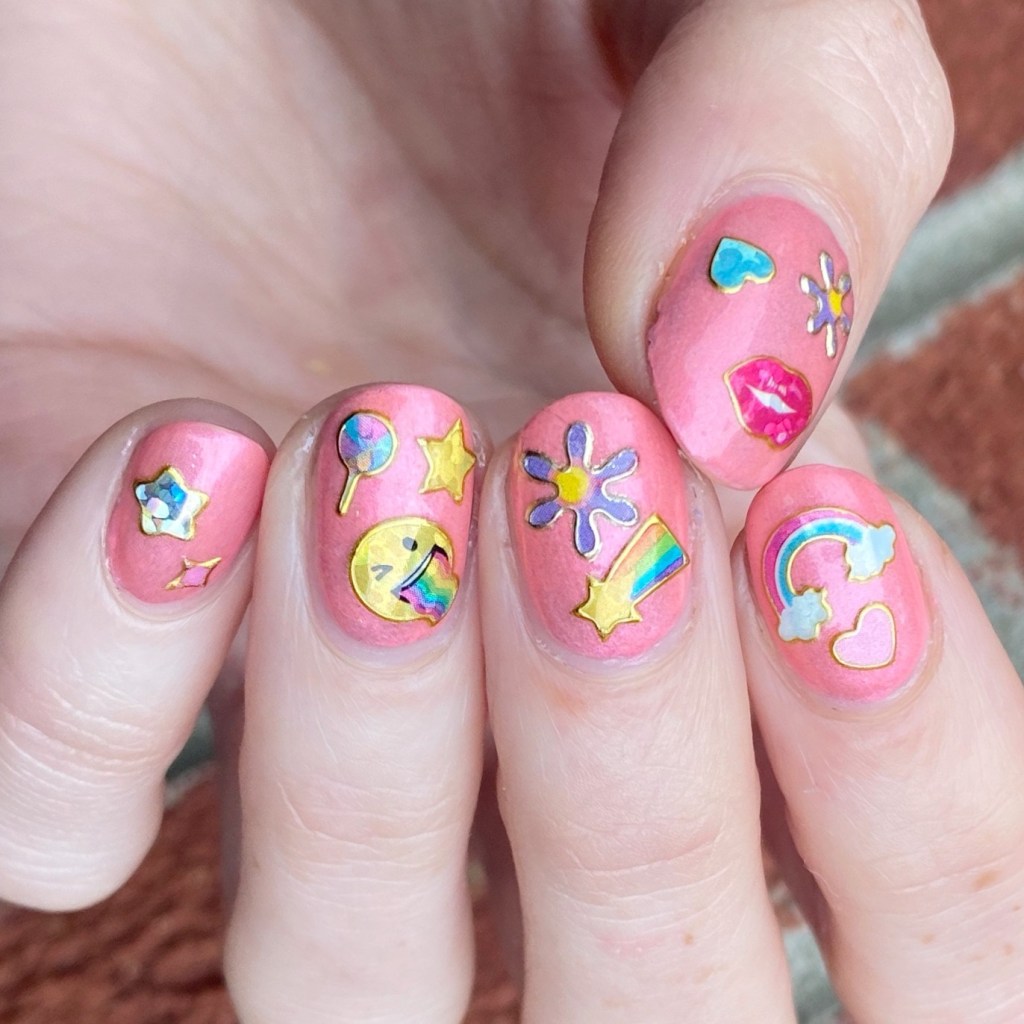
The polishes I used for this manicure are:
- Base Coat: Essie Here to Stay
- Top Coat: Essie Gel Setter
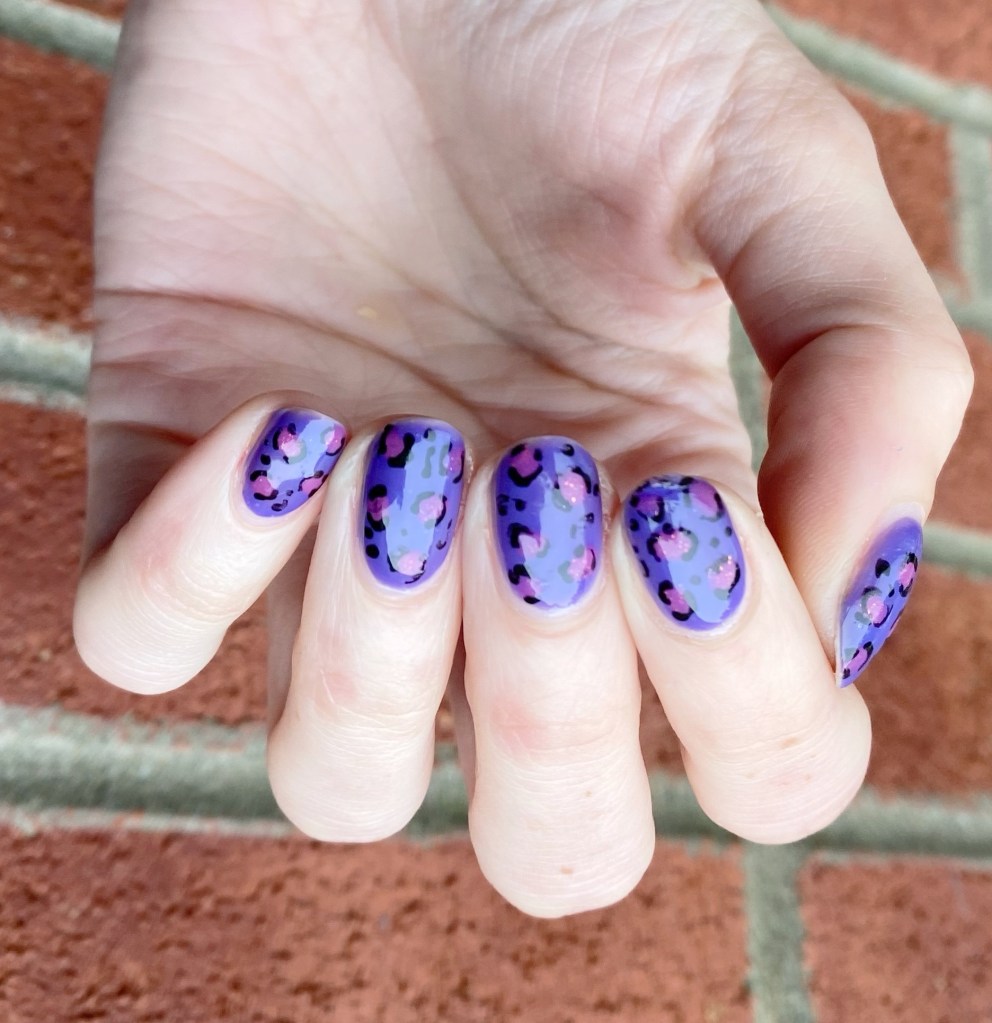
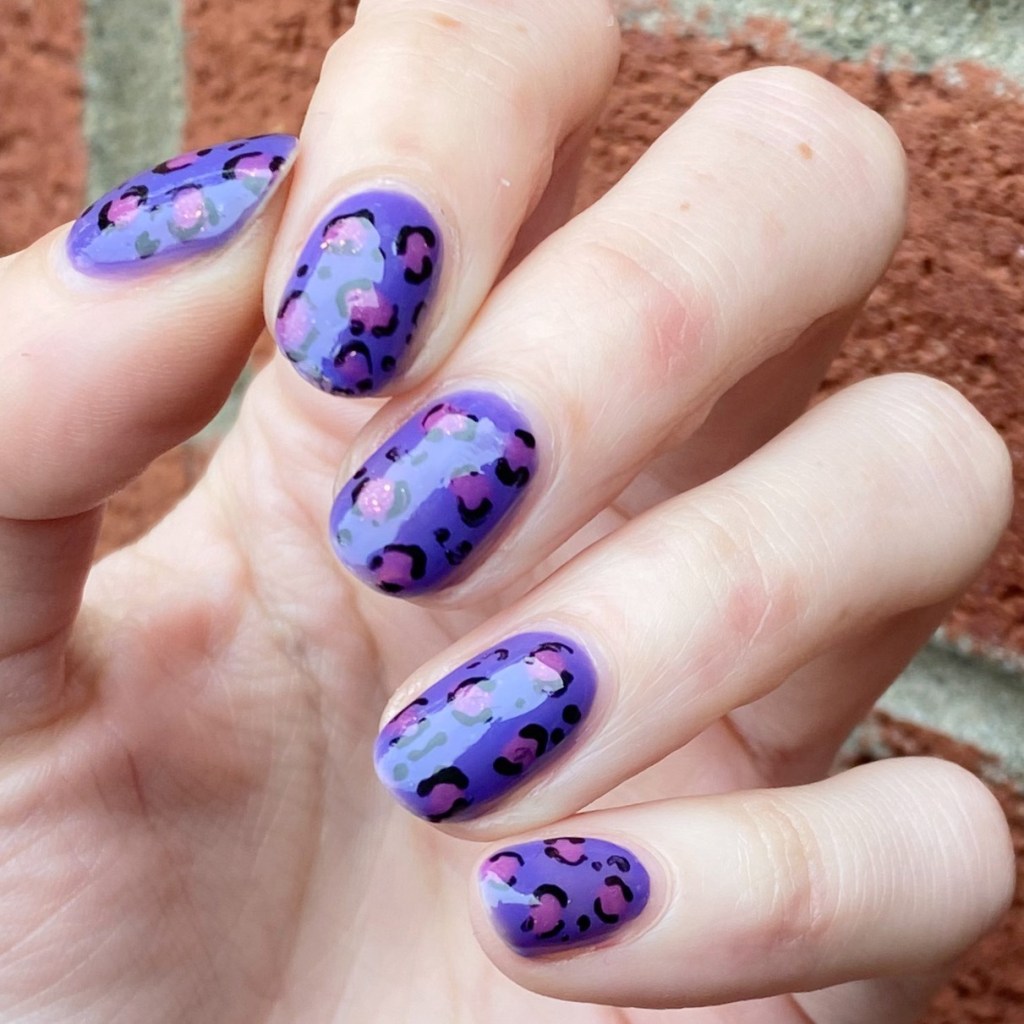
- China Glaze Thistle Do Nicely
- China Glaze Everglaze Optimal Opal
- Dollarama Small Foil Emoji Stickers
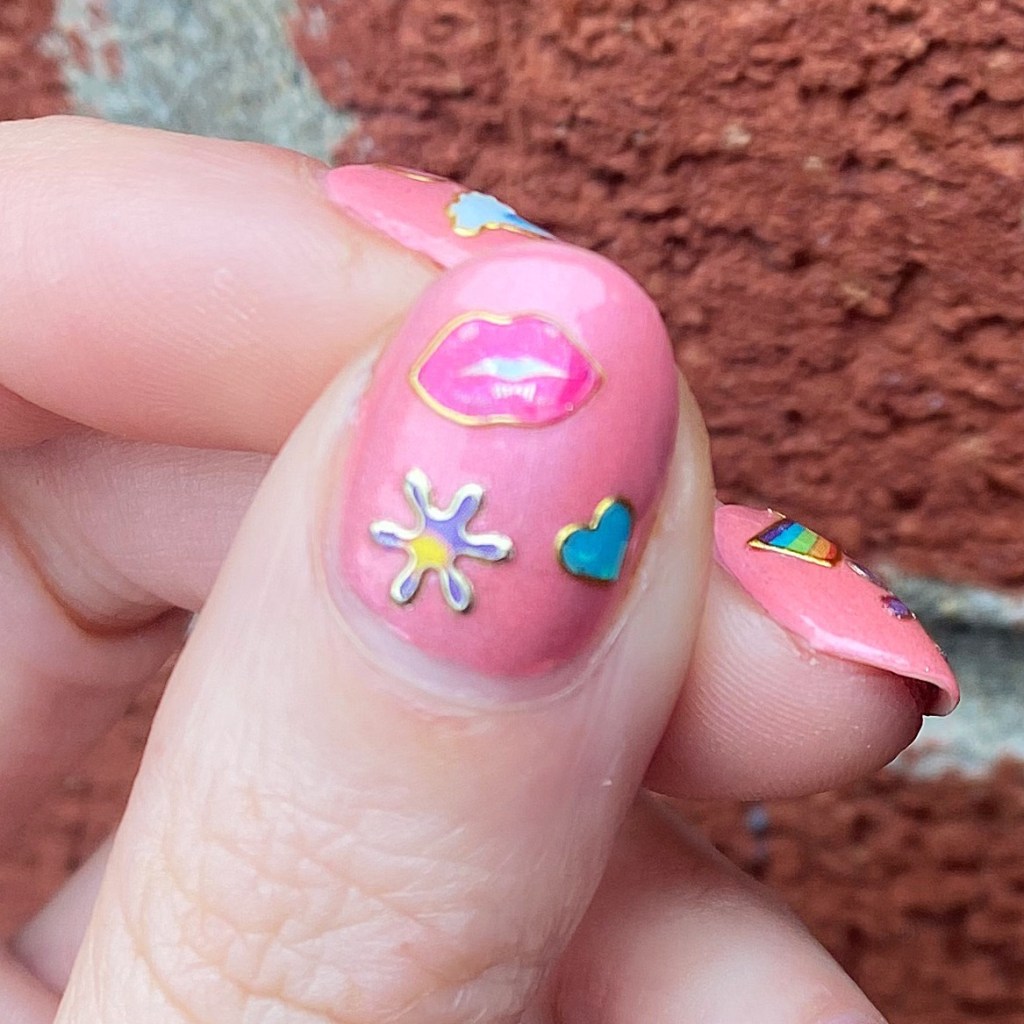
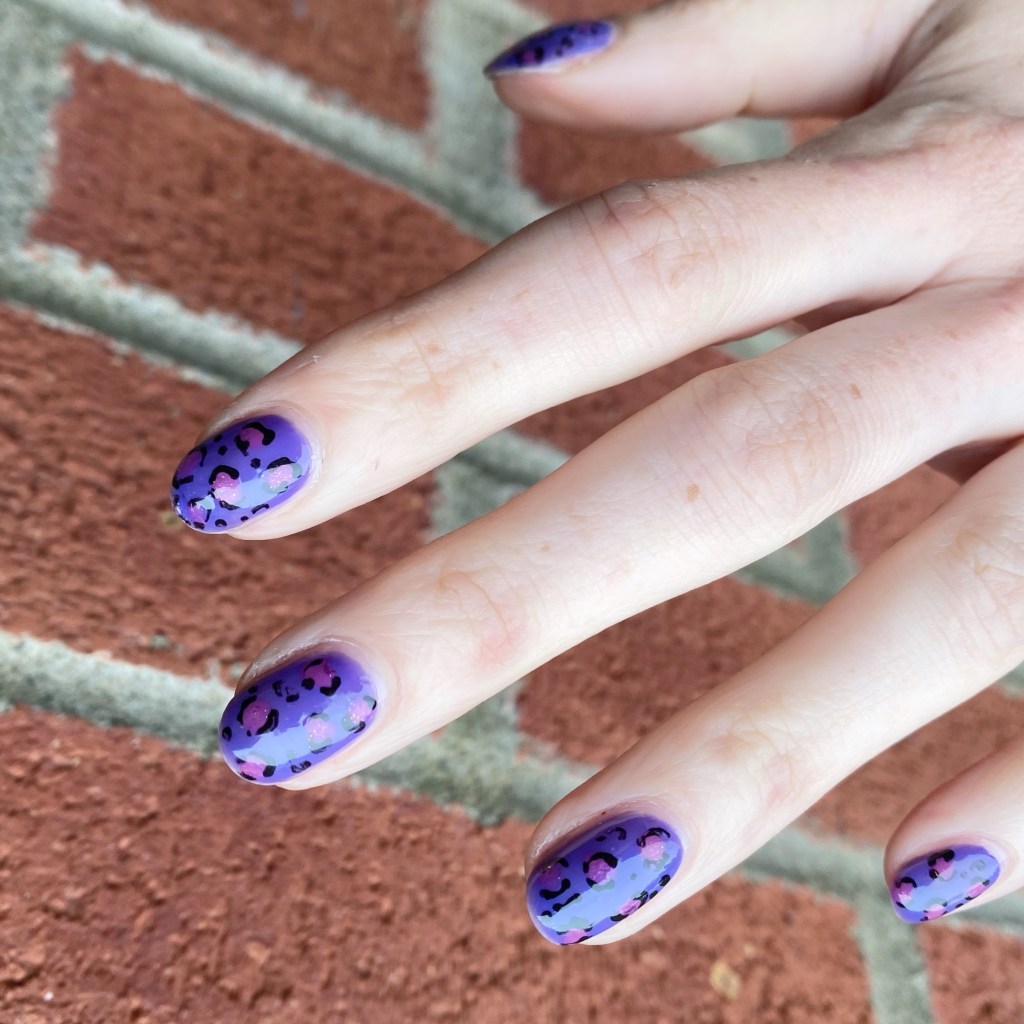
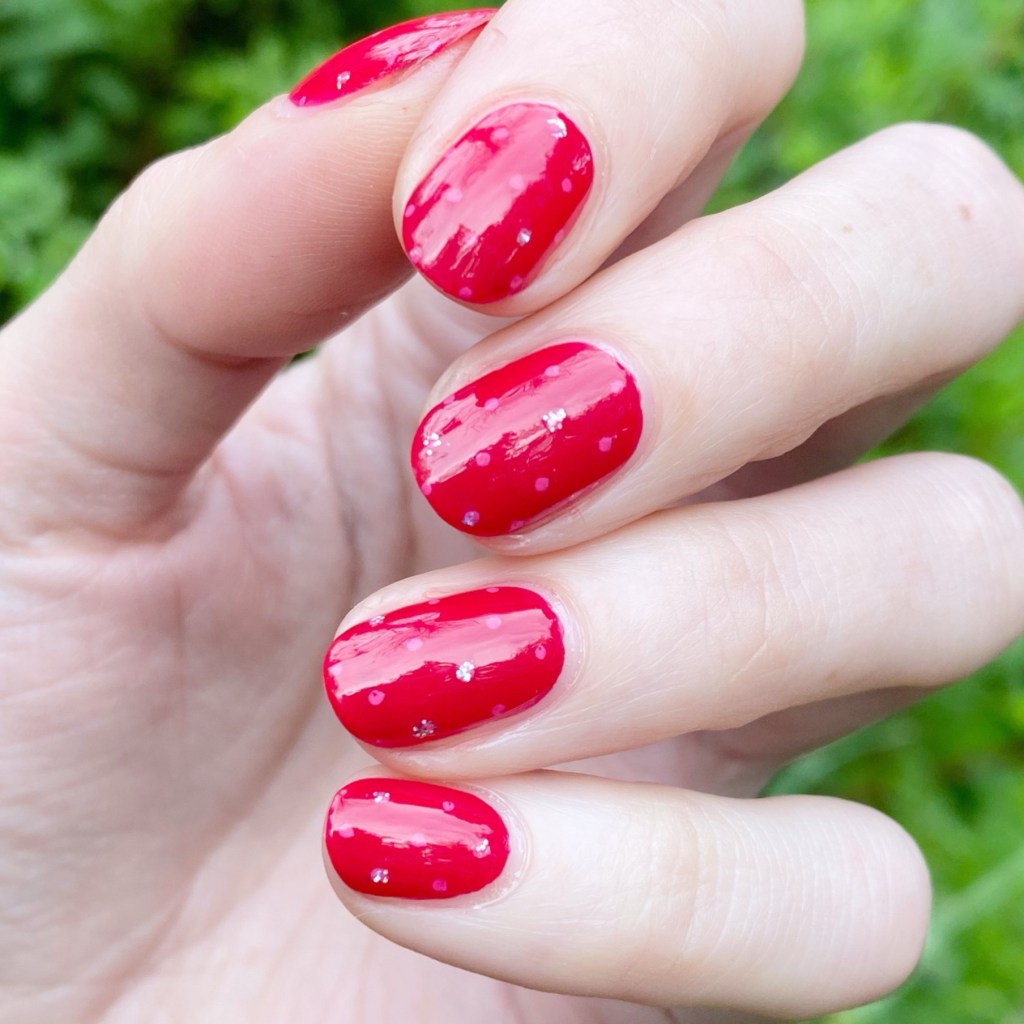
Okay I’m really really impressed with how easily these stuck to my nails, & adhered to my already dry base. They were fairly flexible & easy to stick on the nail, or adjust slightly if needed. I used tweezers to pull them from my sheet, & attach them to my nails, & most of the stickers I picked were easy to apply.
For removal, it was just as easy to take off. I did have a few stickers which were lifting by the end of the day, but that could be avoided with a thicker top coat.
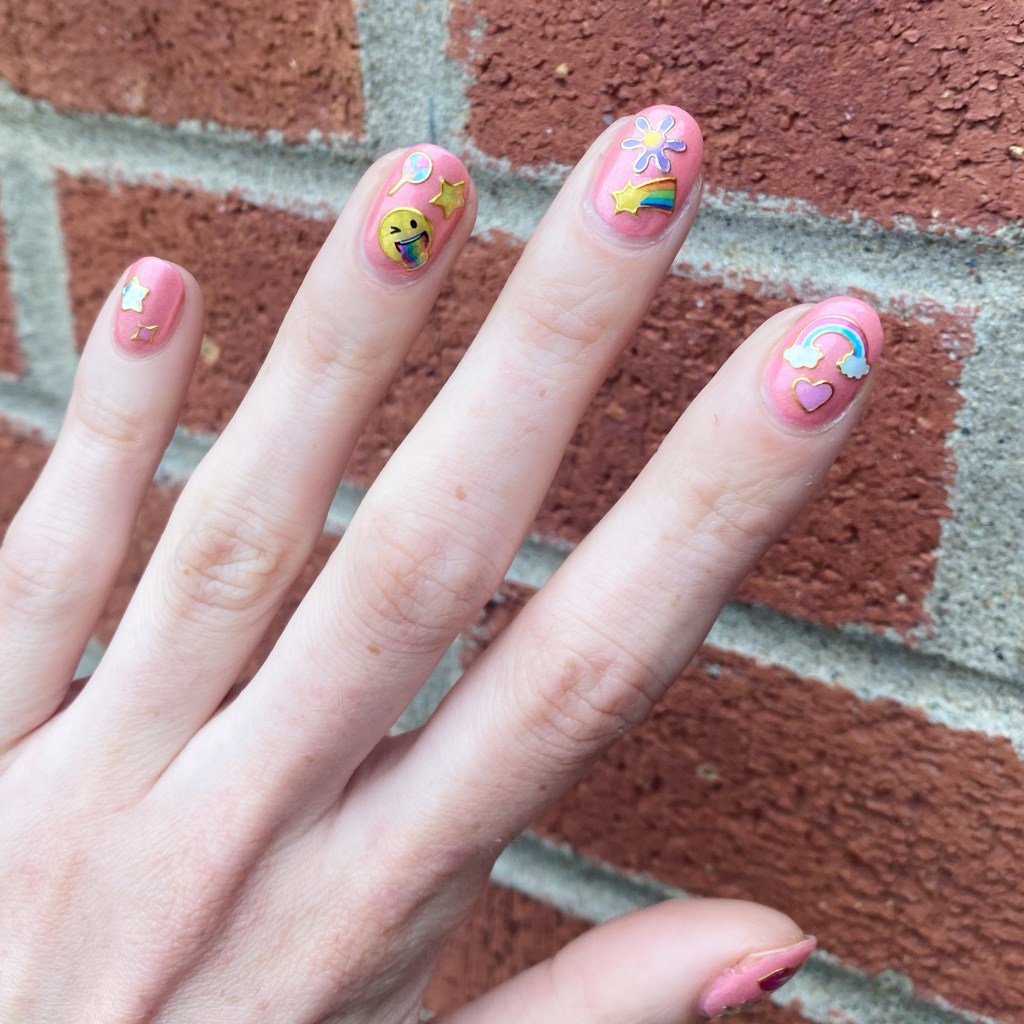
Over all, I think these stickers were perfect for easy nail art at a great low price. Obviously, I want to support small businesses that sell nail art stickers, but times are tough right now, & I think everyone deserves to have beautiful nails so if you can find cute stickers to use on your nails at an affordable price — you should totally take advantage of it!
Would you want me to do a post featuring other Dollar Store items I’ve found for doing your nails? Let me know down in the comments below!
Happy Thursday!