Dainty Pink & Blue Dotticure

Hello lovelies & happy Monday! A brand new week which is always exciting. It’s also Valentine’s Day this week, so I expect to be busy at work because who doesn’t want candy for Valentine’s Day?

Today though, I’m sharing my last design I did during my week break from blogging (& before I chopped my nails down short.) In my opinion, a dainty dotticure is always a good idea!
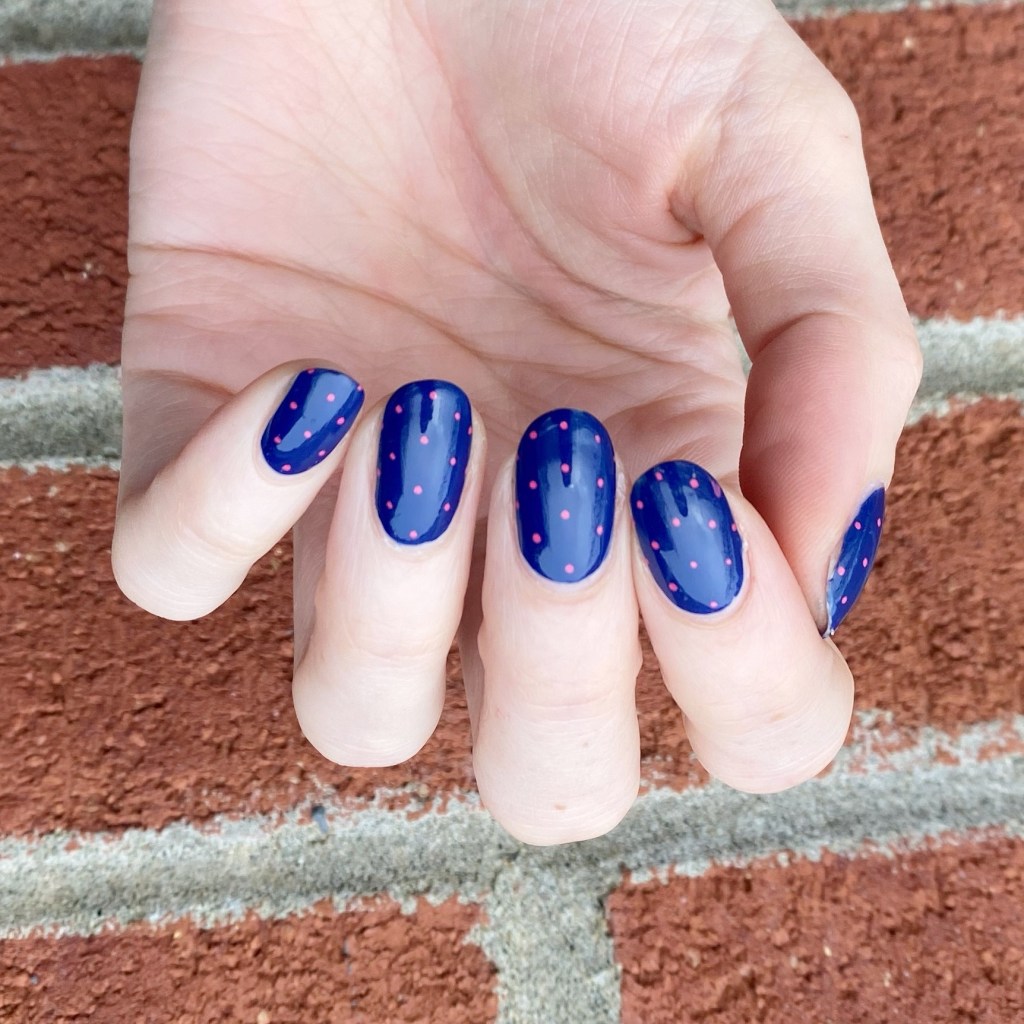
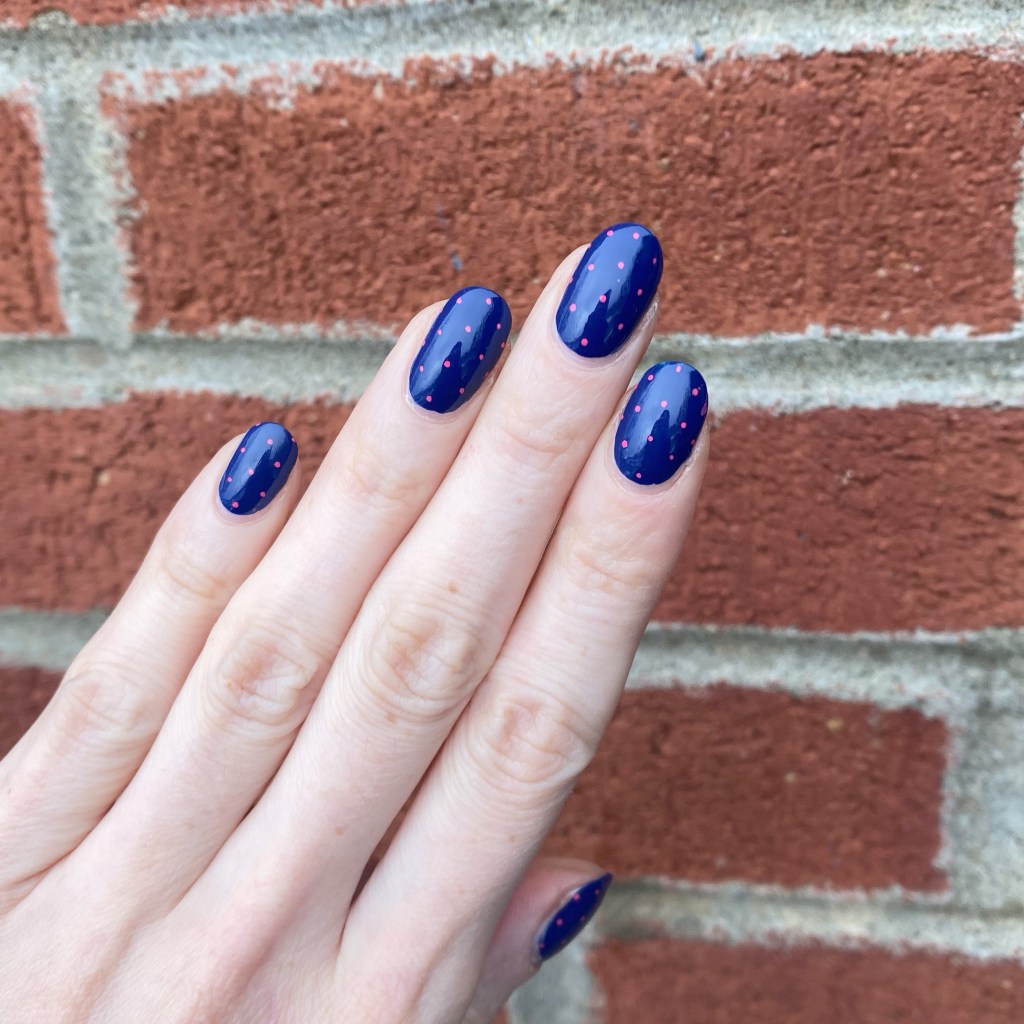
The polishes I used for this manicure are: 

  • Base Coat: China Glaze Calcium Gel Fortifer
  • Top Coat: China Glaze Fast Forward Top Coat
  • Essie License to Thrill
  • Sally Hansen I 💗 Nail Art Pen in pink
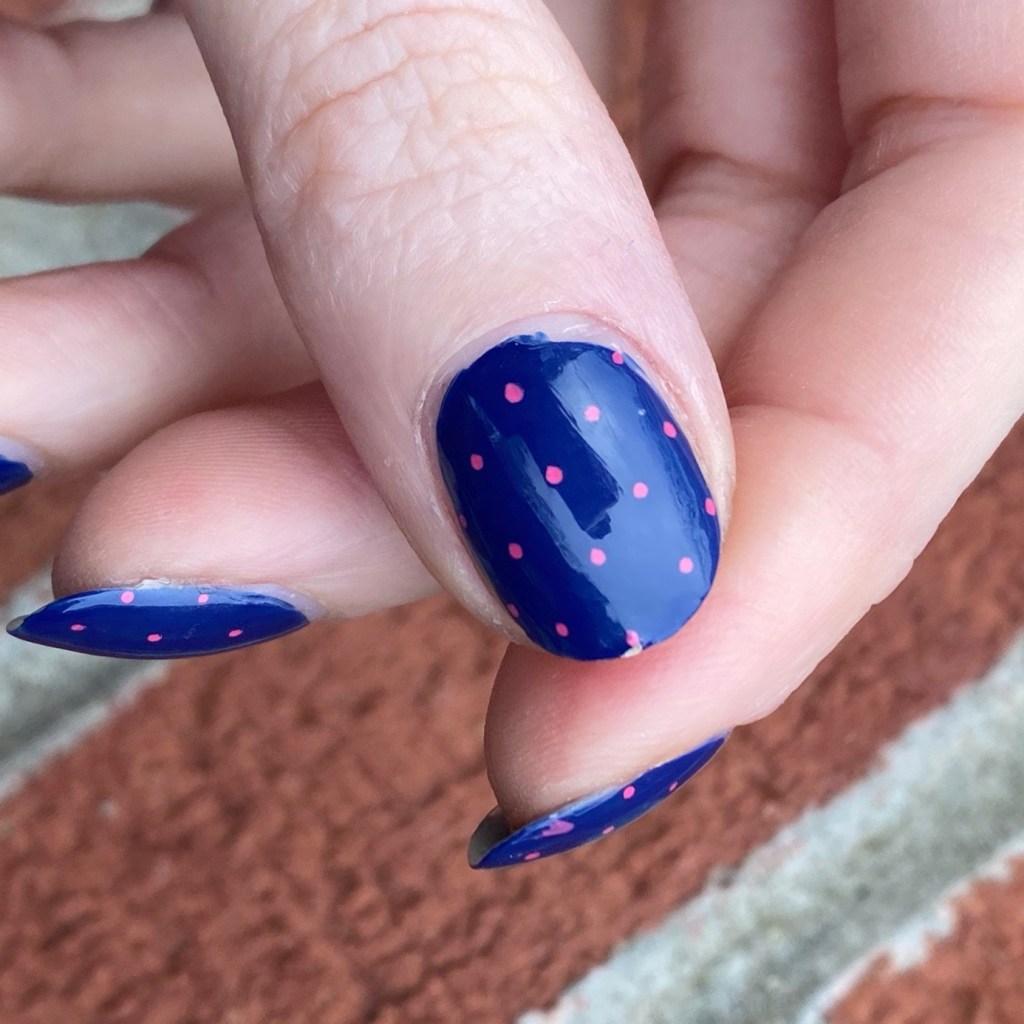
I am so ready to petition Sally Hansen to bring back these I 💗 Nail Art pens because they just make dotticure & polka dots so freaking easy! Like look at these! I could never get polka dots as clean & as perfect as these with a dotting tool, no matter how hard I try. I’m just absolutely obsessed & I really wish they would bring them back already!

What do you think about this dainty dotticure? Do you love a petite polka dot as much as I do? Let me know all your thoughts down in the comments below!

Simple Pink & Holo Glitter Nails

Good morning lovelies & happy Monday! We’re still digging out from the snowpocalypse over the weekend but thankfully I have some manicures from last week (when I wasn’t posting) to share with you this week!

Today’s look is a super simple one, but I actually really love it. This would be a great Valentine’s Day look to wear for any fun date (or girls night!) you have planned. It’s also a super simple look to create.

The polishes I used for this manicure are: 

  • Base Coat: China Glaze Calcium Gel Fortifer
  • Top Coat: China Glaze Fast Forward Top Coat
  • Butter London Pistol Pink
  • OPI I Snow You Love Me
  • Dotting tool

I haven’t worn this pink in ages & I totally forgot how beautiful it was! I don’t often wear just pink nails on their own, so naturally I had to add a little extra sparkle. Originally, I wanted to use heart glitters — but my bottle is all dried up & needs some nail polish thinner — so I decided to go with the next best thing which is this glitter from OPI.

It gives the effect of rhinestones on your nails, without having to worry about hitting them against something & knocking them off! Just such a cute easy nail art look to wear!

What do you think about this simple chic pink nail art look? Would you wear this design on your nails? As always, I love to hear what you think in the comments so please share below!

Enjoy your Monday 🖤

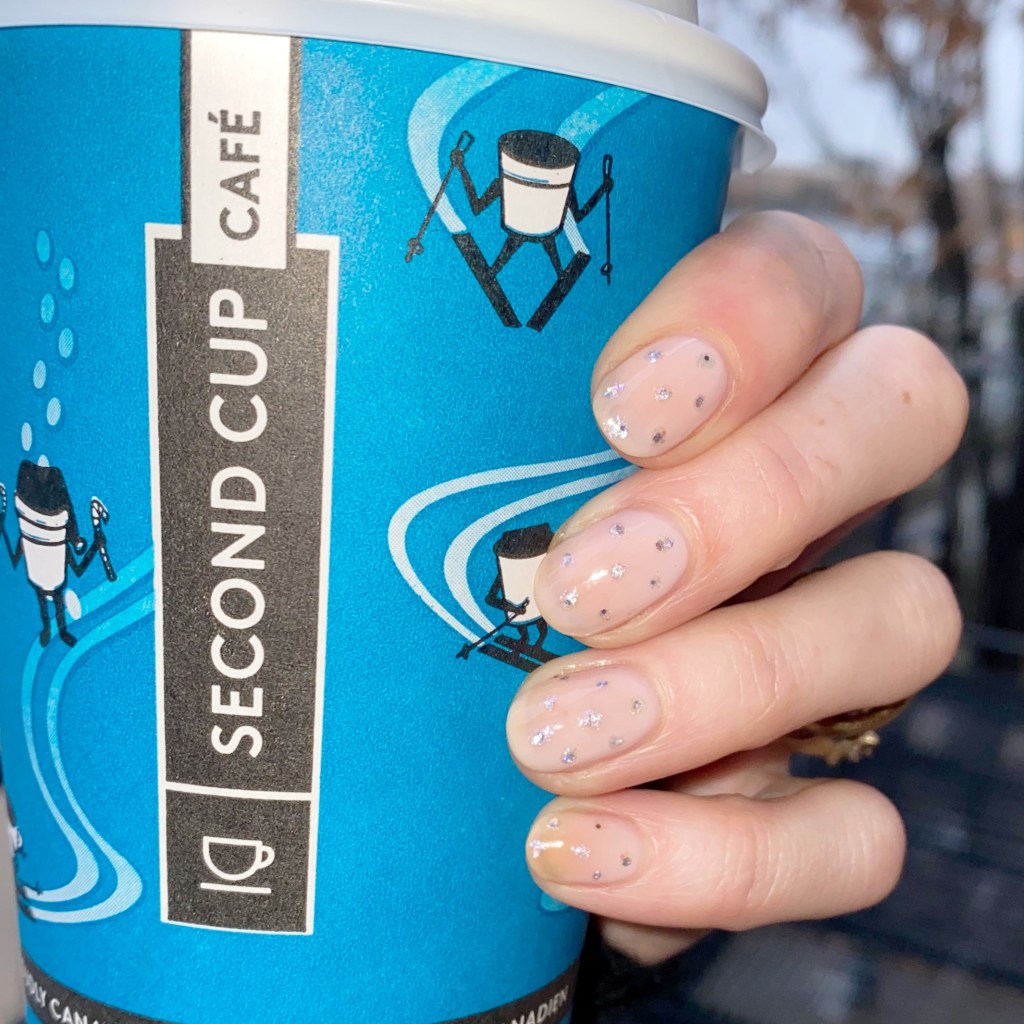
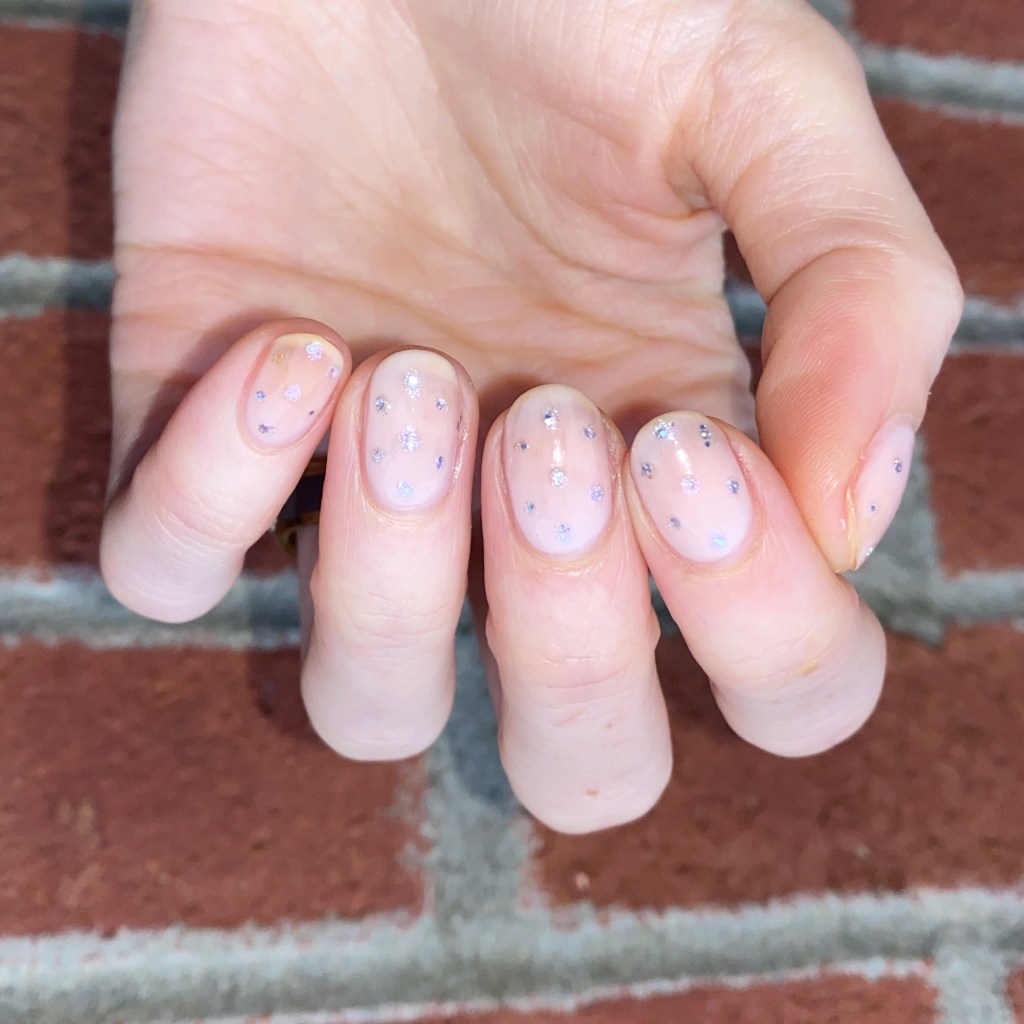
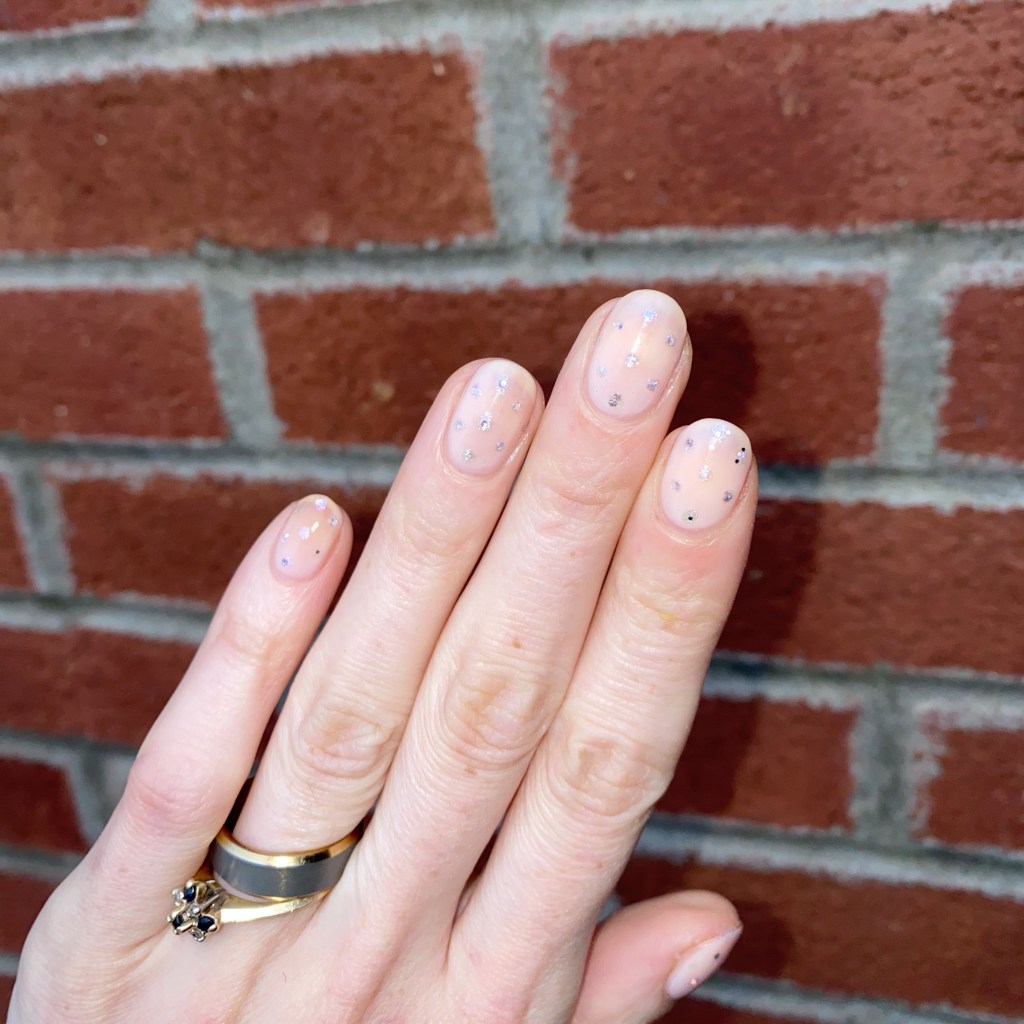
Delicate New Years Eve Dotticure

Hello lovelies & happy Friday. The last Friday of 2023. I cannot believe that this year will be over in just a few days.

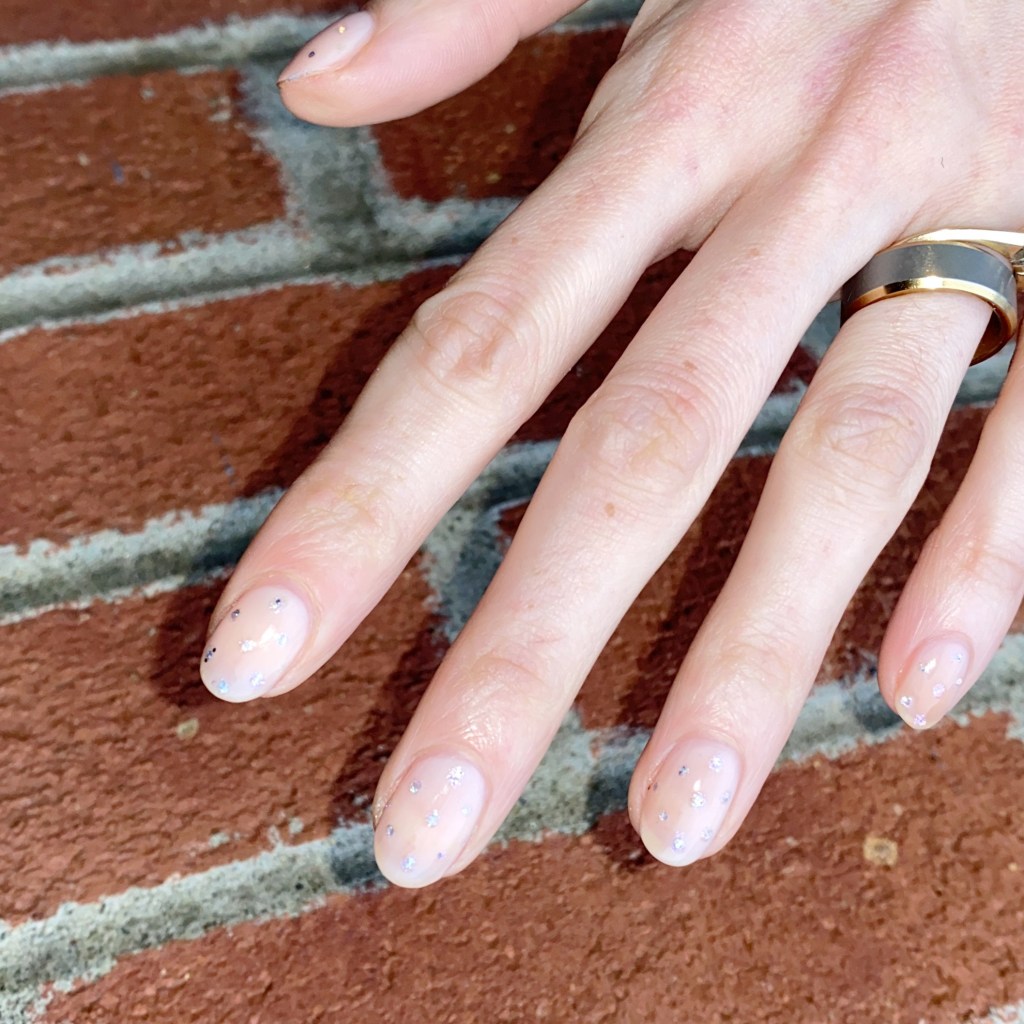
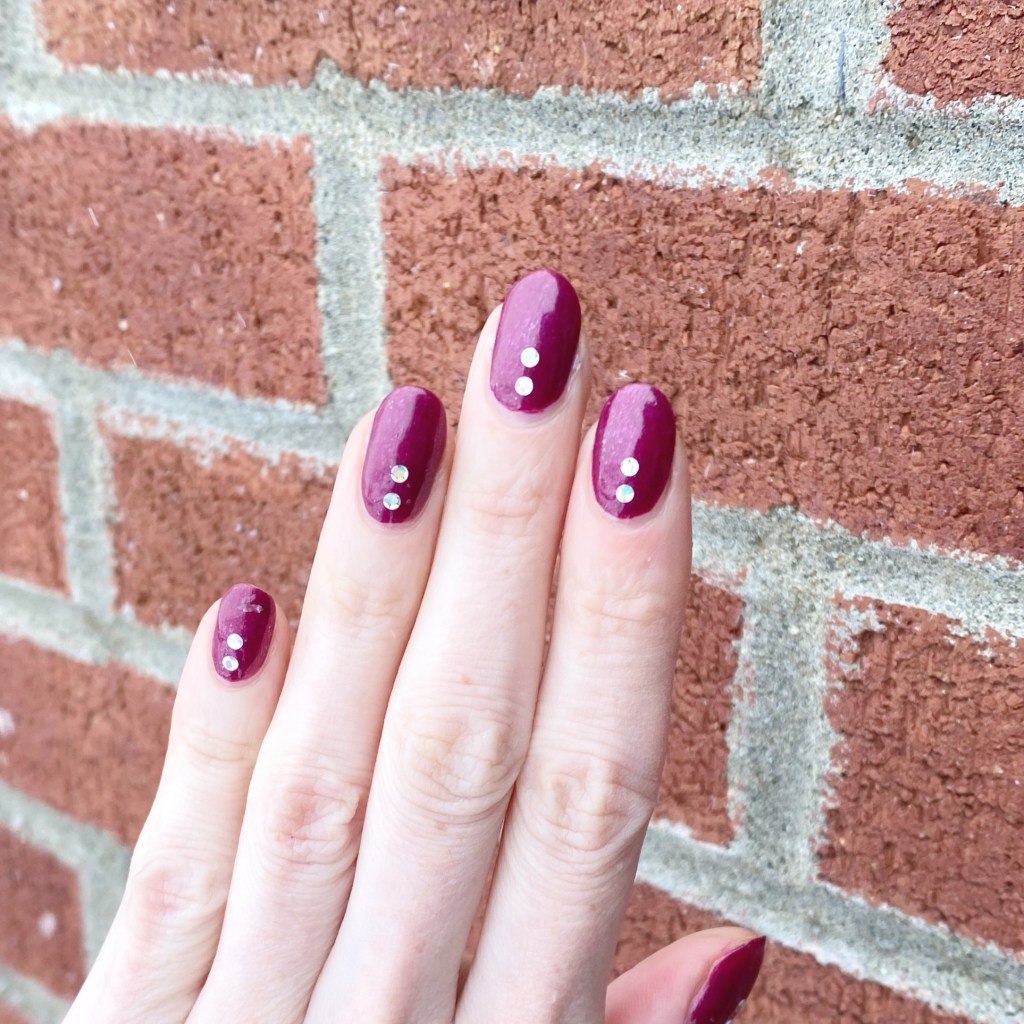
Now that Christmas is over, my mind has been on New Year’s Eve. Over Christmas, a customer came into work with the cutest gel manicure featuring a neutral base with a dotticure using rhinestones. I was obsessed, & knew I needed to create it in my own way.

The polishes I used for this manicure are: 

  • Base Coat: China Glaze Calcium Gel Fortifer
  • Top Coat: Essie Speed Setter
  • Sally Hansen Miracle Gel Central Pink
  • OPI Put Something On Ice
  • Small dotting tool (NailStuff.ca Dotting Tool Trio)

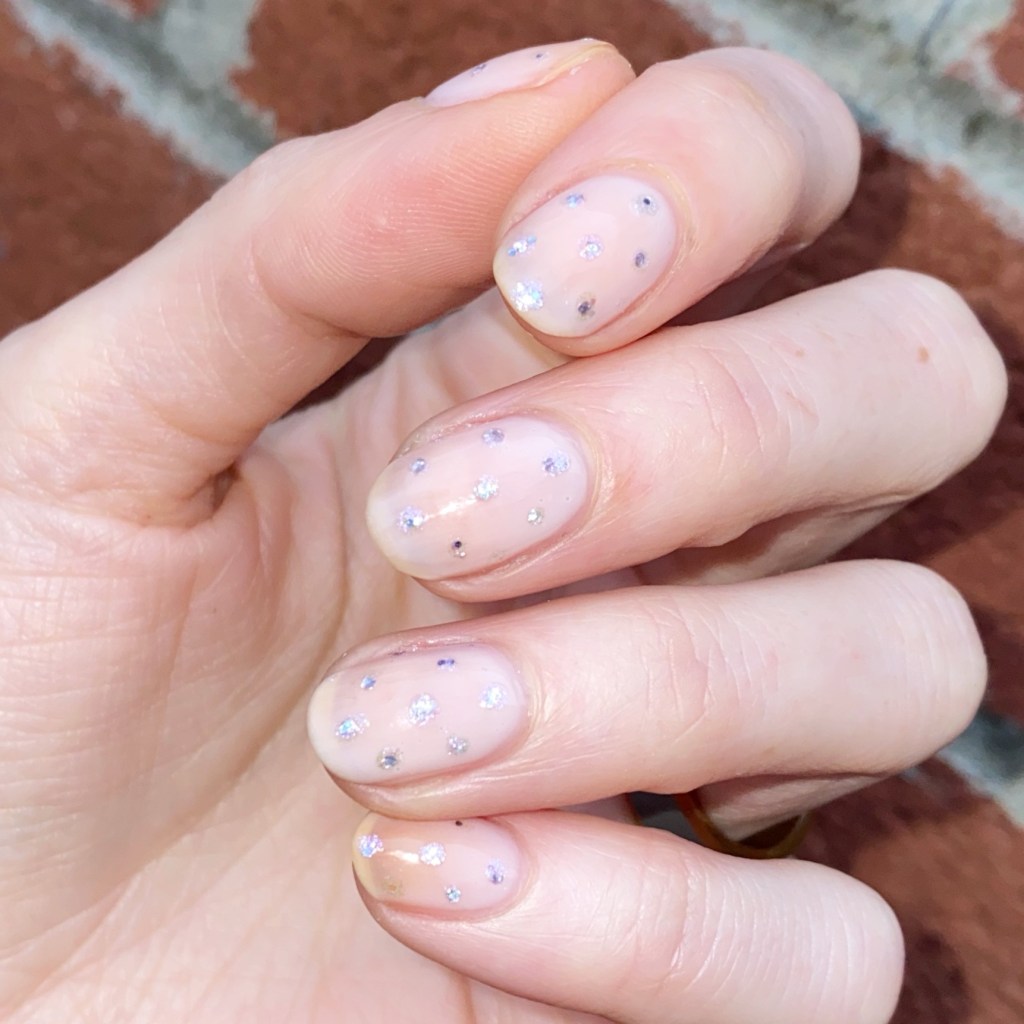
Check out that sparkle!

Since I knew I wouldn’t be wearing this manicure more than a day or two, I didn’t want to commit to using all rhinestones, but I knew that OPI Put Something On Ice would add the perfect amount of sparkle. I loved the soft & delicate effect of use a dot of sparkle. It’s dainty, but effective.

What do you think about this delicate New Year’s Eve dotticure? Would you wear this look? Let me know all your thoughts down in the comments below!
Happy Friday ✨

GLAM NAILS CHALLENGE DECEMBER— Santa Claus

Hello beauties & happy Monday. It’s a snowy December here on the East Coast of Canada , & we put up our Christmas tree this weekend, so it’s feeling very Christmas-y here. It’s also the beginning of Glam Nails Challenge December, & I’m very excited to close our 2023 with a month of festive nail art designs.

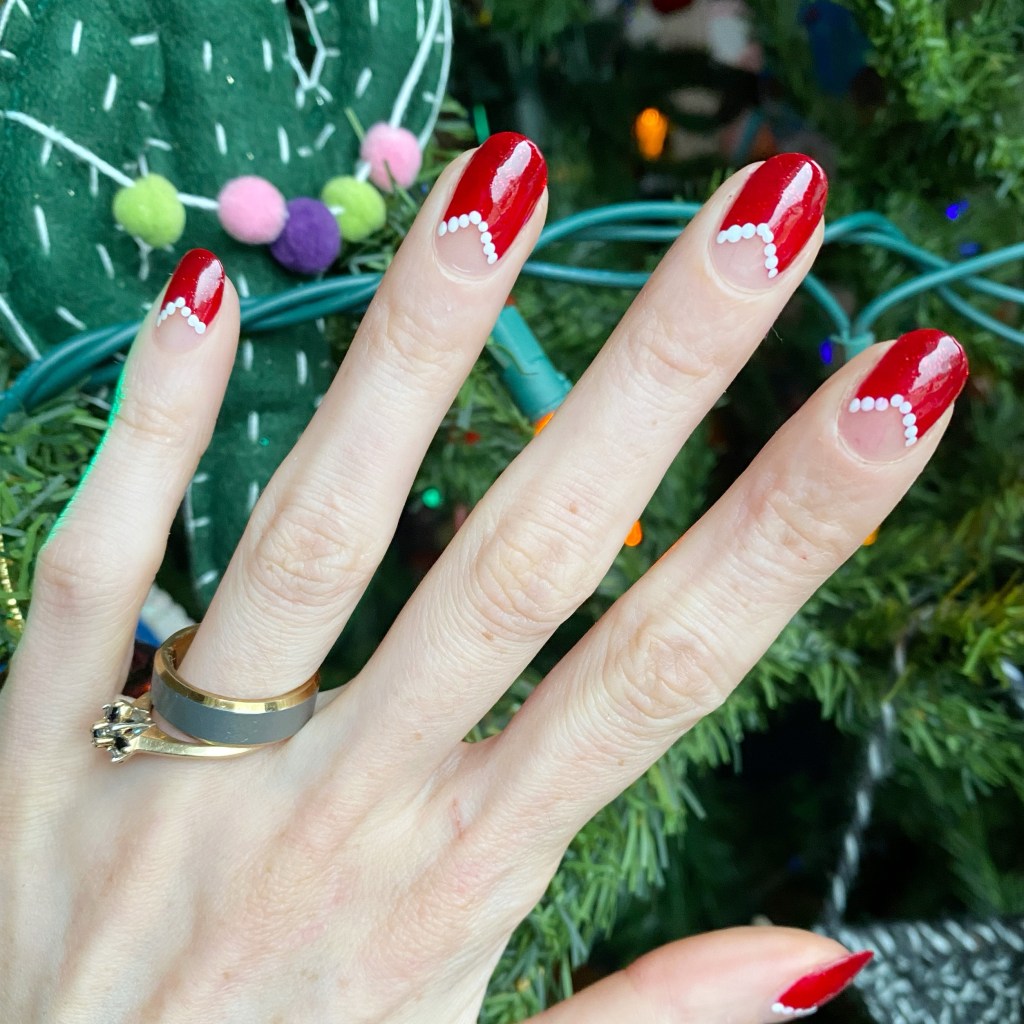
Our first prompt for the month is Santa Claus, & I went with a Santa Claus inspired half moon chevron design.

The polishes I used for this manicure are: 

  • Base Coat: Sally Hansen Miracle Gel Colour Grip Primer Base Coat 
  • Top Coat: Seche Vive
  • Sally Hansen Xtreme Wear Red Carpet
  • Sally Hansen Miracle Gel Get Mod!
  • NailStuff.ca Dotting Tool Trio

I created my negative space chevron moons completely freehand, then went in with a small sized dotting tool & added the white accents. I think it’s the perfect nod to Santa Claus without being too literal about it. However, my 6 year old totally guessed my inspiration, so it gets the point across!

Also how cute does our Christmas tree look as the base for my manicure. I would expect to see a few designs posed in front of my tree this month!

Are you excited to finish off December & 2023 with one final month of Glam Nails Challenge? Are you excited for lots of holiday nail art content? Let me know all your thoughts down in the comments below, & don’t forget to follow along on Instagram with the hashtag #glamnailschallengedecember to see all the beautiful December designs.

Enjoy the beginning of your week lovelies! 🎄💗

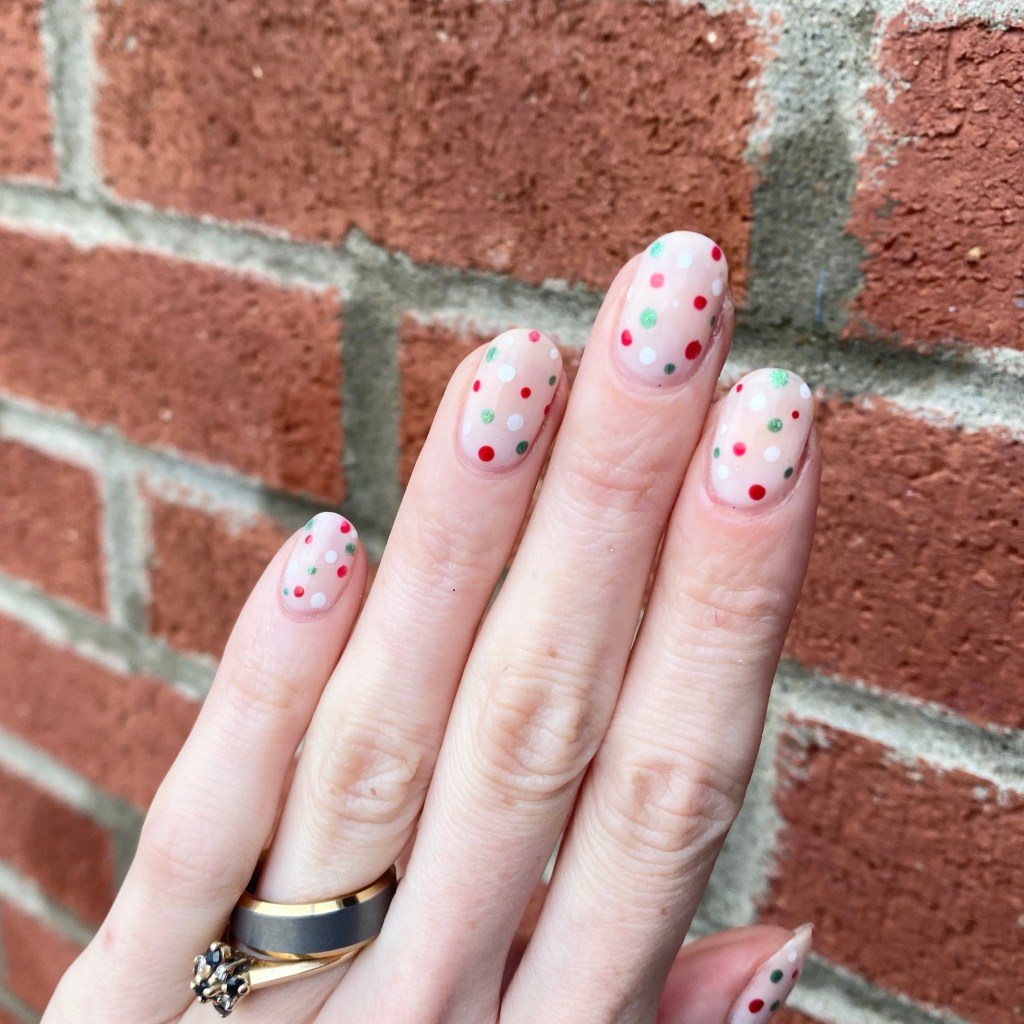
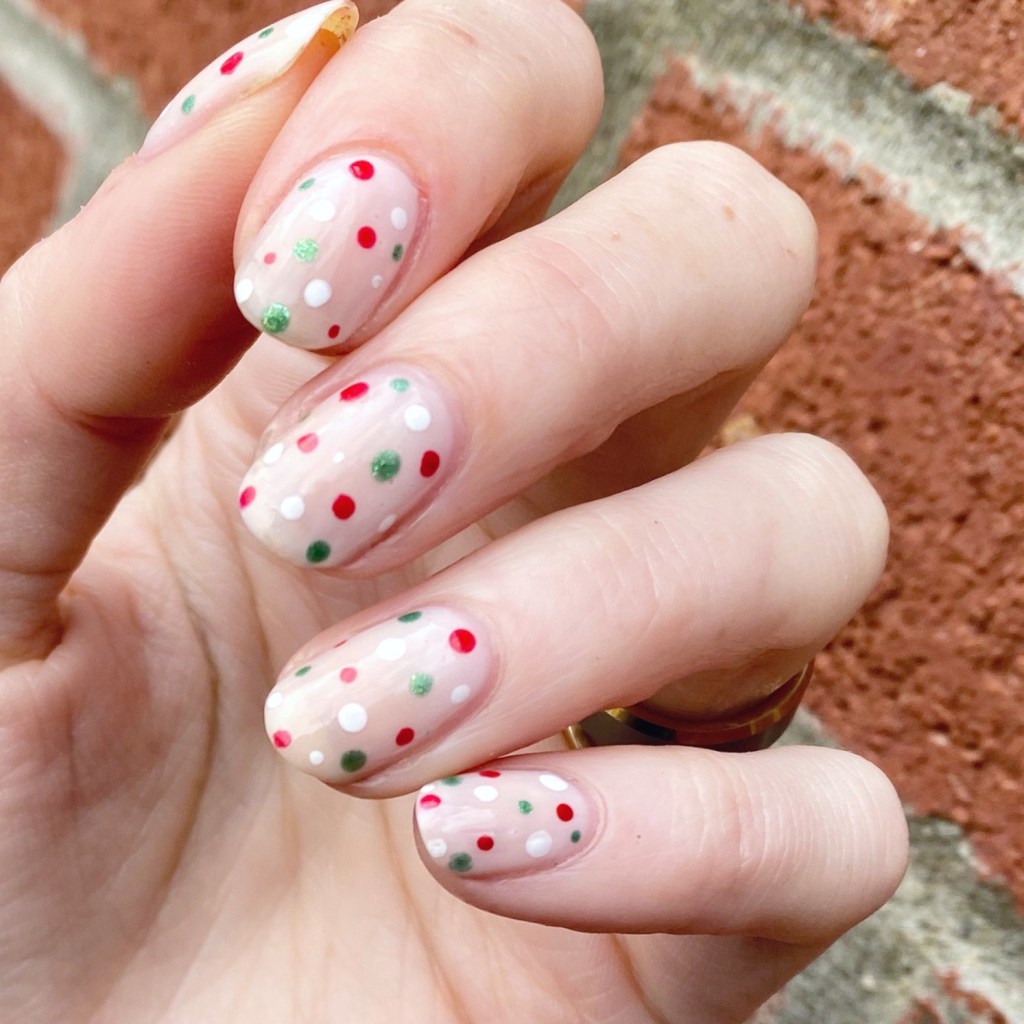
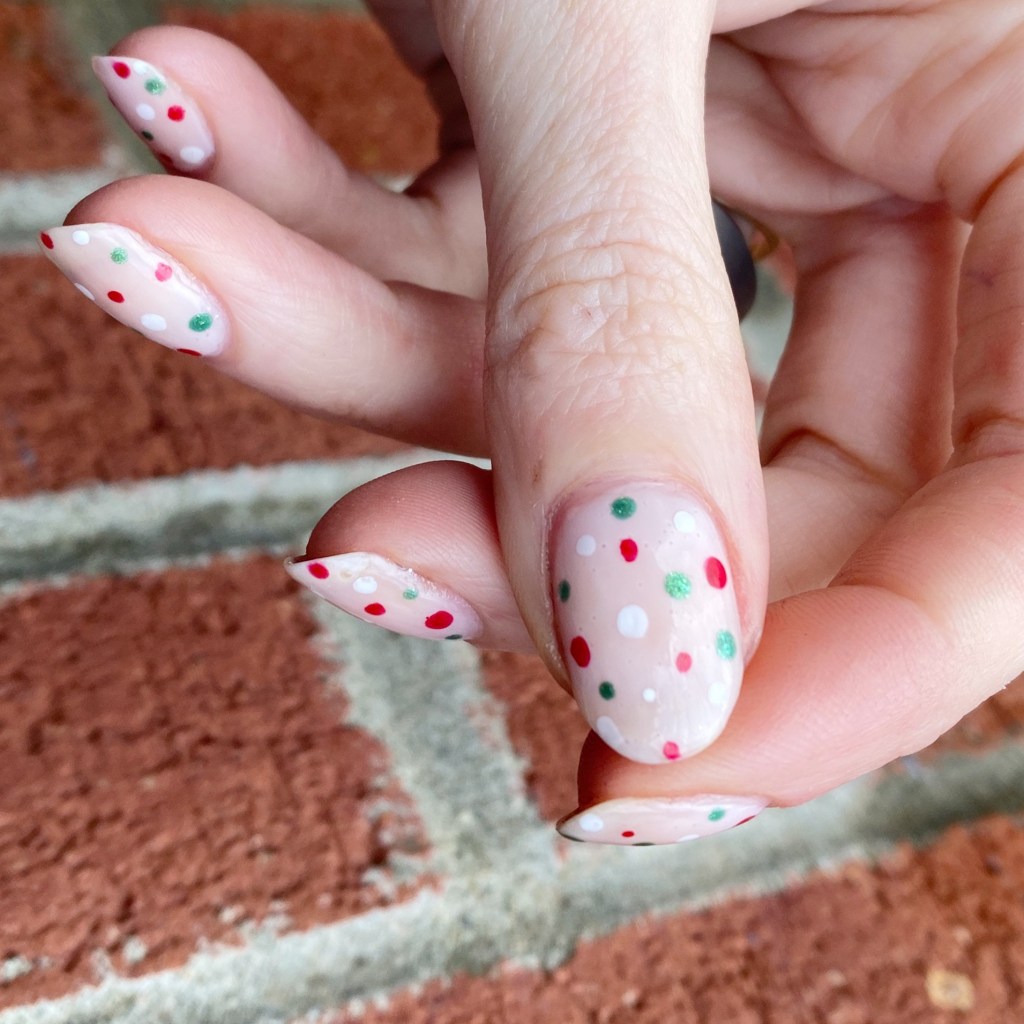
Holly Jolly Dotticure 🎄

Hello lovelies & happy Wednesday! I hope your week is off to a lovely start so far — & if it’s not, well we’re halfway to the weekend!

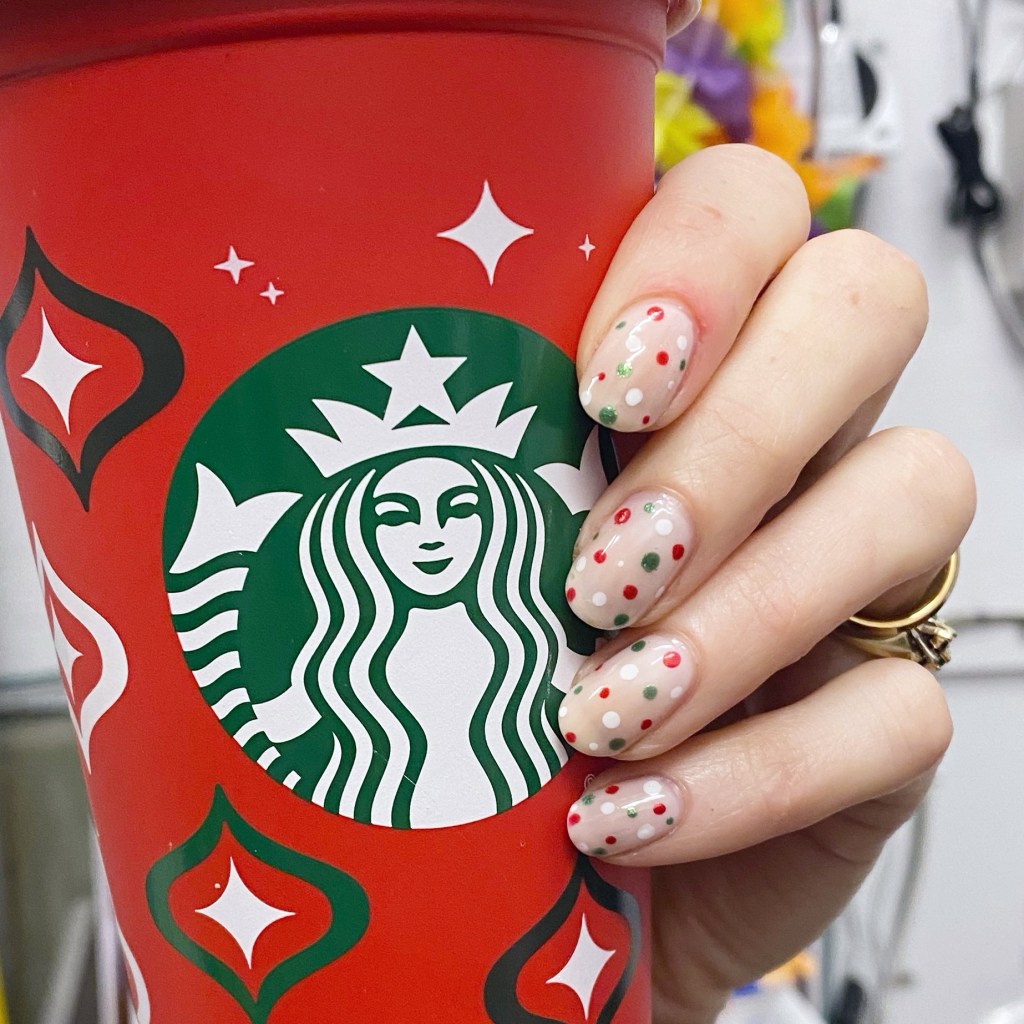
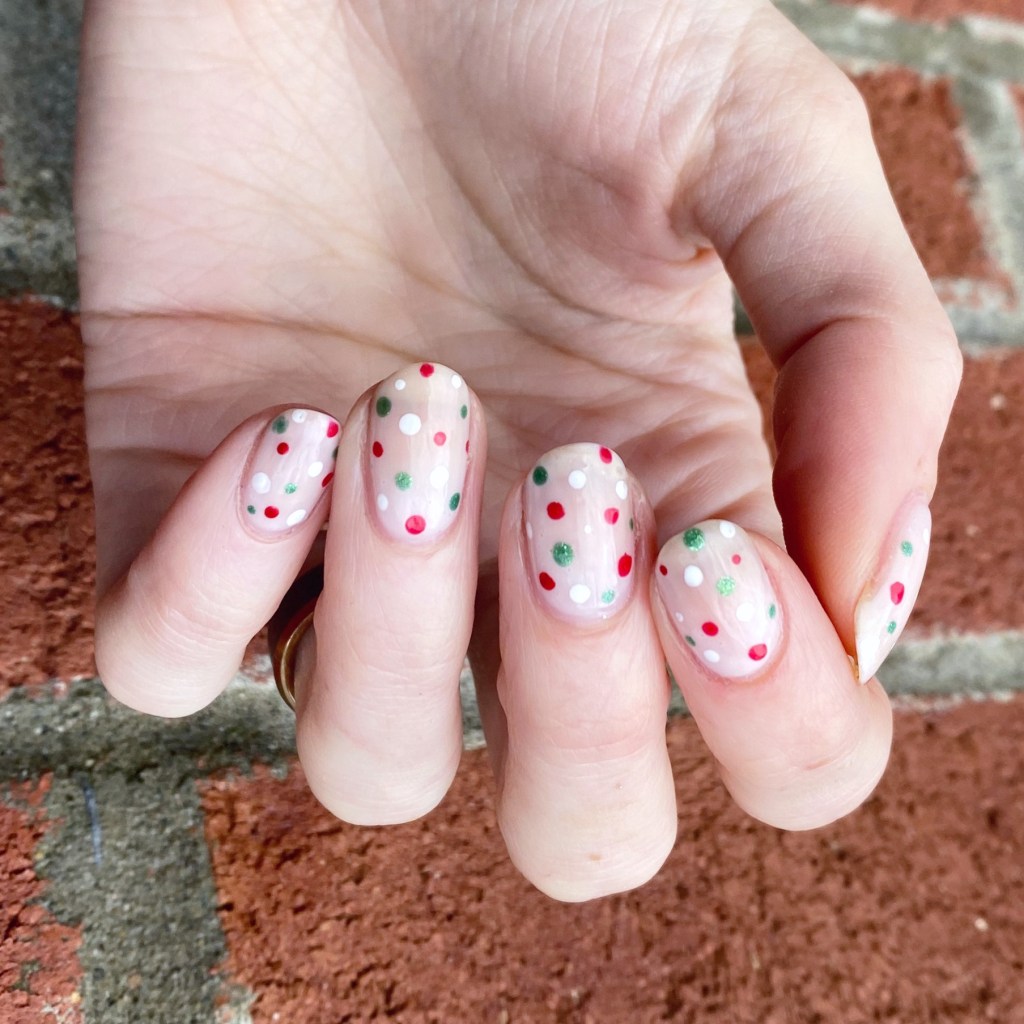
Today I’m officially kickstarting the Christmas & holiday nails with this Christmas inspired dotticure. I wanted red & green, & festive, & I think I captured that look idea perfectly.

The polishes I used for this manicure are: 

  • Base Coat: Sally Hansen Miracle Gel Colour Grip Primer Base Coat 
  • Top Coat: Seche Vive
  • Sally Hansen Miracle Gel has Central Pink
  • Sally Hansen MG A Moo Point
  • Sally Hansen MG Me, My Elf & I
  • Sally Hansen MG Red It Twice
  • NailStuff.ca Dotting Tool Trio

This look was super, super easy to achieve. I started with my semi-sheer base of Central Pink, & then one by one added dots of each colour to my nails, trying my best to make it not look too crowded. Then after I gave the dots a few minutes to dry down, I finished off everything with a thick coat of top coat.

It’s important to wait a few minutes between dotting & adding top coat, just so your dots don’t get smeared. There is nothing worse than a beautiful clean dotticure, & you mess it all up by smearing the polka dots with your top coat.

What do you think of this festive dotticure? Do you like the simplicity of the small polka dots over the sheer base? Let me know all your thoughts in the comments below, & what nail art looks you’re exciting to see upcoming over the next few weeks!

Enjoy your Wednesday loves. 🖤