Rainbow Glitter Gradient (Party on my Nails!)

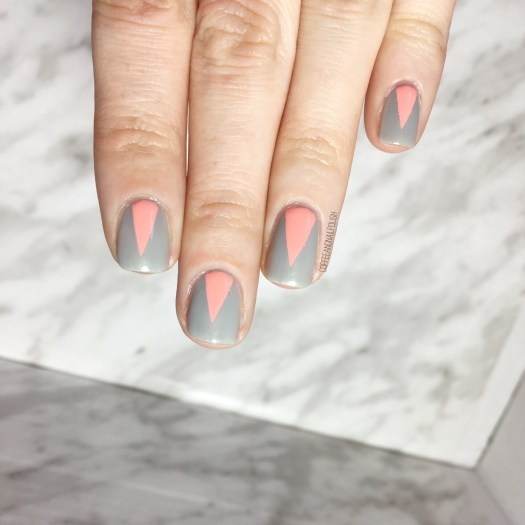
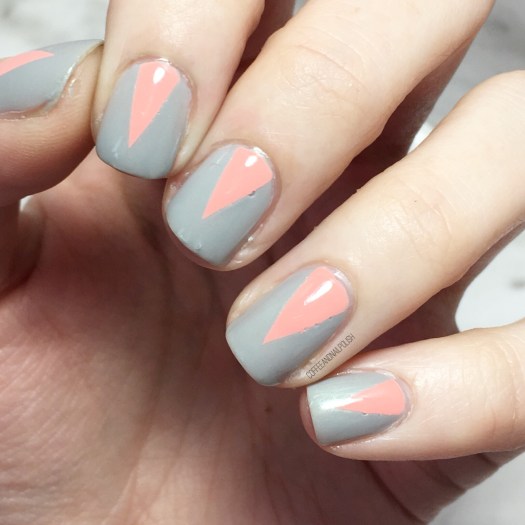
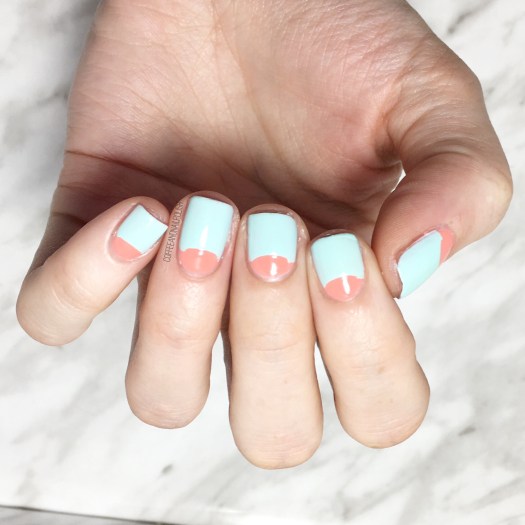
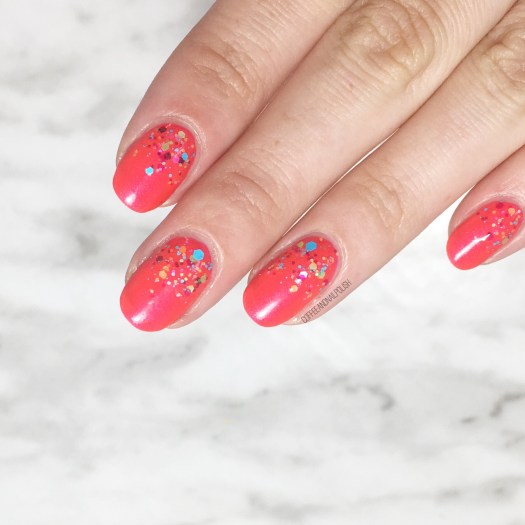
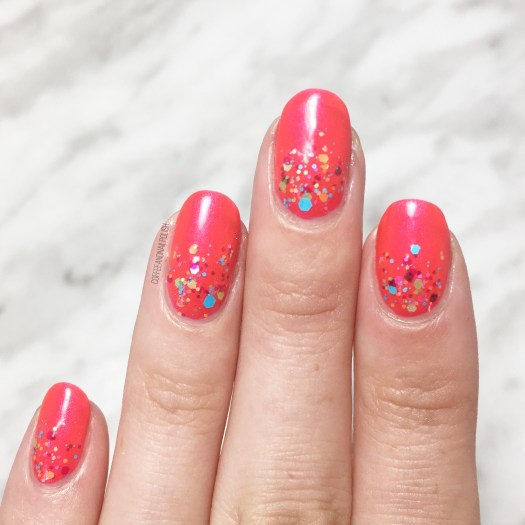
Hello lovelies! Hope everyone is having a fantastic week so far. I’m super excited today because I finally did something other than just a single colour on my nails! 🎉 I managed to add a fun glitter gradient to my Swatch Sunday shade for this week & I’m loving how much fun this simple nail art turned out!

Seeing as it is Pride Week here in Halifax, I thought a colourful rainbow glitter gradient would be perfect for the occasion.

For this manicure, the polishes I used were:

  • Base Coat: Sally Hansen Complete Salon Manicure Strengthening Base Coat
  • Top Coat: Essie Gel Setter
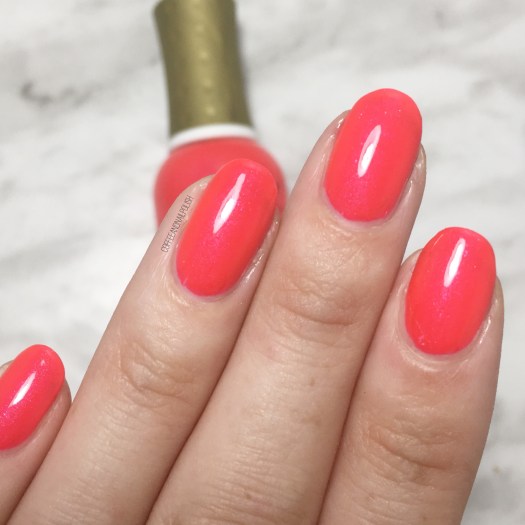
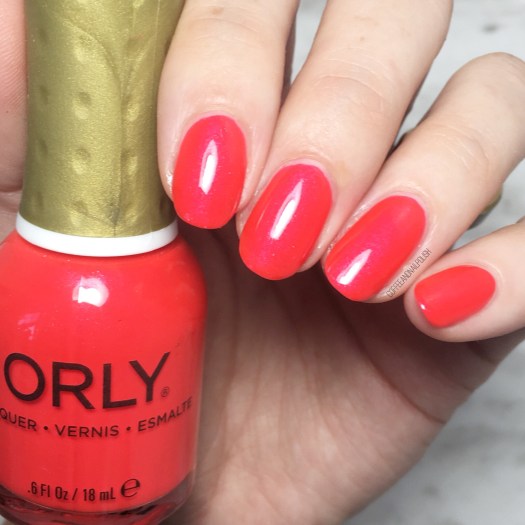
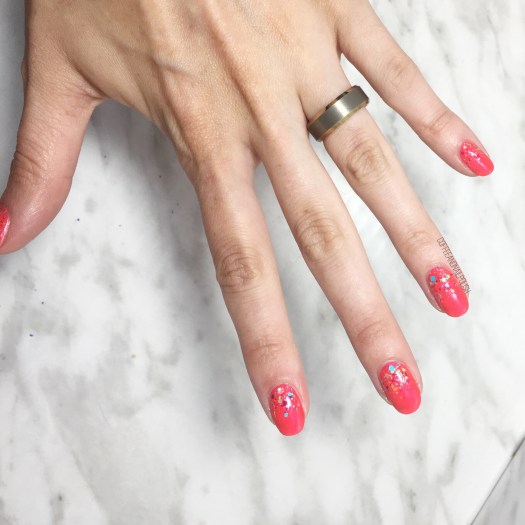
  • ORLY Fireball
  • China Glaze Point Me To The Party
  • ACO by Ardene DAFUQ

I know I’ve written before my love for glitter gradients–they’re just so easy to do! & for those of us who might not have a lot of time, they can give you fun & fancy nails with minimal effort.

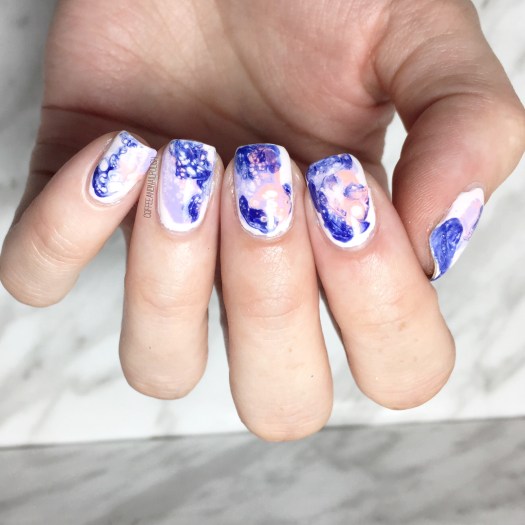
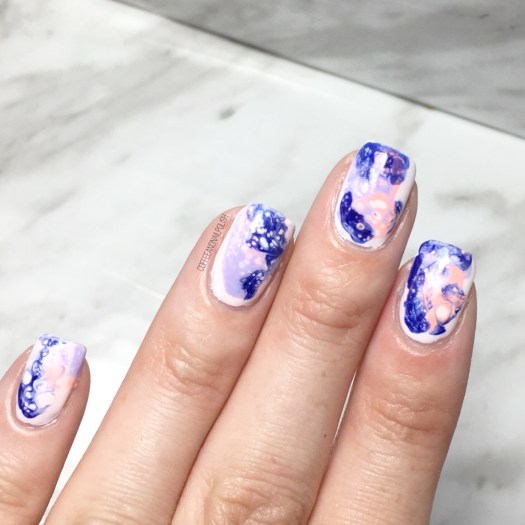
For this look, I started with my base colour & then took my first glitter (China Glaze Point Me To The Party) & after brushing off some of the polish, started at my cuticle line & brushes the glitter upwards. I went over the same spot a few times to build up the glitter amount. Finally I decided that we needed some blue, so I grabbed a blue glitter topper (ACO by Ardene DAFUQ) & dabbed on some blue glitters as well. Lastly, I sealed everything in with a thick coat of Essie Gel Setter to give this look some lasting power.

& now my nails are ready to party! 💅🏻

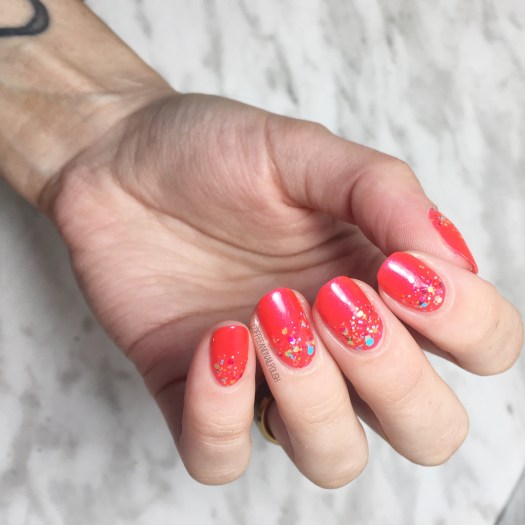
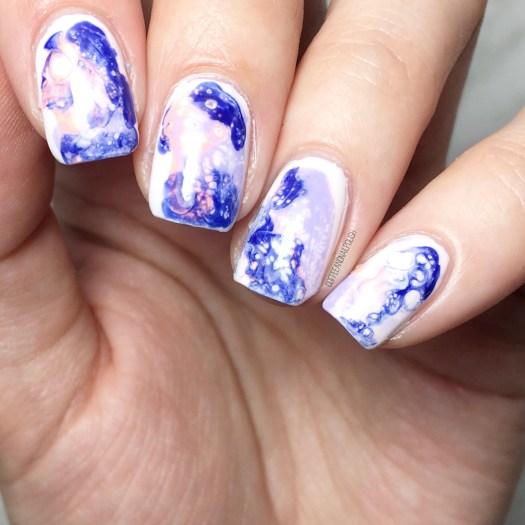
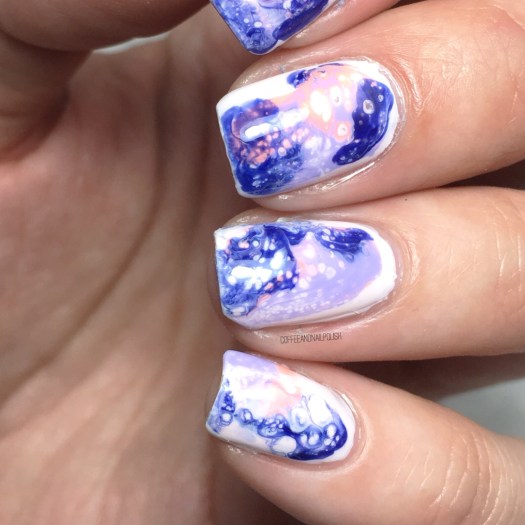
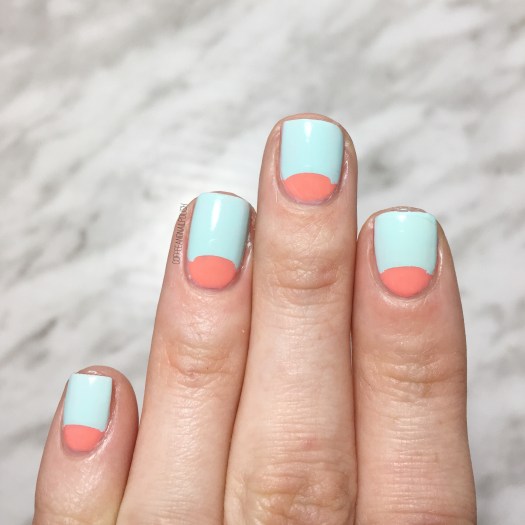
I’m really digging the combination of Fireball with this glitter. Makes me think of a fiesta, & feels very Summer-y to me. & even though I won’t be able to partake in any of the amazing Pride events happening this week, my nails are totally ready (just in case).

What do you think of this design? Where would you wear this design? Let me know down in the comments below! & share any nail art you’d love to see me do now that I’m (slowly) getting back my posting mojo.

🌈

SWATCH SUNDAY — ORLY Fireball 🔥

Hello lovelies & Happy Sunday! That’s right, another week & another swatch post! Trying my best to find time to pain my nails when I can so I can keep my posting semi consistent-ish.

Today’s Swatch pick is an older polish from my stash but such a great Summer shade: ORLY Fireball. I found this beauty as part of a two-pack at Winners or Marshall’s (I can’t remember which) a few years ago, but according to Google it was originally released as part of the Summer 2015 Adrenaline Rush collection.

Fireball is a super vibrant neon coral which leans very red, & has a gorgeous fuchsia shimmer. For my swatches, I did 2 coats of polish over base coat, & finished with Essie Gel Setter Top Coat. On its own, like most Neons, Fireball does dry down to a semi matte finish, but because I was trying to be quick (& adding nail art) I decided to top coat it. Originally I though this shade was going to need some white undies, but I was impressed that this formula was opaque in 2 coats.

Above you can see the fuchsia shimmer both in the bottle & a close up on my nails. I love how it looks because it takes what could just be a coral neon & transforms it to a something little extra which gives it a serious POP! on the nail. & I also think it makes this polish a great transitional shade for the end of Summer as well–this paired with a maroon or darker Fall shade in a half moon or chevrons would make for an awesome almost Fall design.

& lets be honest… it’s almost that time of year where my obsession for Fall becomes real, so I’m already thinking about Fall manicure ideas.

According the Internet, you can still pick up this polish on the ORLY website, Amazon, & NailPolishCanada so if you need his polish in your collection (& seriously, if you love these kinds of shades you really do) you can order them there!

So what do we think of ORLY Fireball? Share your thoughts down in the comments below!

Marble Fluid Nails

Good morning lovelies & happy Friday! Who else is excited for the weekend!? Today I have some brand new nails with a new to me technique I’ve been wanting to try for AGES: fluid nails.

This technique has been popping up on Instagram for a while & I’ve been obsessed with how they looked just as long — I even went out & bought a few of the Sinful Colours Hypnotic Transforming Top Coats that were released a few years ago, but was dawdling on actually giving the technique a try!

The polishes I used for this design were:

  • Base Coat: Sally Hansen Bamboo & Green Tea Strengthner
  • Top Coat: Essie Speed Setter
  • Sally Hansen Miracle Gel Pretty Peony
  • Sally Hansen Miracle Gel Neons Peach Please
  • Sinful Colors Hypnotic Transforming Top Coat Rebel Rebel
  • Sinful Colors Hypnotic Transforming Top Coat Purpunk
  • Stamper (I used my clear stamper from Nailsuff.ca)

Most of the tutorials I saw involved creating decals to make your cells for the fluid look, but being lazy (& tired) I decided to see if I could use the smoosh technique to get a similar look. I painted my nails my base colour of choice & then applied drops of polish including my Sinful Colors Hypnotic Transforming Top Coats & then quickly pressed down using a stamper to smoosh my shades together. & it worked!

I was a little careful with application to keep mess to a minimal (couldn’t find my Edge Perfection & wasn’t in the mood for a ton of clean up) but you could definitely make the fluid look cover more of the nail if you applied more polish & smooshed down harder. I will definitely be trying this look again & seeing if I can do a fuller nail look. However, that being said my pinky was the first nail I did & it turned out my favourite!

Have you tried out the fluid nail art look yet? I know I’m about 2 years behind, but I’m so glad I finally gave it a try & finally used these awesome spotted polishes I’ve had in my stash forever!

What do you think of this look? Let me know in the comments below!

Neon Coral Chevron Claws

Good morning & happy Wednesday. Although we had a freak snowstorm Monday night, so my April is feeling more like a blah January. Never less, I decided that I needed to brighten up my day (& my nails!) & some neon coral chevron claws felt like a good start.

Anything to shake these snow day blahs. Seriously, it’s April. I need to be able to wear dresses on a daily basis.

For this manicure, the polishes I used were:

  • Base Coat: Nailtek 2
  • Top Coat: Seche Vive
  • Quo by ORLY Breathable Aloe, Goodbye
  • Claire’s Nail Polish Sorbet Coral
  • Snailvinyls Deep Chevron Vinyls (discontinued)

As you can see, there are a few bubbles around my coral chevrons, but that’s a result of the matte polish drying before I had a chance to remove the vinyls which left the polish lifted slightly, hence the bubbles. But oh well! I just love how these turned out! The pop of coral over the grey base really makes them stand out.

I seriously love this look & I love how easy it was. I used to use straight vinyls & line them up on my nails in order to make my claws, but these deep chevrons are so much easier & faster! Sad that SnailVinyls has moved on, but I do know What’s Up Nails & TwinkledT also have some deep V vinyls to make this look super simple.

what’s the weather like where you are? Is it feeling like Spring? What are you wearing on your nails right now? Share in the comments below!

Spring Half Moons

Good morning & happy April! Now that the weather has been turning around & I can finally break out the Spring dresses, it means I need a manicure to match!

& I was really, really feeling a Peach & mint combo. I thought about some floral, but honestly I was feeling so exhausted that I decided on something a little faster. & so I turned to a tried & tested favourite! The half moon.

The polishes I used for this look were:

  • Base Coat: Nailtek 2
  • Top Coat: Seche Vive
  • Sally Hansen Miracle Gel Malibu Peach {PRsample}
  • Essie Mint Candy Apple
  • Paper Hole reinforcement stickers

This is the greener version of Essie Mint Candy Apple–I also have the blue version as well (which was gifted to me, & I do t think I’ve worn it yet so I’ll have to change that!) This colour scheme definitely screams Spring to me, so bright & colourful & vibrant. It’s exactly what we need after these long months of snow & cold & yuck.

Just look at how lovely that combo is!

What colour combinations are you loving for Spring? What kind of nail art are you looking forward to for the warmer months? Let me know down in the comments below! 🌸