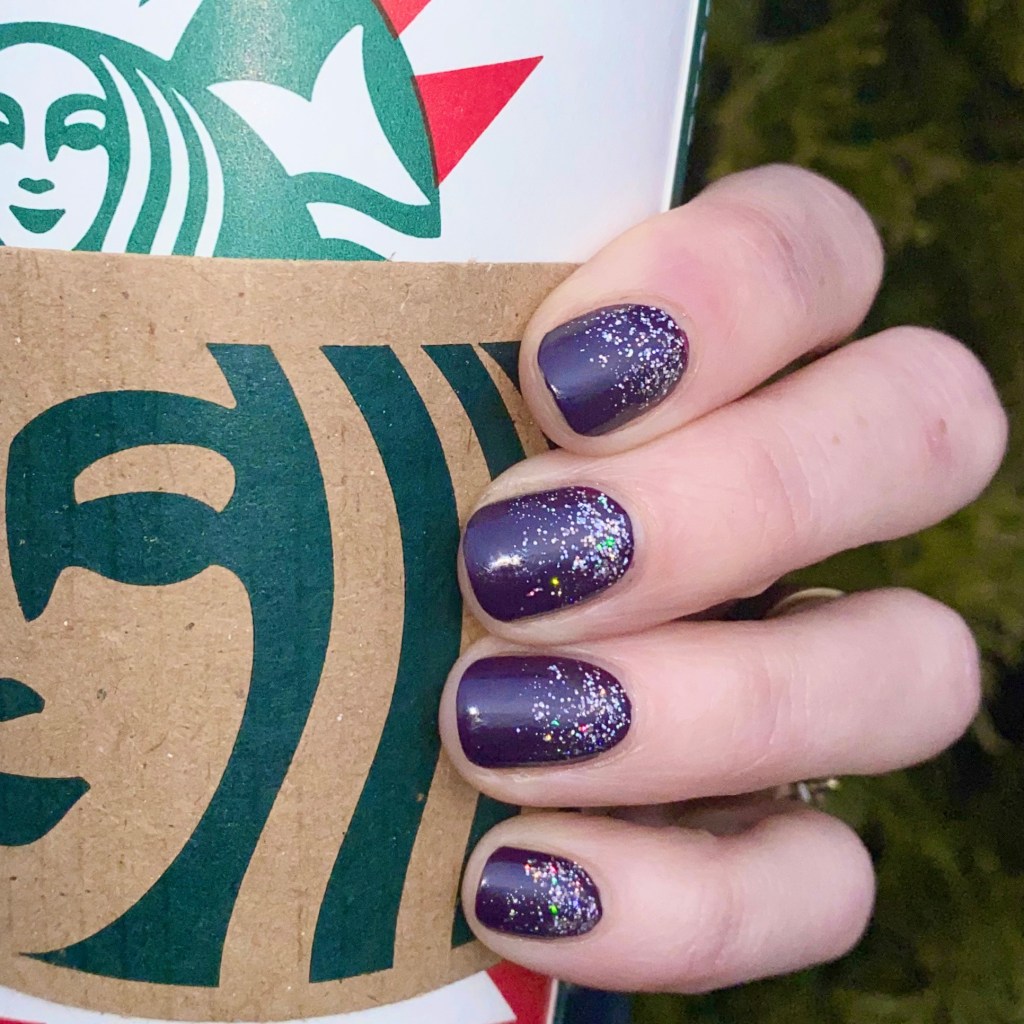
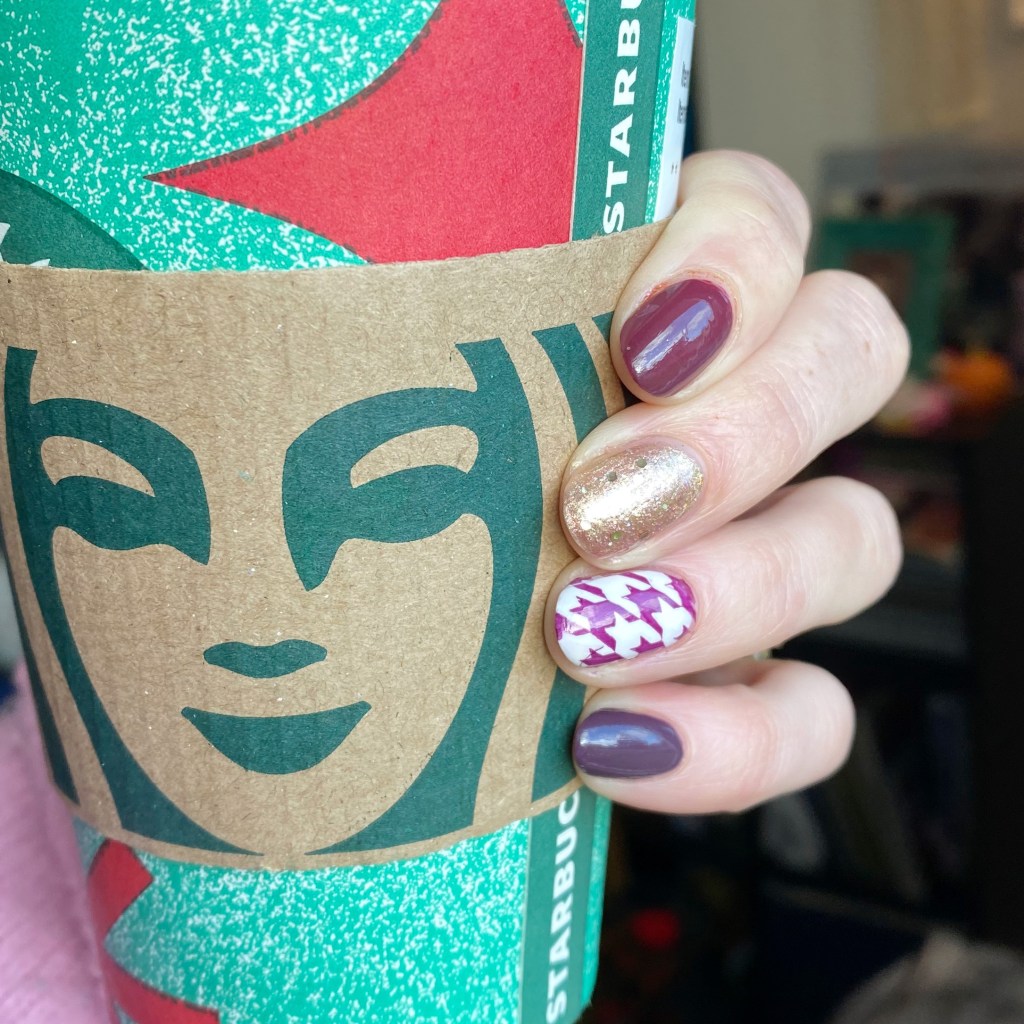
Hello lovelies & happy Friday! This has been quite a week, so I’m a little happy it’s over — even if it does mean saying goodbye to spooky season. But I did join the monthly nail art collab hosted by @essieyall & @petitenailslover again this month, & I’m super excited to share my design… especially because the prompt is COFFEE!
& if there is one thing I love as much as nail polish , it’s coffee.
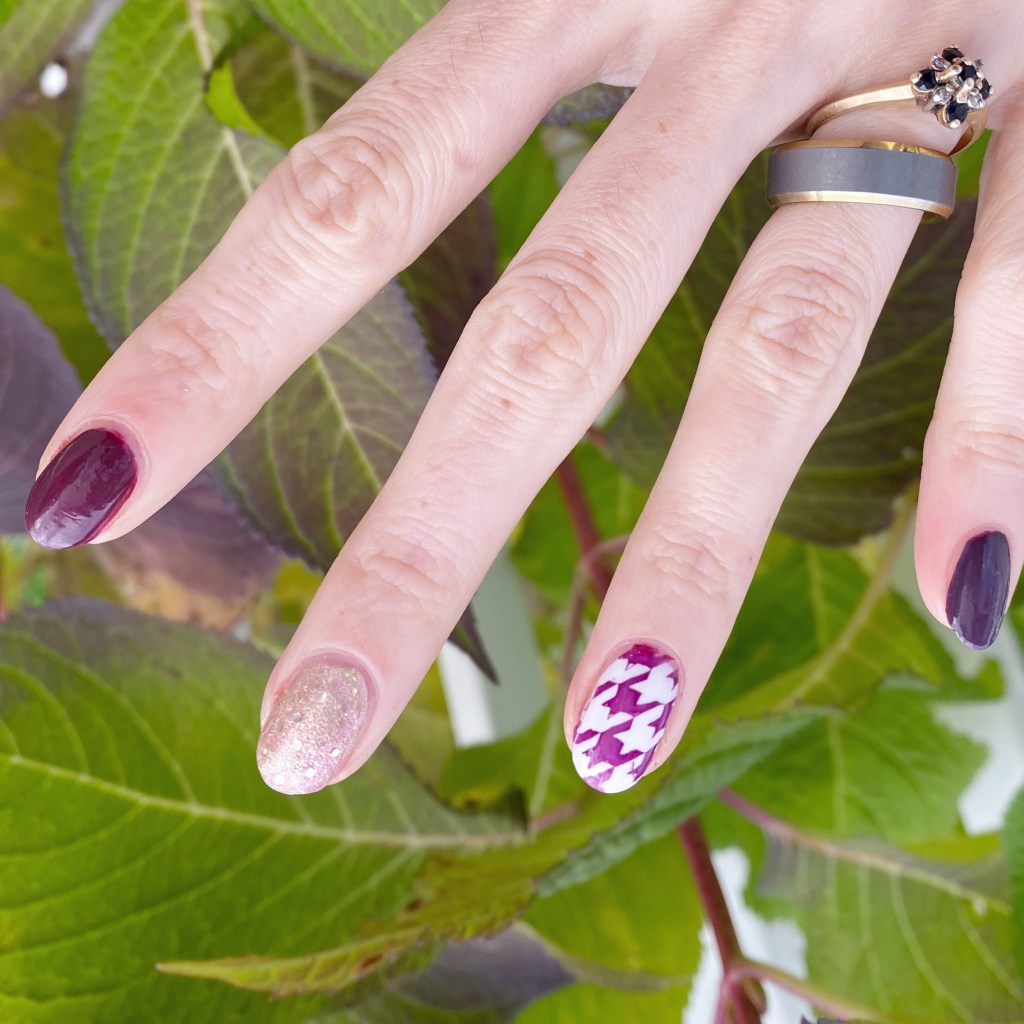
The polishes I used for this manicure are:
- Base Coat: Essence Colour Grip Base Coat
- Top Coat: Seche Vive
- Matte Top Coat: Sally Hansen Complete Salon Manicure Matte Top Coat
- Essie Expressie Cold Brew Crew
- Wet n Wild 2% Milk
- Acrylic Paint
- NailStuff.ca 9mm Mermaid Tail Liner Brush
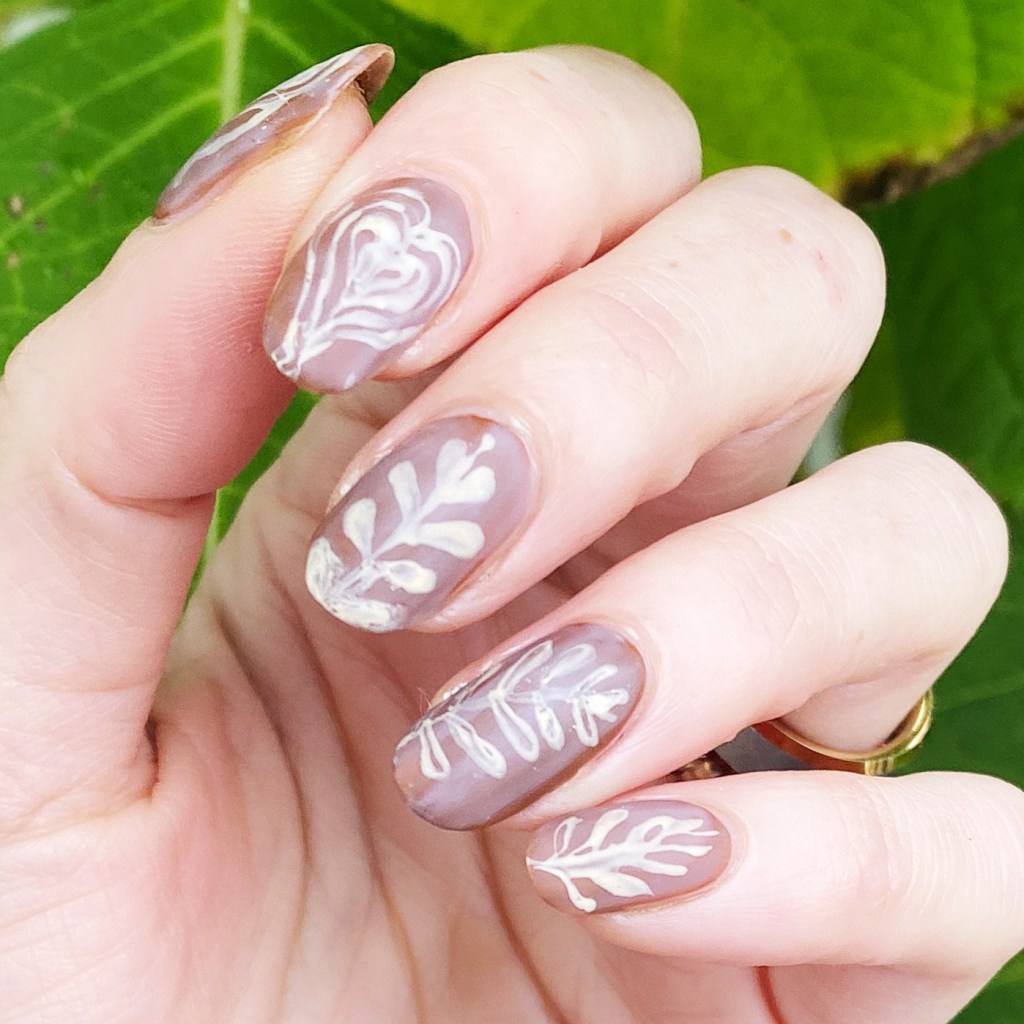

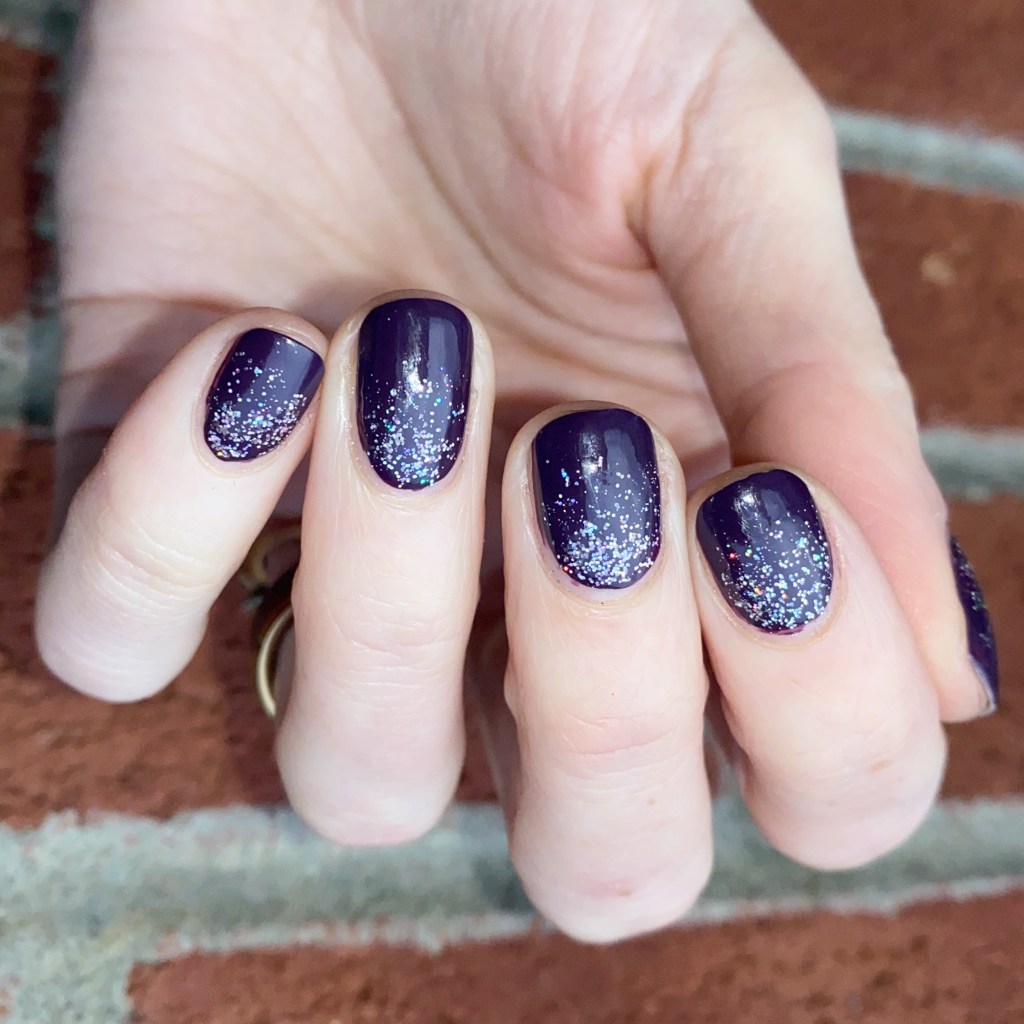
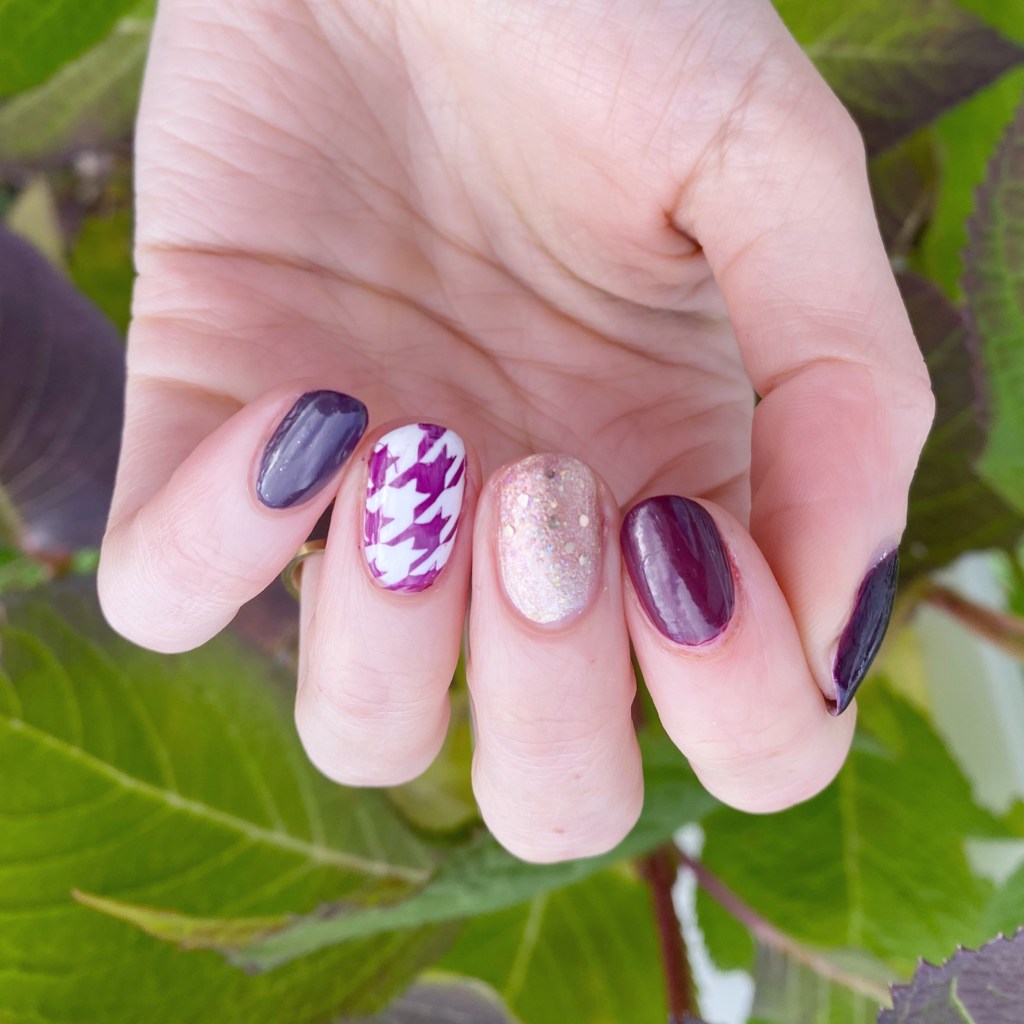
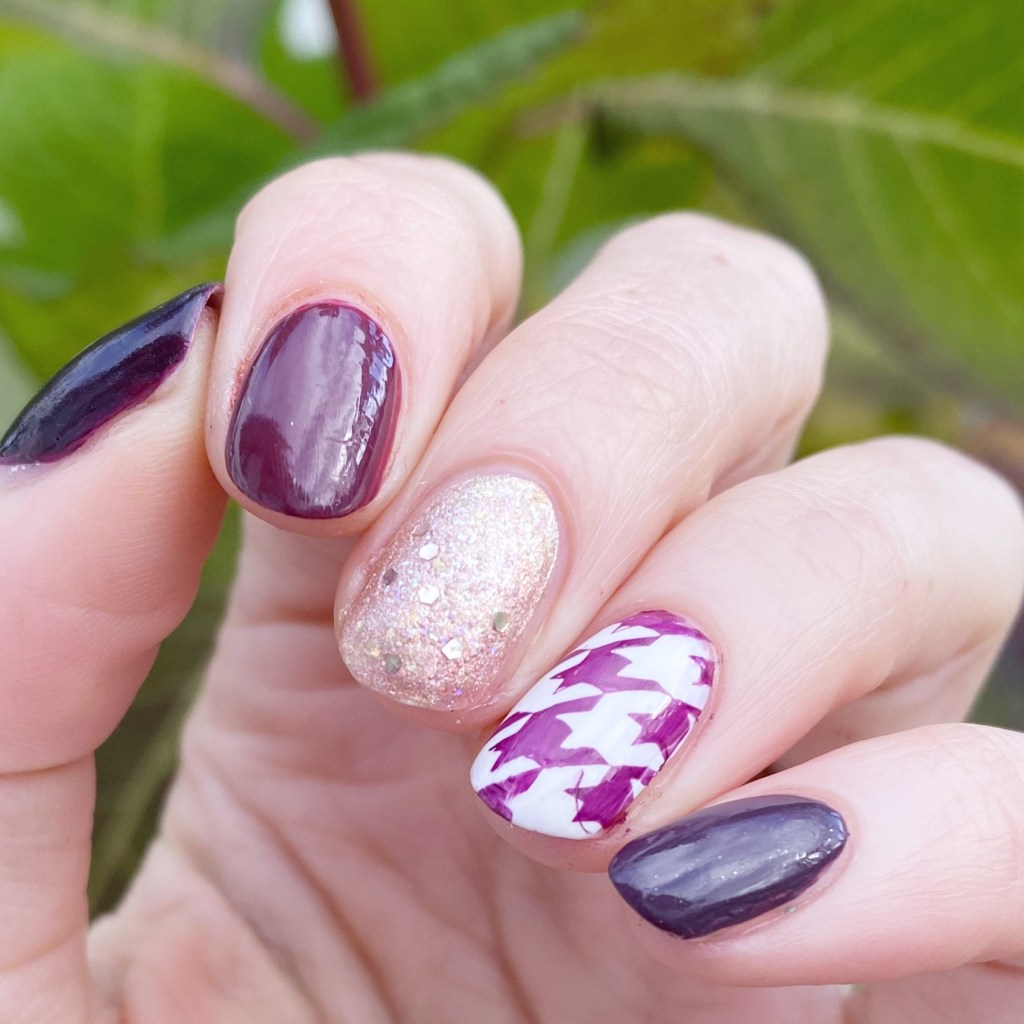
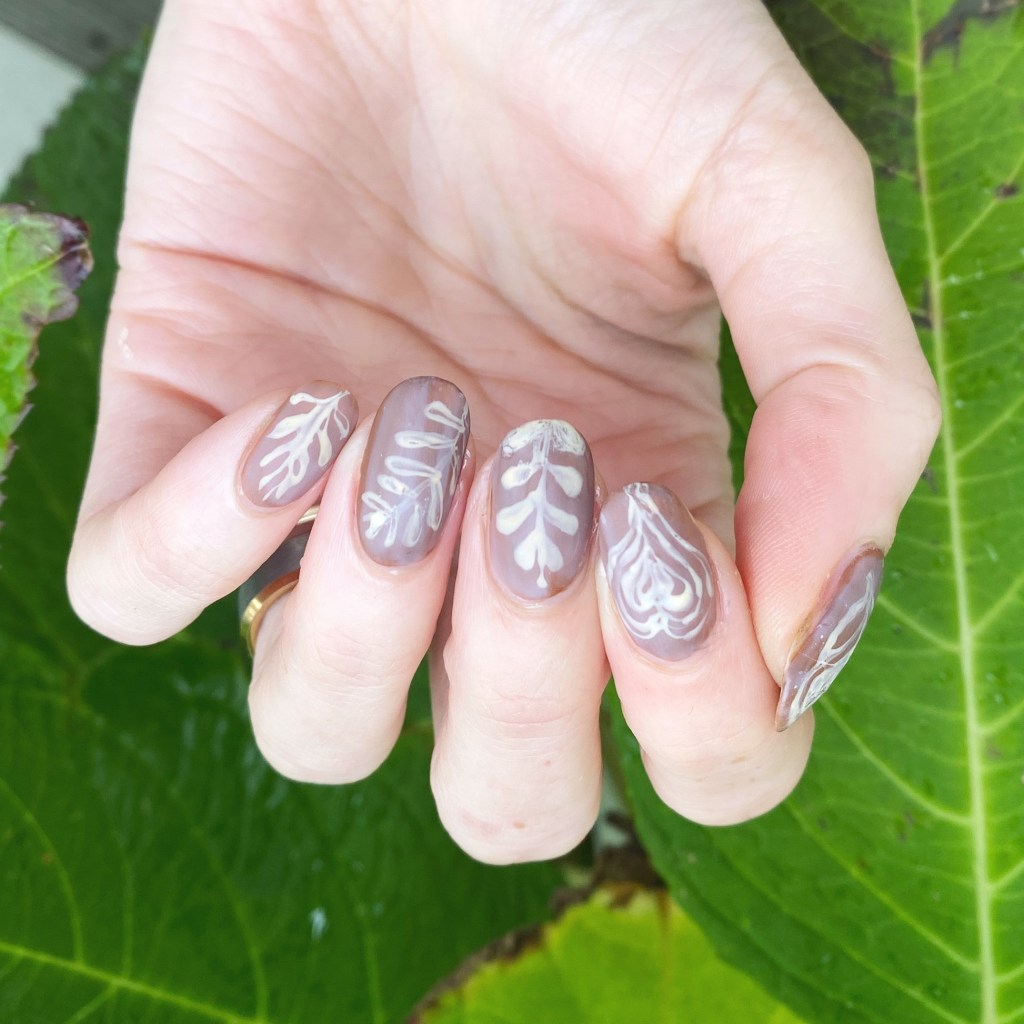
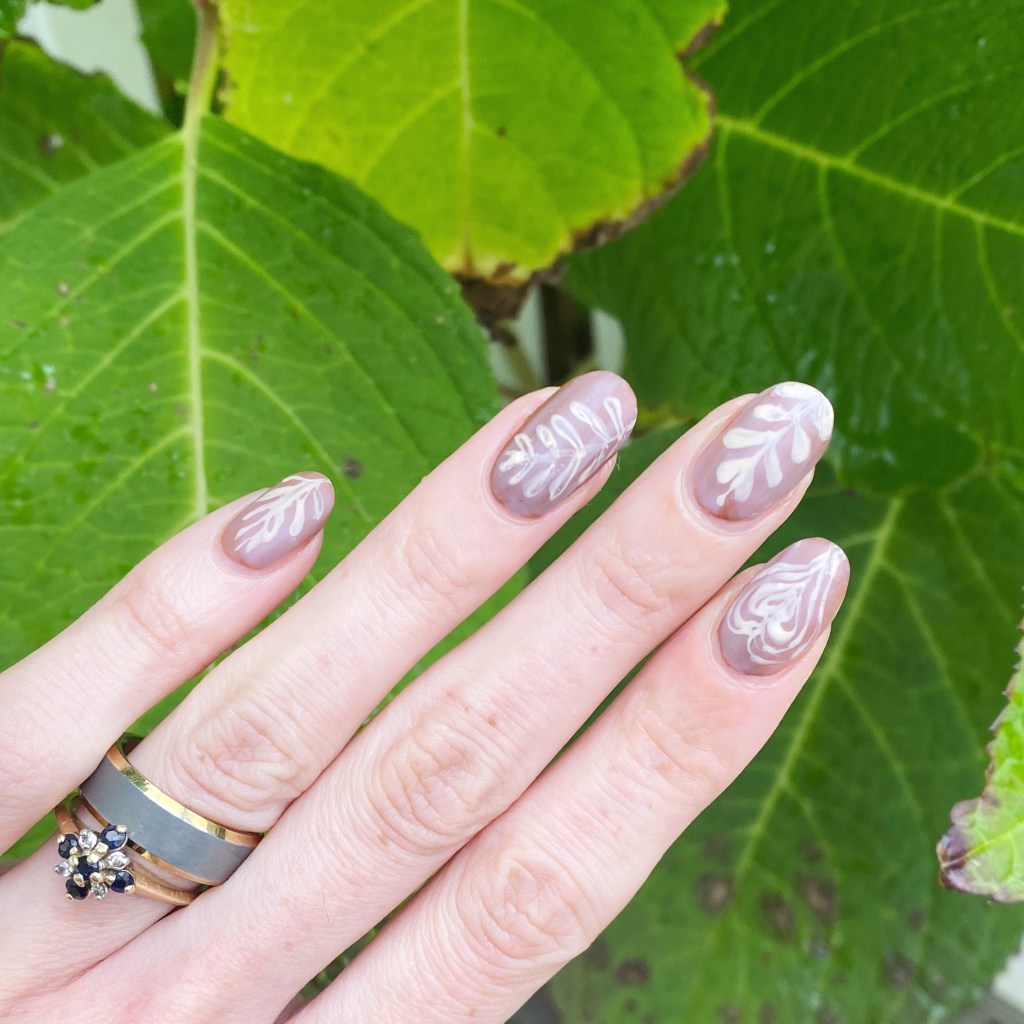
I was going for a latte art design, so I used acrylic paint because I knew that I was going to need to be able to erase any mistakes — & I was right! This look took longer than expected to do, but I think it turned out just like the coffee art I used to do when I was a barista.
& I hope when you look at it, you can totally see what it’s supposed to be!

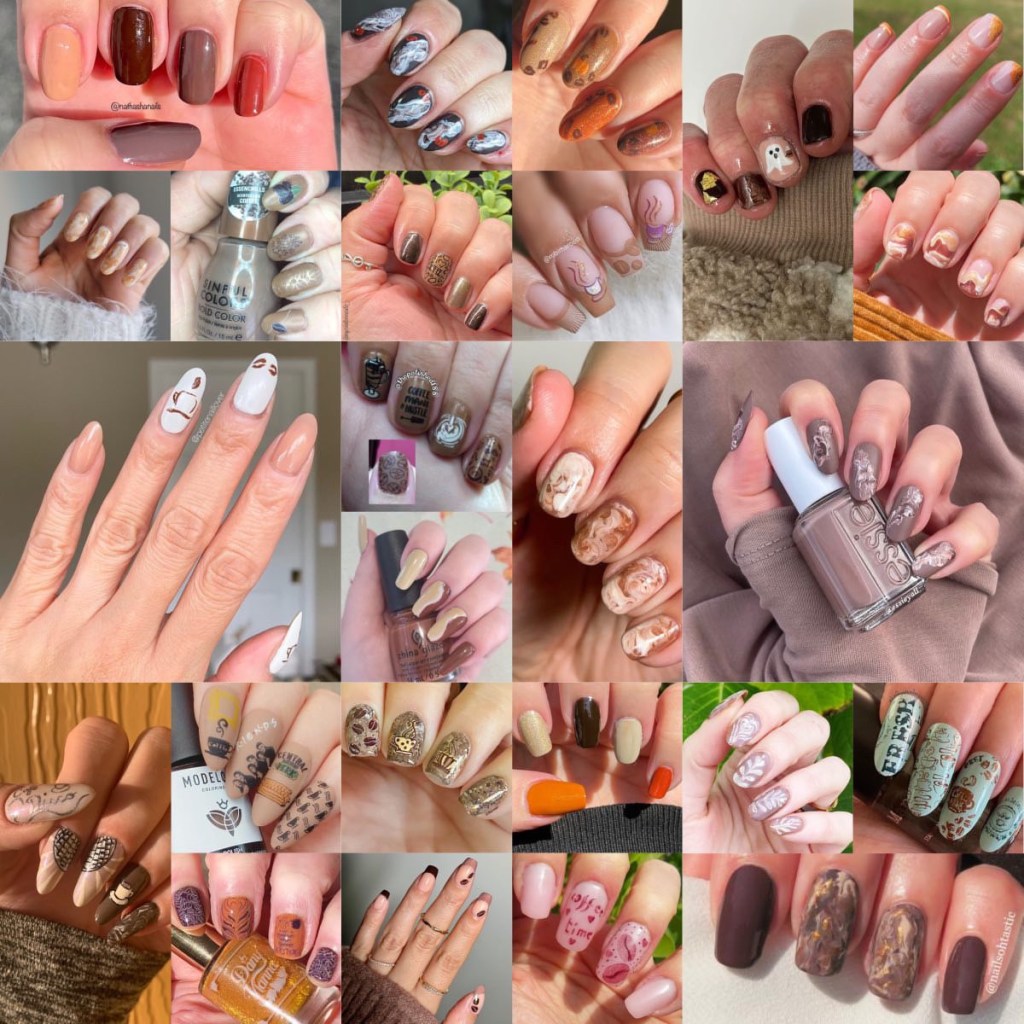
Don’t forget, you can check out the other designs through the hashtag #coffeenailartmanicollab2023 on Instagram. & down below, you can check out all the fun coffee themed designs collaged together. Everyone did such an awesome job!
What do you think of my coffee design? Does it totally scream latte to you? Let me know all your thoughts down in the comments below!
& let me know what your favourite holiday coffee drink is!
🖤