Happy Sunday lovelies.
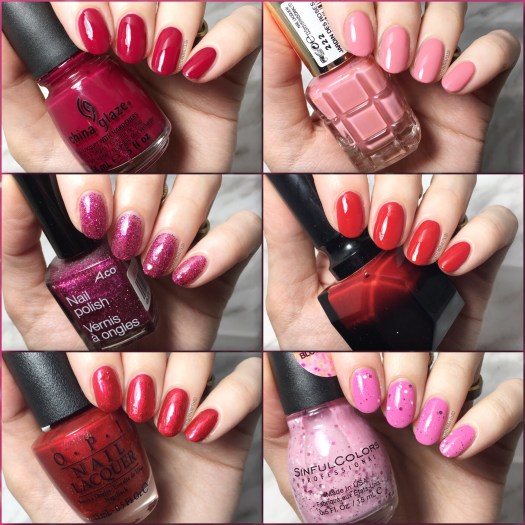
Since we’re into the first week of the month of love, I thought it would be fun to dedicate Swatch Sunday to some perfect polishes for Valentine’s Day. I own a lot of pink & red shades so I had fun going through my stash to find 6 polishes that I will definitely be loving this month in the days leading up to Valentine’s Day (okay & pretty much always because pink & red nail polish always have my heart). I actually did a post like this a few years ago, so I thought it would be fun to do another one!
So here are my 6 polish picks for Valentine’s Day 2018.
CHINA GLAZE — SEDUCE ME
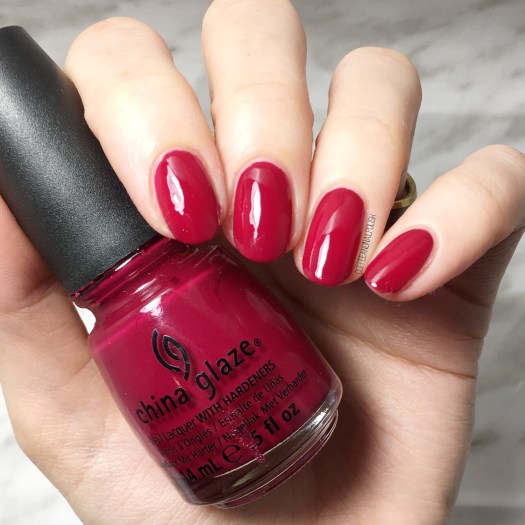
Firtst up is China Glaze Seduce Me, a deep berry red that applies in 2 coats, although if you’re careful you might be able to get away with one careful coat. My bottle is pretty old, so I went with two. I chose this colour for Valentine’s Day because I feel like it’s a really grown up colour: it has pinkish undertones but it’s not bubblegum pink & it’s also not that classic candy apple red shade either. It’s a little bit different, & I honestly feel like this shade is one that will look great on everyone! It also pairs really well with other pink & reds for nail art (like some zig zag chevrons perhaps?)

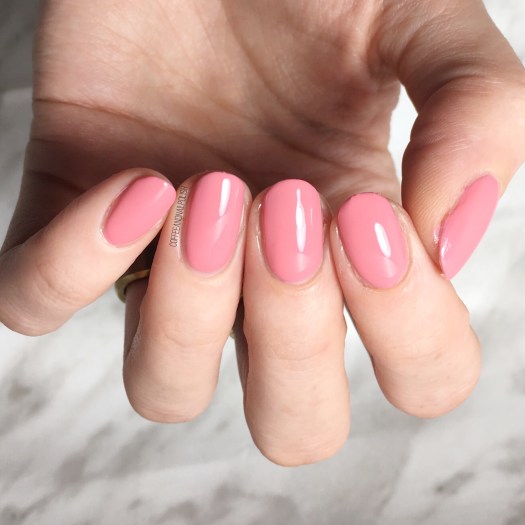
L’OREAL VERNIS A L’HUILE — JARDIN DES ROSES

L’Oreal Jardin Des Roses is my first pink choice & it’s a pink I’ve really been loving lately. This is two coats for full coverage of this soft romantic pink & it applies really well. This pink is great because of how soft the colour is–you won’t look like you’re Barbie when you wear it.
CHRISTIAN LOUBOUTIN BEAUTY — ROUGE LOUBOUTIN
If you’re looking for a classic red to wear on Valentine’s Day, I feel like you don’t need to look any further than Christian Louboutin Beauty Rouge Louboutin! I received this beautiful red nail polish from a family friend the night before my wedding, & because it is so special to me I tend to save it for special occasions. I used two coats for coverage — it’s pretty good after one, but I wanted to make sure there was no hint of visible nail line. This is definitely the perfect classic red for a Valentine’s Day date, & if your significant other forgets about Valentine’s Day, you can always stab them with the bottle!

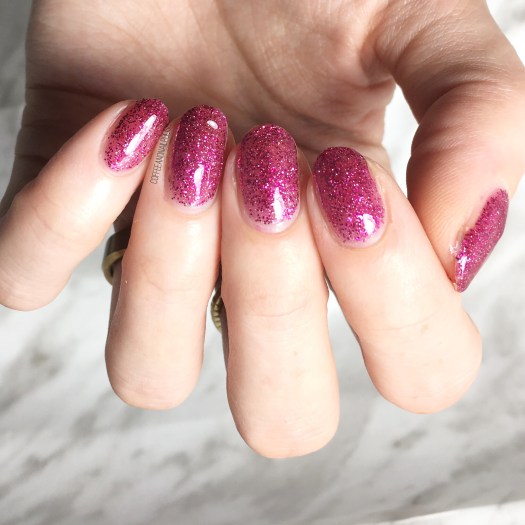
ACO BY ARDENE — BOUDOIR
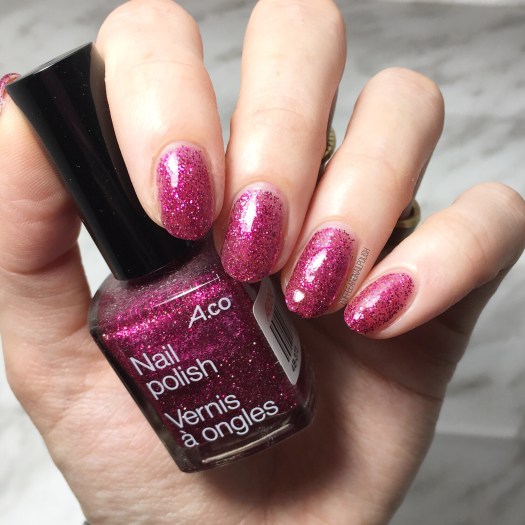
Valentine’s Day is a special occasion, & sometimes I want a little glitter & Ardene Boudoir is a fun glitter choice. It a clear base stuffed full of berry glitters. I used 3 coats for my swatches (thank god for peel off base coat) but normally I would either apply it over top a complimentary shade or sponge the glitter onto my nail. You can build close to opacity though, although I couldn’t imagine the dry time. I just love the colour of the glitter in this polish–sometimes you just need to sparkle a little (or a lot)!
OPI — FIRE ESCAPE RENDEZVOUS
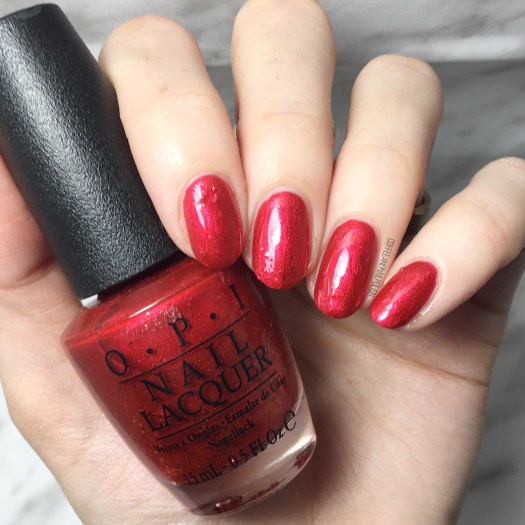
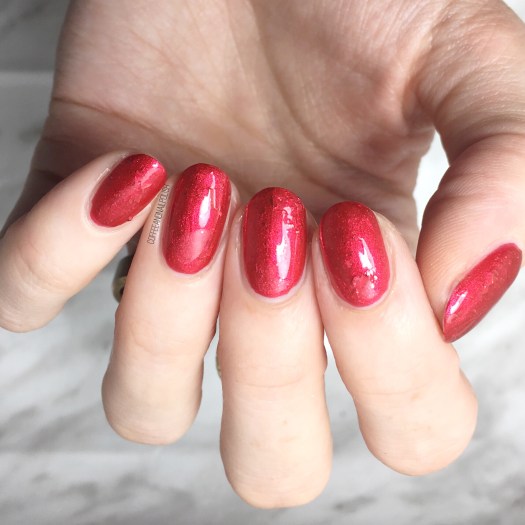
Next up we have OPI Fire Escape Rendezvous. This is 2 coats of this metallic ruby red polish with glitters–both shard glitter & hex glitter. The glitters are interesting, but I really dig them. They give this polish an interesting texture which makes it unique, although I definitely prefer it top coated (Seche Vive). If you’re looking for something a little more than just red, this would be a great choice.
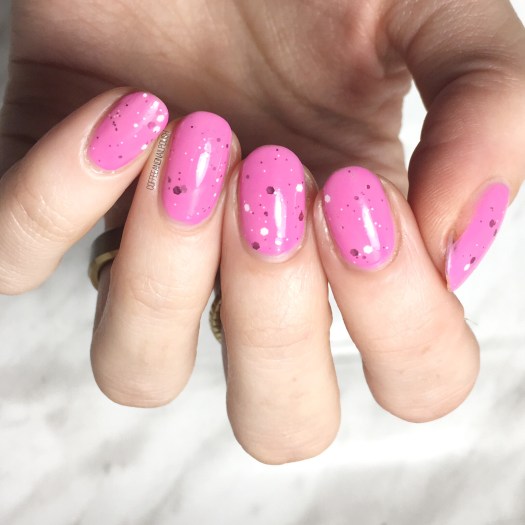
SINFUL COLORS — BLOOM BLAST FLOWER POWER

Last, but definitely not least, is Sinful Colors Bloom Blast in Flower Power. This milky pink shade is stuffed full of large & tiny matte pink metallic & white glitters. I belive it’s supposed to be worn on it’s own but I think it looks best over top other pink polishes. This is one coat over OPI Two Timing the Zones. How cute does this look? I know not everyone is a nail art person, so a topper like this is a great way of zazzing up your nails without having to worry about freehanding anything! It’s almost a dotticure without any of the work!
So those are the six polishes I’m loving for Valentine’s Day this year? What shades/polishes are your Valentine’s Day favourites? Let me know all your thoughts in the comments below!


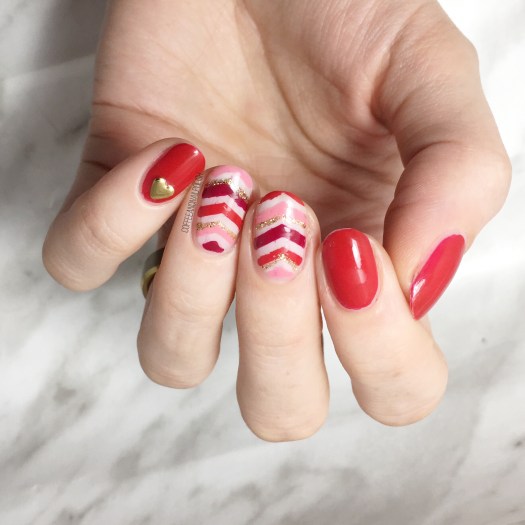

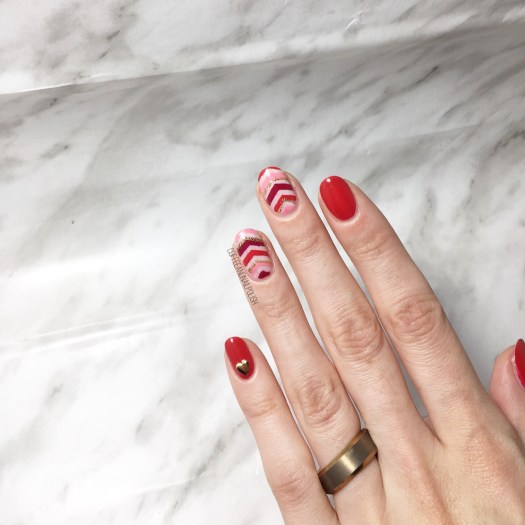


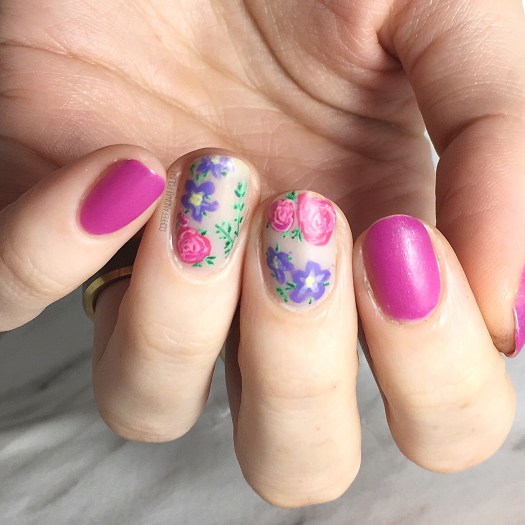
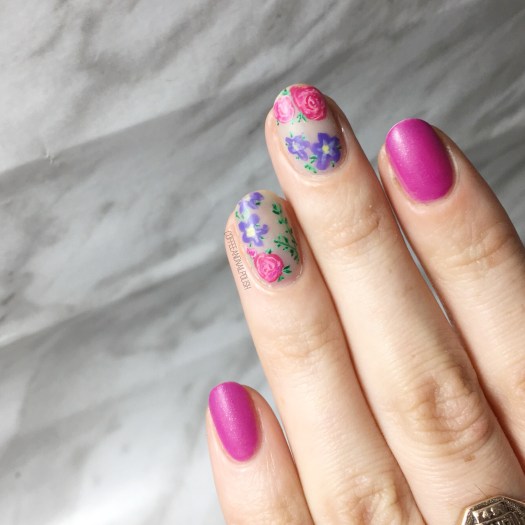
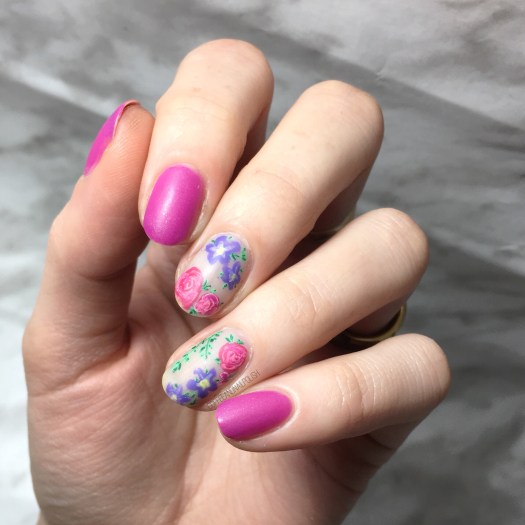


 What are your thoughts on today’s floral design? Are you a fan of floral nails? Let me know your thoughts in the comments below!


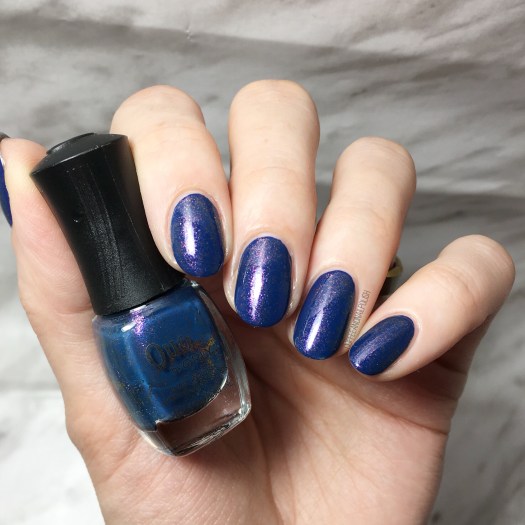
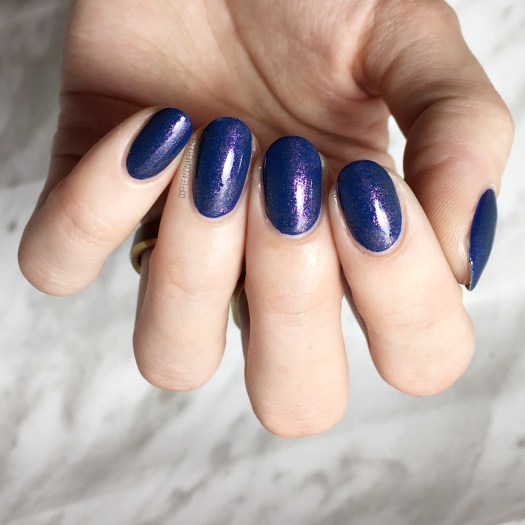
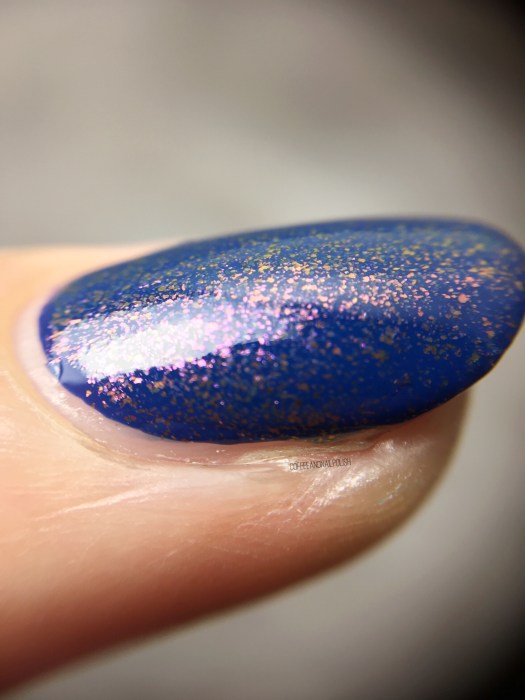
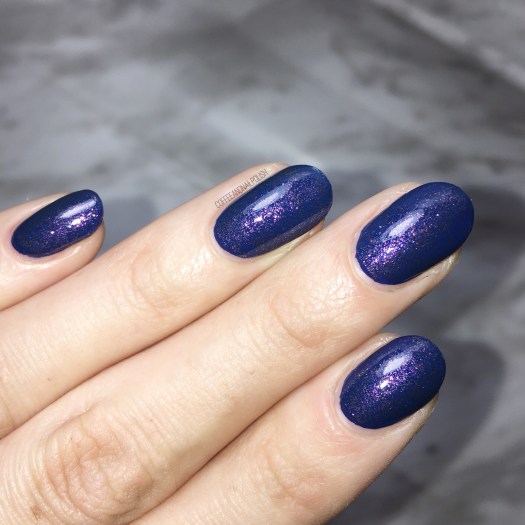 Sailor’s Blue is a sheer deep blue polish with a duochrome shimmer that flashes between gold & pink. It’s sheer enough that I wear it with undies (China Glaze First Mate) to avoid having to build coats. I also feel like using it over top of another blue shade keeps it from looking muddy. For this look, I did one coat of undies & one coat of Sailor’s Blue, plus top coat.
 Sadly, I don’t think this shade is available anymore for purchase which definitely makes me wish I had more than just a mini bottle in my collection. I know it was also released by ORLY as High On Hope as part of the Spring 2013 collection, but unless you find it buried in clearance bins, I don’t think it’s an easy shade to track down. Which is seriously a shame, because it’s so pretty!
 & for fun, a macro shot so you can really see that duochrome shift. ⤵️
 What do you think of Quo by ORLY Sailor’s Blue? Do you own this shade (or it’s twin ORLY High On Hope in your stash? Let me know your thoughts in the comments below!
