Grey-scale Snowflakes

Hey! Guess what? There is still no snow in Halifax yet. Which is really keeping my Christmas spirit at bay. It’s hard to feel Christmas-y when it feels more like October than December. But you know, there is worse things in this world than no snow & at least I can wear snowflakes on my nails. & until we finally get that first big snow, you can pretty much expect to see me keep posting snowflake designs.

Movember Moustache Nails

It’s Movember & I’ve had these Born Pretty water decals sitting in my nail art supplies for absolute ages. Like… 3 years. So after my successful first time experience with the water decals from NailStuff.ca, I decided it was finally time to give these babies a try, just in time to celebrate Movember! 

Sadly I searched Born Pretty to see if they still had these in stock & couldn’t find them or anything similar. But if you wanted to recreate this design, you could use this stamping plate as it has the same design on it. 

For this manicure, the polishes used were:

  • Base Coat: Essie Grow Stronger 
  • Top Coat: Seche Vive
  • Essie Bikini So Teeny
  • China Glaze Secret Peri-wink-le
  • Sally Hansen Miracle Gel Beatnik
  • China Glaze Fairy Dust
  • Edge Perfection 
  • Born Pretty Store water decals
  • Latex Free Make Up Sponge

Thankfully I did these nails last week because while packing this weekend I accidentally packed up all my make up sponges, so I guess no gradients until we’re all moved into our new house!

I’m loving this design because it was surprisingly easy (thank you Edge Perfection! 🙏🏻 ) These water decals (as old as they are) were super easy to apply to finish off the look, & I had no issues with them. I always love when I discover all these new nail art items I’ve never tried before—I mean, usually I’m like 10 years behind everyone else, but they always rock my world & give me something new & fun to do on my nails! 

What do you think of my Movember nails? Comment your thoughts below! 💙

Silver Snowflakes ❄️

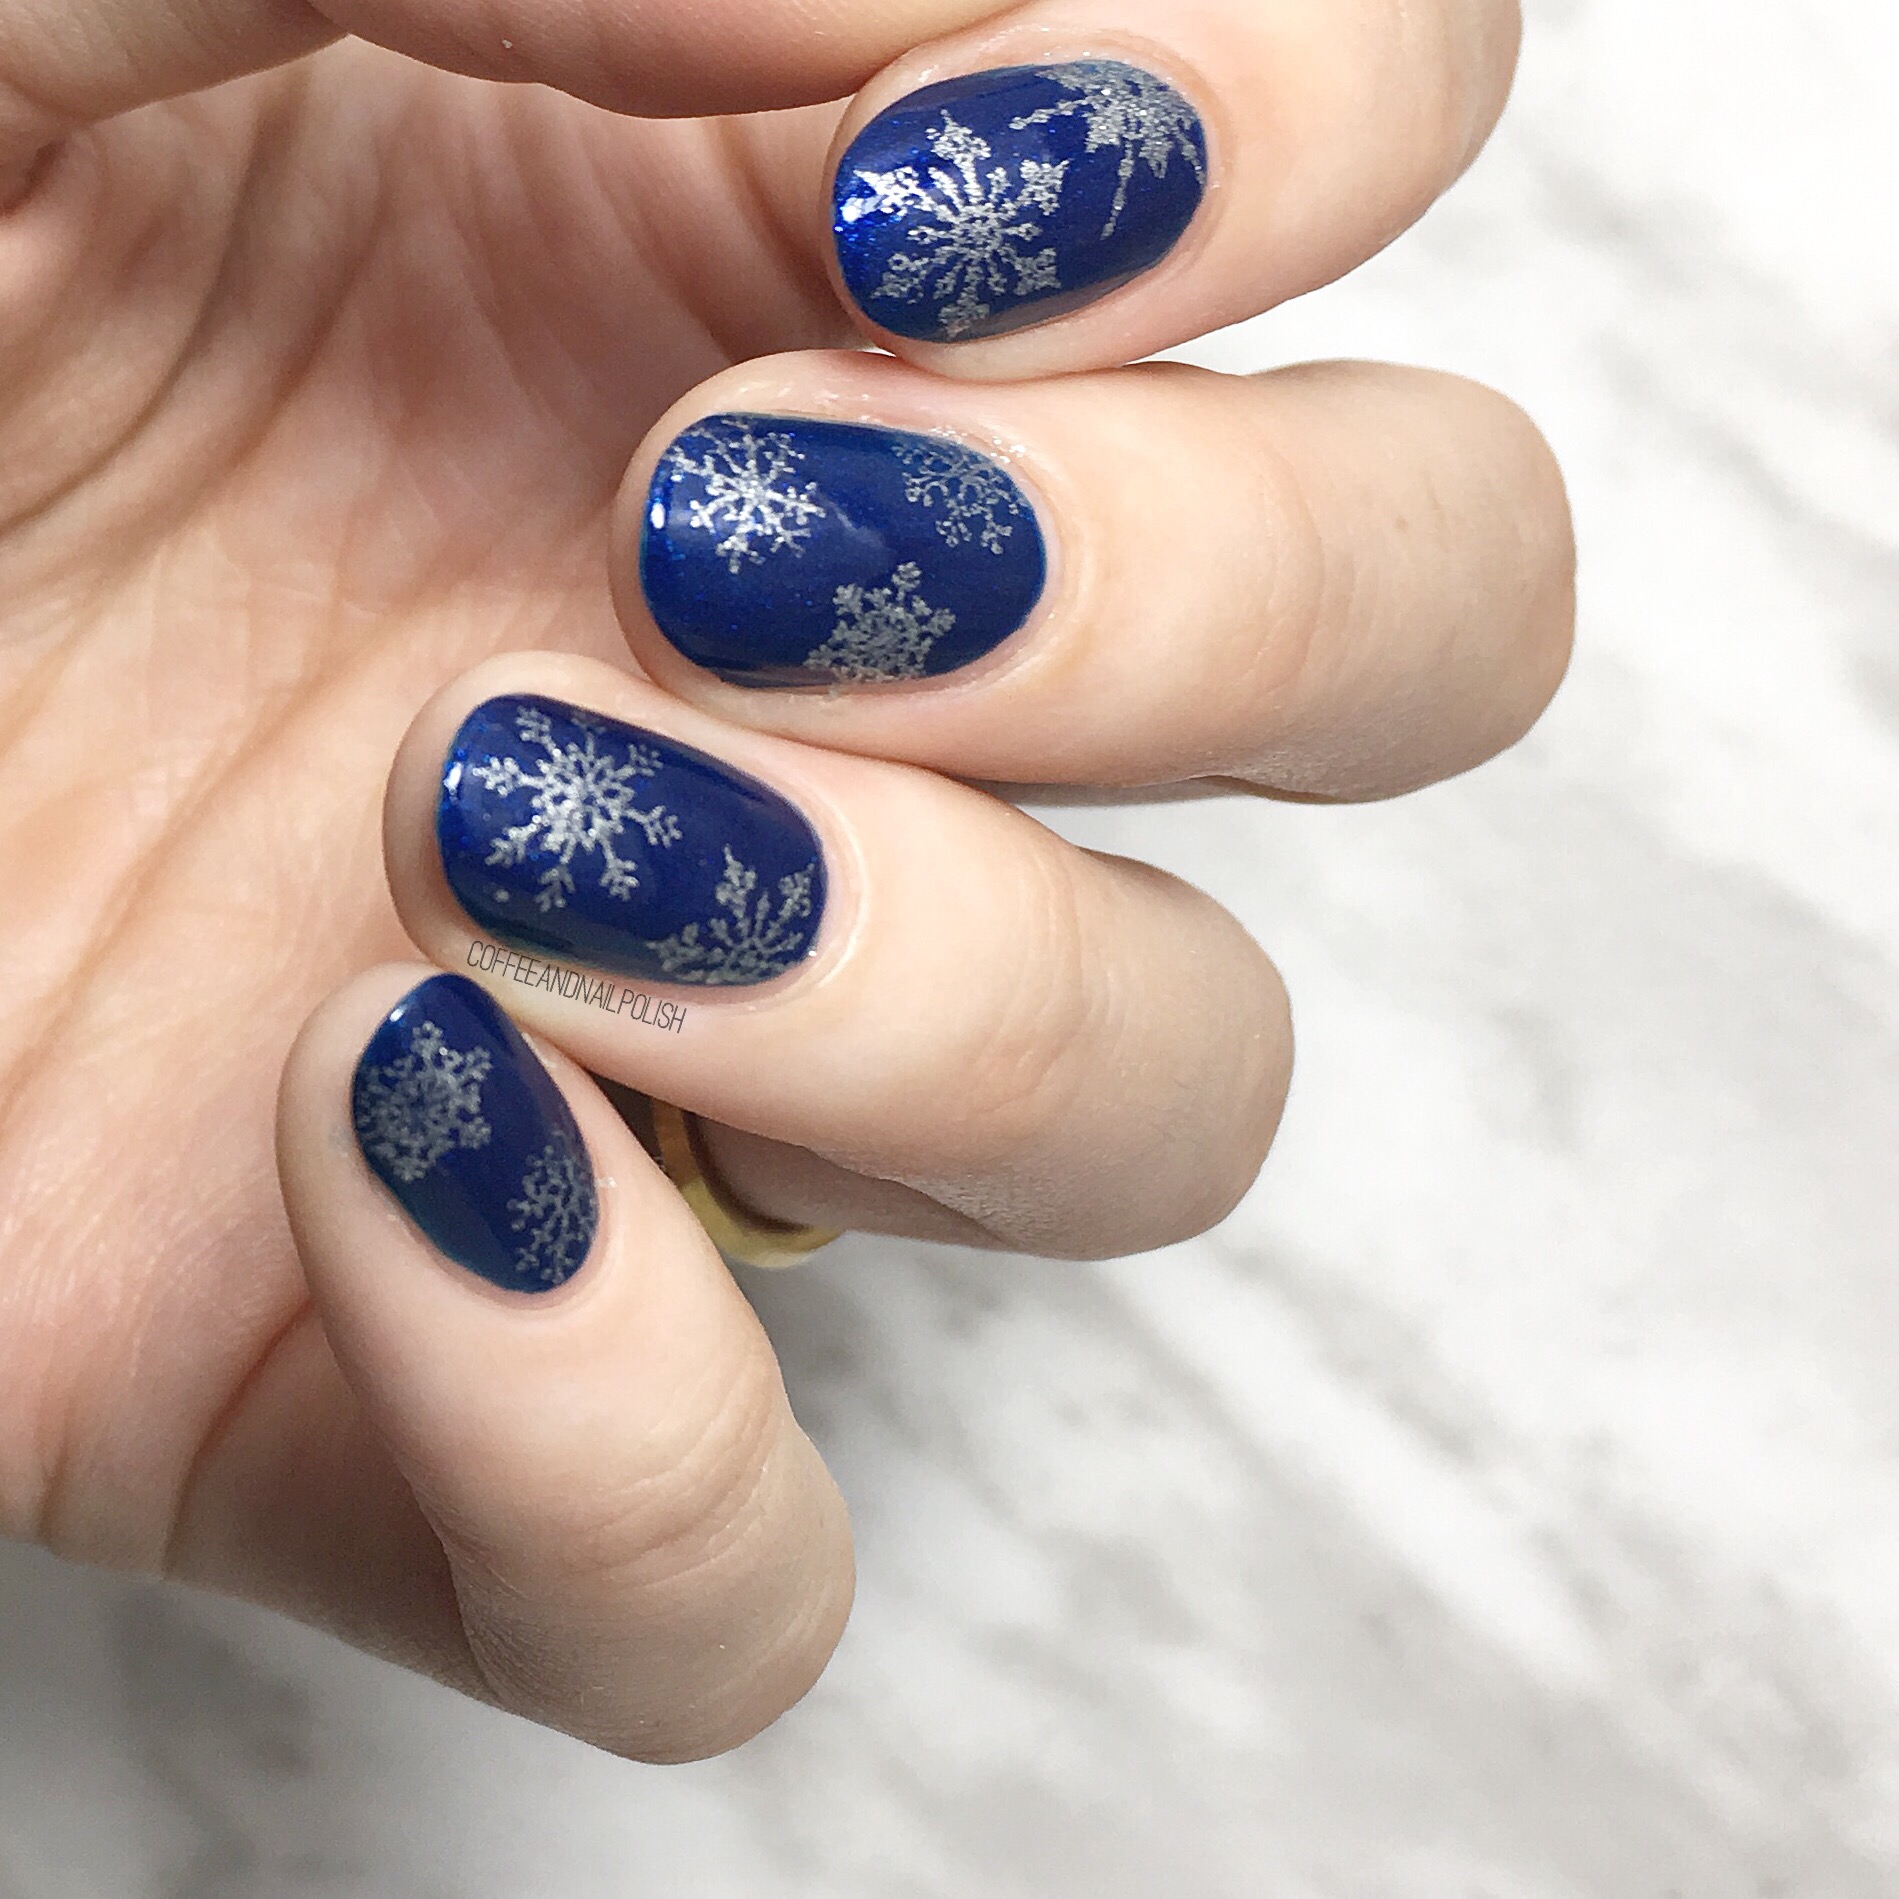
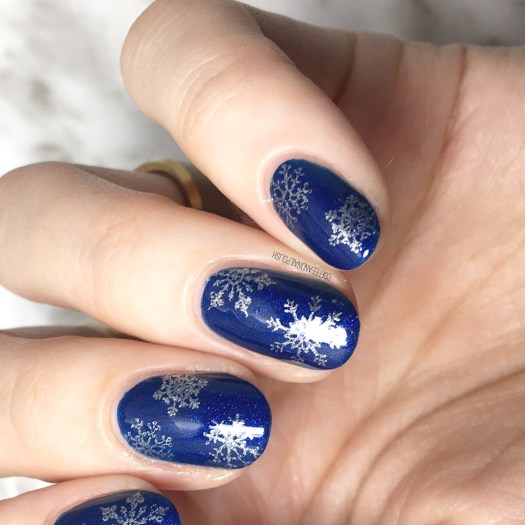
Is it too early for snowflakes? Probably (& I’m definitely not trying to encourage Mother Nature in any way) but my few Christmas/Winter plates were sitting on my desk the other night looking so lonely so I decided maybe some snowflakes would be pretty. 

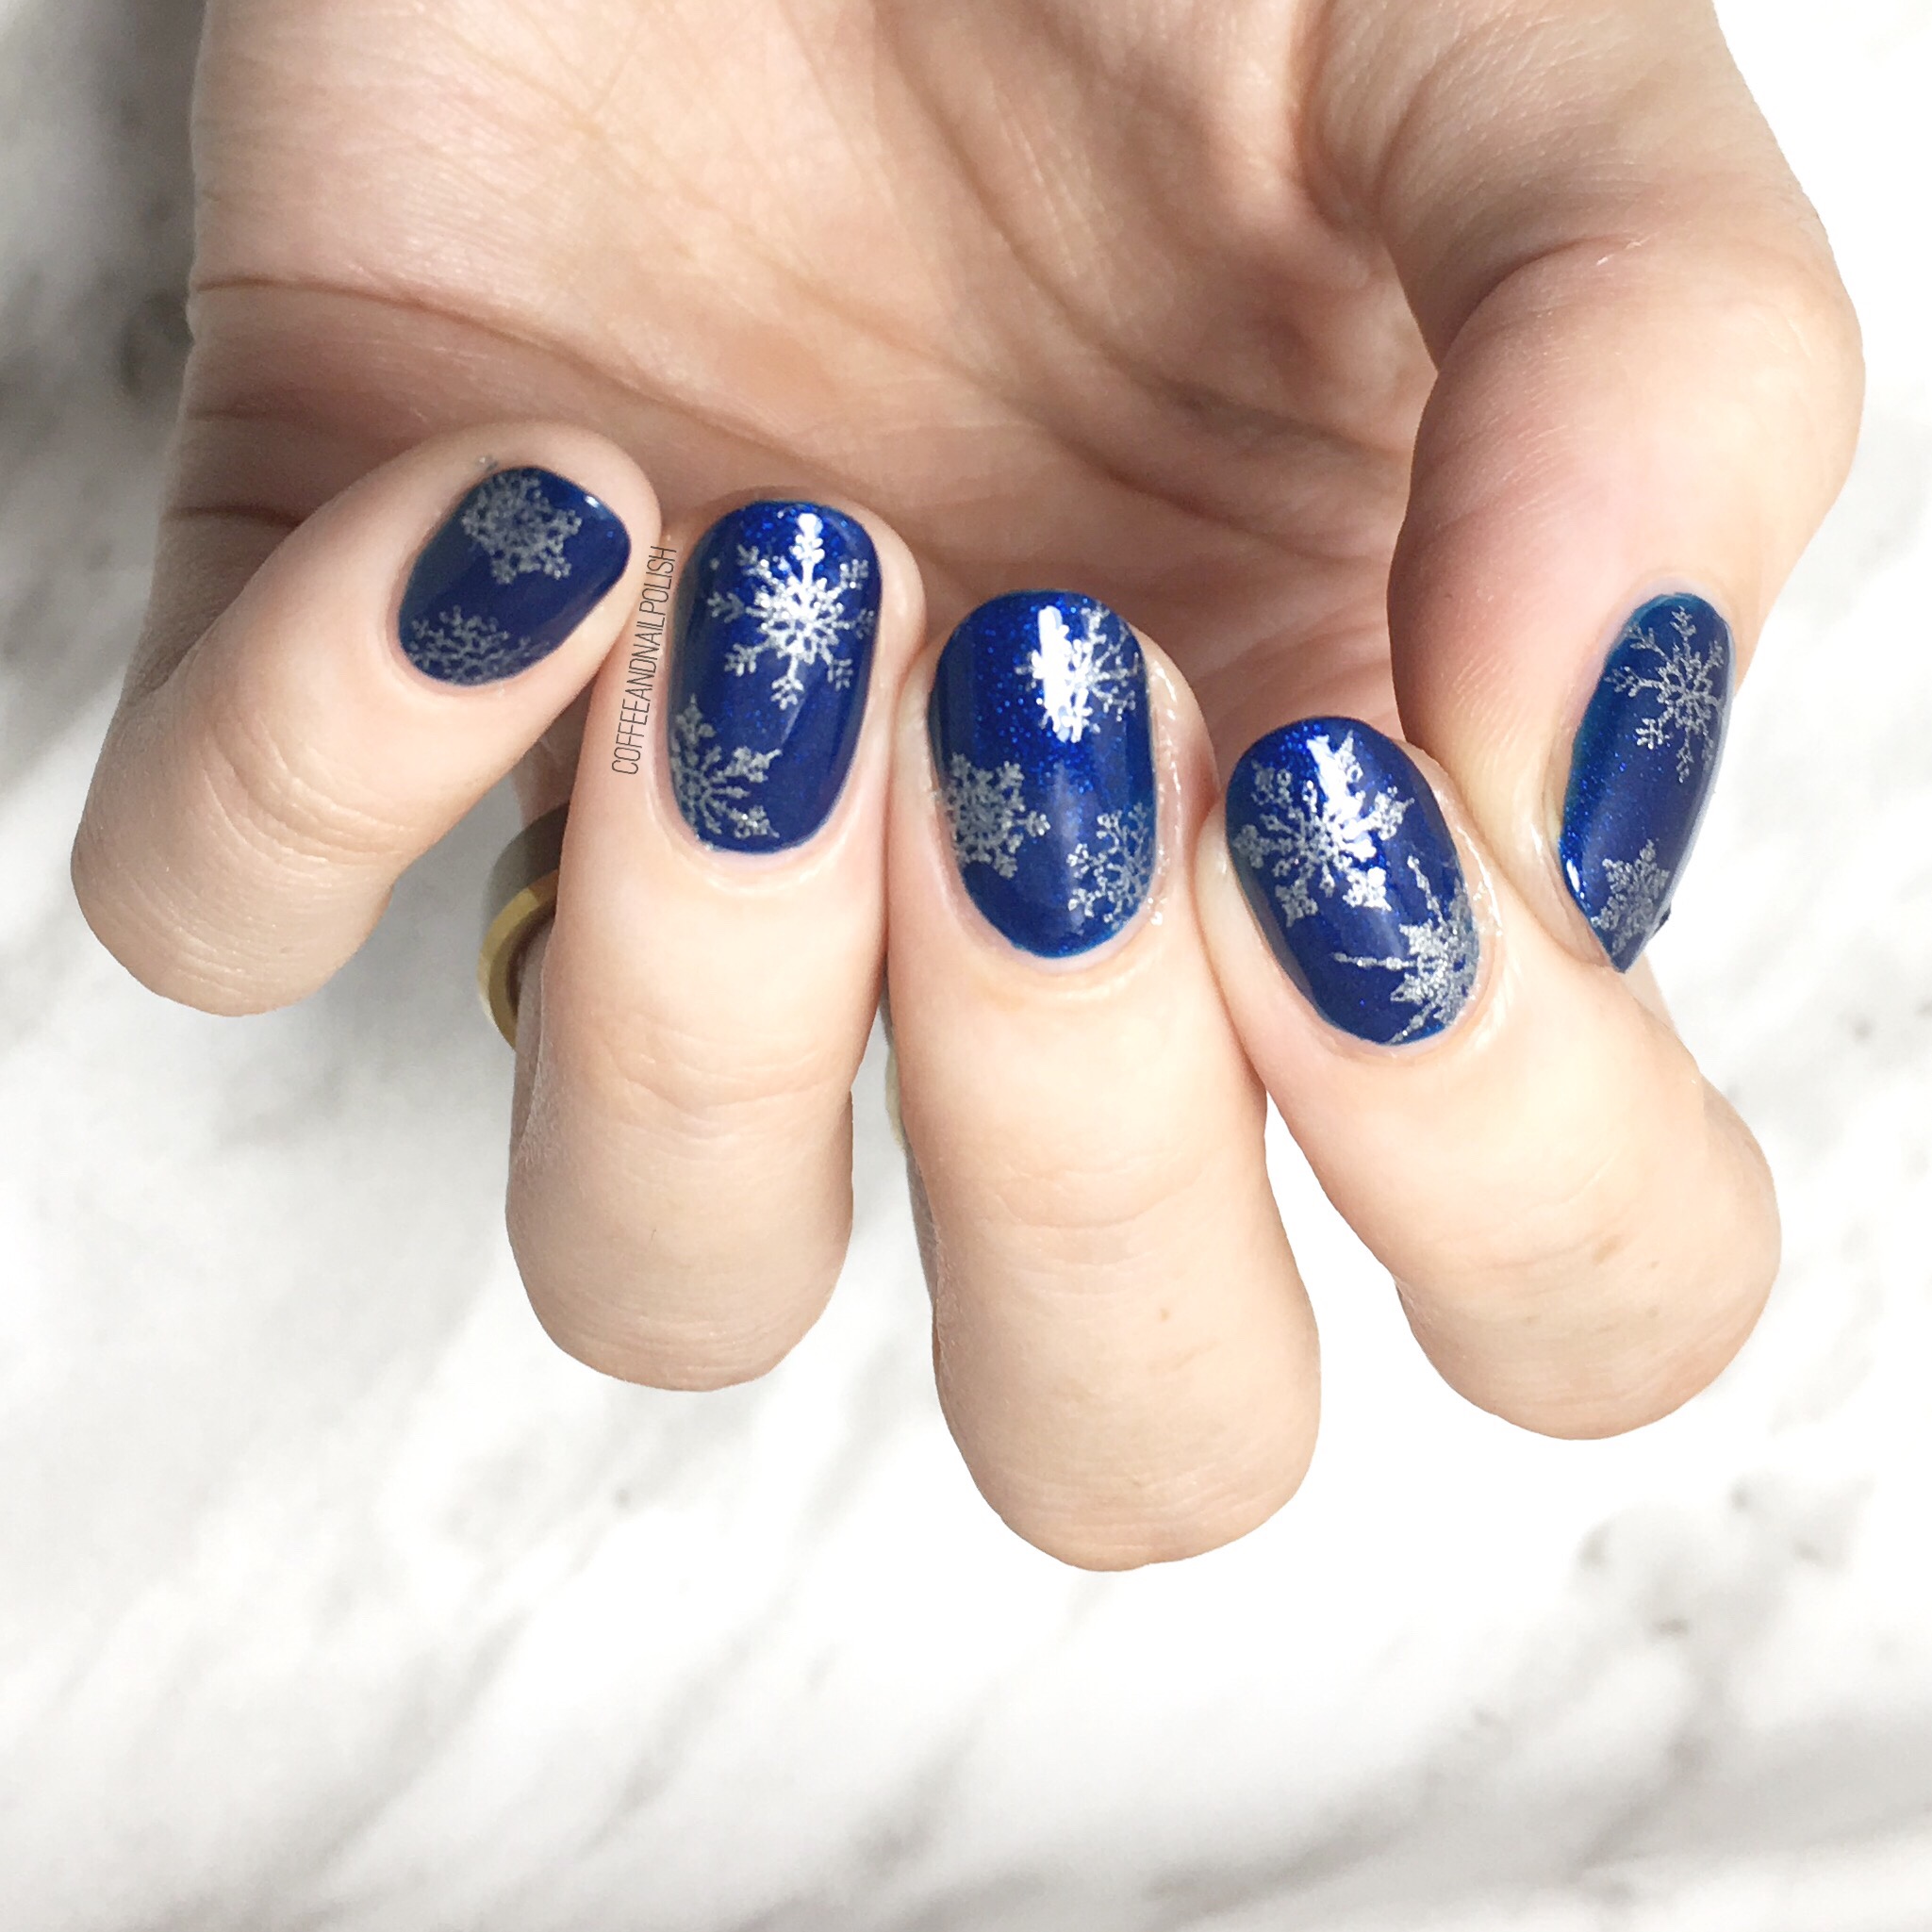
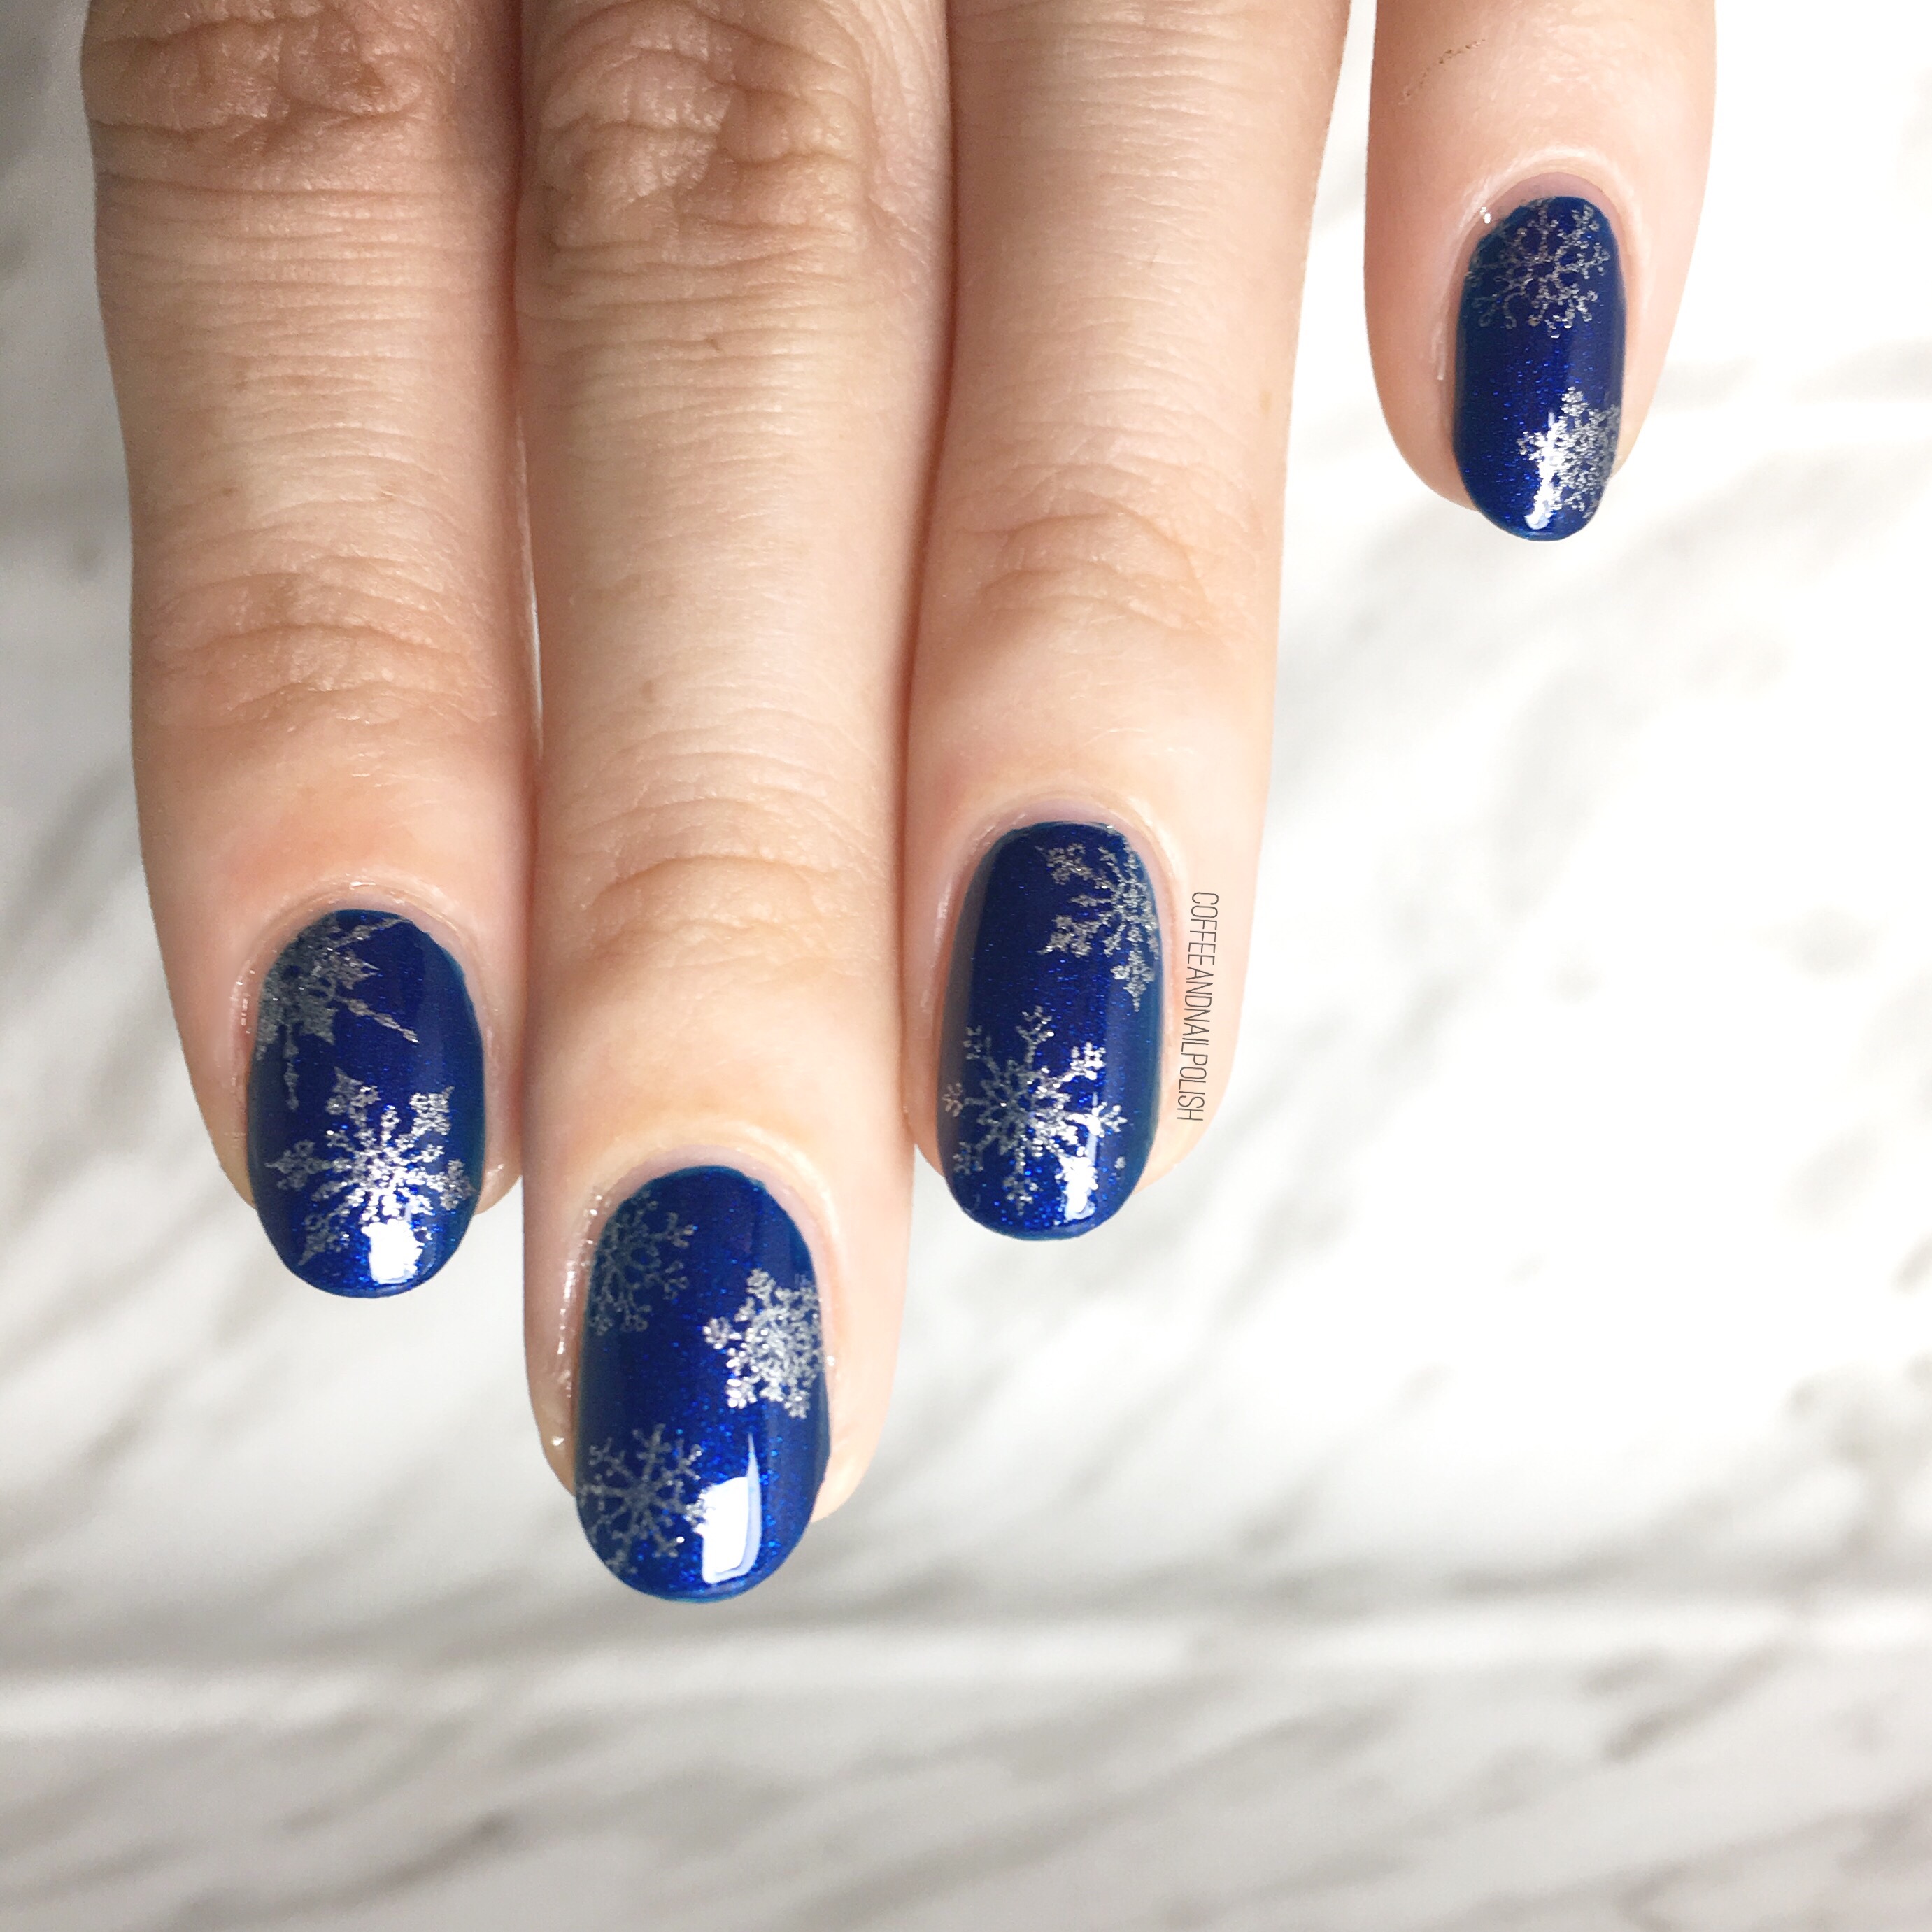
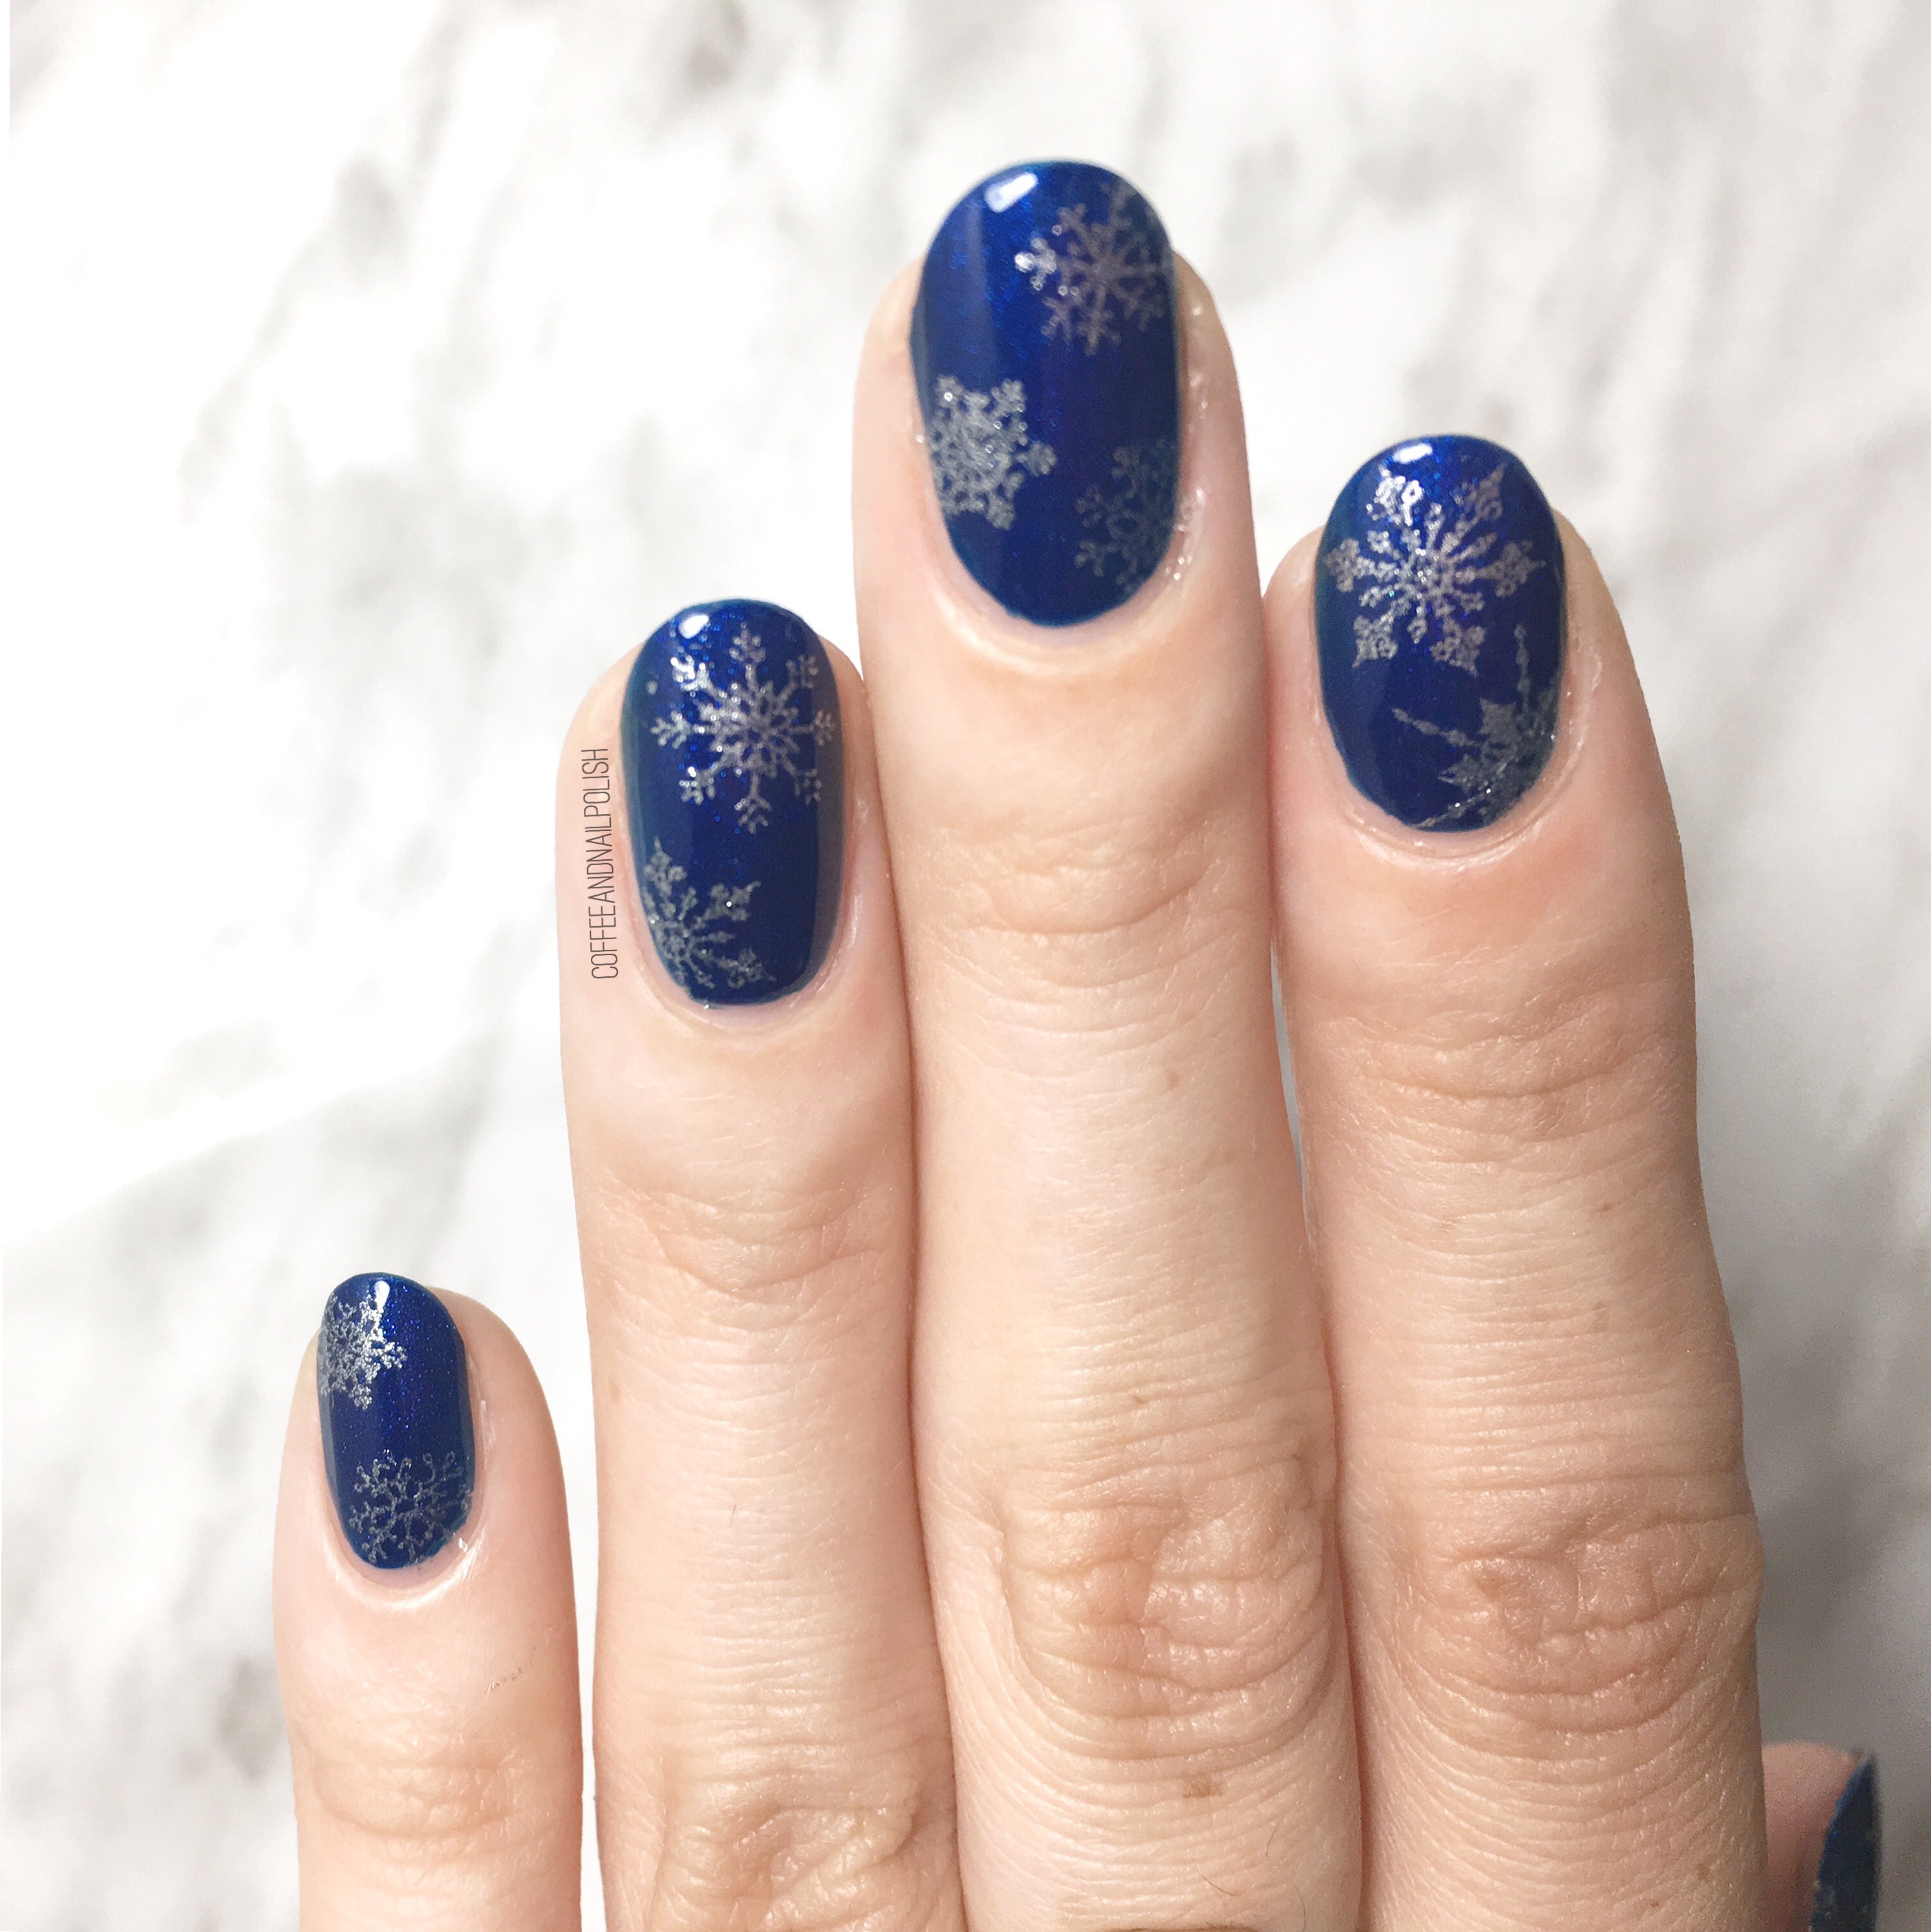
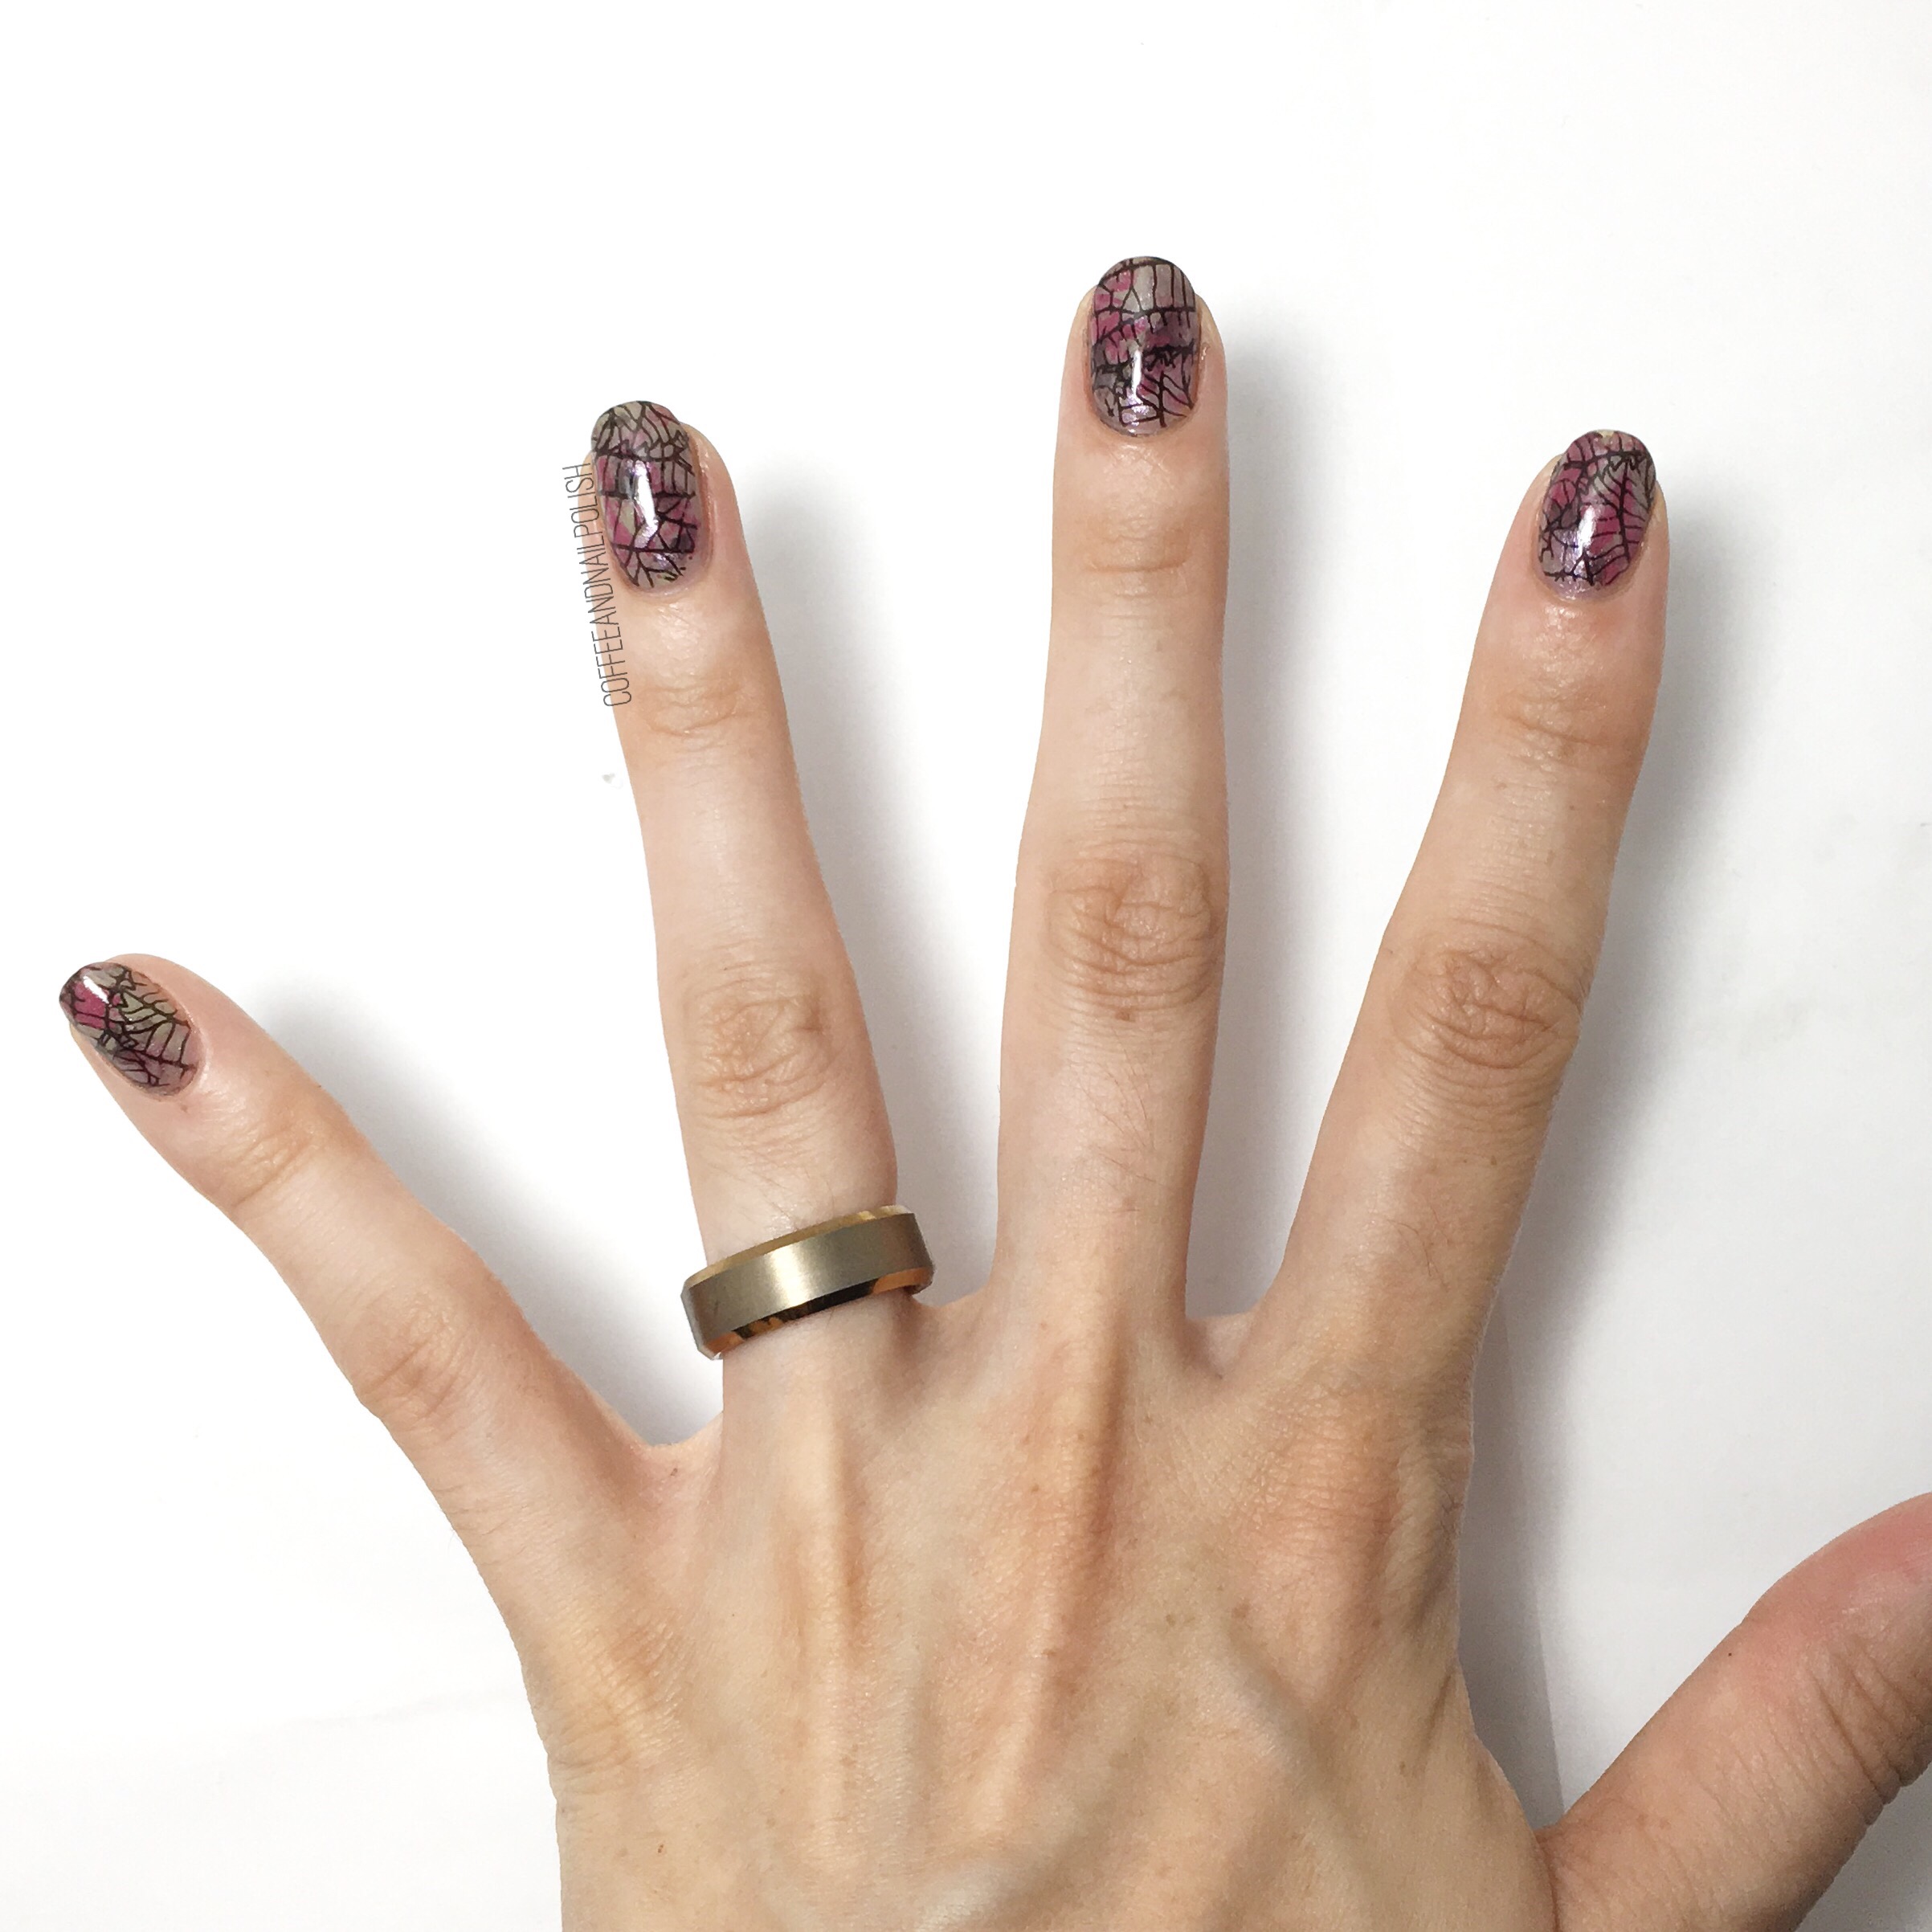
I do a variation of this design pretty much every year, with varying levels of success haha. I love how it looks a bit like wrapping to me. Honestly, the only time I like snow is between December 20th & January 2nd, or when it’s painted on my nails. 

For my manicure, the polishes I used were: 

  • Base Coat: Essie Grow Stronger
  • Top Coat: Seche Vive
  • Zoya Yves
  • Sally Hansen Miracle Gel Buffalo Nickel 
  • Born Pretty Store Clear Jelly Stamper
  • Born Pretty Store Snowflake Stamping plate (no longer available) — this one (also Born Pretty) could be a good alternative. 
  • Edge Perfective Cuticle Barrier 

I was really impressed with how well Sally Hansen Miracle Gel Buffalo Nickel stamped. I find metallic shades can be so hit or miss when it comes to how well they stamp, but it turned out awesome! I thought about adding a bit of glitter in the middle of my snowflakes, but decided against it just in case I hated how it looked. 

We’re slowly creeping into the holiday season. We were at the grocery store yesterday & you could already hear Christmas carols being played! Trying my best to like Christmas this year, especially because it’s baby’s first Christmas (& my husband’s absolute favourite holiday!) so wish me luck. Maybe if I do enough Christmas manicures, it will subconsciously make me love it? 

What do you think of these snowflakes? Do you think it’s too early for Snowflake/Christmas/Winter designs? Let me know what you think in the comments below! 

Sparkly Red Stamping 

I’ve been seriously digging red nails lately. They’ve been a favourite of mine for a long, long time—I almost used to exclusively wear red nails during my late teens, early twenties—so I’ve accumulated quite the stash of crimson polish. & even though my days of just wearing red are a bit behind me, that doesn’t stop me from buying good red polishes when I see them so my stash has continued to grow.

 I recently found a beautiful red at my local Lawtons (one of my favourite stores for polish steals) & I found a red shade from L’Oréal (Carmin Parisien) that seemed to me to be more opaque than most reds, so I had to buy it! Even though I love red nails, I find that a lot of red shades are not opaque & usually show some degree of visible nail line. Lucky for me, L’Oréal Carmin Parisien is completely opaque in 2 coats! This pretty much cements it as my new go to red. 

The polishes I used for this manicure were:

  • Base Coat: OPI Natural Nail Base Coat
  • Top Coat: Sally Hansen Diamond Flash Top Coat
  • L’Oréal Carmin Parisien 
  • CND World Crimson Sparkle
  • Sally Hansen Hard As Nails Black Heart
  • Born Pretty Store Clear Jelly Stamper (item #38611)
  • Essence Cosmetics Stampy Set stamping plate. 

I’ve actually been thinking about buying this stampy set from Essence for a while, but I had some Optimum Points to spend so I decided to pick it up. The very first stamping set I ever bought was from Essence, & they’ve definitely upped their game since I bought that one—the images actually fit my whole nail now! For a beginner curious about the whole stamping business, this is a great little set to try it out & see if you like it (especially for under $5). 

What do you think of these sparkly red nails? What colour do you love the most on your nails? Let me know in the comments below! 

Fall Leaf Stamping 🍁

Sorry for my lack of posting this week. If you follow me on Instagram you would have saw that I was struck down by the gluten gods this past weekend & I’ve been recovering from a particularly bad attack the last couple days. I spent Monday & Tuesday in bed sleeping but I finally had a bit of a burst of energy, enough at least that I could post this mani. 

& can I just say I freaking love how this design turned out?! Okay so my husband may have said that he thought they looked like spiderwebs but he’s a boy & it doesn’t count. 😂 

For this manicure, the products I used were: 

I started off with a base shade of This Isn’t Iceland the used my other OPI shades to create a Saran Wrap splatter. I topped that with clear nail polish that I knew would smear the polishes so it blended them together better. Then I stamped the leaf print over top over the blend using Back to Black to finish the design. I topped everything with top coat to seal in the design, & used a brush dipped in acetone to clean up around the cuticles. I love using Back to Black for stamping because not only does it stamp well, it cleans up easily & doesn’t leave my cuticles stained black when using acetone. There is nothing worse! 

I’m digging this pattern. I wish I could have gotten a picture with an actual leaf but mine aren’t quite on fire yet. I’ll have to repeat this stamping again when the leaves are in full colour change, just for the chance to take a picture! That, or I’ll recreate one of my all time favourite Fall designs. 

What do you think of these Fall leaf nails? Do you see leaves or spider webs? Let me know what you think in the comments below! 

Some of these lovely polishes were all gifted to me by OPI as part of the #PreenMeVIP program.