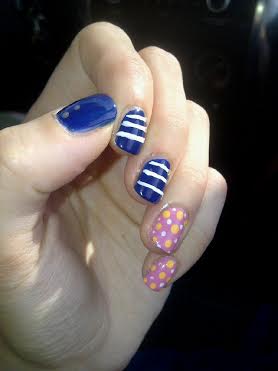
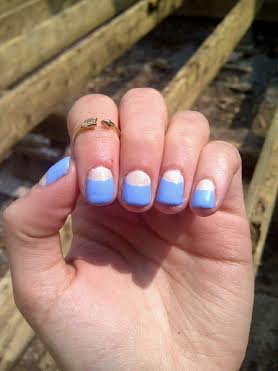
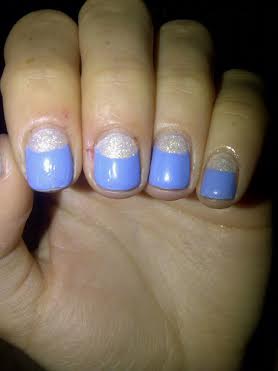
Embracing my new shorties… and pretty half moons.

Oopsie.

Sorry for disappearing for a little while. After I posted my Keira Knightley inspired nails I had a nail tragedy breaking THREE nails super duper short (and, all on the same hand of course) so I was really disappointed. Curse working in retail… it ruins everything. =( But nails grow… so I’m trying my best to embrace my new super nubs while they grow out… which is hopefully quickly!


shorties

For this manicure, the polishes I used were:

  • ACO by Ardene Bridezilla
  • Layla Soft Touch Effect Golden Touch.
  • Sinful Colors Hip to be Square.
  • Essence Gel Look Top Coat.
  • Essie Good to Go Top Coat.

First off, Hip to be Square might be one of my favorite new polishes. It’s so pretty! It looks fairly sky blue in my pictures, but honestly it’s more of a cornflower blue in person, with a barely noticeable silver shimmer. (I love it so much!) I also think it might be very close to ACO by Ardene’s Sea of Beauty, so I’m going to have to do a comparison between the two.

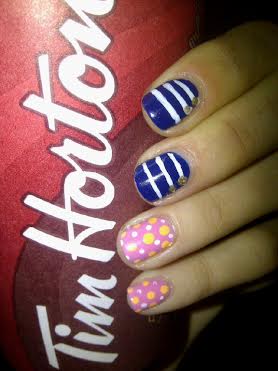
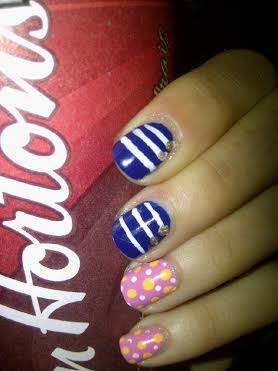
Can you tell how much I love a half moon manicure. I especially love them with shorties, as I feel like the blocking of colors works to give the illusion of longer nails.

shorties2 shorties3

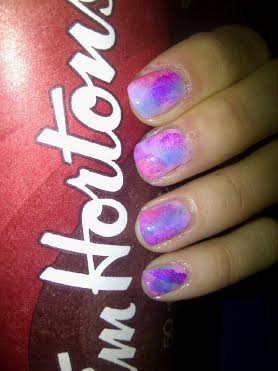
Also, I think I’ve found the perfect new top coat combination for my nail art. As you might remember, I was less than thrilled with my experiences with Essence Gel Look Top Coat the first go around, but top coating it with Essie’s Good to Go squashes the wait for it to dry. The one thing I was impressed with about Essence’s Top Coat was it’s durability and from the look of this manicure now three days later….

shorties4

Whoa! Color me impressed! This is my nail art on day three… with no major chips and just minimal tip wear on my index finger. Considering I worked all weekend, that’s a feat. Usually my nails look like this after day one.. and by day two major chips will start so even if I love a manicure I have to change it! I’ll have to test out this top coat combination a little bit more with a few more manicures, but I have a good feeling about it.

So how do you deal with big nail breaks? Any tips on helping my nails grow out without any more tragedy? I’m going to be doing a post later on my own little routine, but I was just wondering what everyone else does… unless I’m the only one who has this kind of awful luck? In which case, tell me how you avoid big breaks because obviously, I need some advice!

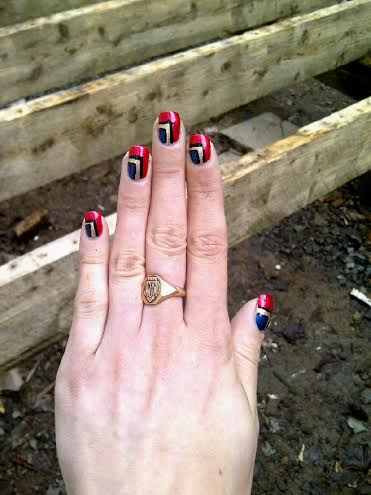
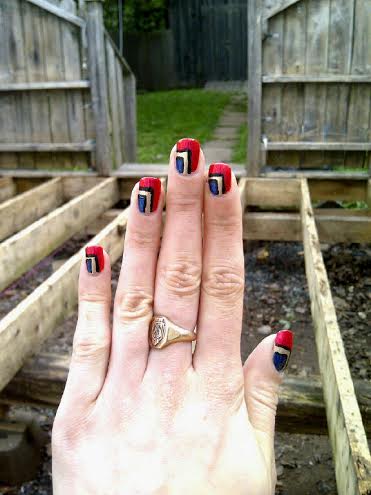
Inspired by Wonder Woman!

Because I have a huge love affair with all things DC superheroes, I really wanted to do another Superhero inspired manicure. I’ve only done a couple to date: A Flash manicure last summer, and my Spiderman nails. Now most people who know me would figure I would do Batman nails since he’s my all time favorite (I even have a Batman tattoo). Instead, I decided to go with my second favorite: Wonder Woman.

ww7 ww8

The polishes I used for this manicure were:

  • ACO by Ardene Golden Luxury.
  • ACO by Ardene Strawberry Blush.
  • Revlon Spidey Sense.
  • Maybelline Sapphire Siren.
  • Revlon Superpowered.
  • Vernis Classique by Cherimoya Black
  • Essie Good to Go top coat.

ww6 ww5

This manicure was pretty simple to do. I painted my nails all the gold color, and waited for them to dry over night. Then, I taped off the L shapes, and painted on first my creme blue and red, followed by my Revlon polishes. I peeled that off carefully, then outlined with my black and applied top coat. And tada! My nails are super powered!

ww3 ww2 ww

The only thing I wish was that I had little star glitters that I could have added to my blue to make it really look like her costume. Next time! These would go perfectly with my Wonder Woman costume (which I wore for Halloween a couple of years ago.) I might even have to come up with some more Superhero inspired manicures–Batman, for sure, but all my other favorites as well. I remember seeing an awesome Star Sapphire manicure on pinterest a while ago that I feel absolutely in love with.

Pacific Blue (the original!) and a little subtle shimmer.

So as most people have probably heard, Sally Hansen decided a little while ago to change Pacific Blue, taking it from a beautiful creamy blue to a less appealing darker shimmery blue. I was not very impressed when I heard the news (as most people weren’t) because Pacific Blue is one of my all time favorite blue polishes! I’ve been on the look out to see if I could find any of the old bottles, but wasn’t having the best luck. However, I got lucky the other day when I visited my local Shoppers–they had a whole display with the old formula of Pacific Blue, so naturally I had to stock up on this beauty!

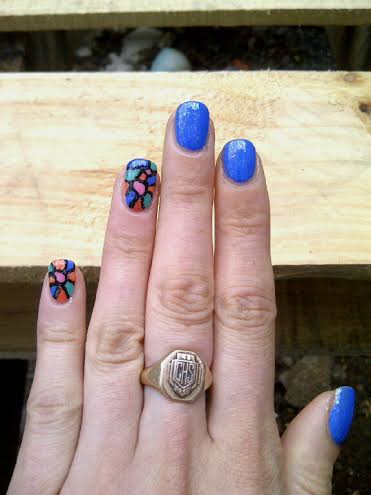
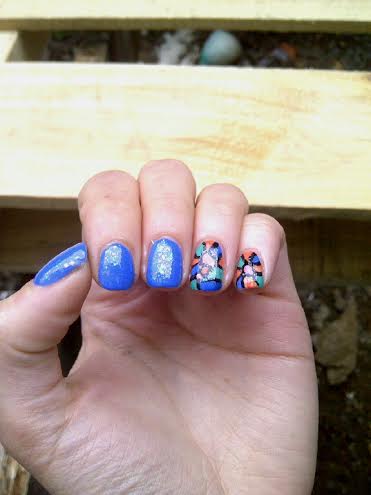
In honor of finding my beloved Pacific Blue, I decided to do a manicure featuring it. Originally I wanted to use striping tape to create triangle accent nails, but after getting way to frustrated I gave up on the striping tape and decided to create freehand mosaic accent nails. Someday I’ll manage to get the hand of striping tape, I just guess that today is not going to be that day.

pacificblue

The polishes I used for this manicure were:

  • Sally Hansen Xtreme Wear Pacific Blue — blue.
  • Essence Beach Cruisers Girls Just Wanna Have Sun! — Coral.
  • Essence Beach Cruisers Keep Calm and Go to the Beach! — Teal.
  • ACO by Ardene Kiss From a Rose — Pink.
  • Vernis Classique by Cherimoya Black — black outline.
  • Quo by ORLY Glitter Pink Matte Top Coat.
  • Essie Go to Go Top Coat.

God, I really love this blue. As soon as I came home, I put it on my toes. My old bottle was beginning to get goopy from over use, so I was really sad thinking I’d never get to wear this polish again. I also added some shimmer to my manicure in the form of Quo’s Matte Pink Glitter Top Coat so it would qualify for the OMD Nail Art challenge. I ended up adding top coat over the sparkle, just to bring it out a little more. Maybe it’s not as BAM! IN YOUR FACE! as some shimmery manicures, but I like the subtle quality of it. Plus it looks amazing over Pacific Blue so it’s a definite win for me.

pacificblue4 pacificblue5 pacificblue3 pacificblue2


Blue Moon Manicure.

I love a good half moon manicure. It was one of the first nail art techniques I tried. So I do love to return to them when I’m in need of pretty nails. I just picked up Revlon’s Dreamer, which is a gorgeous baby blue, and thought it would be perfect for a little color blocking. I decided to go with something purple for a great contrast.

halfmoon4

The polishes I used for this manicure were:

  • Revlon Dreamer — baby blue.
  • Essence Break Through — purple.
  • Essie Go to Go top coat.

I was actually hoping this would be a little brighter so I could use it for today’s entry for the OMD Challenge, but they turned out a little darker than I imagined in my head. Never the less, they turned out great and I love how they look. A simple manicure, but eye catching none the less.

halfmoon3 halfmoon2 halfmoon

Outline Gradient Nails.

I’m kind of a little obsessed with gradients lately.

It’s only been the last little while that I’ve actually been able to get them right–after many fail nail manicures. After the gradients I did for my Bestie Twin Tropical Nails turned out so well, I really wanted to give a full gradient manicure another try.

outlinegradient3

The polishes I used for this manicure were:

  • OPI My Boyfriend Scales Walls — white base color.
  • Sinful Colors Island Coral.
  • ACO by Ardene Forever Young.
  • LA Colors In A Flash.
  • Cherimoya Black.
  • Essie Go to Go Top Coat.

outlinegradient2 outlinegradient4

outlinegradient5

This manicure reminds me of something, but I can’t quite figure it out. I ended up creating a black outline around the nails as I didn’t quite get my sponging of the different colors to the ends of the nails, so there was some white edges. This seemed like the perfect solution for hiding that. =)