Spring Stripe Inspiration. 

Oh yes, I’m all about the Spring colours.

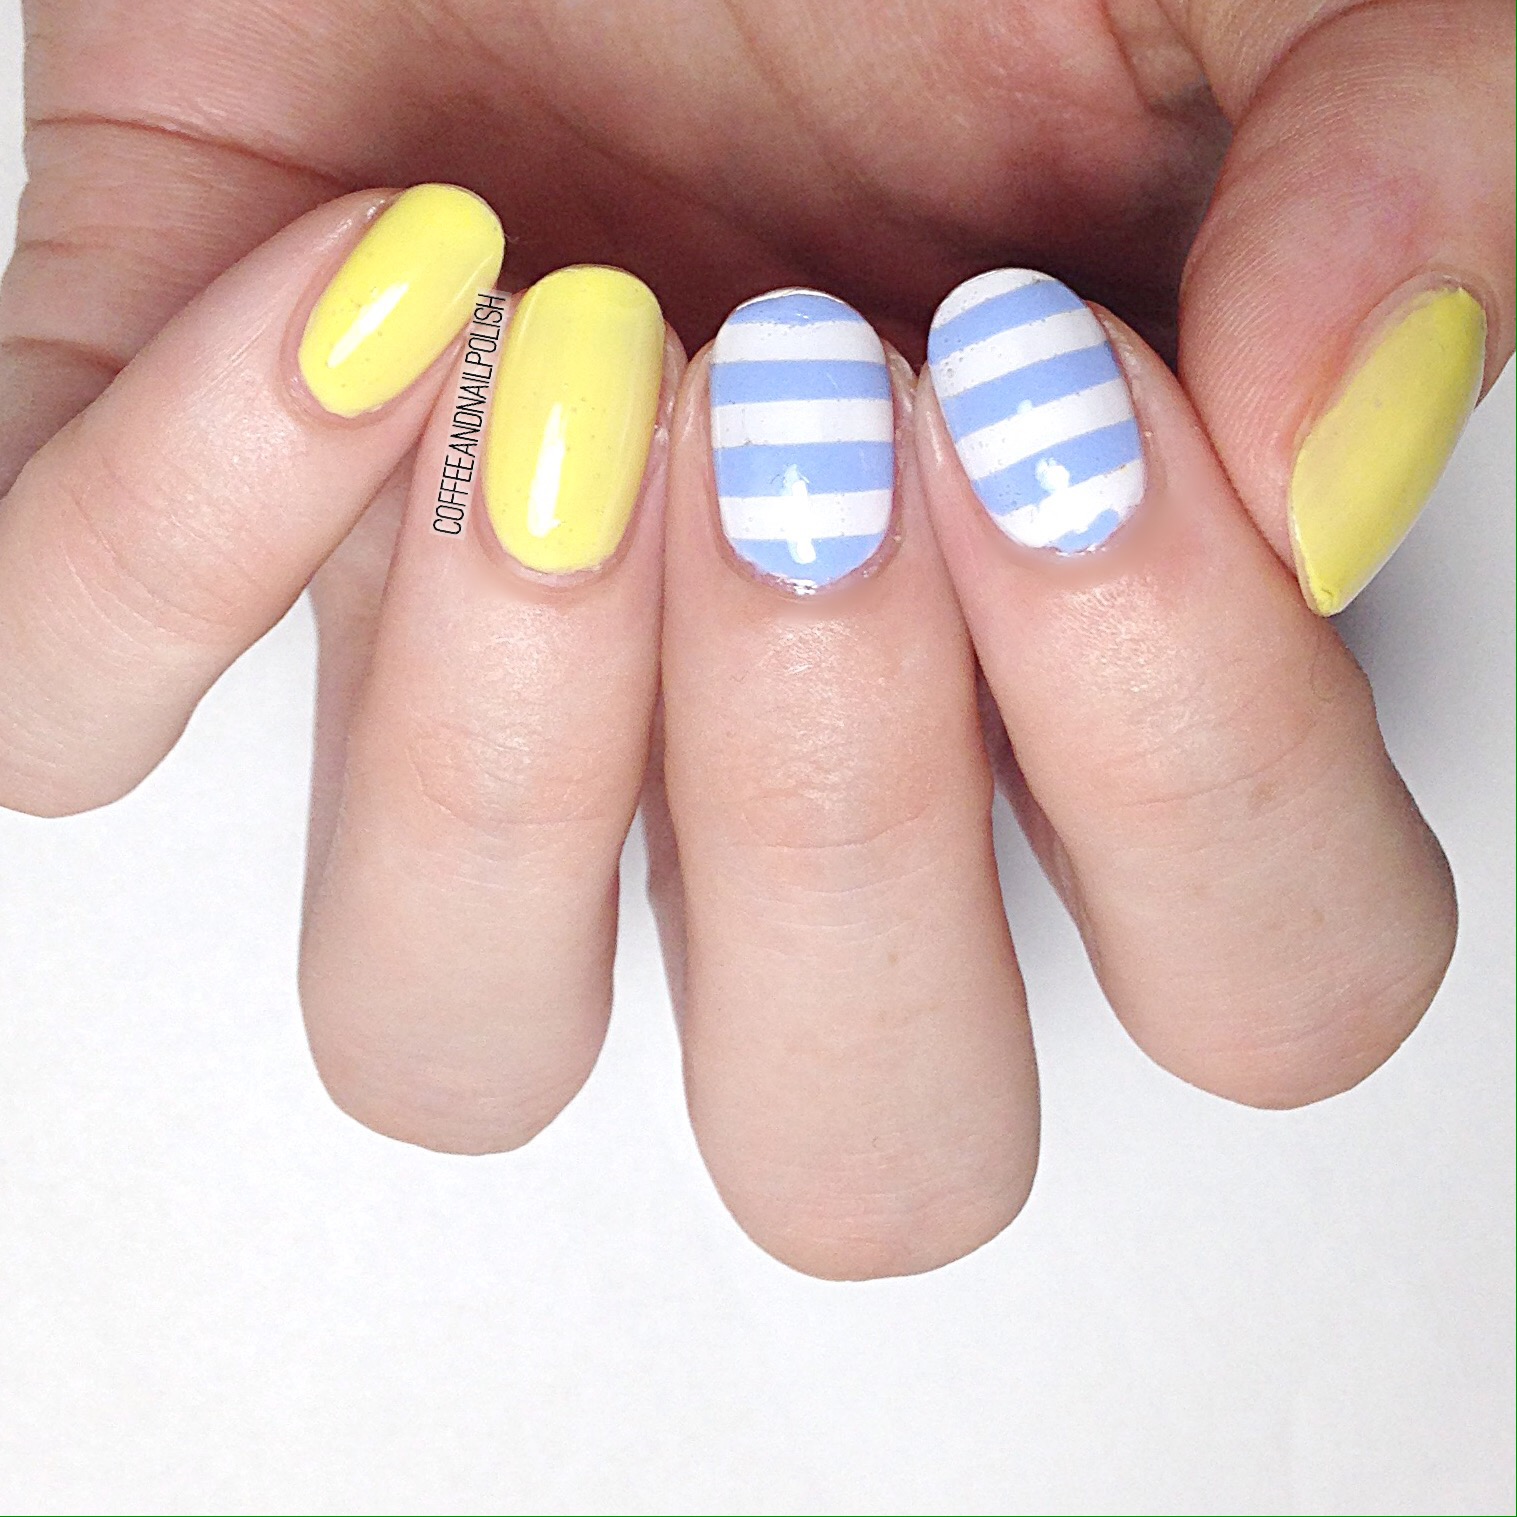
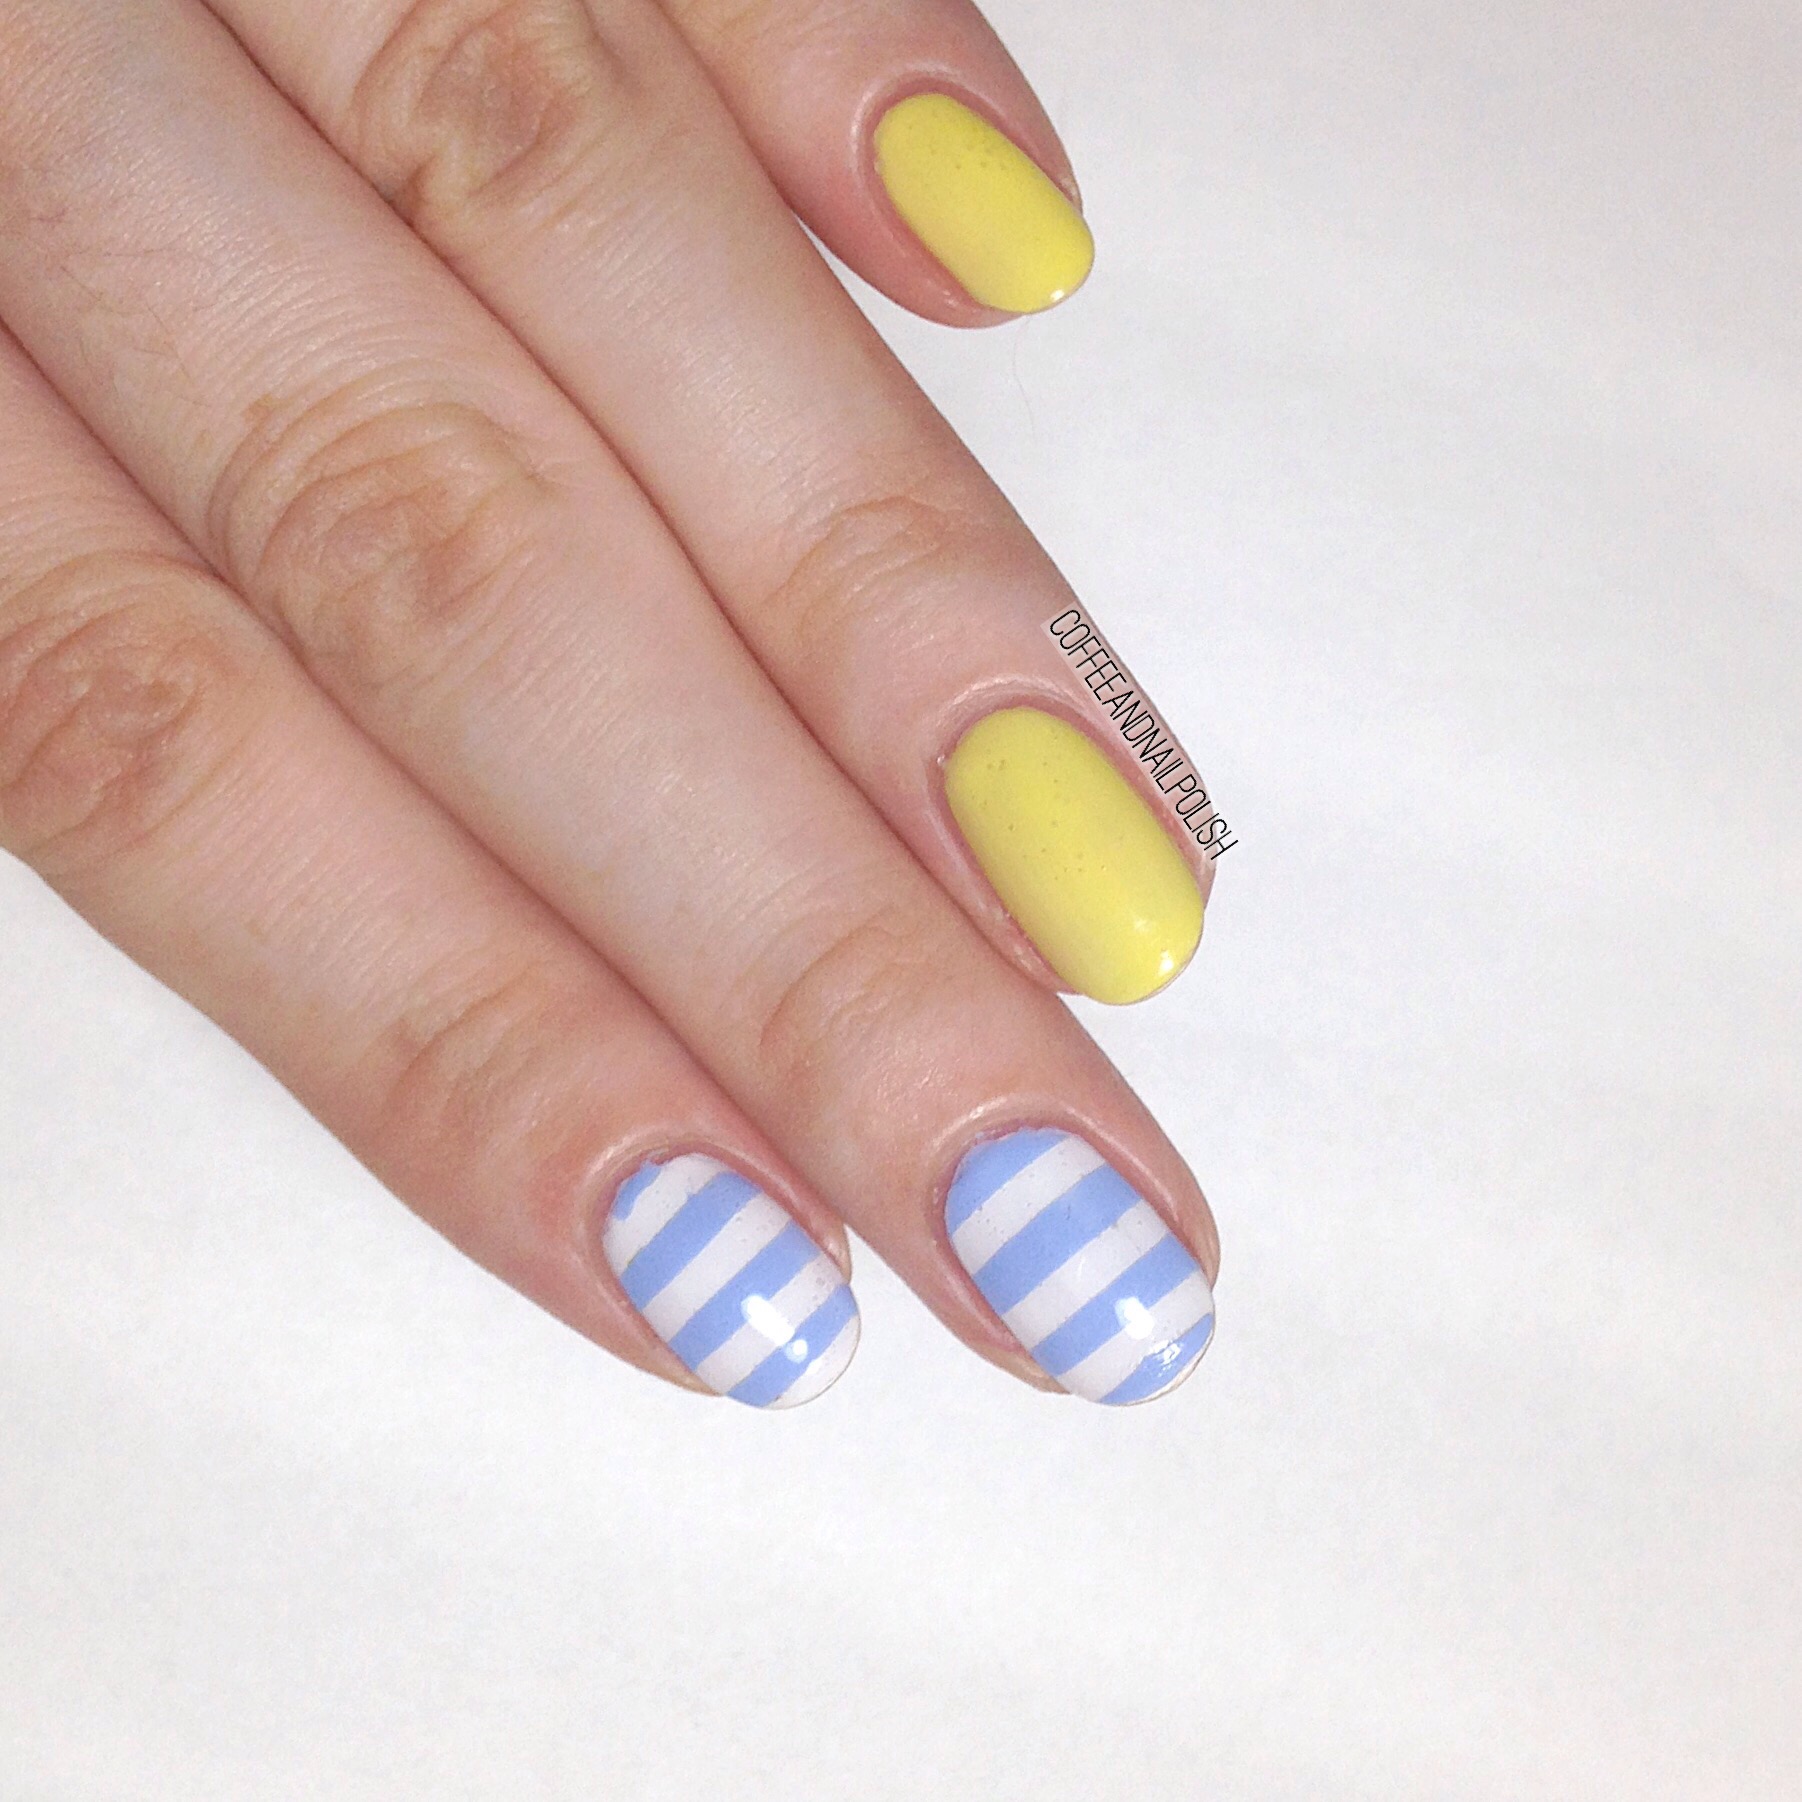
 I was looking to do a manicure different from my usual colour scheme, and I was inspired by a stuffed Giraffe belonging to my son that I yellow with blue and white striped feet. I thought the colours looked so lovely together, I wanted to recreate the look on my nails!

 It took me a couple tries to find the right shades, but I really like how well these colours compliment each other. If you threw an anchor into the mix, you would have a great nautical themed design! I also love how bright and Spring-y these are! It’s time to push the winter shades away, and embrace all things sunny and bright. 

For this manicure, I used:

  • China Glaze Sun Upon My Skin
  • OPI Angel With A Lead Foot
  • Essie Bikini So Teeny
  • Essie Gel Setter 
  • Born Pretty Store thick striping tape. 

What do you think of this mani? Funny the places you can find inspiration! This has kind of made me think about each week (or every couple weeks) doing a manicure inspired by something baby related! I’ve already got a few ideas brewing, so stay tuned. 

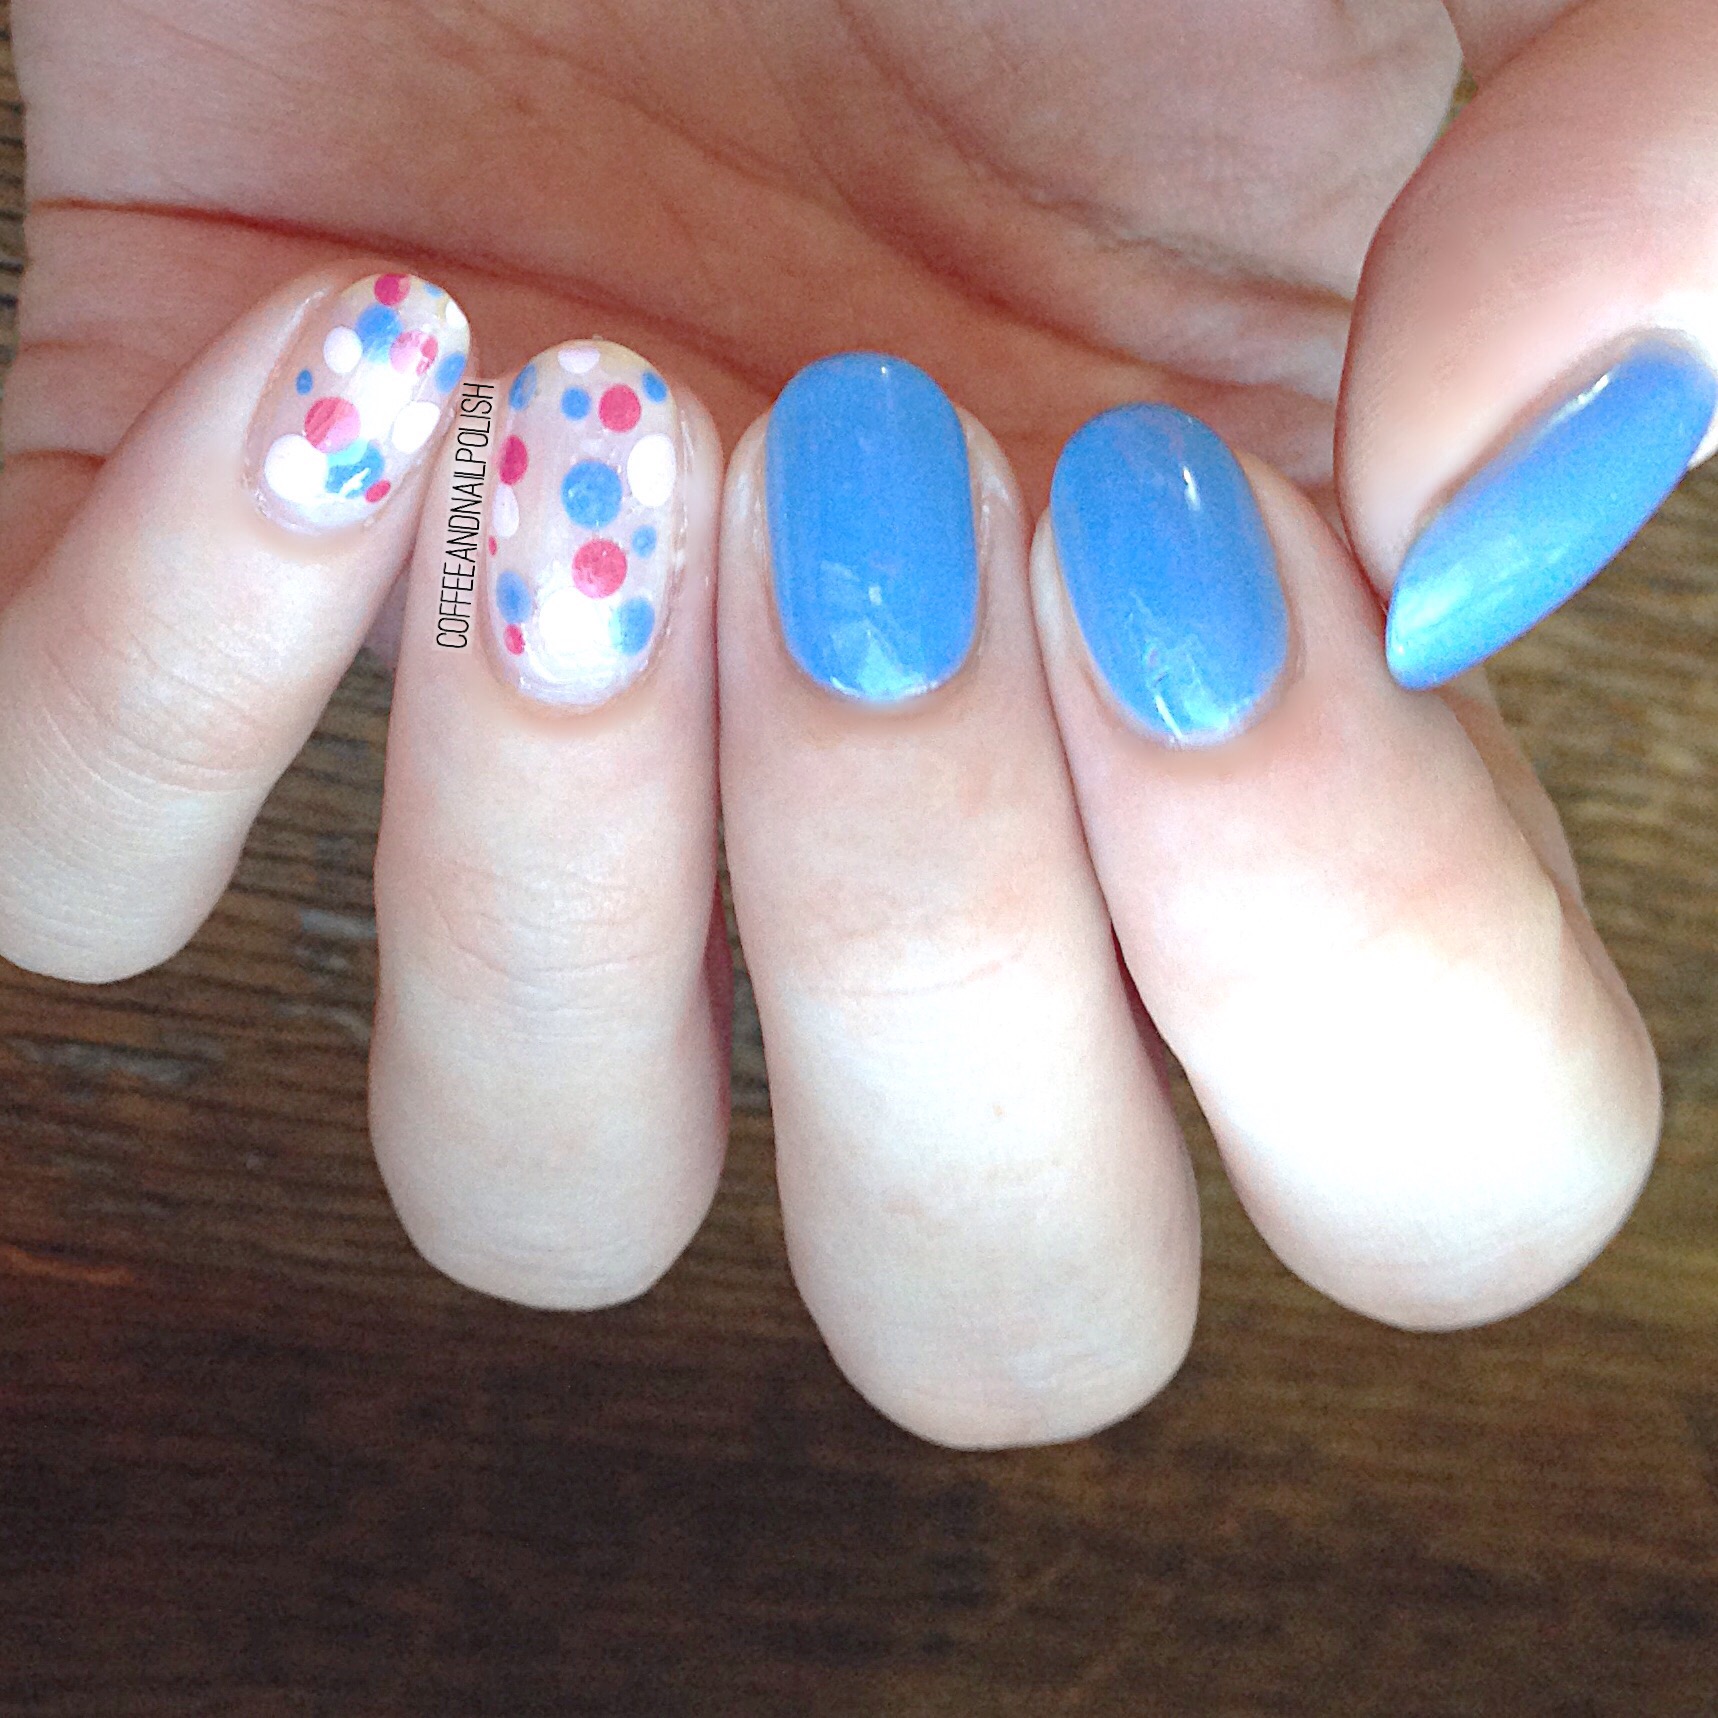
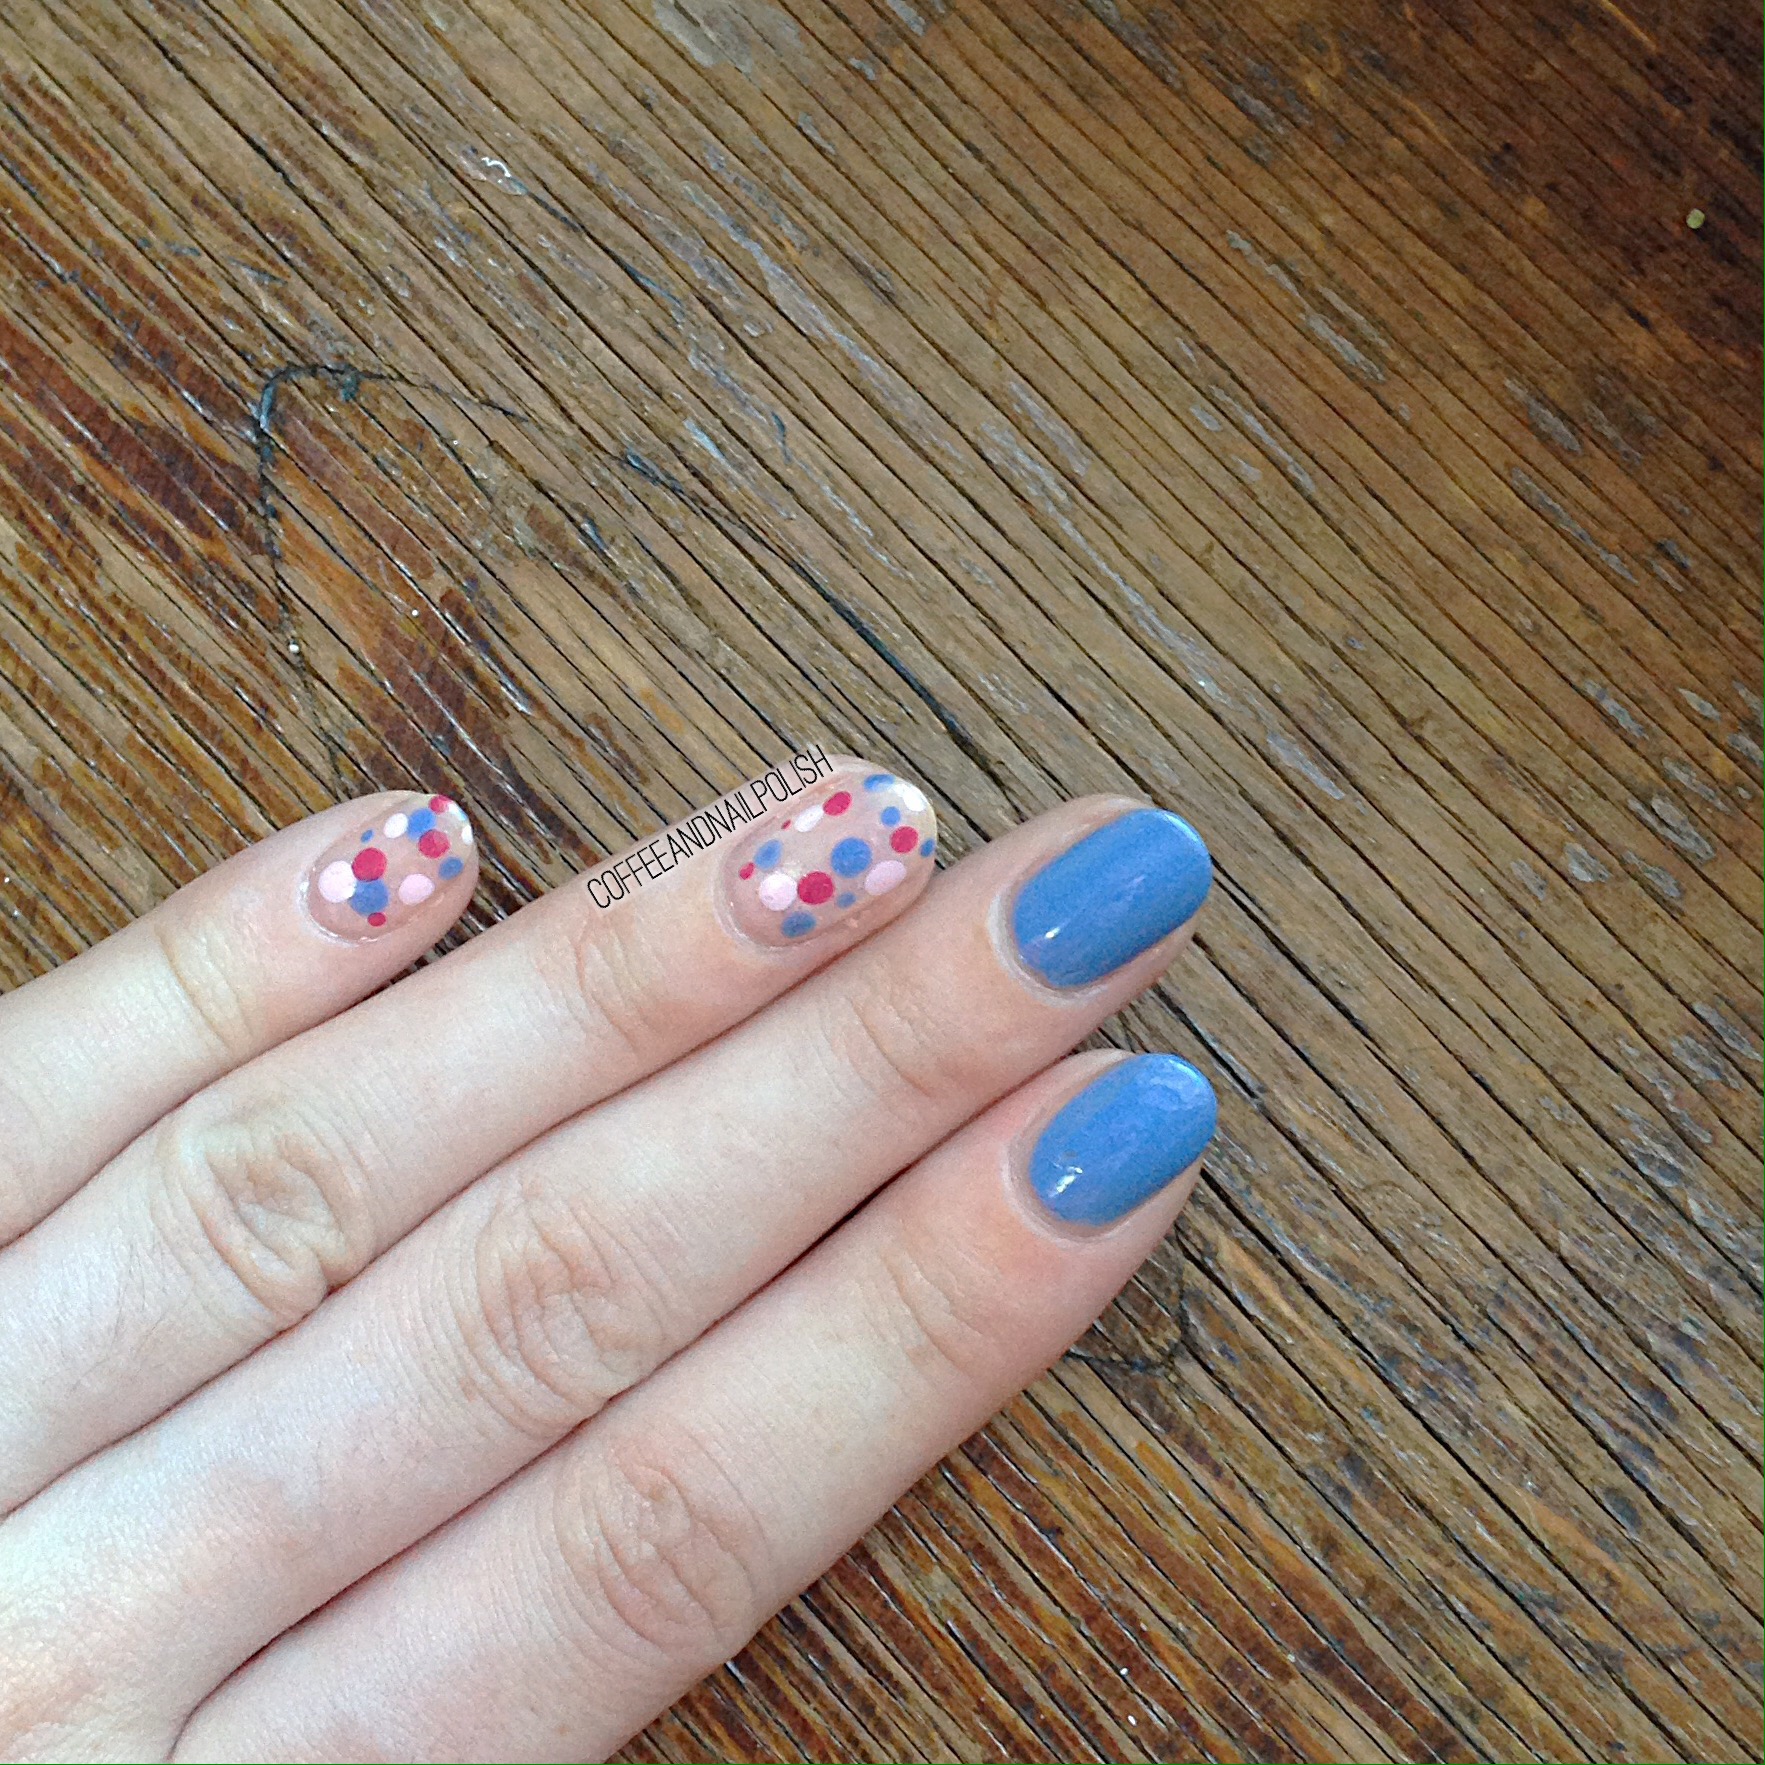
Pink and Blue dotticure. 

I was browsing Instagram yesterday, and while admiring @traceyloveslacquer‘s monthly favourites I could helped but obsess over her dotticures (because they’re gorgeous). So obviously I needed to do my own dotticure because it’s been like a week. 😂 Seriously though, dotticures are just so easy and fun. 
The colours for this mani were inspired by baby-to-be (pink and blue) who has officially overstayed their welcome. But I really think these colours would work for a variety of occasions… even a not so typical Valentine’s Day design if you didn’t want to go strictly pink. 

The polishes used for this mani were:

  • China Glaze Secret Peru-wink-le
  • Wet N Wild 2% Milk
  • Essence Cosmetics Dreaming of Love
  • Sally Hansen Xtreme Wear Tickled Pink 
  • Essie Gel Setter 

Such a simple design, but I love how it looks! And the great thing about a dotticure is it pretty much works for every occasion and colour combination. 

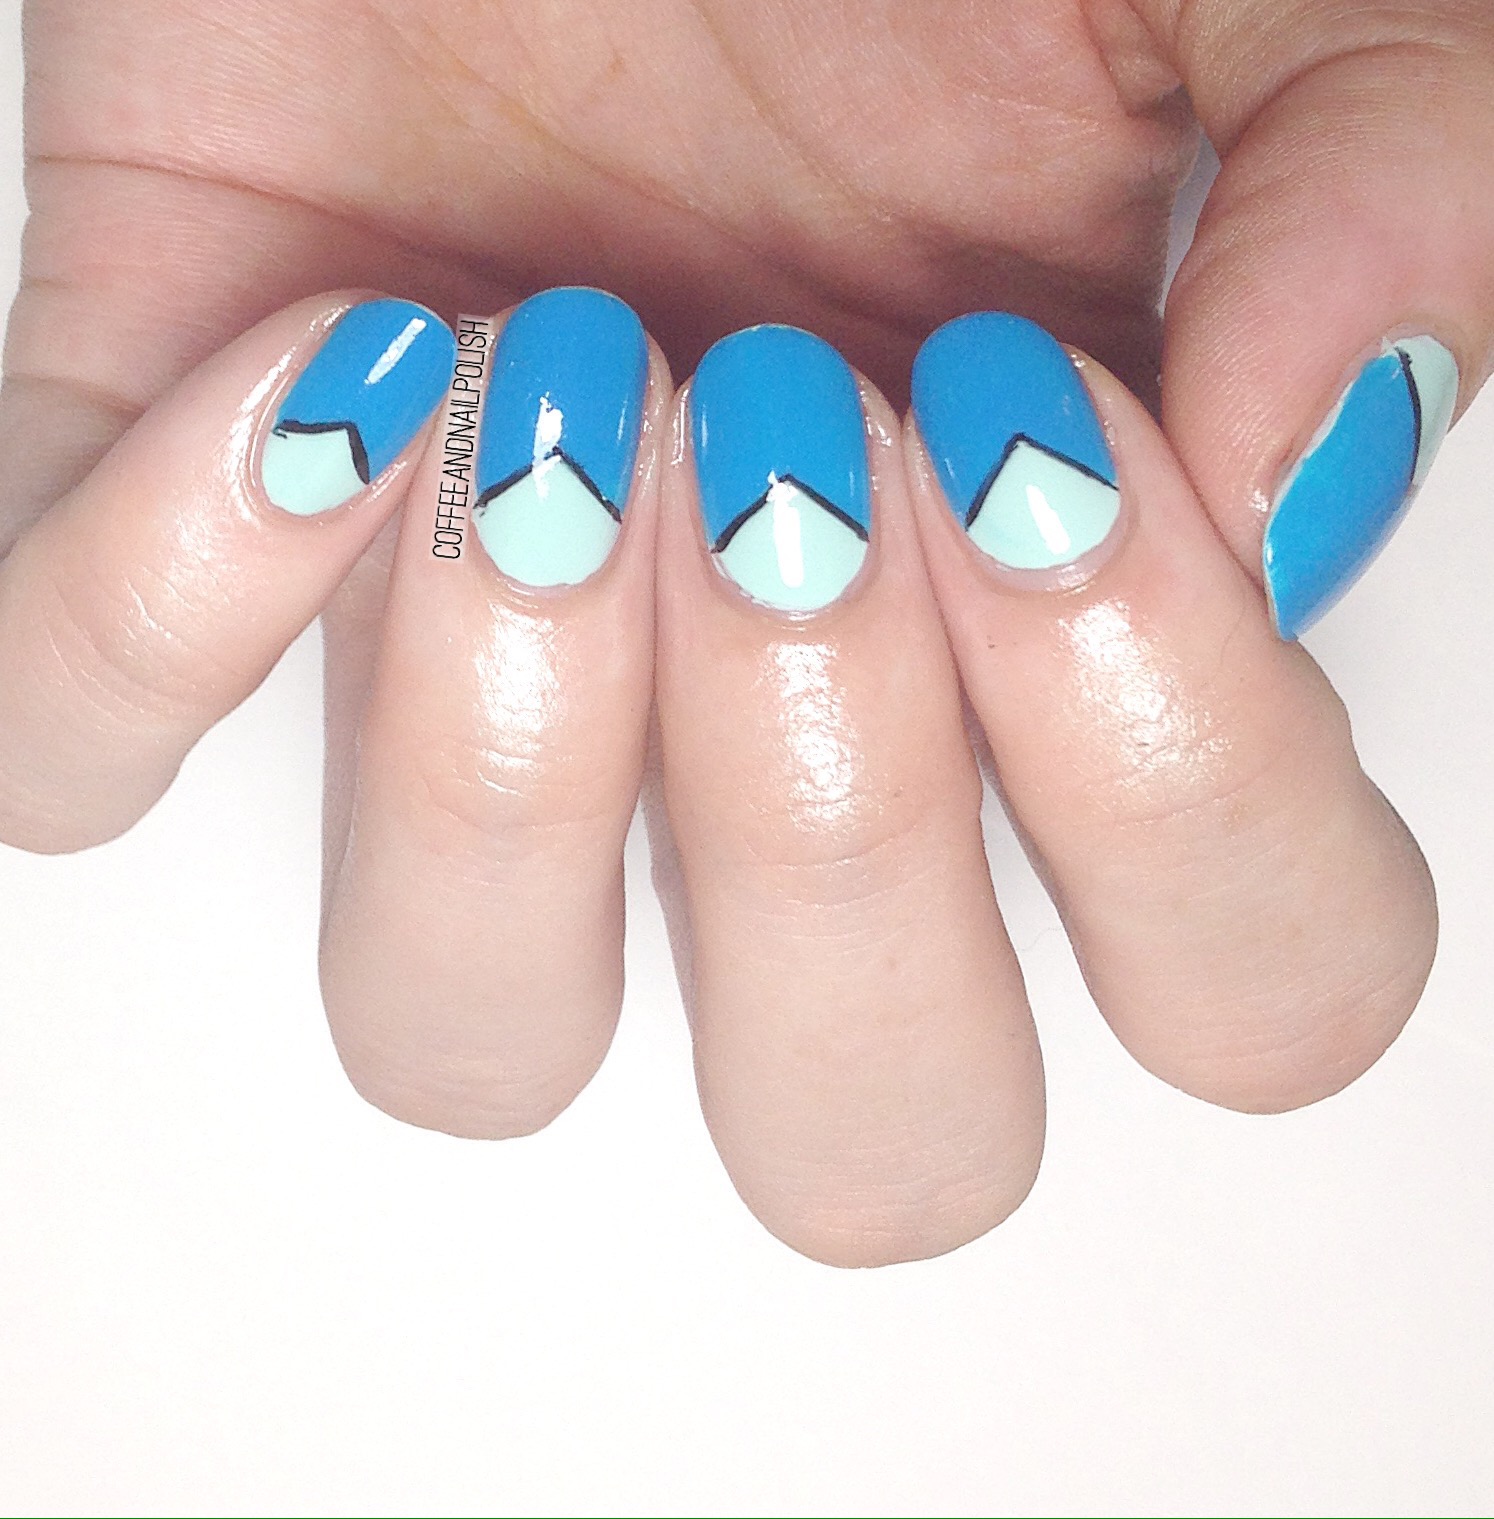
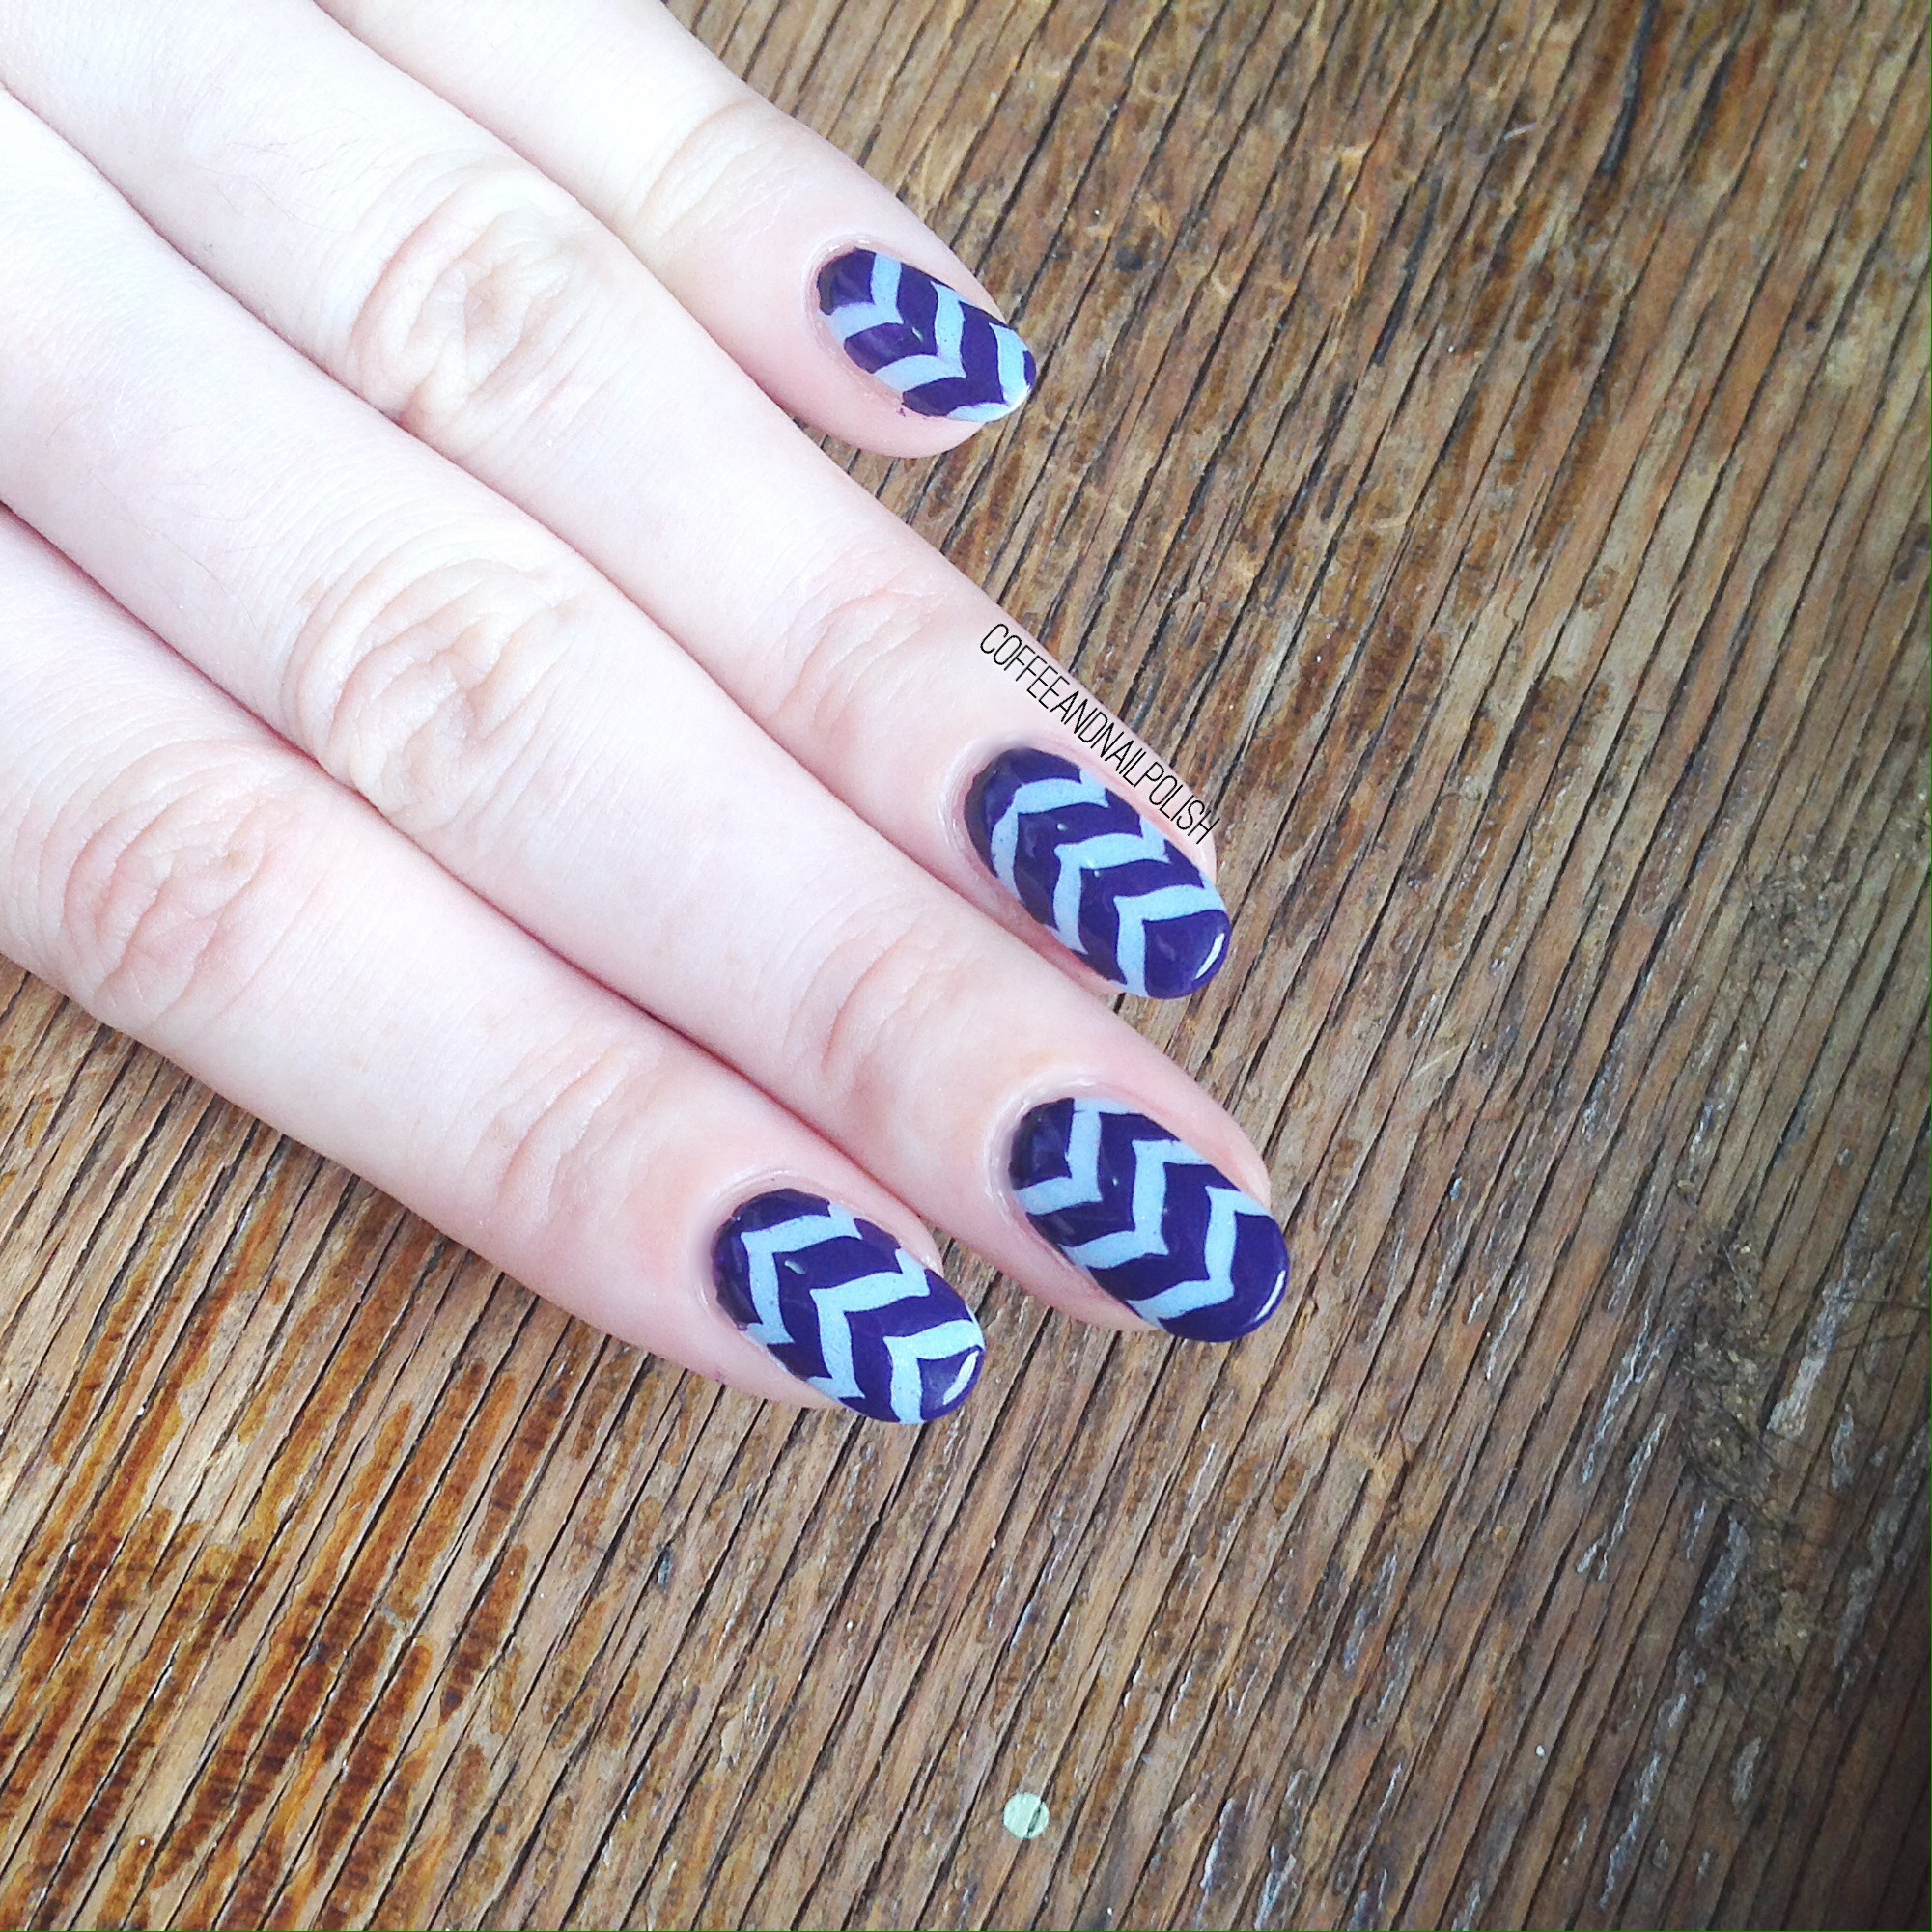
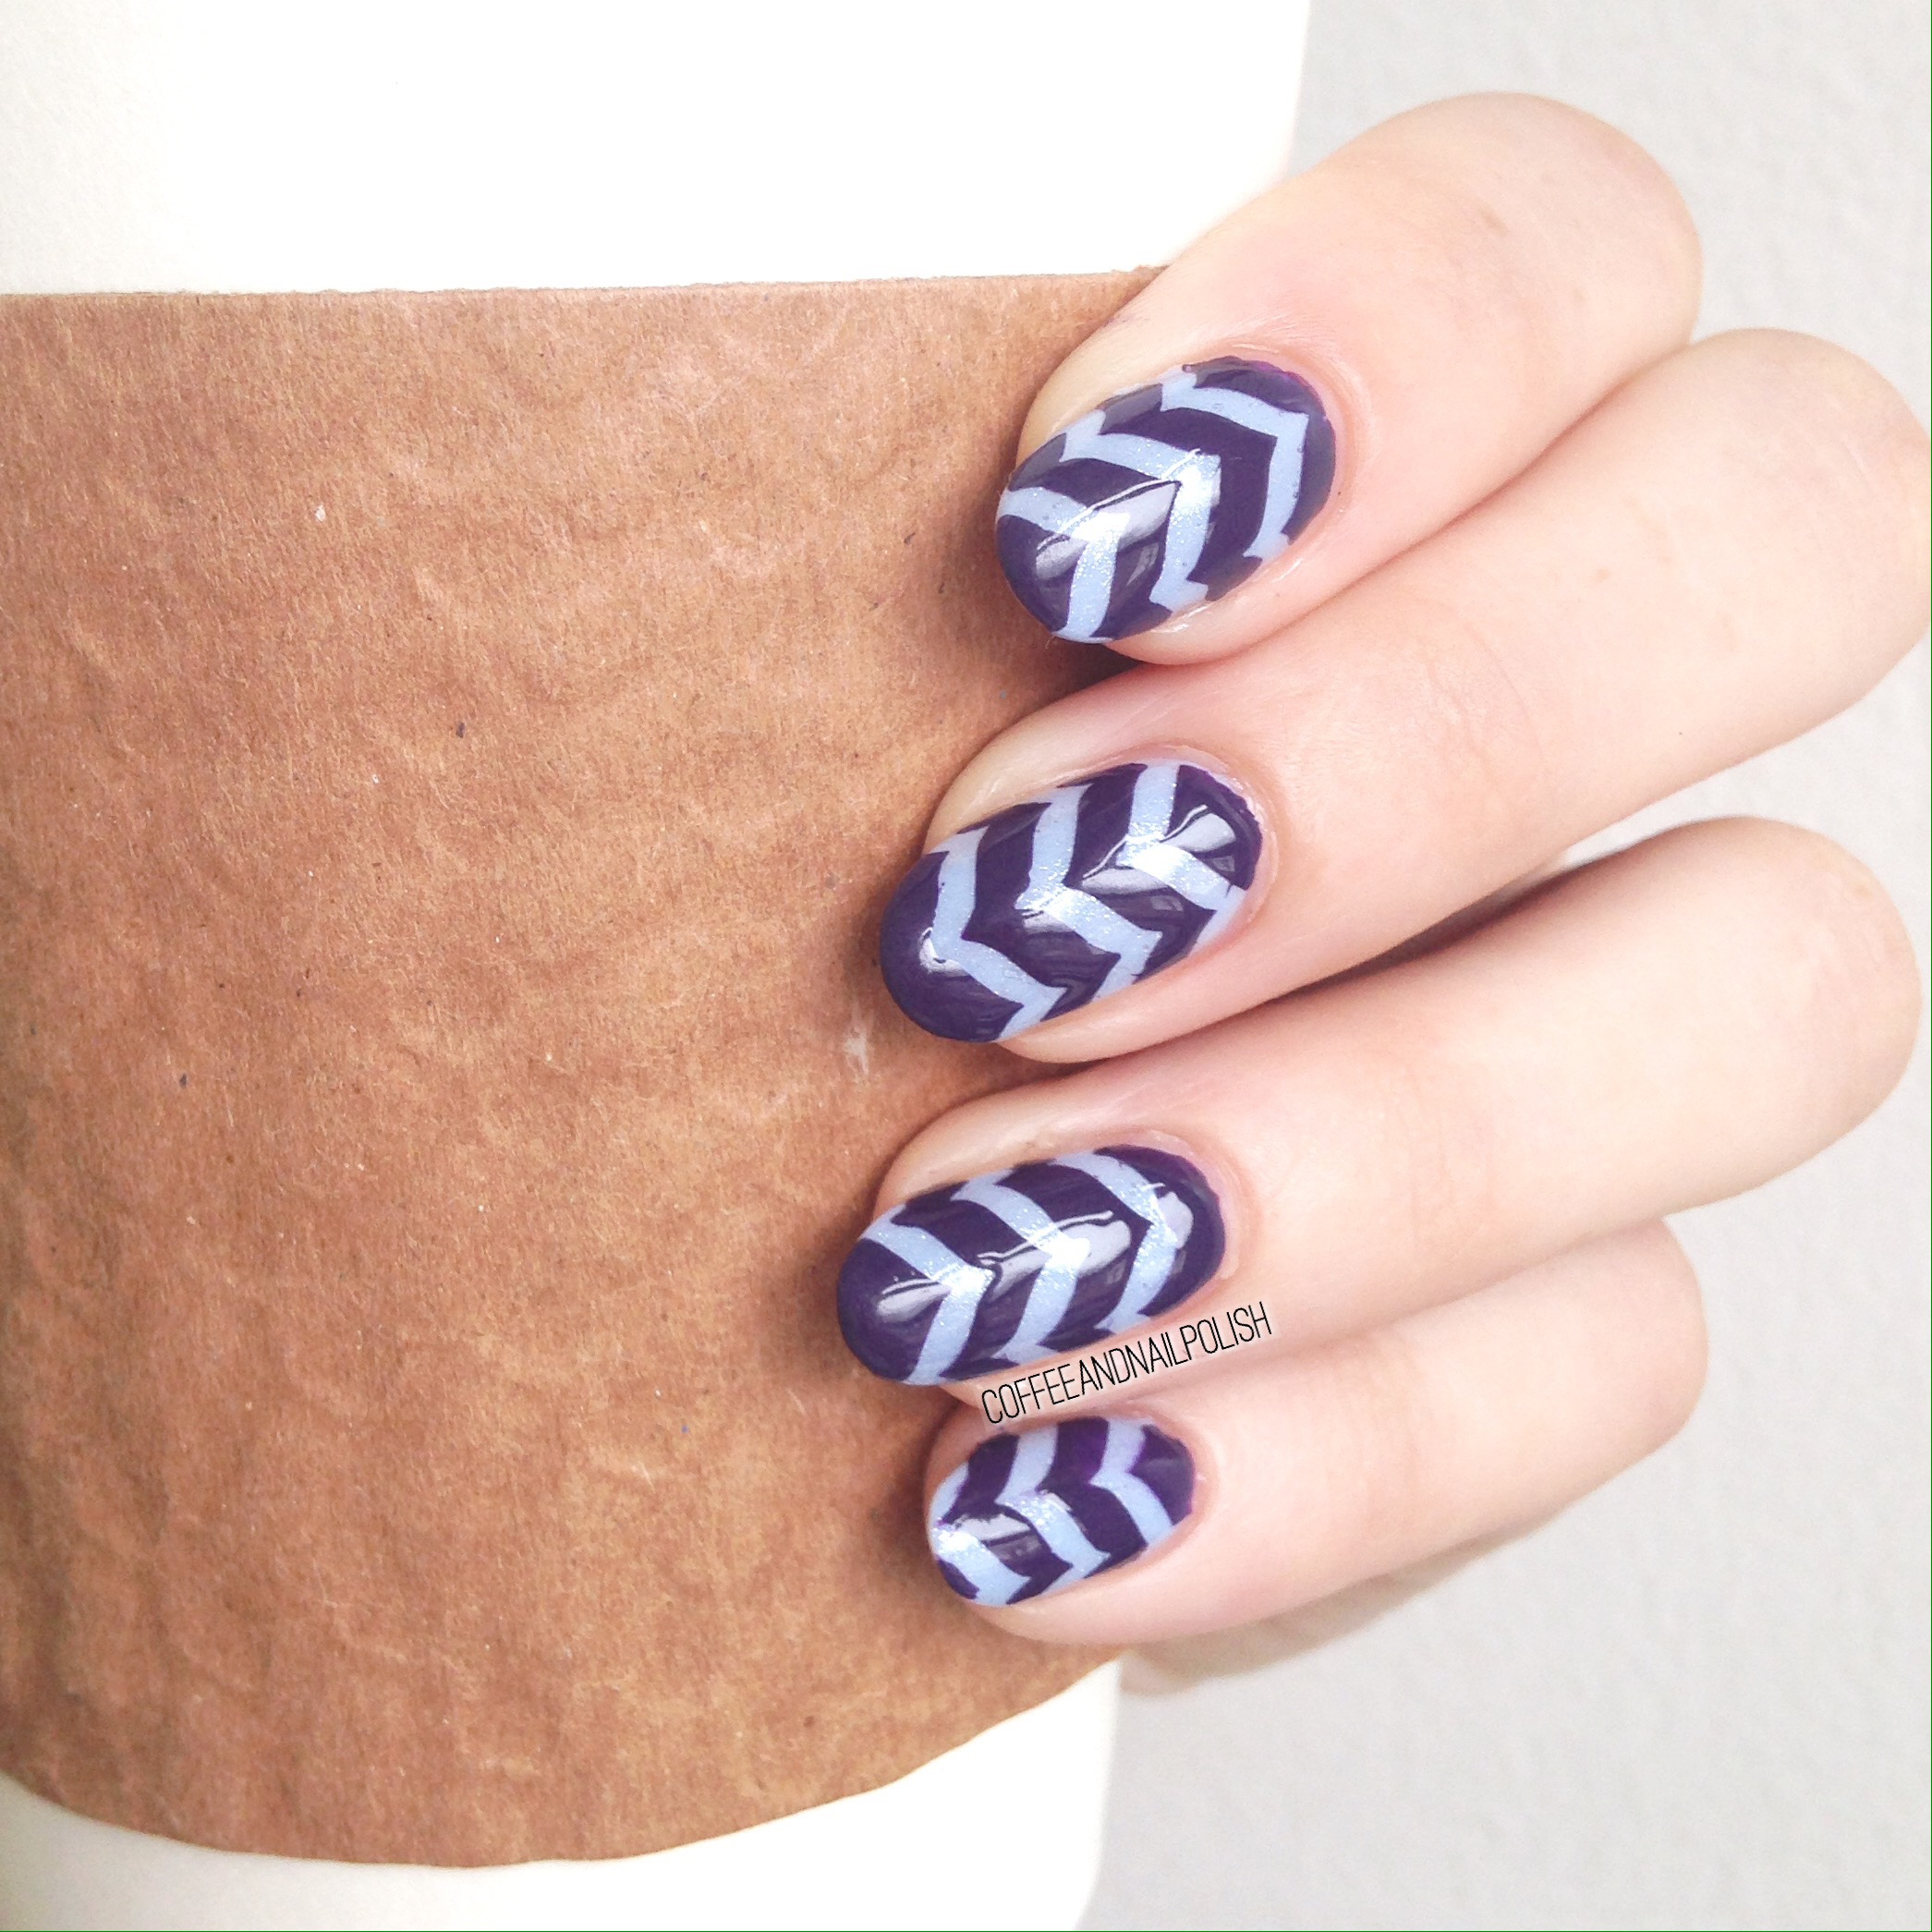
Purple and blue chevron nails. 

Do you have favourite colour combinations? One of my favourite combination of colours is definitely baby blue and purple. They just compliment each other so well! That’s probably why I love this mani so much! 

For this mani, the products I used were:

How pretty are these? I used the inside part of the stencils from The Base Coat instead of the stencil themself, but I think they turned out so well!

Now it’s off to do some more nail art, while I still can.  Baby Taco is due in just a few days so it’s time to trim the claws down! They’re definitely not newborn compatible at their current length haha. 

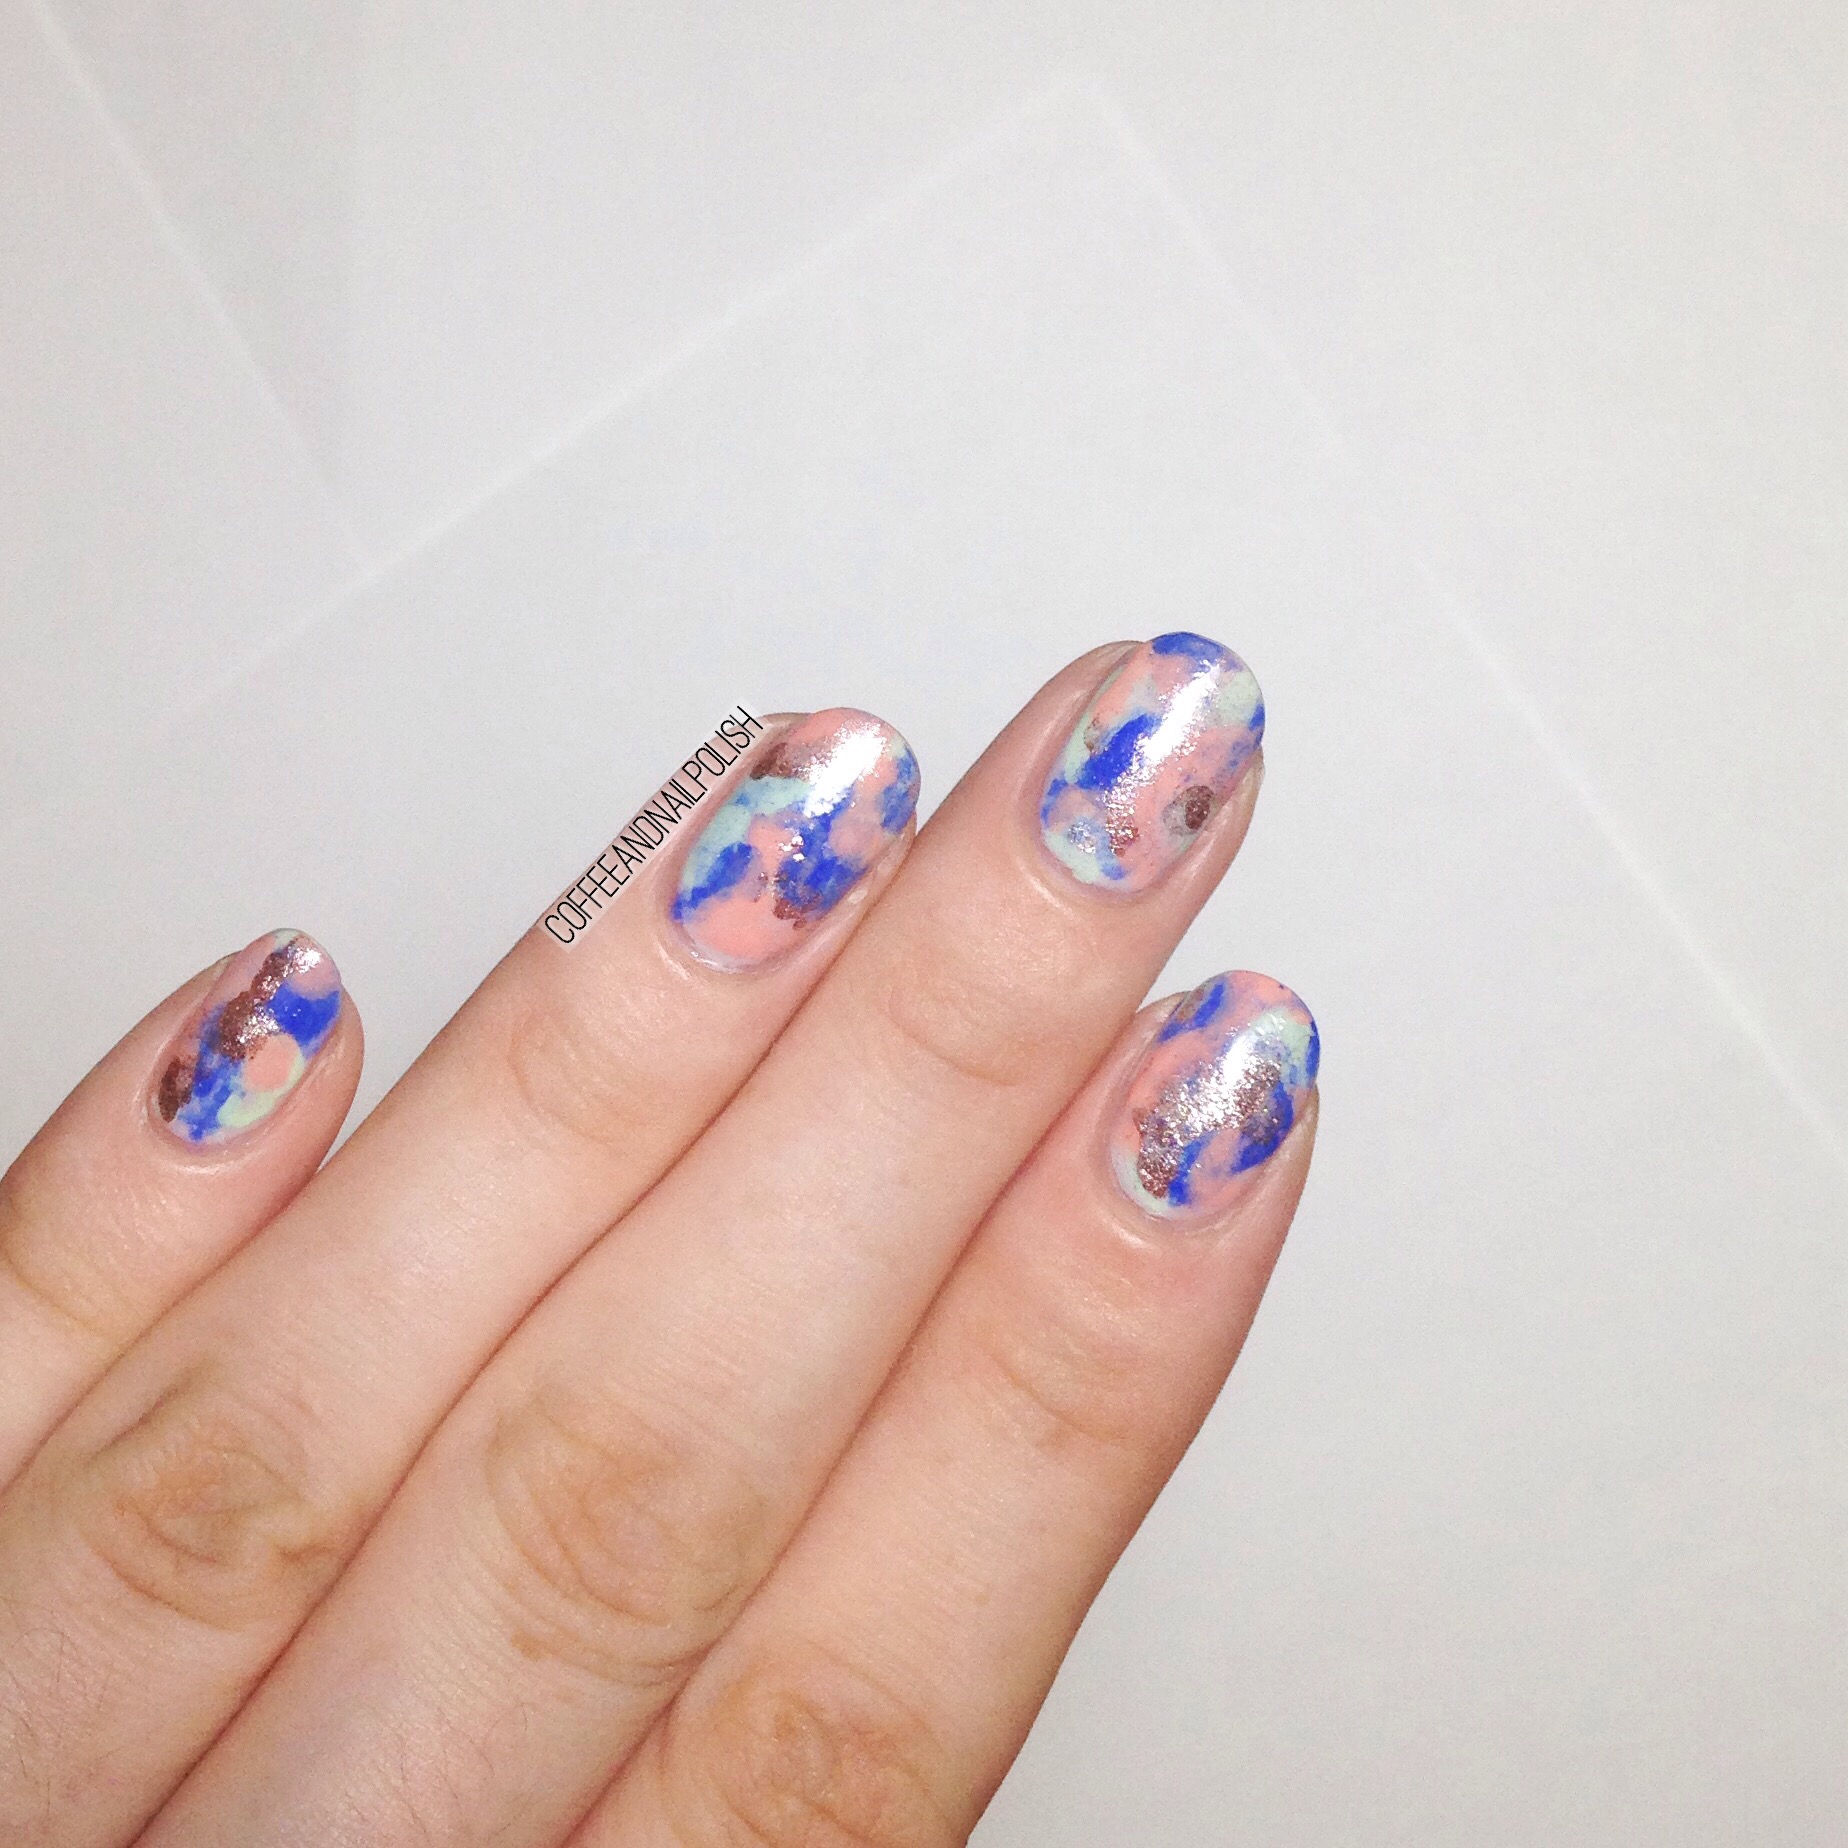
Grey Saran Wrap splatter nails. 

Happy Friday everyone! Who doesn’t love Friday?

 Today I have one of my favourite easy nail art techniques to share with you–Saran Wrap splatter! I’ve featured this technique a couple times, and I’m always in love with how they turn out. It really is one of those designs where you can’t really mess up (unlike water marble which I can’t not mess up!) because you can just keep dabbing polish on until you get a look you love. 

For this manicure, I used:

  • Essie Coat Couture
  • Essie Find Me An Oasis
  • Essie Gel Setter 
  • Crinkled up plastic bag. 

To achieve this look:

  1. Paint your nails with your base coat of choice, and then apply your base colour (I used Essie Coat Couture). 
  2. Apply a layer of top coat and let dry. I wait about 5-10 minutes. 
  3. In the mean time, take your Saran Wrap and crinkled up. You can also use a plastic grocery bag or any other crinkly plastic. I always use what I have on hand. 
  4. Once your base colour has dried enough you won’t ruin it, apply your second colour directly to your crinkled up plastic and dab onto your nail one at a time. Applying liquid latex around your nails helps minimize clean up. 
  5. If you feel like you’ve put too much of your secondary polish on your nail, you can go back with your base colour and dab again. Keep going until you like how your nail looks. 
  6. Once you look how your “splatter” looks, seal in your design with top coat. 

So what do you think of this technique? Have you ever tried out this design or would you try out this design? Let me know in the comments below! And if you do try out this technique, tag me on Instagram so I can see. ❤

Holo Half Moons

I’ve been a very bad blogger. You’d think being on leave I’d have all the time for keeping up with this blog, but it turns out preparing for a new baby is very time consuming! We’ve got two weeks to go now, and everything together, so I’m going to try and get on some blogging while I can! After baby comes—hopefully I’ll still be able to keep up after things slow down some. 

And now onto some nails! (Because that’s why we’re all here after all.) 

It’s been a little while since I wore my beloved half moons, and I thought hey! Why not some holo half moons–because obviously holo makes everything better. As I’ve written before, I love half moon manicures because they’re so easy and so versatile–just so many colour combinations, and so easy to do. I used actual nail tip guides from Kiss for this particular design, but it’s just as easy to use paper hole reinforcers to accomplish the same look. (I usually buy mine from the Dollar Store and they last forever!) 


Polishes used for this mani are: 

  • Layla Cosmetics Hologram Effect Retro Pink
  • Layla Cosmetics Hologram Effect Ocean Rush 
  • Kiss Products nail guides 
  • Essie Gel Setter top coat. 

So what do you think of this design? What is your favourite nail art design you always go back to? For me it’s obviously a toss up between regular half moons and chevron moons! Both are so easy and always look fancy on the nail!